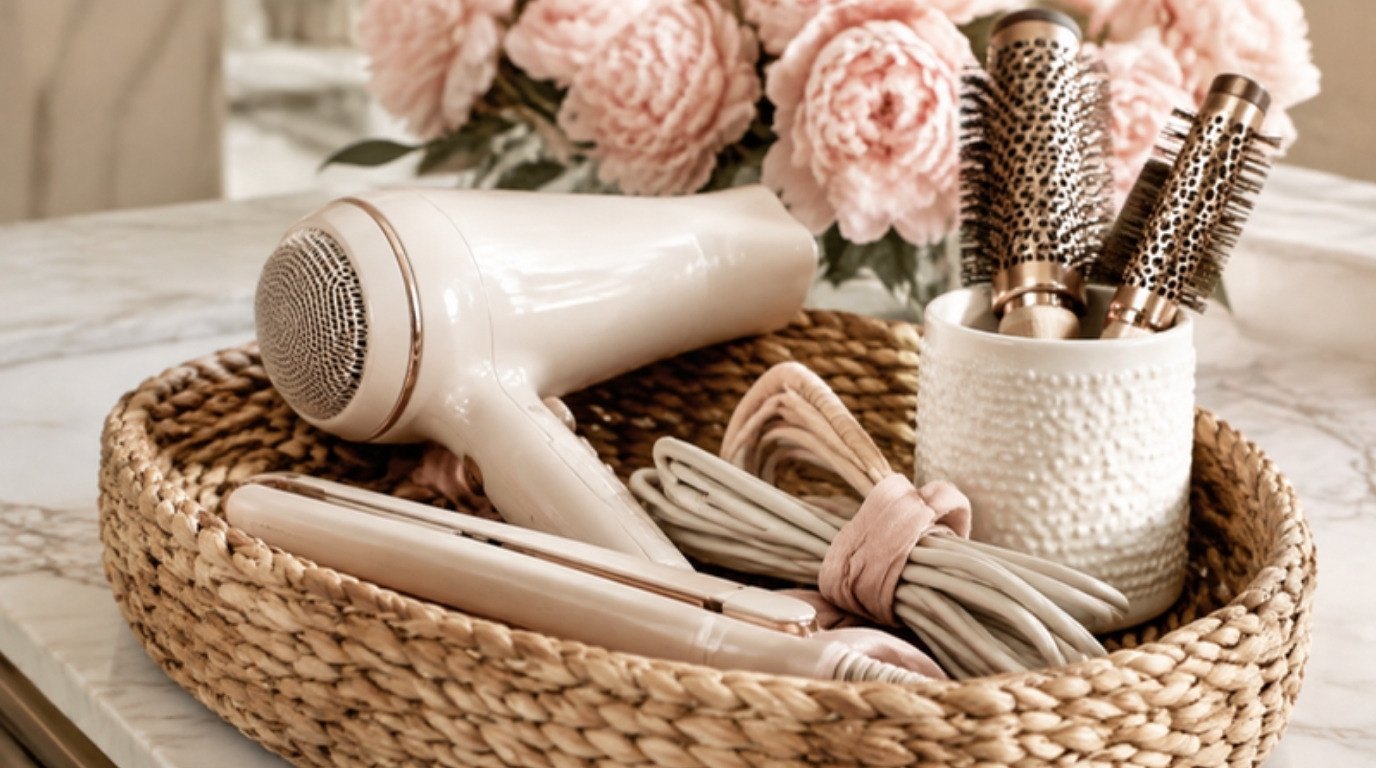
Hair tools are the hardest things in a bathroom to keep tidy, and it's not your fault. They're bulky, oddly shaped, they come with long cords, and the ones you use most are still hot when you're ready to put them away. A good setup works around all of that instead of pretending it isn't there.
The secret is less about pretty containers and more about three things: letting tools cool somewhere safe, giving every tool its own spot, and taming the cords so nothing knots together. Once those are in place, the containers can be as pretty as you want (and I do love a pretty basket).
This guide covers how to organize hair tools like hair dryers, straighteners, curling irons and brushes: a quick edit, the safety rules for hot tools, a cool-down table for every tool, 7 storage ideas that fit small bathrooms, cord tricks, renter-friendly options and how to keep your brushes clean and upright.
Why Hair Tools Are So Hard To Store
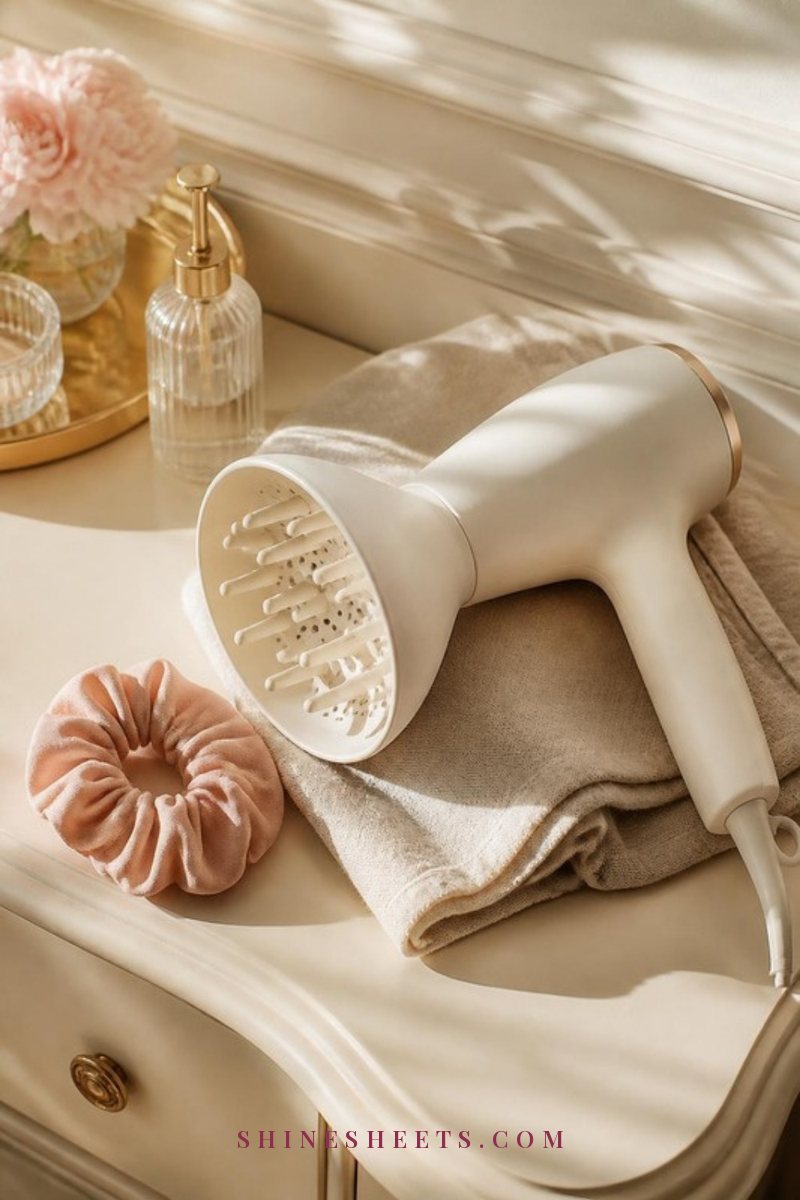
Most bathroom drawers and cabinets are designed for small, flat things: makeup, toothpaste, skincare. Hair tools break every rule of that design:
- They're bulky. A hair dryer with its nozzle attached takes up as much space as half your skincare.
- They're hot. You can't put a flat iron away the moment you finish, so it ends up lying on the counter.
- They have cords. Long cords tangle, snag in drawers and get wrapped tightly in a hurry, which damages them over time.
- They're used daily, but not by everyone. Shared bathrooms mean shared counter space, and tools tend to spread.
Every idea in this guide tackles one of those four problems. You won't need all of them, just the ones that fit how you actually get ready.
Start With a Quick Edit
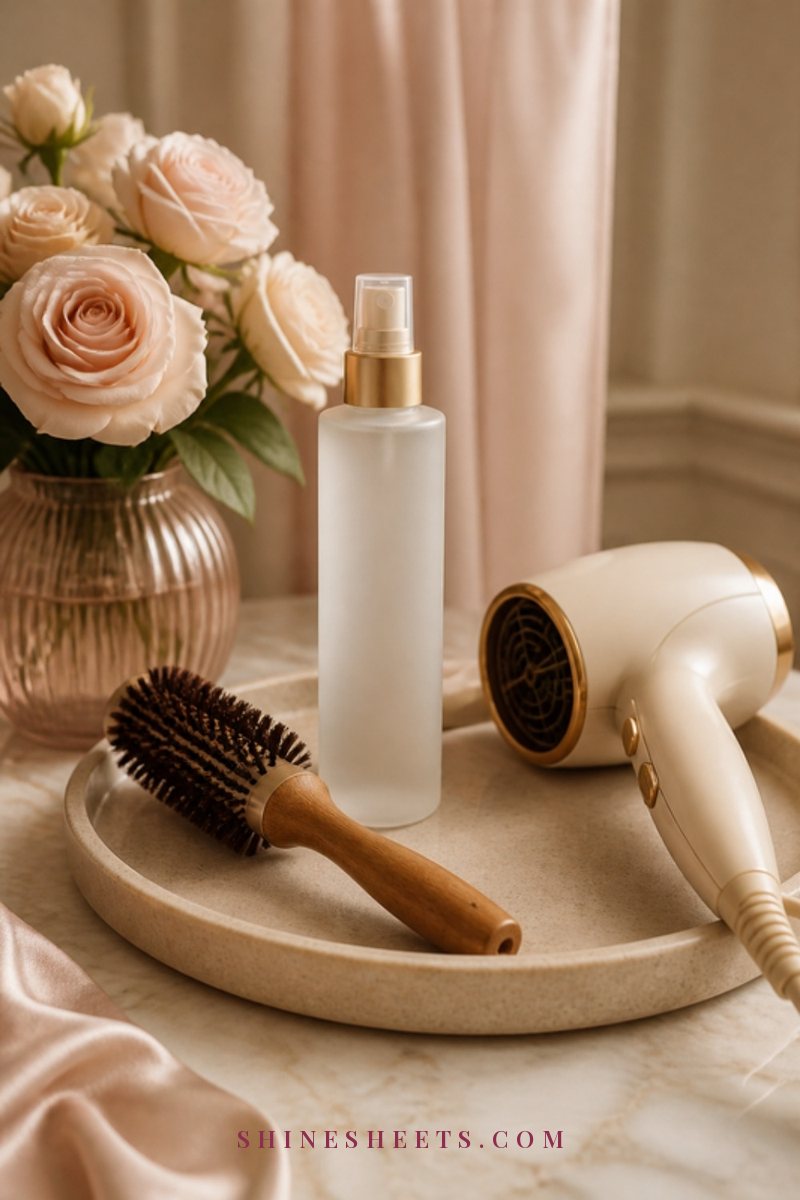
Before you buy a single organizer, gather every hair tool you own in one place. Bathroom, bedroom, the hall closet, that tote bag from your last trip. Lay them all out on a towel and sort them quickly:
- Broken or unsafe: frayed cords, cracked casings, a tool that sparks, smells like burning or gets hotter than it should. These go, no exceptions. Don't try to tape a damaged cord.
- Duplicates: two flat irons, three round brushes of the same size. Keep the one you reach for and pass on the other.
- Unused: the crimper from years ago, the hot brush you tried twice. If you haven't touched it in six months, it can leave or move to a closet shelf.
- Daily tools: these get the easiest, closest storage spot.
- Weekly or occasional tools: these can go a little farther away.
Check the brushes too. Bent bristles, a cracked cushion or a handle that's coming loose means it's time for a new one. If you're not sure which brush actually suits your hair, my hairbrush guide helps you keep only the ones that earn their space.
Safety First: The Cool-Down Rules
This part matters more than any basket or hook. Hot tools are safe when you treat them with a little respect, and a few habits keep both you and your tools in good shape:
- Unplug after every use. Not "after I finish my makeup." Right away, every time. Many newer tools shut off on their own, but don't rely on it.
- Let tools cool completely before storing. A warm flat iron in a fabric bag or a plastic bin can melt, scorch or start to smell. Give it a safe place to cool first.
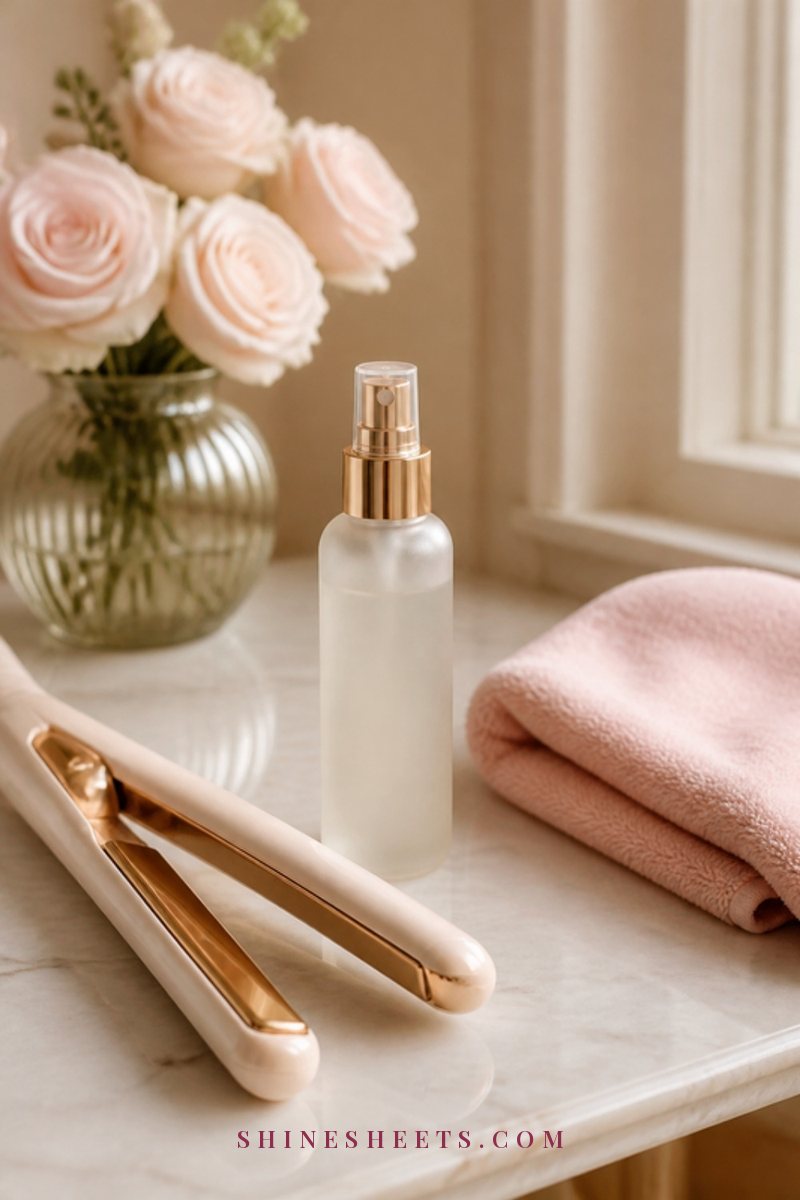
- Cool them on a heat-resistant surface. A heat-resistant silicone mat on the counter protects the surface and gives hot tools one clear spot to rest. Heat-resistant pouches work for travel, but only once the tool is cool enough to touch.
- Never wrap the cord tightly around a warm tool. Heat and tight wrapping wear out the cord where it meets the handle, which is exactly where cords fray and fail.
- Keep everything away from the sink. Cool or hot, tools shouldn't sit where they can get splashed or slide into water. Choose a storage spot away from the basin.
- Check the cords now and then. If you see fraying, exposed wire, cracks or melted spots, stop using that tool and replace it.
A quick note: many bathroom outlets are GFCI outlets, the kind with small "test" and "reset" buttons. It's designed to cut power if something goes wrong near water, so if yours trips often while using a tool, take that seriously and don't keep resetting it. A tool that keeps tripping it should be replaced, and an electrician can check the outlet.
Cool-Down and Storage Table for Every Tool
This is the table to keep in mind (or screenshot) when you set up your space. Cool-down times are approximate and vary by tool, temperature and how long you used it. The safe test: hover your hand near the hottest part first, and only store the tool once it feels cool, not just "not burning."
| Tool | Approx. cool-down time | Best storage spot | Cord tip |
|---|---|---|---|
| Hair dryer | 5–10 minutes (the nozzle stays warm longest) | Door-mounted holder or cabinet-side hook | Loose loop, secured with a soft tie |
| Flat iron / straightener | 20–30 minutes | Heat-resistant caddy or drawer divider slot | Close the plates, loop the cord loosely beside it |
| Curling iron or wand | 20–30 minutes | Heat-resistant caddy or tall holder slot | Loose figure-eight loop, not around the barrel |
| Hot air brush | 15–20 minutes | Basket on the vanity or under-sink bin | Loose loop with a tie, bristles facing up |
| Heated rollers (set) | 20–30 minutes with the lid open | Their own case, inside the under-sink bin | Tuck the cord into the case's cord slot if it has one |
| Diffuser and nozzles | A few minutes | Next to the dryer, in the same holder or bin | No cord, keep them clipped together |
| Brushes and combs | No cool-down needed | A jar on the vanity, upright | No cord, clean them weekly |
7 Storage Ideas for Hair Tools
Here are seven ways to store your hair tools so they're easy to grab and easy to put back. Mix two or three that suit your bathroom, and measure your space (door thickness, drawer depth, cabinet height) before buying anything.
1. A Door-Mounted Holder
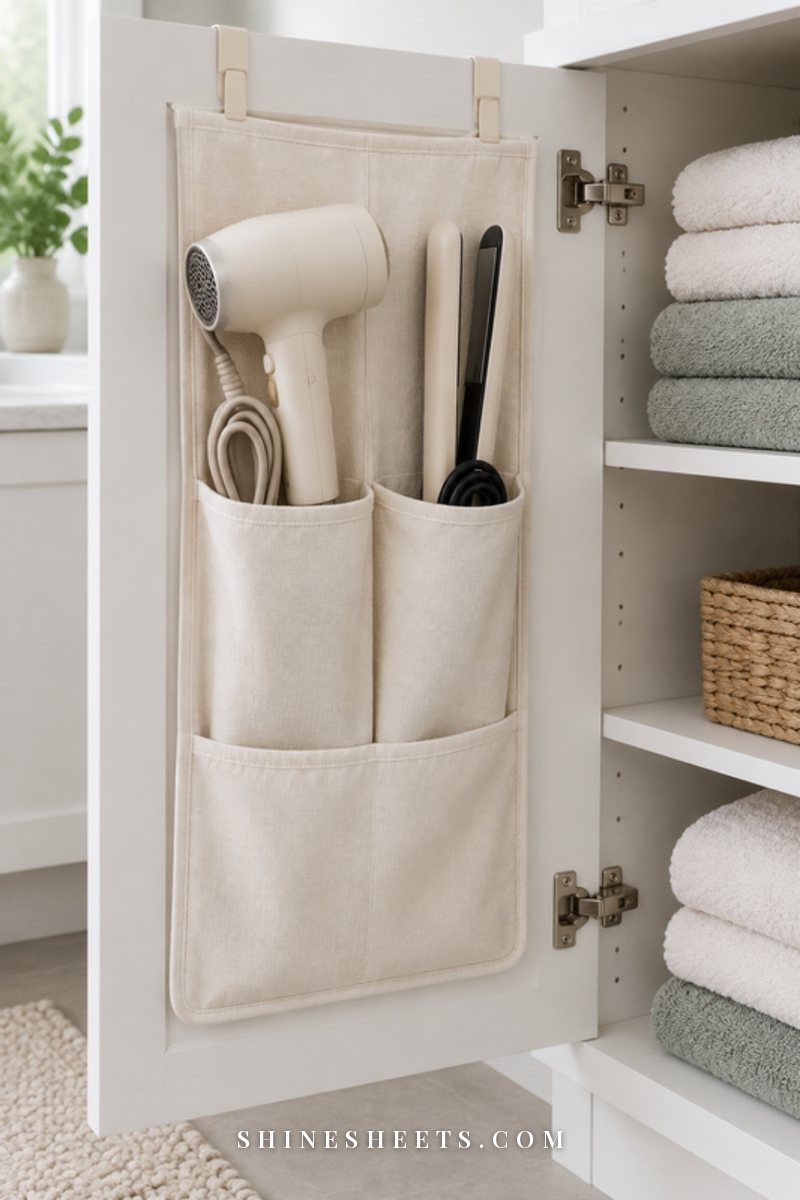
The inside of a bathroom cabinet door is wasted space in most homes, and it's perfect for hair tools. A door-mounted holder keeps your dryer, flat iron and curling iron upright and separated, with cords tucked into their own pockets.
A cream over-the-door hair tool organizer is an easy pick because it hooks on without screws. Look for a holder with metal or heat-resistant slots for hot tools, and still store tools only once they're fully cool. Close the door slowly the first time to check that nothing hits the shelves or the pipes behind it.
No cabinet doors? The same holder can hang on the back of the main bathroom door or a closet door.
2. A Drawer Divider
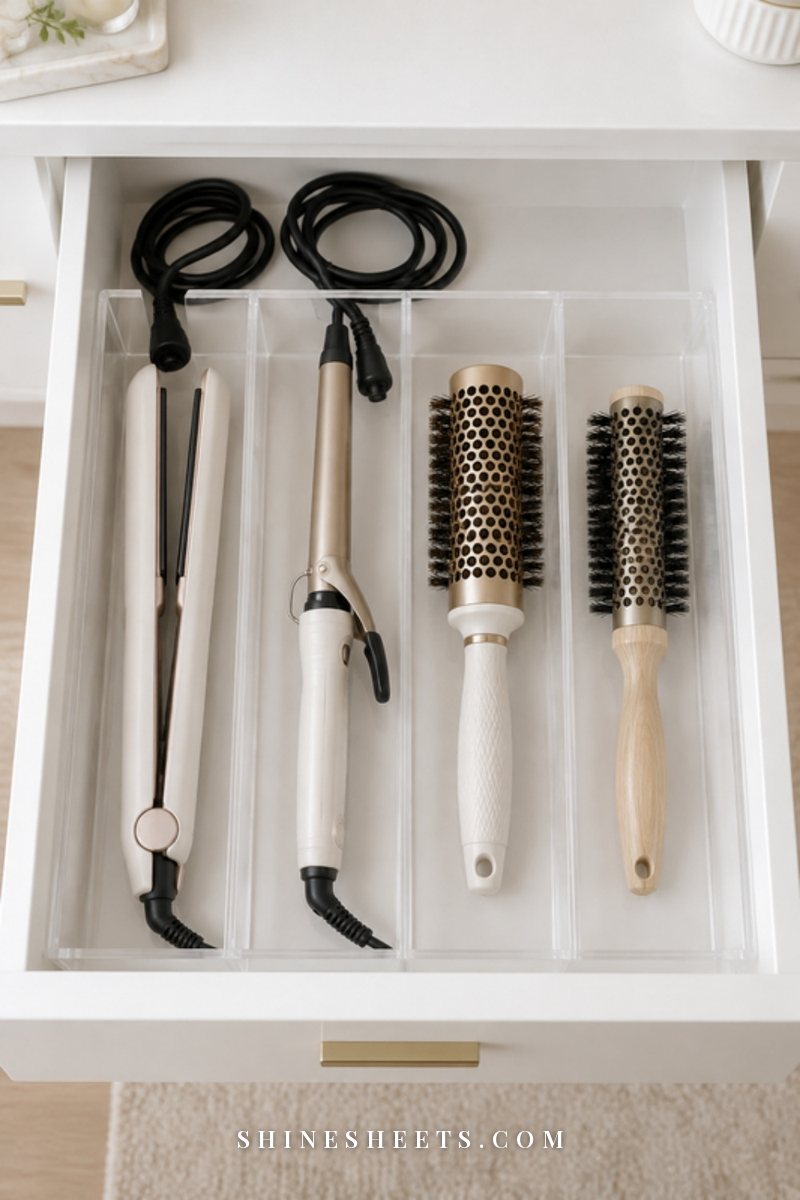
If you have one deep drawer in the bathroom or bedroom, a divider turns it into a neat home for your tools. Each tool gets its own lane, so nothing tangles and you can see everything at a glance.
A white acrylic drawer divider is easy to wipe clean and looks tidy. Put the tool you use daily in the front lane, and keep the cords in small loops at the back of each section. If you want to rethink the whole drawer, my guide on vanity organization has ideas for the makeup and skincare that share the space.
Line the drawer with a thin heat-resistant mat if you're nervous about warm tools, but the rule stays the same: cool first, drawer second.
3. A Heat-Resistant Caddy
This one solves the "it's still hot and I'm running late" problem. A heat-resistant caddy is a small, sturdy holder (often metal or heat-resistant silicone) with slots for a flat iron and curling iron. Hot tools can rest upright in it while they cool, instead of lying on the counter.
Place the caddy on a flat, stable surface away from the sink, curtains, paper towels and anything that could tip into it. Once the tools are cool, they can either stay in the caddy or move to their storage spot.
The caddy is not a place to leave plugged-in tools. Unplug first, then let them cool there.
4. Cabinet-Side Hooks
The side walls inside a bathroom cabinet are another overlooked spot. Two or three adhesive hooks there can hold a hair dryer by its hanging loop, with the cord looped loosely beside it.
Use removable hooks rated for the weight (a hair dryer is heavier than it looks, often around one to two pounds) and press them firmly for 30 seconds. Wait the time on the package before hanging anything. Hooks work best for the dryer and its attachments, not for hot irons.
5. An Under-Sink Bin
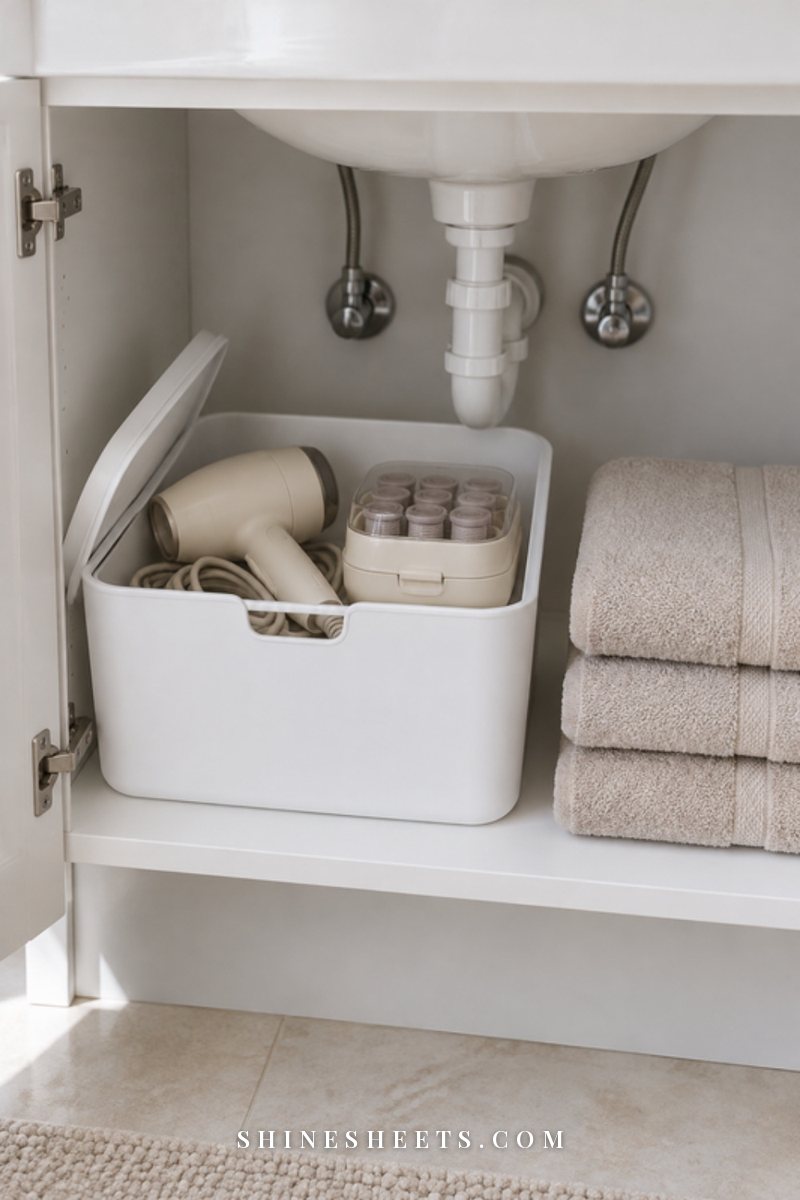
Under the sink is great for the tools you use less often: heated rollers, a hot brush, the travel dryer. Put them in a bin so they're grouped together and you can pull everything out in one move.
Choose a bin with a lid or a high rim, and keep it away from the pipes in case of a leak. Moisture and electronics don't mix, so if your under-sink cabinet tends to be damp, store tools somewhere drier. For more ways to use that tricky cabinet, my guide to under-sink organization covers both kitchen and bathroom versions.
6. A Basket on the Vanity
If you style your hair every day, sometimes the best spot is the one in plain sight. A basket on the vanity or a nearby shelf can hold your dryer and one or two tools you reach for daily.
A sage woven storage basket looks soft and calm next to candles and skincare. Woven baskets are not heat-resistant, so this is strictly for tools that have fully cooled. Keep the basket on the side of the vanity farthest from the sink.
Small bathroom and no vanity at all? A basket on a bedroom dresser works too. Many people actually prefer styling their hair in the bedroom, where there's more space and less steam.
7. A Pretty Jar for Brushes
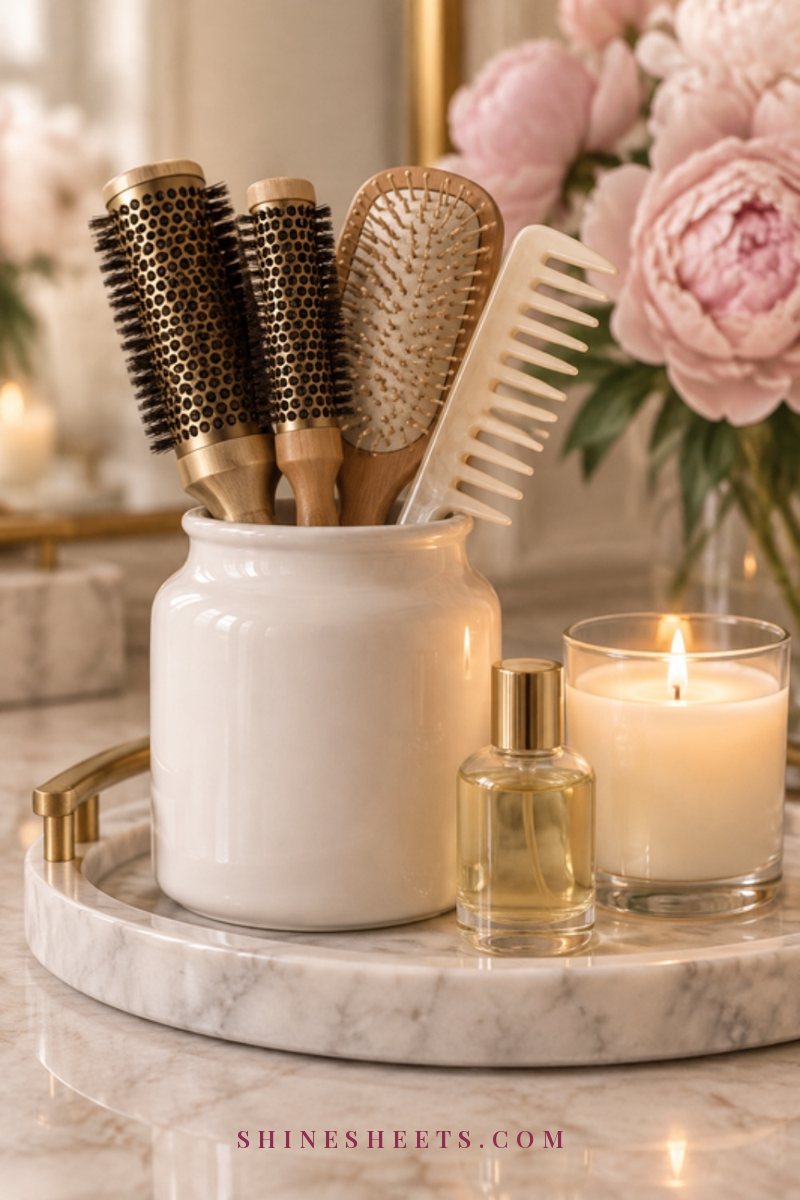
Brushes are the easiest tools to store, and the prettiest. A tall jar or vase on the vanity keeps them upright, handy and dry. A white ceramic brush holder is a classic pick, though a glass vase or a sturdy mug works just as well.
Choose a jar that's heavy enough not to tip with a big paddle brush in it, and tall enough to cover about half the handle. Keep combs in the same jar so everything for detangling lives in one place.
Cord Management That Actually Works
Cords are where most hair tool storage falls apart. A few simple habits keep them neat and help them last longer:
- Loop, don't wrap. Gather the cord in loose loops about the size of your hand, never tightly around the tool's handle or barrel.
- Use soft ties. Reusable blush velcro cord ties hold each loop in place without pinching the cord. They're easy to open with one hand, which you'll appreciate on busy mornings.
- Leave the base relaxed. Don't bend the cord sharply where it meets the tool. That's the weakest point, and sharp bends wear it out fastest.
- Color-code shared tools. If you share a bathroom, a different colored tie for each person's tools saves arguments.
- Hide the outlet mess. If cords from chargers and tools crowd your vanity, my ideas on how to hide cords work in bathrooms too.
Small-Bathroom and Renter-Friendly Options
A tiny bathroom with no drilling allowed can still hold your hair tools neatly. The best renter-friendly options:
- Over-the-door organizers. They hook on and come off with you when you move.
- Adhesive hooks. Removable strips inside cabinets leave no marks when removed carefully (pull the tab slowly, straight down along the surface).
- Freestanding caddies and baskets. No installation at all.
- Drawer dividers. They just sit inside the drawer.
- A rolling cart. A slim three-tier cart beside the vanity or in the bedroom can hold tools on the top shelf, brushes in the middle and products at the bottom.
- Storage outside the bathroom. A bedroom drawer or closet shelf is drier and roomier than most bathrooms.
For the rest of the room, my organization ideas for small bathrooms cover shelves, counters and the shower.
Keep Brushes Clean and Stored Upright
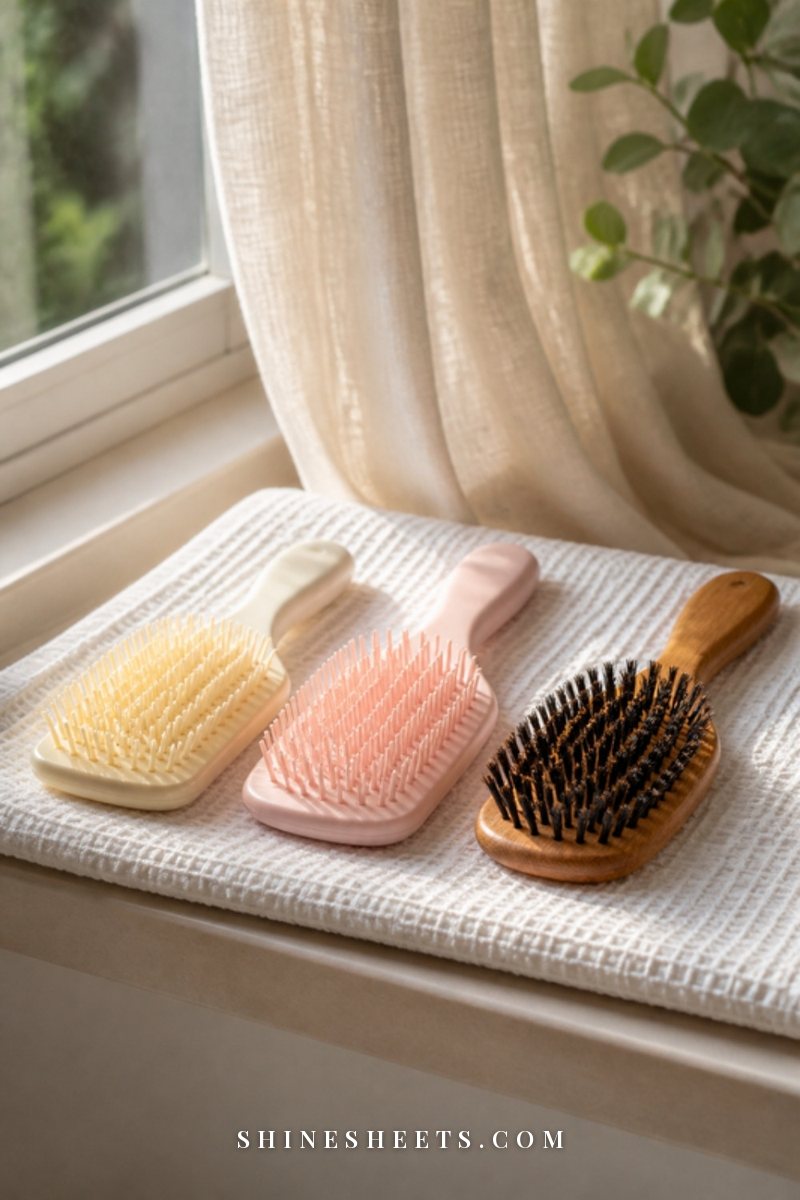
Organized tools don't mean much if your brushes are full of hair and product. A clean brush works better, feels nicer and stays fresher in storage.
A simple rhythm that works for most people:
- Daily (30 seconds): pull loose hair out of your brush with a comb or your fingers.
- Weekly (10 minutes): wash brushes and combs in warm water with a little gentle shampoo, rinse well and let them dry bristles-down on a towel.
- Once dry: store them upright in their jar, so air can reach the bristles and nothing gets squashed.
Wooden and cushioned brushes shouldn't soak, so a quick dip and a good dry are enough. My full guide on how to clean a hairbrush covers each type in detail.
How To Pack Hair Tools for Travel
Trips are when hair tools get the roughest treatment: thrown into a suitcase still warm, cords twisted, brushes crushed under shoes. A few small habits keep them safe on the road:
- Style first, pack last. Do your hair before you start packing the bathroom, so the iron has a good 20 to 30 minutes to cool while you fold everything else.
- Use a heat-resistant pouch, but only for cool tools. The pouch protects your clothes and the tool, but it isn't meant to hold a hot iron in a closed suitcase.
- Close and lock the plates. Many flat irons have a lock. It protects the plates and keeps the tool from opening in your bag.
- Loop and tie the cords. The same loose loops and soft ties you use at home, so nothing knots around your toiletries.
- Protect the brushes. A shower cap over a paddle brush or a small cotton bag keeps bristles straight and clean.
- Check the voltage before you go abroad. Many hair tools are made for one voltage only. Using a single-voltage tool on a different system can damage it, so look at the tool's rating and bring the right adapter or a dual-voltage travel tool.
When you get home, unpack the tools straight back to their spots. That one small habit stops the "travel bag" from turning into a second, messier storage place.
A 5-Minute Weekly Reset
Once a week, give your hair tool spot a quick reset so it stays easy to use:
- Return everything (1 minute). Any tool living in the bedroom, on the counter or in a gym bag goes back to its spot.
- Check cords (1 minute). Look for fraying, cracks or melted spots. Anything damaged gets replaced.
- Re-loop and tie (1 minute). Loose loops, soft ties, no tight wrapping.
- Wipe the surfaces (1 minute). A dry cloth over the mat, caddy and drawer catches dust and hairspray film. Never wipe a tool while it's plugged in or warm.
- Clean the dryer filter (1 minute). Many dryers have a removable back filter that collects lint. Clean it when the tool is unplugged and cool, as your manual explains.
Final Thoughts
Organizing hair tools isn't about having a magazine-perfect vanity. It's about a calm, safe routine: unplug, let it cool, loop the cord loosely, put it back in its spot. Do that, and the rest of the storage almost takes care of itself.
Start with the edit, choose two storage ideas that suit your bathroom, and give them a week. Your mornings will feel lighter, your cords will last longer, and that tangle in the drawer will be a thing of the past.