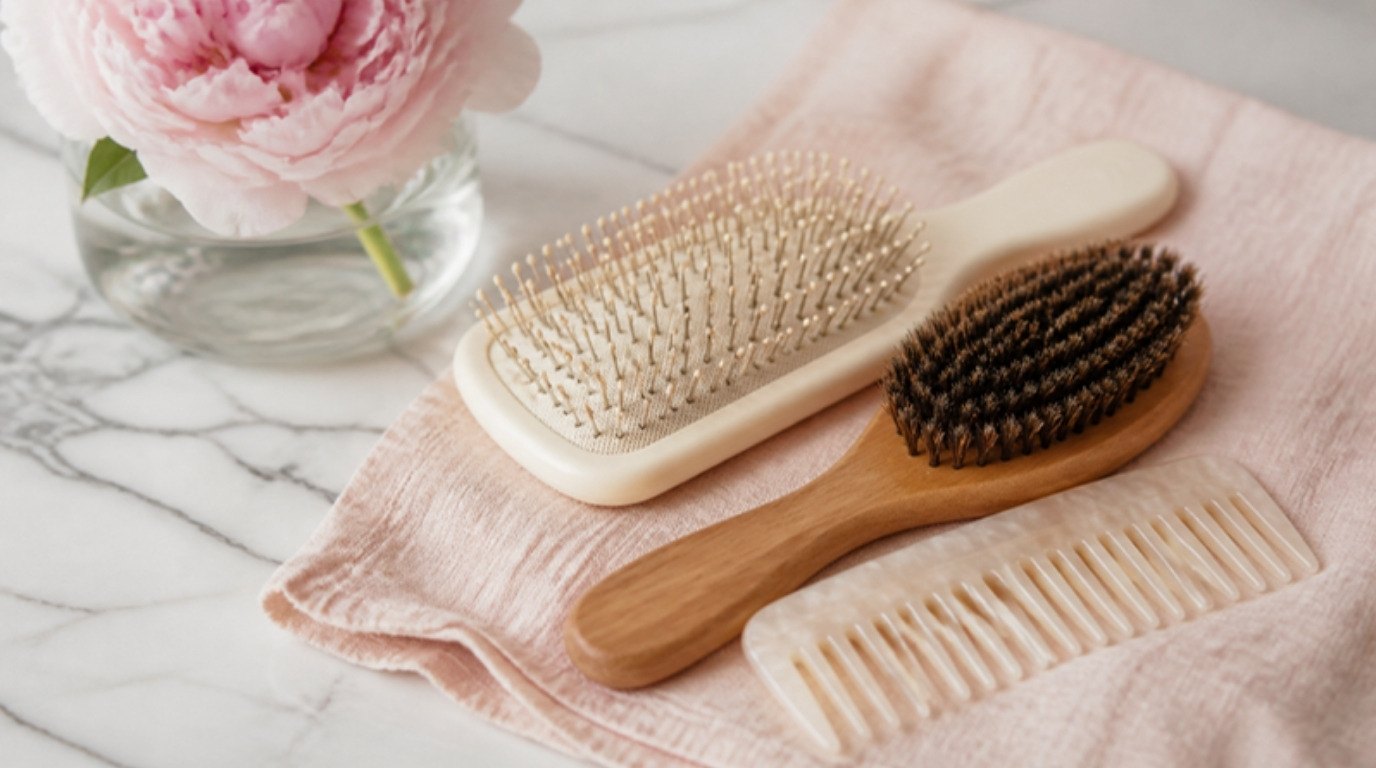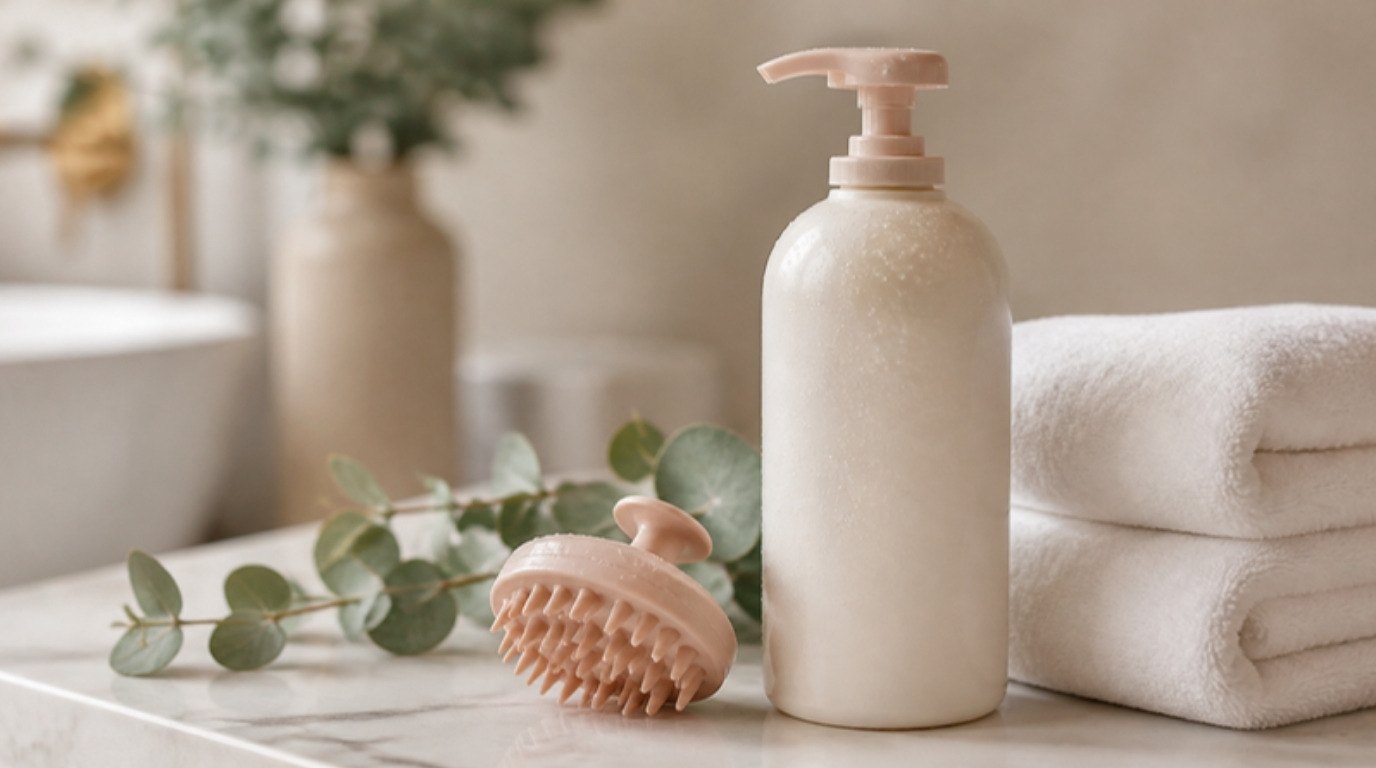
A hairbrush is the one tool that touches your clean hair every single day, and it's also the one most of us forget to clean. Every pass leaves a little behind: scalp oil, flakes of dry shampoo, leave-in conditioner, hairspray, dust from the bathroom counter. Brush freshly washed hair with a brush like that and you're quietly putting some of it back.
The good news is that cleaning a brush is quick once you know which method suits which brush. A plastic detangler can take a proper soak. A cushioned paddle brush can't. A boar bristle brush wants something gentler again. Getting that part right is what keeps your brush clean and keeps it working for years.
This guide covers how to clean a hairbrush from start to finish: why it matters, how often to do it, a basic six-step method, exact instructions for each brush type, a brush-by-brush cleaning table, how to dry it properly and when it's simply time for a new one. A small admission before we start: for a long time I thought a quick rinse under the tap counted as cleaning a brush. It doesn't, and once I learned the proper method, my freshly washed hair stayed fresh noticeably longer.
Why a Dirty Hairbrush Matters
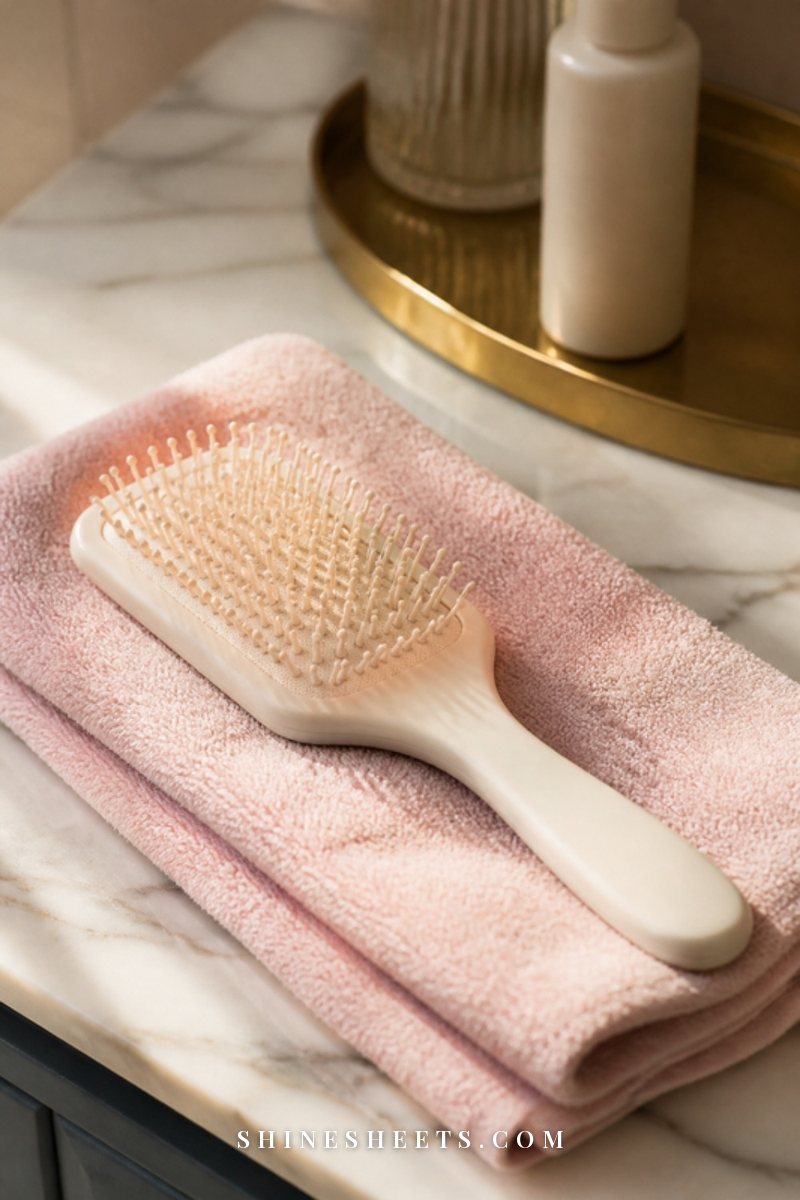
Your scalp makes oil (sebum) all day long, and that oil travels down the bristles every time you brush. Add styling products, dry shampoo, dead skin cells and the dust that settles on anything left on a counter, and the base of your brush slowly turns into a grey, slightly sticky layer.
Here's what that layer can do:
- Make clean hair look greasy faster. Oil and product build-up go straight back onto freshly washed lengths.
- Weigh down fine hair. Even a thin film of old product can leave roots looking flat.
- Snag and pull. Tangled old hair and gunk make bristles less smooth, which means more tugging and more mechanical damage. If you've been dealing with snapped ends, my guide to stopping hair breakage explains why gentle tools matter so much.
- Smell a bit stale. Damp, trapped hair and product can start to smell musty, especially in a steamy bathroom.
- Irritate a sensitive scalp. If your scalp gets itchy or flaky easily, a clean brush is one less thing for it to react to.
None of this is dramatic or dangerous for most people. It's just one of those small, invisible habits that makes your hair routine work better.
How Often To Clean a Hairbrush
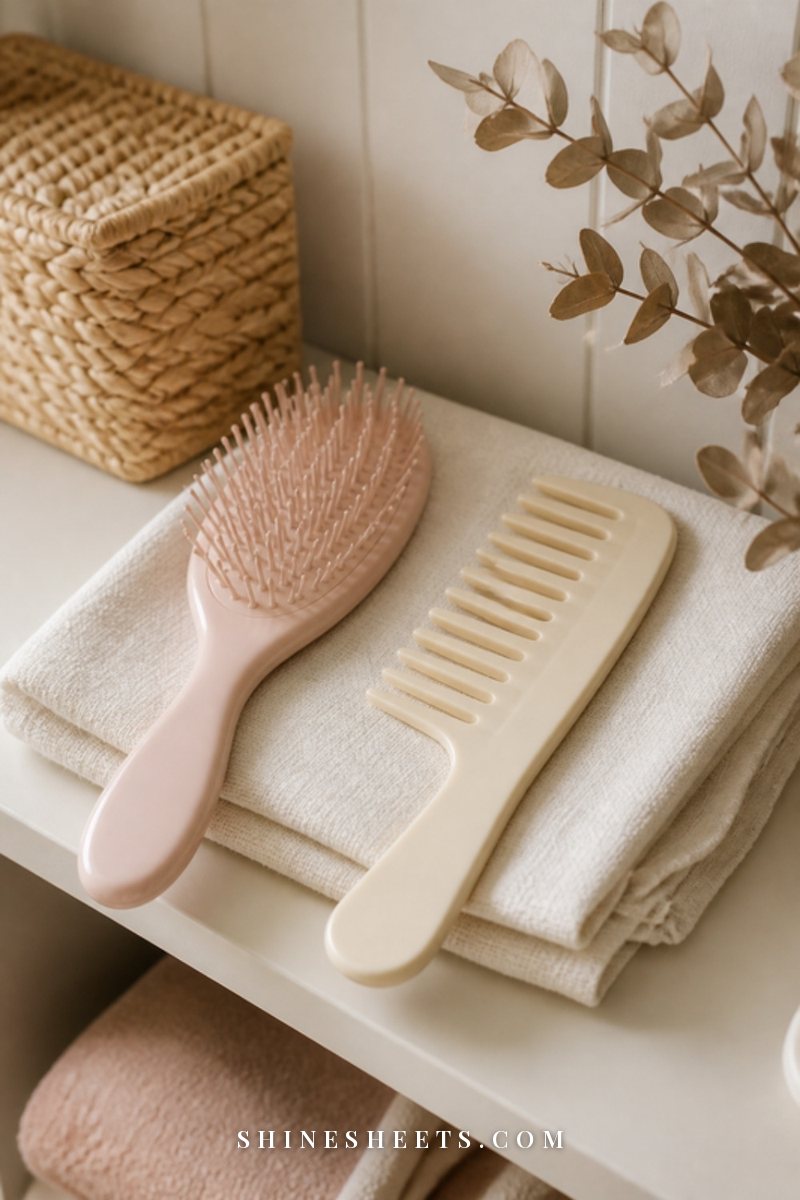
Think of brush care in two layers: a quick tidy and a proper wash.
- Remove loose hair every few days. Ideally after every second or third use. It takes 30 seconds and stops hair from matting into a dense mat at the base of the bristles.
- Wash it every 1–2 weeks. Weekly if you use a lot of styling products, dry shampoo or oils; every two weeks if you mostly brush clean, product-free hair.
- Deep clean once a month. This is the slower, more thorough version where you work along every row of bristles and clean the handle too.
Wash it sooner if it looks grey at the base, smells off, feels sticky, or after you've had a cold or any scalp irritation. And if you share a brush with anyone (it happens), clean it before you use it.
A simple way to remember: wash your brush on the same day you wash your makeup brushes or change your sheets. Habits stick better when they ride along with one you already have.
What You Need
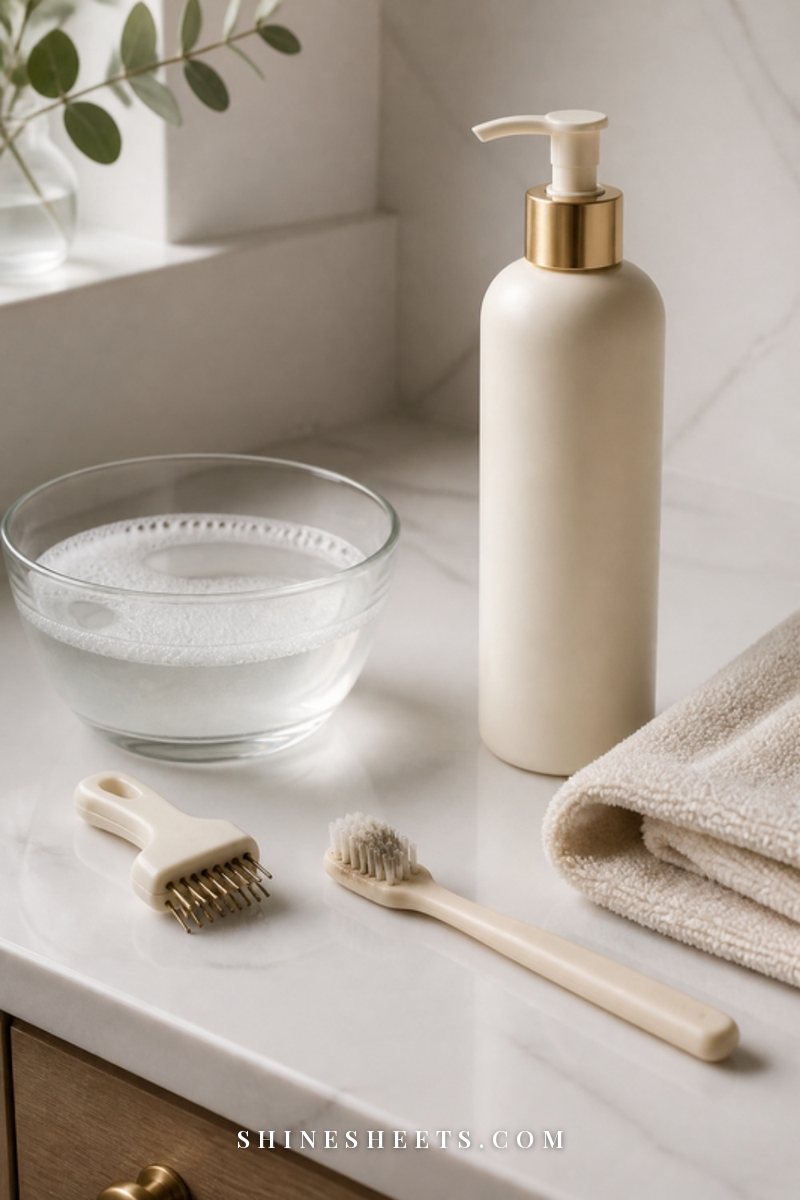
You don't need special kits, but a few small things make the job faster:
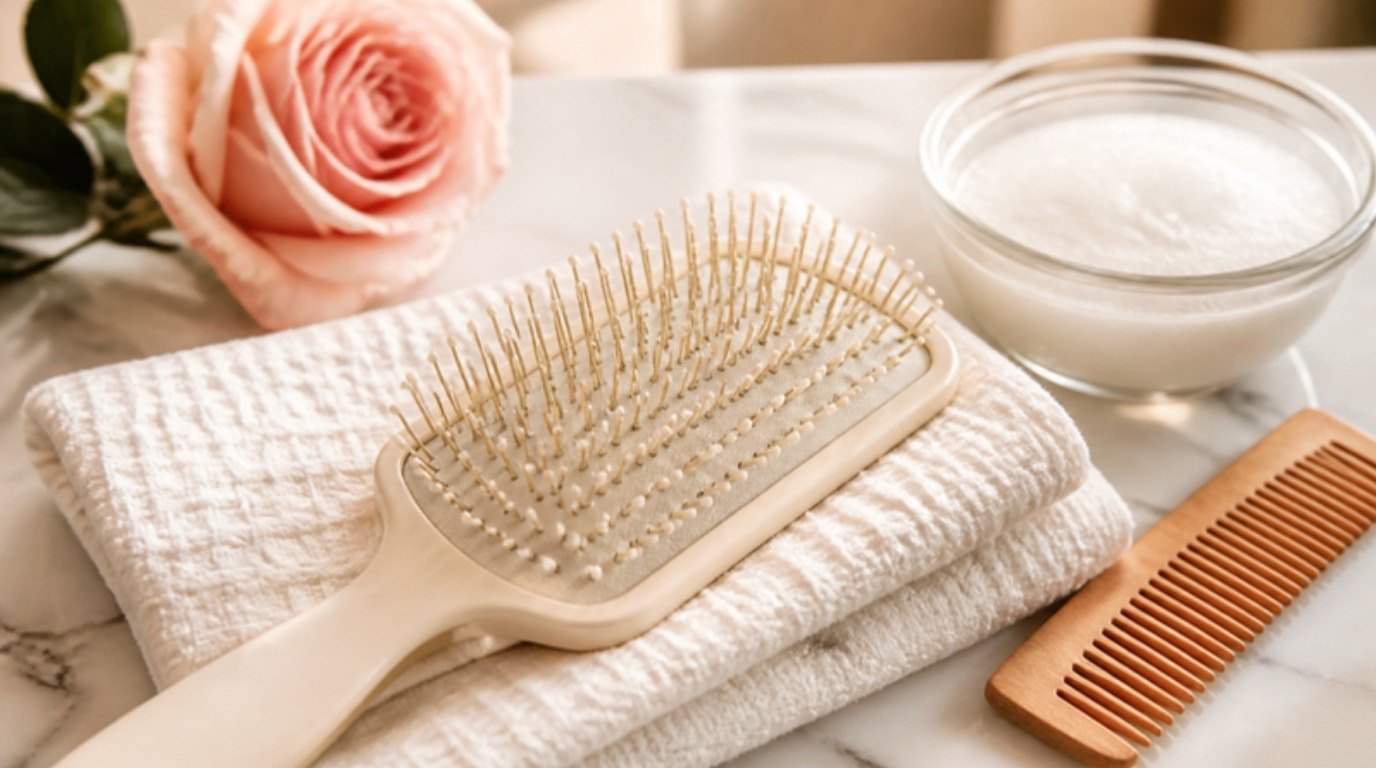
- A cleaning rake or a comb. A hairbrush cleaning rake lifts matted hair out from between the bristles in seconds. The tail of a rat-tail comb or a pencil works too.
- Gentle shampoo. Your regular shampoo is fine for a weekly wash. For heavy product build-up, a gentle clarifying shampoo cuts through oils and silicones better. If you're curious how it works on your hair itself, see my guide on when and how to use clarifying shampoo.
- A bowl of warm water. Warm, not hot. Hot water can warp plastic, loosen glue and crack wood finishes.
- An old soft toothbrush. For scrubbing the base of the bristles and the seams of the handle.
- Small scissors. Only for cutting through hair that's wrapped tightly around a round brush. Snip carefully, away from the bristles.
- A towel. A cream microfiber towel soaks up water fast, which matters a lot for drying.
The Basic Method: How To Clean a Hairbrush in 6 Steps
This is the general routine. Below it, you'll find the adjustments for each brush type, because the soak step is where most brushes go wrong.
- Remove the hair. Start at the base of the bristles and pull the rake (or comb tail) upward through each row. Loosen stubborn clumps by working from both ends of the brush. Throw the hair in the trash, not the sink.
- Dry-brush the base. Use the dry toothbrush to loosen dust and flakes before anything gets wet. This takes about a minute and makes the wash step much easier.
- Make a gentle wash. Add about a teaspoon of shampoo to a bowl of warm water and swish until it's sudsy.
- Wash the bristles. Either soak (only for brushes that can take it) for 5–10 minutes, or dip the bristles only and scrub the base with the toothbrush for 1–2 minutes.
- Rinse. Rinse under lukewarm running water, bristles pointing down, until the water runs clear and there are no suds left.
- Dry bristles down. Shake out excess water, blot with a towel and leave it bristles down to dry completely, usually overnight.
That's it for most brushes. Now for the details that keep each one in good shape.
How To Clean Each Type of Brush
Brushes are made of very different materials, and each one has a weak spot. Here's how to clean them without damaging them.
Plastic and Detangling Brushes
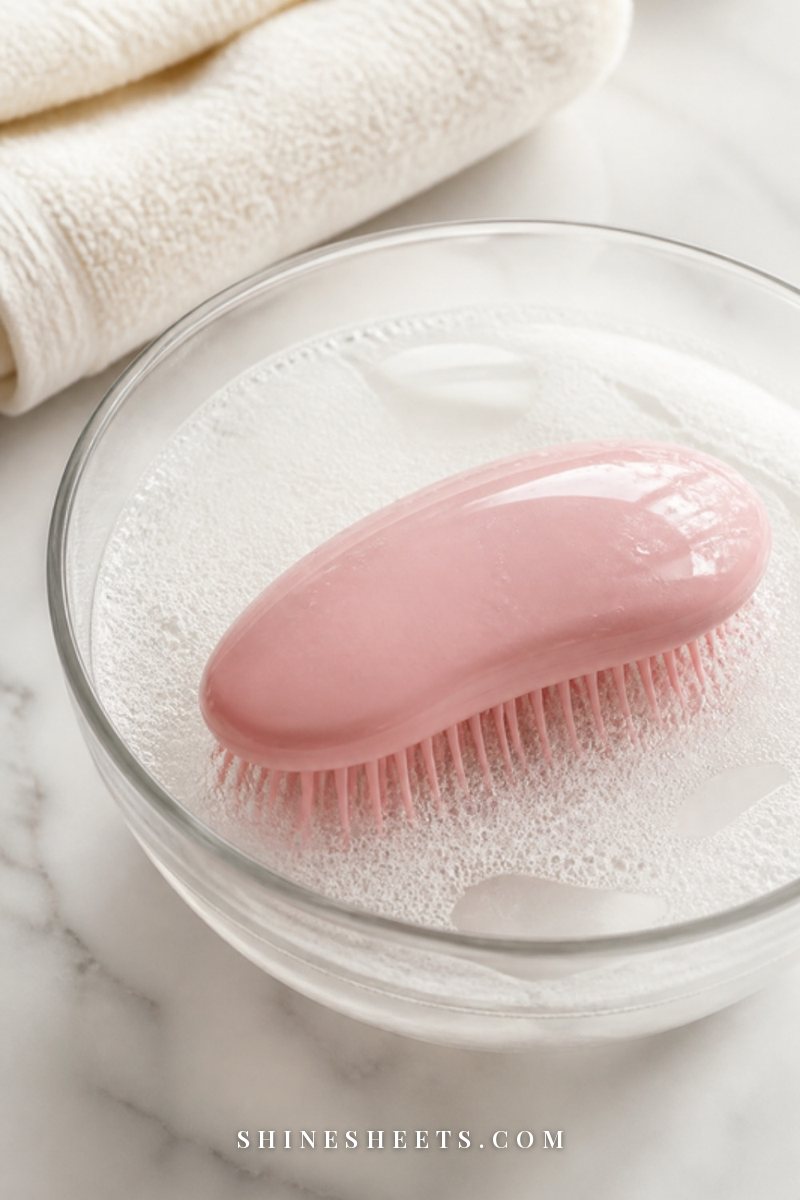
These are the easiest. An all-plastic brush or a flexible detangling brush with no cushion and no wood can be fully soaked.
- Remove the hair with your rake.
- Soak the whole head in warm, soapy water for 10 minutes.
- Scrub the base of each row with the toothbrush, paying attention to the corners where the bristle pad meets the frame.
- Rinse well and dry bristles down for a few hours.
If the brush has a hollow "vent" design, rinse the inside of the vents too, because product collects there. Plastic dries quickly, so these are often ready to use the same day.
Paddle Brushes With a Cushion
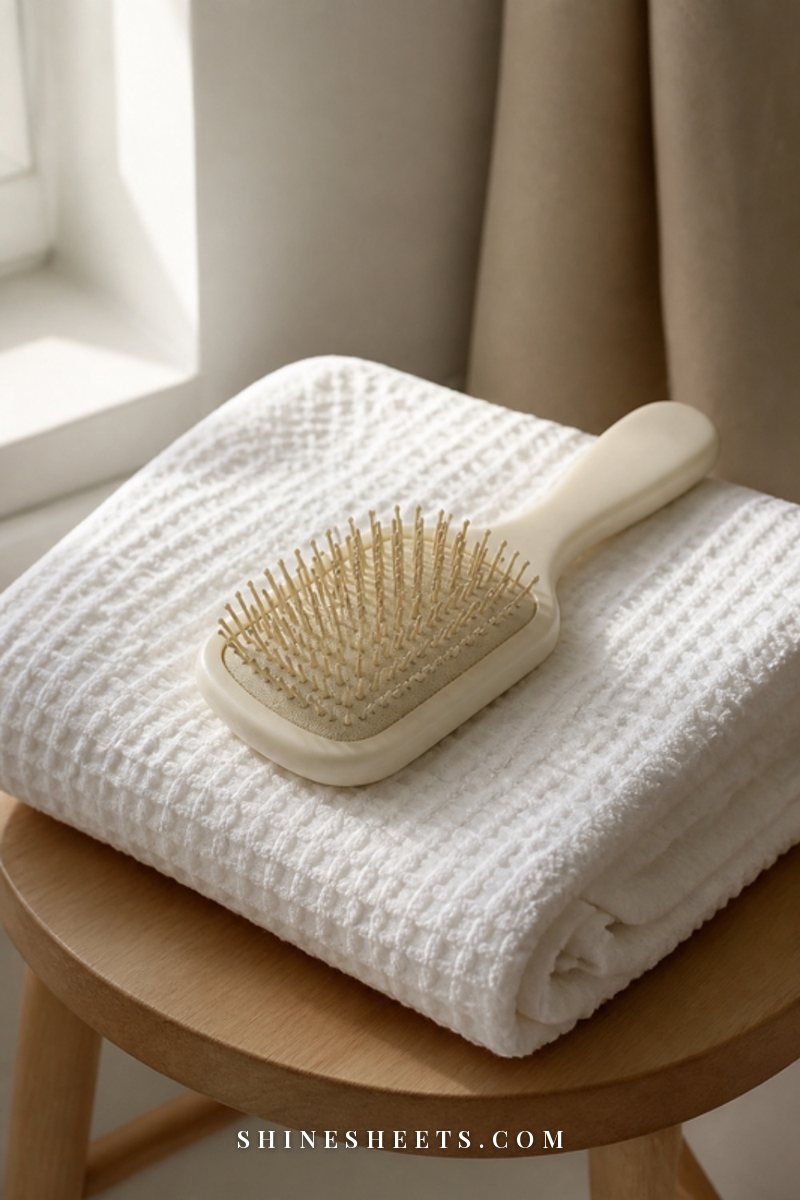
A paddle brush with a soft rubber cushion needs one rule above everything else: keep the cushion dry inside. Most cushioned brushes have a tiny vent hole on the side or back of the pad. That hole lets air move when you brush, but it also lets water in, and water trapped inside the cushion can lead to a musty smell, mildew and a pad that slowly peels away.
- Never submerge the brush.
- Hold it bristles down and dip only the tips of the bristles into the soapy water.
- Scrub gently with the toothbrush, working along the rows.
- Rinse with the bristles pointing down so water runs off, not into the vent hole.
- Blot the cushion with a towel and dry it bristles down.
If you see water bubbling out of the vent hole, gently press the cushion with a towel to push it out, then leave the brush bristles down in a dry room overnight.
Boar Bristle Brushes
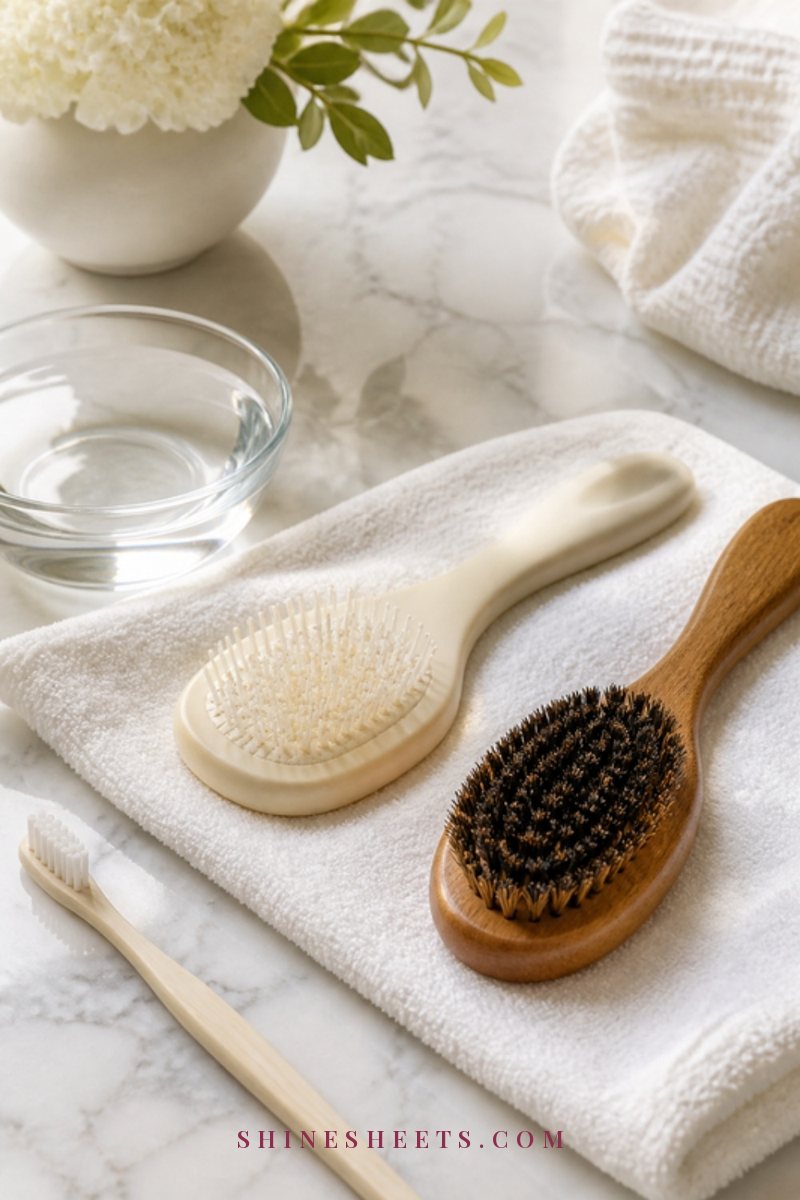
Natural bristles are a lot like hair, so treat them the same way. Soaking can make them limp, frizzy and brittle, and it can loosen the glue that holds the tufts in place.
- Remove hair carefully with a comb, working slowly so you don't pull out bristles.
- Use only a drop of gentle shampoo in lukewarm water.
- Dip the bristle tips, then gently work the suds through with your fingers or a soft toothbrush for about a minute.
- Rinse quickly, bristles down.
- Blot with a towel and dry bristles down at room temperature.
Boar bristle brushes naturally hold more oil (that's part of how they spread sebum along the hair), so a gentle wash every week or two is usually right. A full clean once a month is plenty if you brush clean hair only.
Wooden Brushes and Handles
Wood and water are not good friends. Long soaks can crack the finish, raise the grain and make the wood swell.
- Clean the bristles using the dip method, never a soak.
- Wipe the handle and the back with a damp cloth and a tiny bit of soapy water, then wipe with a clean damp cloth.
- Dry the wood straight away with a towel.
- Leave it to air-dry fully, bristles down, away from heat.
If the wood looks dull after many washes, a few drops of a light oil rubbed into the handle (and only the handle) can bring back a little shine. Wipe off any excess.
Round and Ceramic Brushes
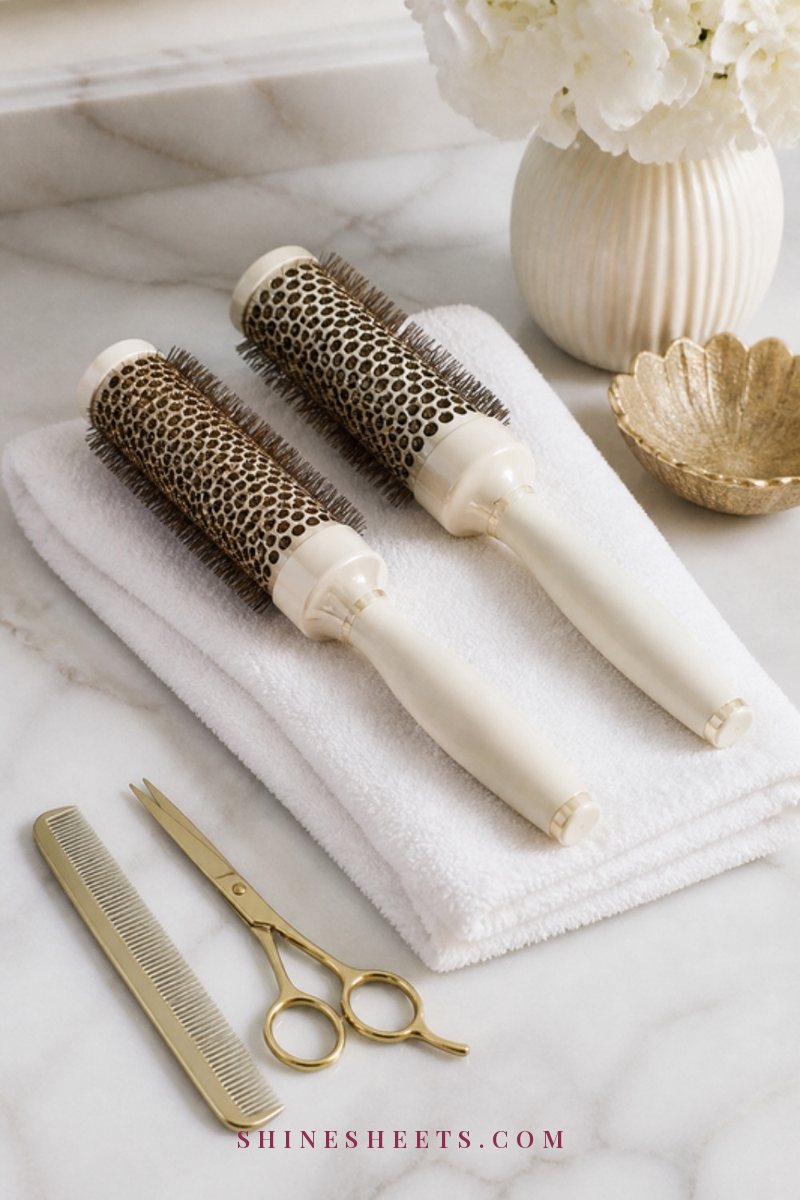
Round brushes collect hair in a spiral, which makes them look harder to clean than they are.
- Use a comb tail to lift hair up and out along the length of the barrel.
- For hair wrapped tightly around the barrel, snip it carefully with small scissors in a straight line along the barrel (between bristle rows), then pull it out.
- Wipe ceramic or metal barrels with a cloth dipped in soapy water. Many have vent holes and are heat-tool adjacent, so keep the water away from any vents.
- Dip the bristle tips only, rinse, and dry bristles down or standing upright in a cup, handle down.
A ceramic barrel coated in old heat-protectant spray can feel tacky. A cloth with a little clarifying shampoo usually takes it right off.
Combs
Combs are the simplest of all. A plastic comb can soak for 10 minutes in warm soapy water. Scrub between the teeth with a toothbrush, rinse and dry flat on a towel. Wooden combs get a quick wipe instead of a soak.
If your comb has a lot of build-up between the teeth that never fully comes out, it may be time to replace it. A wide-tooth comb is one of the gentlest tools for wet hair, so it's worth keeping a clean one in the shower.
Brush-Type Cleaning Table
Here's the whole guide in one place. Screenshot it and keep it on your phone for brush day.
| Brush | Soak or not | Method | Drying time |
|---|---|---|---|
| Plastic / detangling | Yes, 10 minutes | Rake out hair, soak in warm soapy water, scrub base with toothbrush | 2–4 hours |
| Cushioned paddle | No | Dip bristle tips only, scrub gently, keep water out of the vent hole | Overnight (8–12 hours) |
| Boar bristle | No | Drop of gentle shampoo, work through with fingers, quick rinse | Overnight (8–12 hours) |
| Wooden brush or handle | No | Dip bristles, wipe wood with a damp cloth, dry wood immediately | Overnight |
| Round / ceramic | No | Comb or snip out hair, wipe barrel, dip bristles | 4–8 hours |
| Plastic comb | Yes, 10 minutes | Soak, scrub between teeth | 1–2 hours |
| Wooden comb | No | Wipe with a damp soapy cloth, dry straight away | 1–2 hours |
If you're not sure which brush you have or what it's best for, my hairbrush guide walks through each type and which hair it suits.
How To Dry Your Brush Properly
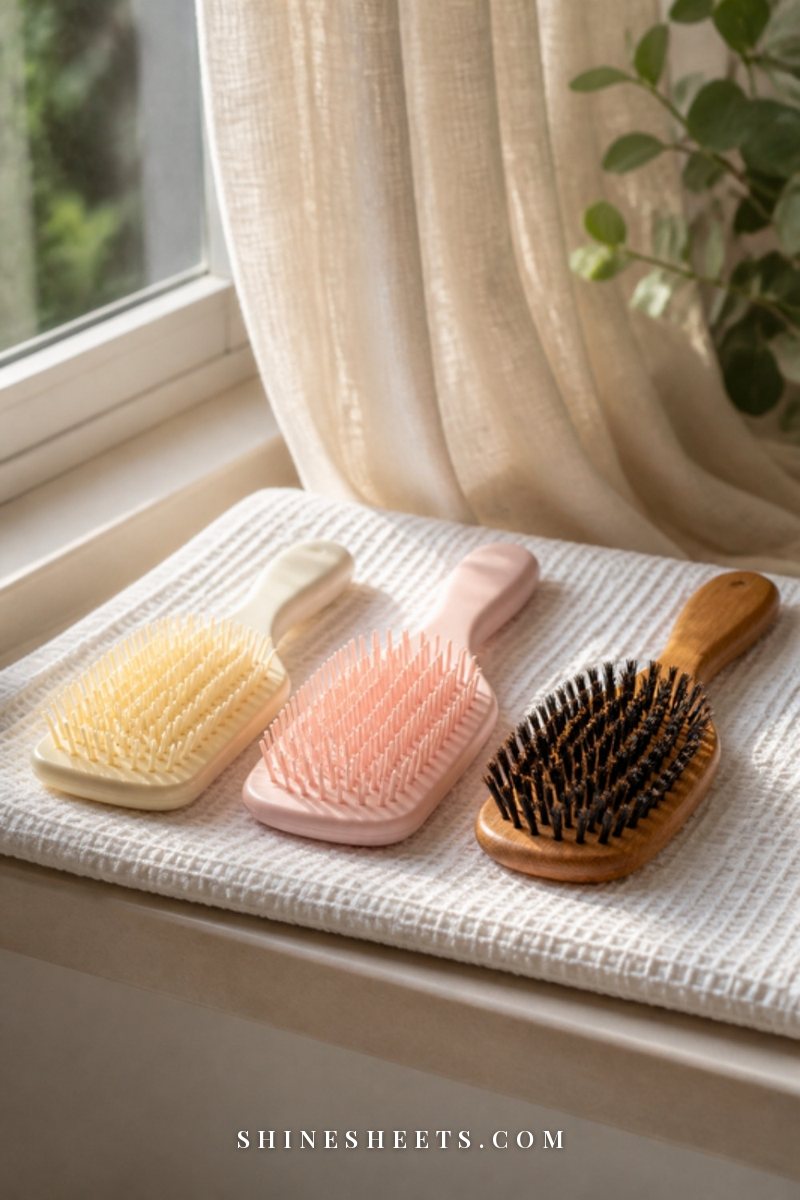
Drying is the step that decides whether your clean brush stays fresh or starts to smell. A few simple rules:
- Always bristles down. Water drains away from the base instead of pooling where the bristles meet the pad.
- Use a dry towel. Lay the brush on a folded towel so the drips are absorbed.
- Pick a dry room. A bedroom or hallway dries brushes faster than a steamy bathroom.
- Skip the heat. No hair dryer on high, no radiator, no direct hot sun. Heat can warp plastic and crack wood. A hair dryer on the cool setting for a minute is fine if you're in a hurry.
- Check before using. Press the cushion lightly. If it feels damp or you see moisture, give it a few more hours.
I like washing brushes in the evening and leaving them on a towel overnight, so they're dry by morning and there's no temptation to use them half-wet.
When To Replace Your Hairbrush
Even a well-loved brush has a lifespan. Cleaning helps a lot, but it can't fix everything. It's time for a new one when:
- Bristles are bent, melted, missing or have lost their little protective tips (those balls on the end of plastic bristles).
- The cushion is cracked, peeling or doesn't bounce back.
- There's a smell that doesn't go away after a proper wash and full dry.
- You see dark spots or mildew on the cushion or in the corners.
- The wood is cracked or splintering.
- The brush pulls and snags even when it's clean.
As a loose guide, plastic brushes often last about a year with regular use, and good boar bristle or wooden brushes can last several years if you clean them gently. When you do replace one, a soft detangling brush is a kind everyday option, especially for wet or fragile hair.
Small Habits That Keep Your Brush Clean Longer
A few tiny habits make every wash easier:
- Pull out hair while it's fresh. Hair that's been sitting for weeks mats together. Hair from today slides right out.
- Brush before styling products, not after. Where possible, detangle first, then apply creams and sprays with your hands.
- Keep it in a drawer or a cup. A brush left flat on the counter collects dust and splashes. A closed drawer or a clean cup by the sink keeps it fresher.
- Wash your hands before brushing. Lotion, foundation and hand cream all end up on the handle and bristles otherwise.
- Clean brushes with your other tools. If you're already cleaning makeup tools, add your hairbrush to the same session. My guide on deep cleaning makeup brushes pairs perfectly with this one.
- Keep one brush for wet hair and one for dry. A wet-hair brush gets a weekly wash, a dry-hair brush a little less often.
- Treat it like your other beauty tools. The same logic applies to sponges and puffs, which hold even more moisture. My guide on how to clean a makeup sponge follows the same gentle, dry-it-properly approach.
- Travel with a cover. A brush thrown loose into a bag picks up lint, crumbs and makeup. A simple pouch or a shower cap over the head keeps it clean on the go.
Common Hairbrush Cleaning Mistakes
These are the ones I see most often, and they're all easy to fix:
- Soaking every brush. It's the fastest way to ruin a cushioned paddle or a wooden brush.
- Using very hot water. Warm is enough to dissolve oil. Hot can loosen glue and warp plastic.
- Too much shampoo. A teaspoon in a bowl is plenty. More just means more rinsing.
- Drying bristles up. Water sinks into the base and the cushion.
- Using harsh cleaners. Bleach, strong disinfectant sprays or nail polish remover can damage bristles, finishes and rubber. Stick to gentle shampoo and water. If you need to disinfect a brush after a scalp infection or lice, ask a pharmacist or doctor what's right for your brush.
- Waiting for it to look dirty. By the time the base looks grey, the build-up has been going back onto your hair for a while.
Final Thoughts
Cleaning your hairbrush is one of those five-minute jobs that quietly makes everything else in your routine work better. Clean hair stays fresh a little longer, your brush glides instead of snags, and your tools last for years instead of months.
Start small: pull the hair out of your brush tonight, wash it this weekend, and let it dry bristles down overnight. Once you've done it once, it becomes as automatic as washing your face, and your freshly washed hair will finally get the clean brush it deserves.