A food storage container cupboard doesn't need more space or a fancier system. It needs fewer pieces that actually belong together. Once every base has its lid and every container comes from the same family, the shelf almost organizes itself, because things finally nest and stack the way they were designed to.
That's why this little cupboard feels so frustrating. It's rarely about you being messy. It's about five brands, three shapes and a stack of takeaway tubs all trying to share one shelf. I'll admit it took me far too long to realize I wasn't losing lids; I simply had more bases than lids to begin with.
In this guide you'll learn how to organize food storage containers step by step: how to match every lid, how to choose one main set, how many containers a household really needs, five storage methods that work in any kitchen, a quick-reference table, and the food safety basics that keep leftovers fresh. Everything here is renter-friendly, budget-friendly and needs no tools.
Give yourself about an hour for the first round. After that, it takes a minute a day.
Why the Container Cupboard Turns Chaotic
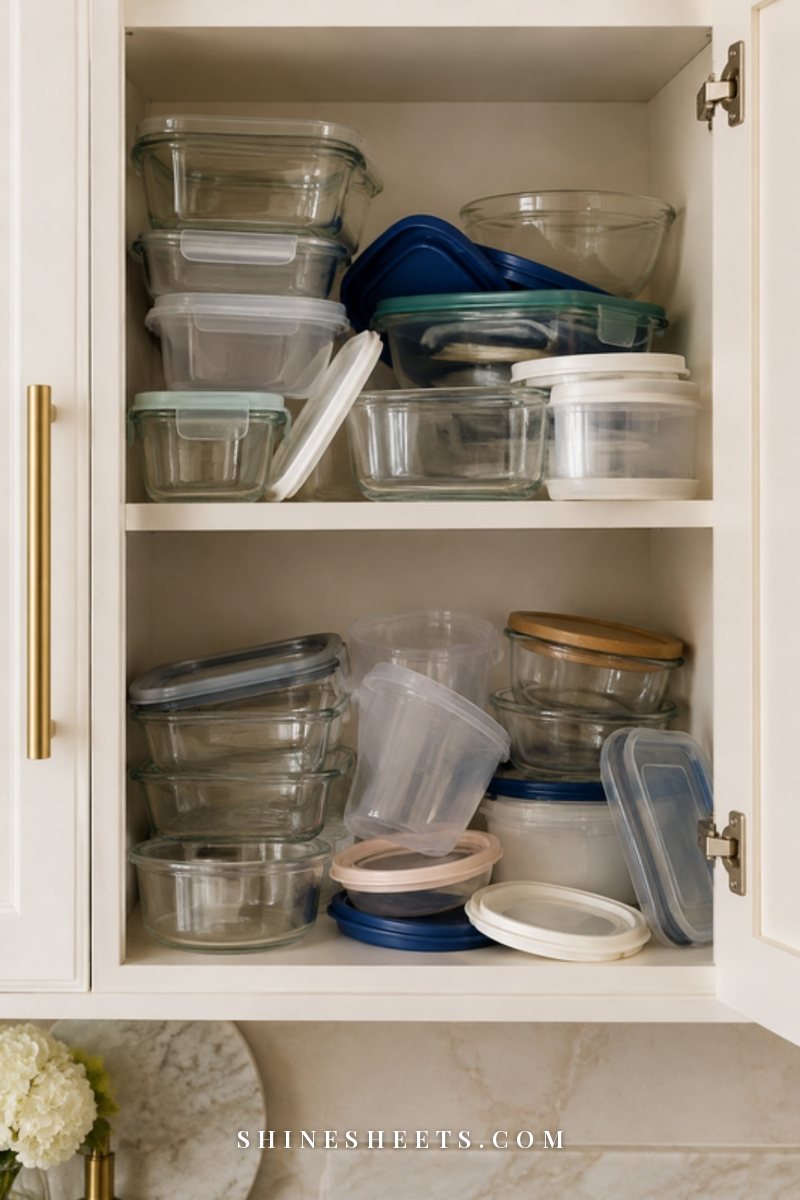
Before fixing it, it helps to see why it happens. Almost every messy container cupboard has the same few causes:
- Mixed brands. Containers from different sets don't nest inside each other, so they take up three times the space.
- Lost or warped lids. Lids go through the dishwasher, warp slightly, and stop fitting any base at all.
- Too many takeaway tubs. They arrive with every order and rarely leave.
- No fixed home for lids. Lids get tossed on top, slide to the back and avalanche when you open the door.
- Containers that never come back. Leftovers go to a friend's house or work, and the base disappears while the lid stays behind.
None of these need a big budget to fix. They need one honest sort and a few simple rules.
Step 1: Pull Everything Out and Match Every Lid
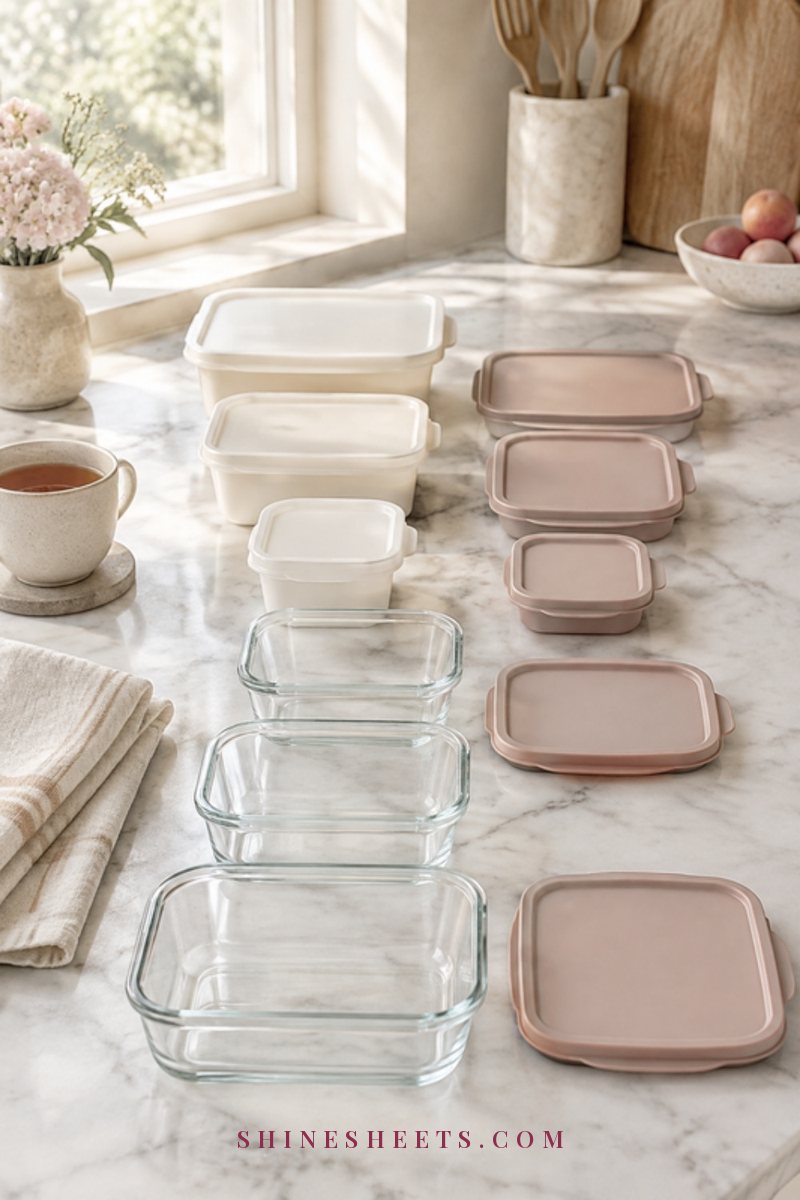
This is the most satisfying step, so put on a podcast or make a cup of tea first.
- Empty the cupboard completely. Check the dish rack, the dishwasher, the fridge and any bags you take to work, too. Containers hide everywhere.
- Wipe the shelf. Crumbs and water drips collect under containers. A quick wipe with warm soapy water, then dry.
- Match every lid to a base. Lay all the bases in a row on the counter, then try each lid until it clicks or seals. Put each matched pair together.
- Set aside the orphans. Any base without a lid and any lid without a base goes in a separate pile.
- Check condition. Pull out anything cracked, warped, cloudy, stained or still smelling of last month's curry after washing.
Now deal with the piles. Recycle the orphans and the damaged pieces if your local recycling accepts that type of plastic (check the little number on the bottom and your local rules). Takeaway tubs can be recycled the same way, or keep just two or three for things like sending leftovers home with a friend, painting projects or seed starting.
It can feel wasteful to let containers go. But a base without a lid isn't storing anything; it's only taking up room. Letting it go is what makes the rest of your kitchen work.
Step 2: Choose One Main Set
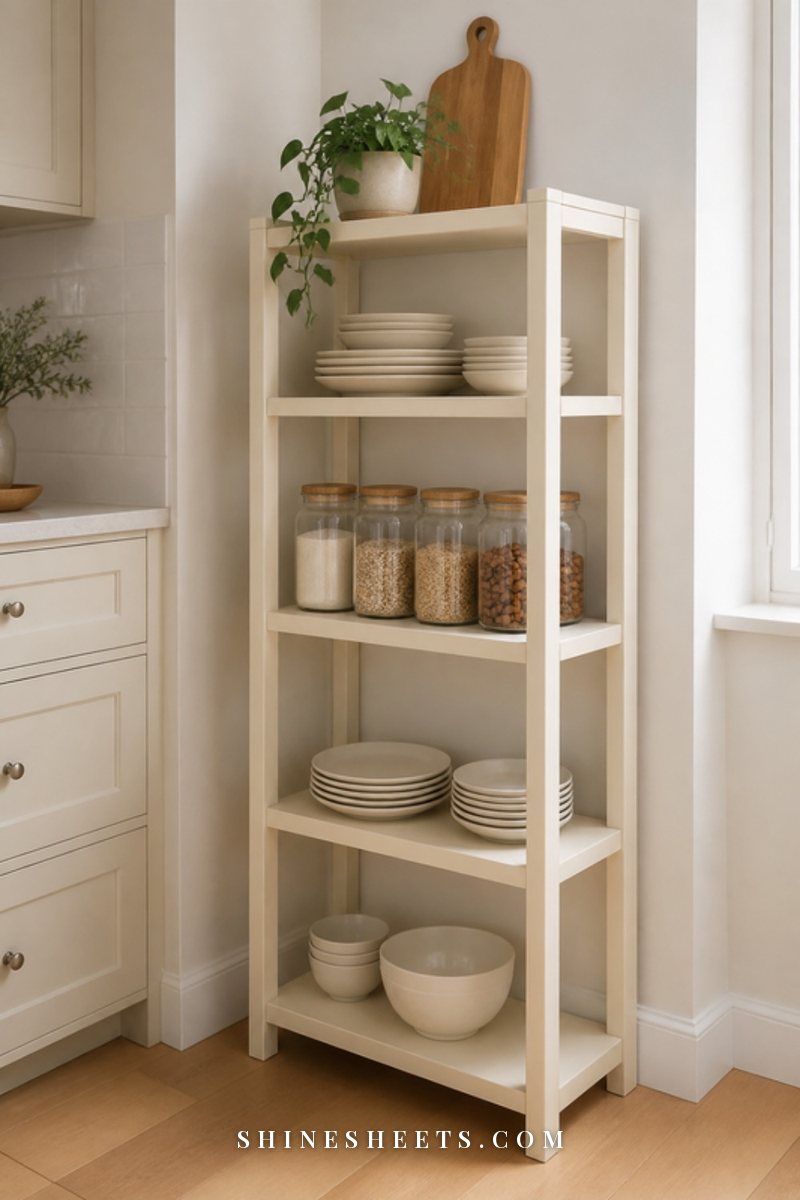
Here's the real secret to a calm container cupboard: one family of containers. When everything comes from the same line, the bases nest, the lids stack, and any lid fits several bases. You stop playing matching games for good.
You don't have to replace everything at once. Pick one main set now and slowly retire mismatched pieces as they wear out. A good set has:
- Three or four sizes that nest neatly inside each other.
- Lids that fit more than one base size (many sets share lids between two sizes).
- A shape that suits your shelf. Rectangular containers waste less space than round ones.
- Clear sides, so you can see what's inside the fridge without opening every lid.
Glass or Plastic: Which To Choose
Both can work beautifully. It depends on how you use them.
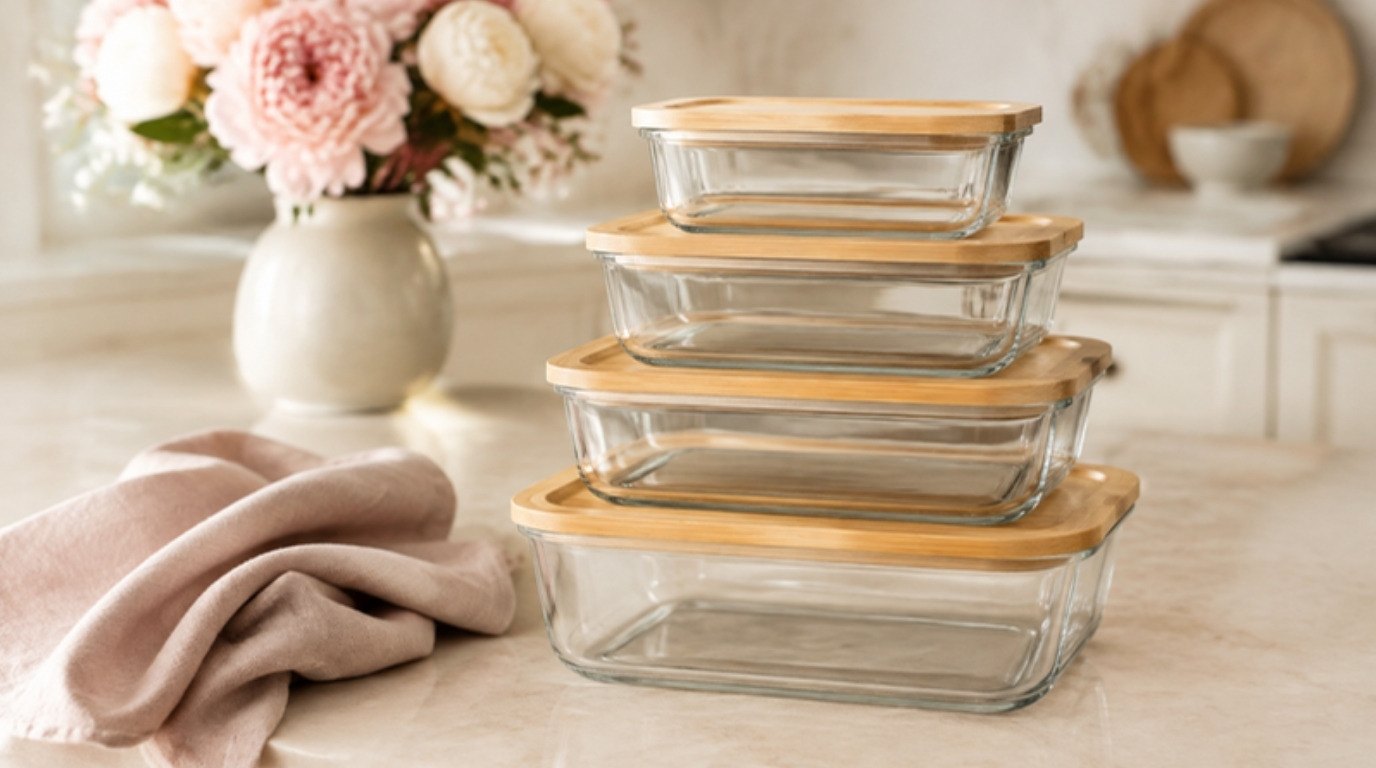
- Glass doesn't stain or hold smells, looks lovely on open shelves and is the better pick for reheating. A glass storage set with bamboo lids is a pick for anyone who wants containers pretty enough to stay on the counter. Look for borosilicate or tempered glass and check which parts are oven, microwave and dishwasher safe (bamboo lids usually need hand washing).
- Plastic is lighter, cheaper and better for lunches you carry around. Choose one BPA-free line with snap lids, and don't microwave plastic unless the manufacturer says it's microwave safe.
A sweet middle ground: glass for the fridge and reheating at home, one small set of plastic for anything that leaves the house.
How Many Food Storage Containers Do You Really Need?
Most kitchens have far more containers than they ever use at one time. A simple guide, counting matched pairs:
- One person: about 8 to 10 containers.
- Two people: about 12 to 14 containers.
- Three to four people: about 16 to 20 containers.
- Five or more: about 20 to 24 containers.
Adjust for how you live. If you pack lunch every day, add one container per lunch per day. If you rarely cook ahead, you can go lower. The number is less important than the idea behind it: once you pick a number, that's the limit. When a new container comes in, an old one goes.
Write your number on a small label inside the cupboard door. It's a gentle reminder the next time a cute set catches your eye in a store.
5 Ways To Store Food Storage Containers
There's no single right method. The best one depends on your cupboards, your drawers and how your brain likes to find things. Read through all five and pick the one (or two) that fit your kitchen.
1. Nest Bases by Size and File Lids Upright Separately
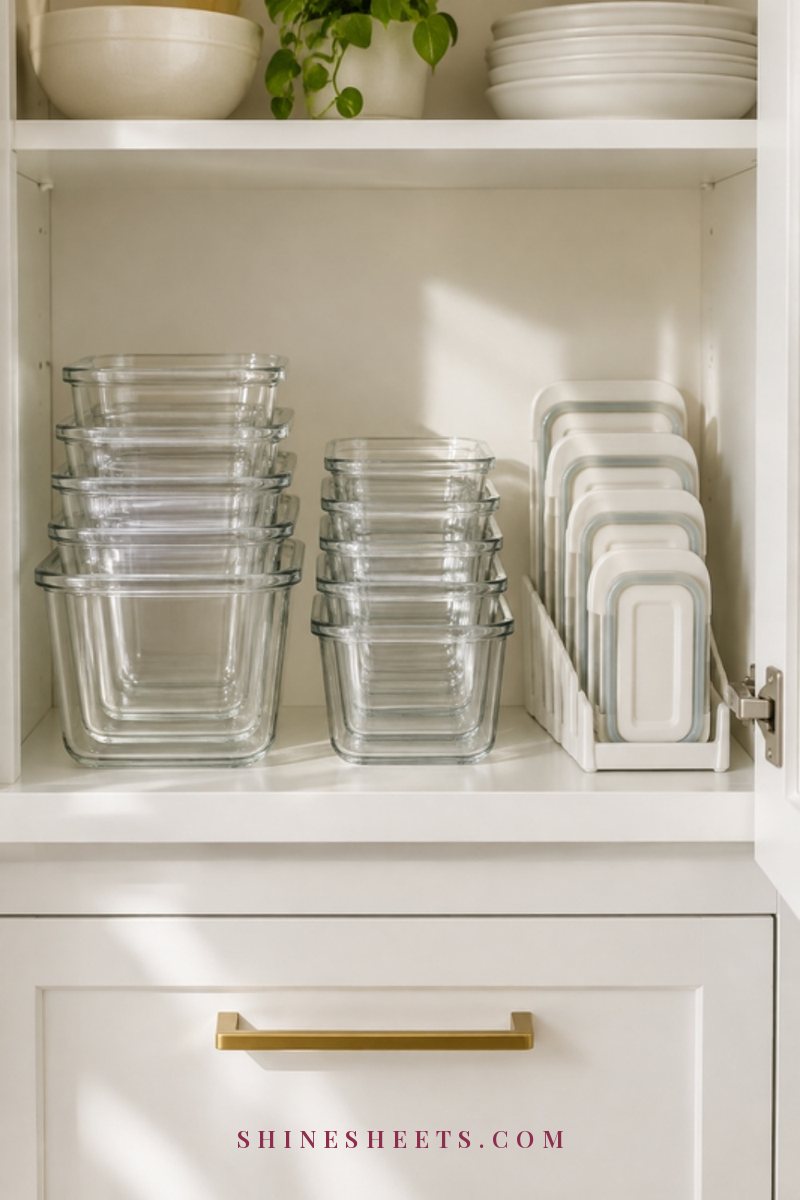
This is the most space-saving method and works best when you have one main set.
- Nest bases from largest to smallest, by shape (rectangles in one stack, squares in another).
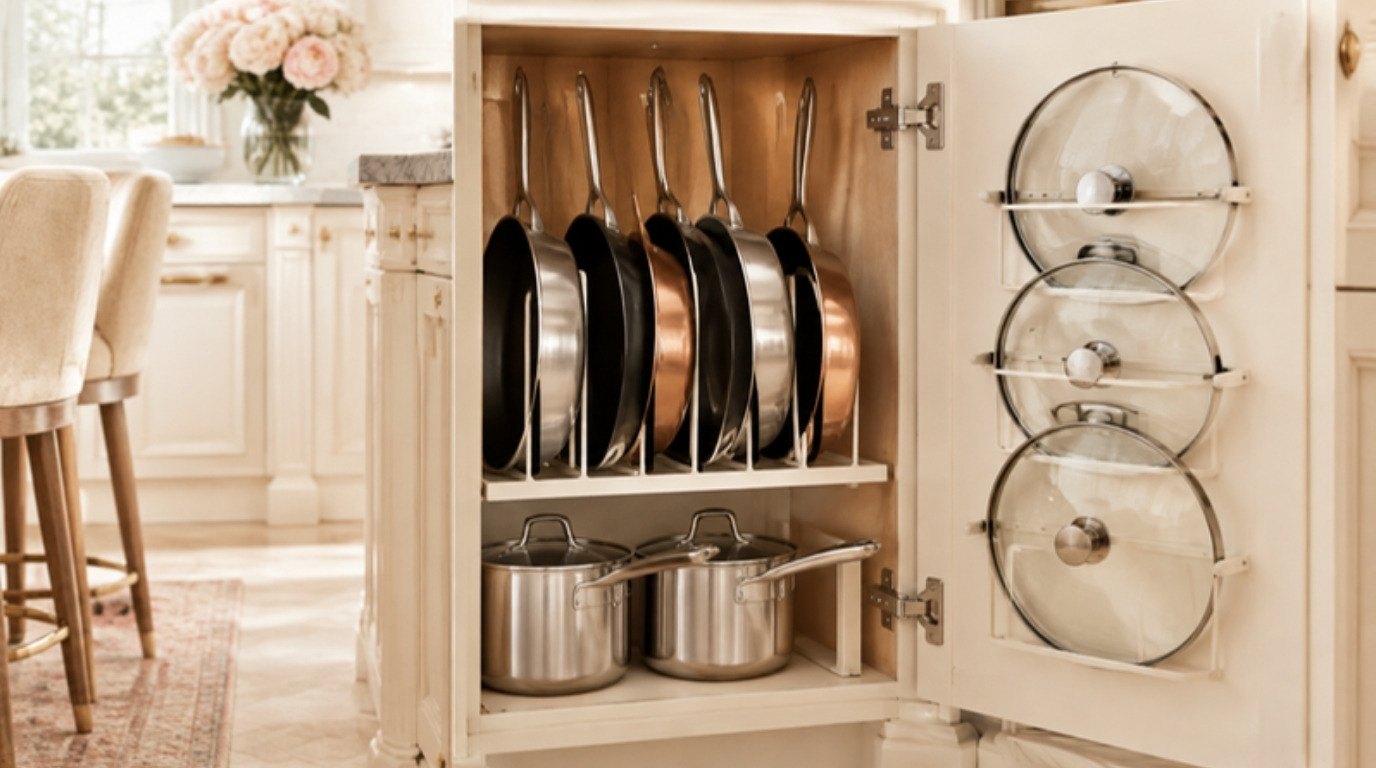
- Stand the lids upright in a lid organizer rack, sorted by size from biggest at the back to smallest at the front.
- Place the lid rack right next to the base stacks so you grab both in one move.
Best for: kitchens with a single deep shelf and anyone who has more containers than space.
2. Store Lids on Their Bases
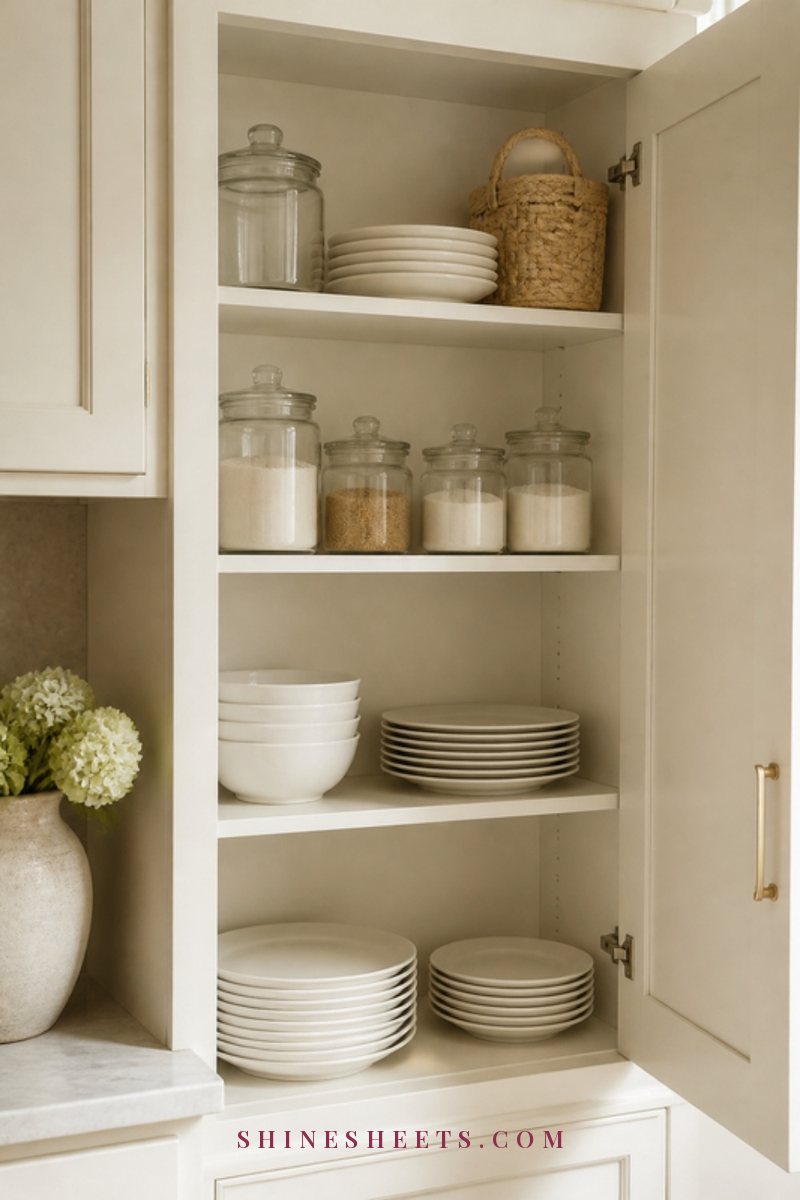
Some people simply don't want to match lids ever again, and that's a perfectly good reason. Close every container with its own lid and stack them like little boxes.
- Stack the same sizes together, heaviest at the bottom, no more than four high.
- Leave the lids slightly unsnapped or resting loosely on top so air can circulate and nothing smells stale.
- Keep the most-used size at eye level.
Best for: glass sets, households where several people put things away, and anyone who finds matching lids stressful. It takes more space, so pair it with a lower number of containers.
3. Use a Deep Drawer With Pegs
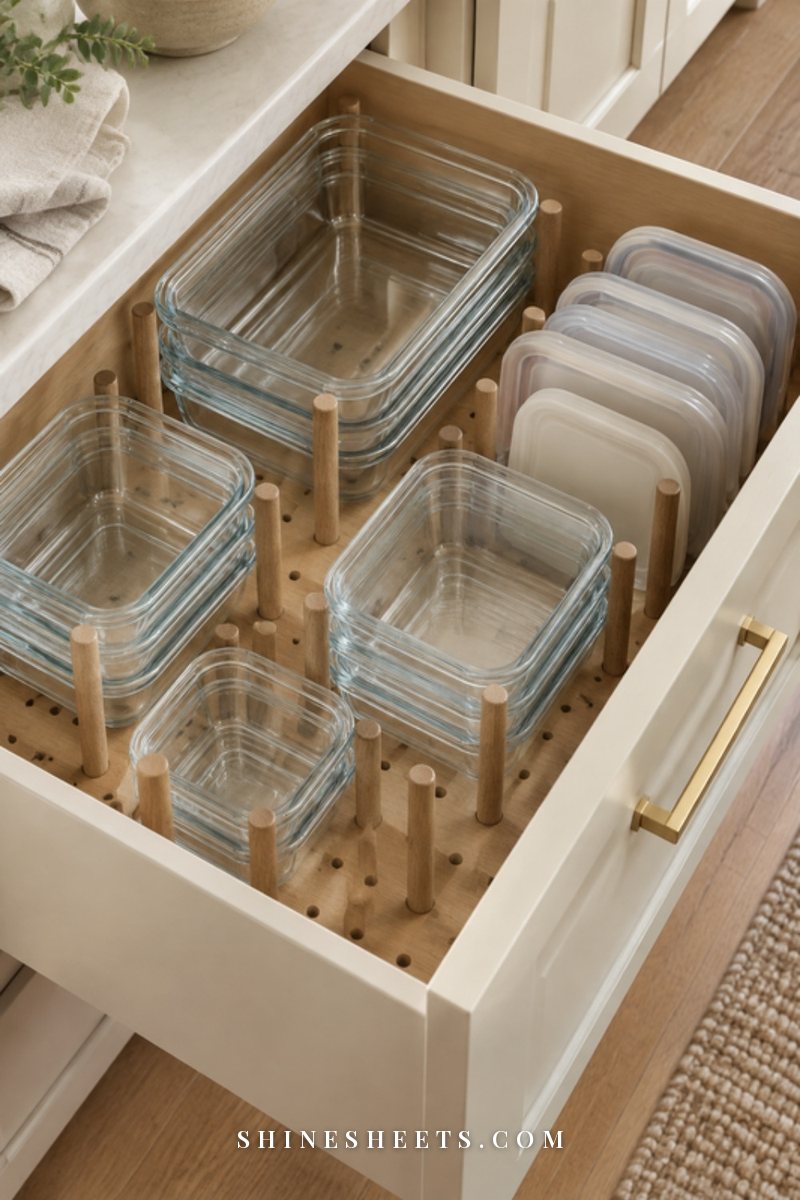
If you have a deep drawer near the fridge, it can be the easiest container storage of all, because you look down and see everything at once.
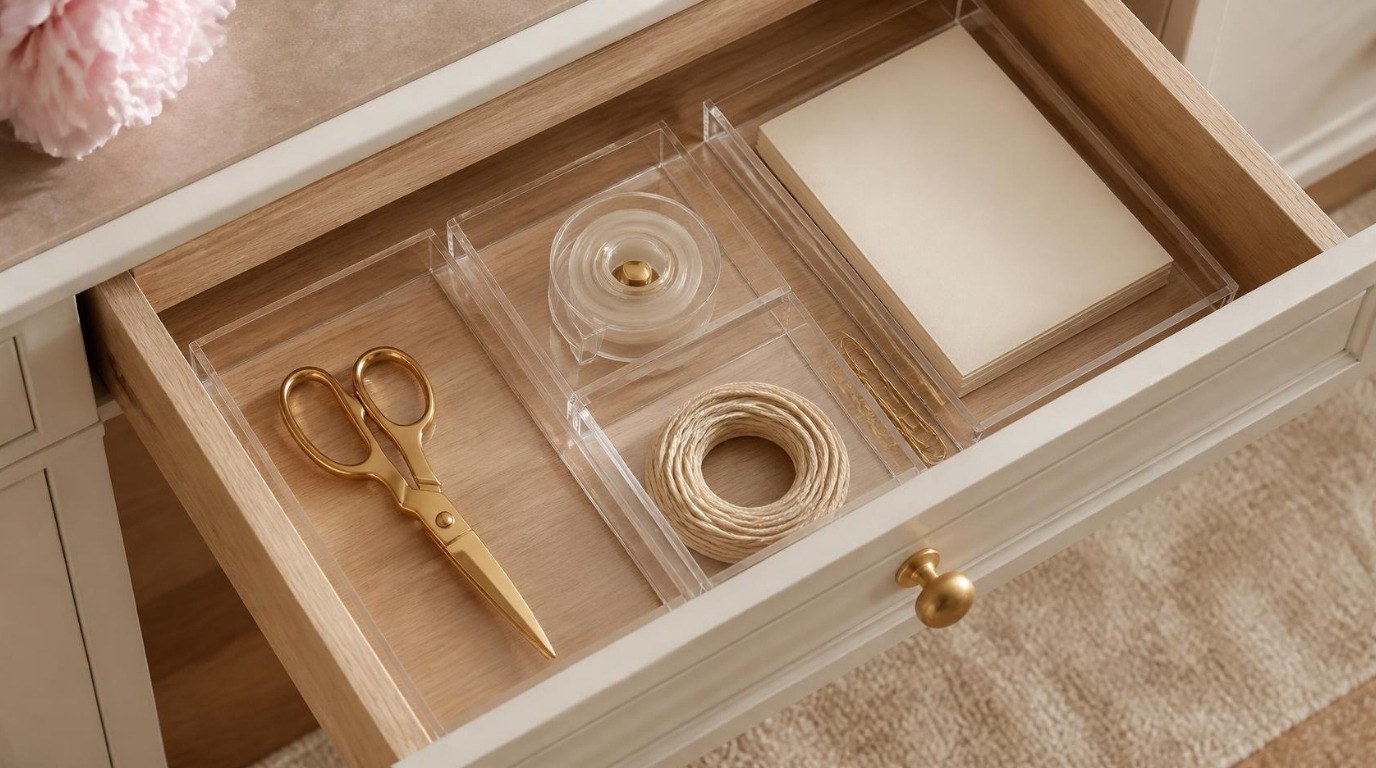
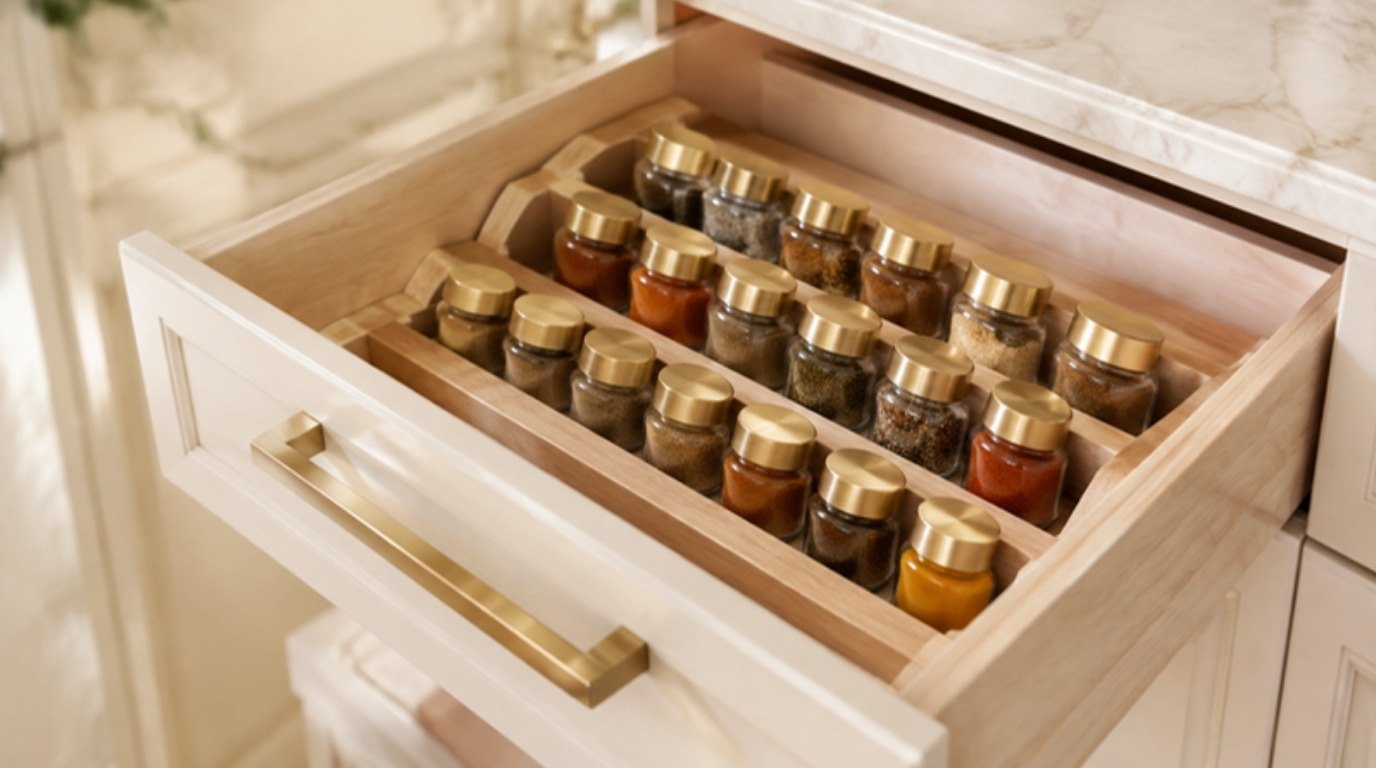
- Add an adjustable peg board for drawers and set the pegs around each stack so nothing slides when you open the drawer.
- Use one row of pegs to hold lids upright like files.
- Put the stacks you use most at the front of the drawer.
Best for: kitchens with deep drawers and anyone who hates crouching to reach the back of a low cabinet. If your deep drawers are currently full of other things, my guide to kitchen drawer organization can help you free one up.
4. Add a Pull-Out Bin in a Cabinet
Deep, dark cabinets are where containers go to be forgotten. A pull-out bin turns the whole cabinet into a drawer, no drilling required.
- Choose a pull-out cabinet bin that sits freely on the shelf. Measure the cabinet width, depth and door opening first.
- Keep bases in the bin and a small lid rack at the front of the same bin.
- Slide the bin out, grab what you need, slide it back. That's it.
Best for: renters with deep lower cabinets and anyone with a cabinet corner that's hard to reach. For more no-damage cabinet ideas, my list of kitchen organization ideas for small kitchens has plenty.
5. Try a Vertical Lid Organizer
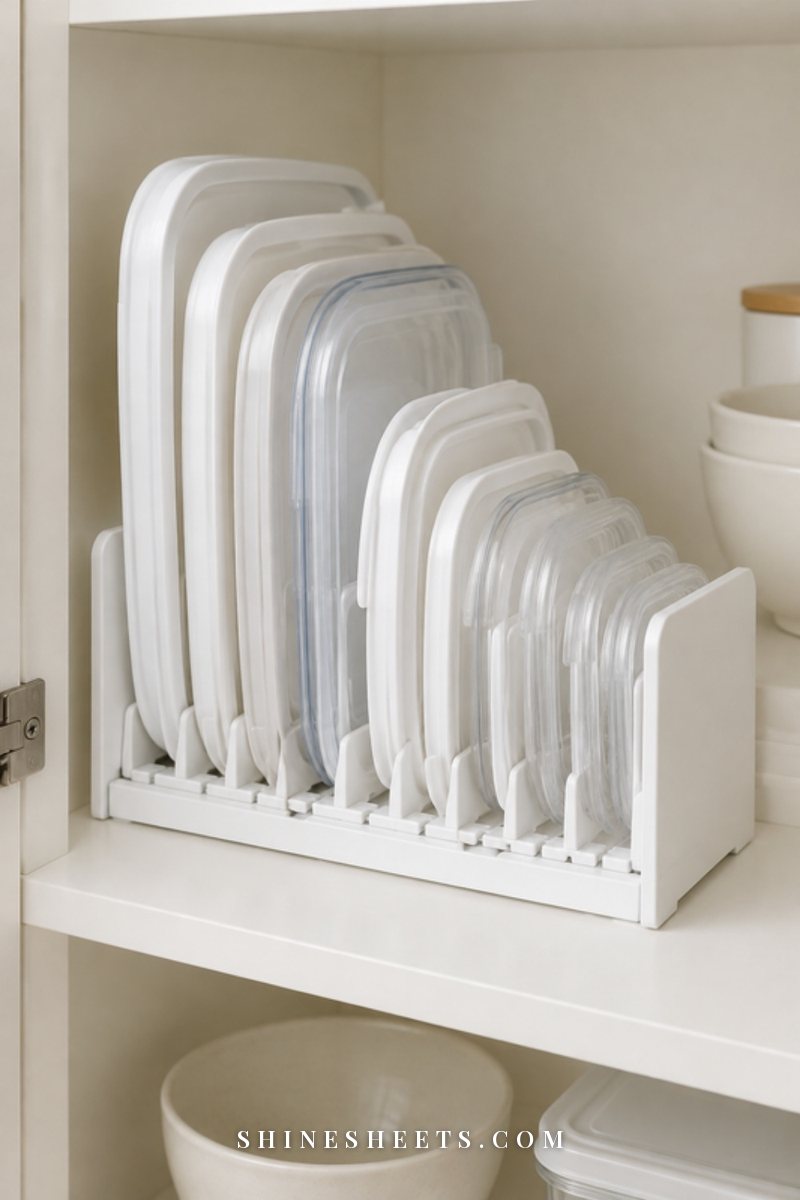
Lids are flat, so they love to slide into a loose pile. Standing them upright, like files on a desk, means you can see every size in one glance.
- Use an adjustable vertical organizer with movable dividers so it grows or shrinks with your set.
- Sort lids from biggest to smallest, and keep each size in its own slot.
- Put the organizer on the inside of a cabinet shelf or at the front of a drawer.
Best for: mixed sets you're slowly phasing out and anyone whose biggest frustration is lids, not bases. A simple dish rack or a magazine file works too if you want to test the idea before buying anything.
Food Storage Containers at a Glance
Here's a quick table to help you decide what to keep, where it works best and when it's time to let it go. Screenshot it for your next sort.
| Container type | Best for | How to store | Lifespan sign |
|---|---|---|---|
| Glass with snap lids | Leftovers, reheating, fridge storage | Lids on bases, or bases nested with lids in a rack | Chips or cracks in the glass, lid seal that no longer grips |
| Glass with bamboo lids | Dry goods, counter and open shelf storage, cold leftovers | Lids on bases, upright on a shelf | Bamboo cracking or warping, silicone ring loose or moldy |
| Plastic (one BPA-free line) | Packed lunches, picnics, freezer | Nested by size, lids filed upright | Warping, deep scratches, stains or smells that stay after washing |
| Takeaway tubs | Sending food home with friends, short-term use | Keep only two or three, nested together | Any crack or cloudiness, or after a few uses |
| Silicone bags and lids | Snacks, half-used produce, covering bowls | Flat in a drawer or standing in a small bin | Tears, sticky surface, smell that won't wash out |
Label Shelves and Set a Simple Return Rule
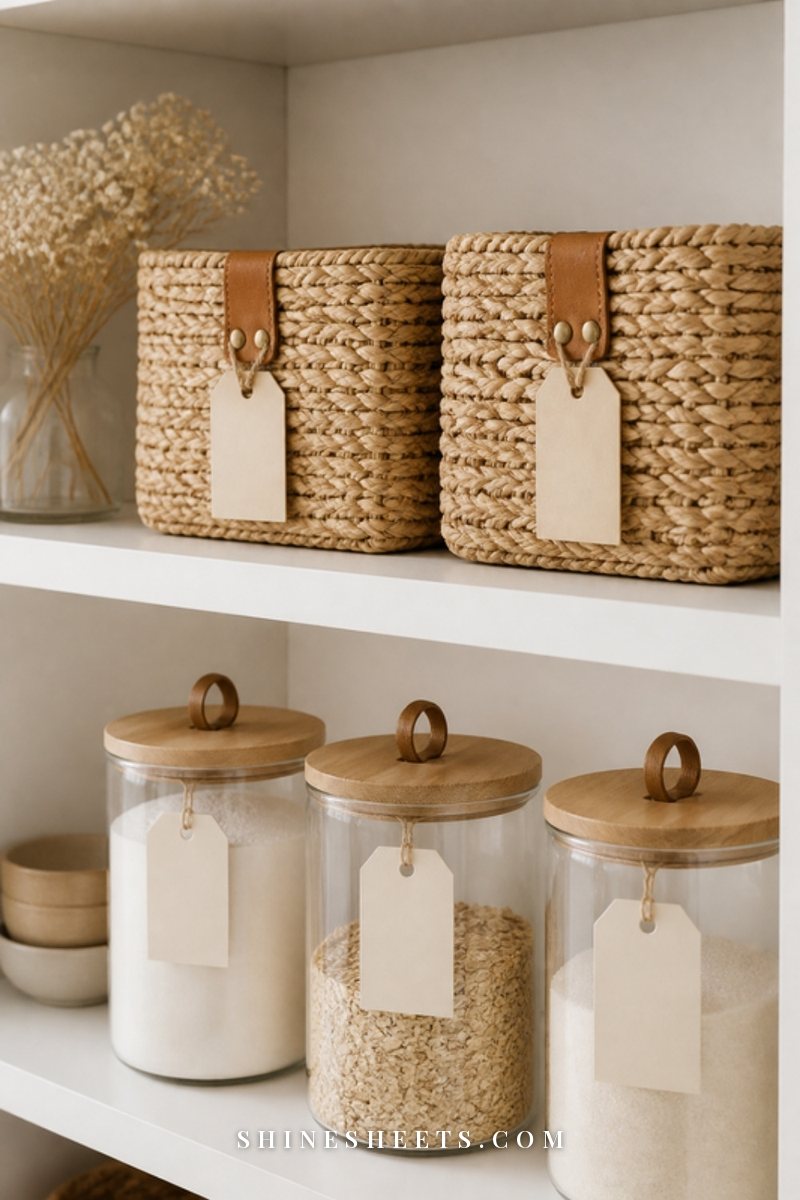
A system only lasts if everyone in the home can put things back without thinking. Two small additions make that happen.
Label the Shelf, Not Just the Containers
A small label on the shelf edge ("bases", "lids", "lunch") tells everyone where things go. A set of reusable labels is easy to change if you move things around later, and a washable marker lets you write directly on glass for leftovers and wipe it clean afterward.
The Return Rule
After washing, containers go straight back to their home, lids with lids and bases with bases. Not on top of the cupboard, not in a pile by the sink. If you hand-wash, dry containers fully before putting them away so the seals don't trap moisture.
Once a month, do a two-minute count: are all your containers home? If something's been at a friend's house for weeks, a gentle reminder is completely fine.
Food Safety Basics for Leftover Containers
A tidy container cupboard is only half the story. How you use the containers matters for keeping leftovers fresh and safe.
- Label and date everything. Write what it is and the date it went in the fridge. Most cooked leftovers are best eaten within three to four days.
- Let food cool briefly before lidding. Let the steam escape for a few minutes, then cover and refrigerate. Don't leave cooked food sitting out for more than two hours.
- Use shallow containers for big batches. Food cools faster and more evenly in a shallow container than in one deep one.
- Check seals regularly. If a lid no longer clicks or the silicone ring is loose, air gets in and food spoils faster.
- Choose glass for reheating. Reheat in glass or in containers clearly marked microwave safe, and remove bamboo or snap lids before heating.
- Don't move glass from freezer to oven. Sudden temperature changes can crack it. Let it thaw in the fridge first.
When in doubt about a leftover, it's kinder to your stomach to throw it out. For more on keeping the fridge itself easy to scan, my fridge organization guide shows how to give leftovers their own front-and-center shelf.
Where Your Container Cupboard Should Be
Location matters as much as method. The ideal spot is between the fridge and the dish rack or dishwasher: you fill containers near the fridge and put them away straight after washing, without crossing the room. If that space is taken by something you use once a year (a roasting pan, the good serving platter), swap them. Rarely used items can go higher or further away; containers deserve prime real estate because you reach for them almost every day.
Avoid the cabinet right above the stove or next to the oven if you can. Heat and steam can warp plastic and loosen silicone seals over time.
How To Keep Containers Clean and Fresh
- Rinse soon after emptying. Sauces like tomato and curry stain much less when they don't sit for hours.
- Take the silicone ring out now and then. Many glass lids have a removable seal. Pop it out every few weeks, wash it and the groove underneath, and let both dry fully before putting it back.
- Air out stubborn smells. Leave a washed container open to dry in fresh air or in a sunny spot for a few hours. A little sunlight also helps fade light stains on plastic.
- Dry before you stack. Water trapped between nested containers is how musty smells begin.
- Hand-wash bamboo lids. Wipe them with a soft sponge and mild dish soap, dry right away and never soak them.
Common Container Mistakes To Skip
- Buying organizers before sorting. Count your matched pairs first, then buy a rack or bin that fits that number.
- Adding a new set without retiring the old one. Two half-sets are harder to store than one full set.
- Keeping every takeaway tub "just in case". Two or three is plenty.
- Storing lids loose on top of the stack. They will slide off every single time. Give them their own upright home.
- Overfilling the shelf. If the cupboard door needs a push to close, there are too many containers for the space.
Be gentle with yourself if the system slips during a busy week. Five minutes of matching and stacking puts it right again, and it gets faster every time.
Keeping Containers Looking Pretty
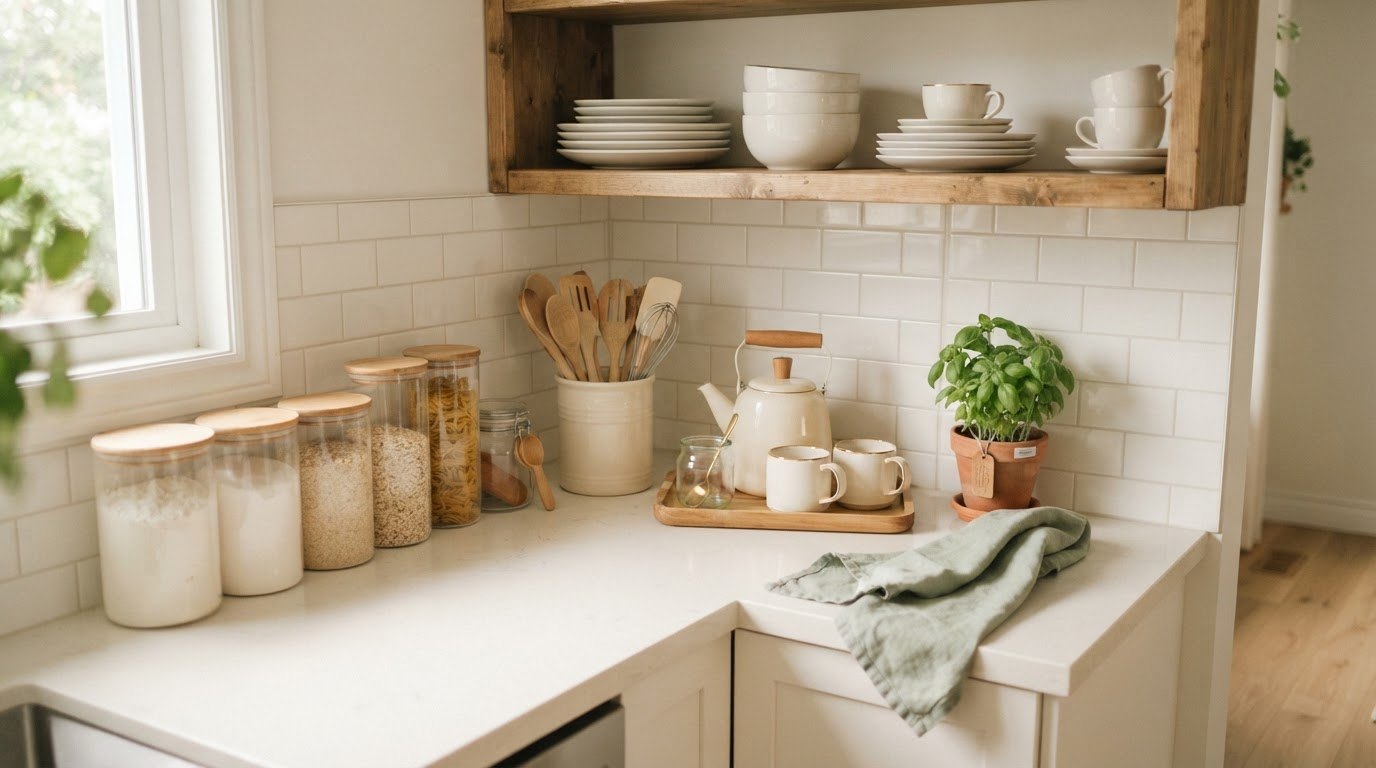
If some of your containers live on open shelves or the counter, a little styling goes a long way. Choose clear glass with matching lids, line them up by height, and fill them with dry goods you use often. Matching containers in a neat row can look as lovely as any decor. My tips for styling open kitchen shelves show how to keep them calm rather than cluttered.
And extras like rice, pasta and backup storage bags can go to the pantry, which my pantry organization guide covers shelf by shelf.
Final Thoughts
Learning how to organize food storage containers is really about letting go of the pieces that never fit and keeping only what works together. One set, a fixed number, a home for lids and a simple return rule: that's the whole system.
The next time you open that cupboard, nothing will slide out at you. You'll reach in, grab a base and its lid, and get on with your evening. That small calm moment is worth the hour it takes.