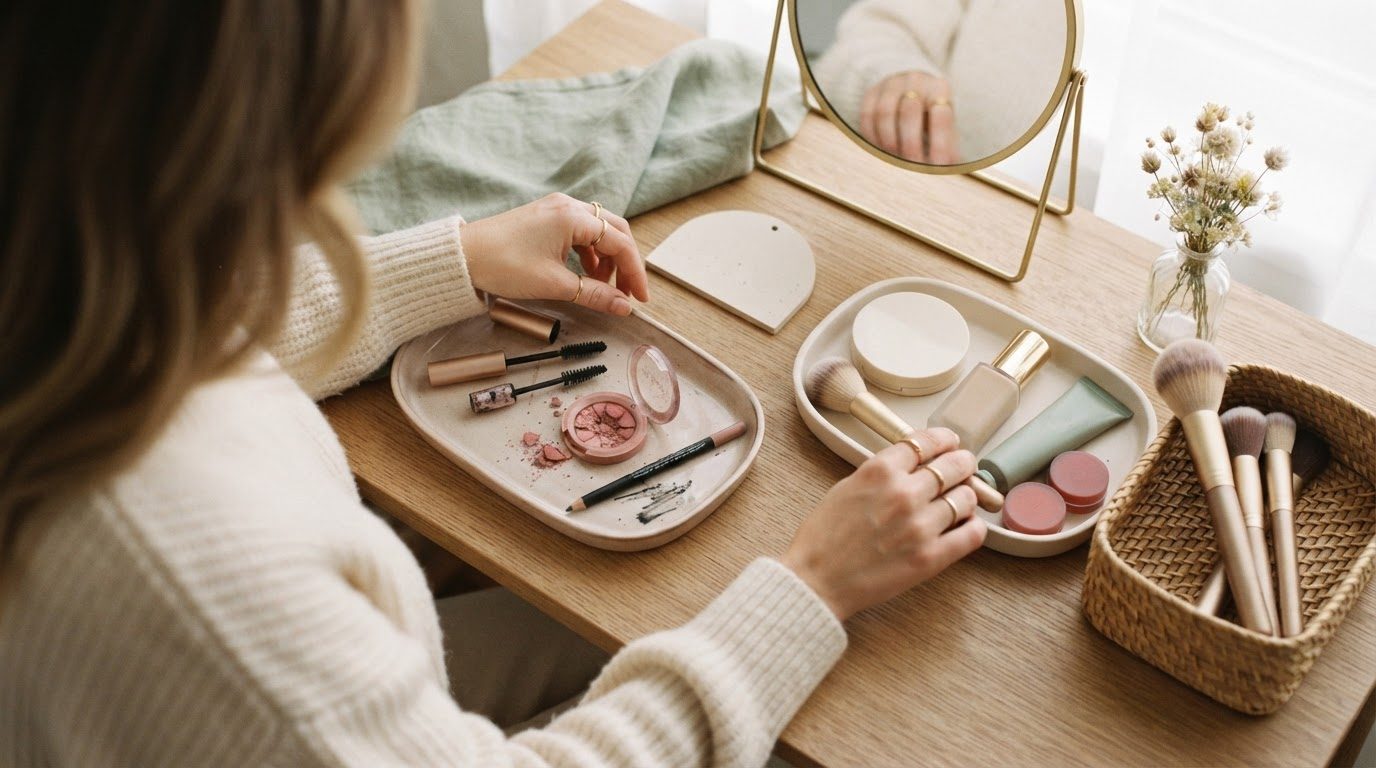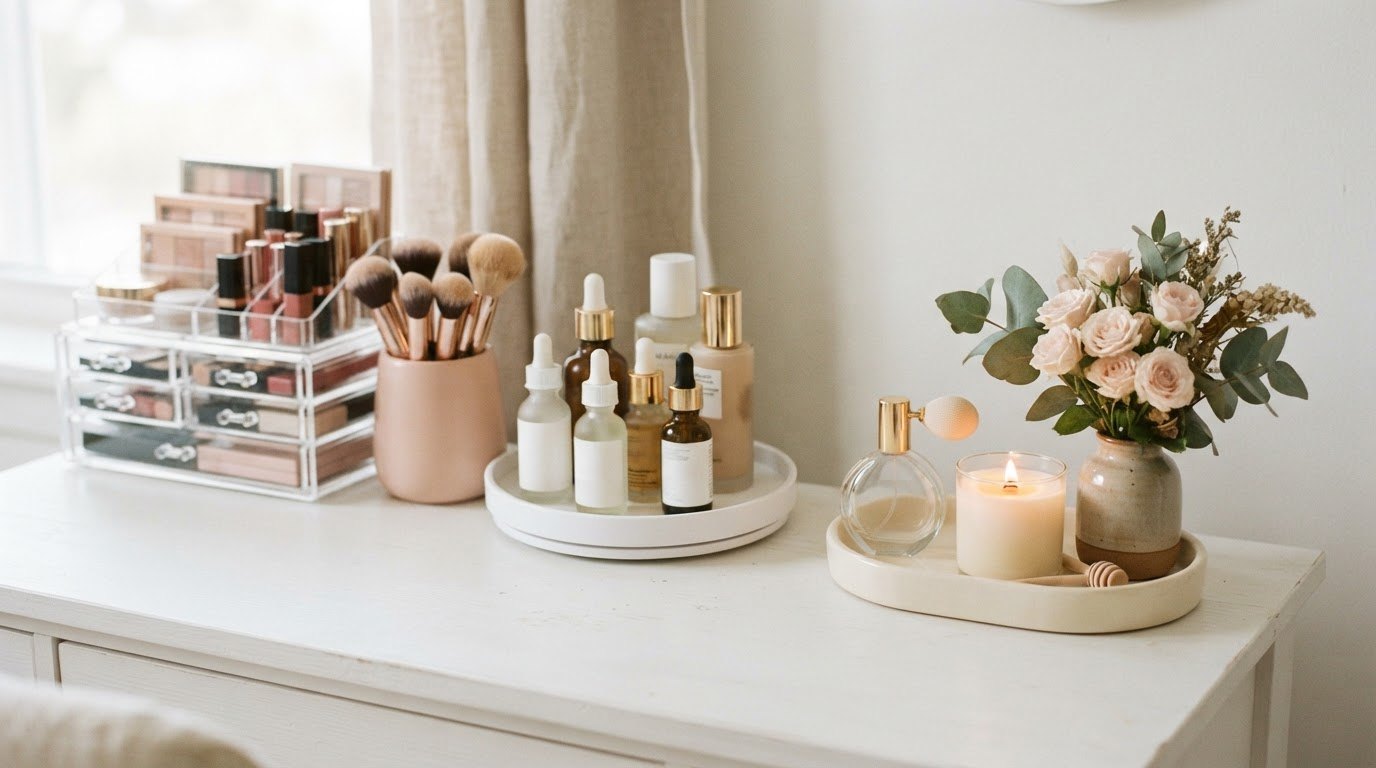
For a long time my vanity looked like a tiny beauty store after a sale. Three half-used cleansers, a mascara I couldn't remember opening, five lip balms (all slightly different shades of "barely there"), and a jar of brushes that leaned at a dramatic angle every time I reached past it. Getting ready took twice as long as it should have, mostly because I was digging.
The fix wasn't buying a whole new setup. It was deciding what actually earned a spot within arm's reach, and what could live a little further away. Once I sorted everything by how often I touched it, the whole surface calmed down, and it has stayed calm, which is the part that surprised me most.
This guide is all about vanity organization that lasts longer than a weekend. You'll find a simple four-zone plan (daily, weekly, backstock and tools), 15 storage ideas for makeup and skincare, and an expiry and rotation cheat table so you know roughly when that mascara or sunscreen should go. Make a cup of tea, clear a little space on the floor and let's sort.
Before You Buy Anything: The Ten-Minute Sort
I know the organizers are the fun part. But storage bought before sorting usually ends up holding things you don't even want. So give yourself ten minutes (or twenty, if your collection is bigger than you'd like to admit) and do this first:
- Empty everything onto a towel. Drawers, baskets, the shelf above the sink, the makeup bag in your purse. Seeing it all in one place is a little humbling and very useful.
- Toss the obvious. Anything dried out, separated, smelling odd, or that you genuinely don't remember buying. If a product changed color or texture, it's done.
- Make four piles. Daily (you reach for it most mornings or evenings), weekly (masks, exfoliants, the bolder lipstick), backstock (unopened spares) and tools (brushes, sponges, tweezers, the eyelash curler).
- Be honest about the "someday" pile. The bright eyeshadow palette you've used twice? It can live in weekly, or it can go to a friend who will love it.
Once you have four piles, you already know what your vanity needs. The daily pile tells you how much prime space you need, and the backstock pile tells you how big your hidden storage should be.
The Four-Zone Vanity Plan
This is the heart of a vanity that stays tidy. Every product belongs to one zone, and every zone has a home based on how easy it should be to reach. When something new comes in, you just ask "which zone?" and you're done.
| Zone | What goes here | Where it lives | Best storage |
|---|---|---|---|
| Daily | Cleanser, moisturizer, sunscreen, foundation or tint, concealer, mascara, brow product, one lip product, the brushes you reach for every day | On top of the vanity or the top drawer, within arm's reach | Clear tiered organizer, turntable, brush cup |
| Weekly | Exfoliants, face masks, eyeshadow palettes, bolder lipsticks, highlighter, hair treatments | Second drawer or a lidded box on a nearby shelf | Drawer dividers, small labeled bins |
| Backstock | Unopened spares, minis, samples, gift sets | Under the sink, a closet shelf or the bottom drawer | One lidded bin, labeled by category |
| Tools | Brushes, sponges, tweezers, eyelash curler, sharpeners, cotton pads, headbands | Upright on top or in a shallow drawer | Brush holders, a small tray, a cotton jar |
A good rule of thumb: your daily zone should fit on one tray or in one tiered organizer. If it doesn't, some of those "daily" products are probably weekly in disguise. Screenshot the table, and use it every time you unpack a shopping bag.
15 Vanity Organization Ideas for Makeup and Skincare
Pick the ideas that fit your space and your routine. You don't need all fifteen, and you definitely don't need to do them in one afternoon.
1. Give Your Daily Products a Clear Tiered Home
The single most helpful piece for any vanity is a tiered organizer that holds the daily zone, because you can see everything at once. Look for clear acrylic with a few small drawers and an open top tier for tall bottles. A clear acrylic makeup organizer with drawers works well because nothing hides behind anything else.
Arrange it in the order you get ready: skincare on the left, base makeup in the middle, eyes and lips on the right. Your hands learn the route, and getting ready starts to feel almost automatic.
2. Put Skincare on a Turntable
Skincare bottles are tall, round and slippery, which makes them perfect for a turntable. One spin and the serum at the back is right in front of you. A white turntable organizer with a little lip around the edge keeps bottles from sliding off when you spin it.
Keep only your current routine on it, morning and evening products together. Everything else goes to weekly or backstock.
3. Stand Your Brushes Upright
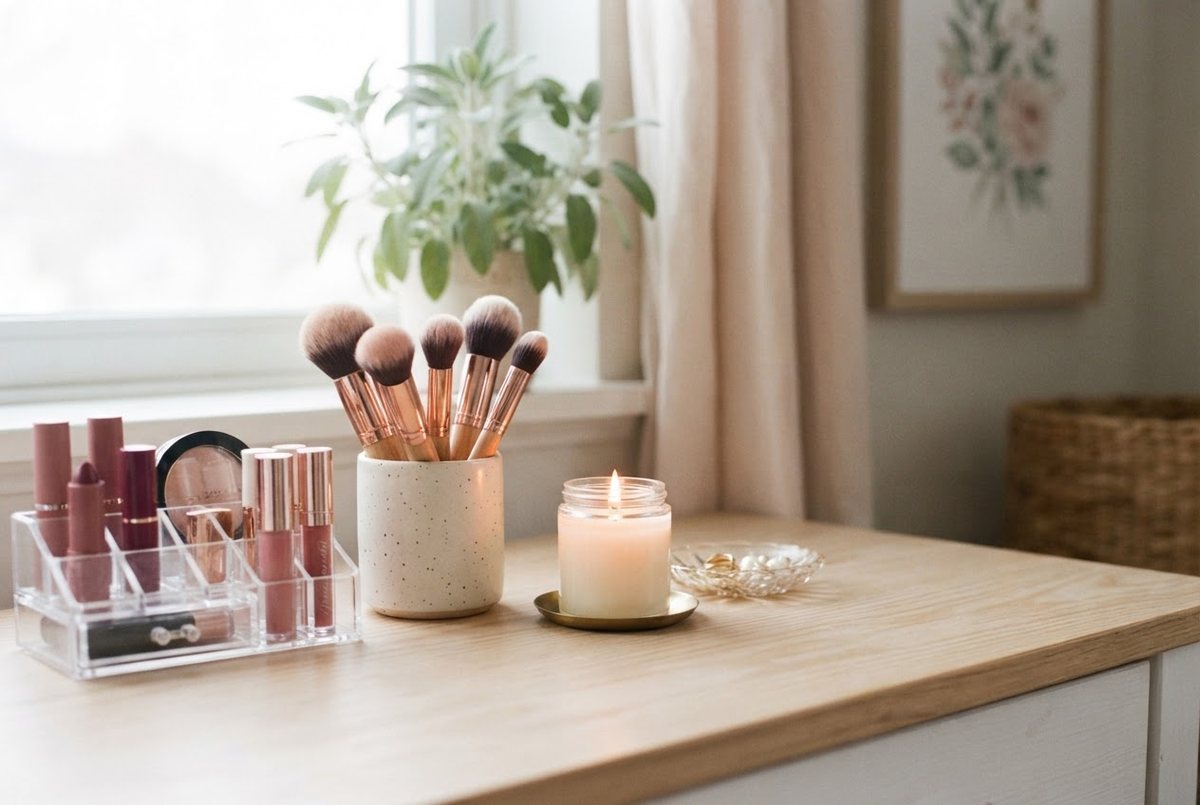
Brushes lying flat in a drawer get squashed, dusty and confusing. Stand them upright, bristles up, in a cup or holder. I'd choose two smaller holders over one big jar: one for face brushes, one for eye brushes, so you're not fishing for the tiny crease brush every morning.
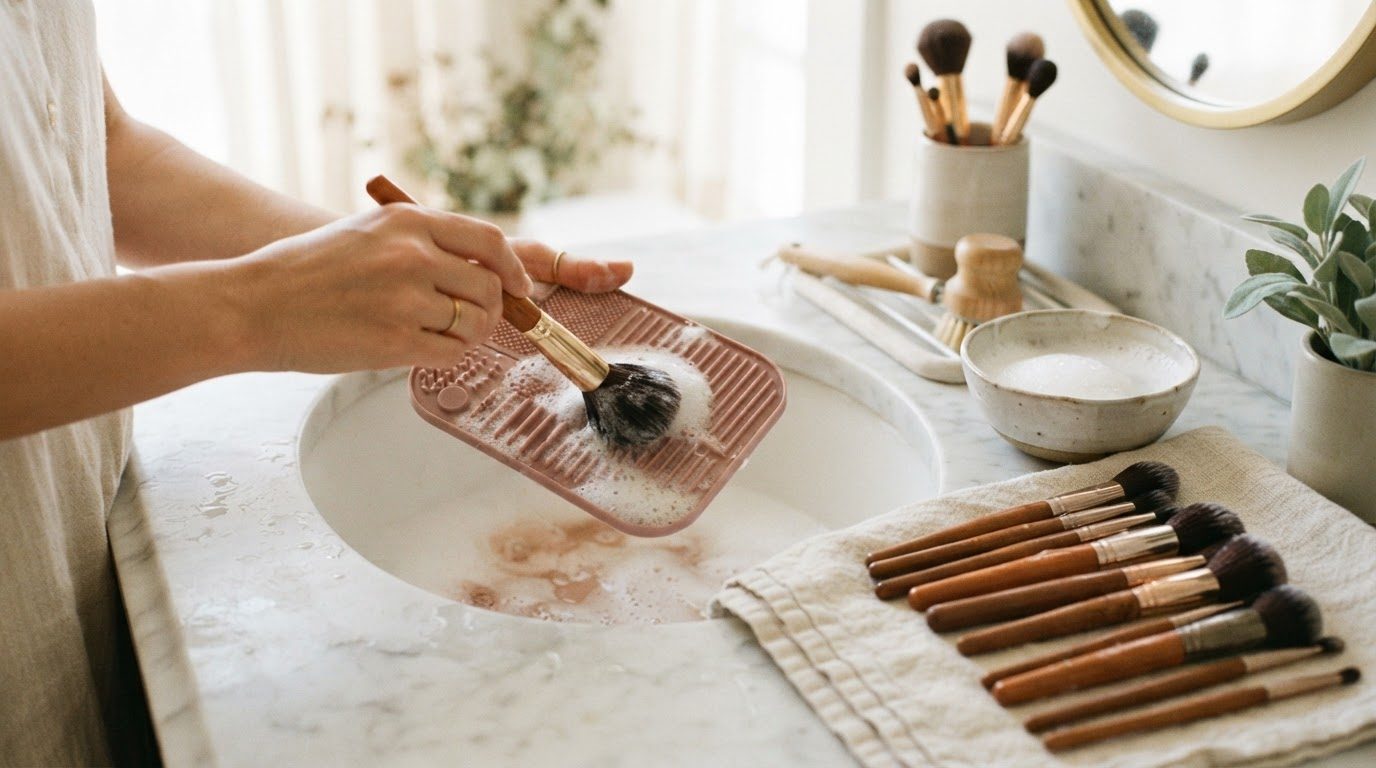
A blush pink brush holder with a few compartments is pretty and practical, and some come with a lid if dust is a concern in your room. While you're at it, give your brushes a proper wash; my guide to deep cleaning even the dirtiest makeup brushes makes it quick.
4. Divide Every Drawer
Drawers without dividers become junk drawers within a week. Even simple dividers turn one big space into small "rooms" where each category stays put. Clear acrylic drawer dividers in mixed sizes are flexible, so you can rearrange them when your routine changes.
Measure the drawer's inside width and depth first (including height, so the lid of a tall mascara still closes the drawer). Then fill each compartment with one category only: liners, mascaras, lip products, brow tools.
5. Store Lipsticks Standing Up, Labels Showing
Lipsticks lying on their sides all look the same. Standing up with the shade sticker on the bottom facing up, or the label facing out, you can find the one you want in two seconds.
A small clear lipstick organizer with individual slots holds them neatly. If you have more than the slots allow, that's your sign to keep the ones you reach for and move the rest to weekly.
6. Corral Weekly Products in Labeled Bins
Masks, exfoliants, the eyeshadow palette for special evenings: they deserve a home, just not your prime real estate. Small bins with labels on the front make the weekly zone easy to grab and easy to put back.
I like the label to say what's inside in plain words ("Masks", "Eyes", "Treatments"). Pretty fonts are fine, but a label you can read half asleep is better.
7. Keep One Backstock Bin and Only One
Backstock is where overbuying hides. When spares are scattered across three drawers, it's easy to forget you already have two of the same moisturizer. Give backstock one lidded bin, and when it's full, you're done buying spares for a while.
Woven or fabric bins look softer in a bedroom; cream fabric storage bins with lids slide onto a closet shelf and keep dust off unopened products.
8. Use a Tray To Make "Out" Look Intentional
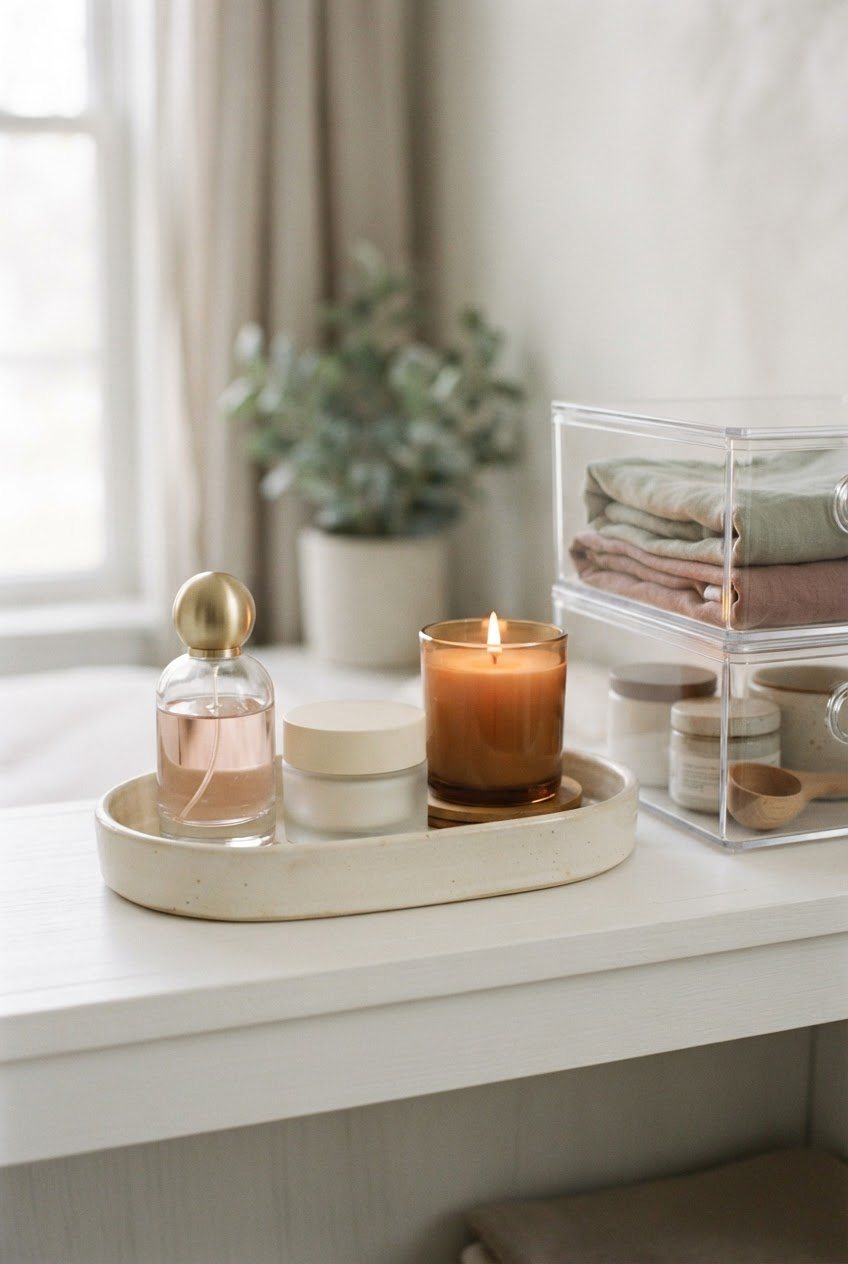
Some products are pretty enough to live on top: a perfume bottle, a glass candle, the moisturizer jar you love. Grouping them on a tray turns clutter into a little display, and it makes wiping the surface much easier because you lift one thing instead of twelve.
A small gold-edged or cream ceramic tray looks lovely with a slightly Old Hollywood vibe. Keep it to three to five items so it stays calm.
9. Give Cotton Pads and Swabs a Lidded Jar
Open bags of cotton pads always end up half-spilled. Decant them into lidded jars and they suddenly look tidy and stay clean. Glass apothecary-style jars are classic; clear acrylic works too if you're worried about breakage.
Keep the jars in the tools zone, next to your makeup remover, so the whole "taking it off" step is in one spot.
10. Hang What You Can
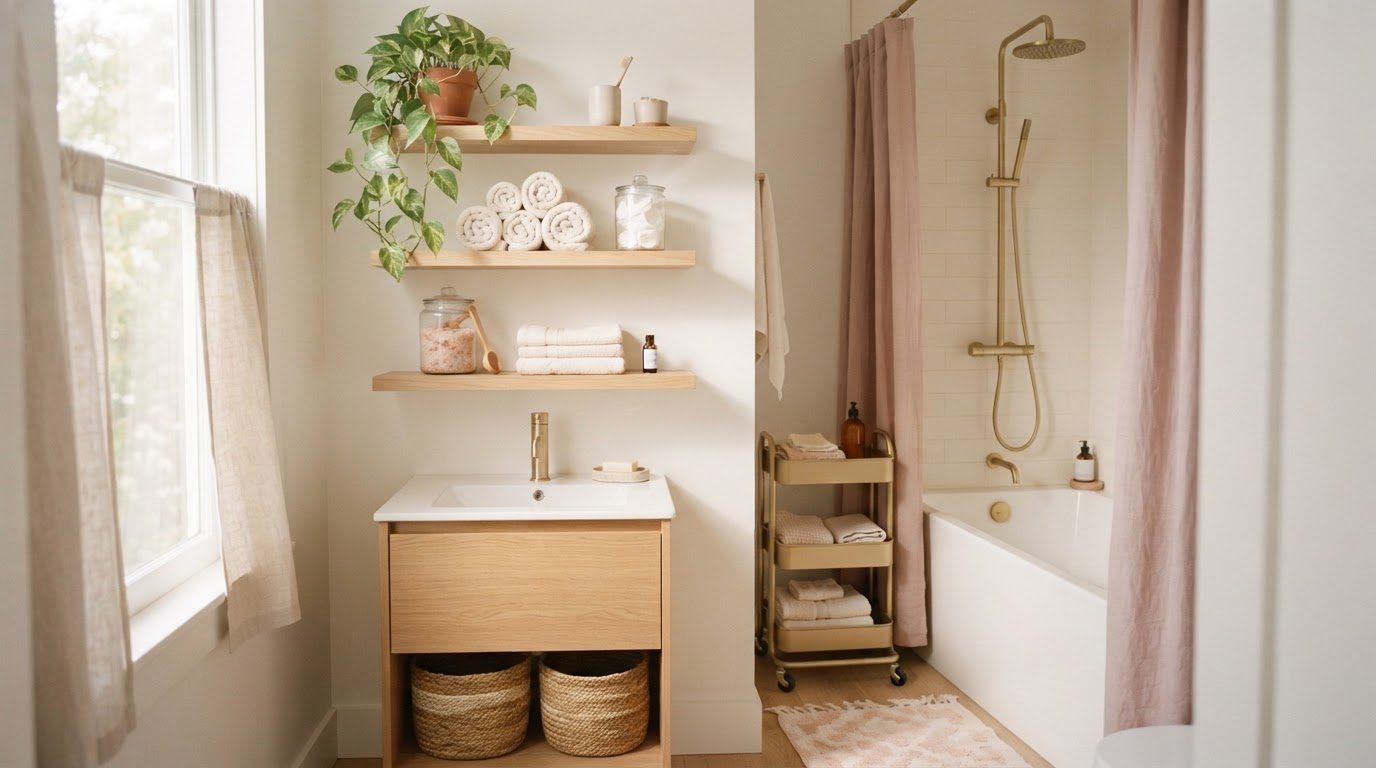
If your vanity is small, use the wall or the inside of a cabinet door. Adhesive hooks hold a headband or a hair tie loop. A slim wall shelf can hold the daily zone and free the tabletop entirely.
Inside a cabinet door, a shallow over-the-door organizer can hold flat items like sheet masks, tweezers and an eyelash curler. Small bathroom? My post with organization ideas for small bathrooms has more space-saving tricks.
11. Keep a Travel-Ready Pouch Packed
Instead of emptying your vanity every time you travel or stay over somewhere, keep a small pouch packed with minis: a cleanser, moisturizer, sunscreen, a mascara and a lip product. It lives in backstock until you need it.
A soft blush velvet makeup bag is lovely for this, and it means your daily zone never gets raided and forgotten in a suitcase.
12. Separate Skincare by Morning and Evening
If your routine is confusing, organize it by time of day instead of product type. Morning products (gentle cleanser, light moisturizer, sunscreen) on one side. Evening products (makeup remover, cleanser, treatment, richer cream) on the other.
It sounds almost too simple, but it stops you from grabbing the exfoliating toner in the morning by accident. If you have combination skin like me, with a shiny T-zone and sensitive cheeks, my skincare routine for combination skin lays out which products belong on which side.
13. Store Products Away From Heat and Sunlight
Your vanity spot matters as much as your storage. A sunny windowsill or a steamy bathroom shelf can make products break down faster, especially sunscreen, vitamin C serums and anything with natural oils. If your vanity sits by a window, keep the daily zone in an opaque drawer or turn the organizer so the products sit in the shade.
Fragrance especially prefers a cool, dark spot. Keep the bottle out for display if you love it, but store backups in a drawer.
14. Date New Products When You Open Them
This is the tiny habit that makes the expiry table actually useful. When you open something new, write the month and year on the bottom with a fine marker, or on a small round label. Then you're not guessing how long that mascara has been around.
Keep the marker in your tools zone so it's right there when you unwrap a new product.
15. Do a Two-Minute Reset Every Sunday
Even the best system slowly drifts. Every Sunday, take two minutes: put everything back in its zone, wipe the surface, check if anything looks or smells off, and move anything you haven't touched in two weeks from daily to weekly.
Pair it with your evening tea and a candle and it feels more like a small ritual than a chore. If you'd like more ways to keep the whole house feeling this calm on a budget, my apartment decor on a budget guide is a nice next read.
Expiry and Rotation Cheat Table
Most products have a small open-jar symbol on the back with a number like "6M" or "12M." That's roughly how many months the product is meant to be used after opening. When there's no symbol, these rough timelines are a helpful guide. Treat them as "about," not as rules, and always trust your eyes and nose first.
| Product | Replace after opening, about | Signs it's time |
|---|---|---|
| Mascara | 3 months | Dry, clumpy, smells odd, or after an eye irritation |
| Liquid eyeliner | 3 to 4 months | Dry tip, patchy line |
| Pencil eyeliner and brow pencil | 1 to 2 years (sharpen often) | Hard, crumbly or chalky |
| Liquid foundation and concealer | 6 to 12 months | Separates, changes color, smells off |
| Cream blush and cream products | 6 to 12 months | Greasy film, change in texture |
| Powder blush, bronzer, eyeshadow | About 2 years | Hard shiny surface that won't pick up |
| Lipstick and lip balm | About 1 year | Waxy smell, beads of moisture on the surface |
| Lip gloss | 6 to 12 months | Thick, sticky, smells different |
| Sunscreen | By the date on the pack, or about 12 months open | Separates, gritty, past printed date |
| Serums (especially vitamin C) | 3 to 6 months | Darkens, turns orange or brown |
| Moisturizer in a jar | 6 to 12 months | Smell changes, texture separates |
| Cleanser | About 12 months | Changes in smell or consistency |
| Makeup sponges | 1 to 3 months | Tears, stains that won't wash out |
| Natural or synthetic brushes | Years, with regular washing | Shedding, frayed or misshapen bristles |
The rotation rule: new products go to the back, open products come to the front. And try not to have more than one of the same type open at once (one mascara, one foundation, one sunscreen). It's the easiest way to finish things before they turn.
A kind safety note: if a product makes your eyes sting, itch or water, or causes redness on your skin, stop using it and toss anything that touched your eyes during an irritation. If irritation doesn't settle or keeps coming back, please check in with a doctor or pharmacist. For a deeper look, my guide on how often you should replace your makeup walks through each product in more detail.
Small Vanity, Big Collection: Quick Fixes
Not everyone has a dreamy vanity table. If you're getting ready at a bathroom sink, a dresser corner or a tiny desk, these quick fixes help:
- Go vertical. A tall, narrow tiered organizer uses height instead of surface area.
- Use one caddy. Keep the daily zone in a single caddy you carry to wherever there's good light, then put it away.
- Edit to one of each. One foundation, one concealer, one mascara, two lip products. A small collection is the easiest kind to keep tidy.
- Hide the rest. Weekly and backstock can live in a closet bin, not the bathroom.
- Light it well. A small clip-on or plug-in light near your mirror makes even a little corner feel like a proper getting-ready spot.
If you'd like to make your routine itself simpler, my everyday makeup routine pairs beautifully with a pared-back daily zone.
Mistakes That Make a Vanity Messy Again
Here's my honest admission: I've made every single one of these. They're very normal, and they're very fixable.
- Buying storage first. Sort, then measure, then buy. Otherwise you end up organizing things you don't want.
- Keeping everything "out." A surface covered in products is harder to clean and harder to use. Only the daily zone and a pretty tray belong on top.
- No home for new things. Every new purchase needs a zone the moment it comes in. If there's no space, something older needs to go.
- Forgetting the samples. Samples pile up fast. Keep them in one small pouch in backstock and use them on trips or busy weeks.
- Skipping the reset. Two minutes on Sunday saves twenty minutes of digging later.
Final Thoughts
Vanity organization isn't about having the prettiest acrylic drawers or a perfectly curated shelf. It's about making the first few minutes of your morning and the last few minutes of your evening feel a little easier and a little softer. Sort into four zones, give each one a home, date what you open, and give it a quick reset each week.
Start with just your daily zone this weekend. Once those few products have a clear, calm home, the rest tends to follow, and getting ready starts to feel like a small moment that's just for you.