A pantry stays neat when every item has an obvious home, not when it has the prettiest containers. Matching canisters look lovely for a week, but if nobody knows where the crackers go back, the shelves slide into chaos by the second grocery run. The real secret is a simple system that works for the people who actually open that door every day.
The good news: you don't need a walk-in pantry, a big budget or a weekend off. A small cupboard can be just as calm and easy to use as a magazine pantry, as long as it's edited, zoned and maintained with a few tiny habits.
This guide walks through pantry organization from start to finish: emptying and editing, cleaning the shelves, setting up zones, whether decanting is worth it, choosing containers and labels, using the door and floor, options for small kitchens with no pantry at all, and the weekly reset that keeps it neat for good. You'll also find a pantry zone map you can screenshot and adapt.
Put on a playlist, clear a stretch of counter and let's start with the most satisfying part.
Why Pantries Get Messy So Fast
Pantries are high-traffic spaces. Everyone in the home reaches in several times a day, often in a hurry, and new items arrive every week. Without a system, things simply get pushed wherever there's a gap.
The most common culprits are surprisingly predictable:
- No zones. When anything can go anywhere, everything ends up everywhere.
- Deep shelves. Items at the back disappear, so you buy duplicates and older things expire unseen.
- Too many open packages. Half-folded bags slump over and take up far more room than they should.
- A system that's too fussy. If putting something away takes three steps, nobody does it.
- No reset routine. Even the best setup drifts without a few minutes of attention each week.
Every step below solves one of these problems, so you're not just tidying, you're fixing the reasons the mess comes back.
One more thing worth deciding before you start: who is this pantry really for? A pantry for one person who cooks a lot looks very different from a pantry for a busy household where snacks disappear daily. Picture a normal weekday and notice what gets grabbed most, by whom and in a hurry or not. That picture will guide every decision you make about zones, containers and shelf height, far better than any photo on a pantry board.
Step 1: Empty Everything and Edit
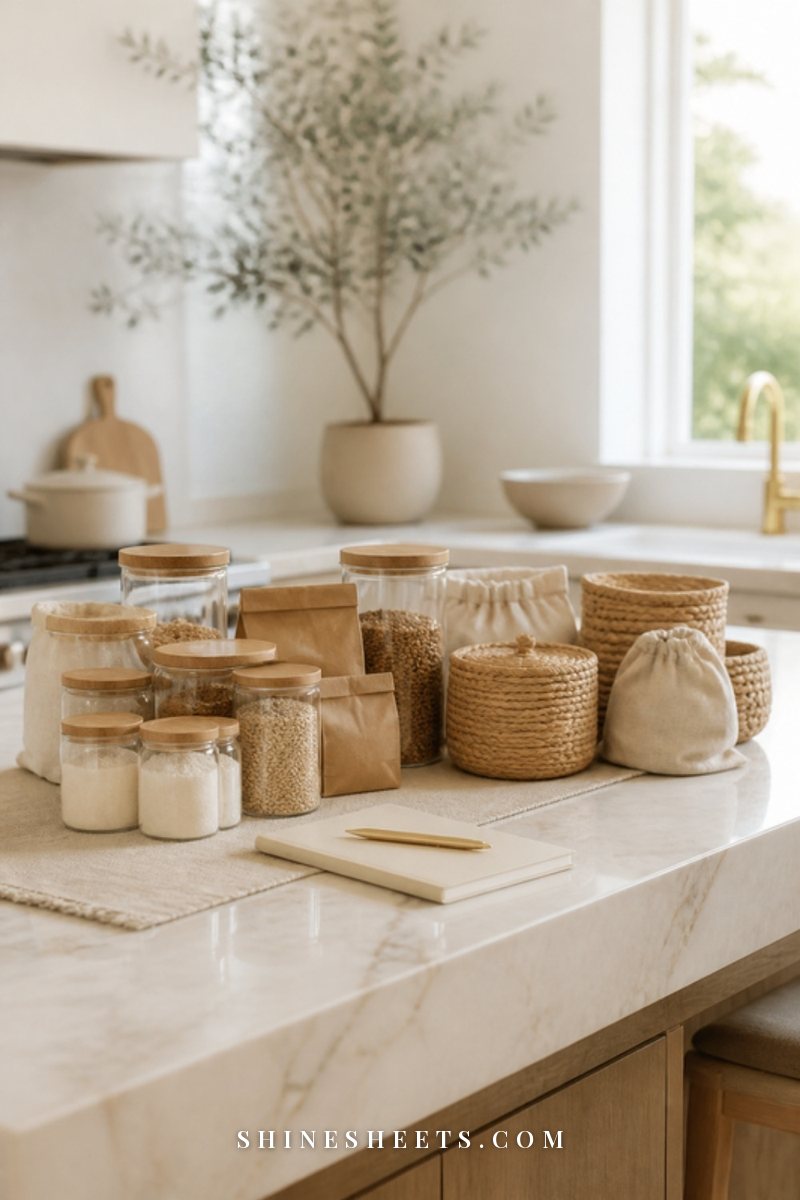
Yes, everything. Take every item out and place it on a counter or table. It feels dramatic, but it's the only way to see what you actually have. Wipe a clear space first so you're not juggling.
As you take things out, group them roughly by type: breakfast, baking, snacks, cans, grains and pasta, oils and sauces, spices, drinks. Then edit each group:
- Check dates. Toss anything expired or stale. If you're unsure, a quick look and sniff usually tells you.
- Combine duplicates. Two open bags of the same thing can often become one.
- Donate what you won't use. Unopened, in-date items you bought on a whim can go to a local food bank.
- Move what doesn't belong. Batteries, lunch boxes, cleaning sprays and spare bags often hide in pantries. Give them a proper home elsewhere (my junk drawer organization guide helps with the small odds and ends).
A quick tip: keep a notepad nearby and jot down anything you're nearly out of. You'll have a shopping list ready by the time you finish.
Step 2: Clean the Shelves
With the pantry empty, it's the perfect moment to clean. Vacuum crumbs from corners with a brush attachment, then wipe every shelf with warm water and a drop of dish soap. Dry thoroughly, because damp shelves invite musty smells.
Check for sticky rings from oil bottles and syrup, and look closely for any signs of pantry pests (tiny webs, holes in packaging or small moths). If you spot anything, clear the affected items, clean well and keep dry goods in sealed containers going forward.
If your whole kitchen could use the same treatment, my guide on how to deep clean your kitchen covers it room-wide. For wire shelves, a clear shelf liner stops small jars from tipping and makes wiping easier later.
Step 3: Create Zones
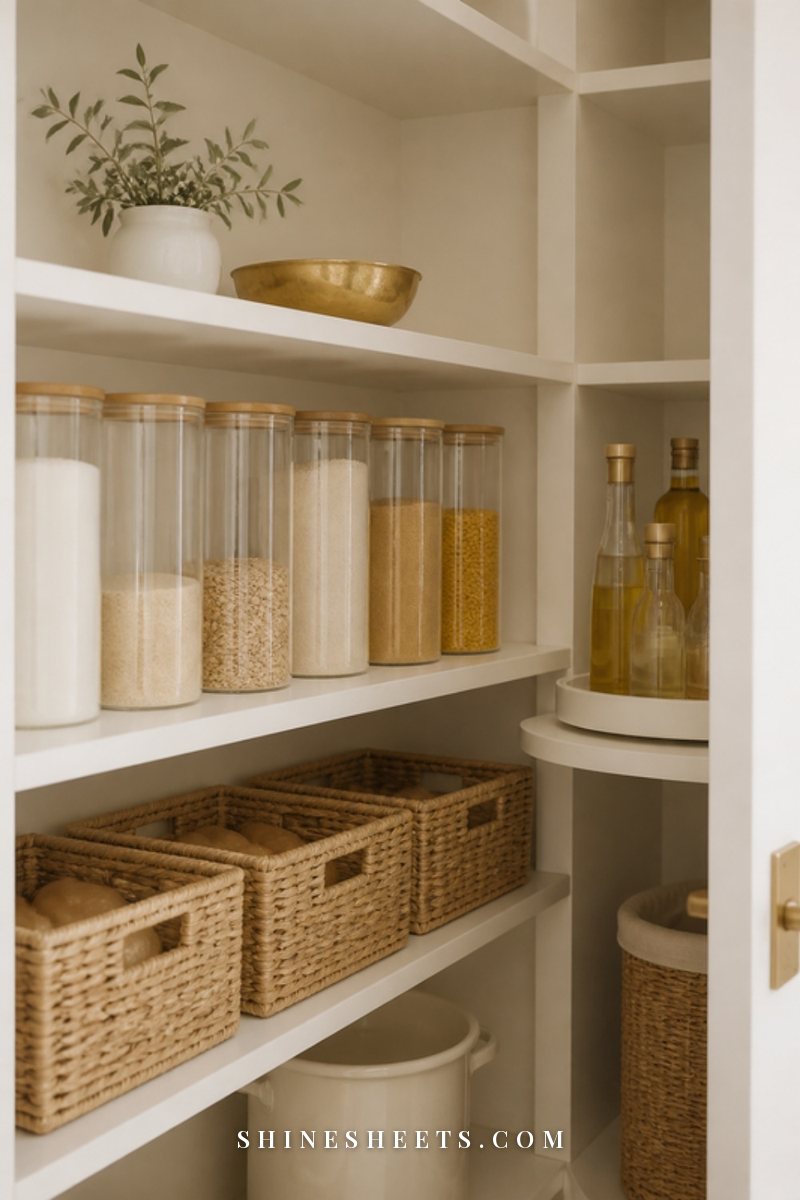
Zones are the heart of pantry organization. A zone is simply a dedicated spot for one category, so everyone knows exactly where to look and where to put things back.
When you decide where each zone goes, think about three things:
- How often you reach for it. Daily items go at eye level, between your shoulders and your hips. That's the most valuable real estate in the pantry.
- Who reaches for it. Snacks for little ones can go on a lower shelf they can reach on their own. Things you'd rather they didn't grab can go higher.
- Weight. Heavy items like big bottles, bulk bags and cans belong low, so nobody lifts them over their head.
Rarely used items, such as holiday baking supplies or backup stock, go on the very top shelf or the very back. Keep similar categories next to each other too, so baking sits near spices and breakfast sits near drinks, for example.
Pantry Zone Map
Here's the zone map I'd start with. Adjust the shelves to your own space, but keep the logic: daily at eye level, heavy low, rare high.
| Zone | What goes there | Best spot | Container idea |
|---|---|---|---|
| Breakfast | Cereals, oats, spreads, breakfast bars | Eye level | Tall clear canisters and one small basket |
| Snacks | Crackers, bars, small packs | Eye level or lower for kids | Open woven baskets or clear bins |
| Grains and pasta | Rice, pasta, grains, lentils | Middle shelf | Airtight canisters |
| Baking | Flour, sugar, baking basics | Middle or upper shelf | Large airtight canisters, one bin for small items |
| Cans and jars | Canned goods, jarred sauces | Lower middle shelf | Tiered can rack or shelf riser |
| Oils, vinegars and sauces | Bottles of all heights | Lower shelf or corner | Lazy susan turntable |
| Spices | Jars and packets | Door rack or shelf riser | Small uniform jars or tiered rack |
| Drinks | Tea, coffee, drink boxes | Eye level near breakfast | Clear bin or tea box |
| Backstock | Unopened extras | Top shelf or floor | Labeled baskets or a deep bin |
| Non-food | Foil, wraps, bags, paper napkins | Door or a side wall | Over-the-door organizer |
Not every home needs every zone. If you rarely bake, fold baking into backstock. If tea and coffee live on a counter station, skip the drinks zone entirely.
Step 4: Decide Whether To Decant
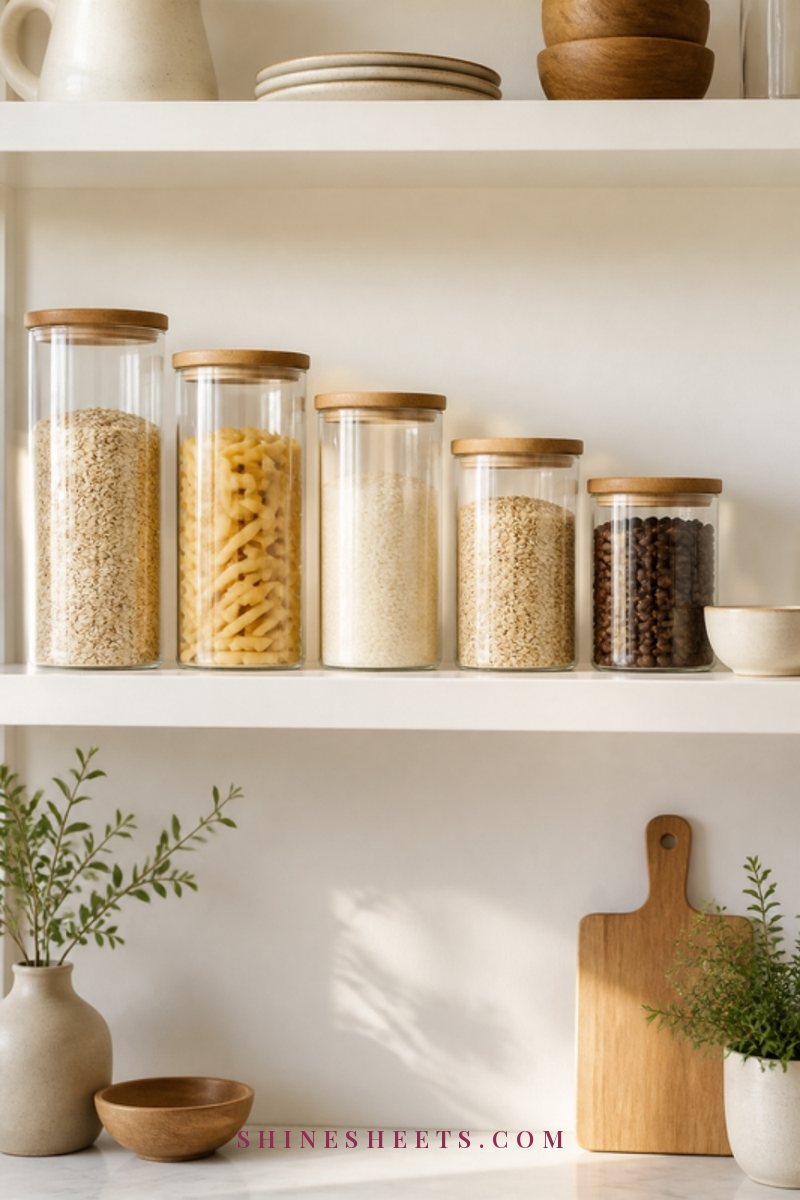
Decanting means moving food out of its original packaging into containers. It's the part of pantry organization that gets the most attention, and the part that causes the most burnout. You don't have to decant everything, or anything, to have a neat pantry.
Pros of Decanting
- You can see at a glance when something's running low.
- Airtight containers keep dry goods fresher and help keep pests out.
- Uniform shapes stack and line up neatly, so you fit more in less space.
- No more half-rolled bags spilling across the shelf.
Cons of Decanting
- It takes time every single time you unpack groceries.
- You lose the package's cooking instructions and dates unless you note them.
- Containers cost money, and the wrong sizes are frustrating.
- Mixing old and new product in one canister can hide staleness.
My middle-ground suggestion: decant only the things you use often and buy in bags, such as grains, pasta, oats and baking basics. Leave boxes, cans and jars in their packaging and corral them in bins or baskets instead. If you want to keep the cooking instructions, cut that panel from the package and tape it to the back of the container.
Step 5: Choose Containers and Labels
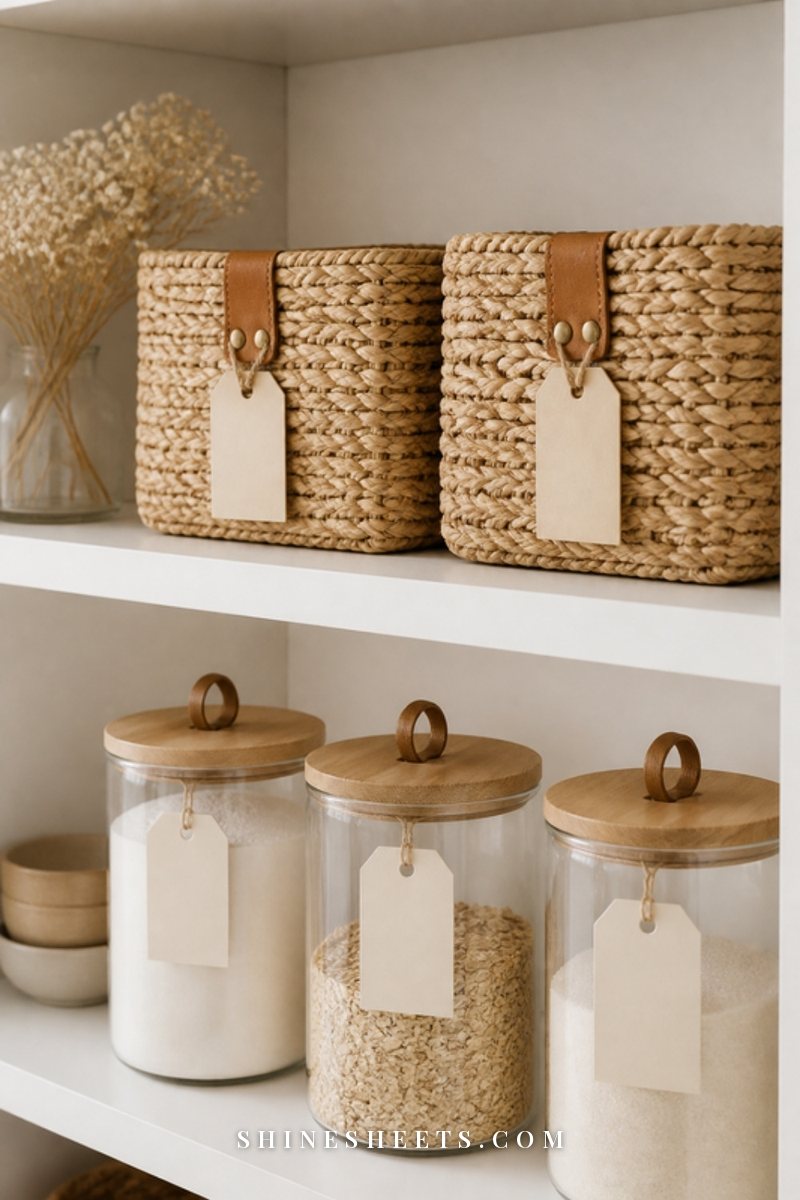
Containers should serve your zones, not the other way around. Measure your shelf depth and height before you buy anything, and buy in small batches so you can test what works.
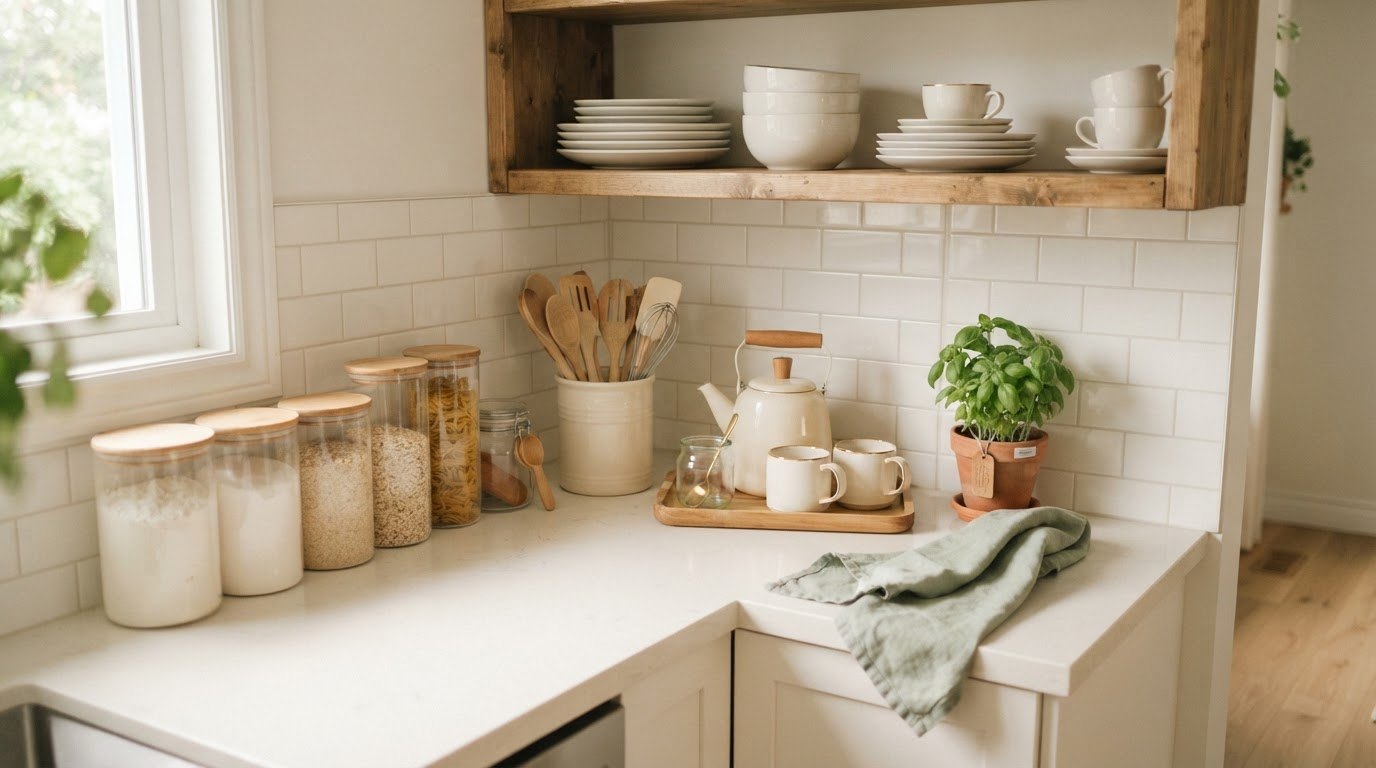
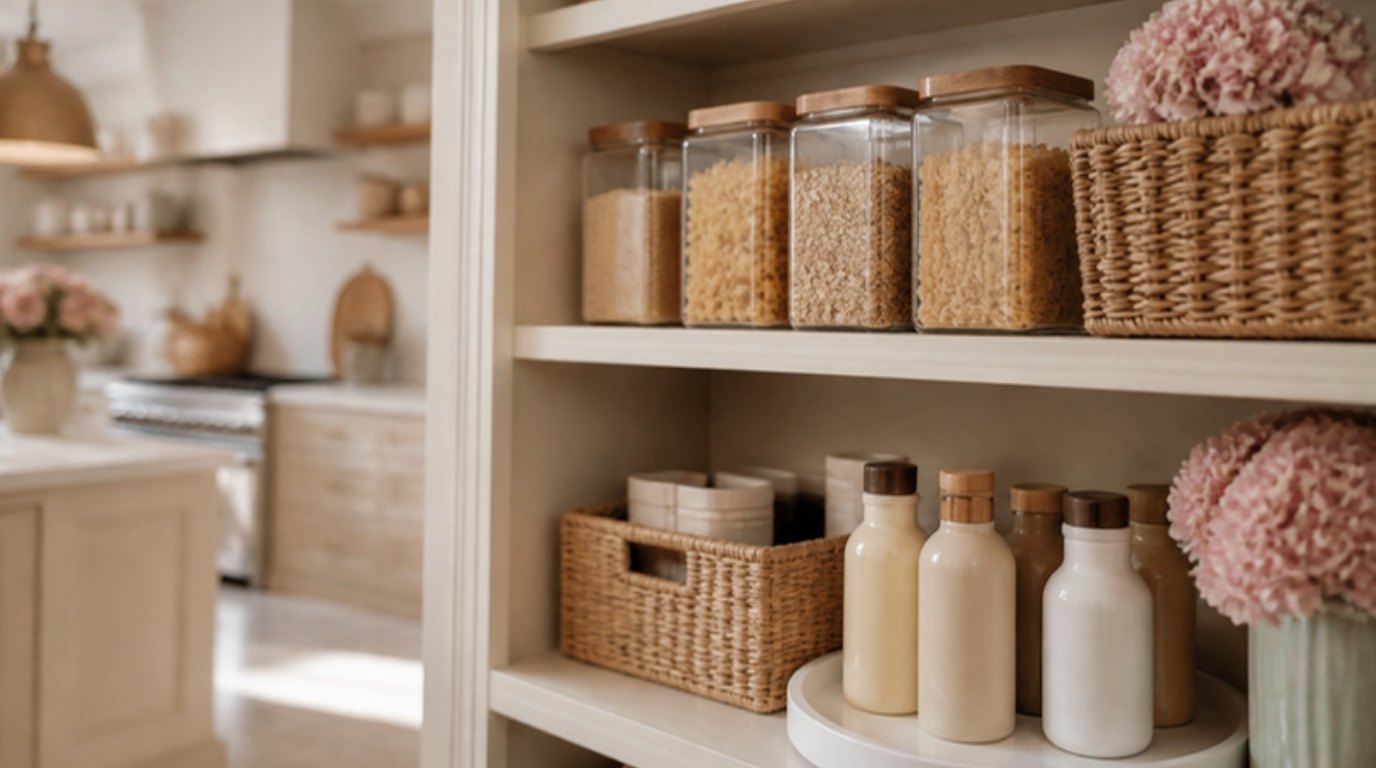
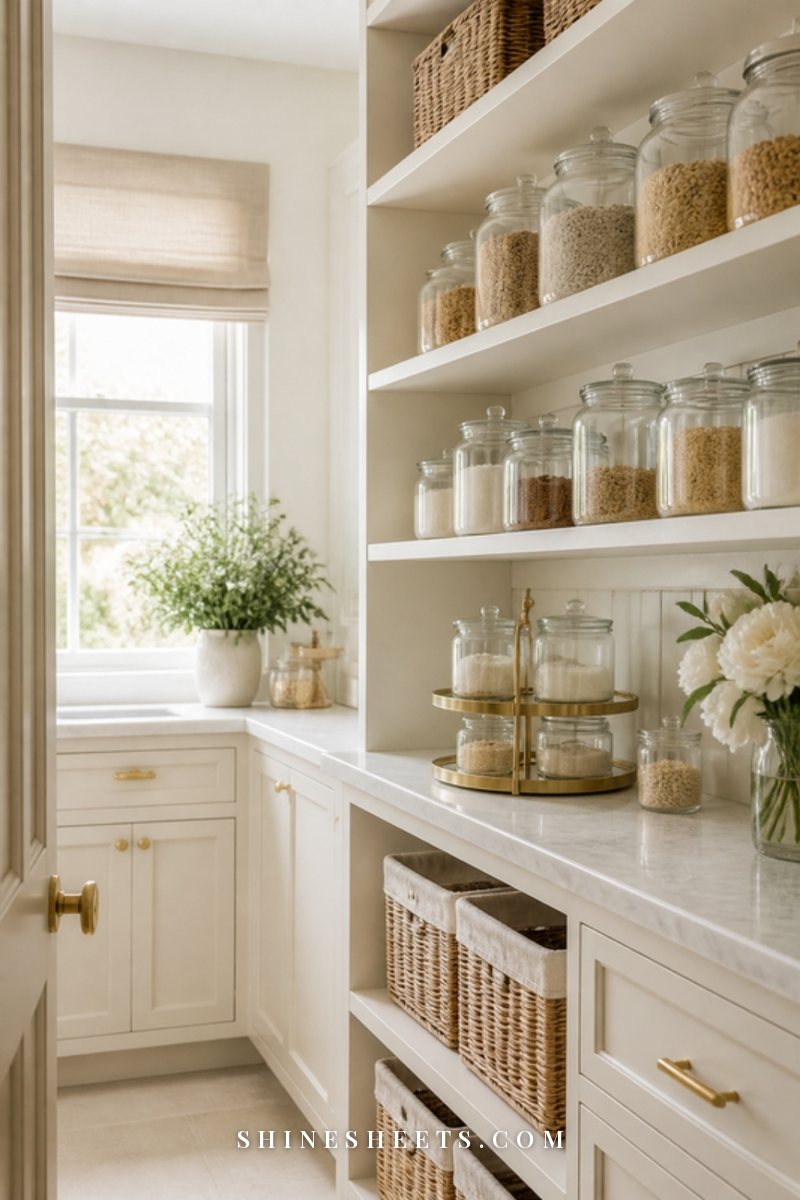
- Airtight canisters for decanted dry goods. A clear airtight canister set in two or three sizes keeps things fresh and lets you see levels instantly. Square shapes waste less space than round ones.
- Baskets for packets, snacks and anything oddly shaped. Woven pantry baskets soften the look and hide visual clutter on lower shelves. Choose ones with handles for top shelves so you can pull them down safely.
- Clear bins for deep shelves. Pull the whole bin out like a drawer instead of reaching into the back. Clear stackable pantry bins are especially helpful for snacks and small packets.
- Turntables for bottles and jars. A lazy susan turntable in a corner means nothing gets lost at the back again.
For labels, keep it simple. Plain cream or white labels with clear handwriting or a basic label maker work perfectly. Label the shelf edge or the basket front by zone ("Breakfast," "Snacks," "Backstock") rather than labeling every single item. When the labels describe the zone, anyone can put things back without thinking.
Step 6: Use Door and Floor Space
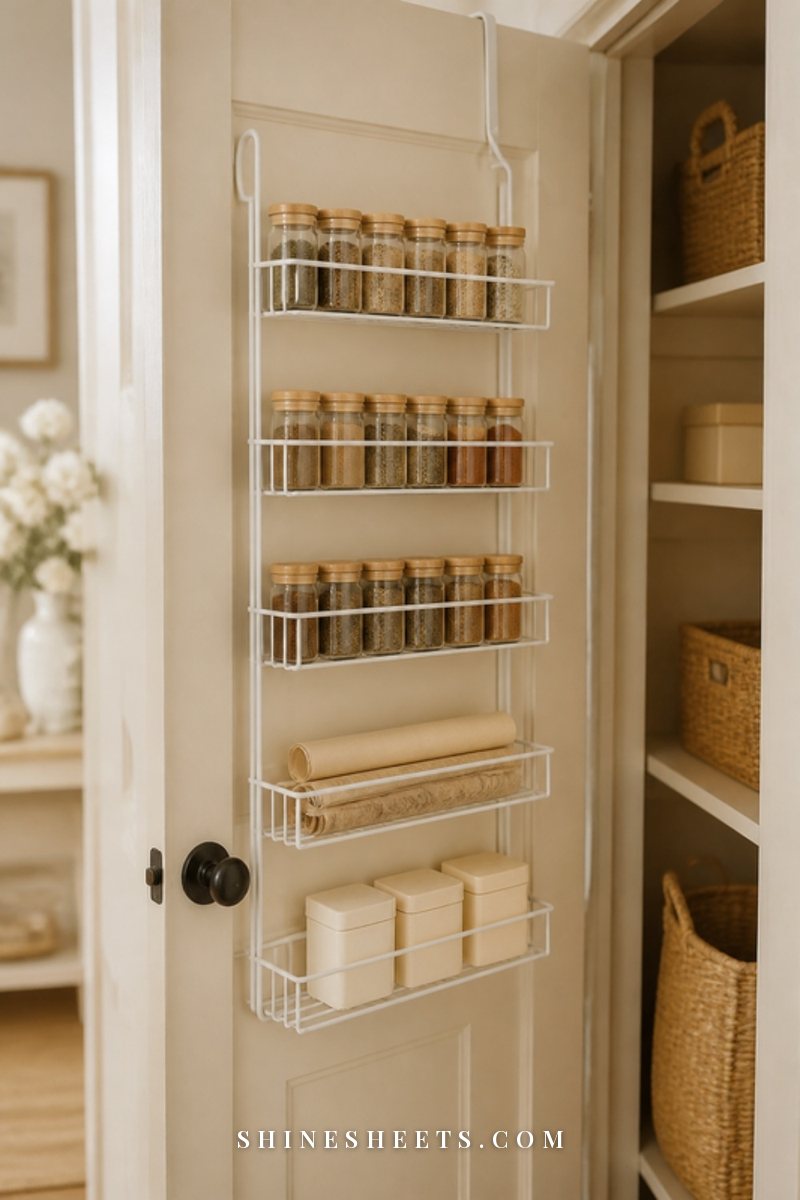
Most pantries have two forgotten areas: the back of the door and the floor.
The door. An over-the-door organizer turns flat, wasted space into storage for spices, foil, wraps, small packets and paper goods. Check that your door closes properly with it installed, and keep the heaviest items on the lower racks.
The floor. The floor is perfect for heavy, bulky things: big bottles of water, large bags of pet food, bulk packs or a step stool. Use a deep bin or a rolling crate so you can slide things out to sweep. Keep a small strip clear so crumbs don't build up in corners.
Vertical gaps. If your shelves are tall, shelf risers double the usable surface. A tiered can rack organizer lets you see every can label at once and naturally rolls the oldest one forward.
Small Pantry and No-Pantry Options
No pantry? You still have options, and honestly, a smaller space is easier to keep neat because there's less room for things to hide.
A Kitchen Cabinet Pantry
Choose one tall cabinet or two upper cabinets as your pantry and apply the same zones. Add shelf risers to use the height, a narrow turntable in the corner and pull-out bins for deep spots. Store cookware elsewhere to make room. My kitchen organization ideas can help you find new homes for what moves out.
A Rolling Cart
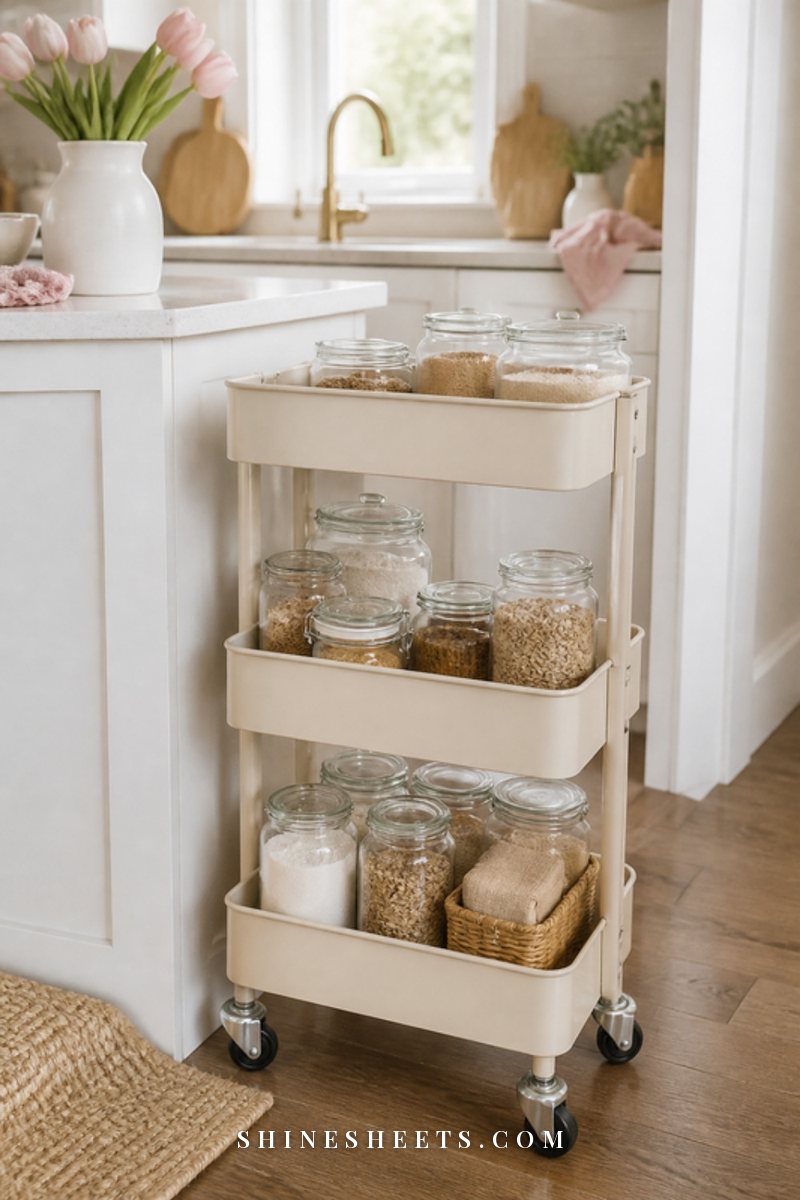
A slim three-tier rolling cart can hold snacks, breakfast items and backstock and tucks into the gap between the fridge and the wall. Use small baskets on each tier so items don't slide off when you move it. It's one of the easiest renter-friendly fixes, and my renter-friendly kitchen upgrades guide has more ideas for kitchens you can't change permanently.
A Freestanding Cabinet or Shelf
A freestanding cabinet with doors, or a simple open shelf with baskets, can act as a pantry in a dining nook or hallway. Doors hide visual clutter. If you go with open shelving, use matching baskets and keep only the prettiest containers on display.
Don't forget the space under your sink is not pantry space (food and cleaning products should stay apart), but organizing it well frees up other cabinets. My under-sink organization guide shows how.
Habits That Keep a Pantry Neat
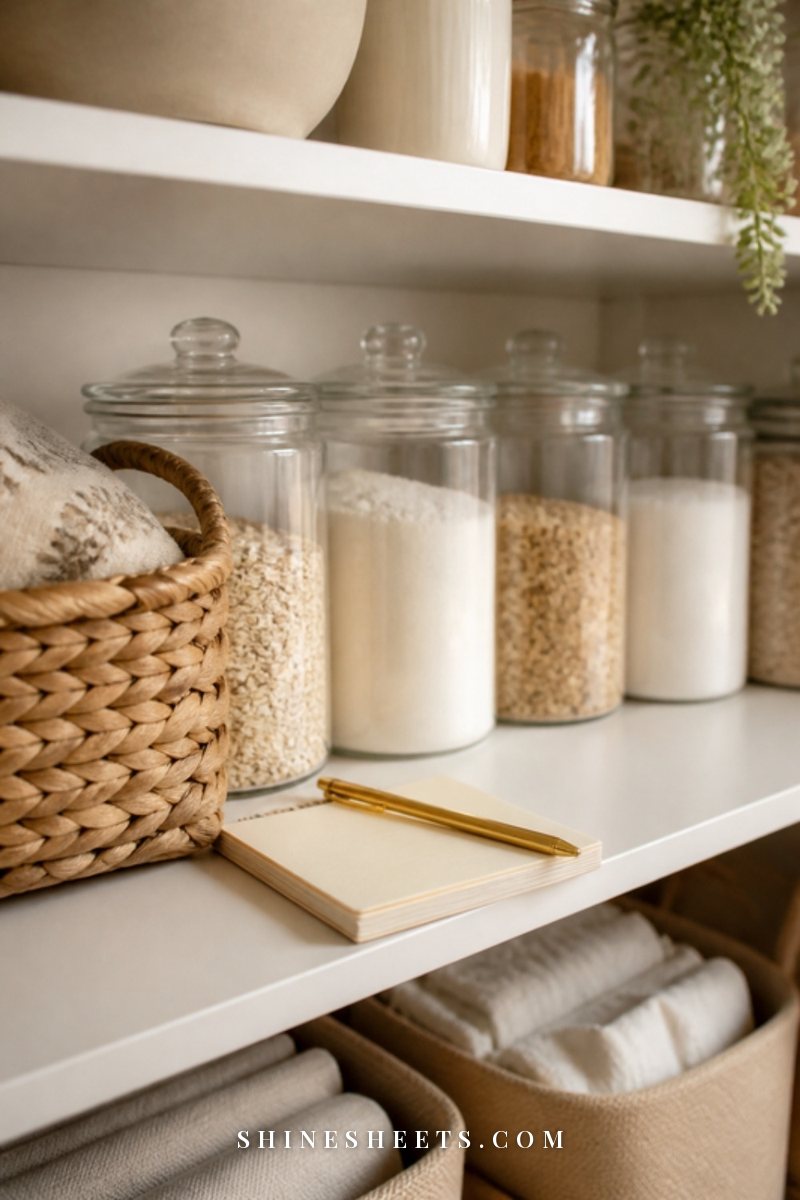
Organizing is a one-time project. Keeping it neat is a few small habits. These are the ones that matter most:
- The weekly 5-minute reset. Once a week, ideally the day before grocery shopping, spend five minutes returning strays to their zones, wiping crumbs and noting what's low. Set a timer so it never turns into a big job.
- First in, first out. When you unpack groceries, move older items to the front and put new ones behind them. It's the simplest way to stop things expiring unseen.
- One in, one out for containers. Don't let empty canisters and spare baskets pile up. Keep only what you use.
- A running list. Keep a notepad or a list on the inside of the door. When something runs low, write it down right away.
- Every zone gets a little buffer. Leave a small gap in each zone. A completely full zone overflows the first time you buy extra.
- A seasonal edit. Every three months, do a mini version of Step 1. It takes fifteen minutes when the pantry is already organized.
Making It Work for Everyone at Home
A pantry system only works if the people who use it can follow it without a tour. The best test is simple: could a guest find the tea and put it back in the right place? If yes, your system is clear enough.
A few ways to make it easy for everyone:
- Show, don't lecture. Walk everyone through the zones once, in two minutes, pointing out where snacks, breakfast and backstock live. That's usually all it takes.
- Use open containers for shared items. Lids are an extra step. Open baskets for snacks mean things actually get put back instead of left on the counter.
- Give kids their own low basket. Little hands can help themselves without pulling everything else down, and they learn the system early.
- Keep a "put back" spot. A small tray on the counter for items that need to be returned beats a pantry floor full of strays. Empty it during your weekly reset.
- Adjust instead of insisting. If one zone is constantly messy, the setup is probably wrong, not the people. Move it, enlarge it or make it simpler.
How Long Pantry Organization Takes
It helps to know what you're signing up for, so you can plan it into a free morning instead of starting at 9 p.m. and ending up with groceries all over the floor. As a rough guide:
- A single kitchen cabinet: about 30 to 45 minutes from emptying to finished.
- A small reach-in pantry: about 1 to 2 hours, plus a little extra if you're decanting.
- A large walk-in pantry: half a day, or break it into one shelf per evening over a week.
If the whole job feels like too much, split it into stages. Day one: empty, edit and clean. Day two: zones and baskets you already own. Then live with it for a week before buying any new containers, so you know exactly what you need. That pause alone saves most people money.
Pantry Organization Mistakes To Avoid
A few common traps can undo all your hard work:
- Buying containers first. Always edit and measure before shopping. Otherwise you'll own beautiful canisters that don't fit your shelves.
- Over-decanting. If refilling jars feels like a chore, you'll stop doing it. Decant only what makes life easier.
- Labels that are too specific. A label for every single item means constant relabeling. Zone labels last.
- Ignoring the back of deep shelves. Use bins or turntables so nothing gets lost.
- Organizing for a photo instead of for your household. If the people in your home can't keep up with the system, simplify it.
A small safety note: keep cleaning products, pet medicines and anything toxic out of the pantry and away from food, ideally in a separate cabinet with a child lock if little ones live with you.
Final Thoughts
A neat pantry isn't about perfection. It's about making the easy choice the right one: clear zones, containers that fit, labels that describe a category and a five-minute reset each week.
Start with one shelf if the whole pantry feels like too much. Once you feel how calm it is to open that door and find exactly what you need, the rest tends to follow on its own.