A stained plastic container isn't a dirty container. Most of the time it's perfectly clean, it just took on a little color and scent from what it held. Plastic is slightly porous, and pigments from tomato sauce, curry and turmeric, plus the oils that carry garlic and onion smells, settle into its surface. Heat makes that even easier.
The good news is that you rarely need anything harsh. A few pantry staples, a little patience and the right order of methods (gentlest first) will fade most stains and lift most smells. And when a container is truly past saving, it's okay to let it go.
This guide covers how to clean plastic food containers so they look and smell fresh again: why the stains happen, quick safety notes, a stain and smell table, six gentle methods, lids and seals, drying, prevention and when to replace them. A soft container brush and some warm water are a lovely start.
Why Plastic Containers Stain and Hold Smells
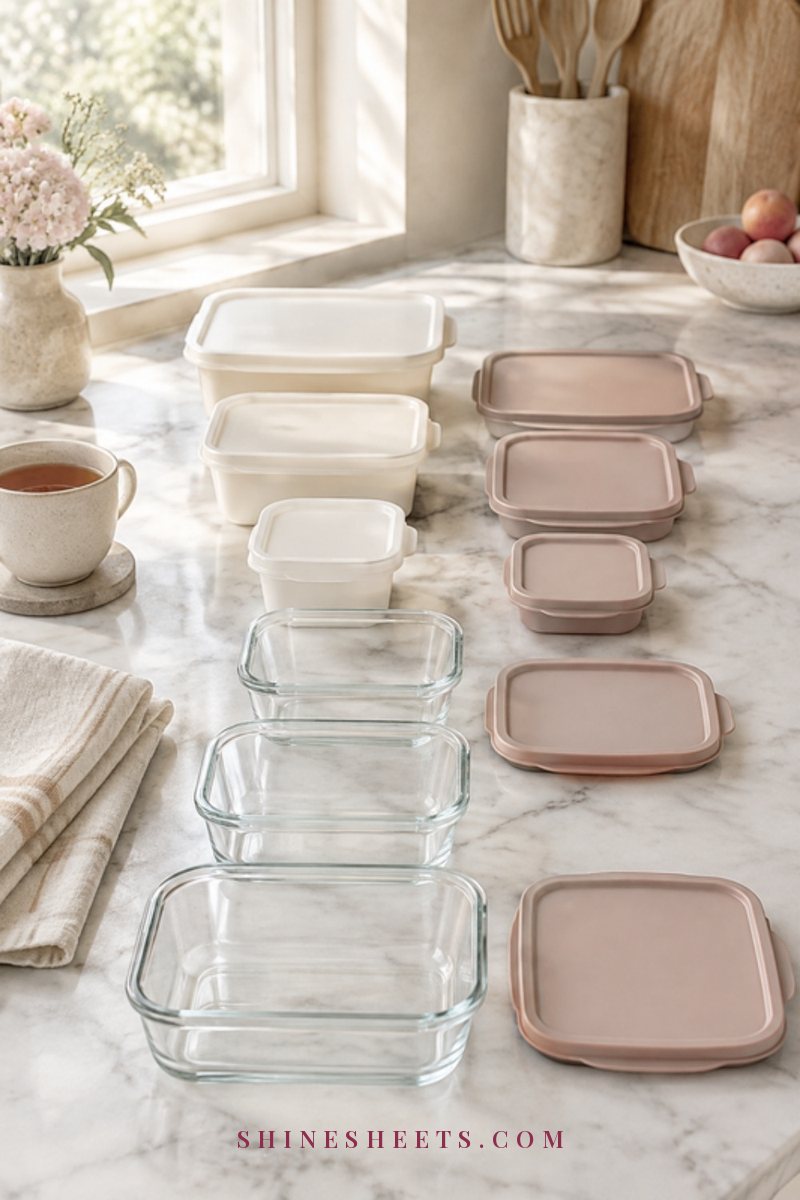
Plastic feels smooth, but under a microscope it has tiny pores and grooves, and every scratch from a fork or a scrubby sponge adds more. Here's what's going on when your container turns orange or smells like last week's dinner:
- Oil carries color and scent. Many food pigments and smell compounds dissolve in fat. Oily sauces push them into the plastic, where water alone can't reach.
- Tomato and turmeric are the big stainers. The red in tomatoes and the yellow in turmeric are strong pigments that cling to plastic, especially when warm.
- Heat opens things up. Microwaving or pouring in hot food softens the surface slightly, so stains and smells sink in deeper.
- Time sets stains. A container that waits in the fridge or sink for two days stains more than one washed the same evening.
- Trapped moisture causes musty smells. Snapping a lid onto a damp container is the fastest way to get that stale, closed-cupboard scent.
Knowing this makes the fixes feel logical: break down the oil, lift the pigment, let air and light do their work, and keep things dry.
Before You Start: Quick Safety Notes
These methods are gentle, but a few rules keep you and your containers safe:
- Never mix bleach with vinegar or ammonia. These combinations release harmful gases. Use one method at a time and rinse well in between. My guide to natural cleaning and the combos never to mix explains why.
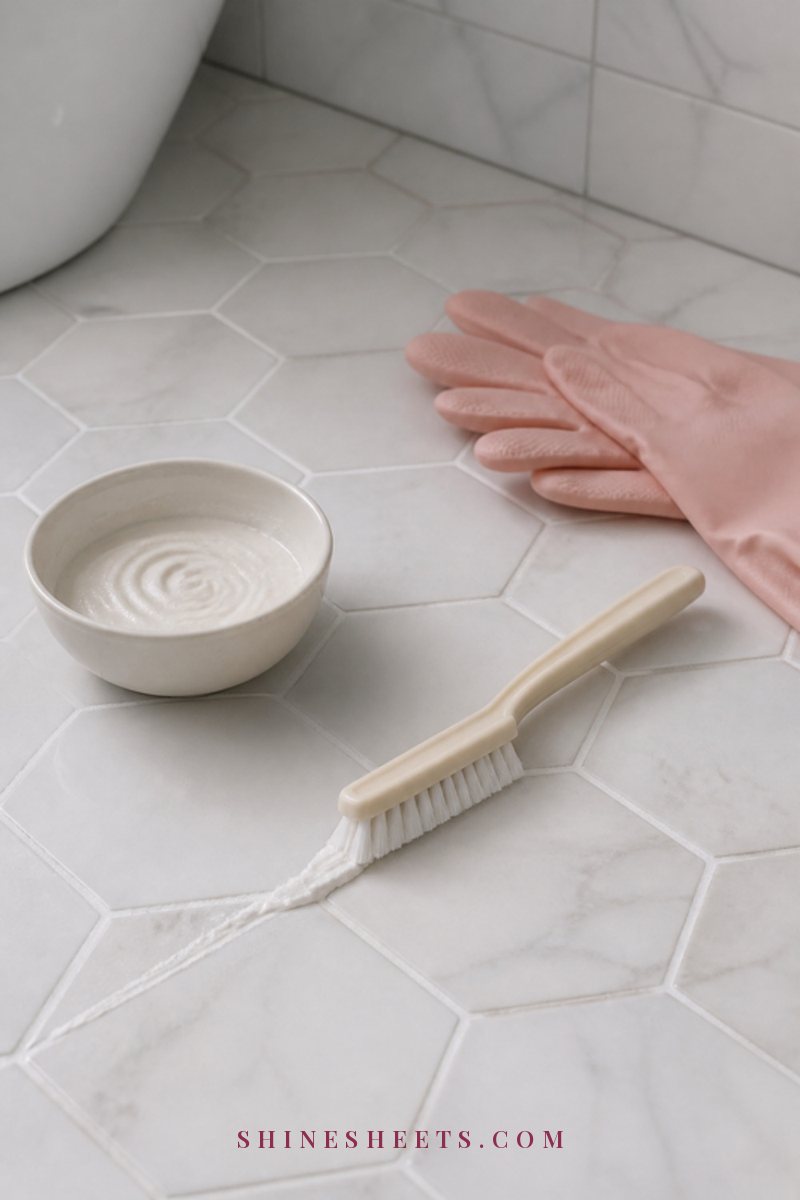
- Wear gloves. A pair of blush rubber cleaning gloves protects your hands during long soaks, especially with vinegar, lemon or diluted bleach.
- Ventilate. Open a window when you use vinegar or bleach.
- No abrasive pads. Steel wool and rough scrubbers scratch plastic, and scratches hold even more stains and bacteria. Stick to soft brushes and cloths.
- Check the labels. Look at the bottom of each container for dishwasher-safe and microwave-safe symbols before you put it in either.
- Hot, not boiling. Very hot or boiling water can warp thinner plastic. Comfortably hot tap water is enough.
- Test first. If a container has a printed pattern or colored lid, try a method on a small hidden spot before soaking the whole thing.
Stain and Smell Fix Table
Not every problem needs every method. Find your row, start with the best method and only move on if it doesn't work. Screenshot it for the next tomato sauce night.
| Stain or smell | Best method | Time needed | Notes |
|---|---|---|---|
| Light tomato or pasta sauce stain | Baking soda paste | 15–30 minutes | Rub gently with a soft brush, then wash as usual |
| Deep orange tomato stain | Sunlight | 4–8 hours, or a full sunny day | Works best on a damp, clean container; repeat if needed |
| Yellow curry or turmeric stain | Baking soda paste, then sunlight | 30 minutes plus a sunny afternoon | Turmeric fades slowly; patience beats scrubbing |
| Greasy film or oily feel | Warm soapy soak | 30 minutes | Use plenty of dish soap; grease holds smells |
| Garlic or onion smell | White vinegar soak | 30–60 minutes | Rinse well, then air-dry with the lid off |
| Fishy smell | White vinegar soak, then lemon rub | 1 hour plus 30 minutes | Rinse thoroughly between steps |
| Musty, stale smell | Crumpled newspaper or coffee grounds | Overnight, up to 2 days | Make sure the container is fully dry first |
| Stubborn smell that keeps coming back | Diluted bleach soak (optional) | 5–10 minutes | Gloves, ventilation, rinse very well; never with vinegar |
6 Gentle Ways To Remove Stains and Smells
Work through these from the top. Most containers are fixed by the first two or three. Always start with a container that's been washed with dish soap, so you're treating the stain, not old food.
1. Baking Soda Paste
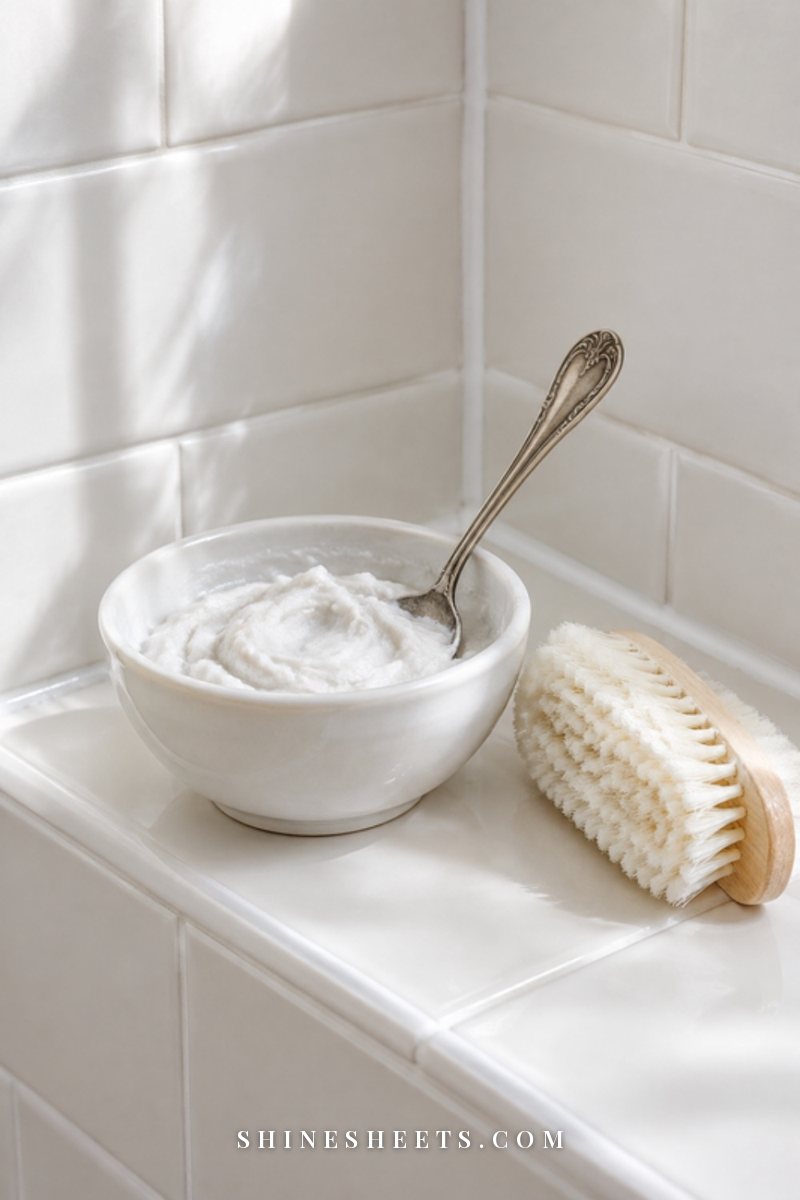
Baking soda is a mild abrasive that won't scratch, and it helps neutralize odors at the same time. It's my first stop for almost any stain.
- Mix about 2 tablespoons of baking soda with 1 tablespoon of warm water into a thick paste.
- Spread it over the stained areas, including corners and the rim.
- Leave it for 15–30 minutes. For stubborn stains, leave it overnight.
- Rub gently in small circles with a soft brush or cloth.
- Rinse and wash with warm soapy water.
Storing baking soda in a white canister with a lid right by the sink makes it easy to grab without hunting through the cupboard.
2. Warm Soapy Soak
Many smells and dull, cloudy films are really just leftover grease. A long soak loosens it far better than a quick wash.
- Fill the sink or a basin with hot tap water (not boiling) and a generous squeeze of dish soap.
- Submerge the containers and lids, pushing out air bubbles so they stay under.
- Soak for 30 minutes.
- Scrub with a soft brush, paying attention to corners and lid grooves.
- Rinse in clean warm water.
Use a clean sponge or brush for this. A tired sponge just moves old smells around (my guide to kitchen sponge hygiene covers when to replace yours).
3. White Vinegar Soak (On Its Own)
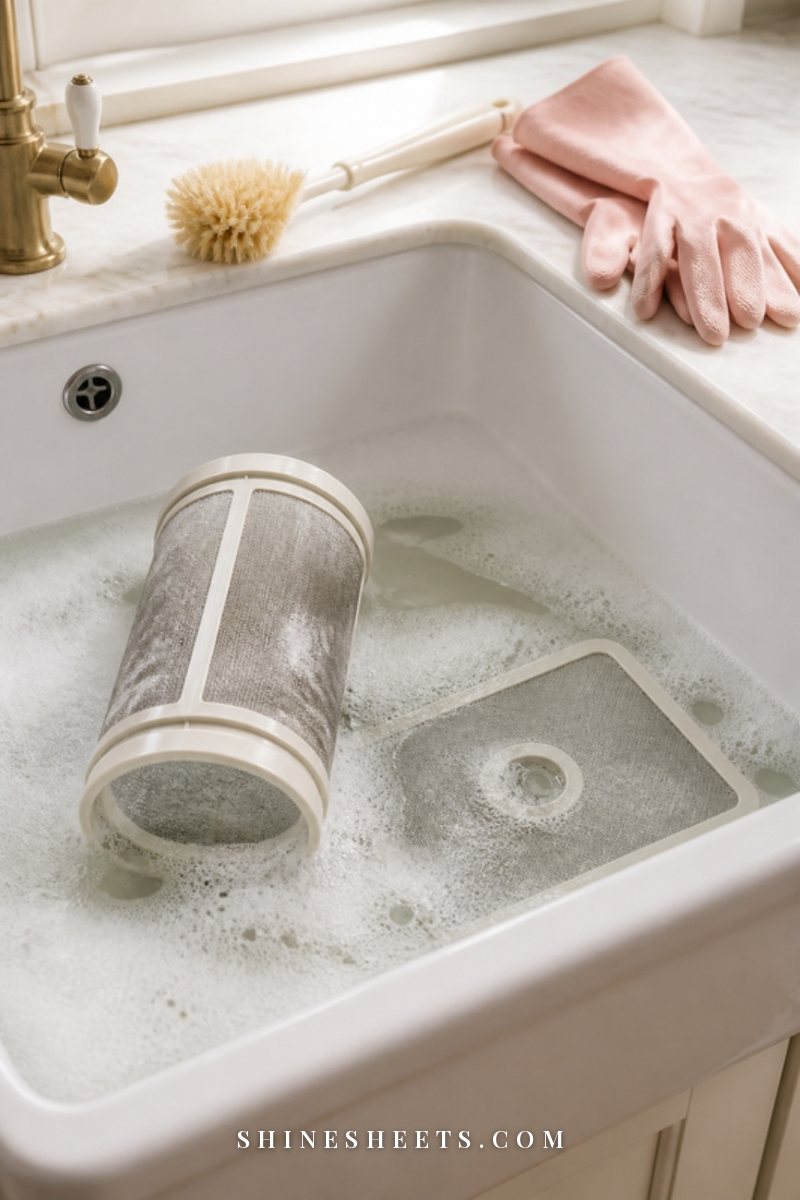
White vinegar is great for garlic, onion and fishy smells. Use it by itself, never in the same soak as bleach.
- Mix equal parts white vinegar and warm water, enough to fill the container (or a basin for several).
- Soak for 30–60 minutes. For strong smells, up to a few hours.
- Pour it out, rinse well and wash with dish soap to remove the vinegar scent.
- Air-dry with the lid off.
Open a window while it soaks. The vinegar smell fades completely once the container is rinsed and dry.
4. Sunlight To Fade Tomato Stains
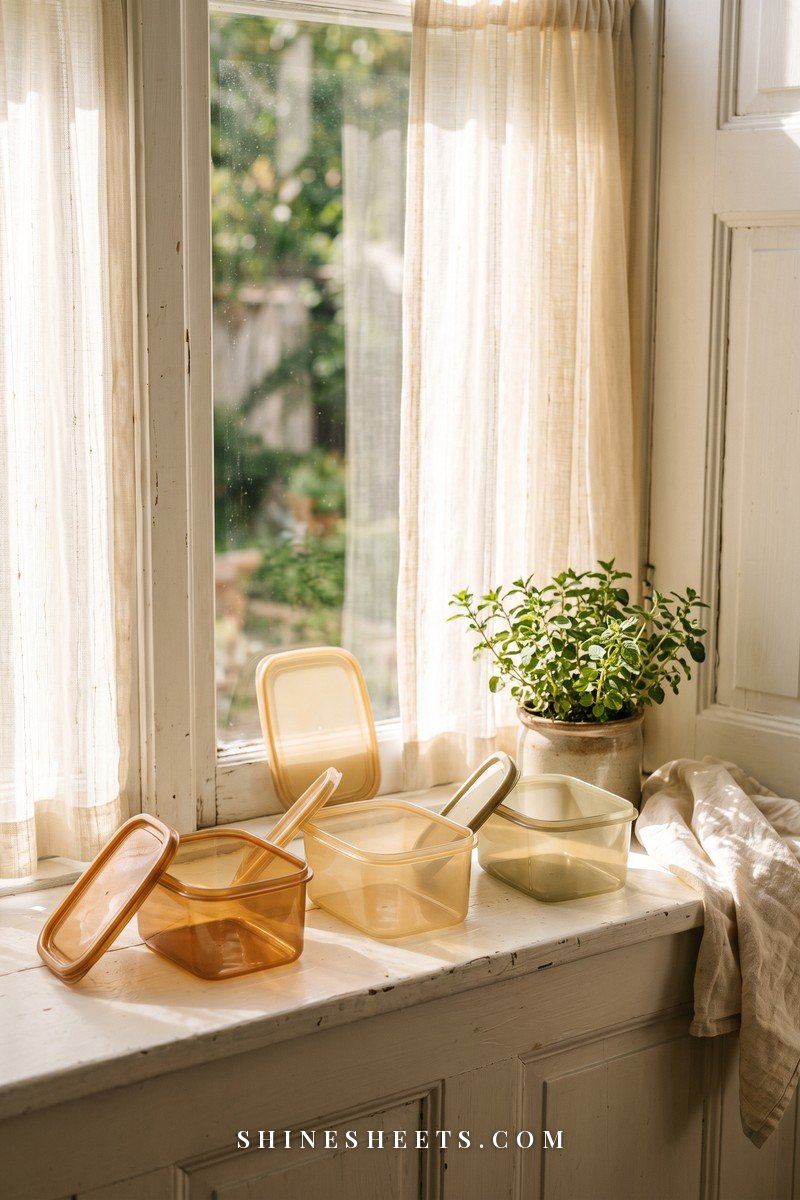
This one feels almost too simple, but it really works. Sunlight breaks down the red pigment in tomatoes, so orange stains can fade noticeably in a single sunny day.
- Wash the container and leave it slightly damp.
- Set it on a sunny windowsill, balcony table or outdoor surface, open side facing the sun.
- Leave it for 4–8 hours, or a full day for deep stains.
- Check it, and repeat for a second day if needed.
It works best in bright, direct light. Bring the containers in before evening dew, and keep an eye on very thin plastic on hot days so it doesn't warp.
5. Lemon Juice Rub
Lemon juice is mildly acidic and leaves a fresh scent, which makes it lovely for light stains and lingering smells. It's even better paired with sunlight.
- Cut a lemon in half, or pour a little bottled lemon juice onto a soft cloth.
- Rub it over the stained or smelly areas.
- Leave it for 30 minutes to 1 hour (or set it in the sun during that time).
- Rinse and wash with dish soap.
Wear gloves if you have small cuts on your hands. Lemon stings more than you'd expect.
6. Crumpled Newspaper or Coffee Grounds Overnight
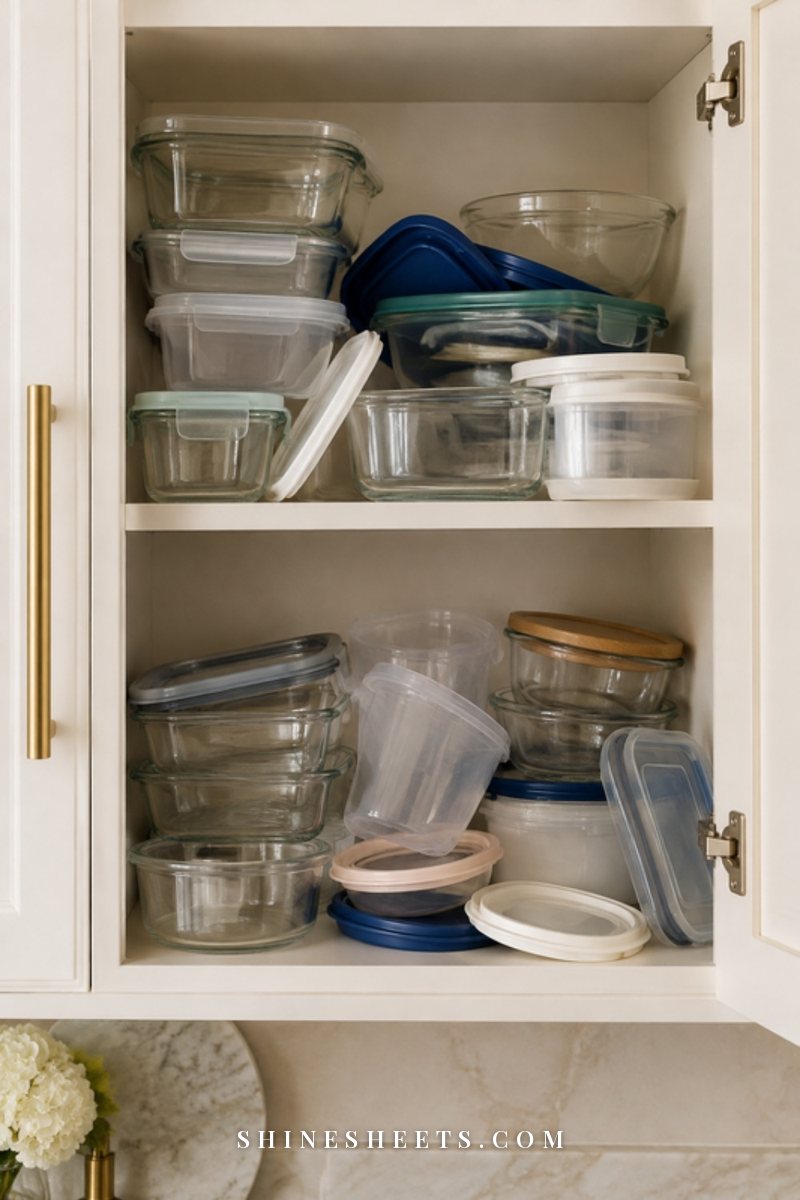
For musty or stale smells that survive washing, let something absorb them overnight.
- Make sure the container is completely clean and dry.
- Fill it loosely with crumpled newspaper, or add 2–3 tablespoons of dry coffee grounds (used grounds work once they've fully dried).
- Put the lid on and leave it overnight, or up to 2 days for stronger smells.
- Empty it, rinse, wash with dish soap and air-dry.
Newspaper ink can leave faint marks on very light plastic, so plain paper towels or unprinted packing paper are a good swap if you're worried.
What About Bleach?
Bleach isn't necessary for most containers, and I'd save it for a smell that keeps coming back after everything else. If you do use it:
- Use plain, unscented household bleach and follow the dilution on its label. A common household dilution is about 1 tablespoon of bleach per gallon of cool water.
- Soak for 5–10 minutes only, wearing gloves, with a window open.
- Rinse very well under running water, then wash with dish soap and rinse again.
- Never use it on the same day as vinegar or with any ammonia-based cleaner, and never mix it with other products.
If a container still smells after a bleach soak, it's usually a sign it's time to replace it.
Don't Forget the Lids and Seals
Lids often smell worse than containers, because the rubber or silicone seals trap moisture and food bits. If your lids have removable seals:
- Pull the seal out gently with a blunt butter knife or your fingernail.
- Soak it in warm soapy water for 15–20 minutes, then scrub the groove in the lid with a soft brush.
- Check for black spots, which can be mold. A baking soda paste or vinegar soak usually lifts them; if they don't budge, replace the lid.
- Let both the seal and lid dry completely before putting them back together.
Lids with seals that can't be removed get the same soaks as the containers, plus an extra-long dry upside down.
How To Dry Containers So Smells Don't Come Back
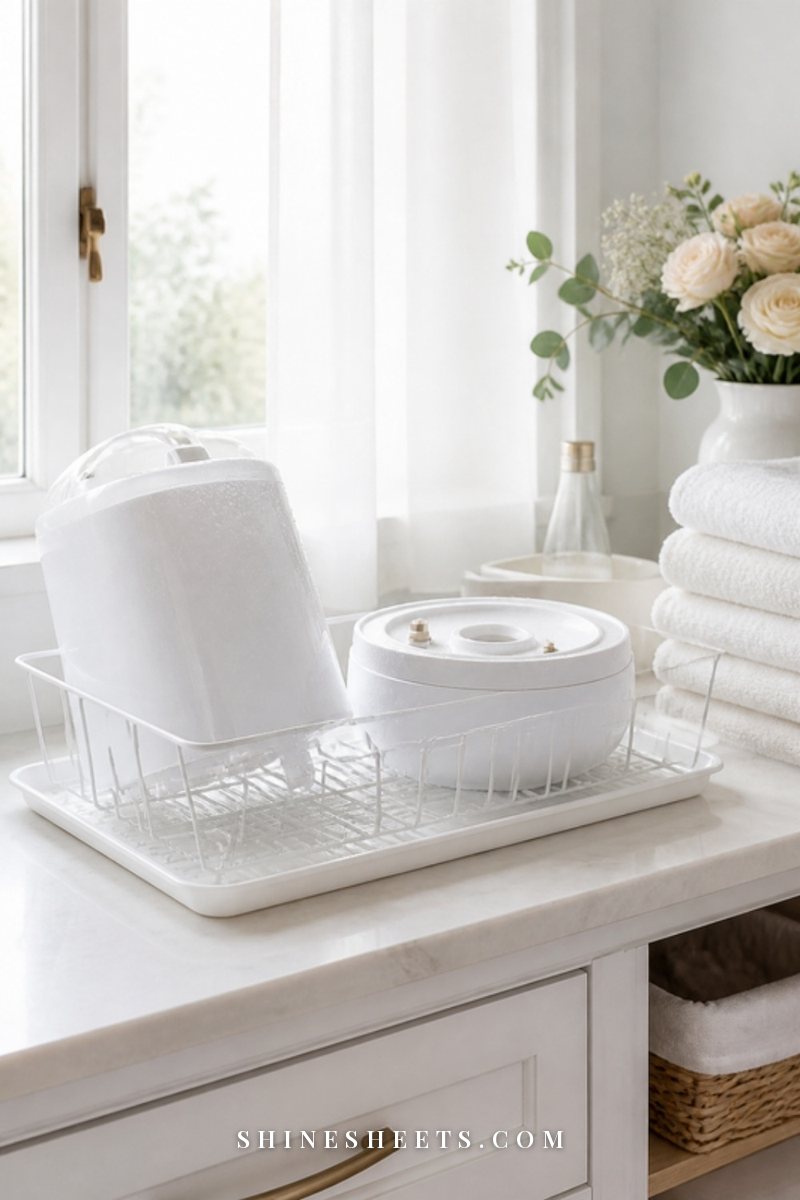
Drying is the step most of us rush, and it's where musty smells are born. A few small habits make a big difference:
- Dry with the lids off. Always. Store lids separately or rest them loosely on top, never snapped shut on a damp container.
- Air-dry upside down. A bamboo drying rack lets air reach every side and keeps lids standing upright.
- Towel-dry the grooves. A soft, lint-free cloth gets into corners where water collects. A set of sage microfiber dish cloths dries quickly and doesn't leave fluff behind.
- Give dishwasher loads a minute. Plastic stays wet after a cycle. Open the door and let things steam dry for 15–20 minutes before you put them away.
Once they're dry, my guide on how to organize food storage containers and match lids helps you keep them tidy, too.
Dishwasher and Microwave: Reading the Labels
Those tiny symbols on the bottom of your containers are worth a closer look, because they tell you how much heat each one can handle.
- Dishwasher-safe symbol (usually plates or glasses with water drops): the container can go in the machine, ideally on the top rack. No symbol means hand-wash only, to be safe.
- Microwave-safe symbol (wavy lines): the container is made to handle microwave heat. Even so, take the lid off or leave it loosely vented, and avoid heating oily or tomato-based foods in plastic if you want to keep it from staining.
- Freezer-safe symbol (a snowflake): fine for the freezer, but let frozen containers come to room temperature before washing in hot water, since sudden temperature changes can crack plastic.
- No labels at all? Treat it as hand-wash, no microwave, and use it for cold storage only.
If a container goes white and chalky after a few dishwasher cycles, that's often a sign the plastic doesn't love the heat. Switch it to hand-washing or retire it.
A Simple Container Reset Routine
You don't need to deep clean containers every week. A quick reset once a month (or whenever the cupboard starts to smell a little stale) keeps everything fresh with very little effort. Here's the routine I'd follow:
- Empty the cupboard and pull out every container and lid. Match them up as you go.
- Sort into three piles: fresh and fine, needs a treatment, and past saving (cracked, warped, no matching lid).
- Treat the middle pile using the stain and smell table above. Start a baking soda paste or vinegar soak, then wipe the empty shelf while they sit.
- Wipe the cupboard with warm soapy water and dry it with a clean cloth. Crumbs and drips in there can make clean containers smell stale again.
- Dry everything completely with lids off, ideally for a few hours.
- Put them back nested, lids stored separately or standing upright, so air can move between them.
The whole thing takes about 30 minutes of hands-on time, and it's oddly satisfying. If your fridge needs the same fresh start, my guide on how to clean a fridge is a nice pairing for the same afternoon.
How To Prevent Stains Next Time
A little prevention means you'll hardly need any of the methods above:
- Cool food before storing. Let hot food sit for a few minutes so it's warm, not steaming, before it goes into plastic.
- Give it a light oil coat before tomato sauces. A very thin layer of cooking oil or a quick spray creates a barrier, so pigment has less to cling to.
- Wash soon. Rinse right after emptying, even if the full wash happens later. Stains set within hours.
- Use the top rack. If containers are dishwasher-safe, keep them on the top rack, away from the heating element. My guide on how to clean a dishwasher helps keep the machine itself fresh.
- Save glass for strong foods. Curry, tomato sauce and anything with turmeric are happier in glass.
- Reheat in glass or ceramic. Even microwave-safe plastic stains and wears faster when it's heated often.
When To Replace Plastic Containers
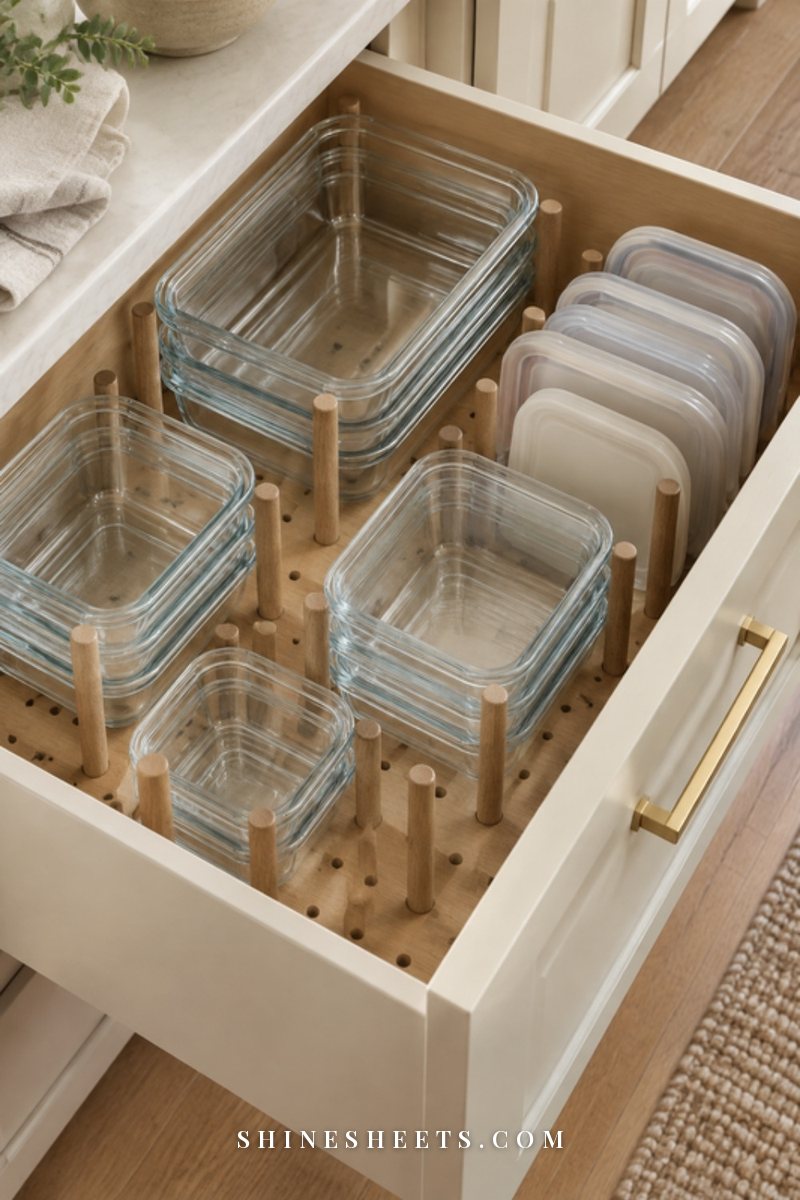
Some containers are past their best, and no amount of soaking will change that. It's time to let one go if you notice:
- Deep scratches that hold stains and are hard to clean.
- Cracks or chips, even small ones near the rim.
- Warping, where the lid no longer seals properly.
- A cloudy or sticky surface that stays that way after washing.
- A smell that comes back no matter which method you try.
- Moldy seals that can't be removed or cleaned.
When you replace them, a glass food storage set is a pick for reheating, strong-smelling foods and anything with tomato or turmeric. Glass doesn't stain or hold smells, and it goes from fridge to oven or microwave (check the label for each). Keep a few lightweight plastic ones for lunches and snacks if you like. Old containers often find a second life holding screws, craft supplies or seeds. If you're doing a bigger clear-out, my guide on how to declutter your kitchen pairs nicely with this one.
Final Thoughts
Stained containers aren't a sign that you're doing anything wrong. They're just a sign that you cook and save leftovers, which is a lovely thing. A little baking soda, a sunny windowsill and the habit of drying with the lids off will keep most of them fresh for a long time.
Start with the gentlest method, give it time, and let the ones that are truly worn out go without guilt. Your cupboard will feel calmer, and every lid will open to nothing but a clean, empty container ready for whatever comes next.