A dirty microwave looks like a scrubbing job, but it's really a steaming job. Once warm steam has softened the dried-on splatters, almost everything wipes away in a single pass with a damp cloth. No elbow grease, no harsh sprays, no chipped fingernails.
That's why the whole thing can take about five minutes of actual effort. The microwave does most of the work while you put the kettle on or unload a few dishes, and you come back to grime that's ready to slide off.
This guide shows you how to clean a microwave with the steam method, step by step: the inside walls and ceiling, the turntable and roller ring, the door and seal, the outside and keypad, plus what to do about stubborn stains and lingering smells. There's a simple 5-minute timeline table, a few safety notes and the weekly habit that keeps it clean for good.
It's one of those small jobs that makes the whole kitchen feel fresher, and you'll be done before your tea has cooled.
What You Need
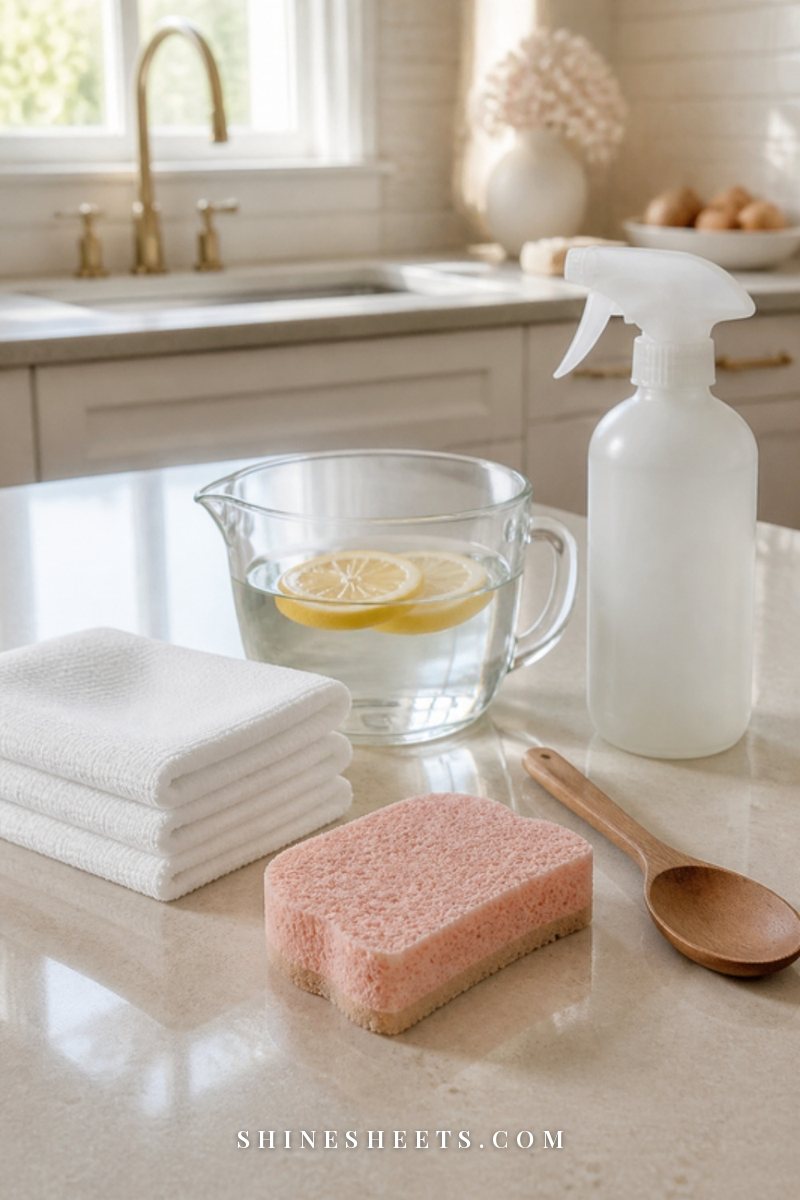
You probably have most of this already. Gather it before you start so the five minutes stay five minutes:
- A microwave-safe bowl. A large glass measuring bowl with a handle is ideal, because the handle makes it much easier to lift out when the water is hot. Any wide, microwave-safe glass or ceramic bowl works.
- Water. About one cup.
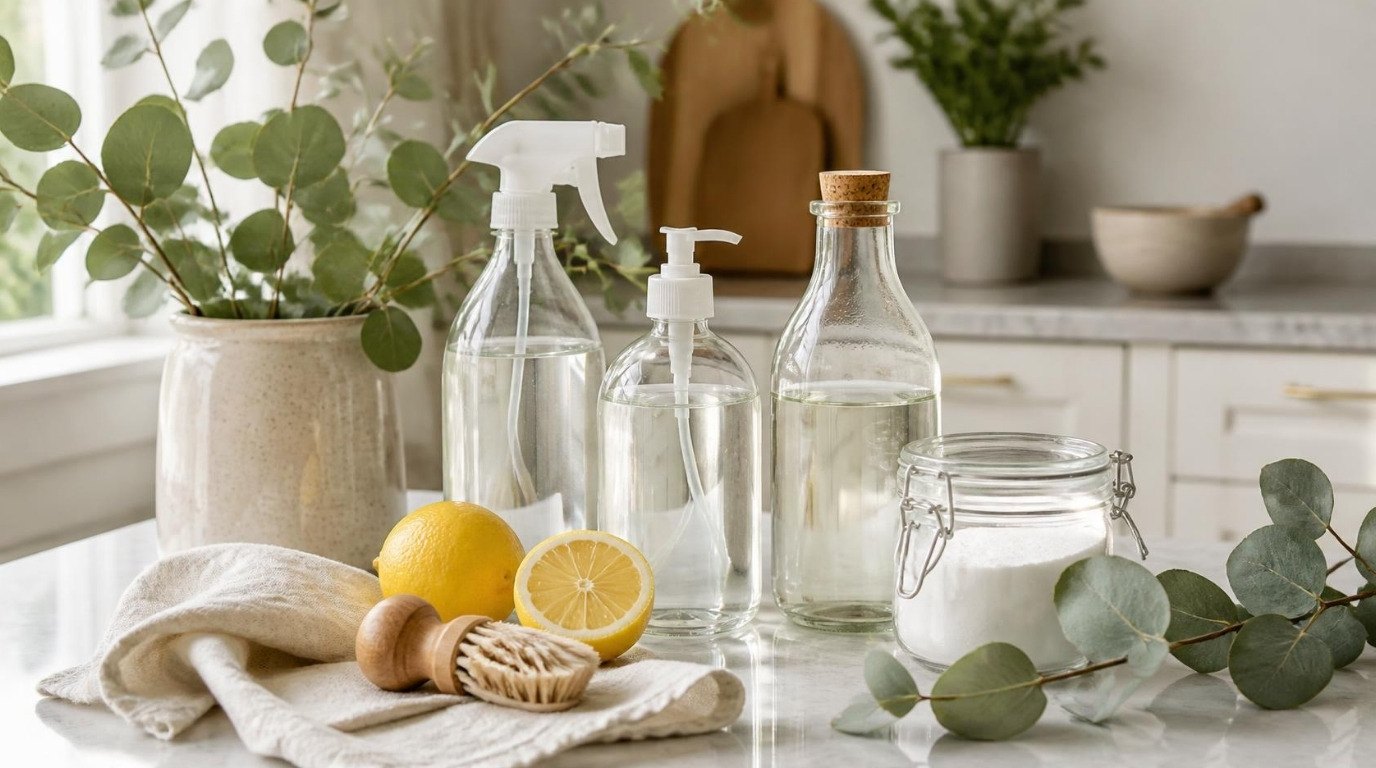
- Half a lemon or a splash of white vinegar. Either one helps loosen grease and freshens the smell. Plain water works too, just a little less well on grease.
- Two soft cloths. A pack of white microfiber cloths is perfect: one damp for wiping, one dry for buffing.
- A non-scratch sponge. For anything stubborn. Look for non-scratch sponges labeled safe for nonstick or glass.
- Mild dish soap. For the turntable.
- Optional: a spray bottle with a little diluted dish soap or vinegar solution for the outside.
Skip steel wool, abrasive powders and scouring pads. They scratch the interior coating and the glass, and scratches catch even more grime next time.
Safety First: A Few Quick Rules
Microwaves are easy to clean, but a few basics keep it safe:
- Never run the microwave empty. Always have water in the bowl when it's switched on.
- Use only a microwave-safe bowl. No metal, no metallic trim, no thin plastic.
- Add a wooden spoon or chopstick to the bowl. Plain water can occasionally superheat and boil over suddenly when moved. Something non-metal in the water helps prevent it.
- Let it cool before lifting. Wait a couple of minutes and use an oven mitt or a towel. Steam burns are no fun.
- Never mix cleaners. Don't combine bleach with vinegar or ammonia, ever. For a microwave, you don't need bleach at all.
- Don't spray directly into vents or onto the keypad. Spray the cloth instead.
- Unplug the microwave before cleaning the outside, the vents or the area underneath.
One more reason this little routine matters: a clean door seal helps the door close properly, and a microwave with a damaged door, hinge or seal shouldn't be used until it's been checked. Keeping the edges free of food buildup is an easy way to look after it.
How To Clean a Microwave With Steam, Step by Step
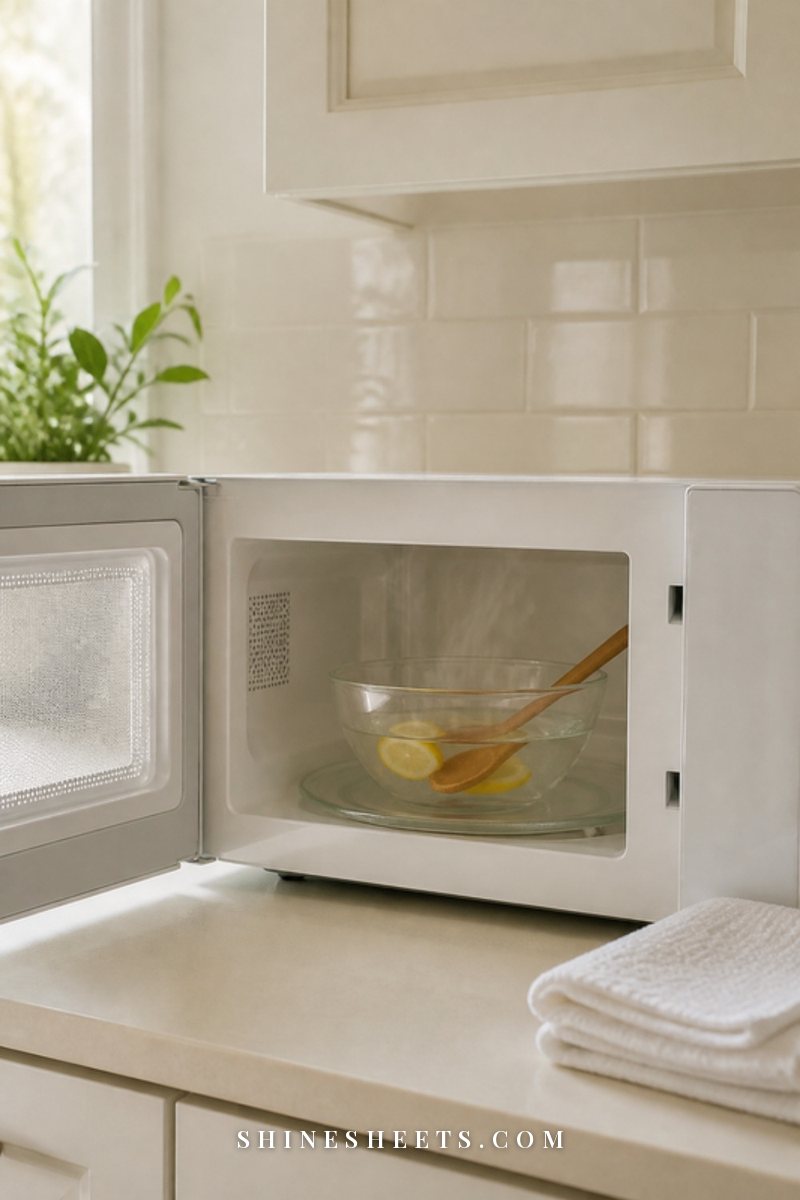
This is the core method. Once you've done it once, you'll never go back to scrubbing.
Step 1: Fill the Bowl
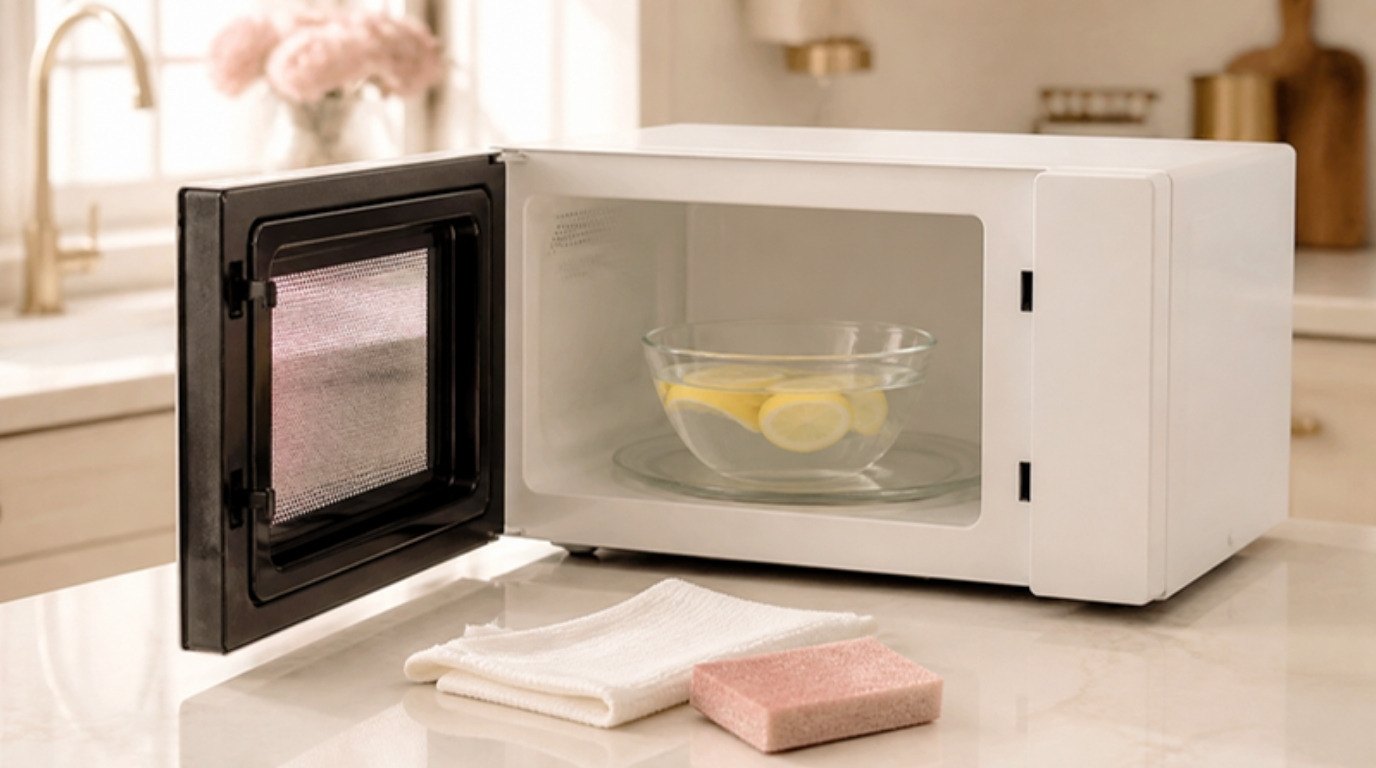
Pour about one cup of water into your microwave-safe bowl. Add the juice of half a lemon and drop the squeezed half in, or add one to two tablespoons of white vinegar. Pop a wooden spoon in the bowl.
Step 2: Heat Until Steamy
Microwave on high for three to five minutes, until the water is boiling and the window is fogged with steam. The exact time depends on your microwave's power. A smaller, weaker microwave may need the full five.
Step 3: Let It Sit With the Door Closed
Don't open the door yet. Leave it closed for three to five minutes. This is the magic step: the trapped steam softens everything on the walls and ceiling. Use the time to wipe a counter or put the kettle on.
Step 4: Remove the Bowl and the Turntable
Open the door, carefully lift out the hot bowl with an oven mitt, then lift out the glass turntable and the roller ring underneath. Set them by the sink.
Step 5: Wipe the Inside, Top to Bottom
Dip your microfiber cloth in the warm lemon or vinegar water (it's now a gentle cleaning solution) and wring it well. Wipe the ceiling first, then the walls, then the floor, so drips land on parts you haven't cleaned yet. Most splatters will come off in one pass.
Step 6: Dry and Air Out
Buff everything with a dry cloth and leave the door open for ten minutes so any remaining moisture and smell can escape.
The 5-Minute Microwave Cleaning Timeline
Here's the whole routine laid out minute by minute. The hands-on part really is about five minutes; the rest is the microwave and the steam doing their thing while you get on with something else.
| Time | What you do | What's happening |
|---|---|---|
| 0:00–0:30 | Fill bowl with 1 cup water, lemon or vinegar, add a wooden spoon | Prep |
| 0:30–4:00 | Microwave on high for 3–5 minutes (hands free) | Water boils and fills the cavity with steam |
| 4:00–8:00 | Keep the door closed; wipe the counter or wash a few dishes | Steam softens dried-on splatters |
| 8:00–9:00 | Remove bowl and turntable; put turntable in warm soapy water | Turntable soaks |
| 9:00–11:00 | Wipe ceiling, walls and floor with the damp cloth | Grime lifts away easily |
| 11:00–12:00 | Wipe the door, inner glass and the seal | Door looks clear again |
| 12:00–13:00 | Wash, rinse and dry the turntable and roller ring; replace them | Back in place |
| 13:00–14:00 | Wipe the outside and keypad with a barely damp cloth; buff dry | Finished, door left open to air |
Screenshot it and keep it on your phone for the next time. Once you know the rhythm, you won't need it.
Lemon, Vinegar or Plain Water: Which Works Best?
All three work, because the real cleaning power is the steam. The extras just add a little something:
- Lemon: the nicest smell by far and very good at neutralizing food odors. A great everyday choice, especially after fish or popcorn.
- White vinegar: slightly better at cutting greasy film and hard water spots on the turntable. The vinegar smell fades within minutes once you air it out.
- Plain water: perfectly fine for a weekly refresh when the microwave is only lightly splattered.
- A drop of dish soap in the water: helpful when there's a lot of greasy splatter, though it can foam a little, so use a bigger bowl.
Choose one, never several at once, and never add bleach or any other cleaner to the bowl. Steam from mixed chemicals is exactly what you don't want to breathe in a small space.
How To Clean the Turntable and Roller Ring
The turntable is usually the dirtiest part, because everything that bubbles over lands there first.
- Fill the sink with warm water and a few drops of mild dish soap.
- Let the glass plate soak for five to ten minutes while you wipe the inside.
- Wipe it with a non-scratch sponge. For burnt-on spots, let it soak a little longer instead of scrubbing harder.
- Wash the roller ring gently, checking the little wheels for crumbs or grease.
- Rinse and dry both completely before putting them back.
Most glass turntables are also dishwasher-safe (check your manual). If yours is, it can go on the bottom rack. Speaking of which, if your dishwasher could use a refresh too, my guide on how to clean a dishwasher pairs nicely with this one.
One small but important detail: wipe the floor of the microwave under the turntable, where the roller ring sits. Crumbs collect there and can make the turntable wobble or squeak.
How To Clean the Microwave Door and Seal
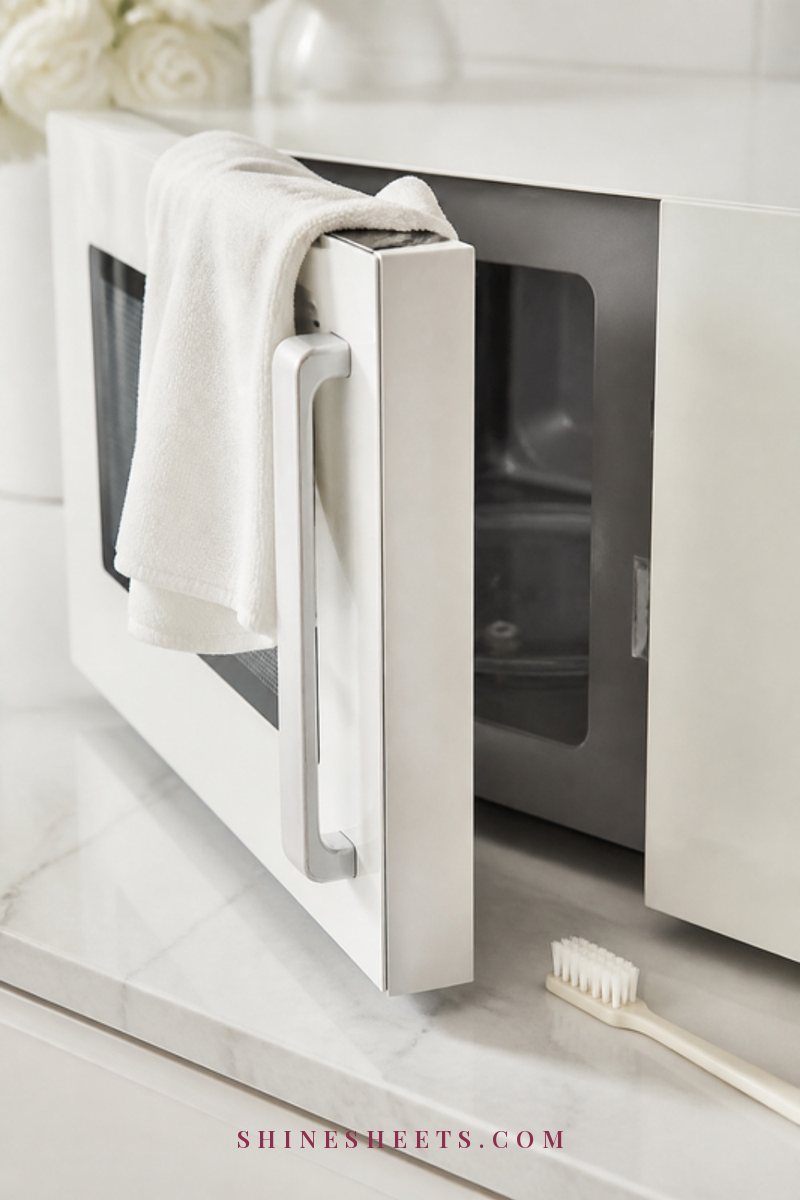
The door gets forgotten, but it's the part you look at every day.
- Inside glass: wipe with the damp cloth while the steam has softened it, then buff dry for a streak-free finish.
- The seal and edges: run a damp cloth along the rim where the door meets the frame. Food builds up here and can stop the door from closing properly. A soft old toothbrush helps in the corners.
- Outside glass: a light mist of diluted vinegar or plain water on your cloth (not on the glass) and a quick buff. A white glass spray bottle filled with a homemade solution looks lovely on the counter and makes this a ten-second job.
- Handle: fingerprints and grease love it. Wipe with a drop of dish soap on a damp cloth, then dry.
A soft, dry finish matters on the glass. Wiping until it's completely dry is what prevents those cloudy streaks you notice when the light comes through the window in the afternoon.
Avoid prying at the seal or pushing anything sharp into the gaps. If the door doesn't close fully or the seal looks damaged, stop using it and have it checked.
How To Clean the Outside and Keypad
The outside only needs a gentle touch, and this is where the "never spray directly" rule matters most.
- Unplug the microwave if you can reach the socket easily.
- Dampen a cloth with warm water and a drop of dish soap, then wring it until it's barely damp.
- Wipe the top, sides and front. On the top, lift anything stored there first (and consider not storing things there at all, it blocks ventilation on many models).
- Clean the keypad with the barely damp cloth, using light pressure. Liquid can seep into the controls, so less is more.
- Dust the vents with a dry cloth or a soft brush. No sprays, no water.
- Buff dry with a clean microfiber cloth.
For stainless steel fronts, wipe in the direction of the grain and finish with a dry cloth to prevent streaks. If it's a built-in or over-the-range model, wipe the underside too. It's often coated in a fine layer of grease from the stove.
When you're on a roll, the oven is often next on the list. My step-by-step on how to clean your oven uses a similarly gentle, low-fume approach.
How To Remove Stubborn Stains
Sometimes one round of steam isn't quite enough, usually for old, baked-on splatters or a sugary spill that's caramelized. Don't reach for something harsher. Repeat or extend the gentle method instead:
- Steam twice. Run a second round of three minutes and let it sit for ten minutes this time.
- Use a dish soap paste. Put a drop of dish soap on a damp non-scratch sponge, hold it on the spot for a minute and wipe in small circles.
- Try a baking soda paste. Mix a little baking soda with water into a paste, spread it on the stain, leave it for five to ten minutes, then wipe it off with a damp cloth. It's gently abrasive without scratching.
- Soften with a hot damp cloth. Microwave a damp (not dripping) cloth for 30 seconds, let it cool slightly, then hold it on the stain for a minute before wiping.
Yellowish discoloration on an older white interior is sometimes permanent staining of the coating, not dirt. If it's smooth and doesn't come off after two gentle rounds, it's clean. Let it be.
How To Get Rid of Microwave Smells
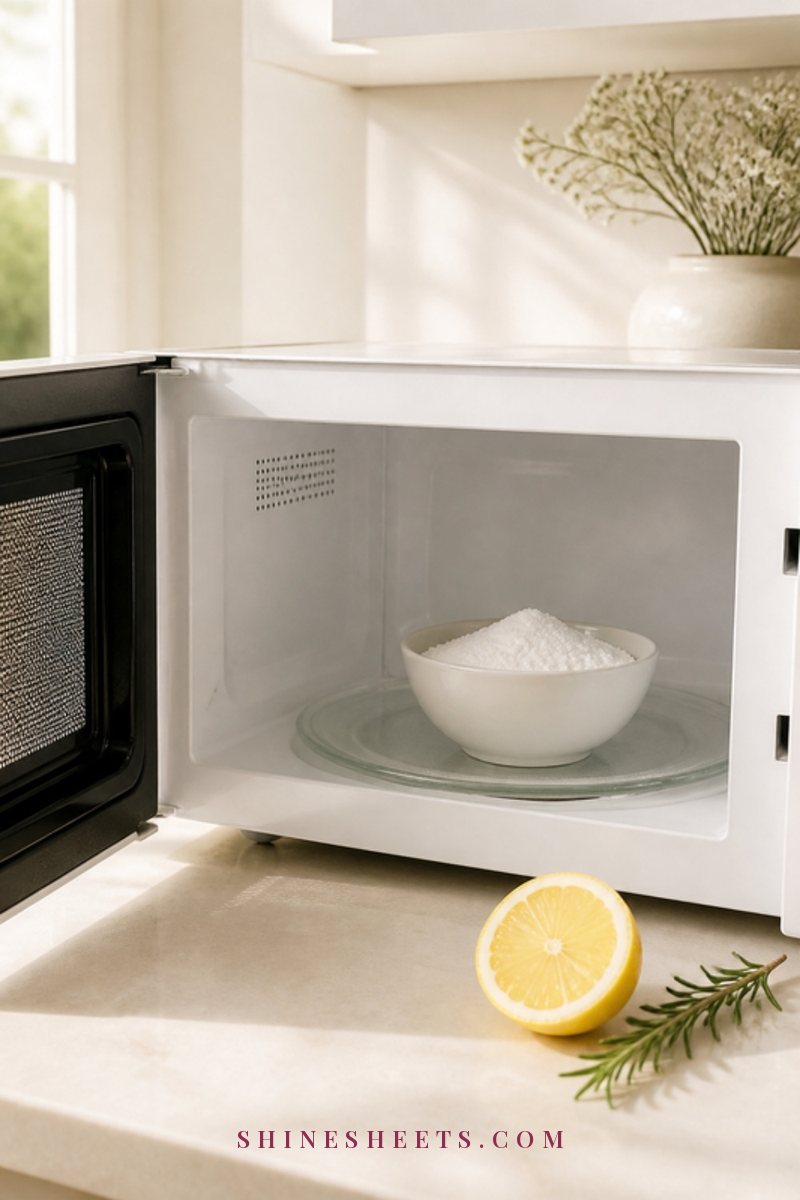
Burnt popcorn, fish and reheated curry can all linger long after the mess is gone. Try these in order:
- Clean first. Smells usually come from leftover splatters, so the steam method often solves the smell too.
- Steam with lemon. Lemon is particularly good at neutralizing food smells. Do an extra round if needed.
- Leave the door open. Air it out for an hour or even overnight.
- Use a baking soda bowl. Place a small open bowl of baking soda inside, close the door and leave it overnight (with the microwave off). It absorbs lingering odors.
- Repeat for really stubborn smells. Burnt popcorn sometimes needs two or three rounds over a couple of days.
Never use scented sprays or air fresheners inside the microwave. They leave residue that heats up next time you cook.
The Weekly Habit That Keeps It Clean
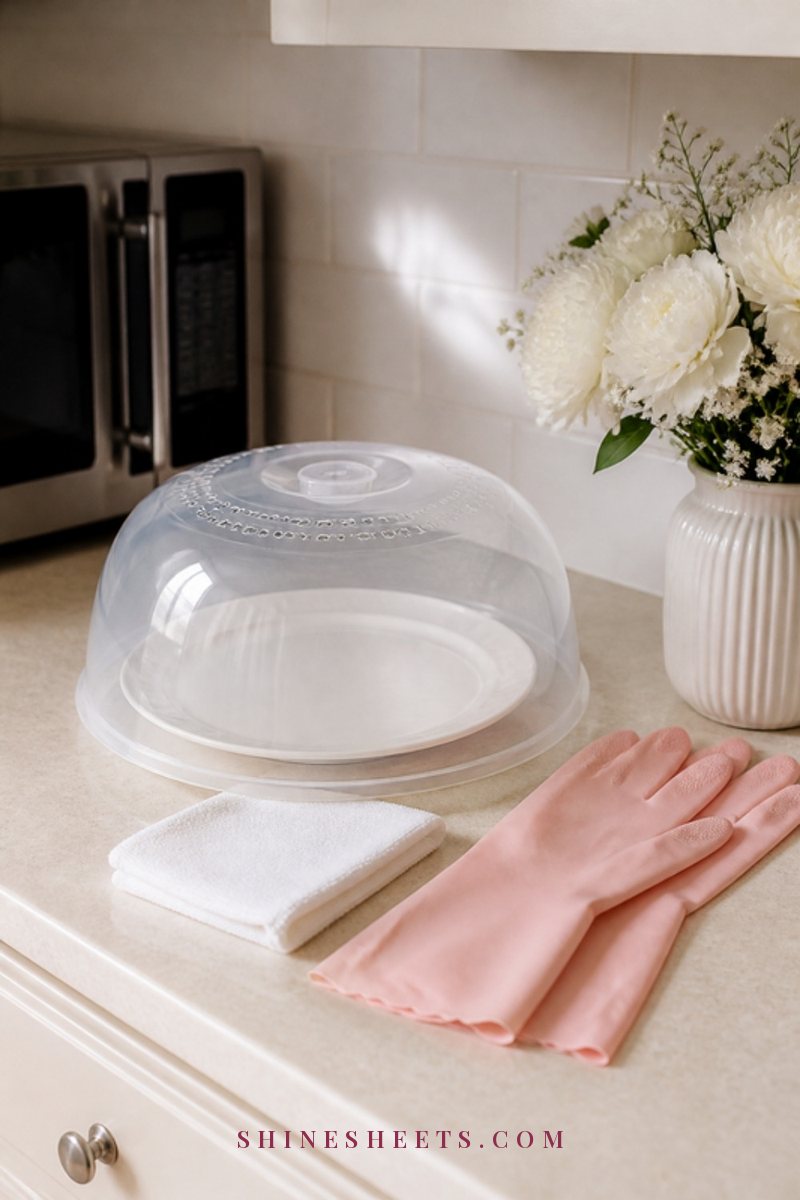
The easiest microwave to clean is one that never gets too dirty. Two tiny habits do most of the work:
- Use a splatter cover. A vented microwave splatter cover over your bowl or plate catches 90 percent of the mess before it happens. Look for one that's BPA-free, microwave-safe and has steam vents. A collapsible one stores flat in a drawer.
- Wipe spills immediately. A fresh spill takes ten seconds to wipe. A week-old one needs steam.
- Steam once a week. Add it to a regular kitchen reset: three minutes of steam, a quick wipe, done.
- Deep clean monthly. Turntable, roller ring, seal, outside, vents and the top.
A pair of pink cleaning gloves is a pick I'd suggest for the weekly kitchen wipe-down. They protect your hands from hot water and soap, and they make a dull job feel a little more cheerful.
If you'd like the microwave to slot into a bigger routine, it belongs in your monthly kitchen deep clean, right before the fridge and the oven.
Common Microwave Cleaning Mistakes
A few habits make the job harder or can damage the appliance:
- Scrubbing before steaming. You're working ten times harder than you need to.
- Using steel wool or abrasive powder. It scratches the interior coating, and damaged coating can chip.
- Spraying cleaner straight into the cavity. Liquid can get into the vents and the electronics. Spray the cloth.
- Using bleach. It's unnecessary, it leaves a smell and it must never meet vinegar or ammonia.
- Forgetting the ceiling. Most splatter lands overhead, and it's easy to miss when you only look down.
- Running it empty "just to dry it." Never. Leave the door open instead.
- Putting the turntable back wet. Water underneath can make it slip and leaves water spots.
How Often Should You Clean Your Microwave?
It depends on how much you use it, but here's a simple rhythm that works for most homes:
- After every spill: a ten-second wipe while it's still fresh.
- Once a week: the steam method and a wipe of the inside and the door.
- Once a month: the full routine, including the turntable, roller ring, seal, outside, top and vents.
- Right away: after anything burns, explodes or smells strong.
If you use your microwave several times a day, move the steam clean to twice a week. If you barely use it, once every two weeks is plenty. Pairing it with something you already do, like taking out the recycling or wiping down the counters on a Sunday, makes it almost automatic.
Keeping the Area Around It Tidy
A clean microwave looks even better in a tidy corner. Keep the counter around it clear, store your splatter cover and a microfiber cloth in a nearby drawer and avoid stacking anything on top, which can block ventilation and gathers dust and grease. If you're short on counter space, my kitchen organization ideas have plenty of renter-friendly ways to make room.
Final Thoughts
Cleaning a microwave is one of the most satisfying little kitchen jobs, because the effort is so small and the difference is so obvious. A bowl of water, a few minutes of steam and a soft cloth are really all it takes.
Make it a weekly habit, keep a splatter cover close and you'll never face a dreaded crusty microwave again, just a fresh, clean one that's ready whenever you need it.