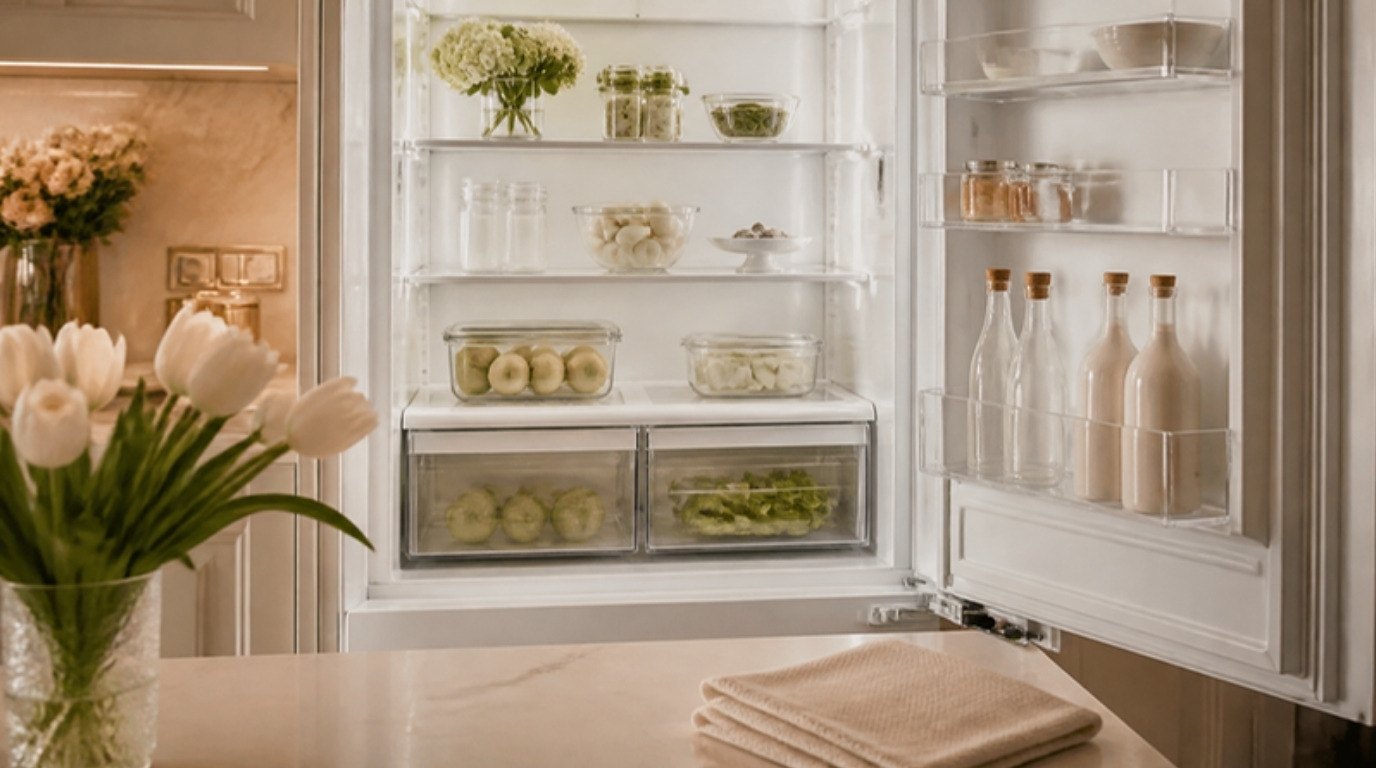
A fresh fridge is mostly about small, regular attention, not a dramatic once-a-year scrub. Fifteen minutes once a week – tossing what's past its best, wiping drips before they set and giving the handles a quick clean – keeps smells and sticky shelves from building up. Then a deeper clean once a month takes care of everything else in well under an hour.
The nice part is that you don't need strong chemicals for any of it. Warm water, a little gentle dish soap and a couple of soft cloths do almost all of the work. Strong cleaners can leave residue and odors near food, so gentle really is better here.
This guide shows you how to clean a fridge step by step: the 15-minute weekly reset, a weekly vs monthly fridge routine table, the monthly deep clean (including the one glass-shelf mistake that can crack a shelf), door seals, odors, a quick freezer note, the outside and coils, and how to organize everything afterward so it stays fresh.
How Often Should You Clean Your Fridge?
A simple rhythm covers almost every household:
- Daily: Wipe spills when they happen. It takes seconds and prevents most of the scrubbing later.
- Weekly: The 15-minute reset below – check, toss, wipe, handles.
- Monthly: A deep clean of shelves, drawers, walls and seals.
- Every 6–12 months: Coils, the area under and behind the fridge, and a defrost if your freezer needs one.
If you've had a leak from raw items, a broken jar or a power cut, clean the affected area right away rather than waiting for the next scheduled session. And if your fridge hasn't had a proper clean in a long time, don't worry – the monthly method below works just as well as a first fresh start. It may just take an extra twenty minutes.
What You'll Need
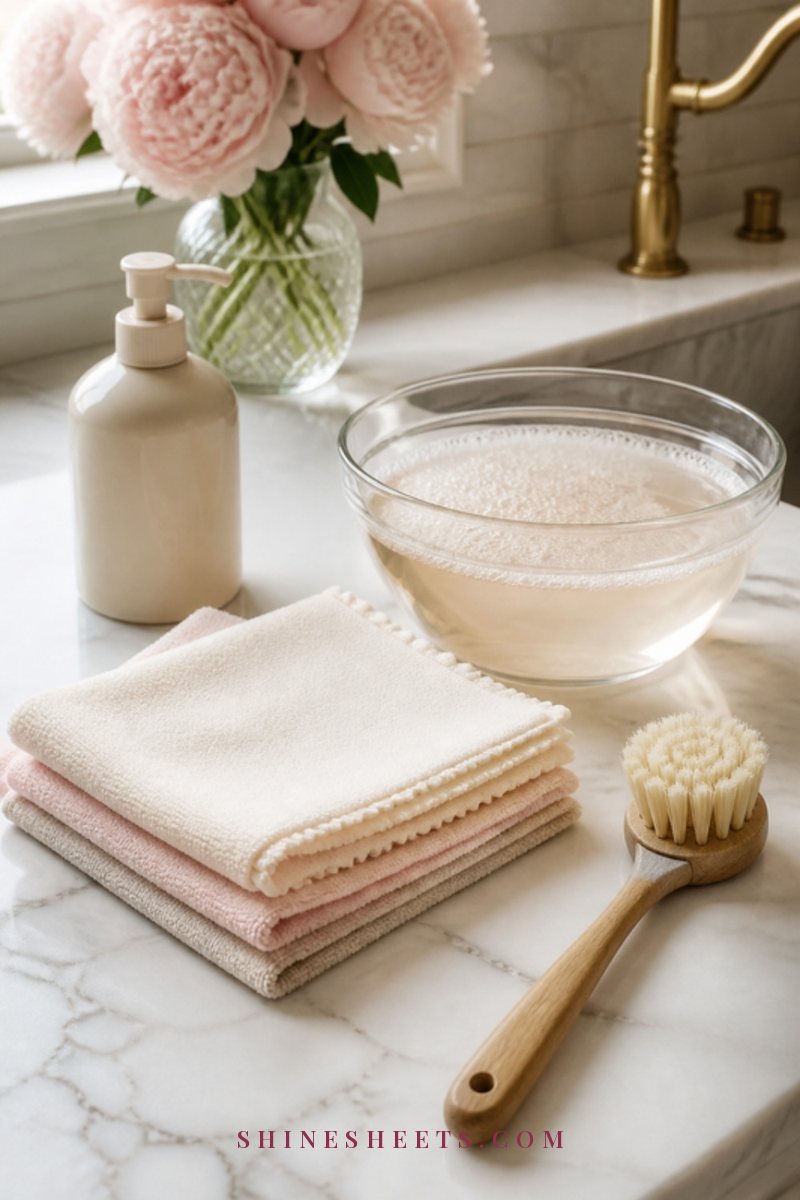
Gather everything before you open the fridge door, so cold air doesn't escape while you hunt for a cloth. Here's the simple kit:
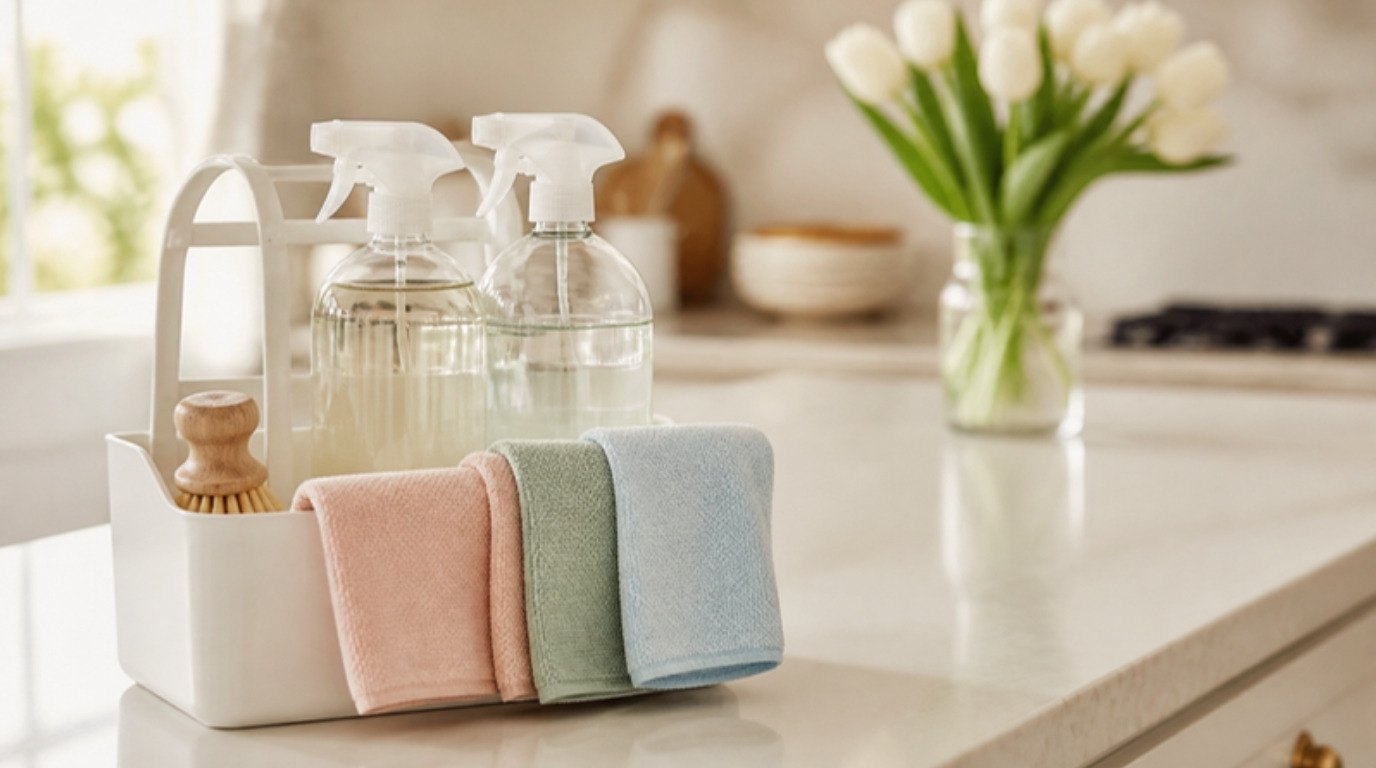
- A bowl or bucket of warm water with a small squeeze of gentle dish soap (about one teaspoon per liter or quart).
- Two or three soft cloths: microfiber cleaning cloths are ideal – one for washing, one for rinsing, one for drying.
- A soft-bristled brush or old toothbrush for corners, tracks and door seals.
- A cooler or insulated bag with ice packs for the monthly clean.
- A dry towel to lay shelves on.
- A trash bag for anything past its best.
Skip abrasive scrubbing pads, which can scratch plastic liners, and skip bleach-based sprays inside the fridge unless your manufacturer recommends one. And always remember the golden cleaning rule: never mix bleach with vinegar or ammonia, anywhere in the house.
The 15-Minute Weekly Fridge Reset
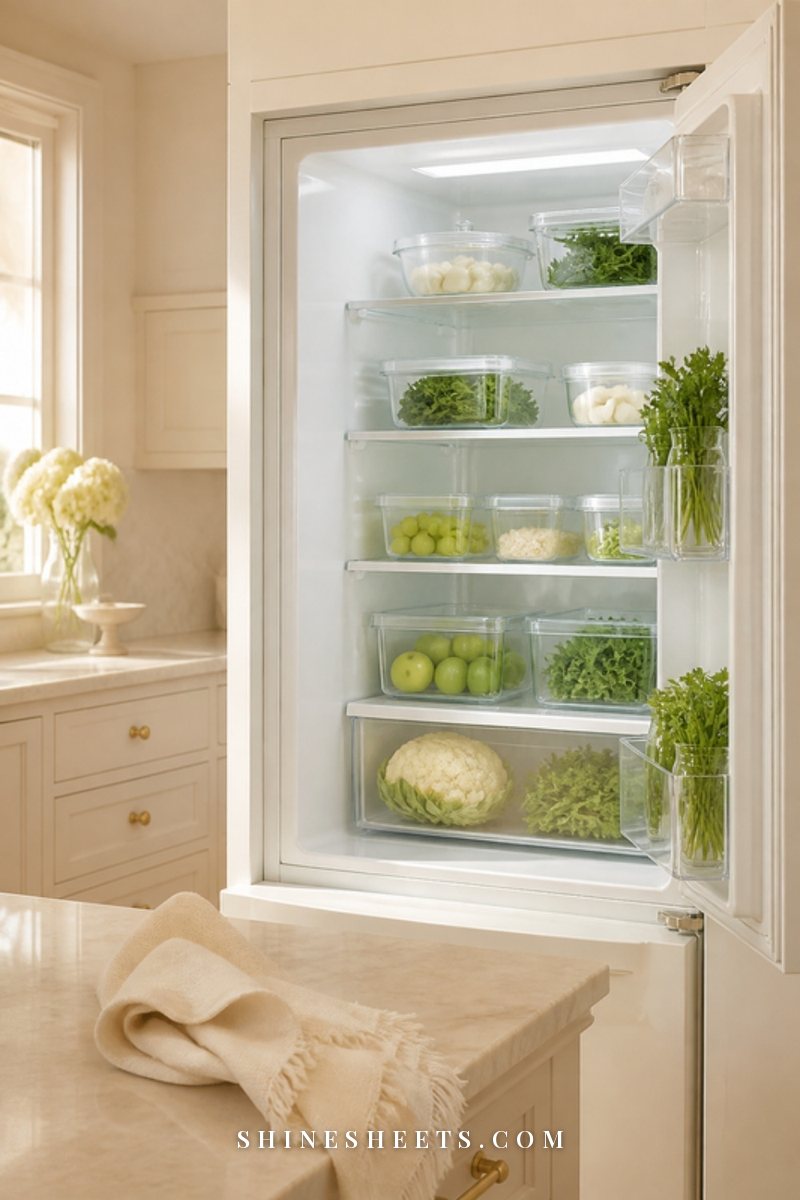
Pick a regular moment for this, ideally the evening before you go grocery shopping, when the fridge is at its emptiest. Set a timer if it helps.
- Minutes 0–4: Check and toss. Go shelf by shelf from top to bottom. Remove anything expired, past its best or forgotten at the back. Empty containers go straight to the sink.
- Minutes 4–9: Wipe spills. Dip a cloth in the warm soapy water, wring it well and wipe any drips and rings on the shelves. For a sticky spot, lay the warm damp cloth on it for 2–3 minutes to soften it, then wipe.
- Minutes 9–11: Wipe the door shelves. Lift bottles and jars briefly and wipe underneath. Door shelves collect the most drips.
- Minutes 11–13: Clean the handles. Wipe the fridge and freezer handles with soapy water, then with a clean damp cloth. Handles are one of the most-touched surfaces in the kitchen.
- Minutes 13–15: Dry and straighten. Dry any wet spots with a clean cloth, slide things back to their spots and make a quick note of what you need to buy.
That's it. Done weekly, this alone keeps most fridges looking and smelling fresh, and the monthly clean becomes much easier.
Weekly vs Monthly Fridge Routine
Here's the whole routine at a glance. Screenshot it and keep it on your phone, or copy it onto a card inside a cabinet door.
| Task | Weekly (15 min) | Monthly (45–60 min) |
|---|---|---|
| Toss expired and forgotten items | Yes | Yes, including the back of every shelf |
| Wipe spills on shelves | Yes, spot-wipe | Remove and wash all shelves |
| Door shelves | Wipe under bottles and jars | Remove bins and wash |
| Crisper drawers | Quick wipe if needed | Remove, wash, dry fully |
| Handles | Yes | Yes |
| Door seals | Quick wipe | Clean folds with a soft brush |
| Interior walls and ceiling | No | Yes |
| Deodorizer | Check it's in place | Refresh or replace per instructions |
| Fridge liners | Shake or wipe | Wash and dry |
| Outside doors and top | Quick wipe of smudges | Full wipe, including the top |
| Coils and vent | No | Every 6–12 months (unplugged) |
How To Deep Clean a Fridge Once a Month
Plan for 45–60 minutes. It's quickest right before a grocery shop, when there's less to take out. Work methodically and it never gets overwhelming.
Step 1: Keep Your Food Cold
You usually don't need to unplug or switch off the fridge for a wipe-down – just keep the door closed between steps. Move perishable items into a cooler with ice packs, and keep the rest in the fridge door or a closed shelf while you work section by section. Aim to have everything back inside within about an hour, and never leave perishable food at room temperature for more than two hours.
Check your fridge's manual first, though: some models recommend switching off before cleaning, and you should always unplug before working near any electrical parts or lights.
Step 2: Remove Shelves and Drawers
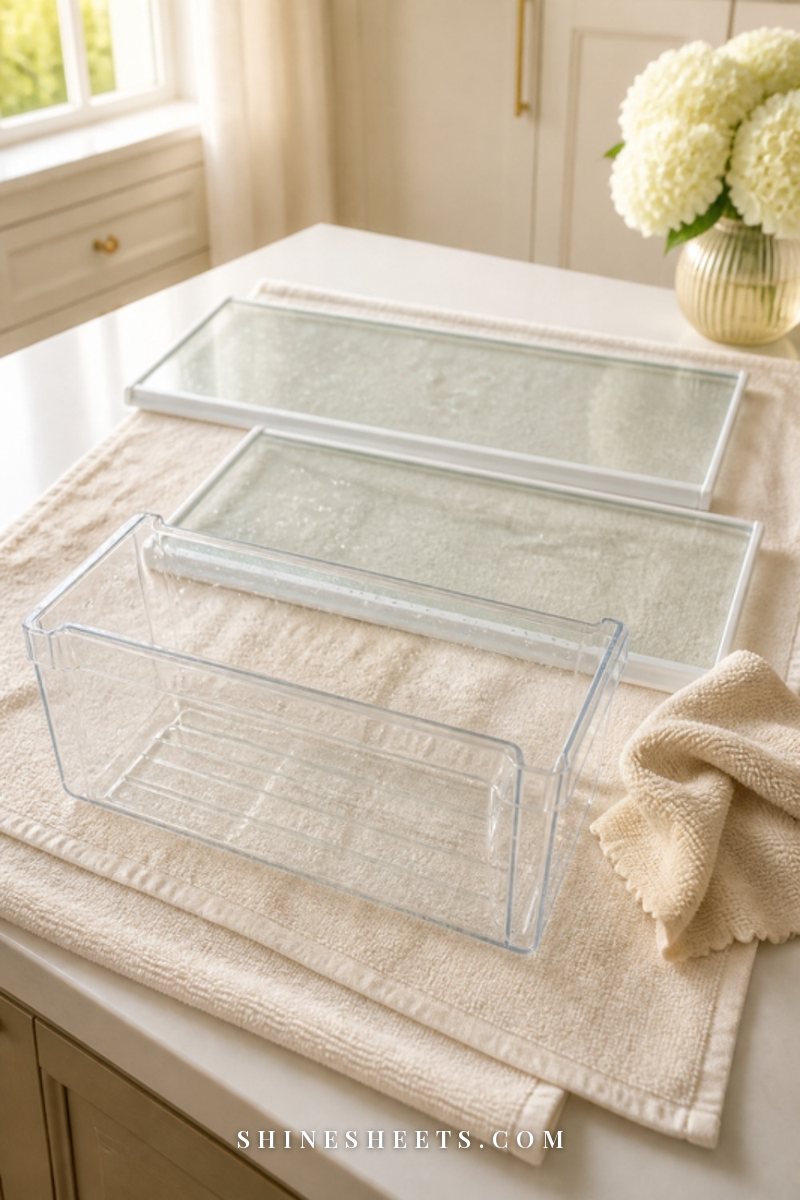
Take out the removable glass shelves, crisper drawers and door bins. Lay them on a towel. Take a quick photo before you start if you aren't sure how everything slides back in.
Step 3: Let Glass Shelves Reach Room Temperature
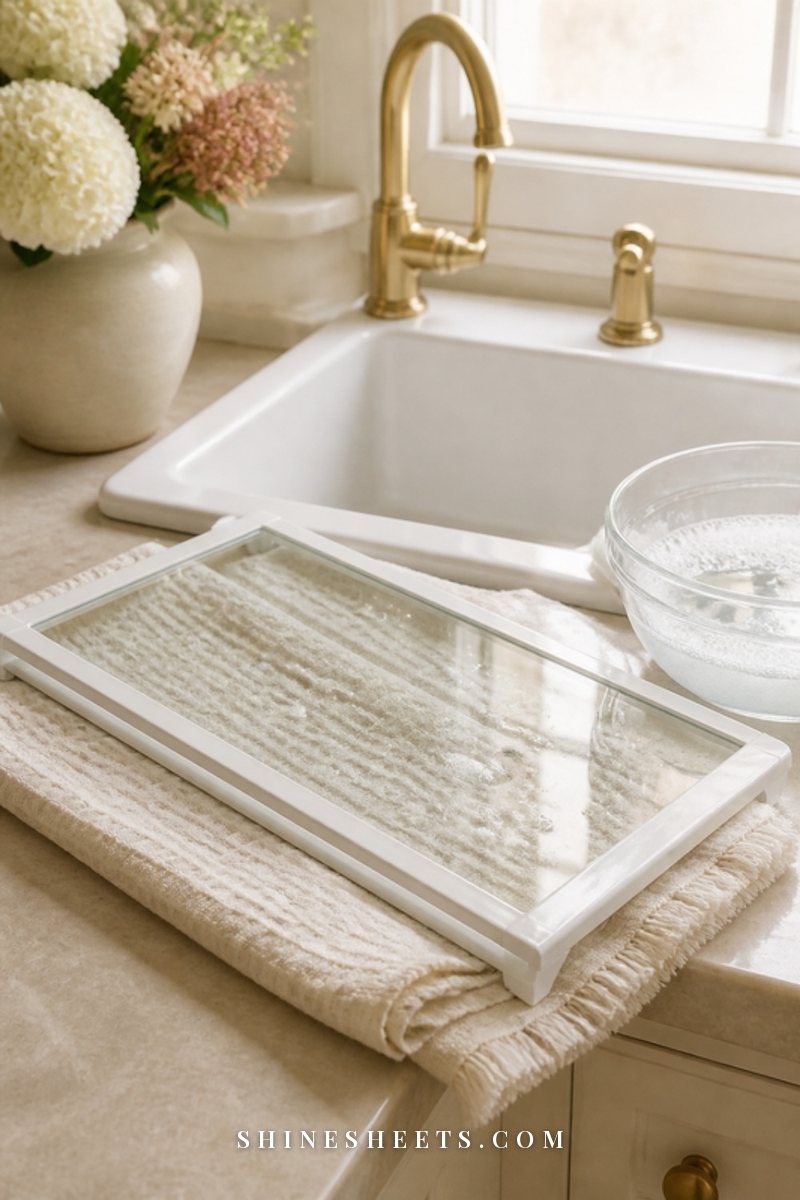
This is the step that saves shelves. Cold glass meeting warm or hot water can crack or even shatter because of the sudden temperature change. Let glass shelves sit on the towel for about 15–20 minutes until they no longer feel cold to the touch. Use the time to wipe the inside walls.
Step 4: Wash Shelves and Drawers
Wash shelves and drawers in warm (not hot) soapy water with a soft cloth or sponge. For dried-on spills, lay a warm soapy cloth over the spot for 5 minutes, then wipe. Use a soft brush in the drawer tracks and corners. Rinse with clean water and dry completely – water left in drawers can encourage odors.
Your sponge matters here, too. A tired kitchen sponge can spread more than it cleans, so my guide on kitchen sponge hygiene is worth a quick look.
Step 5: Wipe the Interior
Work from the top down: ceiling, back wall, side walls, then the floor of the fridge, where crumbs and drips collect. Use the soapy cloth, then a clean damp cloth to rinse, then a dry one. Pay attention to the little grooves where shelves sit. If there's a drain hole at the back, gently clear it with a soft pipe cleaner if it looks blocked.
Step 6: Dry and Reassemble
Make sure everything is completely dry before it goes back. Reinstall shelves and drawers, lay fresh liners, and return your food, wiping the bottoms of jars and bottles as you go so you don't put sticky rings straight back onto clean shelves.
Crisper Drawers and Door Bins
Drawers and door bins hide the most mess, because spills run into corners and dry there. They deserve a little extra attention during the monthly clean:
- Empty them completely and shake out any loose bits over the trash.
- Soak if needed: Fill the sink with warm soapy water and let drawers soak for 10 minutes if there's dried-on residue.
- Brush the corners and tracks with a soft brush, especially the grooves where the drawer slides.
- Check the drawer frame inside the fridge, where drips gather underneath and are easy to miss.
- Dry completely, including the corners, before reinstalling. Trapped moisture is a common cause of musty smells.
Plastic drawers and bins should never go in the dishwasher unless your manual says they're dishwasher-safe, as high heat can warp them.
How To Clean Fridge Door Seals
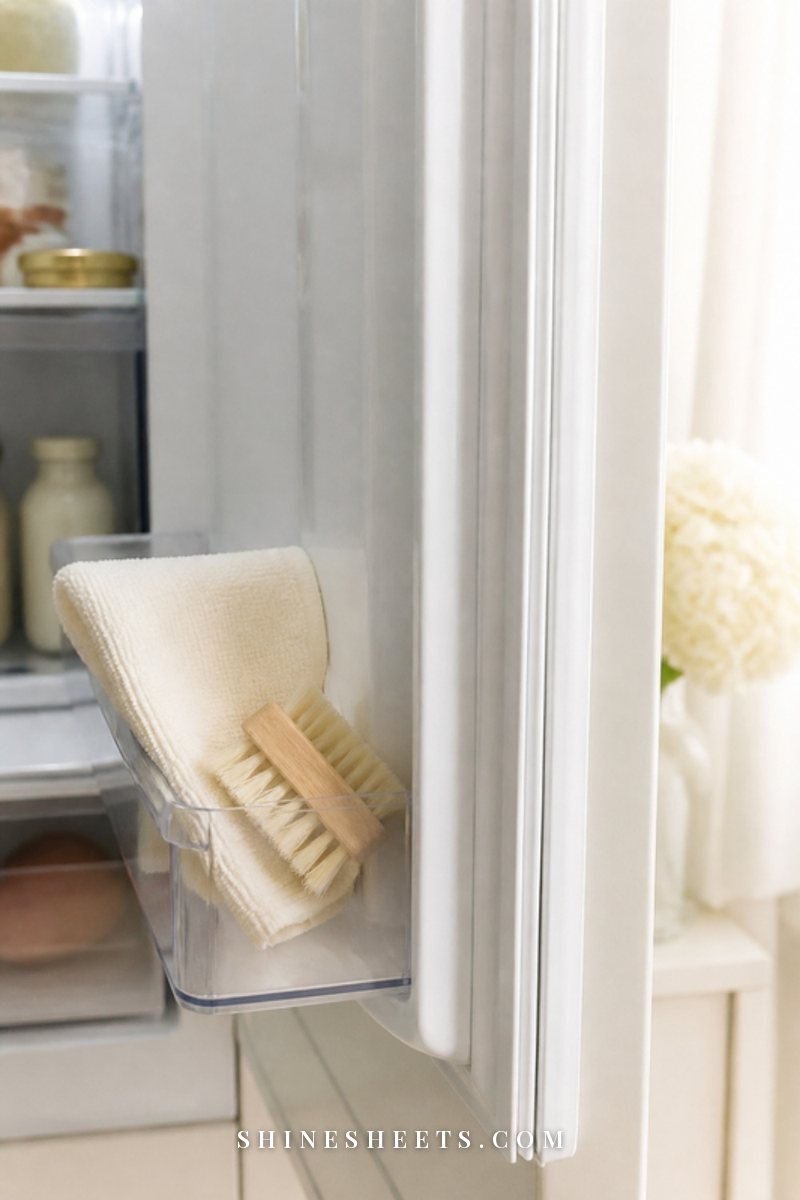
The rubber gasket around the door is easy to forget, but crumbs and moisture collect in its folds, and that's where mildew likes to start. Clean seals also help the door close properly, which keeps the fridge colder and more efficient.
- Dip a soft-bristled brush or toothbrush in warm soapy water.
- Gently open each fold of the seal and brush along it. Don't pull hard on the rubber.
- Wipe with a clean damp cloth, then dry thoroughly.
- For small mildew spots, a mixture of equal parts white vinegar and water can be left on for 5 minutes before wiping. Test on a hidden area of the seal first, and never combine it with bleach.
Once dry, close the door on a piece of paper. If it slides out with no resistance, the seal may not be sealing well, and it's worth checking with the manufacturer.
How To Get Rid of Fridge Odors
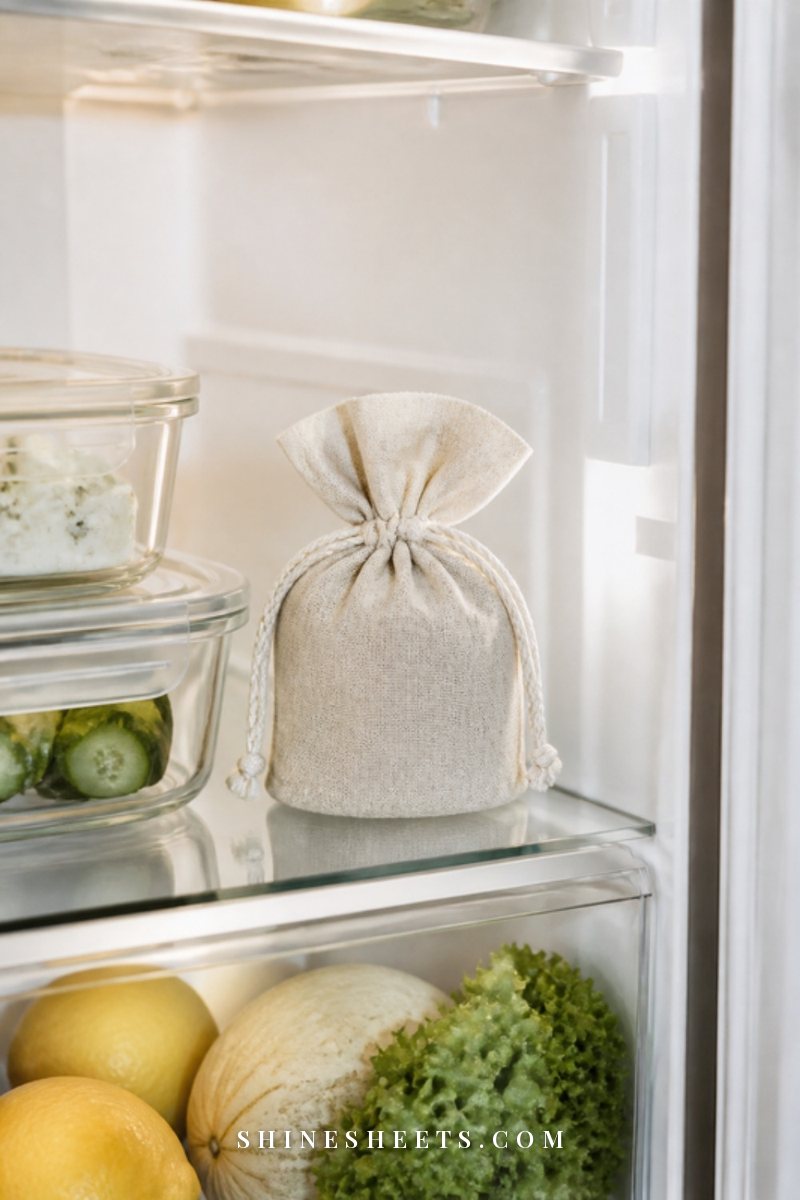
Most fridge smells come from one forgotten item, a spill that soaked into a drawer, or food stored without a lid. Clean first, then deodorize:
- Find the source: Check the crisper drawers, the back of the bottom shelf and under drawer liners.
- Wash the area: Soapy water usually removes the cause. Dry fully.
- Air it out briefly: For a stubborn smell, leave the empty, clean fridge open for 10–15 minutes (with food safely in the cooler).
- Add a deodorizer: An activated charcoal fridge deodorizer absorbs odors quietly in the background. Place it on a middle shelf toward the back and refresh or replace it as the label suggests.
- Cover everything: Keep leftovers and strong-smelling foods in lidded containers.
Avoid scented sprays or air fresheners inside the fridge – fragrance can transfer to food.
A Quick Freezer Note
Most modern freezers are frost-free and only need a wipe of the shelves and drawers every month or two. If yours builds up ice thicker than about a quarter inch (half a centimeter), it's time for a defrost. Move the contents into a cooler, switch off and unplug the freezer as the manual directs, place towels at the base, and let the ice melt naturally with the door open. Never chip at ice with a knife or sharp tool, which can puncture the lining. Dry thoroughly before turning it back on.
Cleaning the Outside, Handles and Coils
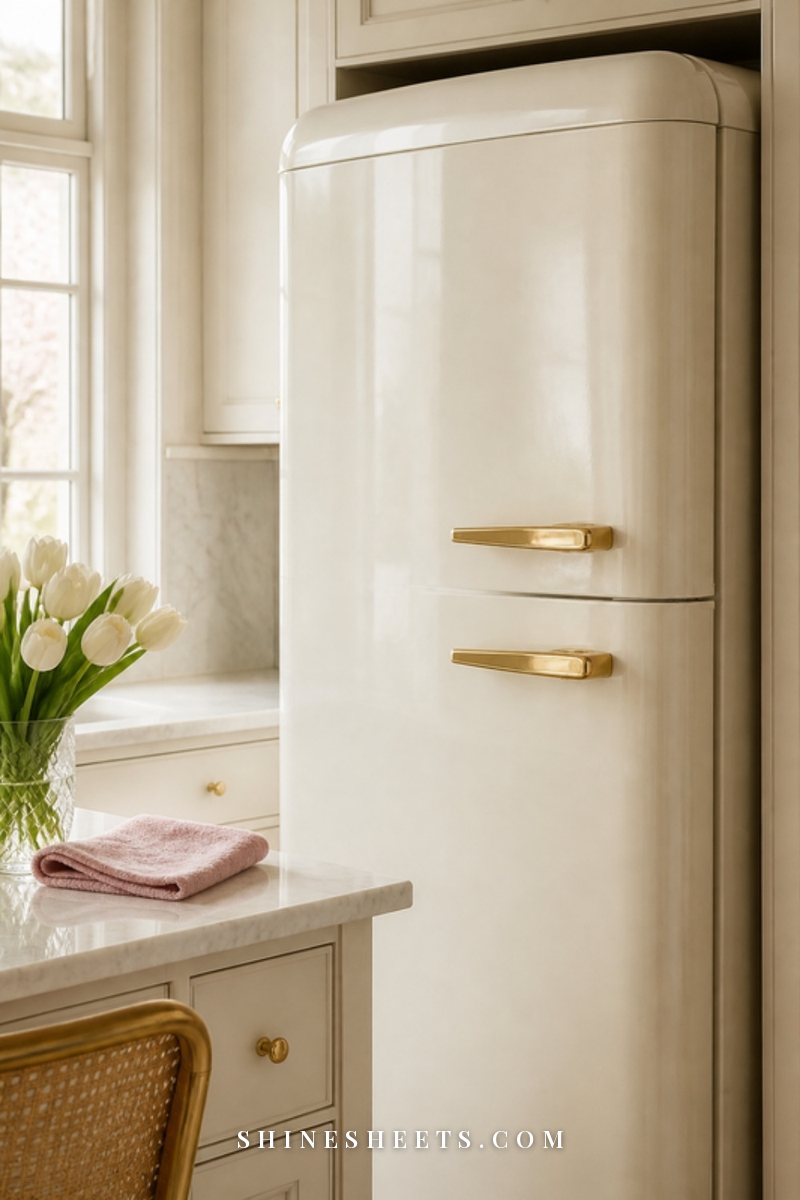
The outside is what you see every day, so it's the most satisfying part to finish with.
- Doors: Wipe with warm soapy water and dry. For stainless steel, wipe in the direction of the grain with a damp microfiber cloth, then buff dry with a second one. Follow your manufacturer's advice on specialty cleaners.
- Handles: Wash and dry, paying attention to the underside where hands grip.
- Top of the fridge: This collects a surprising layer of dust and grease. A damp soapy cloth, then dry.
- Coils and vent: Every 6–12 months, unplug the fridge, remove the bottom grille (or pull the fridge out carefully if the coils are at the back), and use a vacuum brush attachment or a coil brush to remove dust. Clean coils help the fridge run more efficiently. Plug it back in once you're done.
If your whole kitchen could use the same treatment, my guide on how to deep clean your kitchen takes you from top to bottom, and the glass cooktop has its own step-by-step guide on how to clean a glass stovetop.
How To Organize Your Fridge After Cleaning
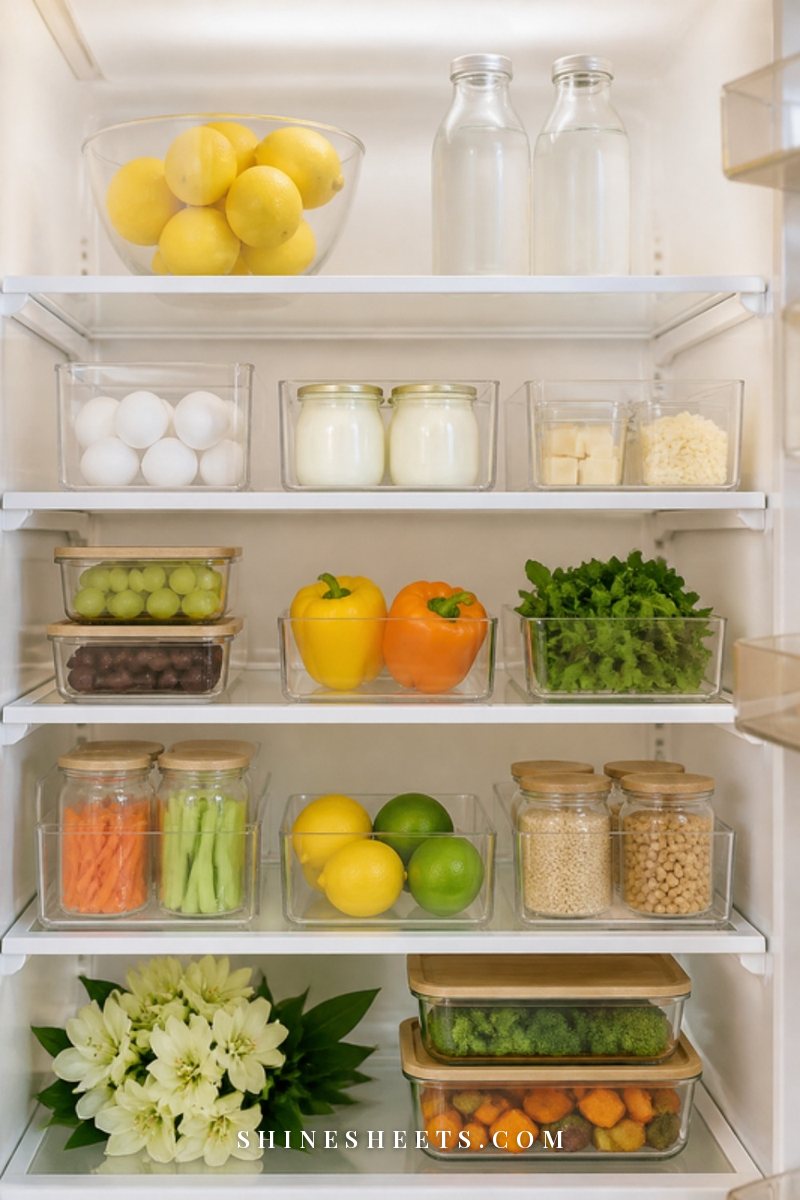
A little structure makes the weekly reset faster, because you can see everything at a glance. Here's a simple zone approach:
- Top shelves: Ready-to-eat items and leftovers, in lidded containers you can see through.
- Middle shelves: Everyday items you reach for most.
- Bottom shelf: Raw items in a tray or bin, so nothing can drip onto other food.
- Crisper drawers: Use them as designed, with the humidity settings your manual suggests.
- Door: Items that are fine with small temperature changes. The door is the warmest part of the fridge.
Clear fridge organizer bins make zones easy to keep: pull out a whole bin to wipe underneath in seconds. Washable fridge shelf liners catch drips so you can simply rinse them instead of scrubbing shelves. Label the bins by zone if you like, and keep a small "use first" bin at eye level for anything that needs eating soon.
For the rest of your food storage, my guides to pantry organization and kitchen organization ideas follow the same simple, see-everything approach.
The 5-Minute Version for Busy Weeks
Some weeks, fifteen minutes just isn't happening, and that's okay. On those weeks, do only the three things that make the biggest difference:
- Toss anything clearly past its best (two minutes, top to bottom, no rearranging).
- Wipe the one shelf or drawer that's visibly sticky (two minutes with a warm soapy cloth).
- Wipe both handles (one minute).
That's enough to stop smells and spills from building up until you have more time. Pair it with something you already do, like waiting for the kettle to boil for your evening tea, and it barely feels like a chore at all.
Fridge Cleaning Mistakes To Avoid
- Washing cold glass shelves in hot water. Always let them reach room temperature first.
- Using harsh or scented cleaners inside. They can leave residue and odors near food. Gentle soap is enough.
- Mixing cleaners. Never combine bleach with vinegar or ammonia – the fumes are dangerous.
- Leaving food out too long. Keep perishables cold in a cooler and get them back within an hour or so.
- Putting things back wet. Moisture left in drawers and corners leads to smells.
- Scrubbing with abrasive pads. They scratch plastic and make it easier for grime to stick next time.
- Forgetting the coils. Dusty coils make the fridge work harder. Once or twice a year is enough.
Habits That Keep Your Fridge Fresh
- Wipe spills straight away. A ten-second wipe now saves a five-minute scrub later.
- Keep the temperature right: 40°F (4°C) or below for the fridge and 0°F (−18°C) for the freezer. A small fridge thermometer helps you check.
- Don't overpack. Cold air needs to circulate. A fridge that's crammed full cools unevenly.
- Let hot food cool a little first, but get leftovers into the fridge within two hours.
- Do a 30-second scan before shopping. You'll buy less and waste less.
- Move older items forward when you put new groceries away.
Final Thoughts
A clean fridge doesn't take a whole weekend. Fifteen minutes a week and one calm, unhurried deep clean a month are all it needs to stay fresh, bright and easy to use.
There's something quietly lovely about opening the door to clean shelves and neat little zones. It makes every snack, every cup of tea with milk and every evening meal feel a bit more cared for – and so do you.