Your kitchen sponge is probably the hardest-working thing in your kitchen, and also the one we think about least. It wipes plates, counters, pans and spills all day, then sits damp by the sink overnight. That combination of warmth, moisture and tiny food bits is exactly what bacteria love, which is why a sponge can start to smell sour long before it looks worn out.
The good news is that keeping it fresh isn't complicated. It's mostly about a few small daily habits, an honest understanding of what cleaning a sponge can and can't do, and replacing it before it becomes a problem. I'll admit I once kept sponges until they were falling apart. Once I learned how quickly they turn, that changed fast.
This guide to kitchen sponge hygiene covers why sponges get so germy, what the common cleaning methods really achieve, how often to replace your sponge, the daily habits that keep it fresher, and the alternatives worth trying. There's also a simple sponge care routine table (daily, weekly, replace) you can screenshot and stick inside a cabinet door.
Why Kitchen Sponges Get So Germy
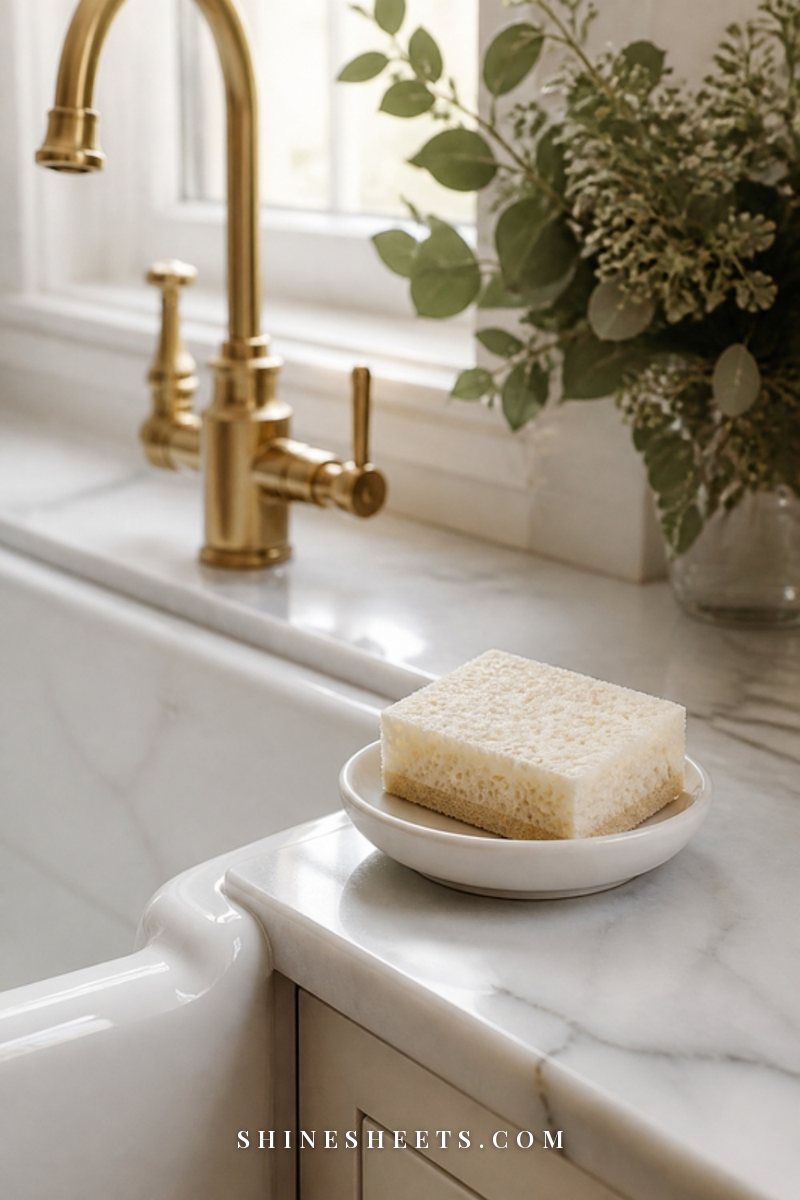
A sponge is basically a soft maze of tiny pockets. That's what makes it so good at holding soapy water and scrubbing. It's also what makes it so good at holding everything else.
Here's what's happening inside:
- Moisture. A sponge rarely dries out completely, especially if it sits in a puddle or a closed holder.
- Food. Every plate you wipe leaves tiny bits of food trapped in the pores, which feeds bacteria.
- Warmth. Kitchens are warm, and so is the water you wash with.
- Surface area. All those pores give bacteria a huge amount of space to settle in.
Put those four together and a sponge can become one of the germiest items in a home within days. That doesn't mean you should panic about it. It just means a sponge is a tool with a short life, a bit like a toothbrush, and it deserves a simple routine.
The biggest real-world risk isn't the sponge itself. It's using the same sponge to wipe a counter after raw meat, then using it on your "clean" plates or around the kitchen. That's how germs travel. A little system stops that easily.
Signs Your Sponge Needs Attention
Your sponge will usually tell you when it's past its best. Watch for these:
- A sour, musty or "off" smell, even after rinsing.
- It feels slimy or stays greasy no matter how much you rinse.
- Visible discoloration, dark spots or stains that don't wash out.
- Bits of food stuck deep in the pores.
- The scrub side is flattened, torn or crumbling.
Smell is the clearest signal. A sponge that smells is a sponge that's full of bacteria, and no amount of washing will fully reset it. That one goes straight into the bin.
What Cleaning Methods Really Do (and Don't Do)
There's a lot of advice out there about sanitizing sponges, and some of it is a bit too optimistic. Here's the honest version: cleaning a sponge can reduce the number of bacteria, which helps it stay fresher for a few more days. It doesn't make an old sponge new. Researchers who've studied used kitchen sponges found that regular cleaning didn't remove everything, and some bacteria bounced back quickly. That's why replacing your sponge often matters more than any single cleaning trick.
With that in mind, here are the three most common methods and how to do them safely.
The Microwave Method
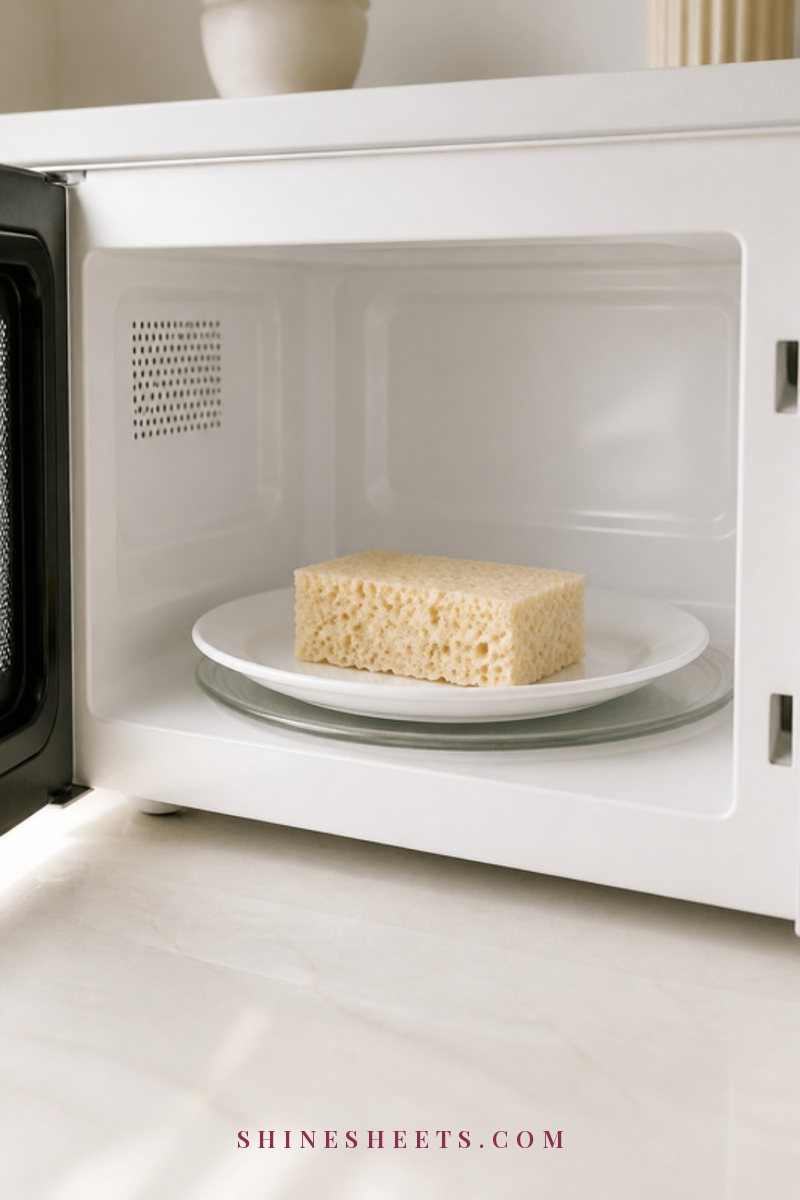
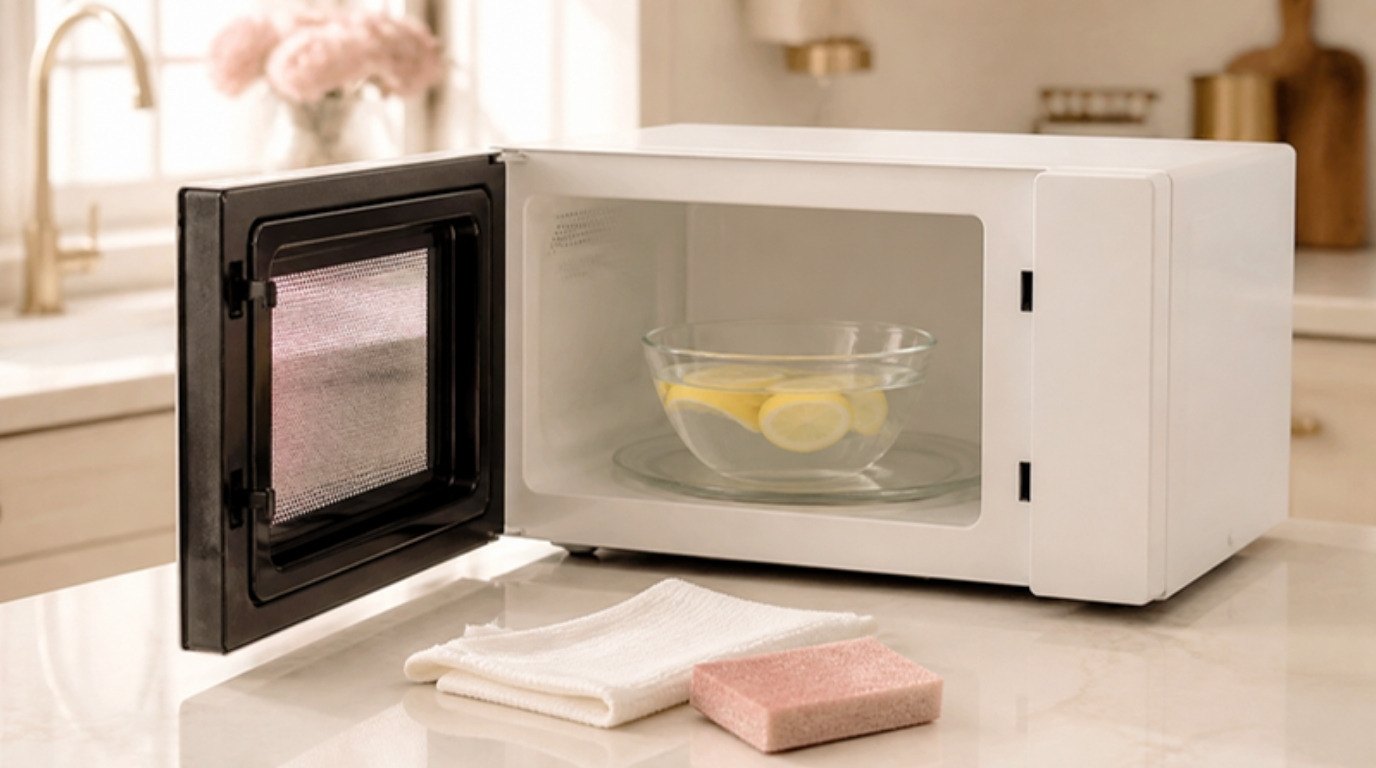
Heat can reduce bacteria in a sponge, but only if the sponge is wet. A dry sponge in a microwave can scorch or even catch fire.
- Make sure the sponge contains no metal (no steel wool or metallic scrub layer).
- Soak it in water until it's fully wet, then squeeze lightly so it isn't dripping everywhere but is still very damp.
- Place it on a microwave-safe plate.
- Microwave on high for about 1 minute (up to 2 minutes for a thick sponge).
- Leave it inside for a few minutes to cool. It will be very hot.
- Squeeze it out once it's cool enough to handle, then let it dry upright.
Never leave the microwave unattended while doing this. A splash of steam on the walls is a nice bonus, by the way: wipe the inside right after and you've half-cleaned it. My guide on how to clean a microwave covers the rest.
The Dishwasher Method
If you have a dishwasher, this is the easiest option.
- Rinse out any food bits and squeeze the sponge.
- Place it on the top rack, secured so it won't fly around.
- Run it on the hottest cycle with a heated dry, if your machine has one.
- Let it dry fully before using it again.
Plenty of people simply toss the sponge in with every full load. It's a nice habit, as long as the dishwasher itself is clean. If yours smells a little musty, start with cleaning your dishwasher, otherwise you're washing the sponge in the same problem.
The Diluted Bleach Soak
A diluted bleach solution can sanitize sponges, but this is where the label really matters.
- Check that your bleach is a regular household bleach meant for sanitizing, and read the label for its kitchen-sanitizing dilution.
- Mix the solution in a bowl or sink with cool water, exactly as the label says. Stronger isn't better.
- Soak the sponge for the time the label recommends (often around 5 minutes).
- Rinse well with clean water and squeeze out.
- Let it dry upright.
Safety note: never mix bleach with vinegar, ammonia or other cleaners. Mixing them releases harmful gases. Work with a window open, wear gloves, and rinse the bowl before you use it for anything else. If you'd rather avoid bleach altogether, the microwave or dishwasher methods are perfectly fine for a sponge you'll be replacing soon anyway.
What Doesn't Work Well
Rinsing with hot tap water, a quick dunk in vinegar or a squirt of dish soap will make a sponge look and smell cleaner for a moment, but they don't do much for bacteria. They're good for daily rinsing, not for sanitizing. And "it doesn't smell yet" isn't a reliable test either.
How Often To Replace Your Kitchen Sponge
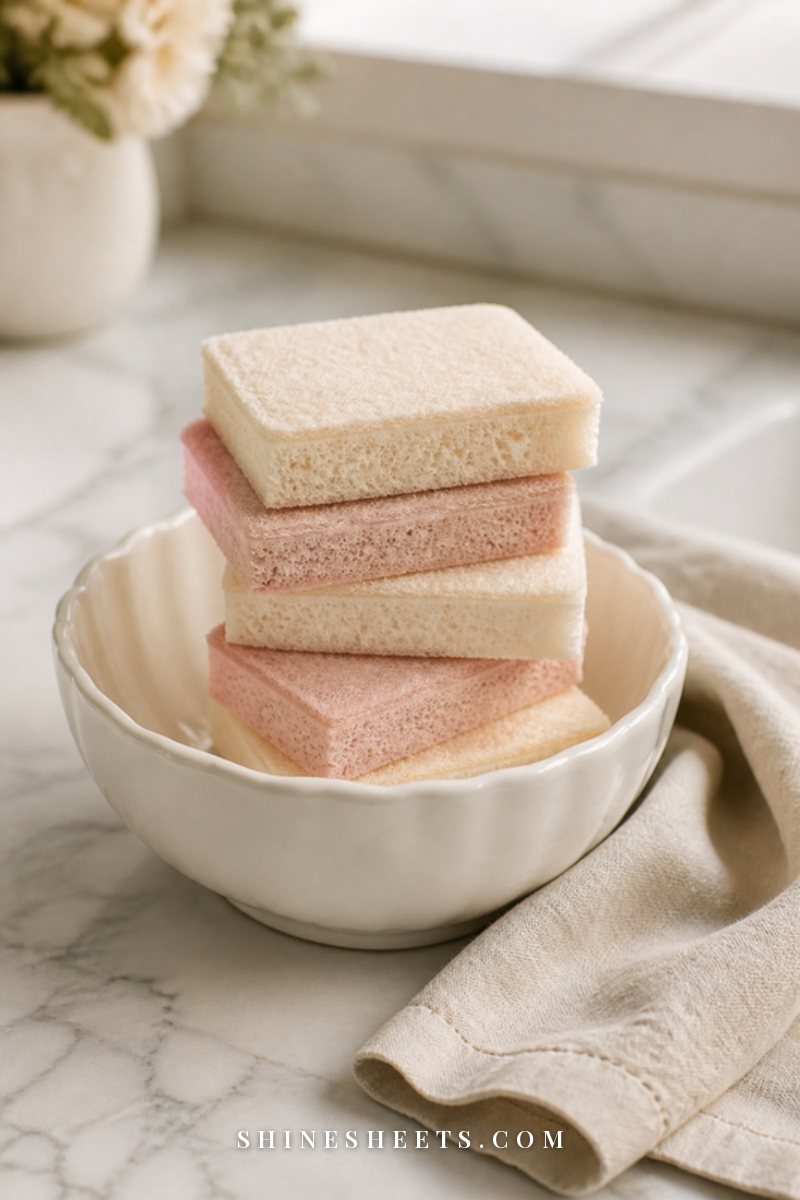
A common guideline is to replace your kitchen sponge every 1–2 weeks. If you cook a lot, wipe up after raw meat, or your kitchen is warm and humid, lean toward once a week.
Replace it sooner if:
- It smells, even once.
- You used it to wipe up raw meat, poultry or egg juices.
- It's falling apart or the scrub side has worn smooth.
- Someone in the house has been ill.
A little trick that helps: buy sponges in a multipack and pick one day of the week as "new sponge day." Sunday works well because it pairs naturally with a weekly kitchen reset. You never have to remember when you last swapped it.
And when a sponge retires from dish duty, it doesn't have to go straight to the bin. Cut a corner off so you know it's "demoted," and use it once for scrubbing the outside bins, garden pots or shoes before you throw it away.
Sponge Care Routine Table
Here's the whole routine in one place. Daily habits take seconds, weekly ones a couple of minutes.
| When | What to do | How long | Why it helps |
|---|---|---|---|
| After every use | Rinse out food bits under running water, squeeze firmly | 10 seconds | Removes the food bacteria feed on |
| After every use | Stand upright or place in a draining holder away from the puddle by the sink | 5 seconds | Lets air reach both sides so it dries faster |
| Daily | Keep the dish sponge for dishes only; use a separate cloth for counters | No extra time | Stops germs traveling between surfaces |
| Every 2–3 days | Microwave while damp (1–2 min) or run through a hot dishwasher cycle | 2 minutes | Reduces bacteria between replacements |
| Weekly | Wash the sponge holder or dish rack tray with hot soapy water and dry it | 3 minutes | A dirty holder re-soils a clean sponge |
| Weekly | Wash dishcloths and dish brushes (hot wash or dishwasher) | Part of laundry or a dishwasher load | Keeps your reusable tools fresh too |
| Every 1–2 weeks | Replace the sponge | 30 seconds | Cleaning reduces germs; replacing resets them |
| Immediately | Replace after raw meat, egg spills or any sour smell | 30 seconds | Some messes aren't worth the risk |
Daily Habits That Keep Your Sponge Fresher
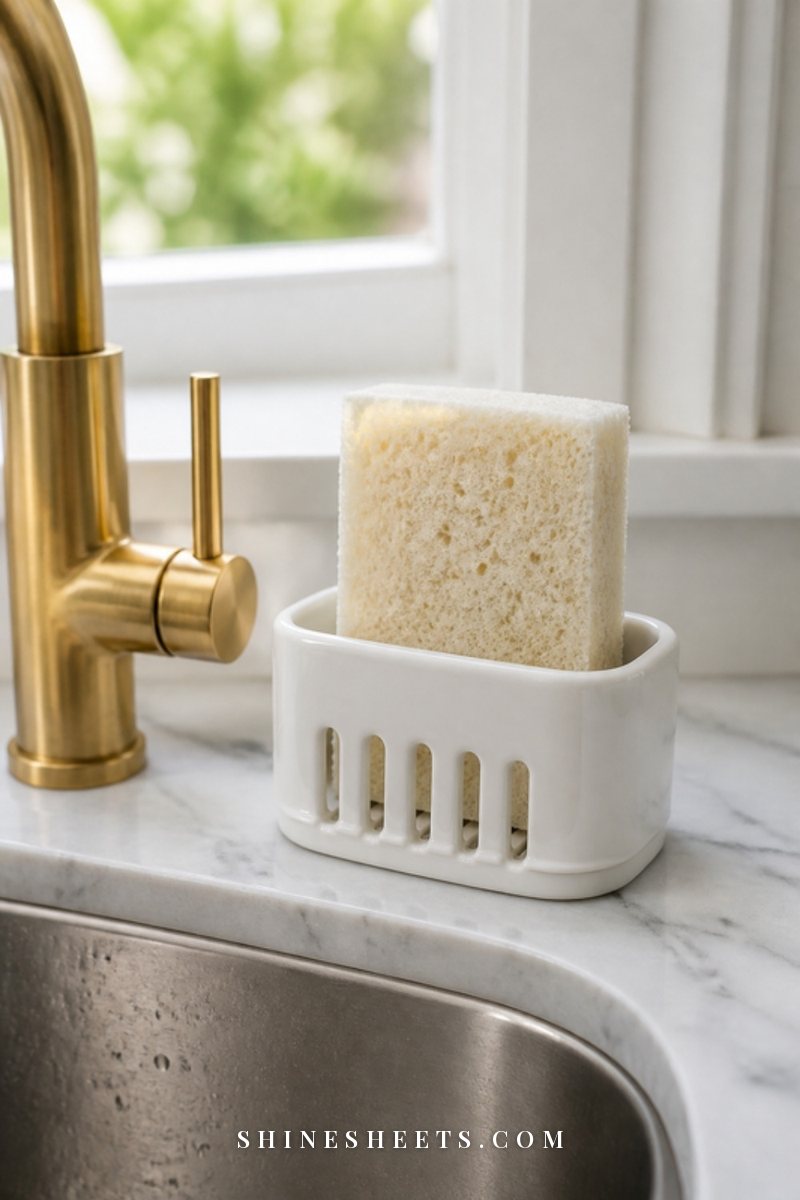
The way a sponge spends the hours between uses makes the biggest difference. These habits are tiny, but together they keep a sponge pleasant for its whole life.
- Rinse out every bit of food. Hold it under running water and squeeze several times until the water runs clear.
- Wring it hard. The less water left inside, the faster it dries and the fewer bacteria grow.
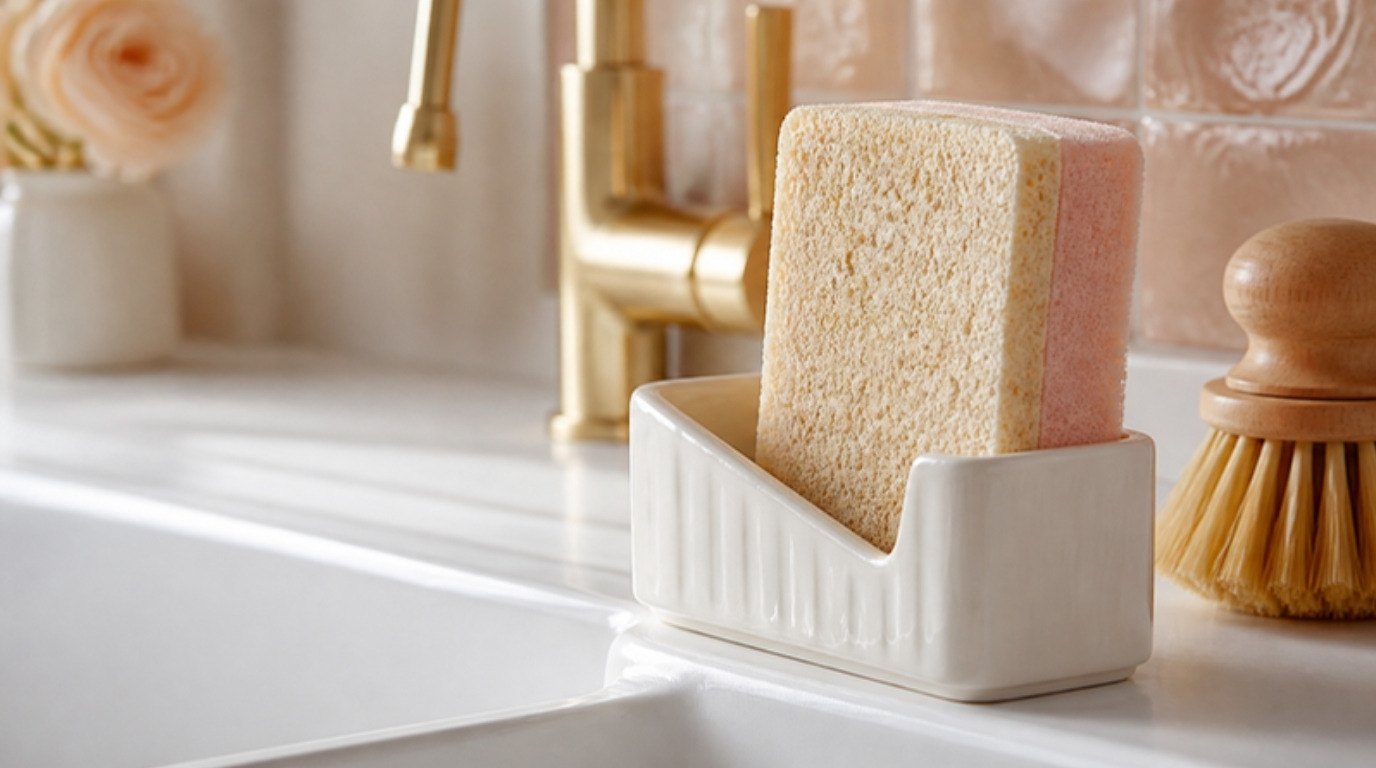
- Dry it upright. Standing on its edge lets air reach both sides. Lying flat in a wet dish keeps the bottom soaked.
- Keep it out of the puddle. Never leave it sitting in the sink basin or a closed soap dish full of water.
- Don't wipe raw-meat juices with it. Use a paper towel or a cloth that goes straight into the wash.
- Let it rest overnight. If you have two sponges, alternating them gives each a full day to dry.
A simple white ceramic sponge holder with drainage makes the "upright and dry" part automatic. Look for one with slots or a raised grid so water drains away instead of pooling underneath.
Use Separate Sponges for Dishes and Counters
This is the habit that matters most for kitchen hygiene, and it's an easy one. Your dish sponge touches the plates and glasses you eat from. Your counter sponge or cloth touches crumbs, spills, the area around the trash and whatever came out of the grocery bag. Mixing them up moves germs around the kitchen.
A few ways to keep them apart:
- Color code. One color for dishes, another for counters. Blush for dishes and sage for counters is easy to remember.
- Different tools entirely. A brush for dishes and a washable cloth for counters, so there's no mixing by accident.
- Separate spots. Dish sponge by the faucet, counter cloth hanging on the oven handle or a hook.
- A third option for the messy jobs. Keep one "rough" sponge under the sink for the trash can, the floor near the bin or outdoor items, and never let it near the sink.
If you'd like a whole-kitchen version of this approach, my guide on how to deep clean your kitchen pairs nicely with it.
Sponge Alternatives Worth Trying
If you're tired of replacing sponges every week, there are good alternatives. Each has its own care needs, but most last much longer and dry faster.
Dish Brushes
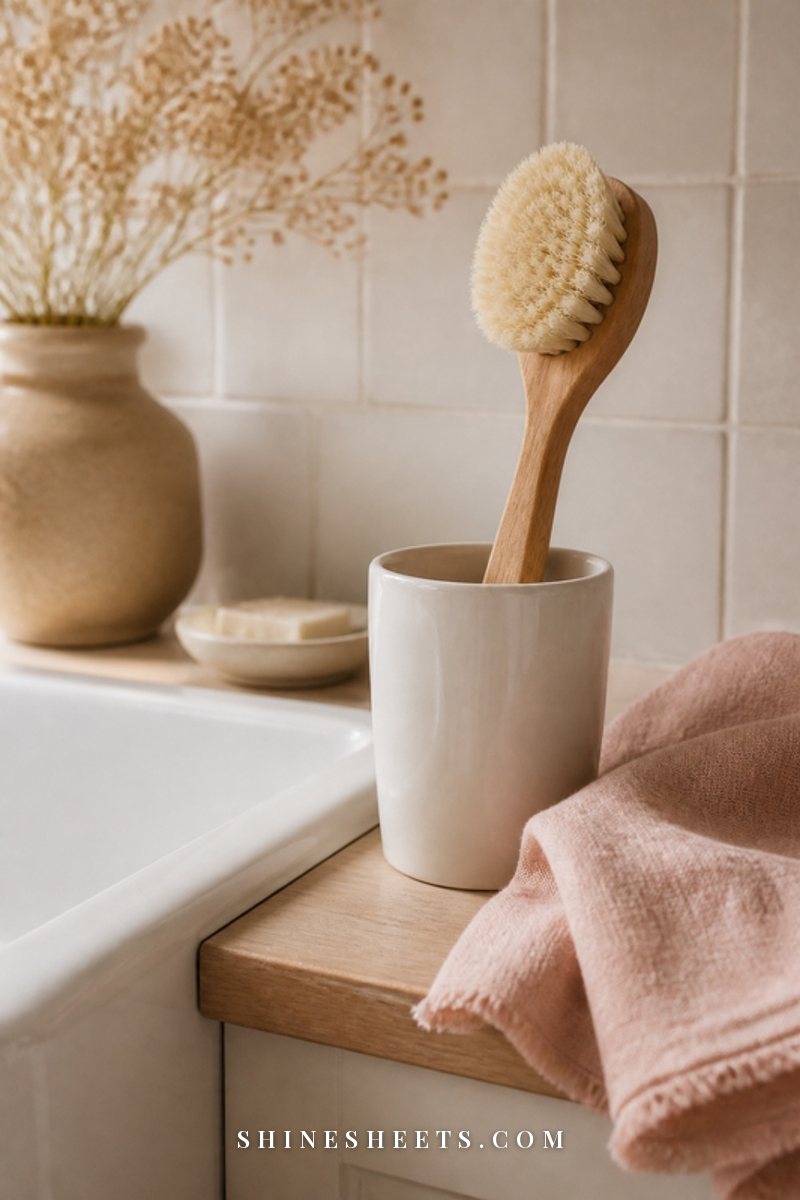
A dish brush is my top pick for everyday dishes. The bristles stay outside the water most of the time, the handle keeps your hands drier, and it dries quickly because there's no dense foam to hold moisture.
A wooden dish brush with soft cream bristles looks lovely by the sink too. Store it bristles up in a cup, or hang it, so water drains away from the head.
Care: rinse well after use, run it through the dishwasher weekly if the label allows, and replace the head when the bristles splay out, usually every one to three months.
Silicone Scrubbers
Silicone scrubbers don't absorb water, which means bacteria have far less to hold on to. They're great for plates, fruit, vegetables and non-stick pans, though they're not as good at grease or stuck-on bits.
A set of pastel silicone dish scrubbers can go in the dishwasher every few days and lasts for months.
Swedish Dishcloths
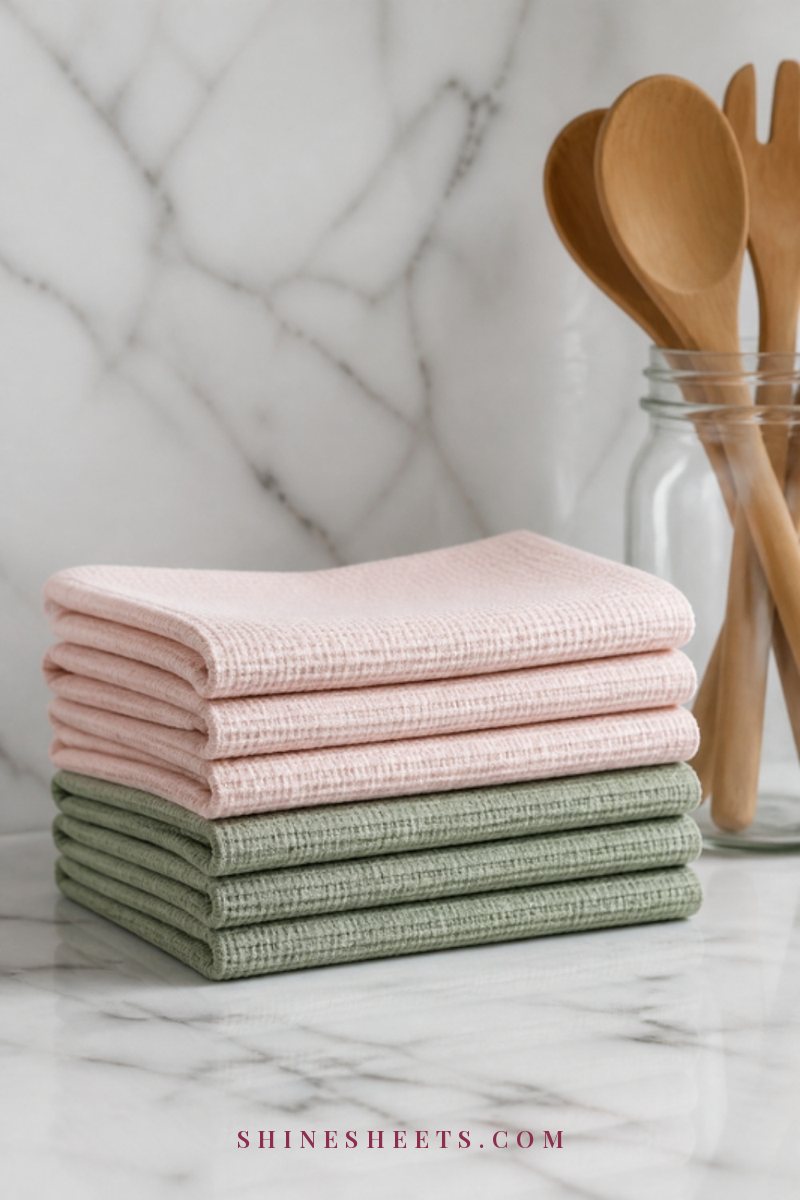
Swedish dishcloths are made of cellulose and cotton. They're stiff when dry and soft when wet, absorb a lot of water and dry surprisingly fast. They're perfect for wiping counters and spills.
Look for blush or sage Swedish dishcloths in a multipack so you can rotate them.
Care: rinse and wring after use, hang to dry, and wash them in the top rack of the dishwasher or in a hot laundry load a couple of times a week. They usually last several weeks to a few months.
Compostable and Plant-Based Sponges
If you love the feel of a classic sponge but want something kinder to the planet, cellulose and loofah-style sponges are a nice swap. They still need replacing every week or two, but at the end of their life many can go into a home compost (check the packaging).
A pack of compostable cellulose kitchen sponges in soft natural tones keeps your weekly swap guilt-free.
Washable Cotton Cloths
Plain cotton dishcloths are the simplest option of all. Use one per day, hang it to dry between uses, and toss it in the wash at night. A stack of seven means a fresh one every morning.
How To Store Your Sponge and Tools
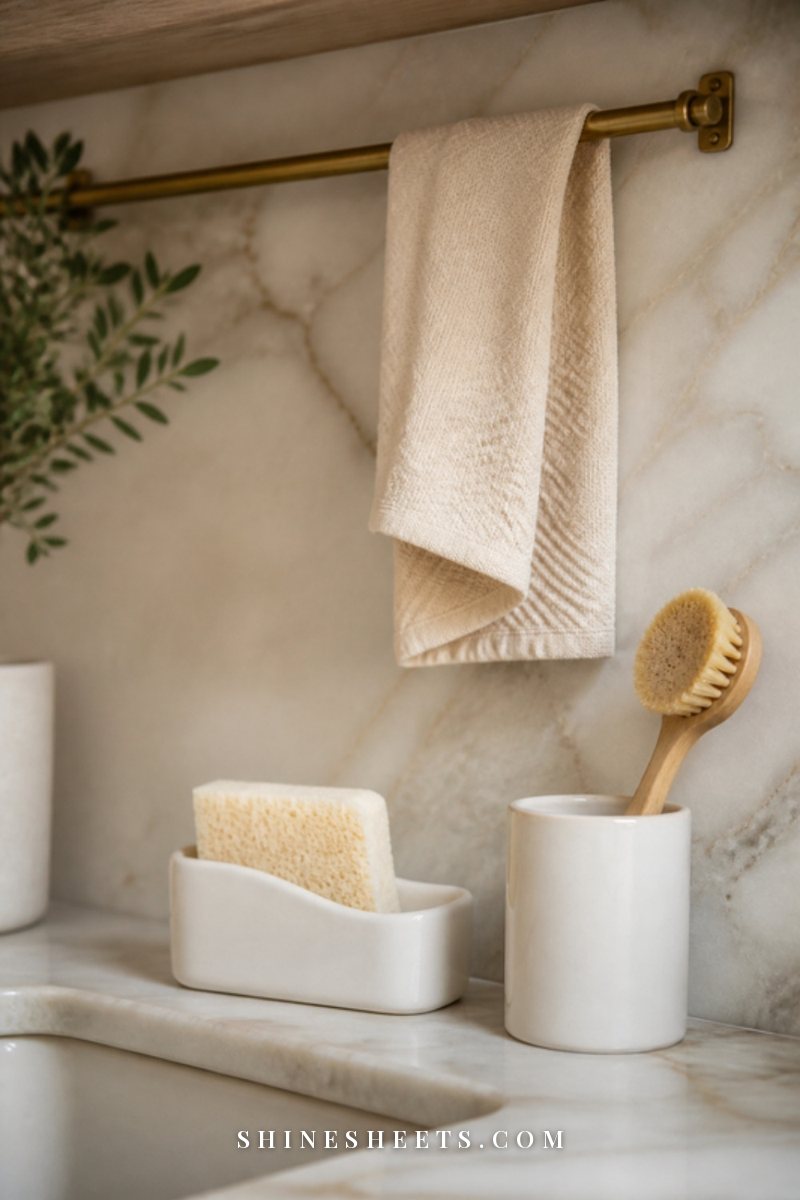
Where your tools live affects how fast they dry, and drying is the whole game. A few storage ideas:
- Raised, draining holders for sponges, so they're never sitting in water.
- A cup or caddy for brushes, bristles up.
- A small rail, hook or the oven door handle for dishcloths, fully opened so they dry evenly.
- Not under the sink. Closed, dark cabinets slow drying. Keep in-use tools out in the open air.
- Clean holders weekly. Sponge holders, caddies and soap dishes collect slime faster than you'd think.
Grouping everything into one pretty spot by the sink also makes the whole area feel calmer. Once a week, put the holders, the brush and the cloths through a hot cycle and they're fresh again.
Common Sponge Mistakes
A few habits quietly undo everything else:
- Microwaving a dry sponge. It can scorch or catch fire. Always fully wet.
- Using one sponge for everything. Dishes, counters, stovetop and trash can all with one sponge spreads germs around the kitchen.
- Leaving it in the sink. The basin is the wettest spot in the kitchen.
- Keeping it "until it falls apart." By then it's been past its best for a long time.
- Mixing cleaners to "boost" them. Bleach with vinegar or ammonia is dangerous. One product at a time, rinsed in between.
- Forgetting the holder. A clean sponge in a slimy holder is a dirty sponge by evening.
A Simple Weekly Sink Reset
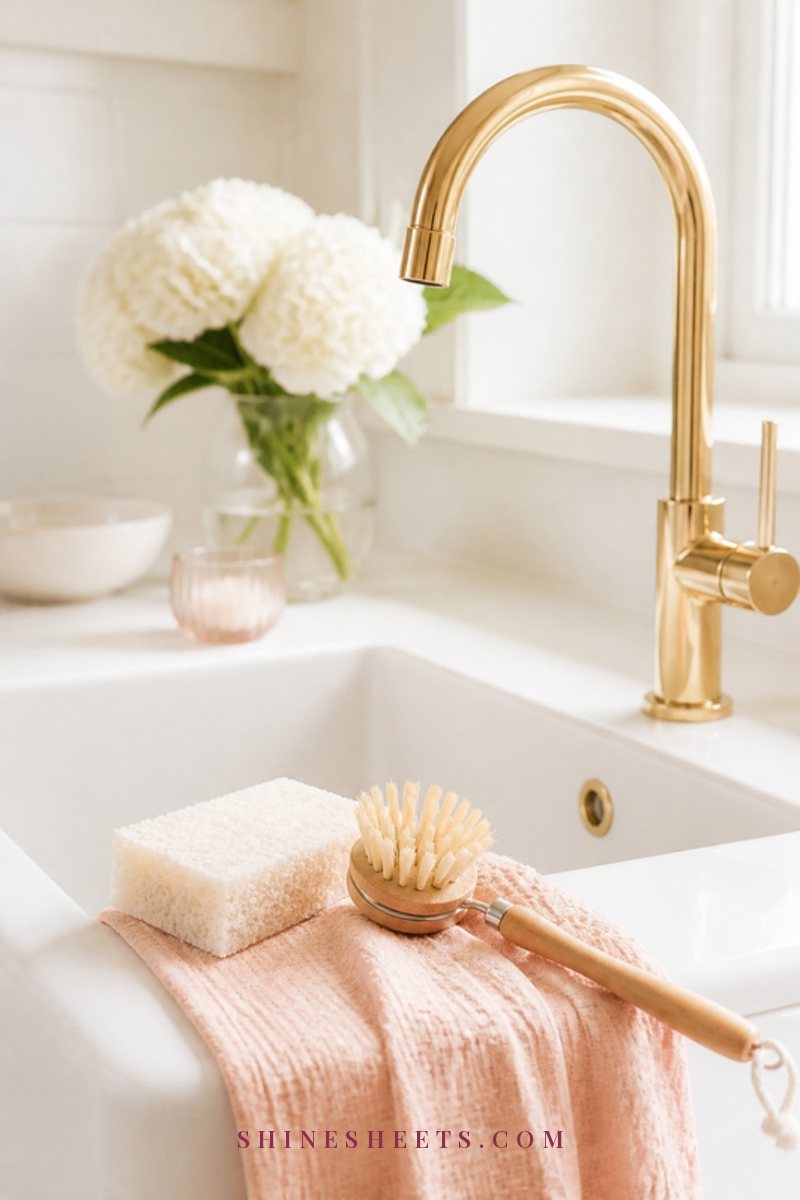
Fold sponge care into a quick weekly reset and it stops being something you have to remember separately. Once a week, try this 10-minute routine:
- Throw out the old sponge and open a new one.
- Put the sponge holder, brush cup and dish brush through the dishwasher (or wash in hot soapy water).
- Toss the week's dishcloths into the laundry.
- Wash the sink basin with dish soap and a brush, including around the drain and faucet base.
- Rinse, then dry the sink and faucet with a clean cloth so it sparkles.
- Set out fresh tools in their dry, airy spots.
That's it. For more small shortcuts that make kitchen cleaning faster, my collection of cleaning hacks has plenty.
Final Thoughts
A kitchen sponge doesn't need to be a source of worry. It's a small, cheap tool with a short life, and treating it that way is the whole secret: rinse it, wring it, let it dry, keep it for dishes only, and swap it out every week or two.
Add a dish brush or a few Swedish dishcloths if you want fewer replacements, and give your sink a little reset once a week. Your kitchen will feel fresher, your dishes will be cleaner, and that sour sponge smell will be a thing of the past.