A cutting board needs a little more care than a quick rinse, and the reason is hiding in plain sight: the knife marks. Every slice leaves a tiny groove, and those grooves hold onto moisture, food bits and smells long after the surface looks clean. Give them the right wash, dry the board properly, and it will stay fresh and safe for years.
The second thing to know is that wood and plastic want completely different things. Wood is gentle on knives and can close up small cuts on its own, but it hates soaking. Plastic is happy in the dishwasher, but once it's scored with deep grooves, no amount of scrubbing will fully reach inside. Treating them the same way is the most common mistake, and I made it for a long time before I learned the difference.
This guide covers how to clean a cutting board of either kind: the everyday wash, how to deep clean and deodorize, how to oil wood, what to do about stains, smells and warping, why separate boards matter, and the 5 signs it's time to replace one. There's also a simple care table you can screenshot and keep near the sink.
Why a Quick Rinse Isn't Enough
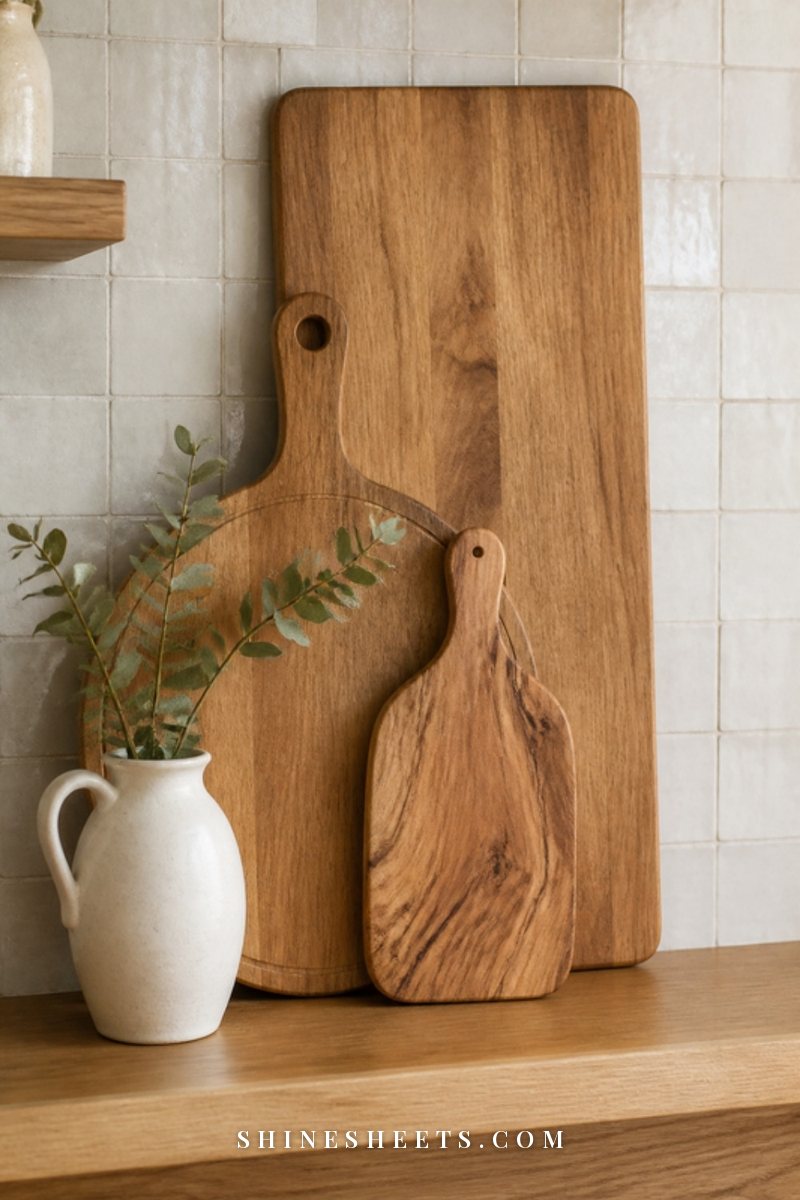
A rinse under the tap removes what you can see. What it doesn't remove is the thin layer of juice, oil and tiny food particles that settles into knife marks, especially on a board that's been used for a while.
Three things make cutting boards special:
- Knife grooves. They're small pockets that trap moisture and bits of food, which is exactly what bacteria like.
- Cross-contact. Raw meat, poultry and fish can leave germs behind that you really don't want on the lettuce or bread you chop next.
- Moisture. A board that stays damp, lying flat on the counter or stacked while wet, can develop smells, stains and, in wood, warping or mildew.
None of this is cause for worry. A proper wash takes about two minutes, and drying it the right way does most of the work for you.
Wood vs Plastic at a Glance
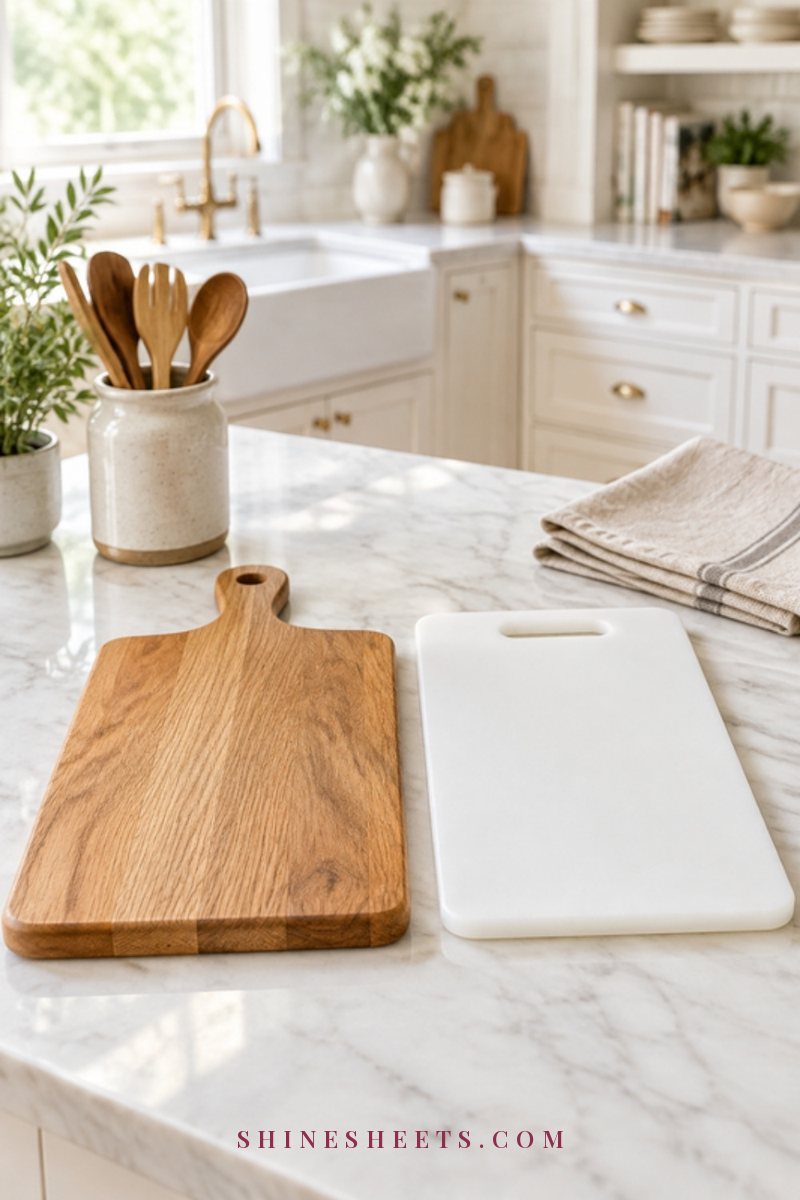
Both are good choices. They simply suit different jobs and need different care.
- Wood (maple, walnut, cherry, acacia) is kind to knife edges, feels lovely to work on, and small cuts tend to close up as the fibers swell back. It needs hand washing only, no soaking, and regular oiling. It's a great pick for bread, produce, herbs and cheese.
- Plastic (polyethylene or polypropylene) is light, inexpensive and usually dishwasher-safe, which makes it easy to sanitize. It's a practical choice for raw meat, poultry and fish. The trade-off: it scores more deeply, and those grooves are hard to clean once they build up, so plastic boards need replacing more often.
- Bamboo sits in between. It's harder than most woods (a little tougher on knives) and needs the same no-soak, oil-now-and-then care as wood.
Many kitchens do best with one of each: a wood board for produce and bread, and a plastic one for raw proteins.
Everyday Cleaning, Step by Step
Clean your board right after you use it, before juices dry into the grooves. Here's the daily routine for each type.
How To Clean a Wooden Cutting Board
- Scrape it off. Use the back of a knife or a bench scraper to push food scraps into the bin or compost.
- Wash with hot, soapy water. Use a little dish soap and hot tap water. Never fill the sink and leave the board sitting in it.
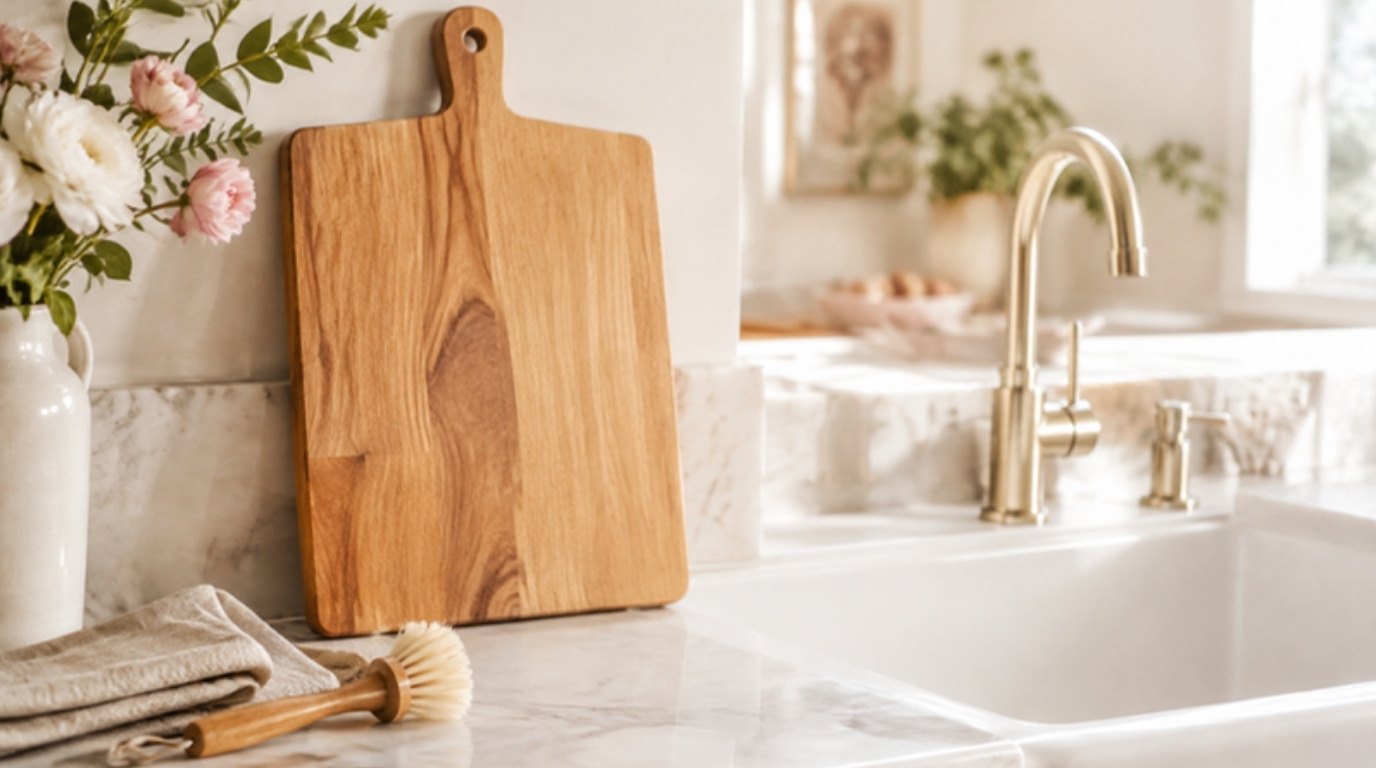
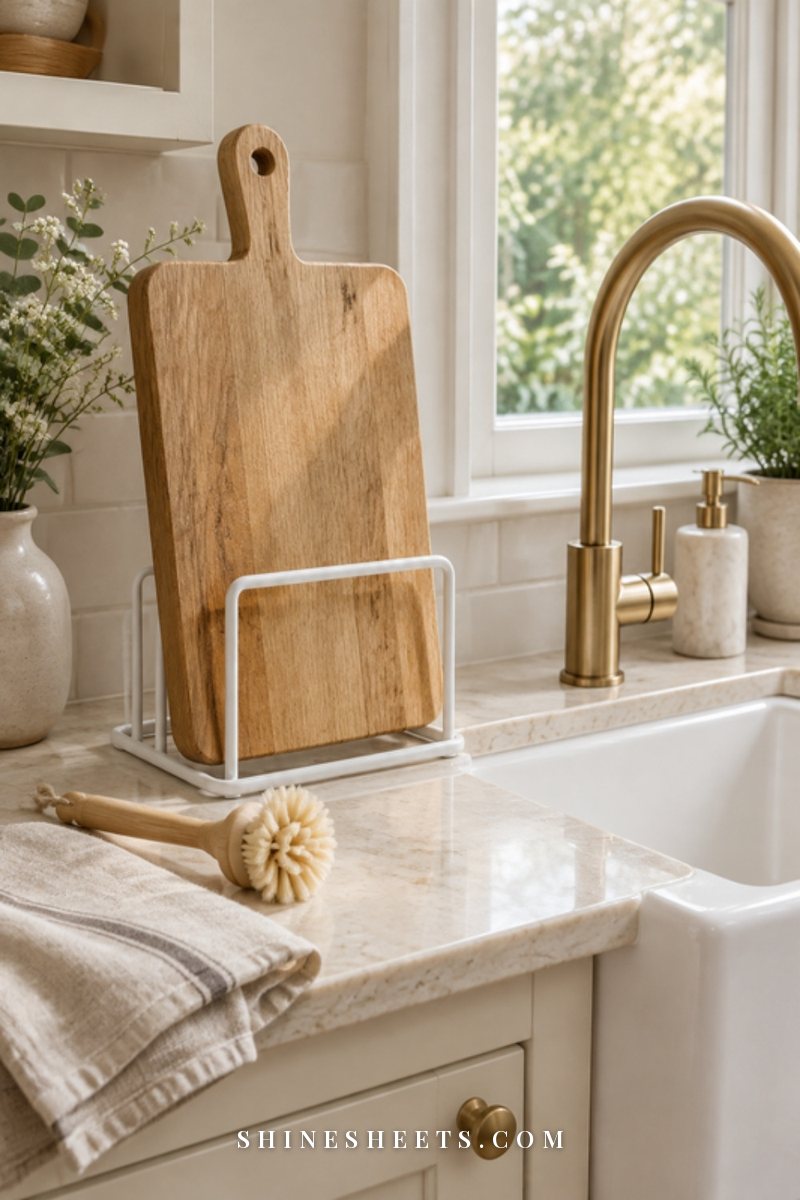
- Scrub with the grain. A stiff brush gets into knife marks much better than a sponge. A bamboo dish brush with cream bristles is a pretty pick that stays near the sink without looking like a cleaning tool. Scrub along the grain for 20 to 30 seconds, then do the back and edges too.
- Rinse quickly. Hot water, both sides, no soaking.
- Towel it off. Wipe away the surface water with a clean towel. Soft beige linen tea towels are absorbent and dry quickly, which matters for wood.
- Dry upright. Stand the board on its edge so air reaches both sides. Lying flat traps moisture underneath and is the fastest route to warping. A white upright board rack keeps it standing safely and looks tidy on the counter.
Let it dry fully, usually a few hours, before you put it away or stack anything on it.
How To Clean a Plastic Cutting Board
- Scrape off scraps. Same as wood.
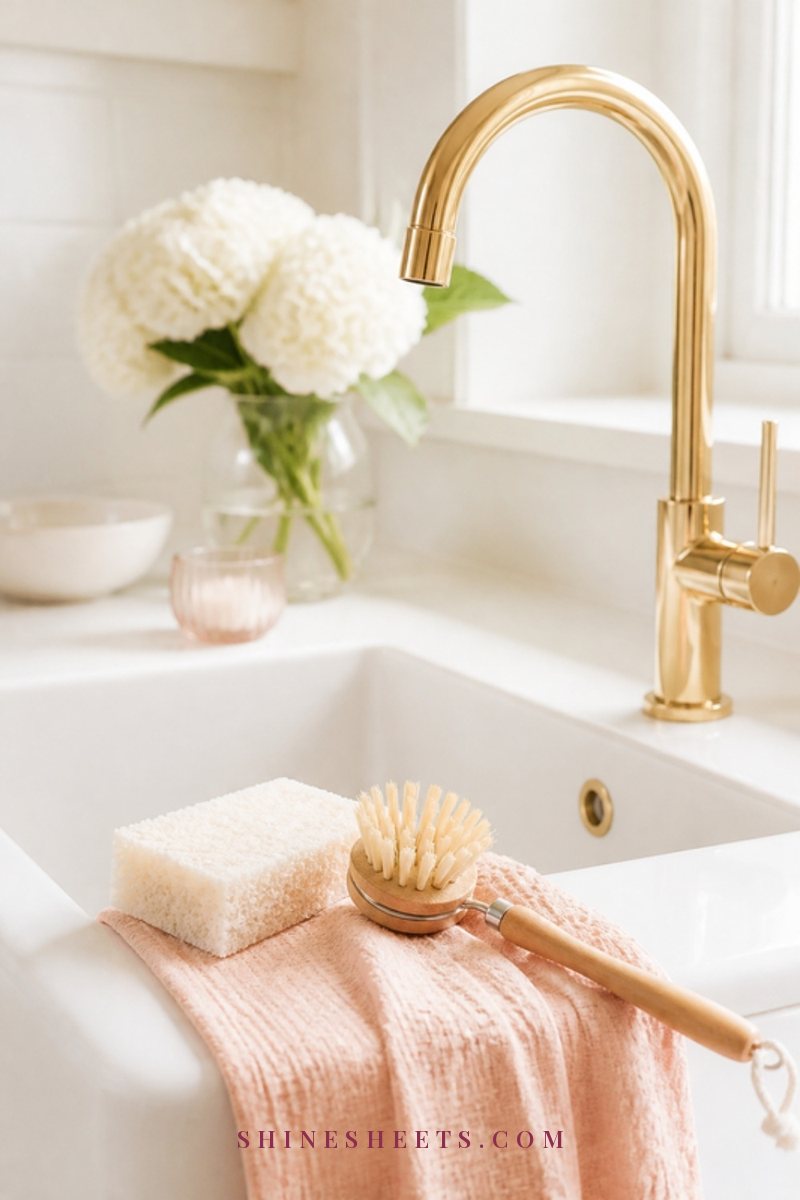
- Wash with hot, soapy water and a brush, scrubbing across the knife marks in both directions so the bristles reach into the grooves.
- Or use the dishwasher. Most plastic boards are dishwasher-safe (check the board itself or the packaging). Stand it at the side of the bottom rack, away from the heating element, so it doesn't warp. If your dishwasher smells a little off lately, my guide on how to clean a dishwasher is a quick fix.
- Rinse and dry upright. Even plastic does better when it dries in the air instead of flat on a damp counter.
After raw meat, poultry or fish, always wash the board straight away, and wash your hands, the knife and the sink area too. Your sink basin can pick up splashes, so my guide on how to clean a kitchen sink and drain is a good companion habit.
Bamboo, Glass and Composite Boards
Bamboo follows the wooden board routine exactly: hand wash, no soaking, dry upright, oil occasionally. Composite boards (made from wood fibers and resin) are often dishwasher-safe, so check the maker's guidance. Glass and stone boards are easy to clean but dull knives very quickly, so they're better as serving trays than as everyday chopping surfaces.
How To Deep Clean and Deodorize
Once a week for a busy board, or whenever it smells of onion and garlic no matter what you do, give it a deeper refresh.
Wood: Coarse Salt and Half a Lemon
This is the classic method, and it works beautifully for smells and light stains.
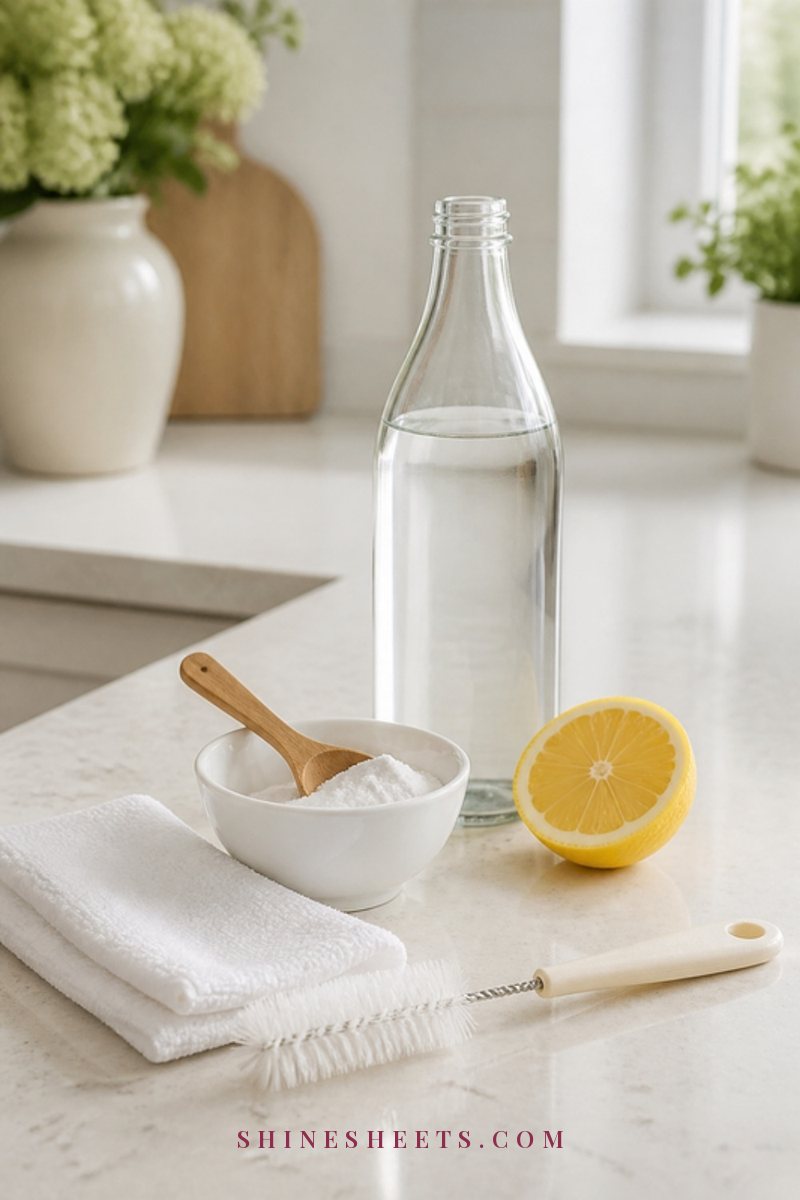
- Sprinkle a generous layer of coarse salt over the clean, dry board.
- Cut a lemon in half and use the cut side to scrub the salt into the wood, squeezing gently as you go. Work along the grain.
- Let it sit for 5 minutes.
- Scrape off the salt, rinse quickly with warm water, towel dry and stand upright.
The salt is a gentle scrub and the lemon helps lift smells and brighten the wood. Since lemon is slightly drying, plan to oil the board afterward once it's fully dry.
Wood: Baking Soda Paste
For stubborn smells, mix about 1 tablespoon of baking soda with a teaspoon of water to make a thick paste. Spread it over the board, leave it for 5 minutes, scrub with your brush along the grain, rinse quickly and dry upright. Baking soda is mild enough to use as often as you need.
White vinegar is another gentle option for wood: wipe the board with undiluted vinegar, let it sit for a few minutes, rinse and dry. Just never use vinegar in the same session as bleach.
Plastic: Diluted Bleach or Hydrogen Peroxide
Plastic boards can handle a sanitizing soak, which is useful after raw meat or when a board looks a bit dingy.
- Diluted bleach: Put on gloves, open a window, and mix 1 tablespoon of unscented liquid chlorine bleach into 1 gallon of cool water. Flood the clean board with it (or lay it in a clean sink with the solution) and let it sit for 2 to 5 minutes. Rinse very thoroughly with plenty of water and air dry upright.
- Hydrogen peroxide: Pour regular 3% hydrogen peroxide over the clean board and spread it with a clean brush. Let it fizz and sit for 5 to 10 minutes, then rinse well and dry.
Use one or the other, never both at once, and rinse in between if you switch. For more on which cleaners are safe to pair and which aren't, my guide to natural cleaning lists the combinations you should never mix.
Bleach isn't recommended for wood, since it can dry out and discolor the fibers. Stick with salt, lemon, baking soda or vinegar there.
How To Oil a Wooden Cutting Board
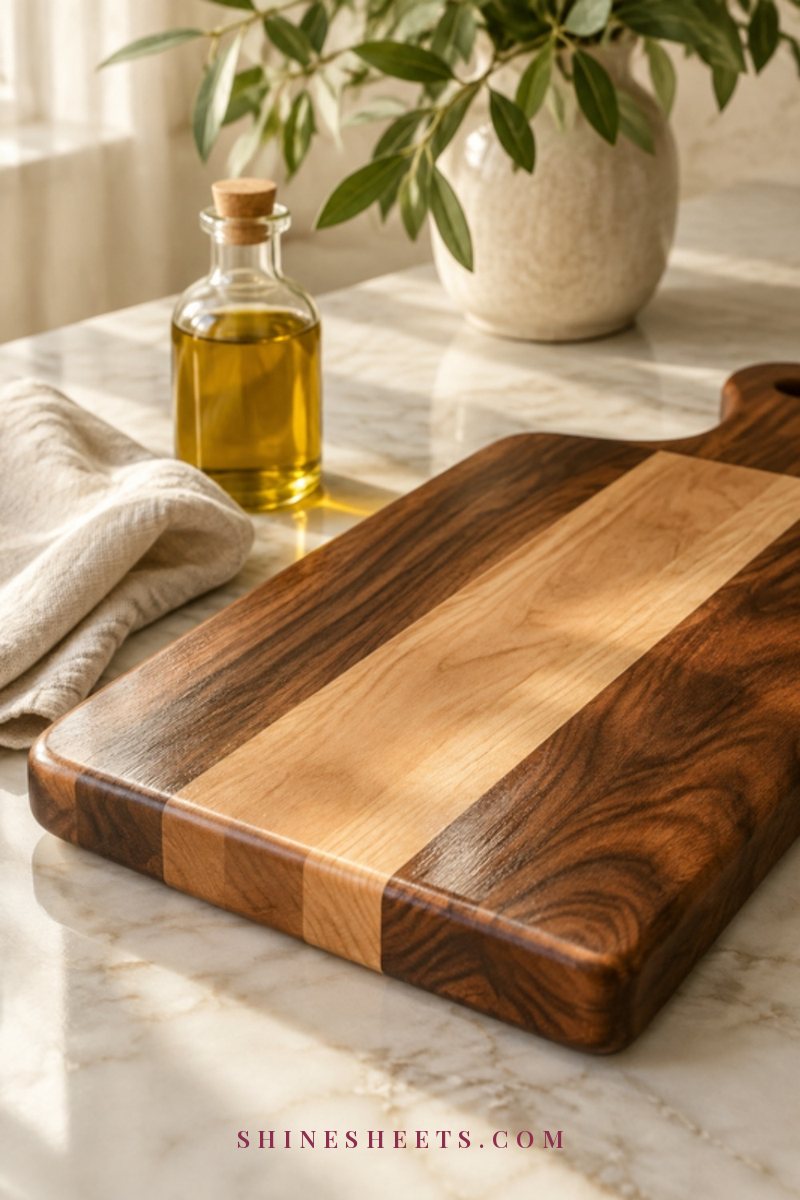
Oiling is what keeps a wooden board from drying out, cracking and soaking up stains and smells. It only takes a few minutes of hands-on time.
- Start with a clean, completely dry board. Ideally, let it dry overnight after washing.
- Pour on a little oil. Use food-safe mineral oil or a board cream (usually mineral oil blended with beeswax). A bottle of food-safe cutting board oil is the easiest option, because it won't go rancid the way cooking oils can.
- Rub it in. Use a soft cloth or paper towel to spread the oil in the direction of the grain, covering the top, bottom and every edge.
- Let it soak in. Leave the board standing upright for at least a few hours, or overnight if you can.
- Wipe off the excess. Buff away any oil sitting on the surface so the board doesn't feel sticky.
How often: about once a month for a board you use daily, or whenever the wood looks pale, dry or thirsty. A quick test: sprinkle a few drops of water on it. If they bead up, the board is happy. If they soak straight in, it's time to oil. New boards benefit from oiling once a day for the first week.
Skip olive, vegetable and other cooking oils. They can turn rancid in the wood and leave a stale smell. If you love caring for wooden and iron kitchen tools the old-fashioned way, my guide on how to clean a cast iron skillet follows a very similar logic.
A small extra: a set of sage silicone cutting board feet lifts the board slightly off the counter, so air can reach the underside and it doesn't slide while you chop.
Stains, Smells, Warping and Cracks
Even a well-loved board has its moments. Here's how to handle the usual ones.
- Stains on wood (beets, berries, turmeric): use the salt and lemon scrub, or a baking soda paste left for 10 minutes. For deeper stains, lightly sand the surface with fine sandpaper (around 220 grit), wipe away the dust and re-oil.
- Stains on plastic: the hydrogen peroxide or diluted bleach soak usually fades them. Some stains, like turmeric, may never fully go, and that's fine as long as the surface is smooth and clean.
- Lingering smells: baking soda paste, a vinegar wipe or the lemon scrub, then let the board dry fully in the air. Onion and garlic smells often fade overnight once the board is completely dry.
- Warping: usually caused by soaking or drying flat. A slightly warped wooden board can sometimes be coaxed back by laying a damp towel on the concave side overnight, then drying it upright and oiling. A plastic board that rocks on the counter is unsafe to chop on, so it's time to replace it.
- Small cracks in wood: regular oiling helps prevent them. Hairline surface cracks can be sanded smooth and oiled, but a crack that goes deep or splits the board means it's done.
- Dark spots or fuzzy patches: this can be mildew from moisture. Sand the spot down, clean with vinegar, dry fully and oil. If it keeps coming back or goes deep into the wood, replace the board.
Use Separate Boards for Raw Meat and Produce
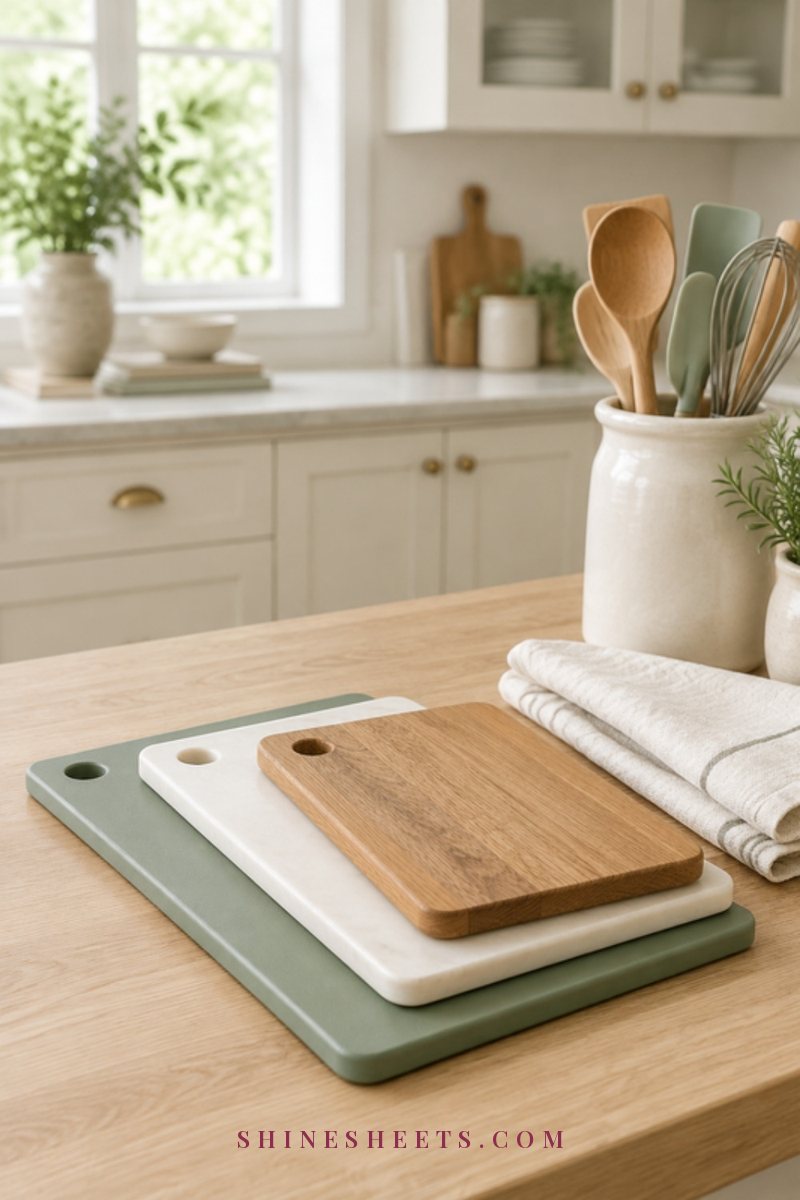
This is one of the simplest food safety habits, and it makes cleaning easier too. Keep one board only for raw meat, poultry and fish, and another for everything that won't be cooked, like salad vegetables, fruit, bread and cheese.
- Color-code them so you never have to remember which is which. For example, a sage or blue plastic board for raw proteins and a wooden one for produce.
- If you only have one board, cut ready-to-eat foods first, then raw meat, and wash the board thoroughly with hot soapy water before using it for anything else.
- Wash your knife too between raw meat and anything else. Knives carry the same germs as the board.
If you're giving the whole kitchen some attention, my guide on how to deep clean your kitchen walks you through the counters, cabinets and appliances in a calm top-to-bottom order.
Cutting Board Care at a Glance
Here's everything in one table. Screenshot it and keep it on your phone, or simply bookmark this page for later.
| Board type | Daily clean | Deep clean | Never do |
|---|---|---|---|
| Wood (maple, walnut, acacia) | Hot soapy water, scrub with the grain, rinse, towel dry, stand upright | Coarse salt and half a lemon, or baking soda paste, 5 minutes; oil monthly | Soak it, put it in the dishwasher, use bleach, dry it flat |
| Bamboo | Same as wood | Salt and lemon or baking soda paste; oil every 1–2 months | Soak it, use the dishwasher, leave it wet |
| Plastic | Hot soapy water and a brush, or the dishwasher | 1 tbsp bleach per gallon of water for 2–5 minutes, or 3% hydrogen peroxide for 5–10 minutes; rinse well | Mix bleach with vinegar or ammonia, keep using it once grooves are deep |
| Composite | Hot soapy water, or the dishwasher if the maker allows | Baking soda paste or hydrogen peroxide | Use abrasive scouring powder |
| Glass or stone | Hot soapy water or the dishwasher | Baking soda paste for marks | Use it for everyday chopping (it dulls knives) |
Just as with sponges, a board is a kitchen tool that quietly wears out. My guide to kitchen sponge hygiene covers the sponge side of the sink.
5 Signs It's Time To Replace Your Cutting Board
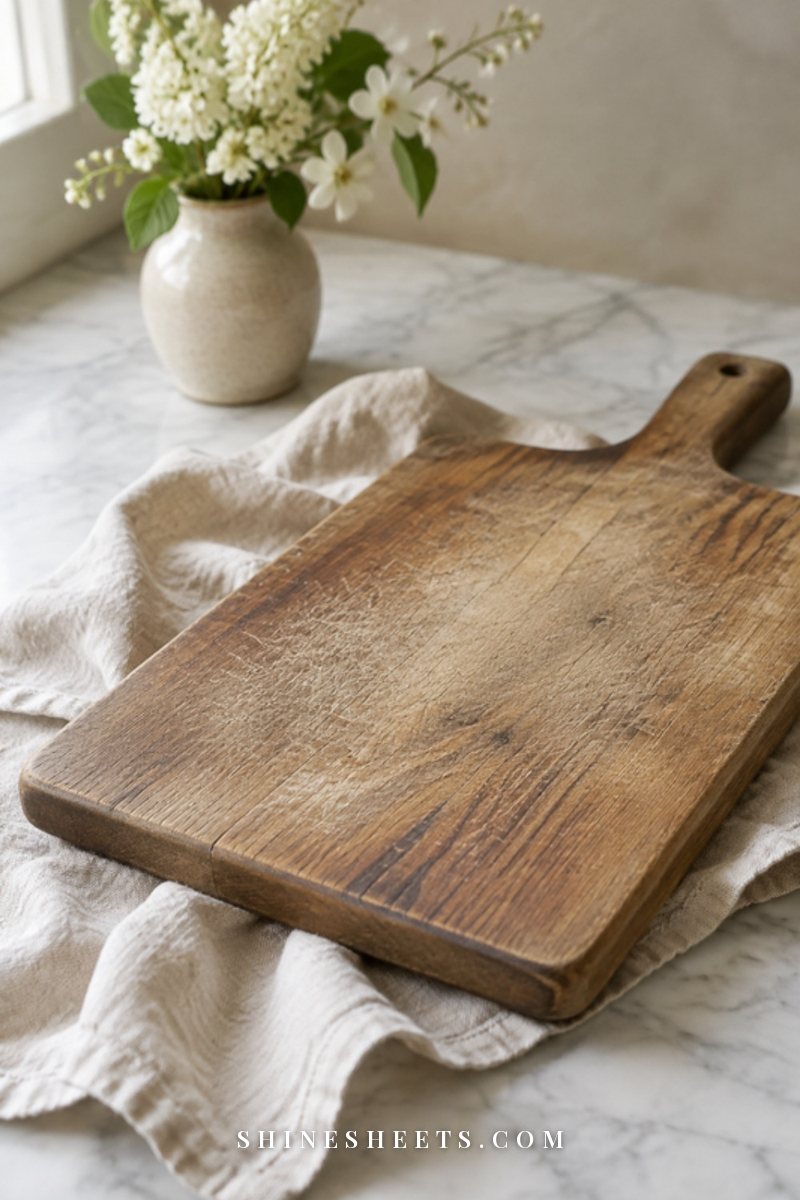
No board lasts forever, and that's okay. Here's when to let one go:
- Deep grooves you can't scrub clean. If your fingernail catches in the knife marks, especially on plastic, food and moisture are hiding where a brush can't reach.
- A smell that won't leave. If a board still smells after a deep clean and a full day of drying, it's holding on to more than you'd like.
- Warping that makes it rock. A board that wobbles on the counter is a slipping knife waiting to happen.
- Deep cracks or splits. Cracks in wood trap moisture and can grow. Hairline surface lines can be sanded; a crack that goes through or runs deep cannot.
- Mold that keeps returning. Dark, fuzzy spots that come back after sanding and cleaning mean the moisture has gone too deep.
A well-cared-for wooden board can last many years. Plastic boards are more of a consumable, and many people replace them every year or two, depending on how often they're used.
Safety Notes
A few simple rules keep both you and your board safe:
- Never mix bleach with ammonia or vinegar. Bleach and ammonia create toxic fumes, and bleach and vinegar (or other acids) release chlorine gas. Don't combine different cleaners, and rinse the board with water before switching from one to another.
- Ventilate when you use bleach or hydrogen peroxide: open a window or turn on the kitchen fan.
- Wear gloves for bleach solutions, and rinse the board very thoroughly so no residue touches food.
- Use only food-safe oils on wood, such as food-grade mineral oil or a board cream made for cutting boards.
- Wash your hands with soap and water after handling raw meat, poultry or fish, and before touching anything else.
Final Thoughts
Learning how to clean a cutting board properly is one of those small kitchen habits that pays you back every single day. A hot soapy scrub, a quick towel dry, standing it upright and a little oil once a month for wood is honestly all it takes.
Treat wood gently, let plastic go when it's worn, and keep raw meat on its own board. Your board will stay fresh, your kitchen will feel calmer, and every time you chop something, you'll know it's starting on a clean surface.