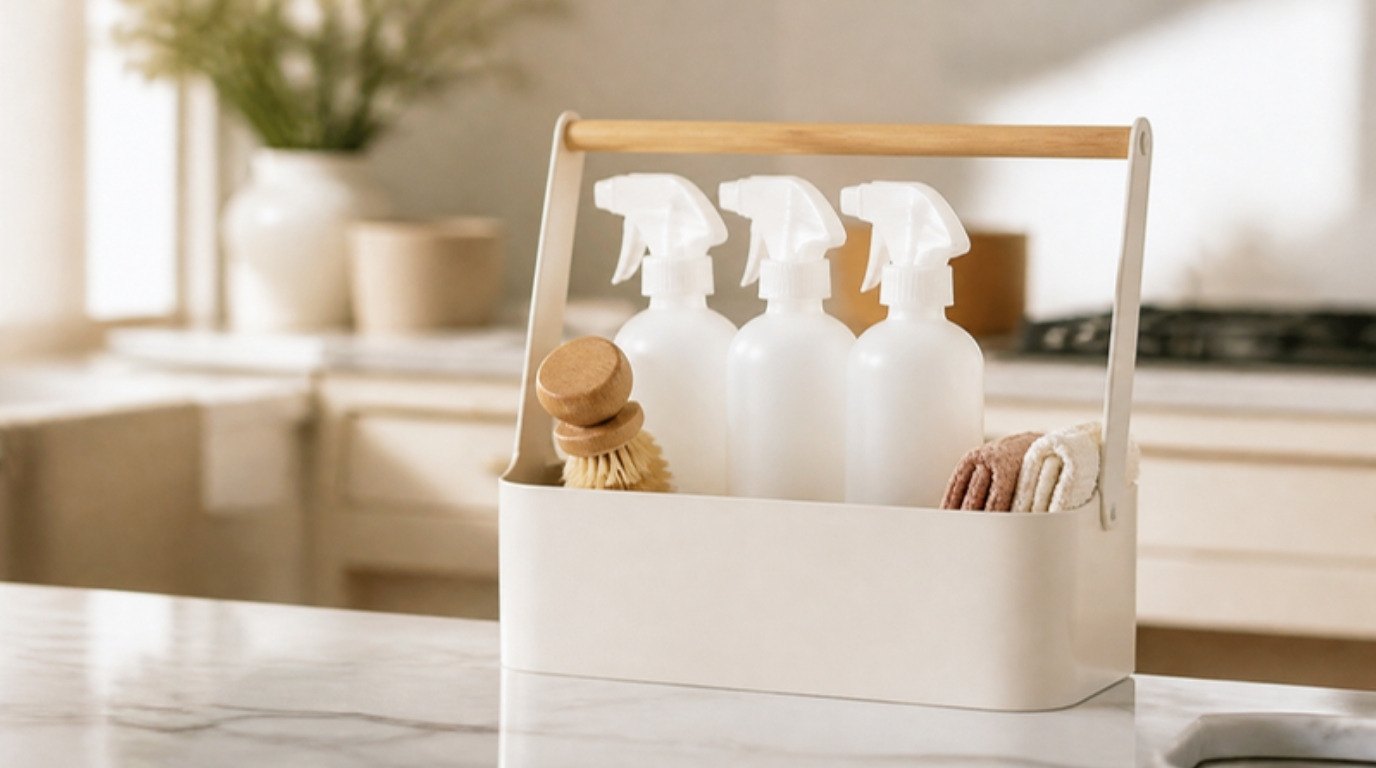
A calm kitchen isn't about owning less. It's about being able to reach what you use every day without moving three things first. Most kitchens don't have too much stuff in total; they have too much of the wrong stuff in the best spots, like a waffle iron in the front of the cabinet and the everyday pan buried behind it.
That's why learning how to declutter your kitchen works best zone by zone, with clear rules for what to toss and what to keep, rather than one big, exhausting Saturday. A drawer here, a shelf there, and within a couple of weeks the whole room feels lighter.
In this guide you'll find how to start small, a simple three-pile sort, the nine kitchen zones in the order I'd tackle them, a keep-and-toss table you can screenshot, 10 things most kitchens can let go of, and the one habit that keeps it all tidy afterward. If you'd like the big picture for the whole home first, my step-by-step guide to decluttering your home covers every room. This one stays in the kitchen.
The new year is a lovely moment for this. After the holiday cooking and hosting, the cabinets are full of extra platters, gift mugs and half-used packets, and January light makes it easy to see what's really there. No shame, no pressure, just one small zone at a time.
Before You Start: One Drawer, 15 Minutes
The biggest mistake when decluttering a kitchen is emptying every cabinet at once. Within an hour, every surface is covered, dinner time is coming and you're surrounded by decisions. That's how good intentions turn into a messier kitchen than before.
Instead, set a 15-minute limit and choose one small space: a single drawer, one shelf or one corner of the counter. Fifteen minutes is short enough to start even on a tired weeknight, and long enough to finish a drawer properly. If you feel like doing another, lovely. If not, you've still made real progress.
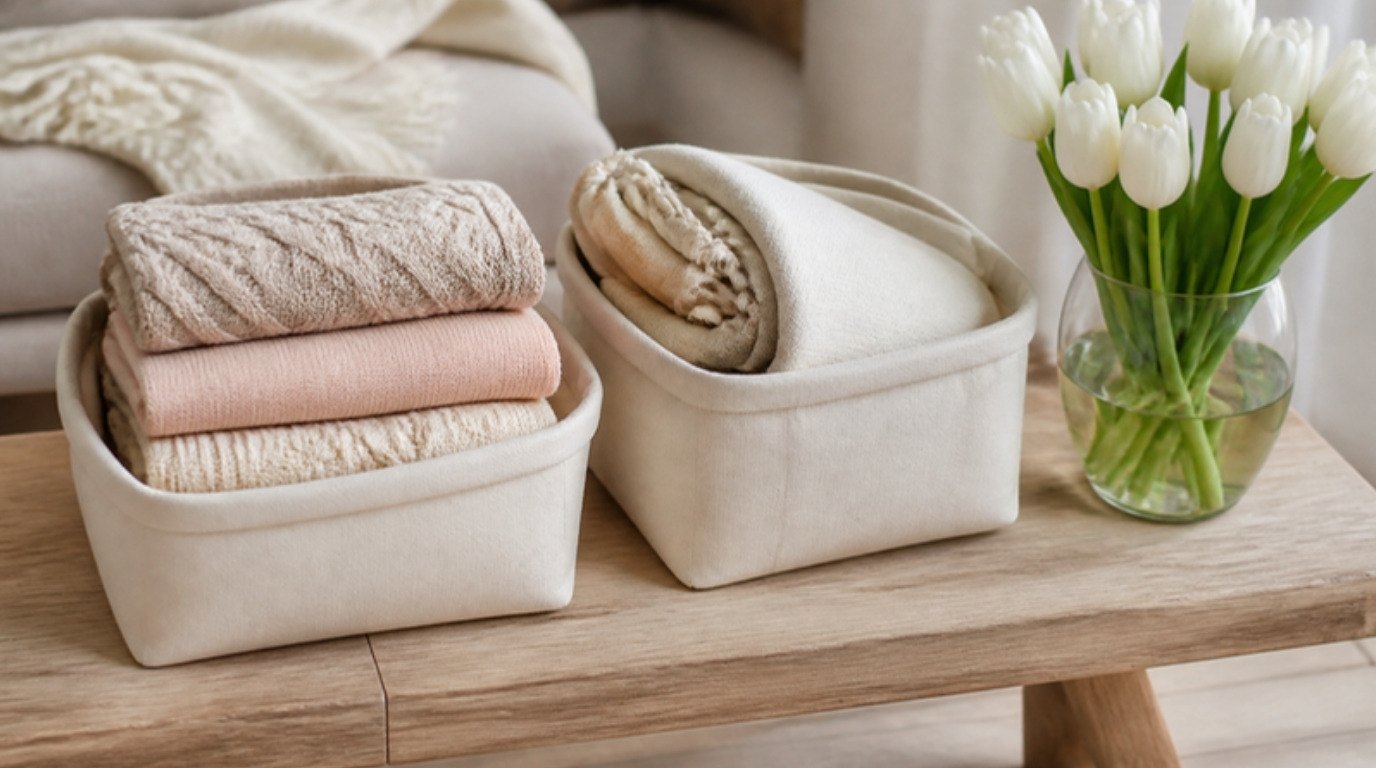
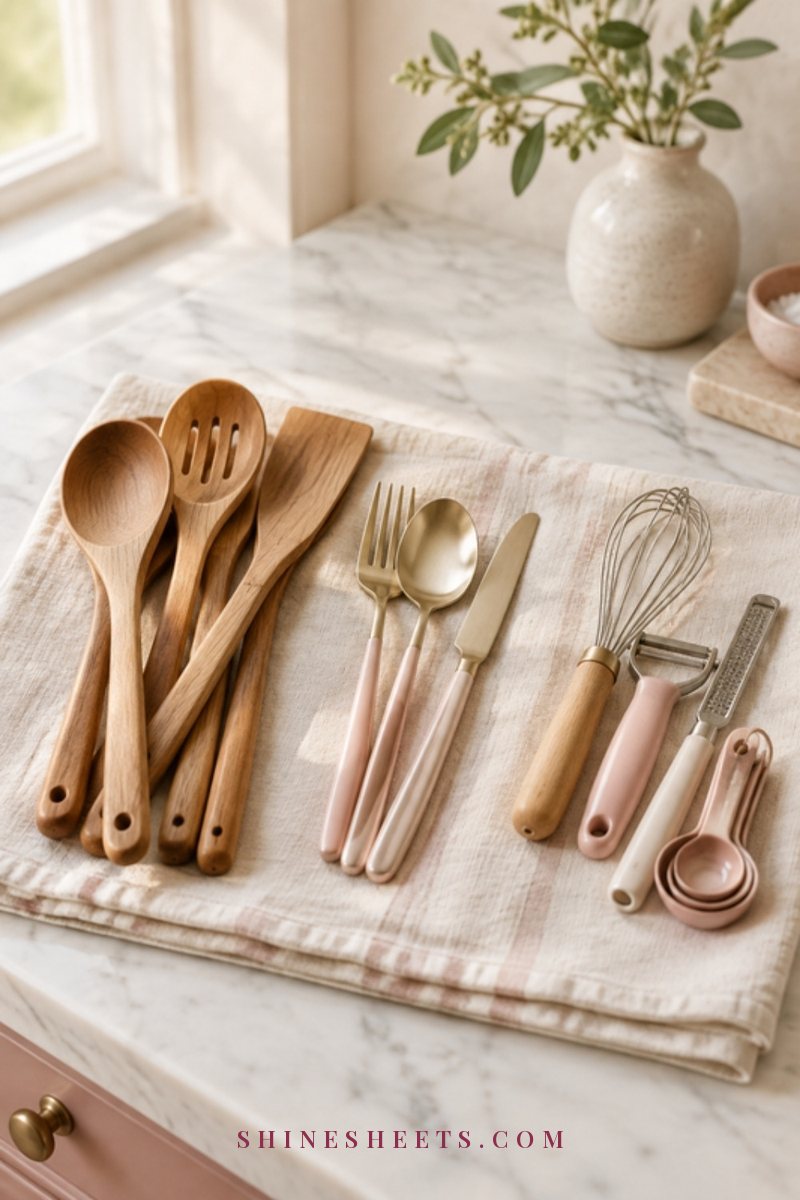
Before you begin, set out three things: a bag for trash and recycling, a box for things leaving the house, and a clean towel on the counter to lay items on. A cream fabric donation box that lives in a closet makes the rehome pile feel organized instead of chaotic. Put the kettle on, too. Evening tea and one drawer is a very pleasant way to spend a quarter of an hour.
The Three-Pile Sort: Keep, Rehome, Toss
For every item you pick up, make one of three quick decisions:
- Keep: you used it in the last few months, it works, and you'd buy it again if it broke. It goes back, ideally in a better spot.
- Rehome: it's in good condition, but you don't use it. It goes in the donation box, to a friend who'd love it, or to another room where it actually belongs (the scissors that live in the office, the candle that wandered in from the living room).
- Toss: it's broken, stained, chipped, missing parts, past its date or genuinely unusable. It goes in the trash or recycling.
If you get stuck on an item for more than ten seconds, put it in a "maybe" bag, write the date on a piece of tape, and tuck it in a cupboard. If you haven't opened the bag in two months, let it go without opening it. It took me a while to accept that "I might need it someday" usually means "I won't", and that it's perfectly fine to buy something again in the rare case I do.
How To Declutter Your Kitchen Zone by Zone
Here are the nine zones in a gentle order. Start with the ones you see every day, so you feel the difference right away, and save the bigger, heavier zones for when you're on a roll.
1. Counters
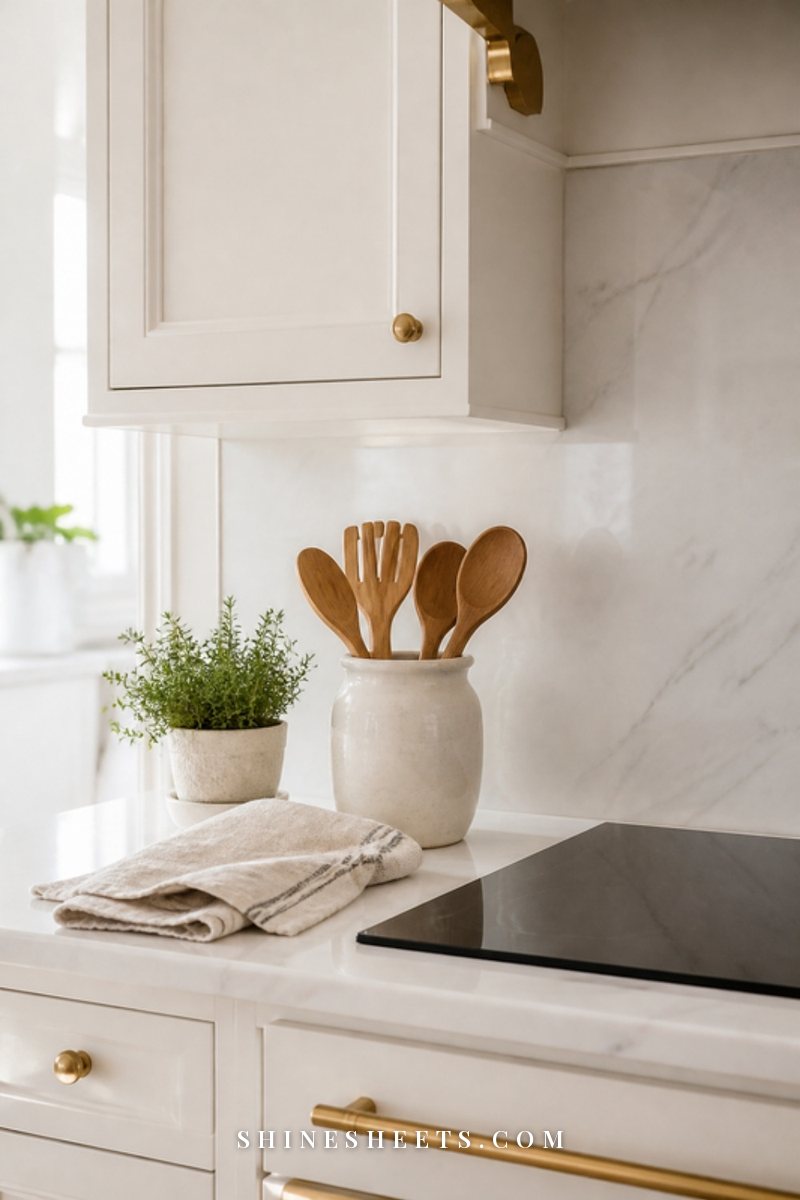
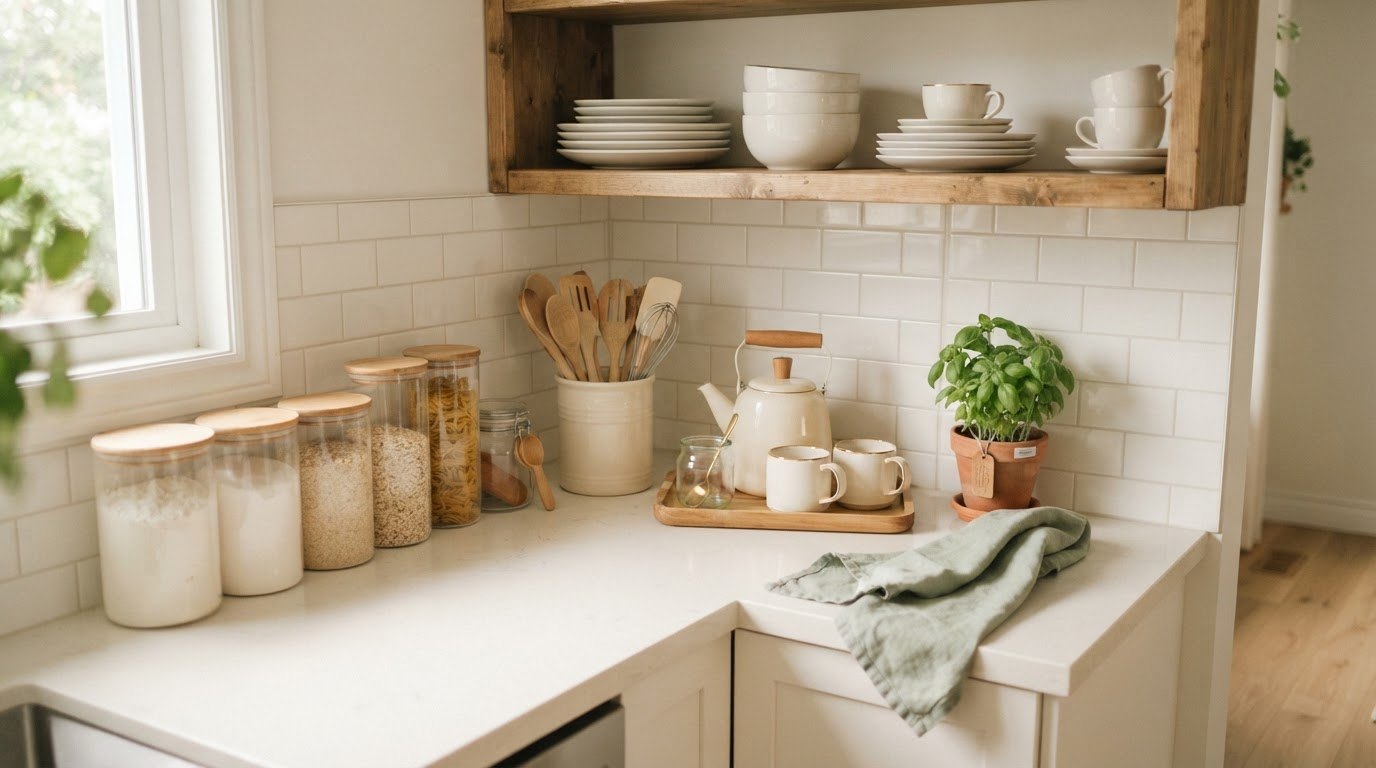
Counters come first because they change how the whole kitchen feels the moment they're clear. Look at everything sitting on them and ask: does this get used every single day?
- Keep out: things you use daily, like the kettle or coffee maker, a utensil holder, a cutting board, dish soap.
- Put away: anything you use weekly or less, like the blender, the stand mixer or the extra knife block.
- Remove completely: mail, chargers, keys, receipts and anything else that isn't kitchen-related. Give it a home in the hallway or office.
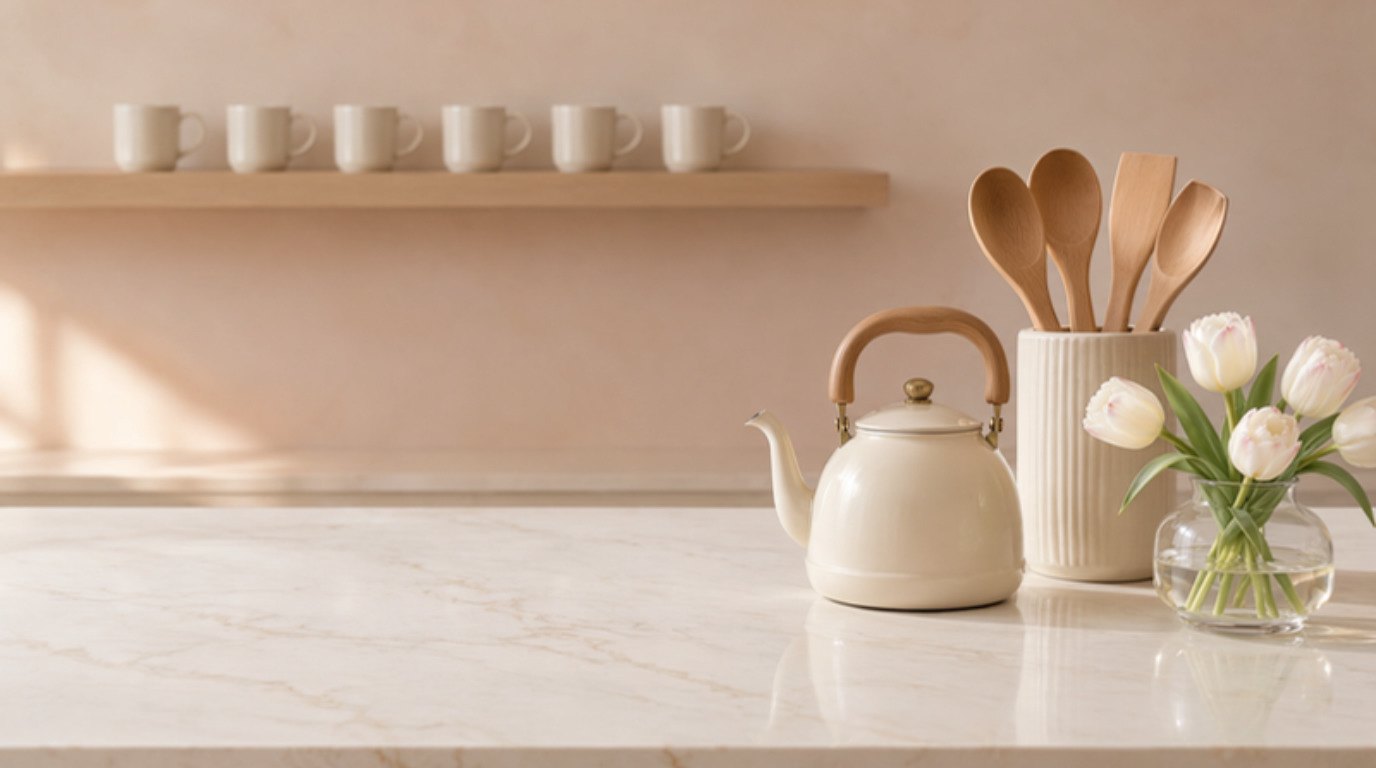
For the cooking spoons and spatulas you reach for constantly, a cream ceramic utensil holder by the stove keeps them handy and looks calm. Look for a heavy base so it doesn't tip when it's full. If your utensil holder is overflowing, that's your sign to move on to the drawers next.
2. Utensil Drawers
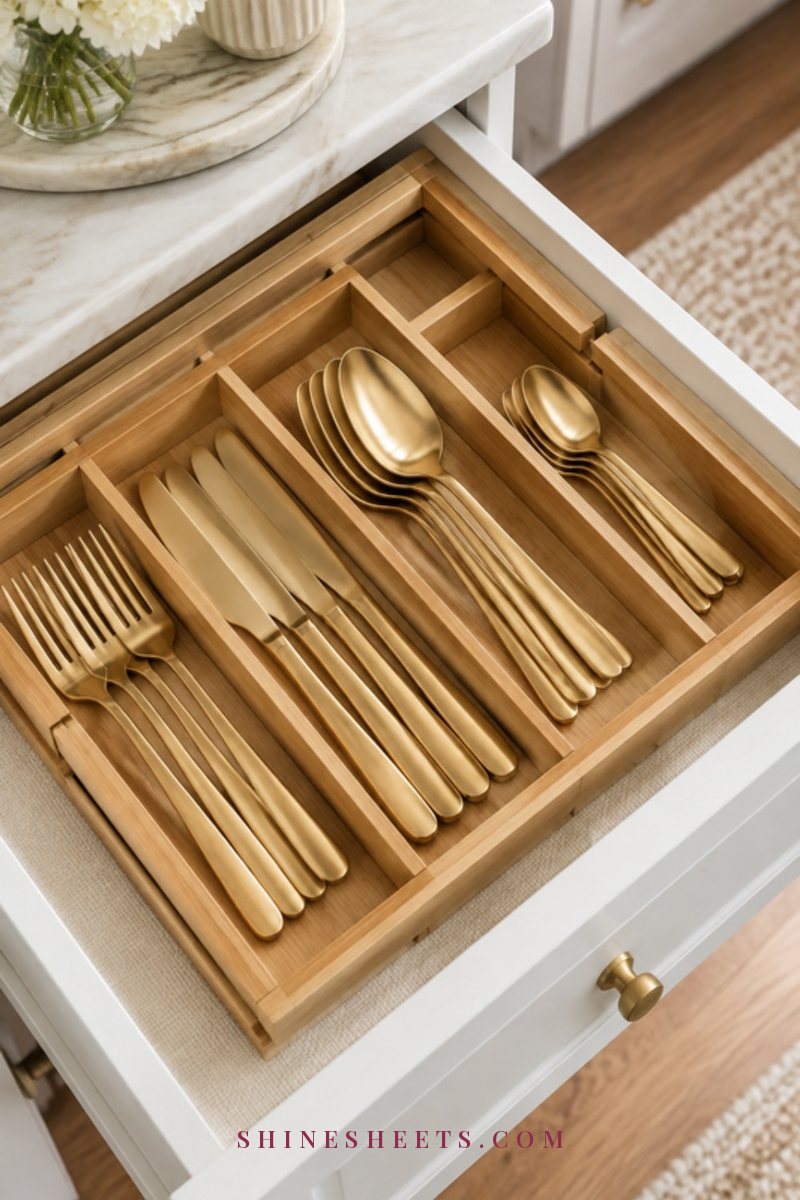
Utensil drawers collect duplicates like nothing else. Empty one drawer onto your towel and group like with like: all the spatulas together, all the ladles, all the peelers.
The keep rule: one or two of each tool you actually use. Most kitchens need one ladle, one or two spatulas, one whisk and one good peeler. The fourth wooden spoon and the third can opener can go. Toss anything melted, cracked or with a wobbly handle.
Before putting things back, wipe the drawer and add white drawer dividers. Measure the inside of the drawer first, and choose a set with a few sizes so long tools and small gadgets each get a section. Dividers make it obvious when a section is full, which quietly stops new duplicates sneaking in.
3. Mugs and Glasses
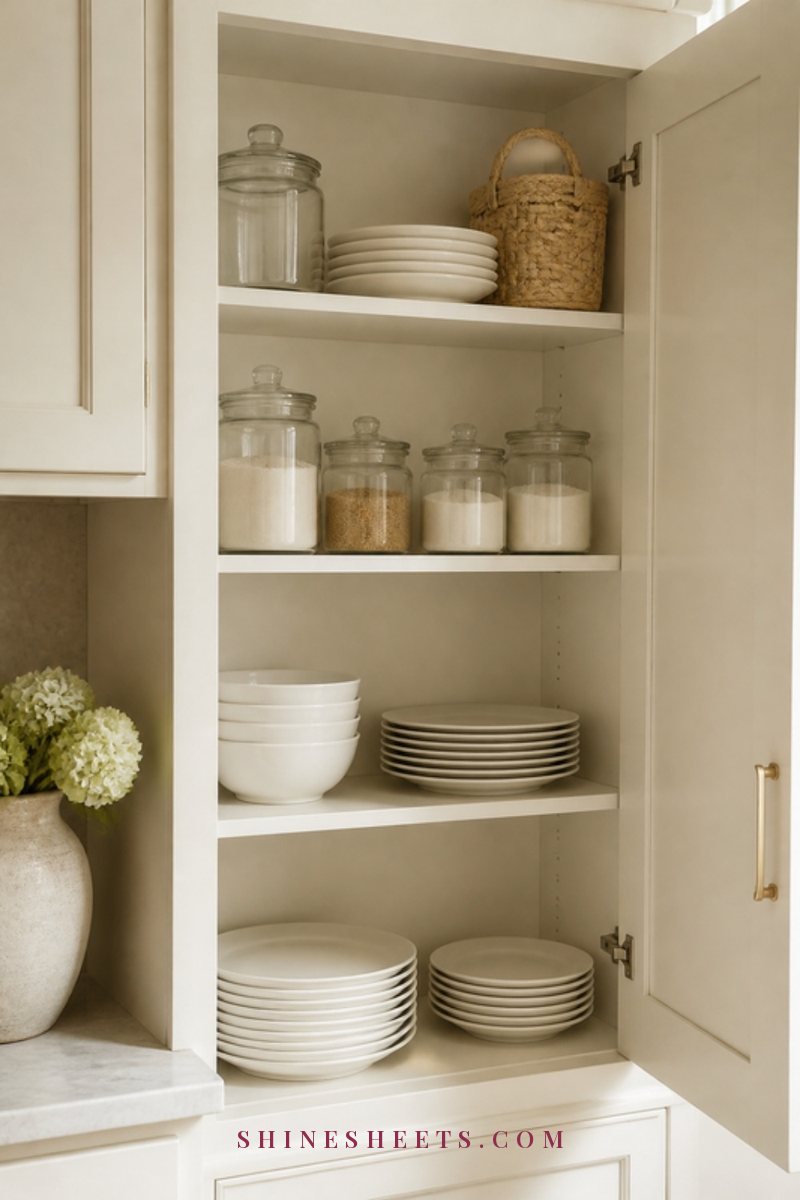
Mugs multiply, especially after the holidays. Take them all out and count them, then count how many people live in your home. A good, generous rule is about two to three mugs per person, plus a few for guests.
- Keep: the mugs you reach for first, the ones that feel good in your hands, and the ones with real meaning.
- Rehome: promotional mugs, the ones you skip every time and gift mugs you don't love (it's okay, the giver wanted you to enjoy them, not store them).
- Toss: chipped rims and cracks. Chips can harbor bacteria and can cut your lip, so this one is a safety thing too.
Do the same with glasses. Mismatched sets with one or two survivors can go, or be kept as a small "special" collection if you love them. Store the everyday ones at the front of the lowest shelf you can comfortably reach.
4. Food Storage Containers (Match Every Lid)
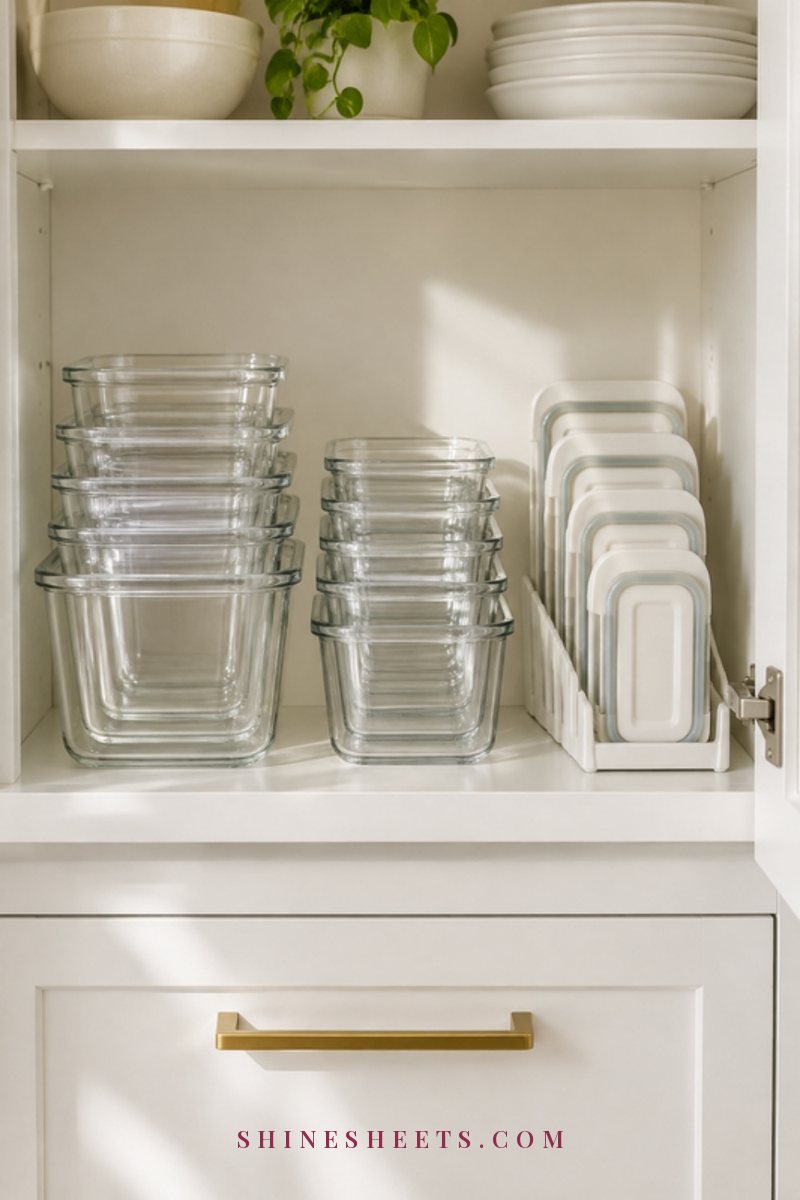
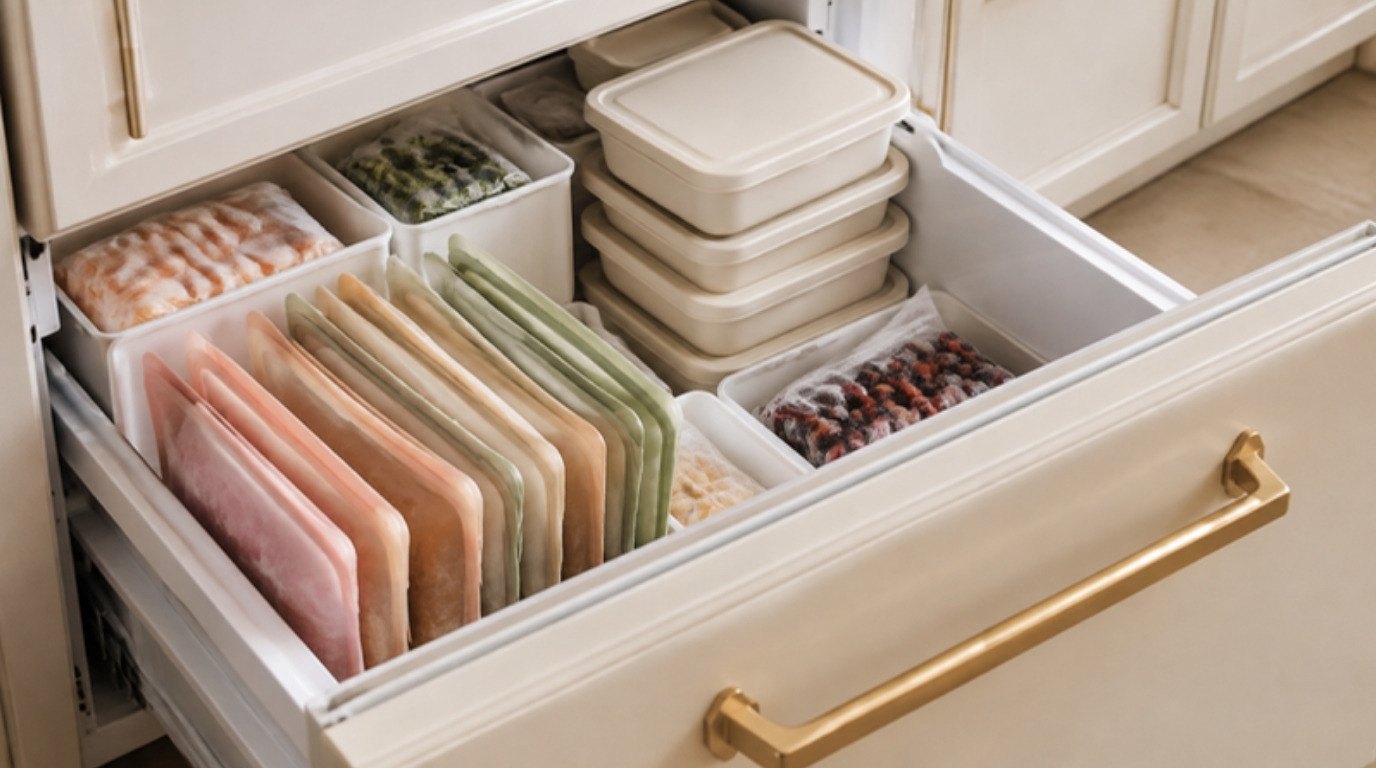
This is the zone that makes everyone sigh, so here's the simplest method: take every container and every lid out, and match them up one by one on the counter. Any container without a lid and any lid without a container goes straight into recycling (check your local rules for plastics).
Then look at what's left. Toss anything stained, warped, cloudy or with a cracked lid. If you have a mix of glass and plastic, consider keeping mostly one type in a few sizes, so lids are easier to match next time.
Store containers nested by size, and keep the lids standing upright beside them, like files in a folder. That way you see every lid at a glance instead of digging through a pile.
5. Pots and Pans
Pots and pans take up a lot of space, so even a small edit here frees up a whole cabinet. Pull them all out and be honest about which ones you use in a normal week.
The keep rule: most kitchens do well with one small and one large saucepan, one large pot, one or two frying pans and one baking dish or sheet. Keep the ones you trust and actually cook with.
Toss or replace: nonstick pans with flaking or deeply scratched coating, warped pans that rock on the burner and lids for pans you no longer own. Rehome duplicates in good condition. Store the heaviest pans at waist height so you're not lifting them from a high shelf.
6. Small Appliances: The One-Year Rule
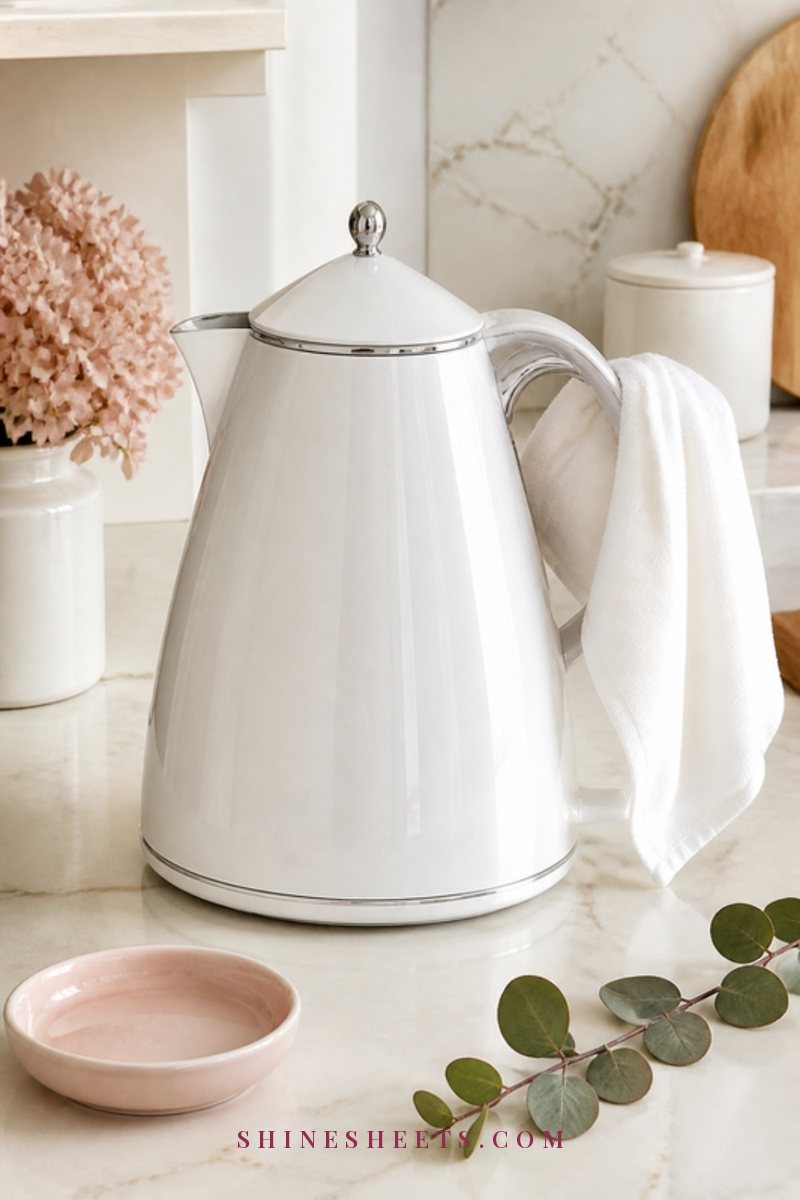
Small appliances are the biggest space thieves in most kitchens. The rule here is simple and kind: if you haven't used it in a year, it's probably time for it to go to someone who will.
A year covers every season, so it includes the ice cream maker you only think of in summer and the slow cooker you love in winter. If an appliance passes the one-year test, keep it. If it doesn't, rehome it while it still works. If you're truly unsure, put a small piece of tape on it with today's date; if the tape is still there in six months, you have your answer.
For the appliances that stay, only the daily ones live on the counter. Everything else goes in a lower cabinet or a high shelf, depending on weight and how often you use it.
7. Pantry and Spices
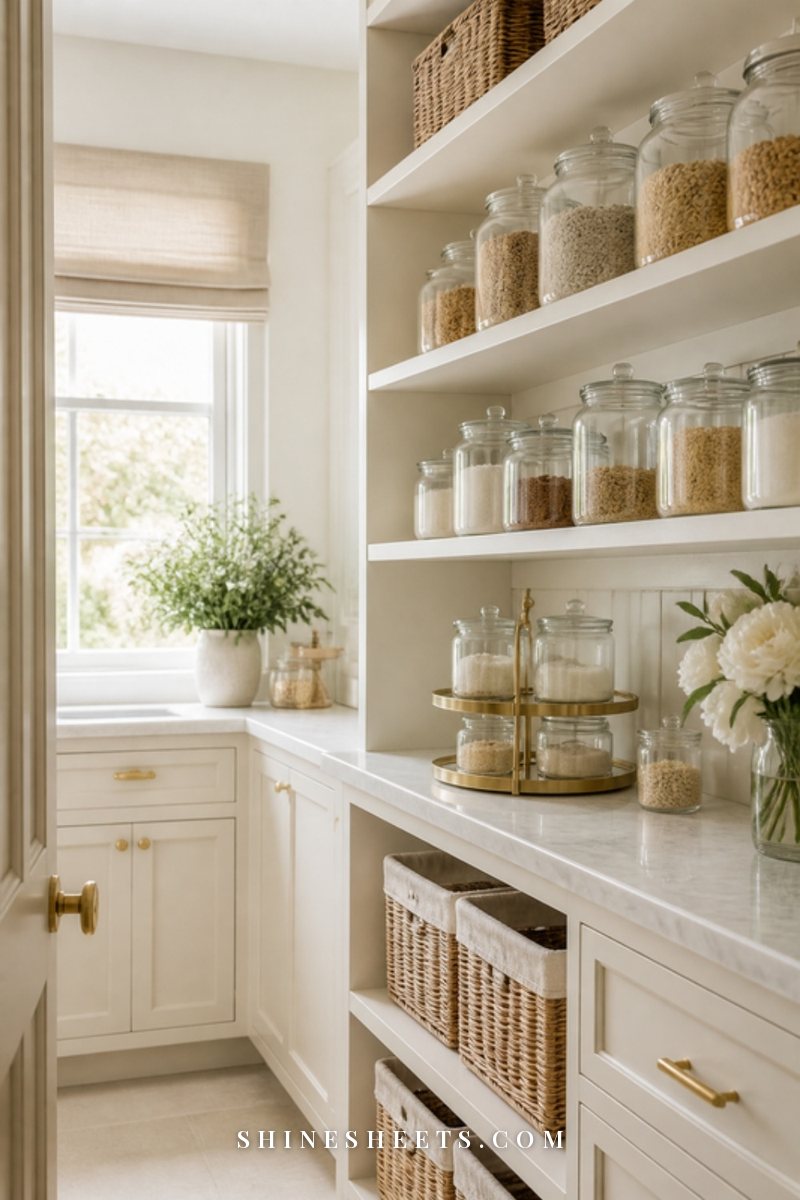
Take everything out of one pantry shelf at a time and check the dates. Toss what's past its date or has clearly turned: anything that smells off, looks discolored, has clumped from moisture or shows any sign of pantry bugs. Spices are a quiet one here. If a ground spice has lost most of its color and smell, it's lost its flavor too, and it can go.
Group what's left by type (baking, breakfast, grains, snacks), and put the oldest packets in front so they get used first. Clear airtight pantry canisters are a pick for staples you buy often, because you can see at a glance when you're running low, and they keep moisture out. Look for a set with a few sizes and a good seal, and add a small label on the back with the date you filled it.
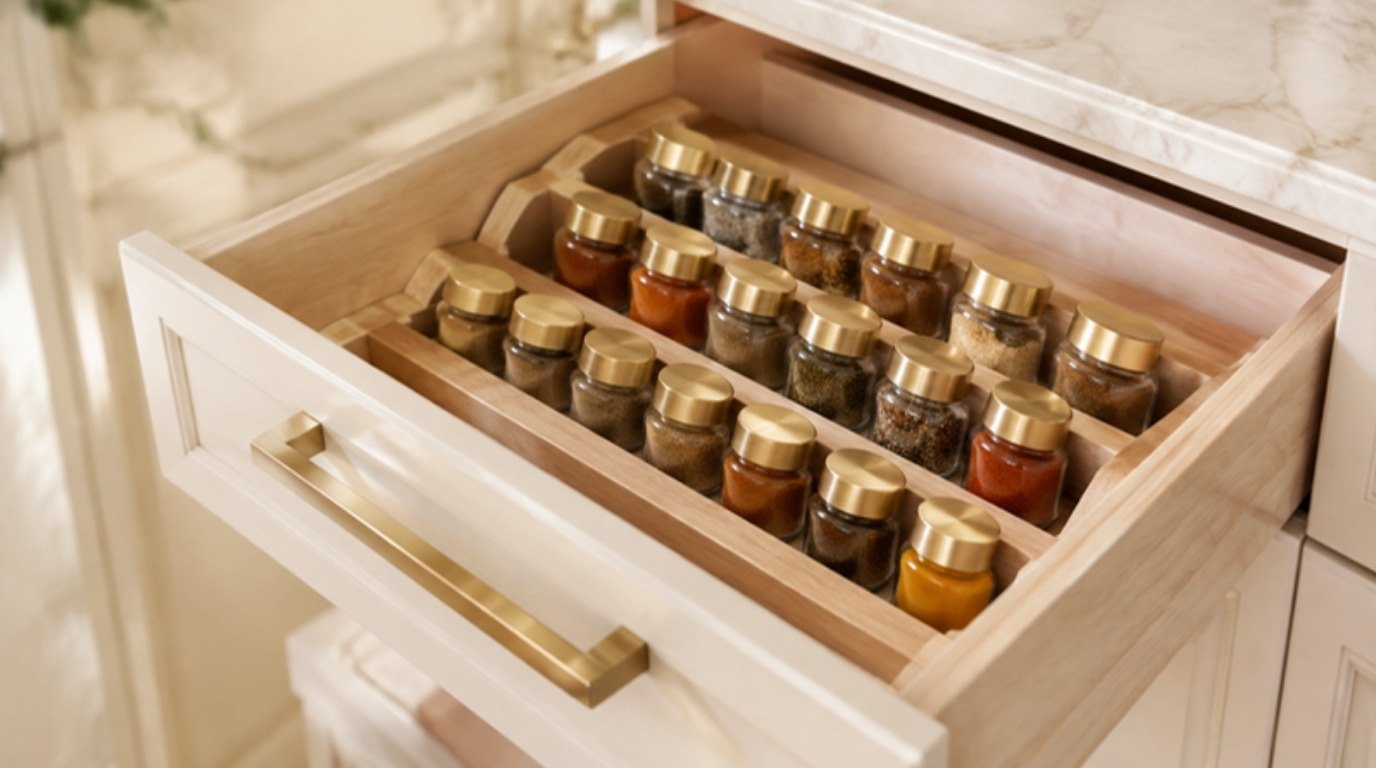
For spice jars, a white turntable organizer in a corner cabinet means you can spin to the back instead of reaching over everything. My guide to organizing a pantry that stays neat has more ideas once this shelf is edited.
8. Under the Sink
Under the sink tends to hold half-used cleaning bottles, old sponges and a mysterious collection of plastic bags. Take everything out and give the cabinet floor a look for any drips or dampness, which is worth fixing before you put things back.
- Keep: one of each cleaner you actually use, dish soap refills, a few clean cloths and trash bags.
- Toss: worn sponges, crusty brushes, dried-out bottles and products you tried once and didn't like (empty them safely according to the label, never all down the drain at once).
- Combine carefully: never pour two cleaners into one bottle, and never mix different products together.
If there are little ones or pets at home, keep cleaners up high or behind a cabinet lock. For clever ways to work around the pipes, my under-sink organization guide covers both kitchen and bathroom cabinets.
9. The Fridge Door
The fridge door is where sauces, dressings and jars go to be forgotten. Take everything off the door shelves and check each one: is it past its date, has it changed color or smell, or has it been open longer than the label suggests? If yes, it goes.
Keep what you use often and wipe each shelf before putting things back. Group similar items together, so you can see at a glance what you already have before buying another jar of the same thing. The outside of the fridge counts too: old magnets, takeout menus and expired invitations can come down, leaving only what you really want to see.
Kitchen Declutter Table: Keep, Toss and Where It Should Live
Screenshot this table and keep it open while you work. Each row is one zone, with a quick keep rule, a quick toss rule and the best place for what stays.
| Kitchen zone | Keep | Toss | Where it should live |
|---|---|---|---|
| Counters | Daily-use items only | Non-kitchen items, weekly appliances (move them) | Next to where you use them |
| Utensil drawers | One or two of each tool you use | Duplicates, melted or cracked tools | Top drawer nearest the stove |
| Mugs and glasses | About 2–3 mugs per person plus a few extra | Chipped, cracked, unloved promo mugs | Lowest easy-reach shelf near the kettle |
| Food storage containers | Matching sets with lids | Lidless pieces, stained or warped plastic | Nested by size, lids upright |
| Pots and pans | The ones you cook with weekly | Flaking nonstick, warped bases, orphan lids | Waist-height cabinet near the stove |
| Small appliances | Used within the last year | Unused for a year, broken | Counter if daily, cabinet if not |
| Pantry and spices | In date, still fresh-smelling | Past date, clumped, faded, any sign of bugs | Grouped by type, oldest in front |
| Under the sink | One of each cleaner you use | Old sponges, dried-out bottles | Contained, upright, out of reach of kids |
| Fridge door | Condiments you use often | Past date or changed smell or color | Grouped by type on door shelves |
10 Things Most Kitchens Can Let Go Of
If you want a quick win, start with this list. You'll likely find at least half of these in your kitchen right now, and each one frees up a little room:
- Lids without containers and containers without lids.
- Chipped mugs and plates, especially ones with chipped rims.
- Duplicate utensils, like the third spatula or the second garlic press.
- Single-use gadgets you never reach for, the avocado slicer and the egg separator included.
- Takeout cutlery, chopsticks and condiment packets collected in a drawer.
- Old, faded spices that have lost their color and smell.
- Worn sponges and crusty dish brushes.
- Stained or thin dish towels beyond the five or six you actually rotate.
- Excess plastic and paper bags. Keep a small, set amount, like what fits in one bag, and recycle the rest.
- Holiday-only serving pieces you didn't use this season. Keep one or two you love and store them away from everyday cabinets.
What To Keep (and Where)
Decluttering isn't only about what goes. The real calm comes from where the keepers live. A few simple placement rules:
- Daily items within arm's reach. Your favorite mug, the everyday pan, the cooking spoon you always use. These belong in the easiest spots: front of the shelf, top drawer, waist height.
- Weekly items one step away. The blender, the baking sheet, the big salad bowl. Lower cabinets or the back of a shelf.
- Seasonal and rare items out of the way. Holiday platters, the big roasting pan, the cake stand. High shelves or a closet outside the kitchen.
- Use vertical space. White stackable shelf risers double a cabinet shelf, so plates sit on the bottom and bowls sit above them. Measure the shelf height first and leave a couple of inches of clearance.
- Keep what you love in view. If you have open shelves, give them only the things you find beautiful and use. My open kitchen shelf styling tips show how to keep them calm rather than crowded.
For more pretty, practical storage once everything's edited, my kitchen organization ideas are made for small kitchens especially.
A Quick Clean While the Shelves Are Empty
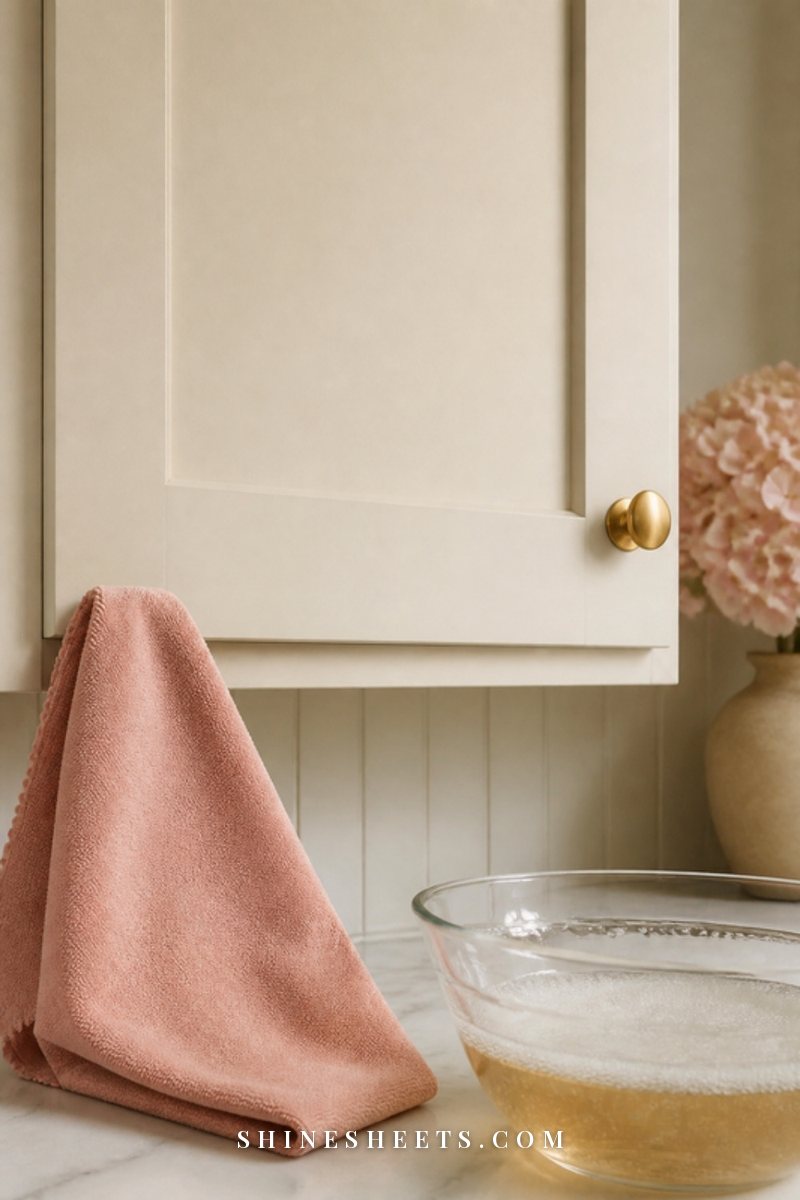
An empty shelf or drawer is the best chance you'll get to clean it properly, so take two extra minutes before putting things back. Wipe crumbs out with a dry cloth first, then use a damp microfiber cloth with a drop of dish soap in warm water. Dry the surface fully before returning anything, especially wood or anything that sits under food packaging.
A short, kind safety note: never mix bleach with vinegar or with ammonia, as these combinations release harmful fumes. Use one product at a time, rinse between products, keep a window open and read the label before using anything new. Test any cleaner on a hidden spot first, especially on painted cabinets or wood.
Keep It Tidy: The One-In, One-Out Habit
The easiest way to stay decluttered is to stop the slow build-up. The one-in, one-out habit is simple: every time something new comes into the kitchen, something similar leaves. A new mug means one older mug goes in the donation box. A new pan means the one it replaces leaves. It's gentle, and it keeps each zone at the size that works for you.
A few more small habits that help:
- Clear the counters every evening as part of tidying up after dinner. Two minutes, every night.
- Do a fridge-door and pantry-shelf check before your weekly grocery shopping.
- Revisit one zone a month. Fifteen minutes, same three piles. By the end of the year, every zone has had a refresh without it ever feeling like a project.
- Deep clean twice a year. When you're ready for a bigger session, my guide on how to deep clean your kitchen goes from top to bottom.
Final Thoughts
Decluttering your kitchen doesn't have to mean a weekend of chaos and a pile of guilt. One drawer, fifteen minutes, three piles, and a little kindness toward the version of you who kept the extra lids "just in case".
Start with the counters this week and let each small zone build on the last. Before long, you'll walk into a kitchen where everything you love is easy to reach, and making your morning tea will feel like the calm little ritual it's meant to be.