Mold on shower caulk is rarely a sign that you're bad at cleaning. It's a sign that the caulk is doing its job a little too well: it seals out water, but it also holds onto every bit of moisture, soap film and body oil that settles on it. That's exactly the warm, damp, slightly fed environment mold loves.
The good news is that most of those black and pink spots sit on the surface, and they come off with the right method and enough patience. The less good news (I'll be honest) is that some mold grows underneath the seal, and no amount of scrubbing will reach it. Knowing which one you're dealing with saves you a lot of wasted elbow grease.
This guide covers how to remove mold from shower caulk and silicone seals step by step: why it grows, how to tell surface stains from mold under the seal, how to stay safe, four methods from gentle to strong with exact dwell times, a quick comparison table, how to remove and recaulk when spots won't budge, and the small daily habits that keep it from coming back.
Open a window, put on some music and let's get your shower corners looking fresh again.
Why Mold Loves Shower Caulk

Caulk and silicone sit in the exact places water collects: the corners of the tub, the base of the shower walls, the seam where the tray meets the tiles. Water runs down, pools along that line and takes the longest to dry. Add these three things and mold has everything it needs:
- Trapped moisture. Corners and seams stay wet for hours after a shower, especially if the seal has tiny gaps or has started to lift.
- Soap film. Soap scum, conditioner and body oil leave a thin layer that mold spores feed on. Silicone is slightly textured, so that film clings.
- Poor airflow. A small bathroom with no window, a fan that runs for two minutes or a shower curtain that stays closed keeps the air humid long after you've left.
Pink or orange slime is usually a type of bacteria rather than mold, but it grows in the same conditions and comes off with the same gentle methods. Black spots are the ones that tend to dig in.
Surface Stains or Mold Under the Seal?
Before you pick a method, take two minutes to look closely. It tells you whether cleaning will work or whether you're heading straight to recaulking.
Signs it's on the surface: the spots look fuzzy or slimy, a damp cloth smudges them slightly, they sit on top of the caulk and the seal itself still feels firm and smooth when you press it with a fingertip (wear a glove).
Signs it's under the seal: the black looks like it's inside the caulk, almost like ink in a gel, nothing smudges at all, the caulk is peeling, cracked or pulling away from the tile, or you can see dark lines running behind a clear seal.
If it looks like surface mold, start with method one and work your way up. If it looks like it's under the seal, you can still try method three or four once, but go in with realistic expectations. Mold under silicone usually means the seal has let water in, and the kindest fix for your bathroom is fresh caulk.
Safety First Before You Start
Mold cleanup is a small job, but it deserves a little care. Spores and cleaning fumes are both things you'd rather not breathe in a closed room.
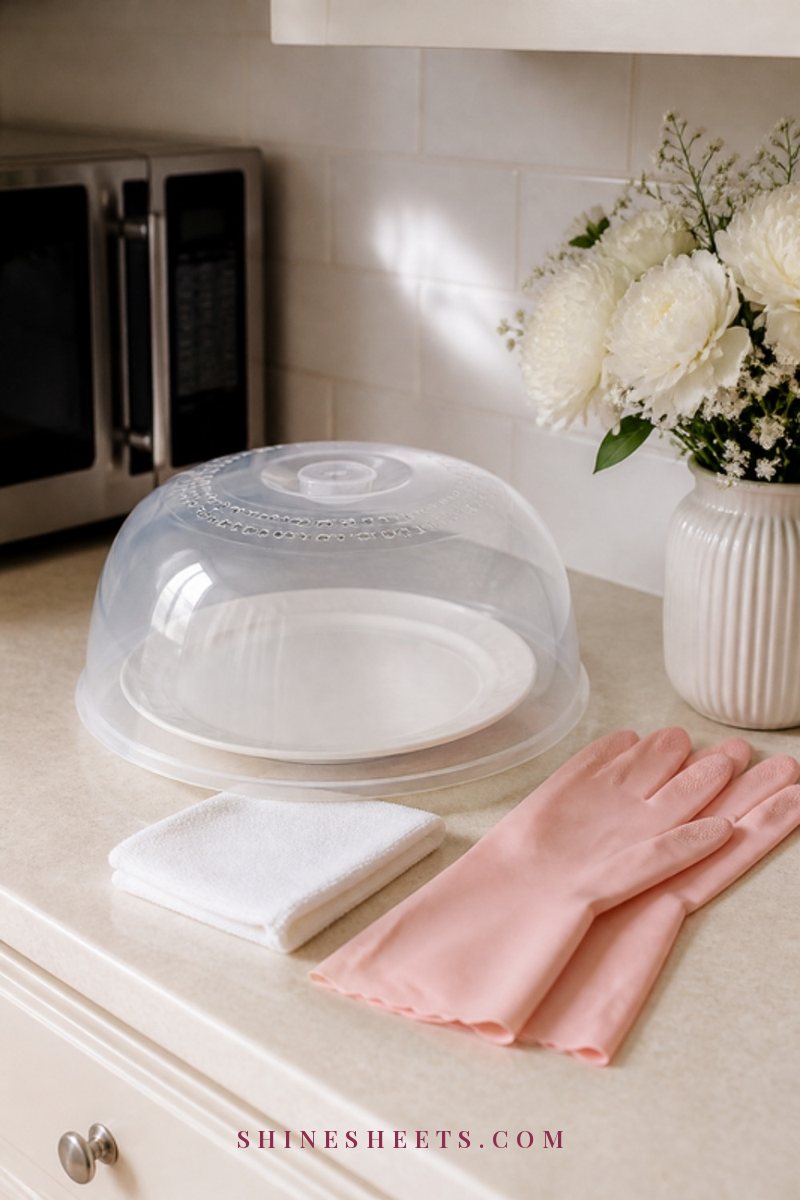
- Gloves. A pair of long rubber cleaning gloves protects your hands from bleach, peroxide and the mold itself. Choose a pair that reaches past your wrists.
- Air. Open the window, run the exhaust fan and leave the door open. Keep the fan running for at least 20 minutes after you finish.
- A mask. A simple well-fitting mask helps if you're sensitive to smells or you're scrubbing a lot of spots. If you have asthma or allergies, ask someone else to do the stronger methods if you can.
- Eye care. Spray low and close to the caulk so nothing drifts toward your face.
- Never mix. Never combine bleach with ammonia or with vinegar, and don't use them one after another without a thorough rinse in between. Bleach with either one can release harmful gases. I'd also keep hydrogen peroxide and vinegar in separate bottles rather than mixing them.
The EPA has a clear, calm overview of mold basics and cleanup at home if you'd like to read more about health and safety.
What You'll Need
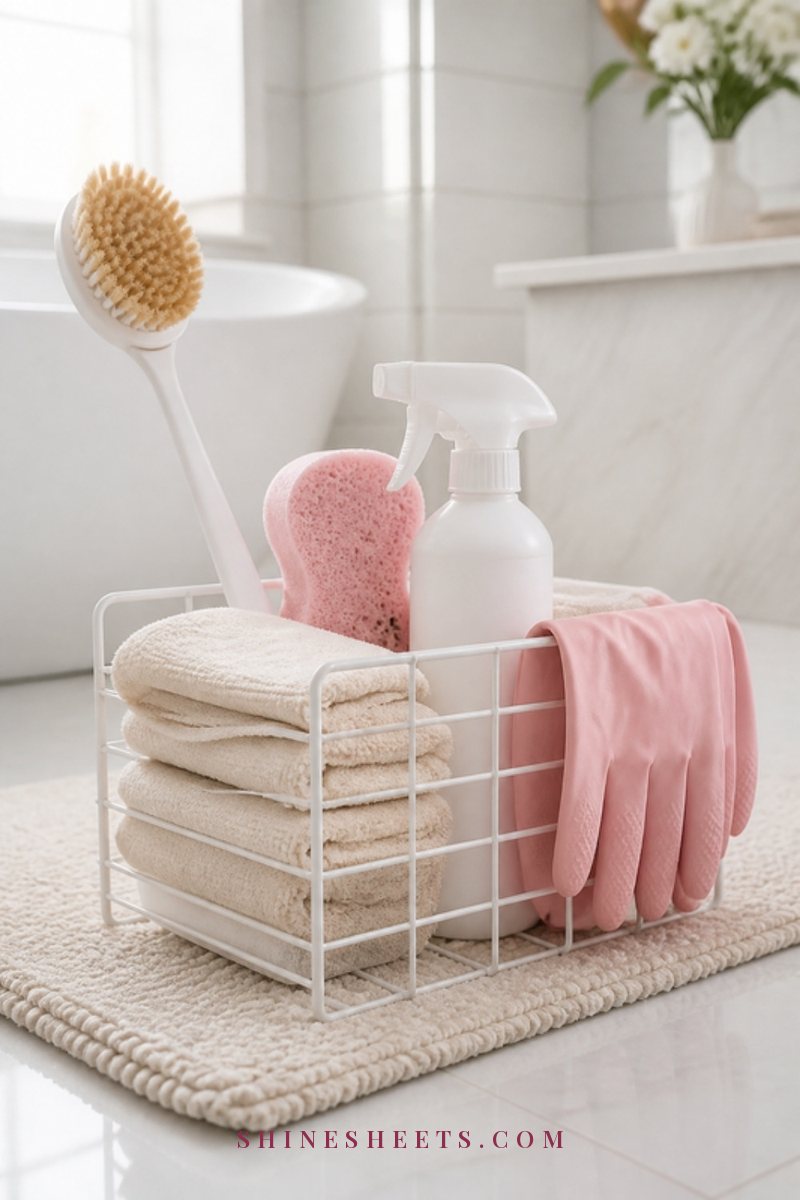
You don't need a special kit. Most of this is already under your sink:
- A soft-bristle grout brush or an old soft toothbrush. Soft matters: stiff bristles scratch silicone and create tiny grooves where mold settles next time.
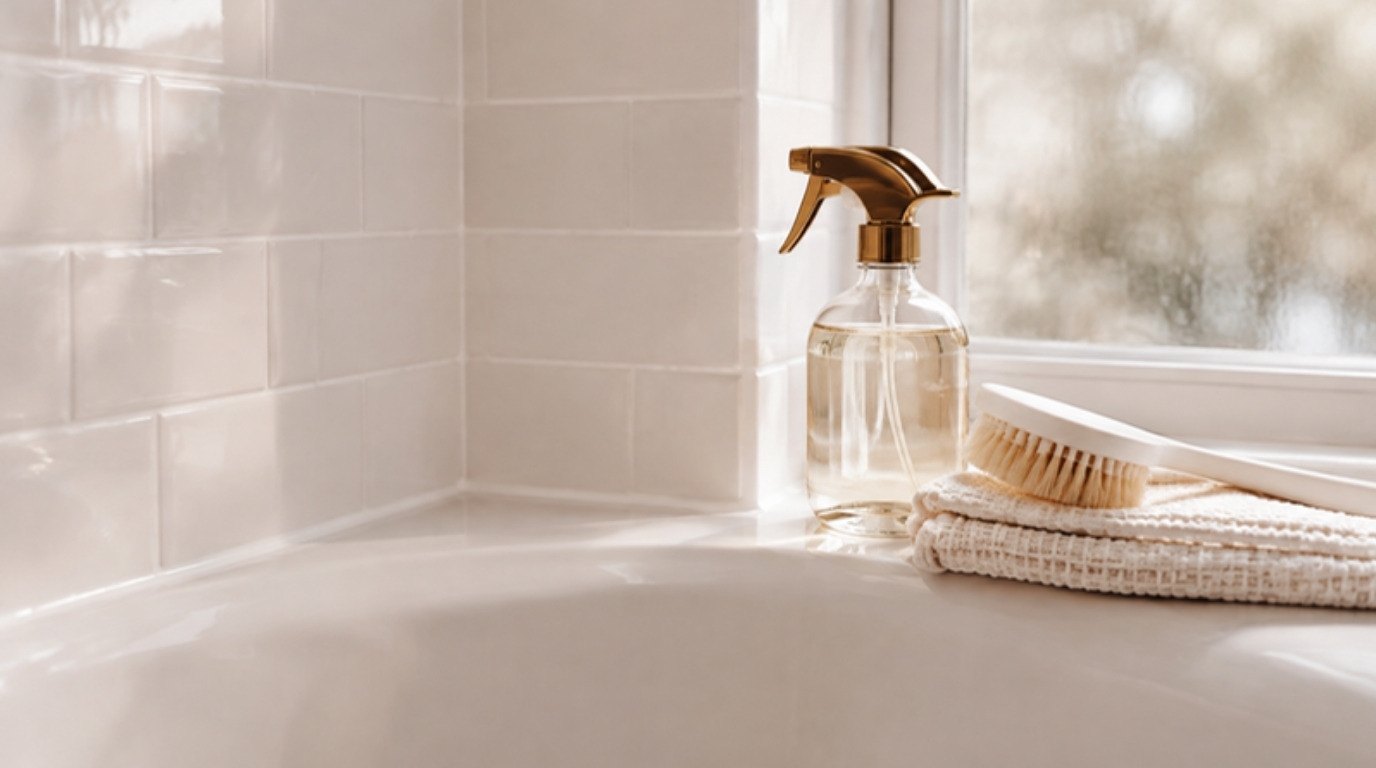
- A refillable glass spray bottle for vinegar or peroxide. Label it with a marker so you never confuse it with something else.
- Baking soda, plain white vinegar (5% acidity), 3% hydrogen peroxide and, for the strongest method, a bleach gel or regular household bleach.
- Paper towels or cotton pads for soaking.
- Microfiber cloths for wiping and drying.
- A small bowl and an old spoon for mixing paste.
Before any method, give the caulk a quick wipe with warm water and a drop of dish soap to remove soap film. Mold treatments work much better on a clean seal than on one coated in shampoo residue.
4 Ways To Remove Mold From Shower Caulk (Gentle to Strong)
Start with the gentlest method that suits your stains. If it doesn't work after one or two rounds, rinse well, let the area dry and move to the next one. Never jump from vinegar straight to bleach without rinsing first.
1. Baking Soda Paste
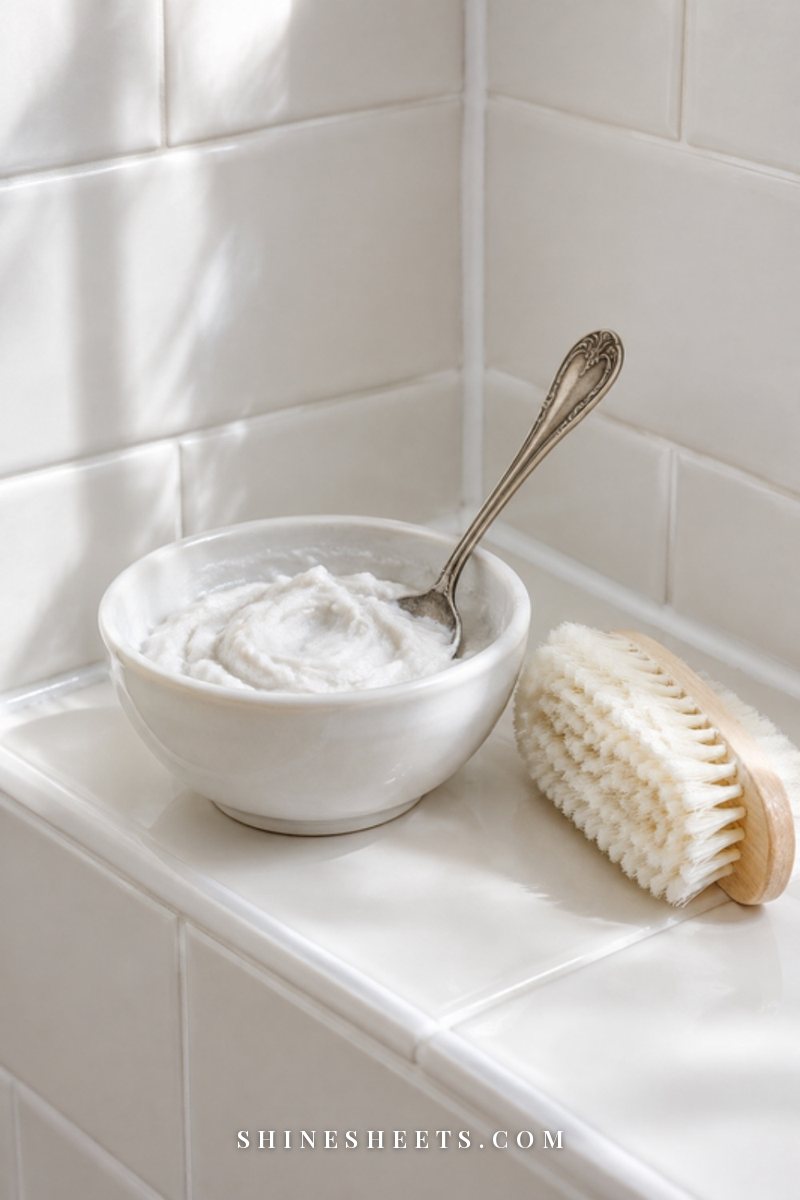
This is the method for light gray spots, fresh mildew and pink slime. It's gentle on silicone and safe for most surfaces around it.
- Mix about 3 parts baking soda with 1 part water until it's the texture of toothpaste.
- Spread a thick layer along the caulk line with the spoon or your gloved finger.
- Leave it for 10 to 15 minutes. You can mist it lightly with water if it starts to dry out.
- Scrub in small circles with the soft brush, working along the line rather than across it.
- Rinse with warm water and dry the caulk with a microfiber cloth.
If the spots are lighter but not gone, you can repeat once. If they haven't changed at all, move on.
2. White Vinegar Spray (Used on Its Own)
Plain white vinegar is a nice middle step for mildew that keeps coming back. Use it undiluted and on its own, never mixed with bleach or anything else.
- Fill your spray bottle with white vinegar.
- Spray the caulk generously until it looks wet.
- Leave it for 1 hour. Respray once halfway if it starts to dry.
- Scrub gently with the soft brush.
- Rinse well with warm water and dry.
Skip vinegar on natural stone like marble or travertine, because acid can etch it. If you have stone tiles near the caulk, protect them with a strip of paper towel or choose peroxide instead. My guide to natural cleaning that works has more on which gentle cleaners suit which surfaces (and which combos to never mix).
3. Hydrogen Peroxide

Peroxide is my pick for stubborn spots when you'd rather avoid bleach. It's oxygen-based, has almost no smell and is safe on most colored grout.
- Use standard 3% hydrogen peroxide straight from the bottle (or pour it into a separate, labeled spray bottle).
- Spray the caulk until wet, or press peroxide-soaked cotton pads along the line so the liquid stays in contact.
- Leave it for 10 to 15 minutes. You'll often see light fizzing, which is normal.
- Scrub with the soft brush, rinse with water and dry.
- For darker spots, repeat with a fresh soak for up to 30 minutes.
Peroxide can lighten colored fabrics, so keep your bath mat and towels out of the way. Test on a small hidden spot first if your caulk is a color other than white.
4. Diluted Bleach Gel or Paper Towel Soak
This is the strongest option and only for bleach-safe surfaces: white silicone, white grout, white acrylic or porcelain. Skip it on colored caulk, natural stone and anything metal-trimmed that could discolor.
- Make sure the area is rinsed clean of vinegar or any other cleaner, then let it dry.
- Choose one: a ready-made bleach gel pen or gel cleaner made for caulk, or a solution of no more than 1 cup of bleach in 1 gallon of water.
- For gel, draw a thin line directly on the moldy caulk. For the solution, soak strips of paper towel, wring them lightly and press them along the seal.
- Leave it for 1 to 2 hours with the fan running and the door open. Don't leave the room closed up.
- Remove the paper towels with gloves, rinse the caulk thoroughly with plenty of water and dry it.
Bleach lightens stains that are just below the surface. If spots are still dark after one careful round, that's your sign the mold is under the seal, and more bleach won't fix it.
Shower Caulk Mold Methods at a Glance
Here's the whole thing in one table. Screenshot it and keep it on your phone for cleaning day.
| Method | Best for | Dwell time | Safety note |
|---|---|---|---|
| Baking soda paste | Light gray spots, fresh mildew, pink slime | 10–15 minutes | Gentle; use a soft brush so you don't scratch silicone |
| White vinegar spray | Recurring mildew, light black dots | 1 hour | Use on its own; never with bleach; skip on natural stone |
| 3% hydrogen peroxide | Stubborn spots, colored grout nearby | 10–15 minutes (up to 30 for dark spots) | Keep away from towels and bath mats; don't mix with vinegar |
| Bleach gel or paper towel soak | Dark stains on white, bleach-safe caulk | 1–2 hours | Gloves, fan, open door; rinse first and after; never with ammonia or vinegar |
| Remove and recaulk | Mold under the seal, peeling or cracked caulk | 24 hours to cure | Dry the area fully before sealing; ventilate while working |
If the grout lines next to your caulk look dingy too, my guide on how to clean grout in showers and on floors walks through the same gentle-to-strong idea for tiles.
When Black Spots Stay: How To Remove and Recaulk
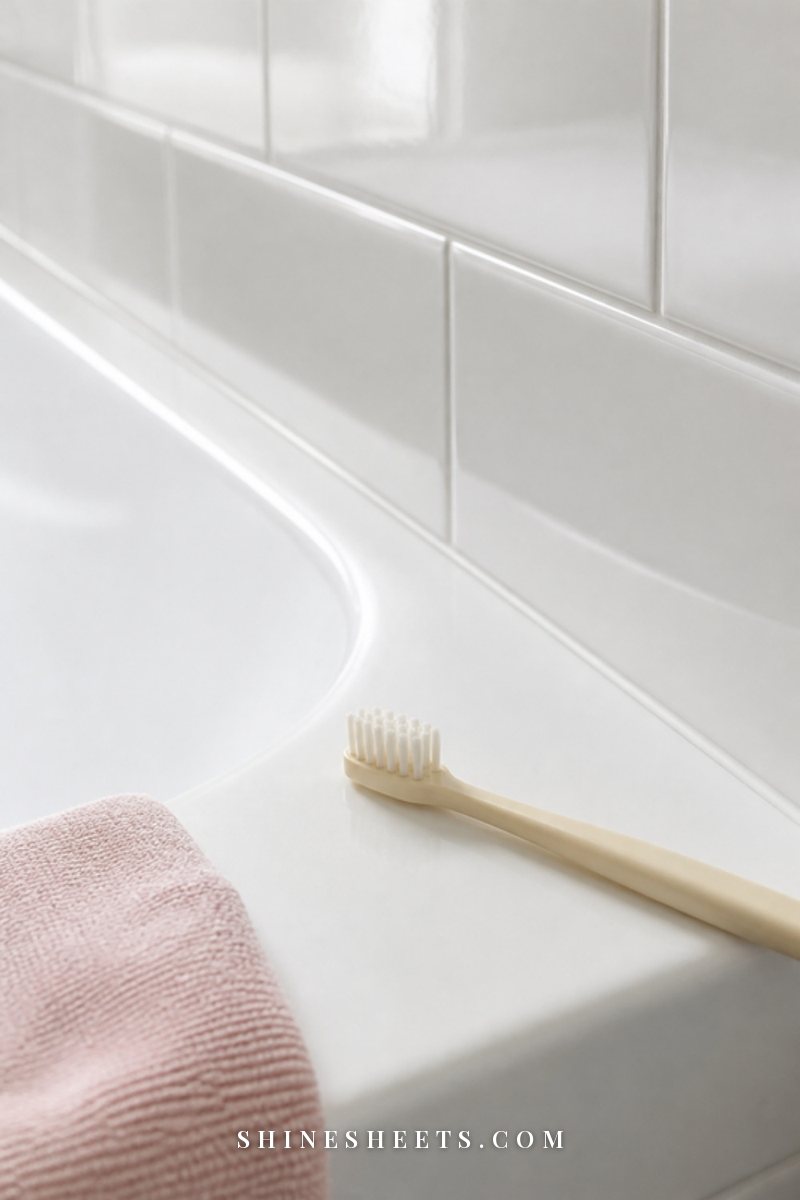
Recaulking sounds like a big project, but it's one of the most satisfying small bathroom jobs there is. It takes about an hour of work and a day of patience, and it makes the whole shower look newer.
Tools for Recaulking
- A plastic caulk removal and smoothing tool or a utility knife with a fresh blade.
- Rubbing alcohol and a cloth to remove the last bits of residue.
- Painter's tape for neat edges.
- A tube of mildew-resistant white silicone caulk made for kitchens and bathrooms, plus a caulk gun if your tube needs one.
- Paper towels and a small cup of soapy water for smoothing.
Step by Step
- Cut and peel. Slice along both edges of the old caulk, then pull it out in long strips. Go slowly near acrylic tubs so you don't scratch them.
- Clean the gap. Scrape off leftovers, then wipe the joint with rubbing alcohol. If you see mold in the gap itself, treat it with peroxide for 15 minutes and rinse.
- Dry completely. This is the step people skip. Leave the joint to dry for 24 hours with the fan on and no showers. Sealing over damp means sealing mold in.
- Tape. Run painter's tape along both sides of the joint, leaving a neat gap for the caulk.
- Apply. Cut the nozzle at a slight angle, and press out one steady bead along the joint.
- Smooth. Dip the smoothing tool or a gloved fingertip in soapy water and run it along the bead once.
- Peel the tape. Remove it right away, while the caulk is still wet, pulling away from the line.
- Let it cure. Keep the shower dry for at least 24 hours, or longer if the tube says so.
A tip for tubs: fill the bathtub with water before you caulk. The weight lowers the tub slightly, so the seal doesn't crack the first time you step in. Drain it after the caulk has cured.
How To Keep Mold From Coming Back
Once your caulk is clean, a few tiny habits do more than any cleaner. The goal is simple: don't let the seal stay wet.
Squeegee After Every Shower
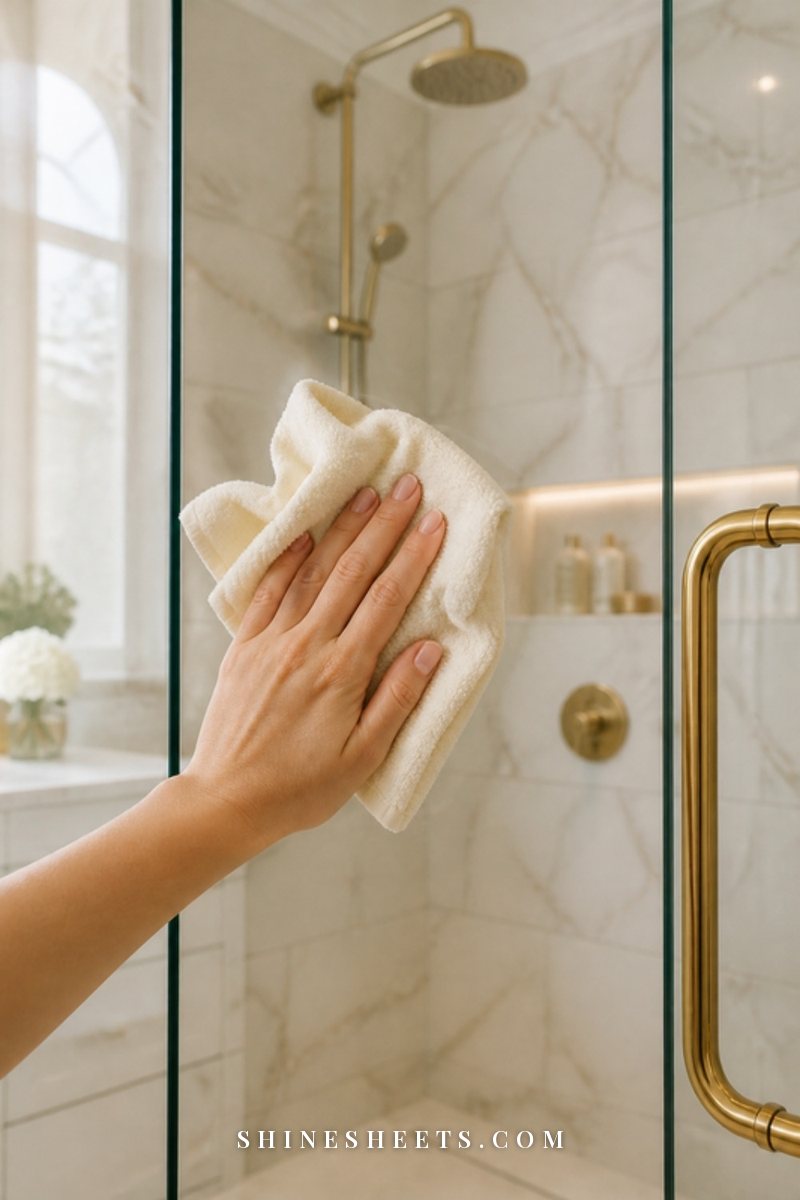
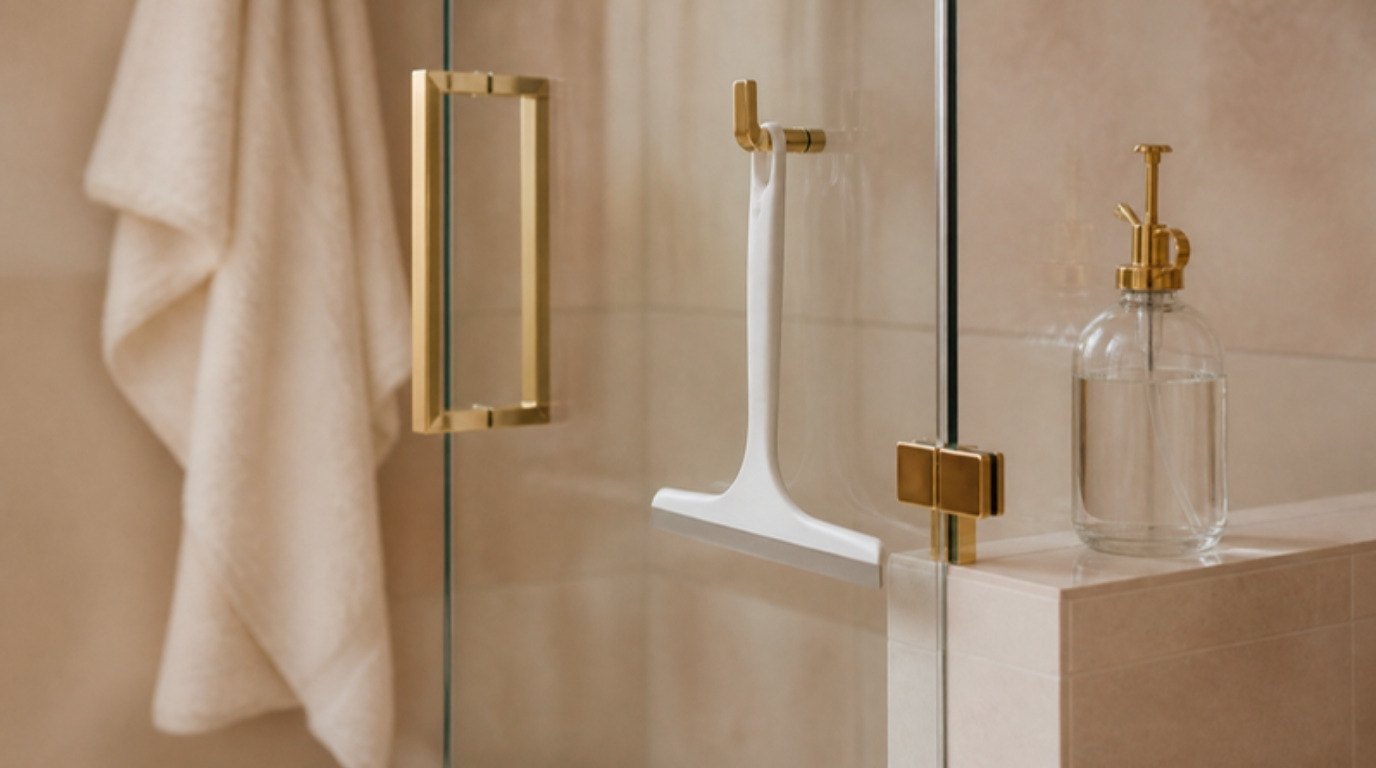
Thirty seconds with a shower squeegee pulls most of the water off the walls before it runs into the corners. Work top to bottom and finish along the caulk line. It helps your glass, too. My post on how to clean glass shower doors shows how the same habit keeps them spotless.
Run the Fan for 20 Minutes
Leave the exhaust fan running for 20 minutes after every shower, and leave the door or curtain open so air can move. If your bathroom has no fan, crack the window, even just a little. A small step like this keeps humidity from settling into the seals overnight.
Spray Once a Week and Dry the Corners

Once a week, mist the caulk with vinegar or peroxide (one or the other, never both together), leave it for 10 minutes and wipe it dry. On the other days, take a microfiber cloth and dry the corners and the base of the shower after the last person showers. It takes less time than brushing your teeth.
A few more small things help:
- Move bottles off the caulk ledge and into a hanging caddy so water can't pool under them.
- Wash or replace your shower curtain liner regularly.
- Descale your shower head now and then. A clogged one sprays sideways and wets more corners. My guide on cleaning a shower head with vinegar keeps it easy.
- Check your caulk every few months. A lifted edge is easier to fix early.
If you'd like these habits to feel automatic, my five-minute daily routine for keeping the bathroom clean fits them all into one tiny reset.
When To Call a Professional
Most caulk mold is a weekend job. But some signs mean the problem is bigger than the seal, and it's worth calling a professional:
- Mold is spreading onto the walls, the ceiling or the paint outside the shower.
- The moldy patch is large (the EPA's general guidance is roughly 10 square feet or more).
- Tiles sound hollow or feel loose, or the wall behind the shower feels soft.
- There's a musty smell that stays even after cleaning, which can mean moisture behind the tiles.
- You recaulk and the mold returns within weeks.
- Anyone in your home has asthma, allergies or a weakened immune system and you'd rather not stir up spores.
Renters, this is the moment to message your landlord with a photo. Leaks and hidden moisture are their job to fix, and it's completely okay to ask.
Final Thoughts
Moldy caulk can make a whole bathroom feel tired, but it's one of the most fixable things in your home. Start gentle, give each method its full dwell time and let the seal dry properly between rounds.
And if the spots stay, fresh caulk is not a failure. It's a clean slate, and with a squeegee, a running fan and a dry corner, it can stay bright for a long time.