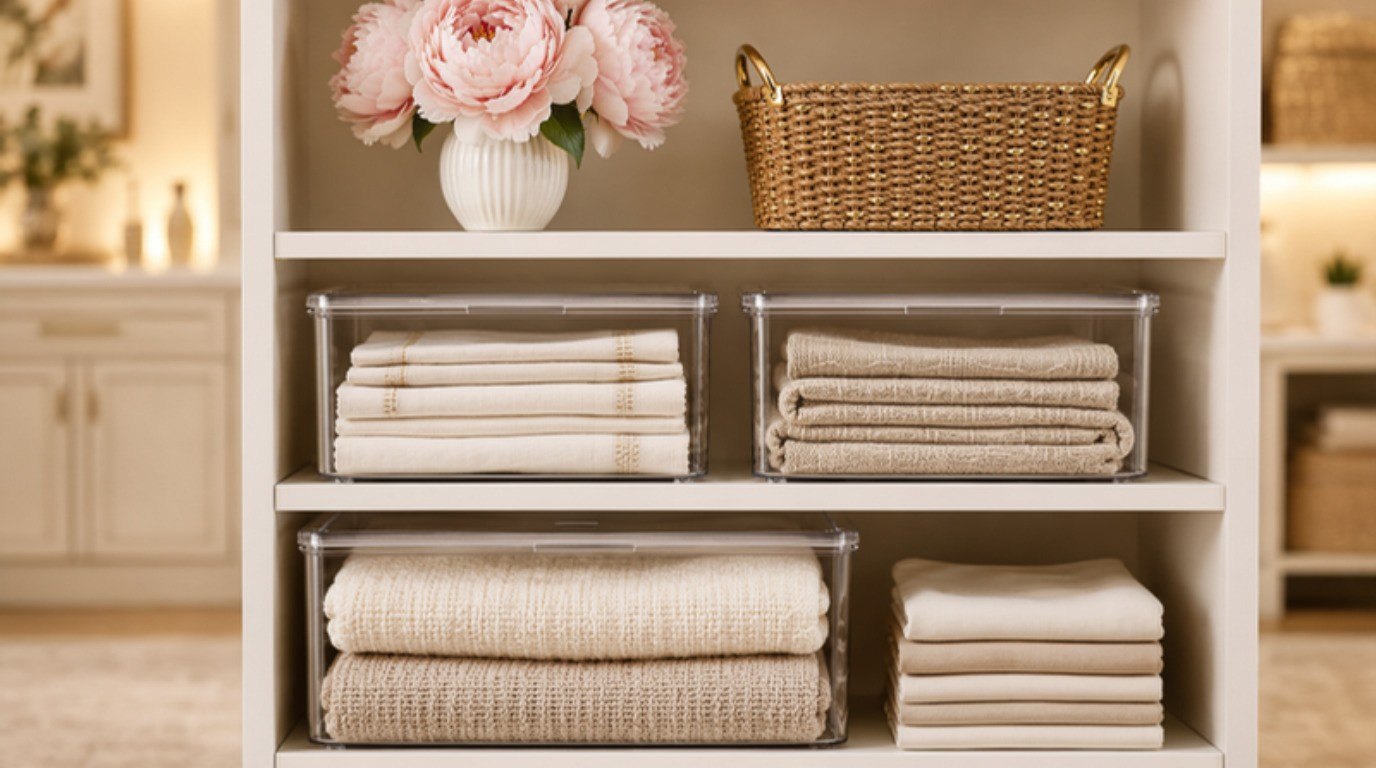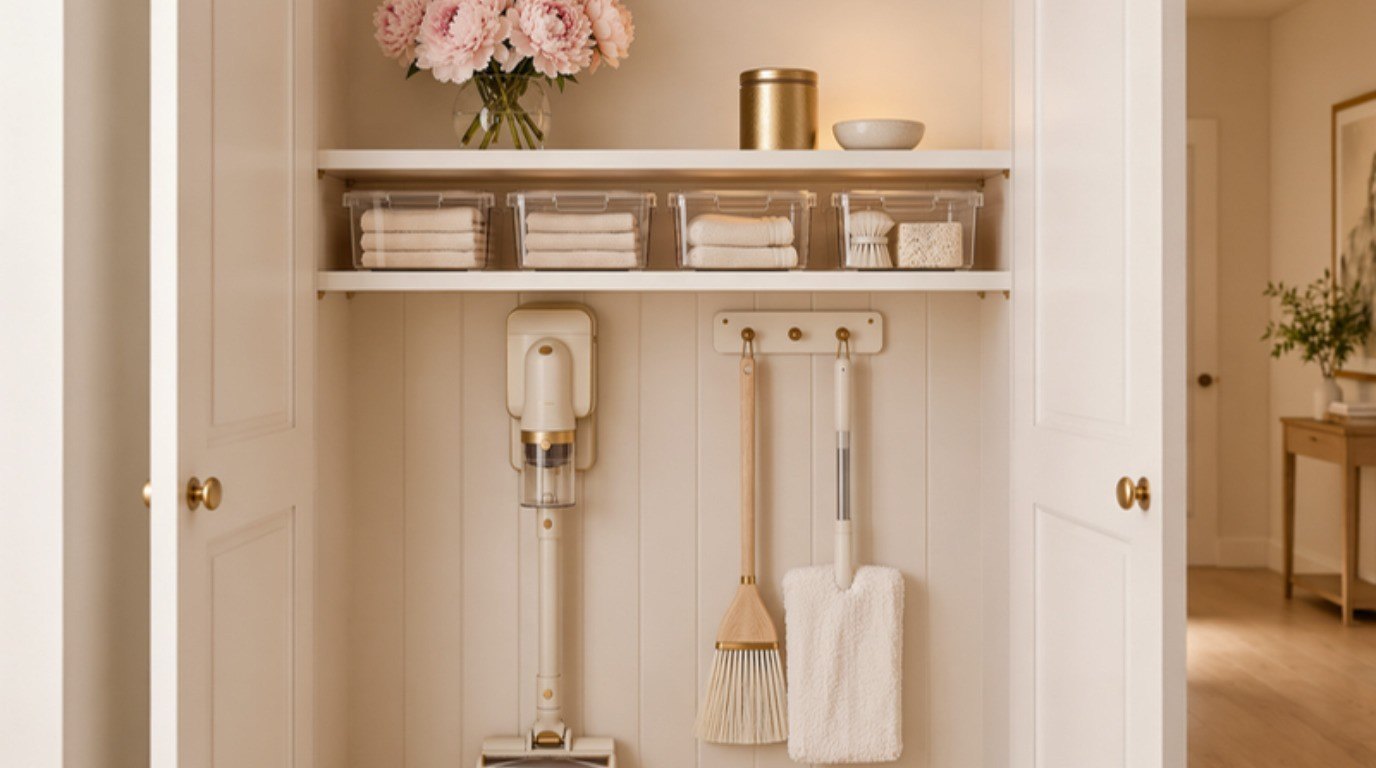
A messy utility closet is rarely a space problem. It is a leaning problem: the vacuum leans on the mop, the mop leans on the ironing board, and the moment you pull one thing out, three others slide sideways. Give every bulky item its own spot to stand or hang, and even a narrow closet suddenly feels twice as big.
The good news is that most of the fixes are small, cheap and renter-friendly. No new shelving, no contractor, often not even a drill. It took me a while to accept that the closet did not need to be bigger, it needed to stop being a pile.
This guide to utility closet organization walks you through emptying and checking the space, planning four simple zones, eight storage ideas for the vacuum, mop, broom, ironing board and tools, a storage table you can screenshot, and the safety rules that keep the whole thing calm. (Sprays, cloths and caddies have their own home in my guide on how to organize cleaning supplies, so here we are focusing on the big, awkward stuff.)
Why Utility Closets Get So Messy
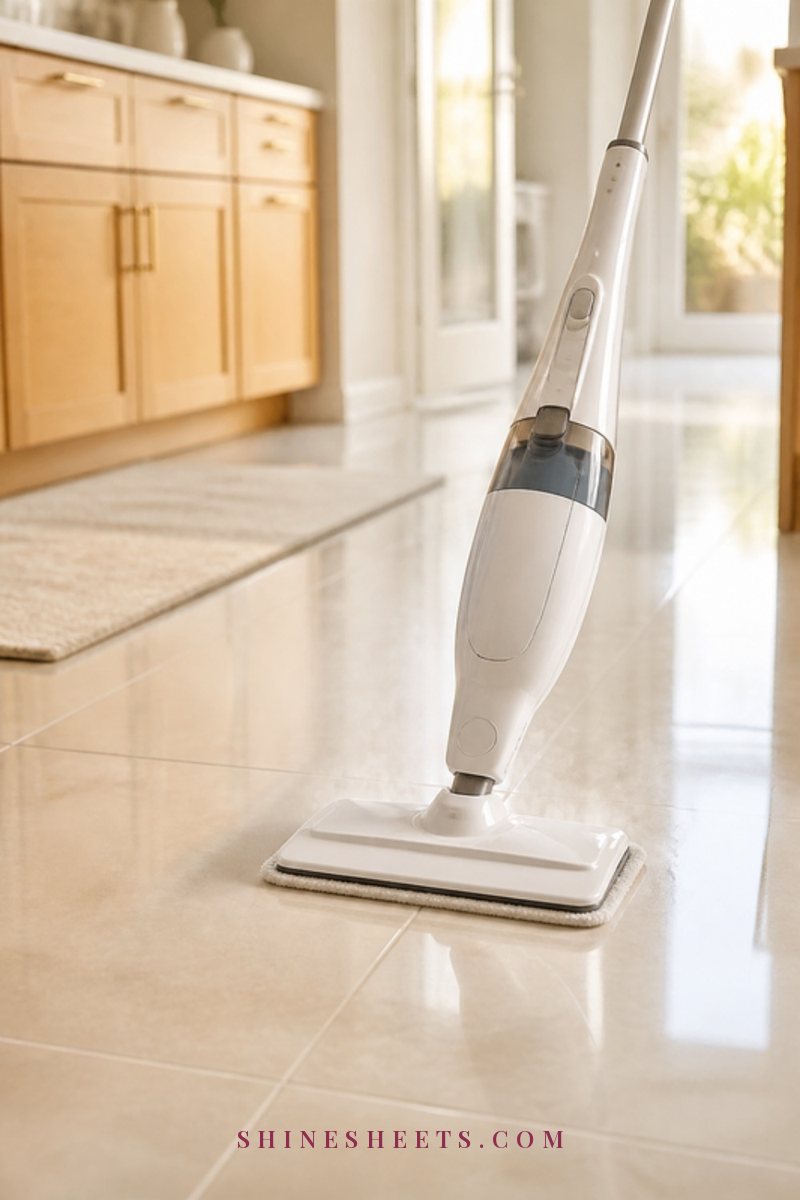
Utility closets collect the things that do not fit anywhere else, and those things happen to be the most awkward shapes in the house. A vacuum is top-heavy. A mop is long and often damp. An ironing board is flat, wide and slippery. Tools are small and heavy. Put them all behind one door with nothing to hold them upright, and gravity does the organizing for you.
There are three usual culprits:
- Nothing is anchored. Tall items stand loose on the floor and fall into each other.
- The walls and door are empty. Most closets have more usable space on the inside of the door and the side walls than on the floor.
- Small things have no container. Batteries, bulbs, screws and tape measures drift into corners and get buried.
Once you see it that way, the plan is simple: anchor the tall items, use the vertical surfaces, and give small things a box.
Step 1: Empty, Sort and Check for Damp
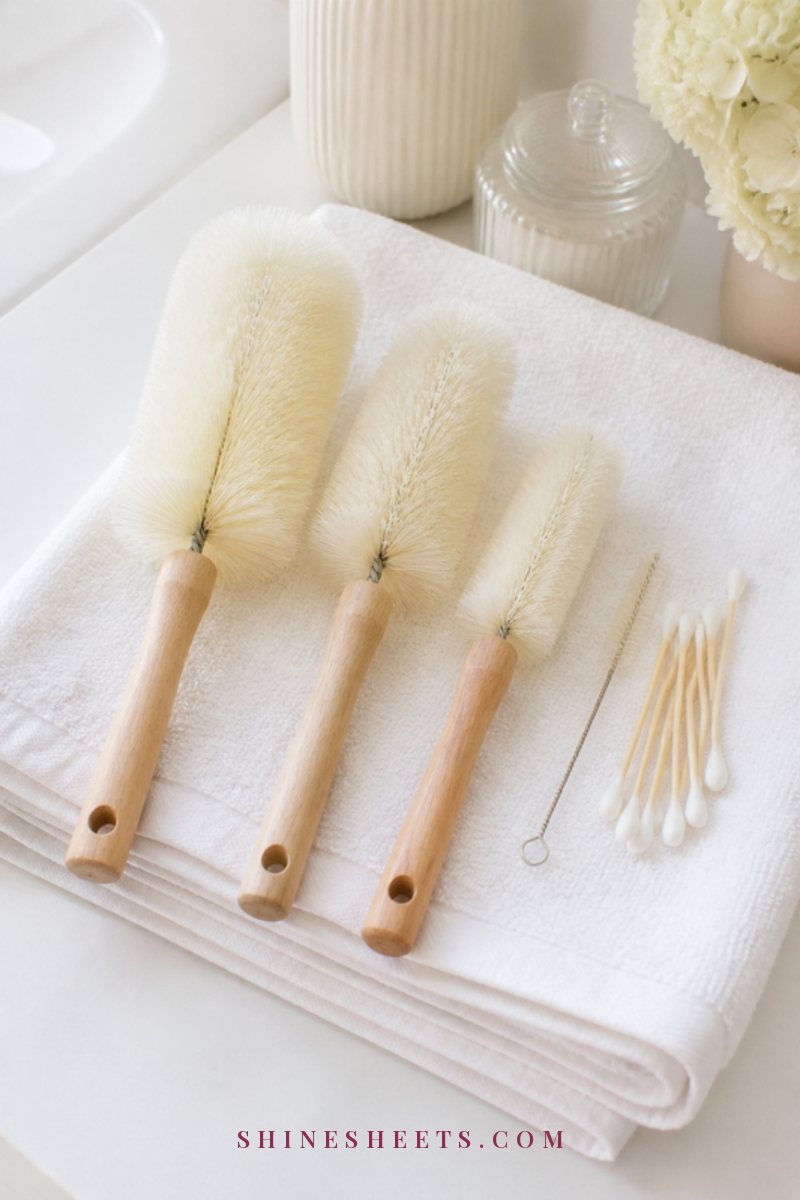
It is tempting to skip this part and just buy hooks. Please don't. Twenty minutes here saves you from organizing things you no longer own or need.
- Take everything out. Lay it on a towel in the hallway so you can see it all at once.
- Sort into four piles: keep here, belongs elsewhere, donate, and recycle or dispose of safely. Old paint, dead batteries and burnt-out bulbs often need a special drop-off, so check your local rules rather than tossing them in the trash.
- Wipe the shelves and floor. A damp microfiber cloth with a little dish soap is enough. Let everything dry with the door open for an hour.
- Check for damp, leaks or a musty smell. Look at the back corners, under the shelves and around any pipes or a water heater. Dark spots, peeling paint or a soft floor are worth reporting to your landlord or a professional before you put things back.
- Measure the space. Note the height, width, depth and the width of the inside of the door. Keep the numbers on your phone so every organizer you buy actually fits.
If a stale smell lingers even after cleaning, my guide on getting rid of musty smells at home has gentle room-by-room fixes.
What Belongs in a Utility Closet (and What To Move)
Before anything goes back in, decide what this closet is actually for. A utility closet works best when it holds the things you use to care for the home, not every object without an address. Here is a simple way to decide:
- Keep here: the vacuum and its attachments, broom and dustpan, mop and bucket, the ironing board, a basic toolbox, spare bulbs, batteries, fuses, an extension cord and a small step stool if it fits.
- Usually better elsewhere: everyday cleaning sprays (a caddy under the kitchen or bathroom sink is closer to where you use them), paper goods in bulk, gift wrap, holiday decor, sports gear and suitcases.
- Let go of: the second broken mop, a vacuum attachment for a machine you no longer own, dried-out paint, three tape measures when one is plenty.
Being a little strict here is what gives the remaining items breathing room. A closet that is about 70 percent full is easy to keep tidy. A closet that is stuffed to the door will be messy again within a week, no matter how many hooks you add.
One small honest admission: I always want to keep "just in case" items, like an orphaned charger cable or a spare mop handle. My rule now is simple. If I cannot name the exact moment I would use it, it goes.
Plan Your Utility Closet in Four Zones
Zones are what turn a closet from "a place where things go" into a system. Even a closet that is barely two feet wide can hold all four. Think of it from the floor up and from the back to the door.
Zone 1: Tall Items on the Floor
The vacuum, a bucket and the heaviest things live here. Heavy items stay low, always, so nothing heavy can fall on you when you reach in. Keep the vacuum on one side and the bucket on the other, with a little gap so you can lift each one out without touching the other.
Zone 2: The Wall and Door
Brooms, mops, a dustpan, the ironing board and the extension cord all hang. This is the zone that frees the floor. The side walls hold long-handled things, and the inside of the door holds lighter, flatter items.
Zone 3: Shelves for Supplies
Spare vacuum bags or filters, replacement mop pads, light bulbs and paper towels go on the shelves, in bins. Everyday things at eye level, backstock above, and anything you need once a year on the very top.
Zone 4: A Small Tool Corner
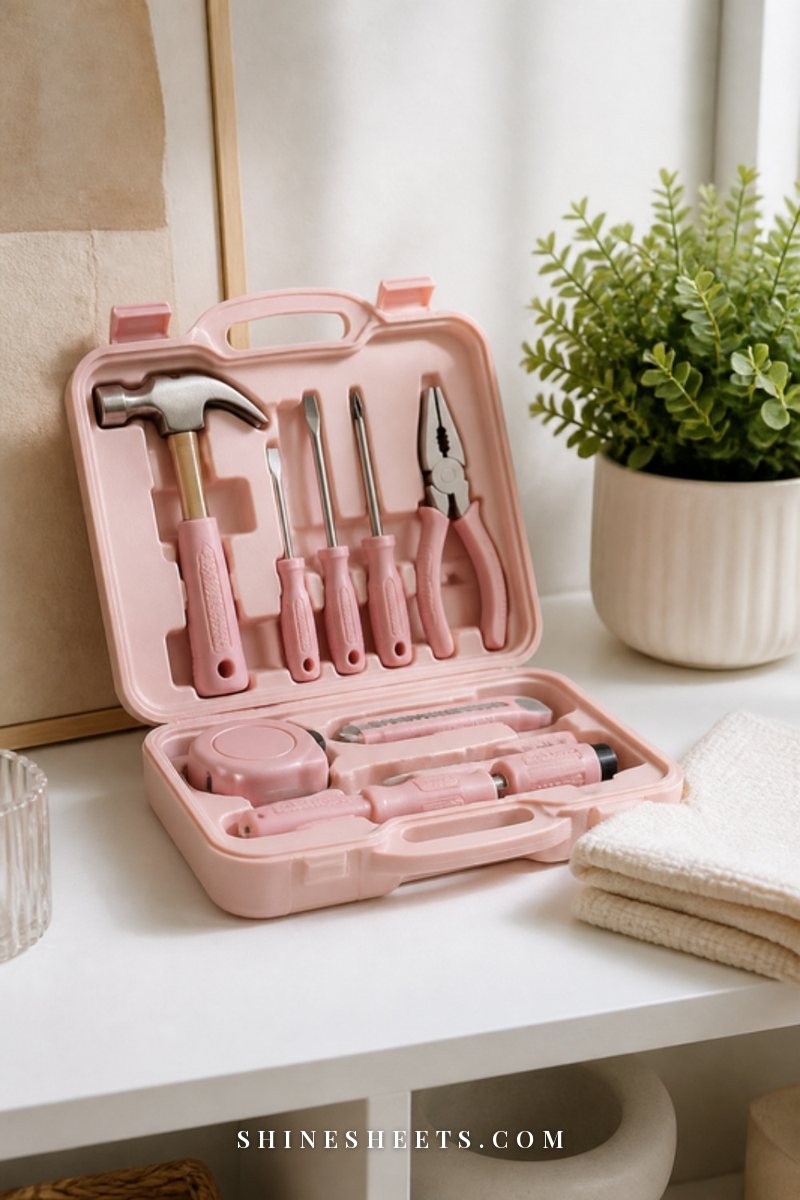
Every home needs a basic kit: a hammer, a screwdriver set, a tape measure, picture hooks, a utility knife, a small level and a roll of tape. One box on one shelf, always in the same spot. When a cabinet door squeaks or a frame needs hanging, you know exactly where to go, and you are not hunting through three drawers for a screwdriver.
8 Utility Closet Storage Ideas That Actually Fit
Pick the ones that match your closet and what you actually own. You do not need all eight. Most narrow closets get the biggest change from ideas one, two and four.
1. An Over-Door Rack
The back of the door is the most wasted surface in any closet. A white over-the-door hook rack slips over the top with no screws and holds a dustpan, a lint roller, reusable cloths in a mesh bag, rubber gloves and the extension cord. For lots of small things, a pocket-style organizer works too. Check that the door still closes fully once it is loaded, and keep the heaviest things on the lowest hooks so the door does not strain.
2. Broom and Mop Holders
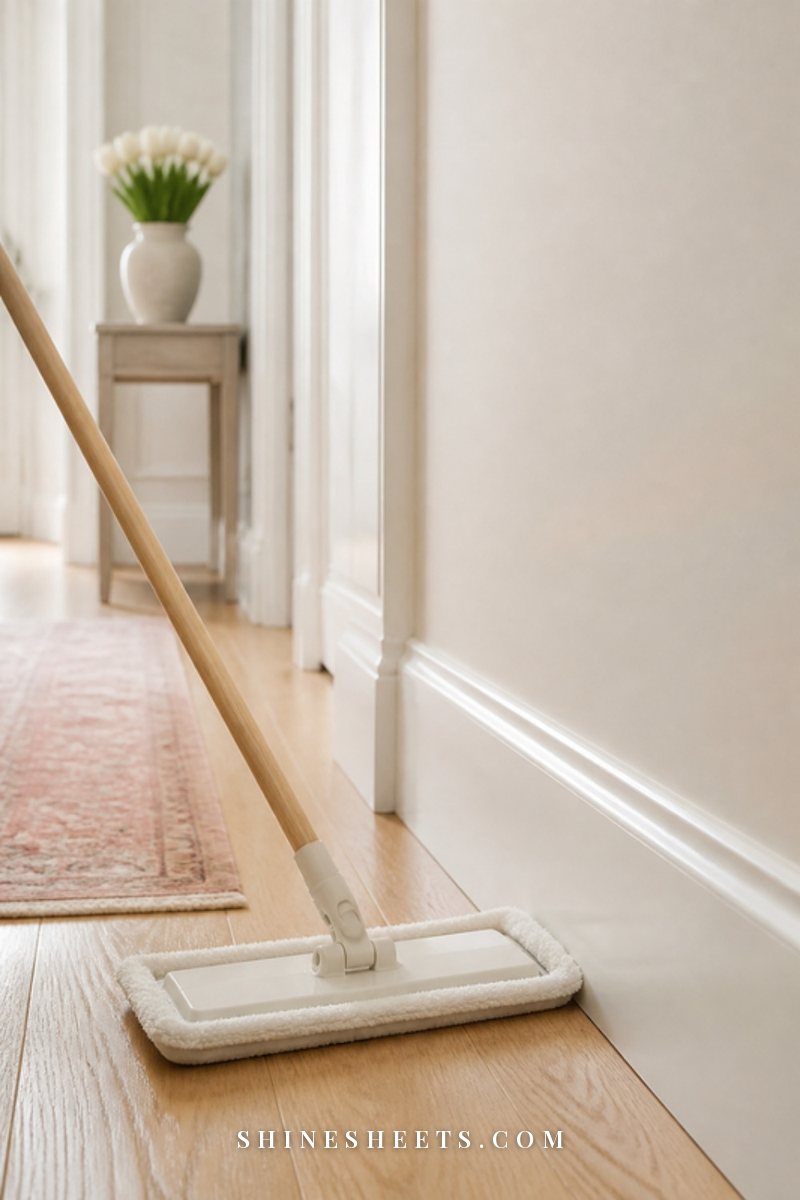
A wall-mounted broom and mop holder grips the handles so they hang straight with the heads off the floor. That keeps bristles from bending and lets mop heads air out. Renters can choose an adhesive version rated for the weight, or skip the wall entirely: a tension rod fixed across the closet at about shoulder height, with a few S-hooks or clip hooks, holds handles just as well. Hang the broom with the bristles down but not touching the floor, and the flat mop with the pad facing the wall.
3. A No-Drill Rail or Pegboard
If one side wall is bare, it can hold a surprising amount. A cream pegboard organizer kit with small baskets and hooks keeps a hand vacuum, scissors, tape and a small step stool brush where you can see them. Renters can use adhesive strips designed for the board's weight or lean a freestanding pegboard panel against the wall. A simple rail with hooks does the same job in a smaller space. Leave a little breathing room between items: if it looks crammed on day one, it will look chaotic by week three.
4. A Vacuum Hook or Dock
Most cordless stick vacuums come with a dock, and it is worth putting it up, either on the wall or on a freestanding stand if you cannot drill. For an upright vacuum, a sturdy hook at handle height plus a second hook to loop the cord in a figure eight keeps it from tipping. Attachments go in one small bin or a hanging bag right next to it, so the crevice tool does not end up in the bottom of a bucket.
While you are at it, give the machine a quick refresh. My guide on how to clean a vacuum cleaner covers filters, brush rolls and the smell that sometimes builds up inside.
5. An Ironing Board Hanger
Ironing boards are the classic closet troublemaker, because they never quite stand on their own. An over-door or wall ironing board hanger holds the board flat against the door or wall, with a small basket for the iron once it has completely cooled. Never put a warm iron back in a closet, and wrap the cord loosely rather than tightly around the handle so it lasts longer. If you mostly steam, a slim hook for a handheld steamer is enough.
6. A Labeled Toolbox
A small sage green toolbox with a lift-out tray keeps your basic kit together and looks far softer than the usual black plastic. Label the front with what is inside ("Hammer, screwdrivers, picture hooks") so anyone in the house can find what they need and, more importantly, put it back. If you like labels as much as I do, my post on home labeling ideas has pretty, practical ways to do it without a fancy machine.
7. Clear Bins for Bulbs, Batteries and Fuses
Small things are the reason closets feel messy even when the big items are tidy. Group them in clear stackable bins with lids: one for light bulbs, one for fuses and small hardware, one for spare filters or mop pads. Batteries do best in a battery organizer case that keeps each size separate, so the terminals do not touch each other or loose metal. Tape over the ends of used batteries until you drop them off for recycling.
8. A Drip Tray for Damp Mops
Even a well-wrung mop drips a little. A shallow plastic boot tray or a washable silicone mat under the mop and bucket area protects the floor and catches stray water before it turns into a smell. Empty and wipe it weekly. Better still, let mops and buckets dry fully before they go back in, which brings us to the rules that matter most.
Where Everything Goes: A Utility Closet Storage Table
Use this as your quick map. Screenshot it before you shop so you only buy what your closet really needs.
| Item | Best storage | Space needed | Renter-friendly option |
|---|---|---|---|
| Cordless stick vacuum | Wall dock with attachments beside it | About 12 in. wide, full height | Freestanding vacuum stand |
| Upright vacuum | On the floor, handle on a hook, cord looped | About 14 in. wide floor space | Adhesive heavy-duty hook rated for the weight |
| Broom and dustpan | Hanging, bristles off the floor | 4 to 6 in. of wall | Tension rod with clip hooks |
| Flat or spray mop | Hanging handle grip, pad facing the wall | 4 to 6 in. of wall | Adhesive mop and broom holder |
| Bucket | Floor, dry and upside down or nested | About 12 in. square | Boot tray underneath |
| Ironing board | Flat against the door or wall | About 2 in. of depth | Over-door ironing board hanger |
| Basic tools | Labeled toolbox on a middle shelf | One shelf section | Toolbox, no install needed |
| Bulbs, fuses, small hardware | Clear lidded bins | Half a shelf | Stackable bins |
| Batteries | Divided battery case | Shoebox size | Case on a shelf or door hook |
| Extension cord, gloves, cloths | Over-door rack | Inside of the door | Over-door hook rack |
Utility Closet Safety Rules
A utility closet is often where cleaners, cords and heavy things share one small space, so a few rules keep it safe for everyone, including little ones and pets who like to explore.
- Heavy items low. Vacuums, toolboxes and paint cans stay on the floor or the lowest shelf.
- Dry before storing. Let mops, mop pads and buckets dry completely, ideally overnight in the bathtub or on a balcony, before they go back in. A closed, damp closet is exactly where mildew starts.
- Cleaners high or locked. Keep cleaning chemicals on the top shelf or behind a child-safety latch, out of reach of kids and pets.
- Away from heat. If your closet holds a water heater or furnace, keep cleaners, paper and anything flammable well clear of it and follow the clearance the manufacturer lists.
- Original containers only. Never decant cleaners into food or drink containers, not even "just for now". A bottle that looks like juice or water is a real risk.
- Keep certain products apart. Bleach should never be mixed with ammonia or with acids like vinegar, because together they release harmful gases. Store bleach on its own shelf section, and read my guide to natural cleaning and the combos never to mix if you want the full list.
- Cords and batteries. Coil cords loosely, never pinch them in the door, and keep loose batteries in their case.
How To Keep Your Utility Closet Organized
A system only works if it is easy to put things back. Here is the small routine that keeps mine from sliding back into chaos:
- The one-hand rule. Anything you use weekly should come out and go back with one hand. If it takes two, move it or change its holder.
- A five-minute monthly reset. Pull out anything that wandered in, wipe the drip tray, check the battery case and empty the vacuum.
- Backstock limits. One spare pack of bulbs, one spare set of mop pads, one spare filter. When the spare gets used, it goes on the shopping list.
- A "not here" basket. A small basket by the door catches things that belong in another room so they don't settle in.
If your closet shares space with a washer or dryer, my laundry room ideas for small spaces has more slim, pretty storage that works side by side with everything here.
A quick note for renters: before you stick anything to a wall or door, test the adhesive on a hidden spot and check the weight rating. Removable strips are kind to paint when you pull the tab slowly and straight down, not outward.
Final Thoughts
A calm utility closet is not about matching bins or a perfect color scheme. It is about every tall thing standing on its own, every small thing living in a box, and nothing falling on your feet when you open the door.
Start with one zone this weekend, maybe just the broom and mop. Once they are hanging, you will feel the difference every single time you reach for them, and the rest will follow easily.