A label is a tiny promise your home makes to everyone who lives in it: this is where it goes back. That's the whole magic. Organizing systems rarely fall apart on the day you set them up. They fall apart three weeks later, when the scissors get dropped in the wrong drawer because nobody (including you, on a tired Tuesday) remembered where they lived.
Labels take the remembering out of it. They make tidying faster, they make shared spaces fairer, and they turn a shelf of matching bins from "pretty but mysterious" into something that actually works. The good news is that you don't need a fancy pantry or a custom closet. A rental with one small linen cupboard can look calm and pulled-together with the right labels.
This guide covers all my favorite home labeling ideas: what to do before you label anything, how to label the pantry, closet, storage bins, linen closet, bathroom and shared spaces, seven label styles and when each one makes sense, a table that shows exactly what to write in every area, plus font and color tips, placement rules and how to remove labels without sticky residue.
A small honest admission before we start: I once labeled an entire shelf in an afternoon and relabeled half of it a month later, because I'd labeled what I wished I stored there instead of what I really did. You'll avoid that mistake by the end of this.
Why Labels Actually Keep a Home Organized
Most clutter isn't about having too much stuff. It's about stuff without an address. When a thing has no clear home, it lands on the nearest flat surface, and the counter or the chair in the bedroom slowly becomes the "everything" spot.
Labels fix three very specific problems:
- Putting things back gets faster. You don't open four bins to find the right one. You read, you drop, you're done. Two seconds instead of two minutes adds up across a week.
- Everyone uses the same system. Roommates, partners, guests and kids can't follow a system that only lives in your head. A label is the instruction manual.
- You notice when you're running low. A labeled spot that's empty is a visual cue to restock, which saves you from buying a third bottle of something you already had hiding at the back.
There's also a softer benefit. Opening a cupboard where everything has a name feels calm. It's a small, everyday sense of being looked after, and I don't think that's silly at all.
Before You Label: Declutter and Group First
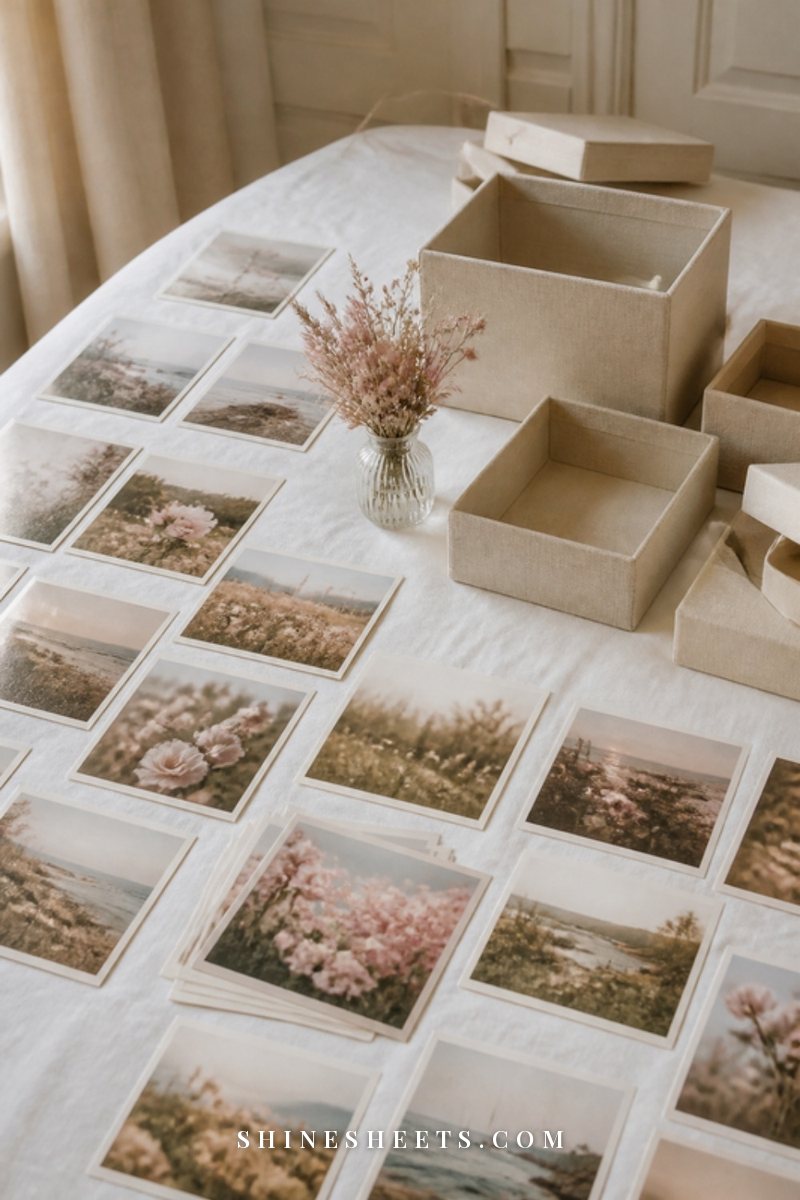
The biggest labeling mistake is reaching for the label maker first. Labels lock a system in place, so you want the system to be right before you make it official.
Here's the order that works, area by area:
- Empty the space. One shelf, one drawer or one bin at a time. Don't empty the whole pantry on a weeknight (trust me on this one).
- Edit. Toss anything expired, broken or forgotten. Set aside things that belong in another room.
- Group like with like. Make small piles on a towel or the floor: baking, snacks, breakfast; or socks, tights, swimwear. Each pile is a future label.
- Live with it for a week. Put the groups into containers without labels, or with a sticky note. Watch what you reach for and where you instinctively put it back.
- Then label. Once the groups make sense in real life, make them permanent.
That trial week is the difference between labels that last and labels you peel off in frustration. If a group keeps overflowing or staying empty, change it before it gets a name.
Choose One Simple System You Can Repeat
A home looks most organized when the labels look like they belong to the same family. Before you start, decide on three things and write them on a sticky note so you don't drift:
- Your naming style. Broad categories ("Baking") or specific contents ("Flour, Sugar, Baking Soda"). Broad is easier to maintain; specific is better for shared homes. You can mix them, as long as each area is consistent.
- Your label style. One main style for the whole home, plus one backup for awkward surfaces (more on styles below).
- Your capitalization. ALL CAPS, Title Case or all lowercase. Pick one. It sounds tiny, but mixed capitalization is what makes labels look messy even when the shelf is tidy.
When in doubt, keep it boring and repeatable. Boring systems are the ones you'll still be using next year.
Home Labeling Ideas by Area
Every room asks for something slightly different from a label. A pantry jar needs a date; a storage bin under the bed needs a contents list; a kids' drawer needs a picture. Here's what I'd do in each space.
Pantry Labels
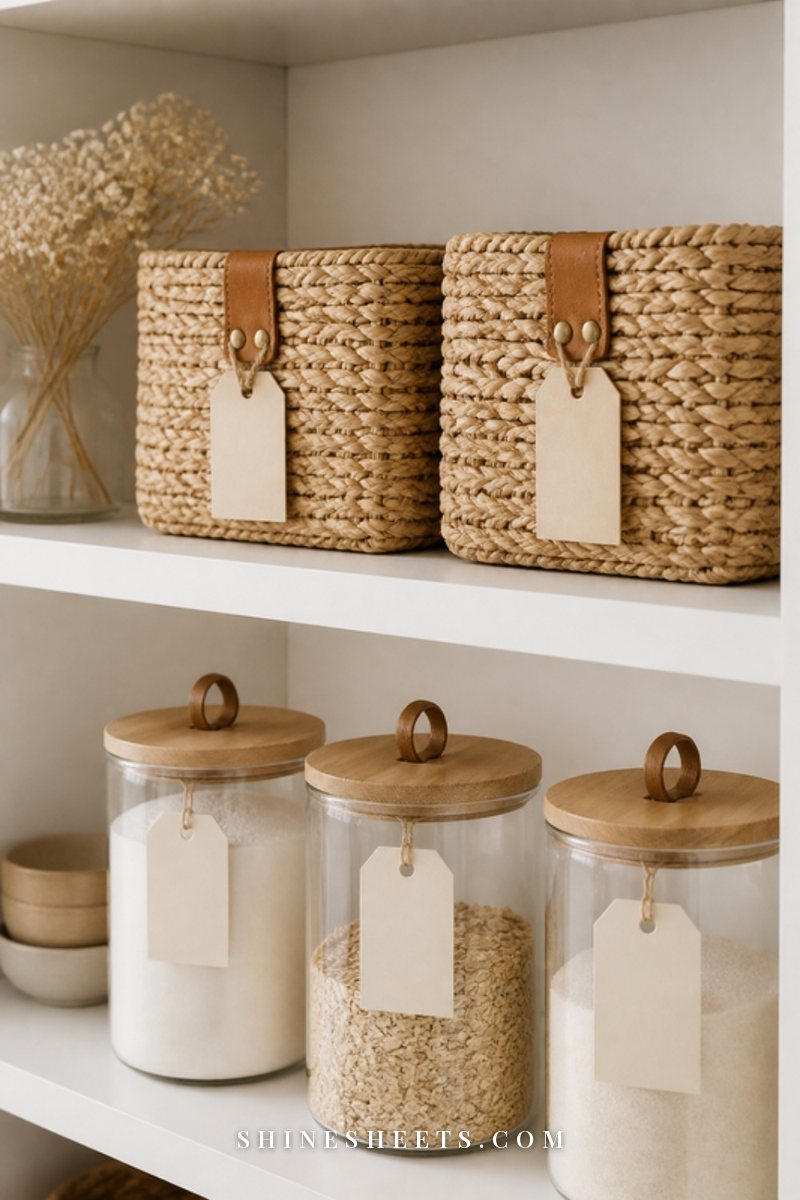
The pantry is where labels earn their keep fastest, especially if you decant staples into matching containers. Once rice, oats and flour sit in identical clear jars, they look lovely, and they also look exactly alike from two steps away.
- Front of the container: the name, big and simple ("Rolled Oats," "Basmati Rice").
- Back or bottom: the best-by date from the original package and the date you filled the jar. A small strip of removable label works perfectly here because it changes every refill.
- Shelf edge: broad zones like "Breakfast," "Baking," "Snacks" and "Pasta and Grains," so the whole shelf has a job, not just each jar.
If you're starting from scratch, a set of clear glass pantry canisters with simple lids keeps everything visible, so your label only needs the name. Snip the cooking-time panel from the original box and tape it inside the lid if you ever need it. For the full shelf-by-shelf setup, my guide to pantry organization walks through zones and container sizes.
Spices are their own little world. Label the lids if they live in a drawer and the fronts if they stand on a shelf, and alphabetize if you have more than about 20. There are more layouts in these spice organization ideas, including ones for tiny kitchens.
The fridge works the same way on a smaller scale: shelf-edge labels for zones like "Leftovers," "Dairy" and "Eat First" help the whole household. If your fridge could use a reset, this fridge organization guide covers clear bins and what goes on each shelf.
Closet Labels
Clothes on hangers don't need labels, but everything on the shelves above them does. Closet bins are usually up high and opaque, which is exactly why they turn into black holes.
- By category: "Tights and Socks," "Belts and Scarves," "Workout," "Swim," "Sleepwear."
- By season: "Winter Knits," "Summer Dresses," "Rain Gear." Seasonal bins get a contents line underneath, so you know whether that one specific cardigan is in there.
- Handbags and clutches: if they're stored in dust bags inside bins, a small hang tag on each dust bag saves you from unzipping every one.
Put the label where you'll see it standing in the closet, which usually means the front, slightly below the top edge, not on the lid.
Storage Bin Labels
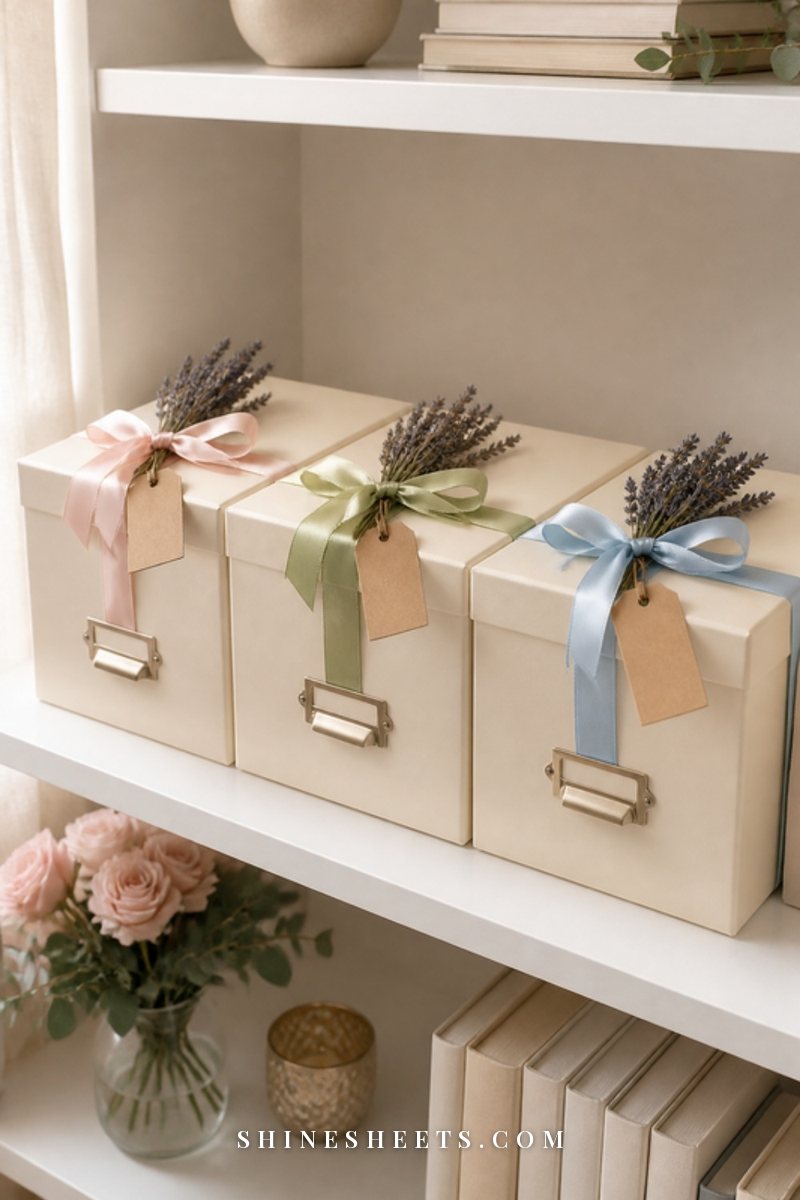
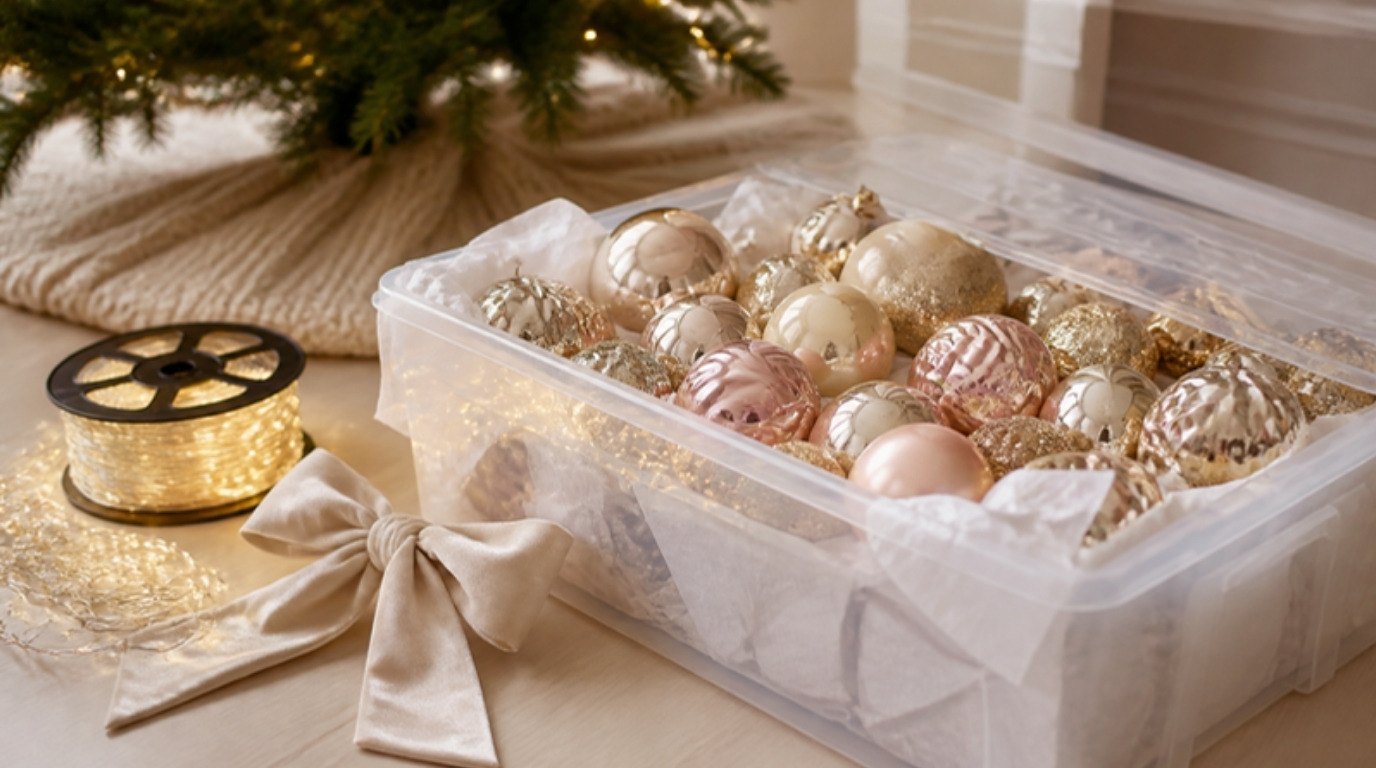
Storage bins are where a contents list matters most. "Misc" is not a label, it's a confession. For bins you open rarely (keepsakes, spare bedding, paperwork, spare decor), write a short list of what's inside, not just a category.
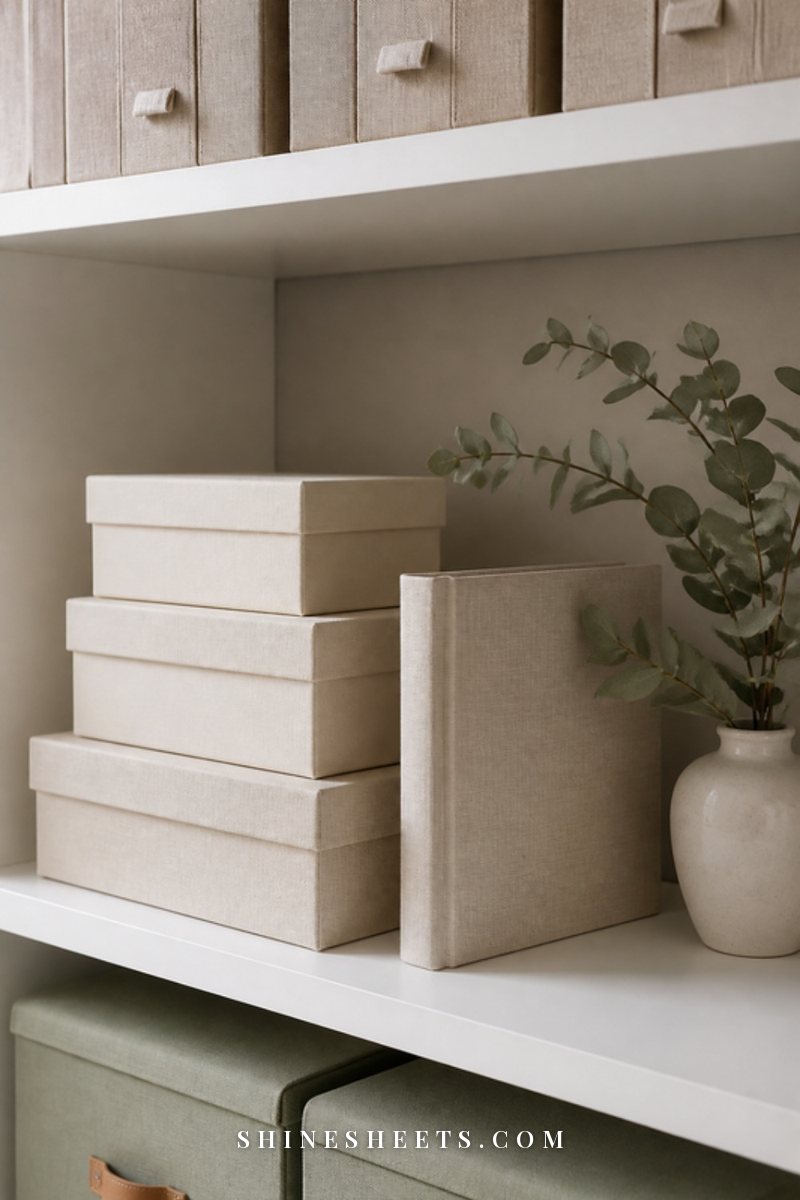
A pick for this job: cream lidded storage bins with a flat front panel, so the label sits flush and faces out. Lids keep dust off, and a cream or beige finish looks calm even when you have six of them stacked in a closet.
- Always label the front-facing side. If the bin can be stored two ways, label two sides.
- Number big storage. For garage, basement or under-stair storage, give each bin a number and keep a running note on your phone: "Bin 4: camping blankets, lantern, picnic set."
- Label the lid too if bins are stacked under the bed. Under-bed bins are seen from above when you slide them out. My guide to under-bed storage ideas has more ways to use that space in a small bedroom.
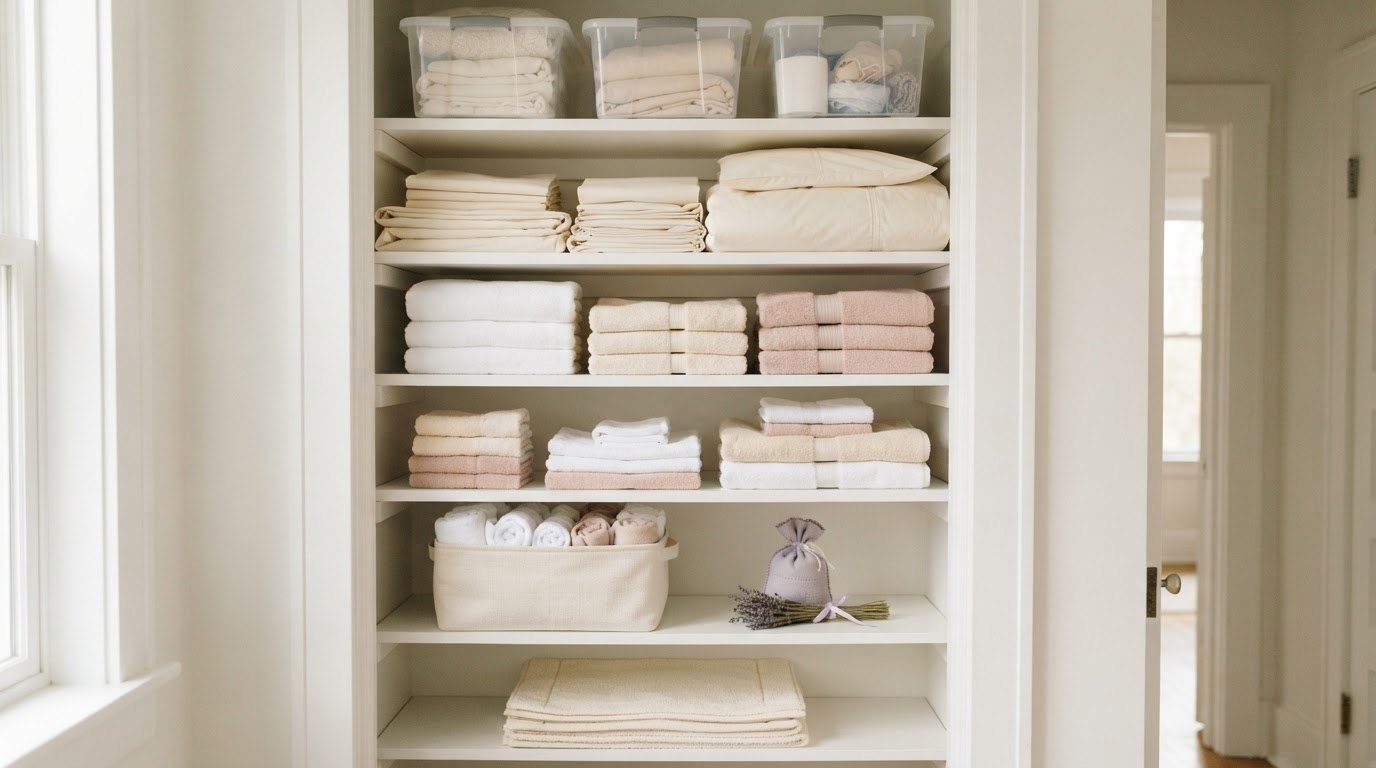
Linen Closet Labels
A linen closet is the easiest place to fake a magazine look, because folded white towels already look calm. Labels make it work, too, by telling everyone which shelf is which.
- Shelf labels by room or bed: "Guest Bed," "Main Bed," "Bath Towels," "Hand Towels," "Beach."
- Bin labels for small things: "Washcloths," "Spare Pillowcases," "Table Linens," "First Aid."
- Sheet sets: store each set folded inside one of its own pillowcases, then clip a small tag on with the bed size ("Queen, Cream Linen").
There's a full setup in my linen closet organization guide, including how to fold fitted sheets so they actually stack.
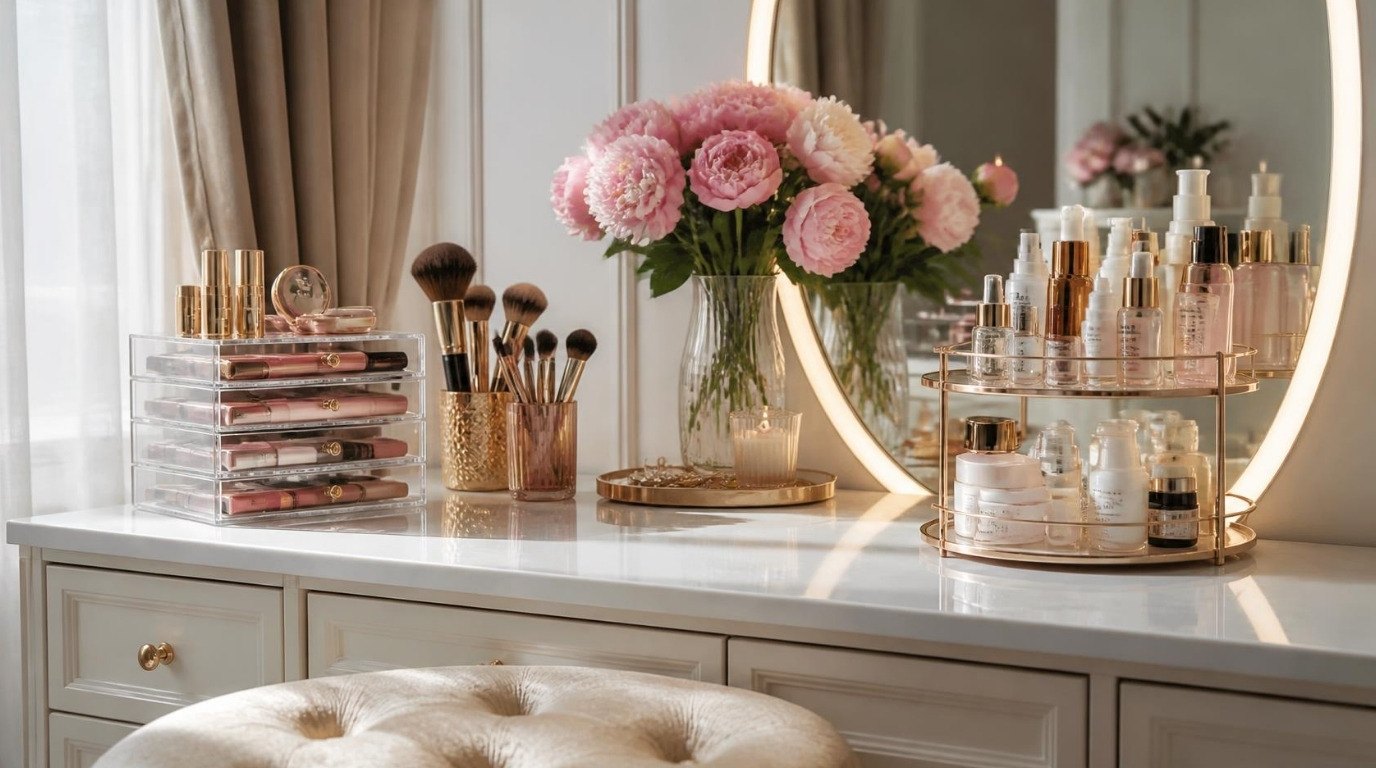
Bathroom Labels
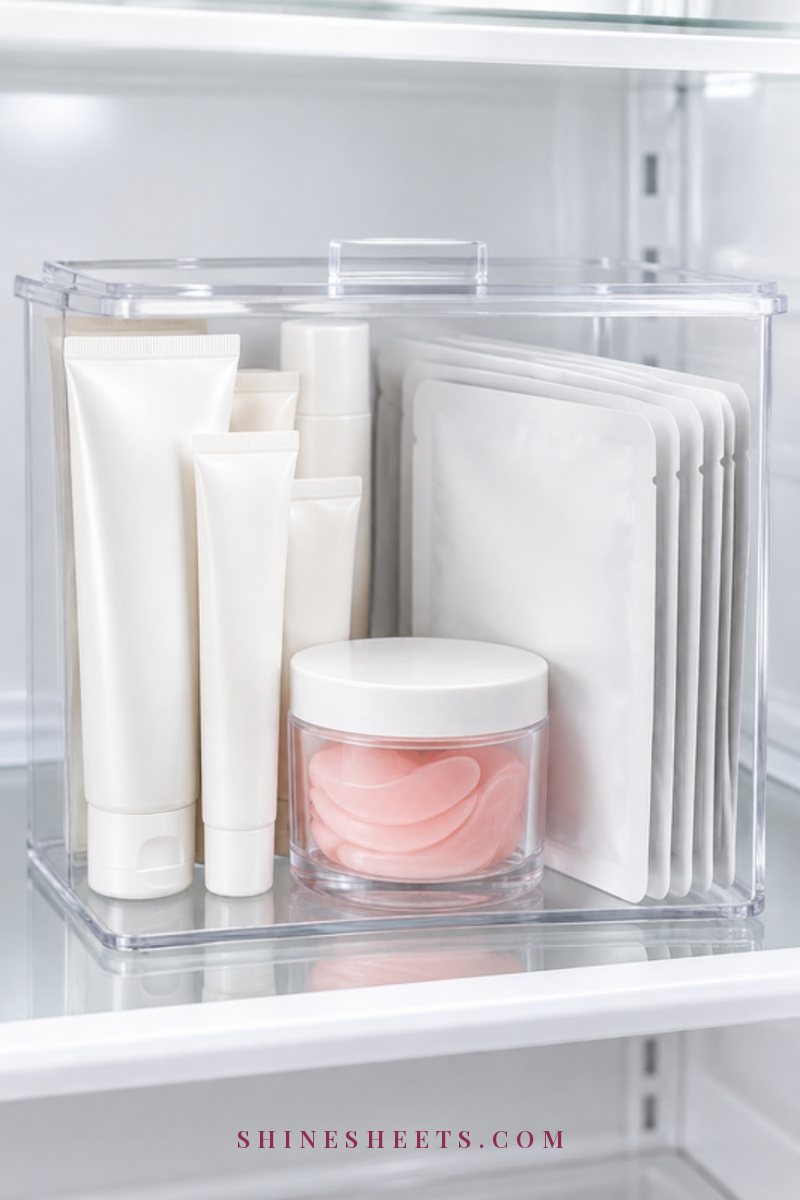
Bathrooms are small, humid and shared, which makes labels both more useful and a little trickier. Paper curls, and some adhesives give up in steam.
For anything near the shower or sink, choose waterproof options like clear removable waterproof labels or label maker tape, which survive wiping and steam much better than paper.
- Under-sink bins: "Cleaning," "Backstock," "Hair Tools," "Feminine Care."
- Drawer dividers: "Daily Skin," "Makeup," "Dental," "Hair Ties."
- Decanted products: if you refill pump bottles, label each one ("Hand Soap," "Body Wash") and add the date you opened skincare on the bottom. Mixing up a cleanser and a toner in identical bottles is a mistake you only make once.
Keep cleaning products in their original, clearly marked bottles rather than decanting them into matching ones, and never combine products. Original packaging keeps the safety information with the product.
Labels for Kids' and Shared Spaces
When more than one person uses a space, labels need to work for the least interested person in the house. For kids who are still learning to read, that means pictures.
- Words plus a small picture: a simple line drawing or a photo of a block, a sock or a crayon next to the word. Kids learn the word over time and tidy up without asking.
- Low and big: put labels at the eye level of the person using them, with letters large enough to read from where they stand.
- Shared homes: a name on a shelf ("Mia's Shelf") in a fridge or bathroom avoids so many small tensions between roommates.
In shared spaces, labels are less about looking pretty and more about being fair. Everyone knows the rules because the rules are written down.
7 Label Styles To Choose From
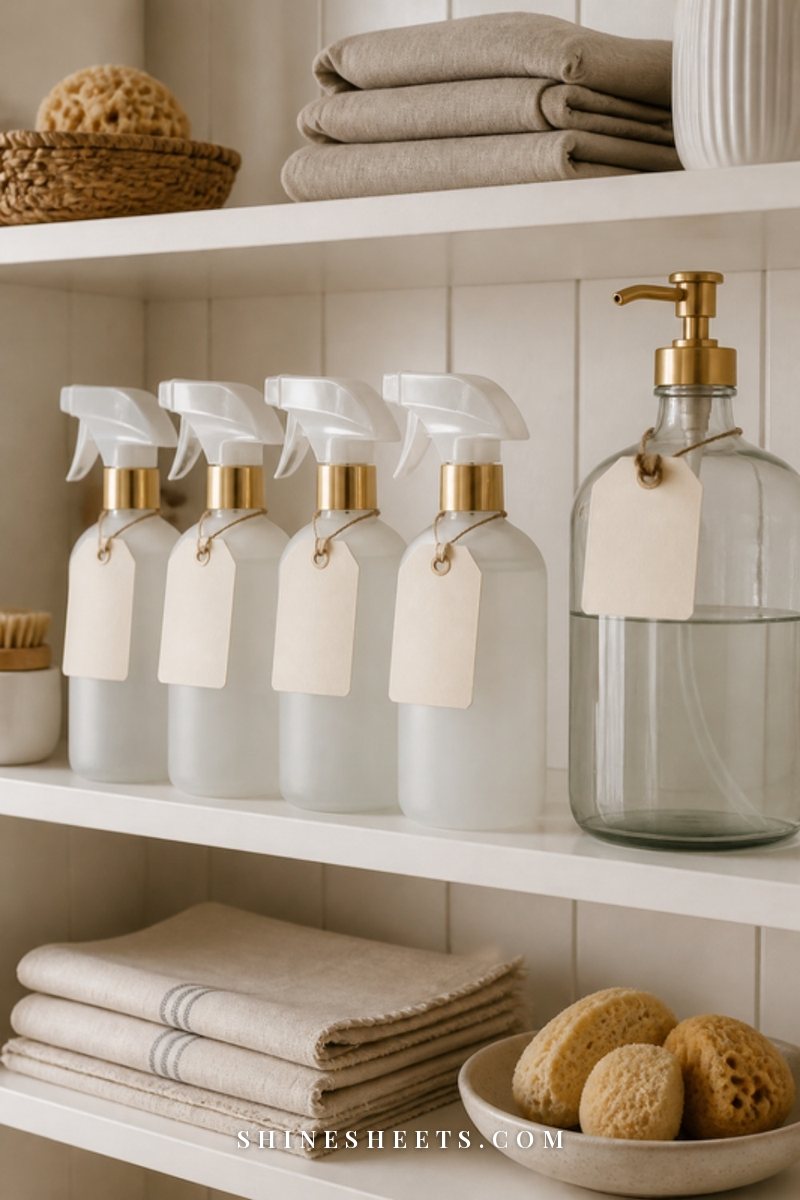
There's no single best label, only the best label for a surface, a room and how often the contents change. These are the seven styles worth knowing.
1. Label Maker Tape
The workhorse. Label maker tape is crisp, consistent and water resistant, which makes it ideal for bathrooms, the fridge and anything you wipe. A compact label maker with white or clear tape is all most homes need. Look for one that prints in at least two font sizes and has a small preview so you can check spacing before you print.
Best for: bathrooms, fridge bins, drawer dividers, spice lids, anything that gets wiped.
2. Clear Vinyl Labels
Clear vinyl lets the container show through, so the label looks almost printed on. It's lovely on glass jars and acrylic bins and handles moisture well.
Best for: glass canisters, clear pantry bins, bathroom jars.
3. Chalkboard Labels
Chalkboard labels are made for contents that change: a bin that's "Snacks" this month and "Craft Supplies" next. Use a liquid chalk marker rather than real chalk, which smudges every time someone brushes past.
Best for: pantry bins with rotating contents, spare-room storage, kids' craft bins. Test the marker on a corner first, because some leave a faint ghost on porous chalkboard surfaces.
4. Clip-On Bin Labels
Clip-on labels attach to the edge of a basket or wire bin and slide off when you change your mind. That makes them the most renter-friendly and change-friendly option on this list. White clip-on bin labels with a window for a paper insert look neat and let you swap the wording in seconds.
Best for: woven baskets, wire bins, open cubes, anything you can't stick to.
5. Hang Tags
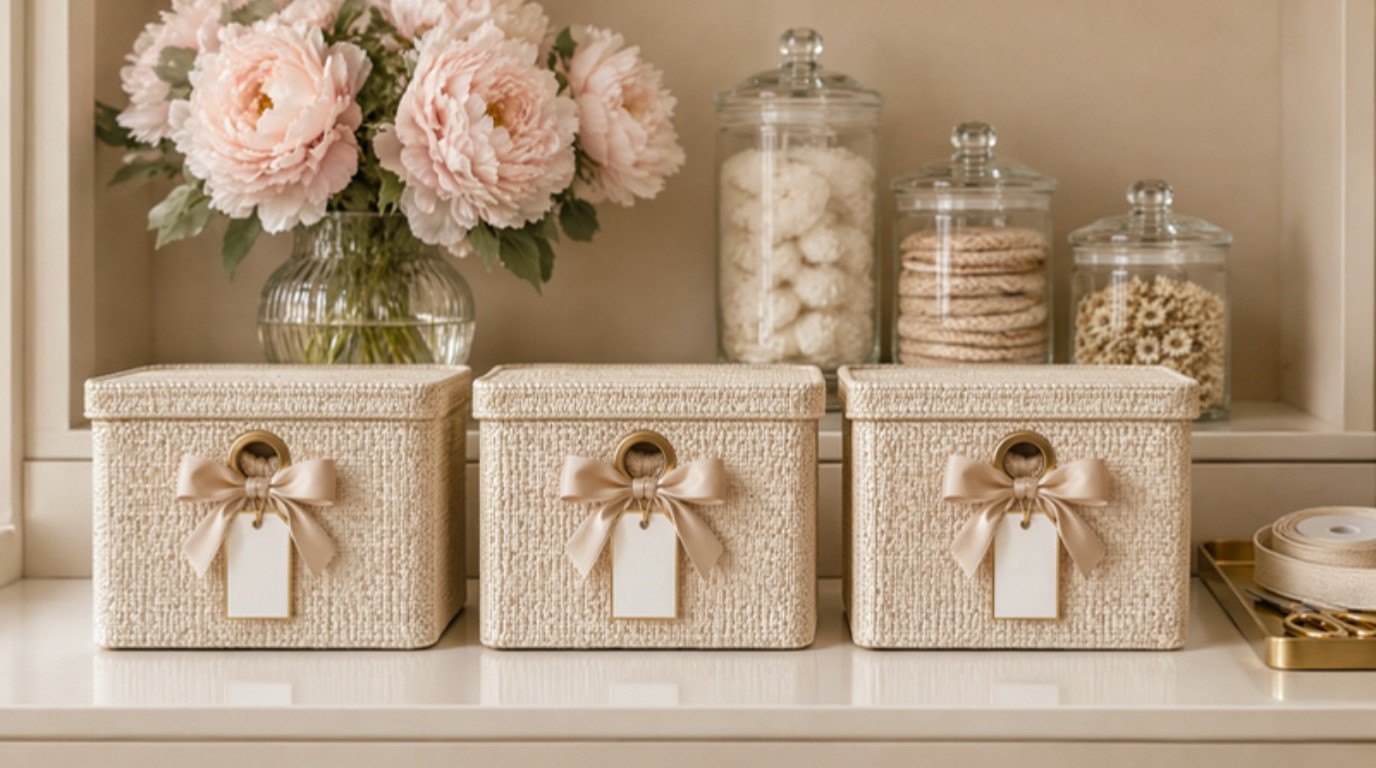
Hang tags tie onto handles, baskets and dust bags. They feel soft and a little boutique-like, and they're perfect on textured surfaces where nothing will stick. Gold-accent hang tags with thin ribbon or twine look especially pretty in a closet or on linen baskets.
Best for: woven baskets with handles, handbag dust bags, gift wrap storage, linen bundles.
6. Removable Stickers
Removable paper or film stickers are the renter's best friend for walls, painted shelves and cabinet doors, and they're ideal for dates that change every refill. They're designed to peel off cleanly, though "cleanly" depends on the surface and how long they've been there.
Best for: refill dates, shelf zones in rentals, temporary labels during your trial week.
7. Handwritten Kraft Tags
Handwritten kraft tags bring warmth, especially in a pantry or a linen closet with natural baskets. They're also the most forgiving if your handwriting isn't perfect, because a slightly imperfect hand looks charming on kraft paper.
Best for: baskets, jars with twine, guest rooms, anything where cozy matters more than crisp.
My honest advice: choose one main style for most of the home (label maker tape or clear vinyl are the easiest to keep consistent) and one secondary style for textured or changing surfaces (clip-ons or hang tags). Seven styles in one house is a lot; two is calm.
The Home Labeling Table: What To Write and Where
Here's the whole system on one page. Screenshot it and start with whichever row matches the cupboard you open most.
| Area | What to write | Best label type | How often to update |
|---|---|---|---|
| Pantry jars | Contents on front; best-by and fill date on back | Clear vinyl or label maker tape | Date strip at every refill |
| Pantry shelves | Broad zone (Breakfast, Baking, Snacks) | Removable stickers or clip-on labels | When you change a zone |
| Fridge bins | Zone (Dairy, Leftovers, Eat First) | Label maker tape | Rarely; wipe monthly |
| Spices | Name on lid or front, alphabetical | Label maker tape or clear vinyl | When you add a new spice |
| Closet shelf bins | Category or season plus a short contents line | Clip-on labels or hang tags | Each season swap |
| Storage bins | Number plus contents list | Label maker tape or removable stickers | Whenever contents change |
| Under-bed bins | Contents on lid and front | Label maker tape | Twice a year |
| Linen closet | Shelf by bed or room; bin by item | Hang tags or clip-on labels | When bedding changes |
| Bathroom | Category; open date on skincare bottoms | Waterproof clear labels or label maker tape | With each new product |
| Kids' and shared spaces | Word plus a small picture, or a name | Clip-on labels or large removable stickers | As kids grow or roommates change |
Notice how few rows need frequent updates. The only labels that change often are dates and rotating bins, which is exactly why those get removable or clip-on styles. Everything else can be set once and forgotten.
Font and Color Tips for Pretty Labels
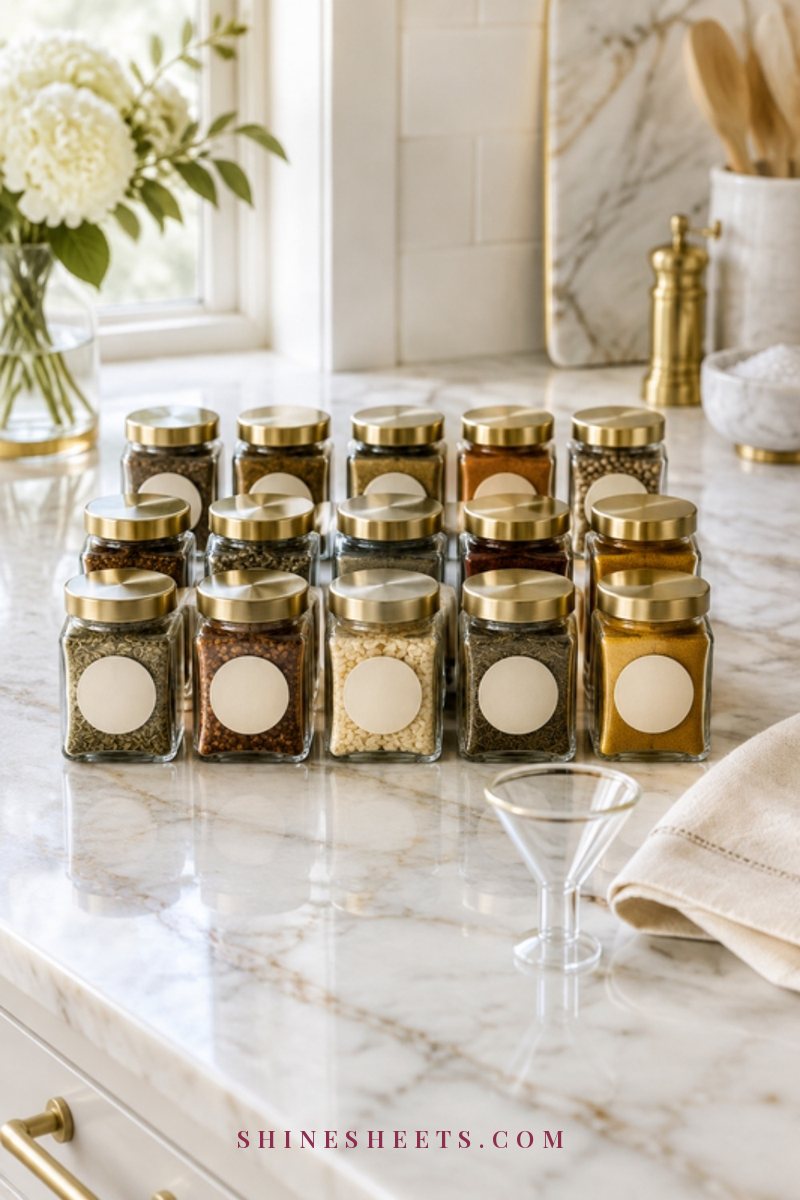
Pretty labels aren't about a fancy font. They're about sameness. A shelf of identical labels in a plain font looks far more polished than a shelf of beautiful script labels in five different sizes.
- One font for the whole home. A clean sans-serif is easiest to read from across a room. If you love a script font, keep it for one decorative spot (a single basket in the guest room) and use the plain one everywhere else.
- Cream or white labels. They blend with most containers and walls, and they read clearly. Black-on-white is the most legible; black-on-clear looks the most minimal.
- Gold accents, sparingly. A gold border, a gold-edged tag or a gold marker on a dark chalkboard label adds a little Old Hollywood polish. One accent per area is plenty.
- Match the room's palette. Blush tags in a bathroom, sage or cream in a kitchen, natural kraft in a pantry with woven baskets. Your labels should whisper, not shout.
- Short words win. "Towels" beats "Bath Towels for the Upstairs Bathroom." Use the shortest word that can't be misunderstood.
Placement and Size
A label nobody sees doesn't work. A few simple rules keep labels useful:
- Put it where your eyes land. Front and center on bins at or below eye level; slightly lower on high shelves so you can read it while looking up.
- Same height on every container. Use a small ruler or a piece of card cut to size as a guide, and place every label the same distance from the top edge. This one trick makes a shelf look professionally done.
- Size to the viewing distance. Drawer and spice labels can be small. Pantry and closet bins you read from a step away need letters roughly twice as tall. High garage shelves need the biggest.
- Center it horizontally. Fold the label in half lightly to find the middle, line it up with the middle of the container, then press from the center outward to avoid bubbles.
- Clean the surface first. Wipe with a little rubbing alcohol on a cloth (on glass and plastic) and let it dry. Labels stick far better to a surface with no dust or kitchen grease.
In a rental, skip adhesive on painted walls and wood entirely. Clip-on labels, hang tags and labels stuck to the container rather than the shelf keep your deposit safe.
How To Remove Labels Without Residue
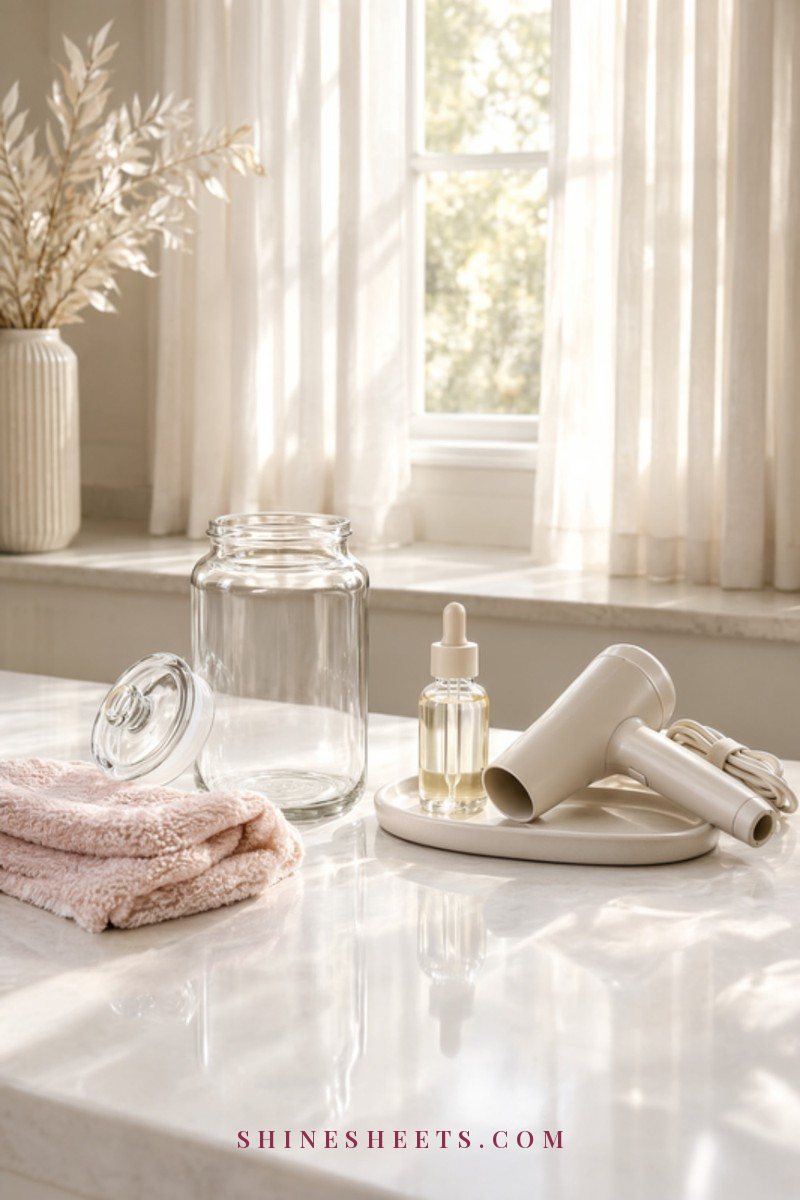
Sooner or later a label has to go, whether you're changing a jar's contents or moving out. Here's the gentle order to try, from mildest to strongest:
- Warm it. Hold a hair dryer on low heat a few inches from the label for 20 to 30 seconds. Warm adhesive lets go much more easily.
- Peel slowly at a low angle. Lift a corner with a fingernail or a plastic card, then pull back slowly, almost parallel to the surface, instead of straight up.
- Loosen leftover stickiness with oil. On glass and most hard plastic, a few drops of cooking oil rubbed in with a soft cloth, left for 5 to 10 minutes, softens what's left. Wipe it away, then wash with warm soapy water.
- Use rubbing alcohol on glass. For stubborn residue on glass jars, a cotton pad with rubbing alcohol usually finishes the job.
- Soak washable containers. Glass jars can soak in warm, soapy water for 20 to 30 minutes; the paper and glue often slide right off.
A few gentle safety notes: always test oil or alcohol on a hidden spot first, since oil can stain unfinished wood and alcohol can cloud some plastics and painted finishes. Don't use acetone on plastic containers, and never scrape painted walls with a blade. For walls and painted shelves in a rental, warmth and a slow peel are the safest route.
Start Small: Label What You Open Most
You don't need to label your whole home this weekend. In fact, please don't. The fastest way to fall out of love with labels is to spend a Saturday labeling things you open twice a year.
Instead, try this order:
- Week one: the cupboard or drawer you open every single day (usually the pantry, a bathroom drawer or the fridge).
- Week two: the space other people use most, so the household feels the benefit too.
- Week three: one storage area that's been bothering you, like the closet shelf or under the bed.
- After that: one small area whenever you feel like it. No deadlines.
Each finished area makes the next one easier, because your system (font, style, wording) is already decided. By the third area, labeling feels less like a project and more like a quick finishing touch.
Final Thoughts
Labels are one of the smallest, cheapest ways to make a home feel calm and cared for. They don't ask you to buy a bigger place or a fancier closet. They just give everything an address, so putting things away becomes the easy part of your day.
Start with one shelf, keep the style simple, and let your labels follow how you really live rather than how you think you should. A home that tells you where things go is a home that's a little kinder to you every single day.