A vacuum that seems to be "losing its touch" usually isn't broken. Most of the time it's simply full, clogged or wrapped in hair, and it's working twice as hard to do half the job. The good news is that a tired vacuum often comes back to life with about an hour of care and a day of drying time.
It took me far too long to realize that the machine that cleans everything else needs cleaning too. Dust, hair and fine grit build up in places you never see, and that is exactly what kills suction and creates that stale, warm-dust smell when you switch it on.
This guide walks you through how to clean a vacuum cleaner from top to bottom: the signs it needs attention, a step-by-step routine for the bin, brush roll and hose, how to wash (or replace) every type of filter, robot vacuum care, a simple odor fix, and a maintenance table you can screenshot and keep. Put on a playlist, clear a counter and let's give your vacuum a fresh start.
Signs Your Vacuum Needs a Good Clean
Vacuums rarely fail overnight. They drift, slowly, and we adjust without noticing. Look out for these signs:
- Weak suction. You go over the same crumb three times, or the vacuum leaves a trail of fluff behind it.
- A musty or burning smell. Musty usually means damp dust or a filter that went back in wet. A burning smell can mean hair wrapped so tightly around the brush roll that it's creating friction (switch it off right away).
- Hair wound around the brush roll. If you can't see the bristles, they can't lift anything.
- Dust puffing out of the vents. This often points to a clogged or worn filter.
- The motor sounds strained or high-pitched. Something is blocking the airflow.
- The brush roll stops spinning or spins slowly. Debris, hair or a worn belt is usually to blame.
If you noticed two or more of these, your vacuum isn't asking to be replaced. It's asking for a little attention.
What You'll Need
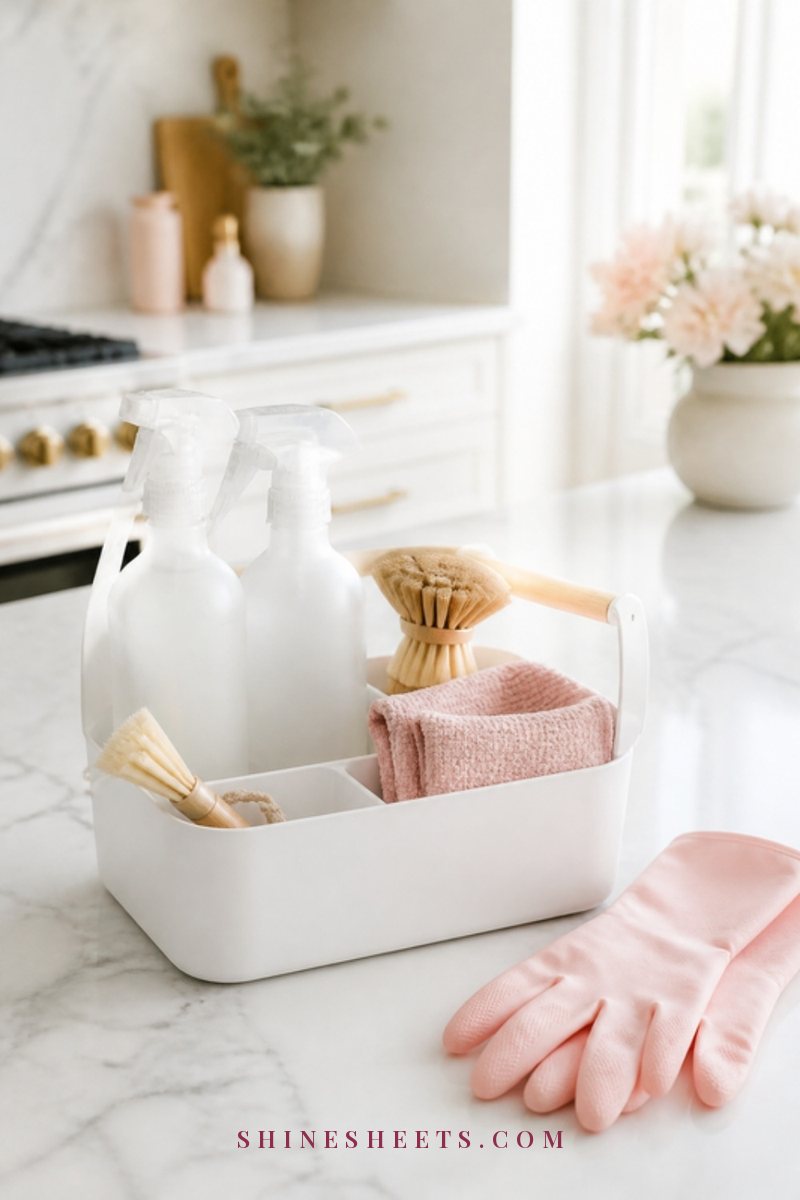
You don't need anything fancy. Gather everything before you start so you're not walking around the house with a half-taken-apart machine:
- Your vacuum's manual (or the manufacturer's website). It tells you which parts are washable, and that matters more than any general advice, including mine.
- Small scissors and a seam ripper. A little seam ripper slides under wound hair and cuts it in seconds without nicking the bristles. Look for one with a comfortable handle and a sharp, protected blade.
- A soft brush set. A set of small detail brushes gets dust out of filter pleats, vents and the corners of the bin. An old soft toothbrush works too.
- Microfiber cloths. I'd choose a stack of soft microfiber cloths that grab dust instead of pushing it around. Keep one damp and one dry.
- Warm water and a mild dish soap for the plastic bin and attachments.
- A trash bag and an old towel to work on.
- A broom handle or a straightened wire hanger (with the end padded with tape) for the hose.
Work outside, on a balcony or over a big trash bag if you can. Emptying a very dusty vacuum indoors is how you end up cleaning the kitchen twice.
Safety First: Unplug Before Anything Else
This is the one step that's never optional. Unplug a corded vacuum, or remove the battery from a cordless one, before you touch the brush roll, the hose or the filters. Brush rolls can start unexpectedly if a button gets bumped, and they spin fast enough to hurt fingers.
A few more gentle rules:
- Never put water anywhere near the motor, the battery or the electrical parts. Only removable plastic parts and washable filters get wet.
- Don't wash a battery pack or a motorized head. Wipe them with a barely damp cloth at most.
- If you have allergies or asthma, wear a simple dust mask while emptying and tapping out filters.
- If the vacuum smells like burning or the cord is damaged, stop using it and have it checked rather than trying to fix it yourself.
How To Clean a Vacuum Cleaner Step by Step
Here is the full routine I'd follow for an upright, canister or stick vacuum. Plan about 45 minutes of hands-on time, plus up to 24 hours for washed parts to dry. If that drying time feels inconvenient, start in the evening so everything is ready by the next night.
Step 1: Empty the Bin or Change the Bag
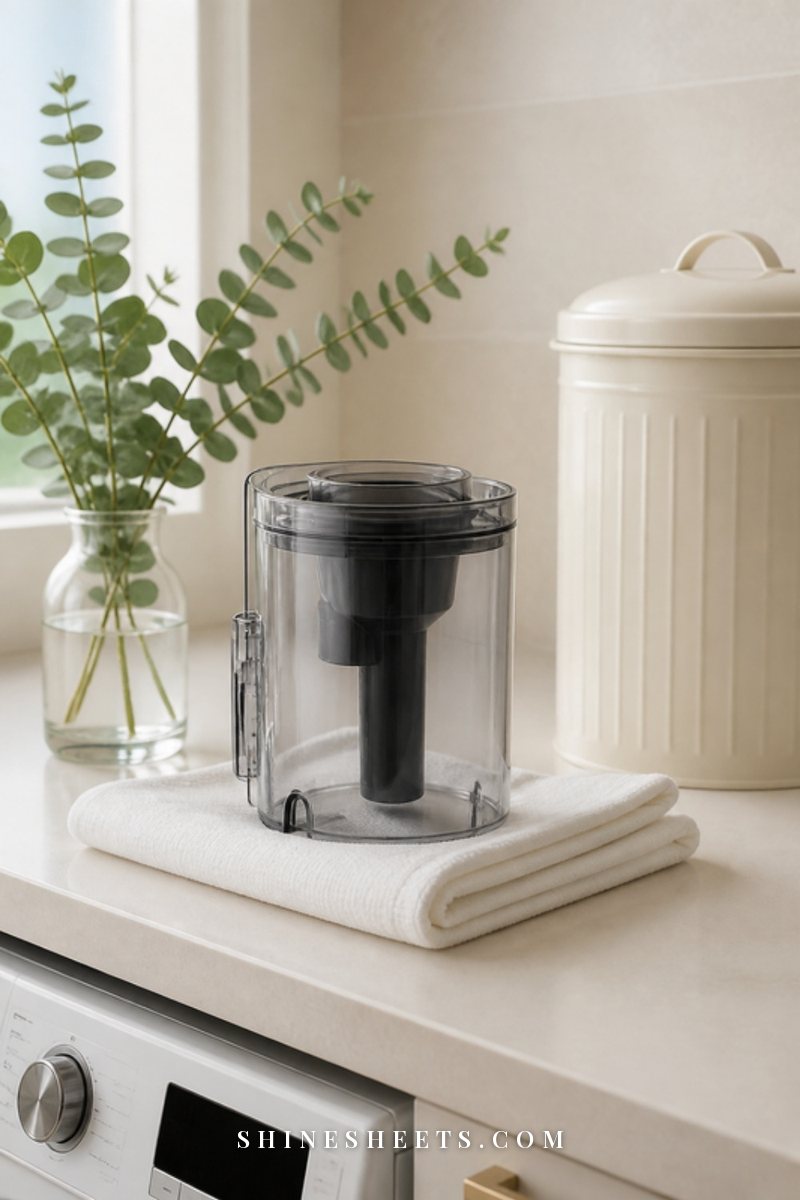
Bagless vacuums lose suction quickly once the bin passes the "max" line, so empty it after every use or at least every time it's about two-thirds full. Hold the bin deep inside the trash bag before you open it, then tap it gently against the inside of the bag so the dust stays where it belongs.
For bagged vacuums, change the bag when it's about two-thirds full, not when it's bursting. A stuffed bag cuts airflow long before it looks "full." Close the bag's seal (most have a little tab) before you pull it out, and slide it straight into the trash.
While the bin is off, peek into the opening where it attaches. Dust and hair love to collect there.
Step 2: Wash the Plastic Dust Bin
If your manual says the bin is washable (most clear plastic bins are, but check), take it apart as far as it's designed to come apart. Remove any filter or cyclone part that the manual says should stay dry.
- Brush out the loose dust over the trash with a dry brush.
- Wash the bin in warm water with a few drops of mild dish soap, using a soft brush for the corners and the cyclone ridges.
- Rinse well with clean water.
- Shake off the water and let it air-dry upside down on a towel for a full 24 hours.
Please don't rush the drying. A damp bin plus fresh dust makes a paste, and a paste makes a smell. If you can't wait a whole day, at least wipe the inside thoroughly with a dry microfiber cloth, but 24 hours really is the safe choice.
Step 3: Clear Hair From the Brush Roll
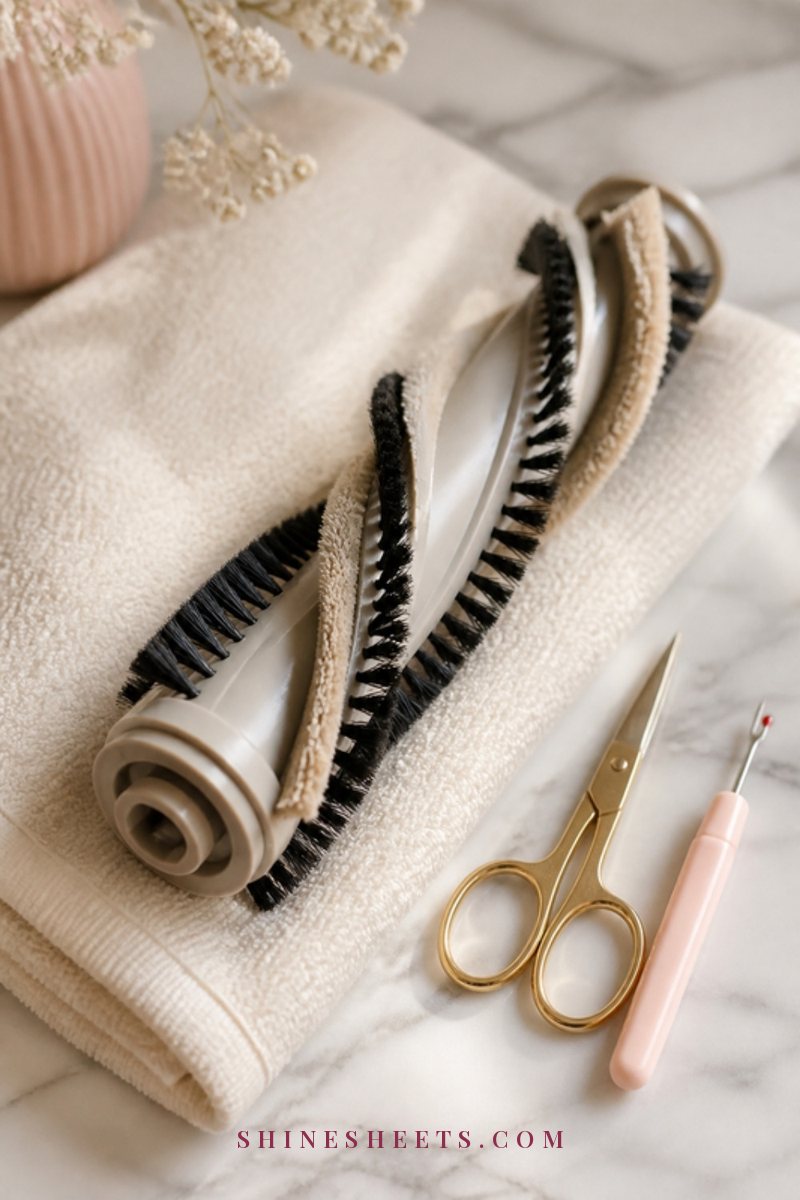
This is the most satisfying part of the whole job. Flip the vacuum over (unplugged!) and look at the brush roll. Many models let you remove it with a coin, a clip or a small door on the side; others need a screwdriver. If yours doesn't come out, you can still clean it in place.
- Run your seam ripper or the tip of your scissors along the groove between the bristles, cutting through the wrapped hair. Many brush rolls have a little channel exactly for this.
- Pull the cut hair and threads away with your fingers.
- Check both ends of the roll. Hair loves to wind around the end caps and bearings, which is what makes a brush roll slow down or squeak.
- Brush away dust from the bristles and wipe the housing with a dry cloth.
- Look at the belt if you can see it. A belt that's stretched, cracked or shiny should be replaced with the part your manual names.
If you have long hair or a pet that sheds, this step needs doing every week or two. It takes five minutes when you stay on top of it and twenty when you don't (ask me how I know).
Step 4: Check the Hose for Blockages
A blocked hose is the most common cause of suction that suddenly drops. Detach the hose at both ends if you can, then:
- Hold it up to the light and look through it. Light should travel through freely.
- Drop a small coin through it. If it doesn't come out the other end, something is stuck.
- Gently push a broom handle through to dislodge the clog. Go slowly so you don't puncture the hose, and never use anything sharp.
If the hose is washable (check the manual), you can run warm water through it, then hang it in a U shape or drape it over a shower rod so it drains and dries for 24 hours. A hose that's still damp inside should never go back on the machine.
Don't forget the smaller passages too: the neck where the hose meets the floor head and the opening behind the brush roll often hide a sock, a hair tie or a wad of fluff.
Step 5: Wipe the Body and Attachments
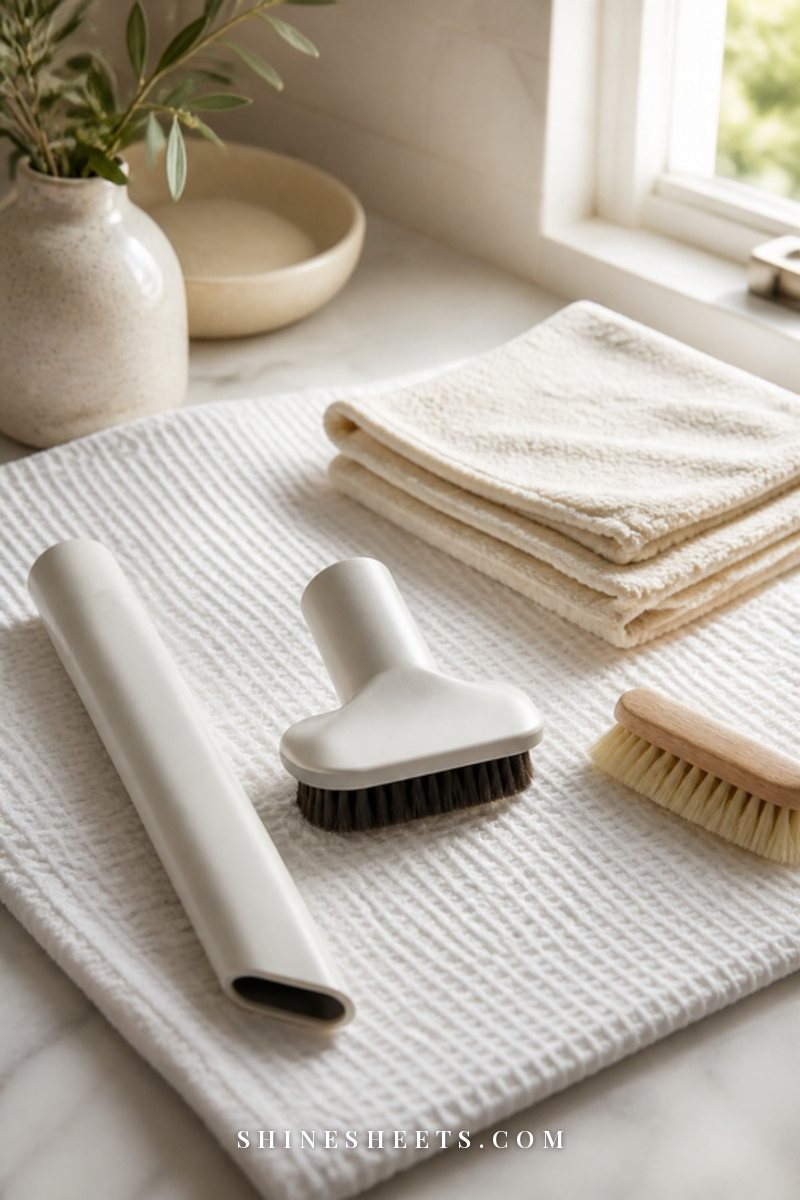
Now give the outside some love. Wipe the body, handle and cord with a barely damp microfiber cloth, then follow with a dry one. Use a soft brush on the vents, which collect a surprising amount of dust.
Plastic attachments like the crevice tool and the dusting brush can be washed in warm soapy water, rinsed and air-dried for 24 hours. Pull hair out of the dusting brush with your fingers or a comb first. If an attachment has a motorized head or electrical contacts, only wipe it.
Lastly, wipe the wheels. Hair and grit wrap around the axles, and a wheel that drags leaves marks on floors. If you have wood floors, my guide to cleaning hardwood floors without damaging them explains why clean wheels and a soft floor head matter so much.
How To Clean a Vacuum Filter
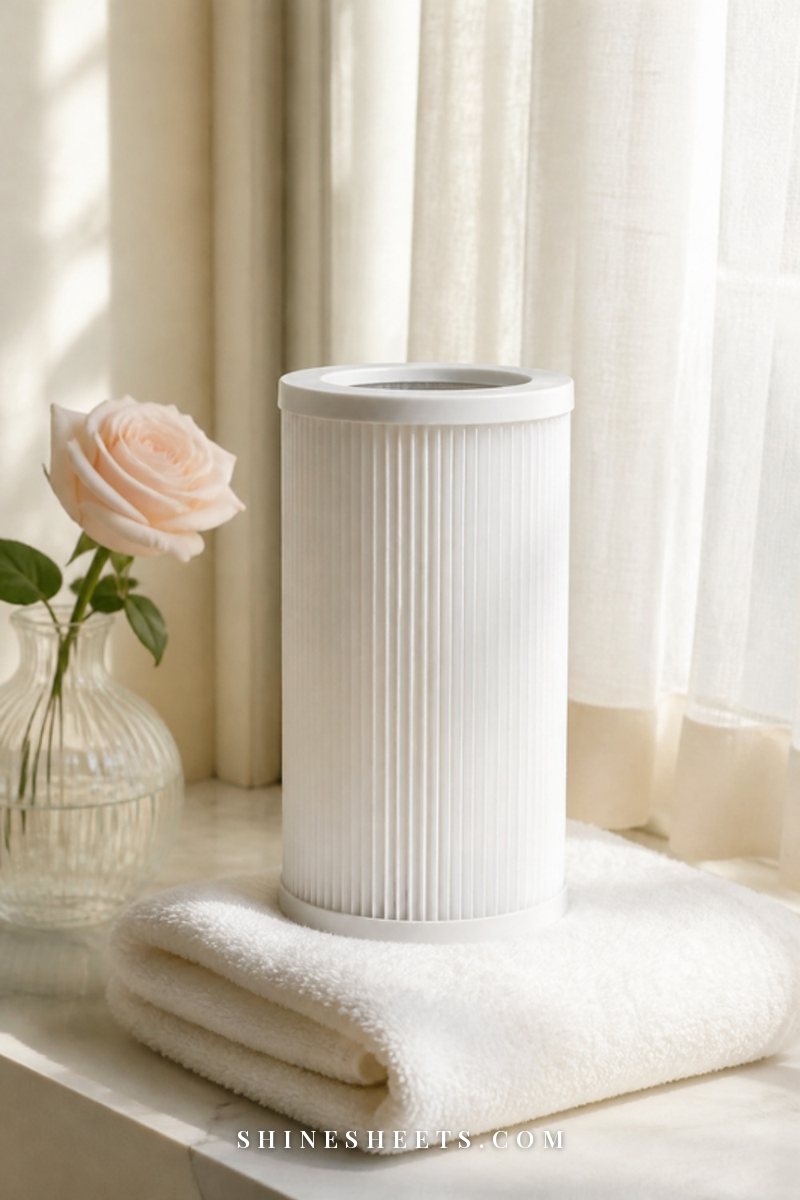
Filters are the lungs of your vacuum. They catch fine dust so it doesn't blow back into your room, and when they clog, suction drops and the motor works harder. Most vacuums have at least two: a pre-motor filter (before the motor) and a post-motor or exhaust filter (after it). Your manual shows where each one lives.
Before you wash anything, find out which kind you have. This is the one place where the manual truly wins over general advice, because some filters are ruined by water.
Washable Foam and Pleated Filters
- Take the filter outside and tap it firmly against the inside of a trash bag or bin to knock out loose dust.
- Use a soft dry brush between the pleats if it's a pleated filter.
- If the manual says it's washable, rinse it under cold running water without soap until the water runs clear. Soap can leave a residue that clogs the material and attracts more dust.
- Gently squeeze foam filters (don't wring or twist them). Shake pleated filters to remove excess water.
- Air-dry for at least 24 hours, ideally somewhere warm and airy but out of direct high heat. Pleated filters dry better standing upright.
Never use a hairdryer, oven, radiator or dryer to speed things up. Heat can warp the filter and shrink its seals, and a filter that's still damp inside can grow mildew or let moisture reach the motor. If you hate the downtime, keeping a second filter on hand means you can swap it in and keep vacuuming.
HEPA Filters: Wash or Replace?
Some HEPA filters are labeled washable, and you can rinse those in cold water exactly like the steps above. Many are not. A non-washable HEPA filter should only be tapped out gently and brushed lightly, never rinsed, because water damages the fine fibers that make it work.
Replace non-washable HEPA filters about every 6–12 months, or sooner if you vacuum daily, have pets or notice dust coming out of the exhaust. When you shop, match the exact model number from your manual and look for a replacement HEPA filter that lists your vacuum by name. Washable foam and pleated filters also wear out eventually: replace them when they're torn, misshapen or still gray after a rinse.
How To Clean a Robot Vacuum
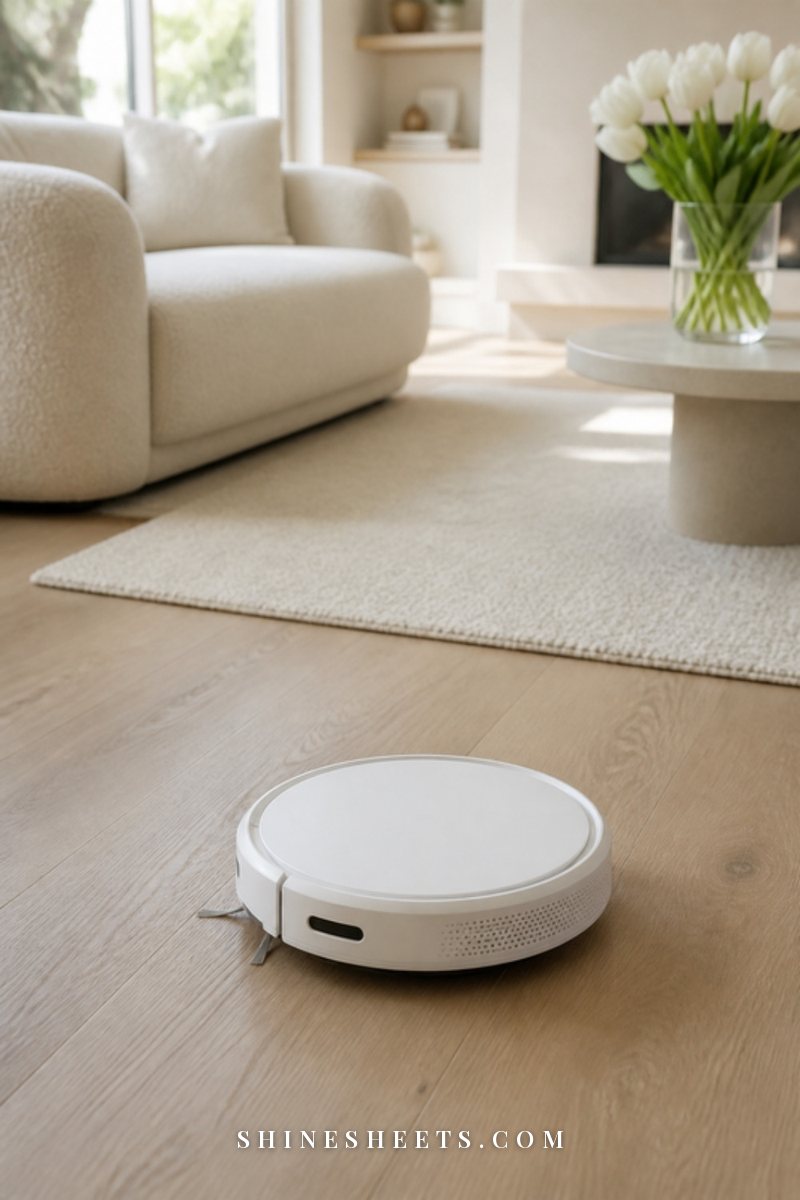
Robot vacuums need the same care, just in smaller pieces. Turn the robot off before you start, and if it has a removable battery, follow the manual on whether to take it out. Then:
- Empty the bin after every run or two. Tiny bins fill fast.
- Clean the filter weekly by tapping it out over the trash. Most robot filters are not washable, so check before rinsing, and replace them every few months.
- Clear the main brush the same way as an upright: cut through the hair and pull it off the ends.
- Clean the side brushes. Pop them off, unwind any hair from the base, and replace them if the bristles are bent out of shape.
- Wipe the sensors with a clean, dry microfiber cloth. Dusty cliff sensors (usually on the underside) and the bumper sensors can make a robot bump into things, stop randomly or think it's about to fall down the stairs.
- Wipe the charging contacts on the robot and the dock with a dry cloth so it charges reliably.
- Check the wheels for wrapped hair, especially the little front caster wheel.
If your robot has a self-emptying dock, the dock bag needs changing when it's full, and the dock's own intake can get clogged. A quick look once a month is enough.
How To Get Rid of a Vacuum Smell

A smelly vacuum usually means old debris, damp parts or a dirty filter. Once you've done the full clean above, most smells disappear on their own. For anything that lingers:
- Make sure everything is completely dry. A filter or bin that went back in slightly wet is the number one cause of a musty smell.
- Sprinkle a tablespoon of dry baking soda into the empty bin or a fresh bag, then vacuum as usual. It helps absorb odors as you go. Keep it to the bin or bag only, and skip this if your manual advises against it.
- Replace an old filter. If a filter still smells after washing and drying, it's done.
- Air the vacuum out. Leave the empty bin and filters near an open window for an afternoon.
What I'd avoid: essential oils or fragrance oils dripped into the bin, the filter or the exhaust. Oils can damage plastic and filter material, gum up the motor area and, with some motors, become a fire risk when they heat up. If you want your home to smell fresh, keep the scent in the room, not in the machine. If the smell lives in the house rather than the vacuum, my guide on getting rid of musty smells room by room covers the usual sources.
Vacuum Maintenance Table
This is the part I'd screenshot. Exact intervals depend on your model, how big your home is and whether you share it with pets, so treat these as a starting point and let the manual have the final word.
| Part | How often | Method | Replace when |
|---|---|---|---|
| Dust bin (bagless) | After every use, or when two-thirds full | Empty into a bag outside; wash monthly in warm soapy water if washable, dry 24 hours | Cracked, or the latch no longer seals |
| Vacuum bag | When two-thirds full | Seal the tab, remove, bin it | Every time it's two-thirds full |
| Brush roll | Every 1–2 weeks (weekly with pets or long hair) | Unplug, cut hair with a seam ripper, clear the end caps | Bristles worn flat or the roll wobbles |
| Belt | Check monthly | Look for stretching, cracks or shine | Stretched, cracked or the roll stops spinning |
| Hose | Monthly, or when suction drops | Look through it, push a broom handle through gently | Split, torn or crushed |
| Washable filter (foam or pleated) | Monthly | Tap out, rinse in cold water without soap, air-dry 24 hours | Torn, misshapen or still gray after washing |
| Non-washable HEPA filter | Tap out monthly | Tap and brush gently only, never rinse | About every 6–12 months |
| Attachments | Every 1–2 months | Wash plastic parts in warm soapy water, dry 24 hours | Cracked or bristles gone |
| Robot sensors and side brushes | Weekly | Wipe sensors with a dry microfiber cloth, unwind hair | Side brushes bent or frayed (every few months) |
| Body, wheels and vents | Monthly | Damp cloth, then dry cloth, soft brush on vents | Wheels cracked or no longer turning |
If you like having everything in one place, add these tasks to your monthly list. My daily, weekly and monthly cleaning schedule has a natural slot for "vacuum care day" alongside the other jobs that only need doing once a month.
6 Mistakes That Shorten Your Vacuum's Life
- Putting filters back in damp. It invites mildew and can damage the motor. Wait the full 24 hours.
- Waiting until the bin overflows. Suction drops long before the bin looks packed.
- Vacuuming up liquids or wet messes with a vacuum that isn't designed for them. Blot spills first. My calm guide to carpet stains shows how to treat each type of spill before the vacuum ever comes near it.
- Picking up very fine powders like fireplace ash, plaster dust or large amounts of spilled powder. They clog filters fast and can strain the motor.
- Pulling the vacuum by its cord or running over the cord. Both wear the cable and the plug.
- Ignoring a burning smell or a strange noise. Switch off, unplug and investigate before carrying on.
Choosing a New Vacuum (If Yours Is Truly Done)
If you've cleaned everything, replaced the filter and belt, and the suction is still weak or the motor keeps cutting out, it may be time for a new one. For smaller homes and quick daily tidies, I'd choose a lightweight cordless stick vacuum with a washable filter, a bin you can empty without touching the dust and a brush roll you can pull out without tools. Those three details make every routine in this guide faster.
A long, narrow flexible crevice tool is also worth adding to any vacuum. It reaches under radiators, behind the fridge and along baseboards, so dust doesn't build up in the spots that make a room feel stale.
If your rugs need more than a regular vacuum can give, my guide on deep cleaning an area rug at home walks you through the next level.
Final Thoughts
A clean vacuum is one of those small, quiet upgrades that makes the whole house feel lighter. You'll notice it the next time it glides over the rug and actually picks everything up on the first pass.
Give it an hour this week, let the parts dry overnight, and then keep up with a few minutes each month. Your vacuum takes care of your floors every day, and now it gets a little care back.