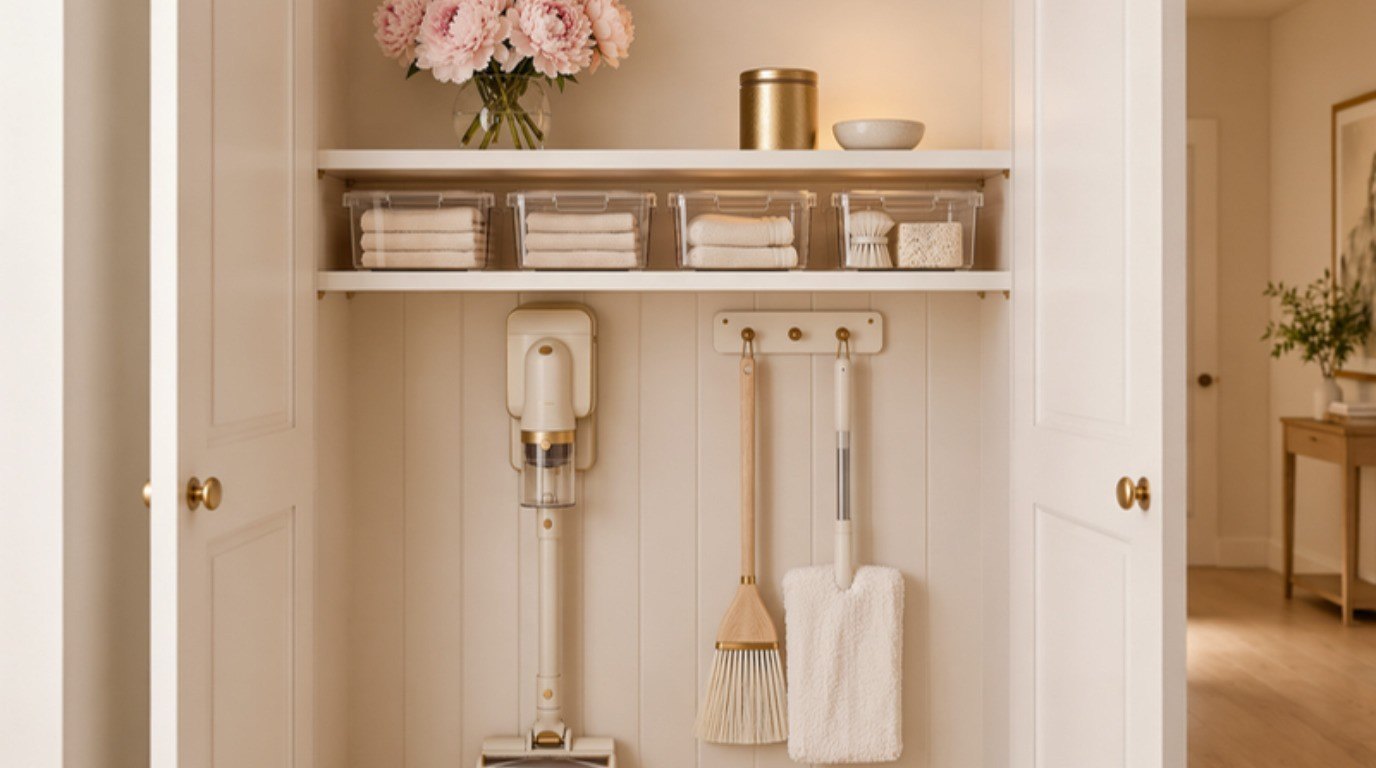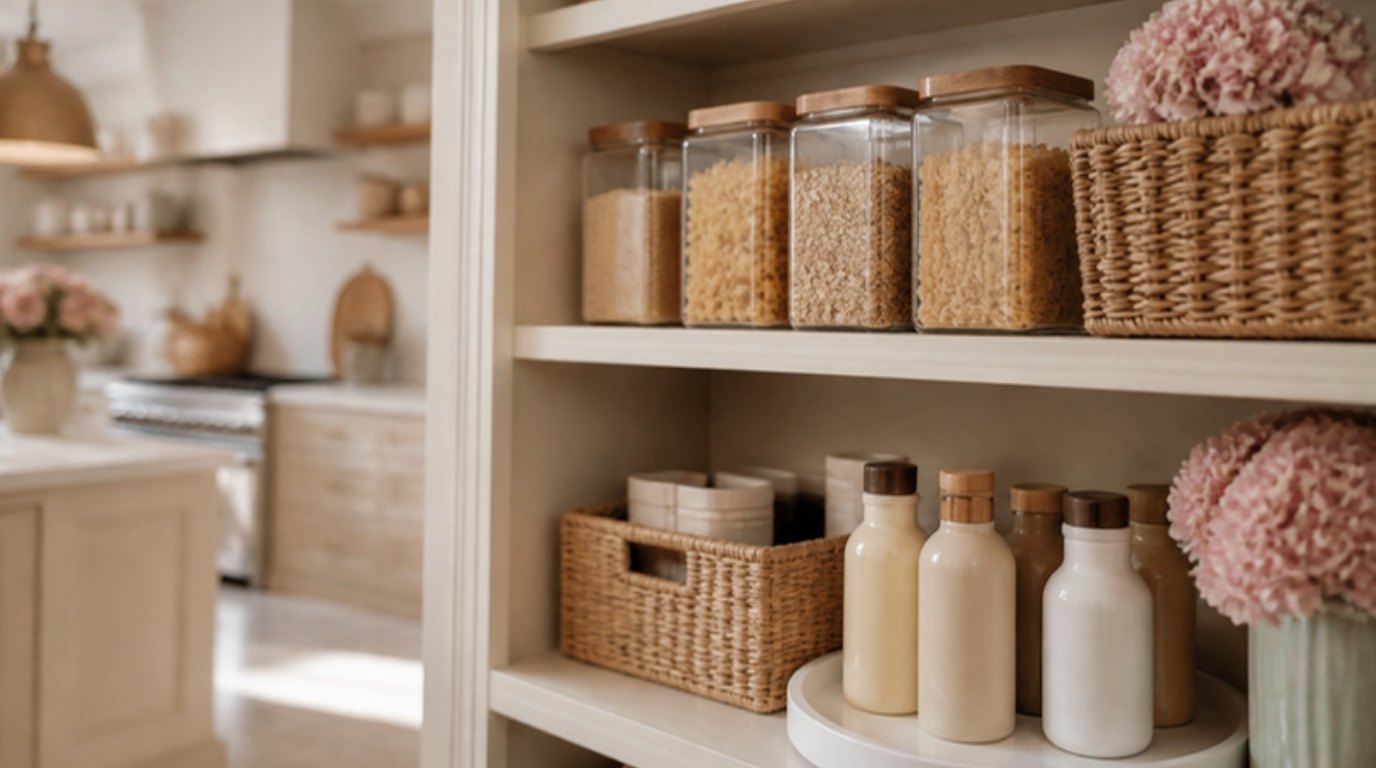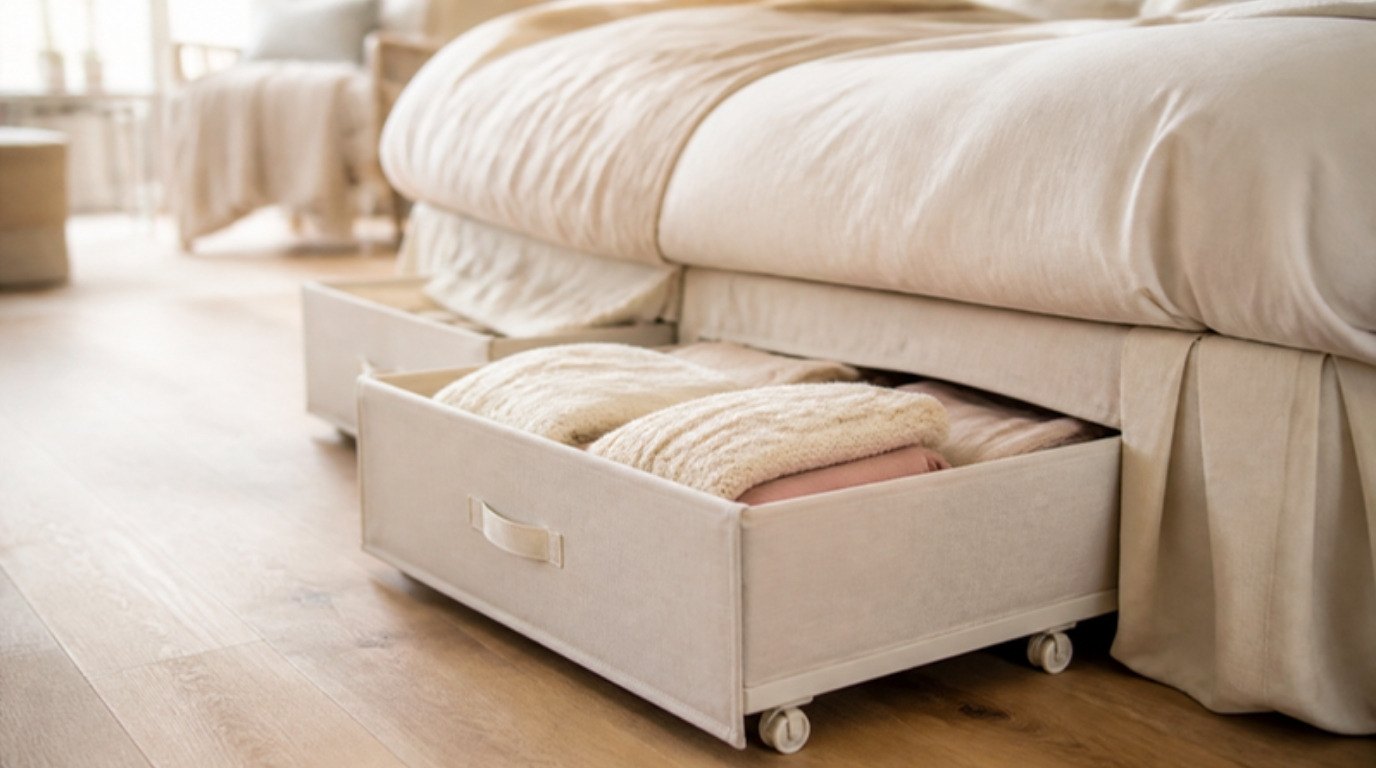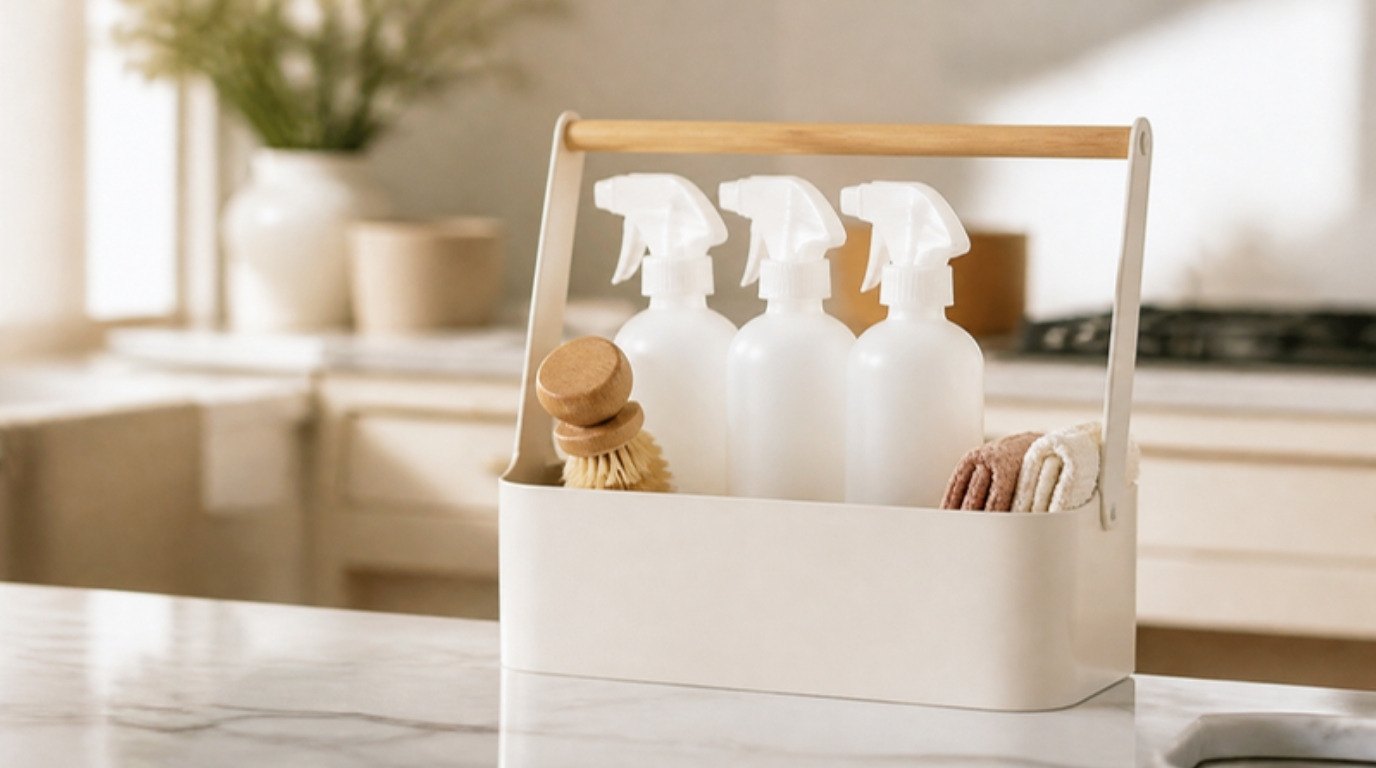
A storage room doesn't get messy because you're bad at organizing. It gets messy because it's where every "I'll deal with this later" goes to live, and later never arrives with a plan attached. Give the room a plan, even a very simple one, and it quietly turns into one of the most useful spaces in your home.
This guide walks you through storage room organization from start to finish, whether you're working with a basement, a box room, a loft space or a spare room that slowly became the place where things disappear. You'll get six clear steps, a zone table you can screenshot, the storage choices that hold up in damp or dusty spaces, a short list of things that really shouldn't live down there, and a twice-yearly reset that keeps it from sliding back.
No fancy system, no matching everything. Just a weekend afternoon (or two), a few bags and a little patience with yourself.
Before You Start: Check for Damp and Gear Up
Before you move a single box, take five minutes to look at the room itself. Storage rooms, and basements especially, are often a little cooler and damper than the rest of the house, and damp is the thing that quietly ruins what you store. There's no point building a beautiful system on top of a problem.
Walk the room slowly and check:
- The smell. A musty, earthy smell is usually the first sign of moisture, even if you can't see anything yet.
- Corners, ceiling and the bottom of walls. Look for dark spots, fuzzy patches, peeling paint or tide marks.
- Around pipes, the water heater and windows. Drips, rust stains or condensation tell you where water is coming from.
- Under boxes that sit on the floor. Soft, stained or wavy cardboard bottoms mean the floor is wicking moisture up.
If you find a leak, deal with it (or tell your landlord) before anything else. A small patch of mold on a hard surface can often be cleaned, but larger areas, mold that keeps coming back or anything that makes you feel unwell deserves a professional. The EPA's guide to mold is a calm, clear place to read up on what's safe to handle yourself.
Then gear up. You'll want:
- Gloves and a simple dust mask (old boxes are dusty, and you never know what's been living behind them)
- Old clothes you don't mind getting grubby
- A bright portable lamp if the room is dim
- Strong trash bags, a thick marker and some sticky notes
- Four clearly marked spots or boxes: keep, donate, sell, toss
- A glass of water and a snack nearby, because this is real physical work
One gentle safety note: don't lift heavy boxes alone or above your shoulders. Ask for a hand, or open the box and carry it in smaller loads. Your back will thank you tomorrow.
Storage Room Organization in 6 Steps
These six steps work for any size of storage space, from a tiny under-stairs box room to a full basement. The order matters: sorting before buying, zoning before shelving, labeling last. If you only have an hour today, do step one for one section and stop there. That still counts as progress.
Step 1: Empty One Section at a Time
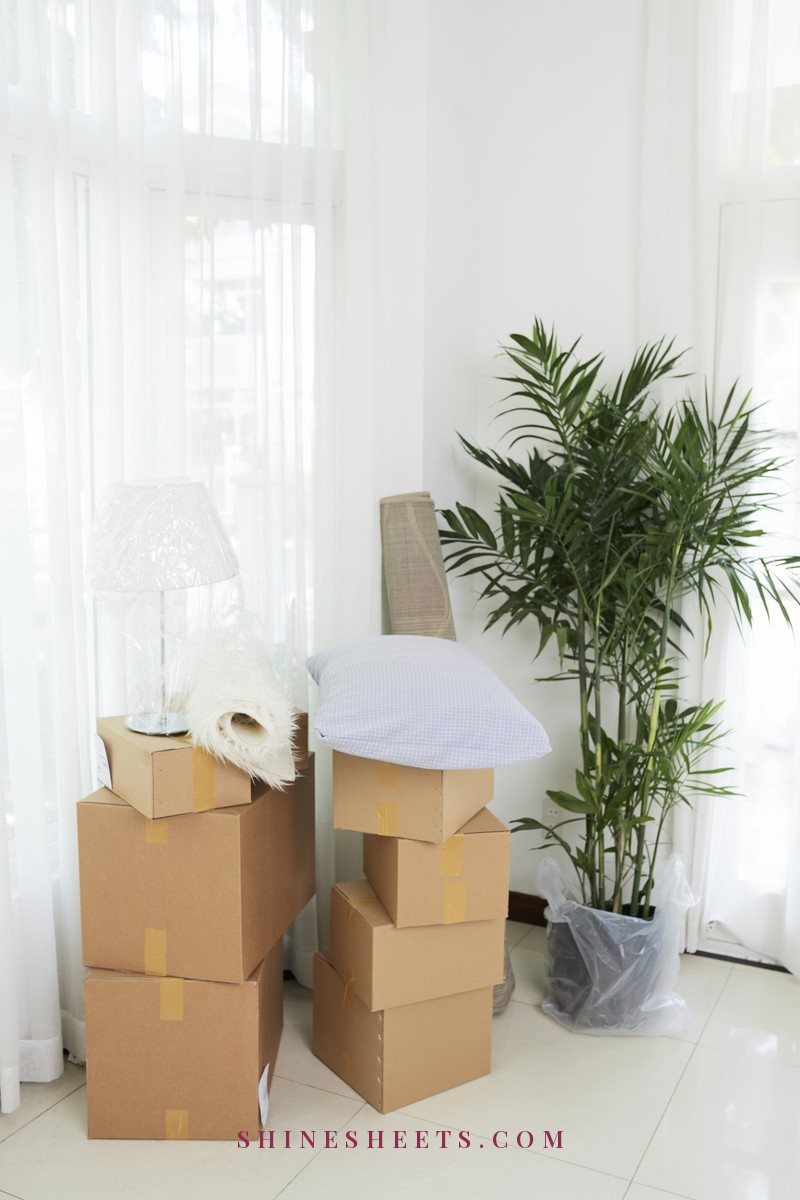
The instinct is to pull everything out at once so you can "see what you've got." Please don't. Emptying a whole storage room at once means your hallway, kitchen and living room are buried for days, and the overwhelm usually wins.
Instead, pick one section: one shelf, one corner, one wall or a stack of about five boxes. Pull just that out into a clear spot nearby, sort it (step two), and only then move to the next section. A good rhythm is 45 minutes of work, then a 10-minute break. Most box rooms take two to four sessions; a packed basement might take a few weekends.
While a section is empty, give it a quick clean: sweep the floor, wipe the shelf, check that corner for damp. It's the only time you'll get easy access, so use it.
Step 2: Sort Into Keep, Donate, Sell and Toss
Open every box. Yes, every one, even the ones labeled "misc" in handwriting you no longer recognize. Then put each item into one of four piles:
- Keep: you've used it in the last year or two, you'll genuinely use it again, or it matters to you.
- Donate: useful, clean and working, just not for you anymore.
- Sell: worth the effort of listing it. Be honest here; if you won't list it within two weeks, it's a donate.
- Toss: broken, moldy, water-damaged or simply worn out. Recycle what you can.
A few questions that make decisions easier: Would I buy this again today? Did I even remember I had it? Is it here because I need it, or because I feel guilty letting it go? If you get stuck on a box of keepsakes, set it aside in a "decide later" box and keep moving. My guide on decluttering sentimental items without guilt is there for that box when you're ready. And if you want a different approach to the whole sort, these decluttering methods explained side by side can help you pick one that suits how your brain works.
Get the donate and toss piles out of the house the same day if you possibly can. A bag by the front door has a way of drifting back down the stairs.
Step 3: Group by Category
Now look at your keep pile and put like with like. Typical storage room categories are:
- Seasonal clothing and bedding
- Luggage and travel bits
- Tools, hardware and DIY supplies
- Cleaning backstock and spare household supplies
- Sports, hobby and craft gear
- Keepsakes and memory boxes
- Decor you rotate through the year
- Spare furniture, lamps and "might need it for guests" items
Grouping is where you discover you own four extension cords and three almost-full tubs of picture hooks. Keep the best one or two of each and add the rest to donate. For decor you bring out at certain times of year, my post on easy storage solutions for seasonal decor goes deeper into wrapping and packing fragile pieces.
Step 4: Zone by How Often You Need Things
This is the step that makes a storage room actually work. Instead of putting things wherever they fit, you decide where each category lives based on how often you reach for it.
- Front zone (closest to the door, at eye level): things you need monthly or more, like cleaning backstock, tools and the step stool.
- Middle zone: things you need a few times a year, such as luggage, seasonal clothes and rotating decor.
- Back zone and top shelves: things you rarely need but want to keep, like keepsakes, archive boxes and spare bedding.
Weight overrides all of this. Heavy items always go low, on the bottom shelf or on risers just above the floor, even if you rarely use them. Light, bulky things like bedding and empty luggage are the ones that go up high.
Step 5: Shelve and Contain
Only now should you think about containers, because now you know exactly what you're storing and how much of it. Shelving is the backbone of any storage room. A sturdy white freestanding shelving unit gets everything off the floor, uses the full height of the room and doesn't need drilling, which makes it perfect for renters. Look for adjustable shelves and a weight rating per shelf that comfortably covers your heaviest boxes.
For the bins themselves, I'd choose clear lidded storage bins over cardboard every time in a basement. They keep out dust, moisture and little critters, they stack neatly, and you can see what's inside before you even read the label. Pick one or two sizes and stick to them, so the bins nest and stack instead of wobbling on top of each other.
A few containment tips:
- Fill bins to about 80%, so lids close properly and the bin isn't too heavy to lift.
- Keep one category per bin. "Tools and travel adapters and spare lamp cords" is how a bin becomes a junk drawer.
- Put small loose items (screws, batteries, hooks) in zip bags or small boxes inside the bigger bin.
- Leave one shelf about a third empty. Future you will need the room.
If you're torn between bins and baskets for the drier corners of your home, my guide to bins vs baskets in each room compares them. For a storage room, though, lidded bins nearly always win.
Step 6: Label and Make a Simple Map
Label every bin on at least two sides (the front and the end that faces out when it's stacked). Be specific: "Winter coats and scarves" is far more helpful than "Clothes." A small handheld label maker makes neat, wipe-clean labels that survive damp better than paper, but a thick marker on masking tape works too. You'll find lots more ideas in my home labeling ideas guide.
Then make a simple map. Draw a rough sketch of the room on a sheet of paper, number each shelf unit, and write what lives on each shelf. Tape it inside the door, or keep a photo of it on your phone. It sounds a bit extra, but the first time someone asks "where are the spare light bulbs?" and you can answer without going downstairs, you'll be very glad you did.
The Storage Room Zone Table
This is the heart of the whole system. Find what you're storing, check which zone it belongs in and what container suits it best. Screenshot it and keep it handy while you sort.
| Zone | What goes there | Best container | How often you reach for it |
|---|---|---|---|
| Front, eye level | Cleaning backstock, light bulbs, batteries, basic tools, step stool | Open shelf or small clear bins, labeled on the front | Weekly to monthly |
| Front, low shelf | Tool box, paint you still use (sealed), heavy bulk supplies | Sturdy lidded bin or the item's own sealed container | Monthly |
| Middle shelves | Seasonal clothes, rotating decor, hobby and sports gear | Medium clear lidded bins, one category each | Two to four times a year |
| Hanging rail or wall hooks | Coats, dresses and items that crease or crush | Breathable fabric garment bags | Two to four times a year |
| Bottom shelf or risers | Luggage, heavy bins, spare tiles, anything weighty | Hard-sided bins on risers, never cardboard on concrete | Once or twice a year |
| Back wall and top shelves | Spare bedding, keepsakes (dry rooms only), archive boxes | Large lidded bins, light enough to lift down safely | Once a year or less |
| Walkway | Nothing at all | Clear floor, at least an arm's width wide | Every time you go in |
The last row is my favorite, and the one most people skip. A clear walkway means you can reach every shelf without moving anything else, which is the whole difference between a storage room and a pile.
Storage Choices That Work in a Basement or Box Room
Storage rooms have their own quirks: concrete floors, low light, temperature swings, occasional damp. These choices hold up best:
- Freestanding shelving instead of built-ins. It's renter-friendly, moves with you and lets air circulate around your things. Keep the unit an inch or two away from exterior walls, which can be colder and damper. If a tall unit feels at all wobbly, secure it with an anti-tip strap (ask your landlord first if you rent).
- Clear lidded bins instead of cardboard in damp spaces. Cardboard soaks up moisture, attracts silverfish and collapses when it gets soft. Save cardboard for dry closets upstairs.
- Risers to keep boxes off the floor. Even in a dry basement, concrete floors can wick moisture and the odd small flood happens. Simple plastic pallet risers lift bins a few inches, which is often enough to save them.
- Heavy items low, light ones high. Always. It keeps shelves stable and stops you from lifting something heavy above your head.
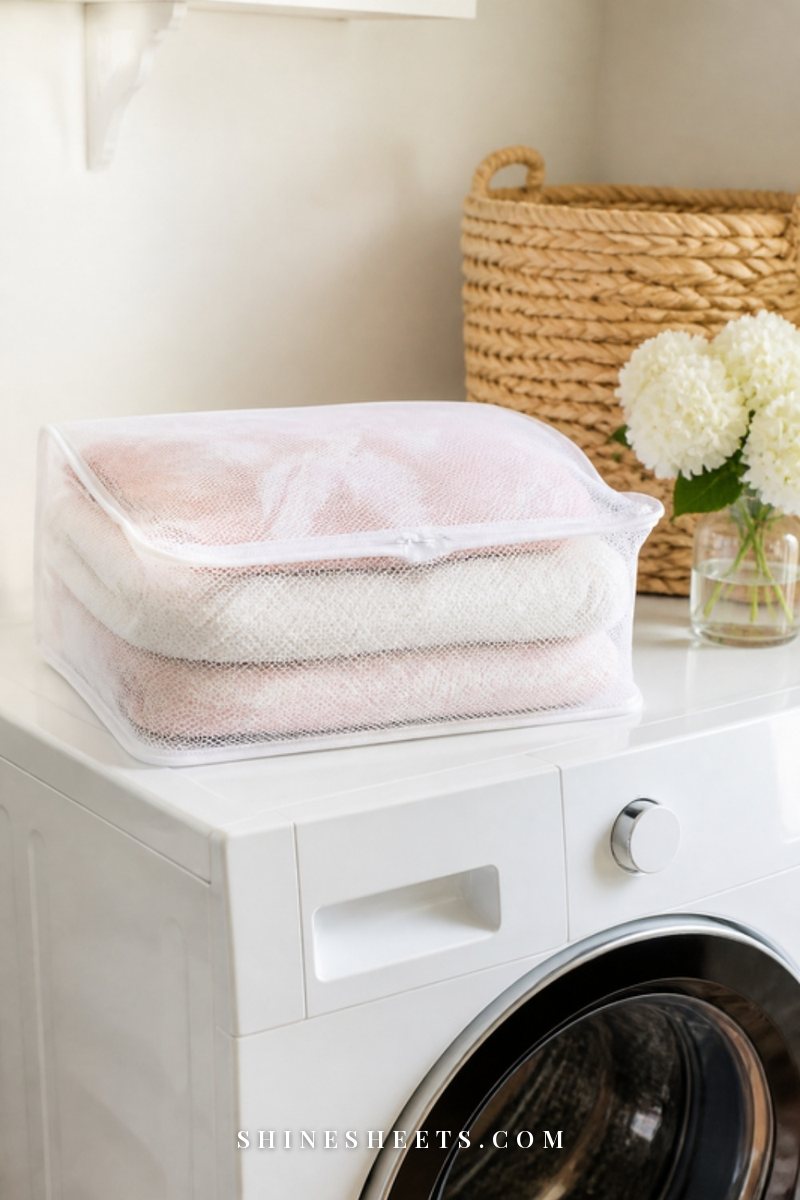
- Breathable bags for clothes. Plastic dry-cleaning covers trap moisture. Zip coats and dresses into cream fabric garment bags instead and hang them on a rail or sturdy hooks.
- A little help with humidity. If the room feels clammy or smells musty even after a leak is fixed, a small dehumidifier can make a big difference. Empty the tank regularly and keep it on a stable, level surface away from boxes.
- A clear walkway. Plan the shelving around a path first, then fill the rest. It's much harder to carve one out later.
What Not To Keep in a Storage Room
Some things simply don't do well in a basement or box room, no matter how nicely they're packed. Before you put the last bin away, move these somewhere better:
- Important papers. Passports, certificates, tax files and anything you'd struggle to replace belong in a dry spot upstairs, ideally in a fire-resistant box or folder.
- Photos and keepsakes, if the room is damp. Prints stick together and fade, letters go spotty and fabrics yellow. Keep them in a closet in the main living space instead.
- Electronics. Old laptops, cameras and cables don't love damp or temperature swings. Store the ones you're keeping in a dry room, and recycle the rest properly.
- Paint, chemicals and cleaners near heat. Keep them away from the furnace, water heater and anything with a pilot light, on a high shelf out of children's reach, with lids sealed tight.
- Decanted cleaning products in food or drink containers. Never pour cleaners into old juice bottles or jars. Keep them in their original, labeled containers so nobody mistakes them for something else.
- Food and pet food. Even sealed, it can attract pests to the whole room.
If you have a separate cupboard for the vacuum, mop and cleaning supplies, my sister post on utility closet organization covers that space in detail.
Small Mistakes That Undo a Storage Room
You can follow every step perfectly and still find things creeping back into chaos. Usually it's one of these:
- Buying containers before sorting. You end up with bins in the wrong sizes and the wrong number. Sort first, measure second, buy third.
- Using the walkway as "temporary" storage. One box in the path becomes five. If it doesn't have a shelf spot, it doesn't go in yet.
- Vague labels. "Stuff" and "Misc" mean you'll open every bin to find one thing. Write what's actually inside.
- Stacking bins too high. More than three bins tall gets wobbly, and the bottom one becomes impossible to reach.
- Forgetting it exists. A storage room you never look at slowly fills with things that should have been donated. That's what the reset below is for.
The Twice-Yearly Storage Room Reset
Twice a year, give your storage room 30 to 60 minutes. A natural time is when you swap your seasonal clothes, because you're going down there anyway. Here's the whole routine:
- Do a damp check (5 minutes). Sniff, look at the corners and peek under a couple of bins.
- Clear the walkway (5 minutes). Anything sitting on the floor either gets a shelf spot or leaves.
- Return strays (10 minutes). Put things back in their zone and category. Check the map is still accurate.
- Pull a donate bag (10 minutes). Open two or three bins and take out anything you skipped using since the last reset.
- Refresh labels (5 minutes). Update any bin whose contents changed.
- Empty the dehumidifier and sweep (5–10 minutes). Then turn the light off and enjoy it.
That's it. No re-doing the whole room, no new system. Just a gentle tidy that keeps everything findable.
Final Thoughts
A good storage room isn't a showroom. It's simply a place where you can walk in, find what you need in under a minute and walk back out again. Check for damp, sort one section at a time, zone by how often you reach for things, and let labels and a little map do the remembering for you.
Start with one shelf this weekend. The rest of the room will follow, one calm session at a time, and you'll wonder why you ever dreaded going down there.