A corner cabinet isn't bad storage. It's storage without a plan. The space is real (it's often the biggest cabinet in the whole kitchen), but it's deep, dark and partly hidden behind the cabinet next to it, so whatever goes in there tends to vanish until you're on your knees with your phone flashlight, fishing for a lid you swear you own.
The good news is that a blind corner doesn't need a remodel to become useful. A few well-chosen pieces, one clear rule about what lives where and about an hour of honest sorting can turn the most annoying cabinet in your home into one that quietly does its job every single day.
This guide to corner cabinet organization walks you through why corner cabinets waste so much space, how to empty and measure yours properly, how to decide what belongs in there, 8 fixes that work in base, upper and under-sink corners, a quick table that matches each corner problem with the right fix, which upgrades need a landlord's okay and the simple rule that keeps it all from sliding back into chaos. Almost everything here is renter-friendly and needs no drilling at all.
If your whole kitchen feels a little crowded, my roundup of pretty kitchen organization ideas for small kitchens pairs nicely with this one. For now, let's open that corner door and be brave.
Why Corner Cabinets Waste So Much Space
Most kitchens have one of two corner shapes. An L-shaped corner has two doors that meet at the corner (often joined with a long hinge), so you can see in from two sides. A blind corner has a single door, and part of the cabinet runs behind the neighboring cabinet where you can't see it at all. Both lose space in the same three ways:
- They're deep. The back can sit two feet or more from the door, so anything you push in becomes a mystery.
- They're dark. No light reaches the back, which is why the same three things get bought twice.
- They're hard to reach. You have to kneel, lean in and lift things out over other things, which means you simply stop doing it.
Every fix in this guide answers one of those problems. It brings the back to the front, it adds light, or it uses height that is currently just empty air. Once you see your corner that way, it stops feeling like a design flaw and starts feeling like a puzzle you can actually solve.
A small honest admission: for a long time I treated corner cabinets as the place things go to be forgotten. It took me a while to understand that the problem was never the amount of space, only the way I was asking that space to work.
Step 1: Empty, Clean and Measure
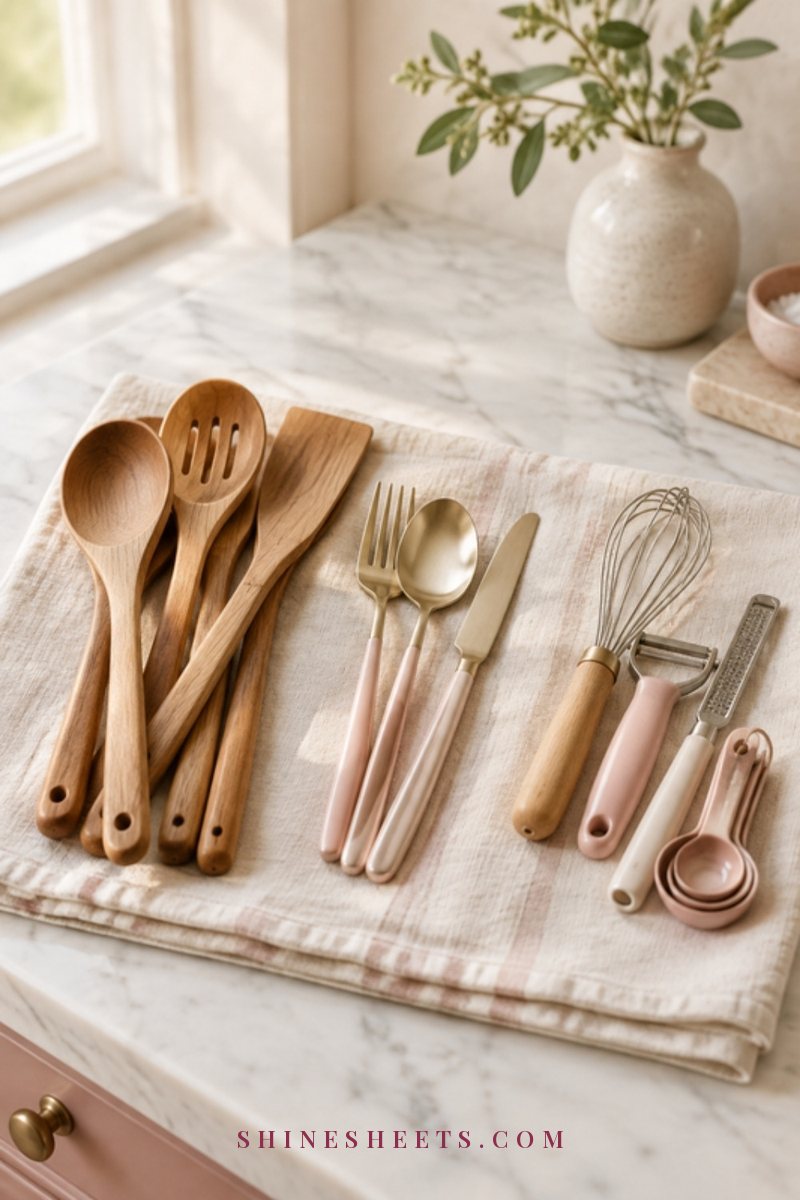
I know it's tempting to buy a turntable first and figure it out later. Please don't. Ten minutes of measuring now saves you a return trip and a very frustrating moment when the new organizer doesn't fit through the door.
Here's the order that works:
- Take everything out. All of it, even the things in the far back. Put a towel on the floor or clear a stretch of counter and group items as they come out: pots, bowls, small appliances, food storage containers, baking pans, cleaning supplies.
- Clean the empty cabinet. Vacuum crumbs with a brush attachment, then wipe the shelves with warm water and a small drop of dish soap on a microfiber cloth. Dry everything well and leave the door open for about 30 minutes so no moisture gets trapped. If the doors or shelf edges feel sticky, my guide on how to clean greasy kitchen cabinets without ruining the finish has gentle methods for each type of surface.
- Check for problems. Look for water marks, soft spots, a musty smell or signs of pests. Under-sink corners especially deserve a careful look at the pipes. Anything that looks like a leak goes to your landlord or a plumber before you organize around it.
- Measure three numbers. Write them in your phone notes and take a photo of the open cabinet while you're at it.
The three measurements that matter most:
- Door opening width. Measure the narrowest point of the opening, including any center post or hinge that sticks in. This is the number people forget, and it decides the largest organizer you can actually get inside.
- Depth. From the inside edge of the door frame to the back wall, on each side if it's an L shape.
- Shelf height. From the shelf floor to the underside of the shelf above (or the top of the cabinet).
A little formula I like: organizer size = your measurement minus half an inch. That small gap gives you room to slide pieces in and out without scraping, and it leaves space for a door that doesn't close perfectly square.
Step 2: Decide What Belongs in the Corner
A corner cabinet is wonderful for some things and terrible for others. The trick is to stop asking "what fits?" and start asking "how often do I reach for this?"
Use this simple sorting formula as you put things back:
- Used every week: the front of the cabinet, or the spot right behind the door.
- Used every month: the middle, on a turntable or in a bin you can pull forward.
- Used a few times a year: the deep back. Think of the big roasting pan, the party platter, the backup paper towels or the spare mixing bowls.
- Not used in a year: a donate box. Be kind to yourself here, but be honest.
A few things rarely belong in a corner at all: heavy items you use every day (your back will thank you for keeping them somewhere easier), anything fragile you have to lift over other things, and food that can expire unseen. If something only fits in the corner because the rest of your kitchen is overflowing, that's a sign to edit a little before you organize.
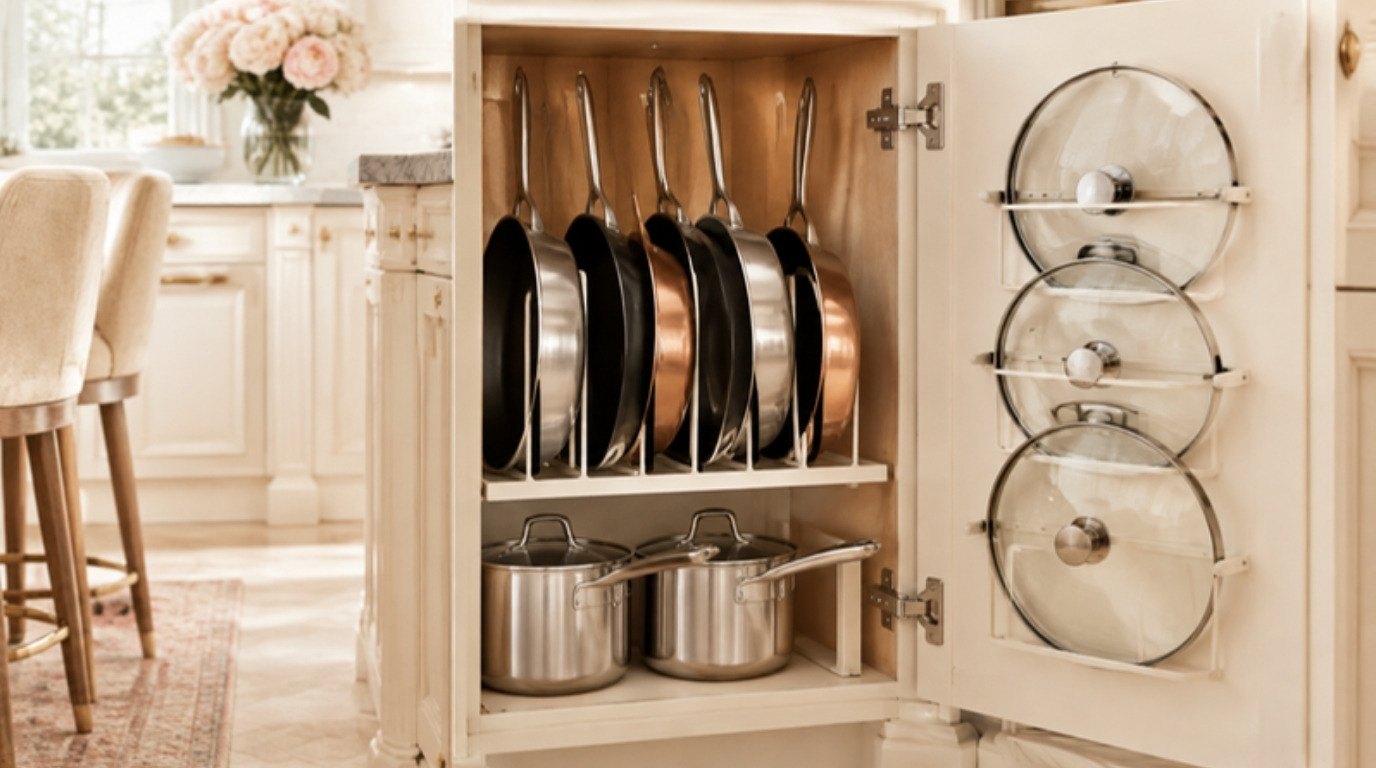
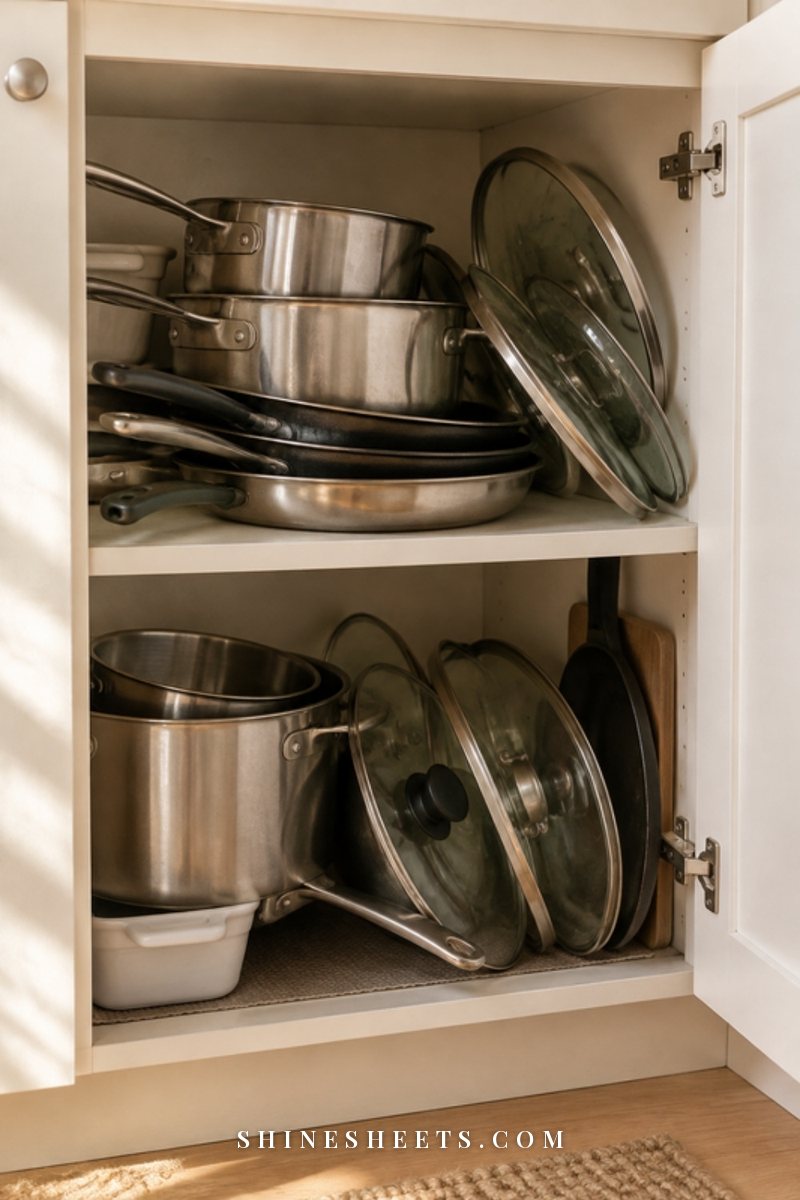
Good corner candidates include pots and pans with their lids, mixing bowls that nest, small appliances you use weekly but not daily, baking sheets stored on their side and food storage containers. If pans are the main resident of your corner, my guide on how to organize pots and pans in a small cabinet, lids too goes much deeper on stacking and lid storage.
8 Corner Cabinet Fixes That Actually Work
You don't need all eight. Most corners work beautifully with two or three of these combined. Read through, think about which of the three problems (deep, dark, hard to reach) bothers you most and start there.
1. A Lazy Susan or Turntable
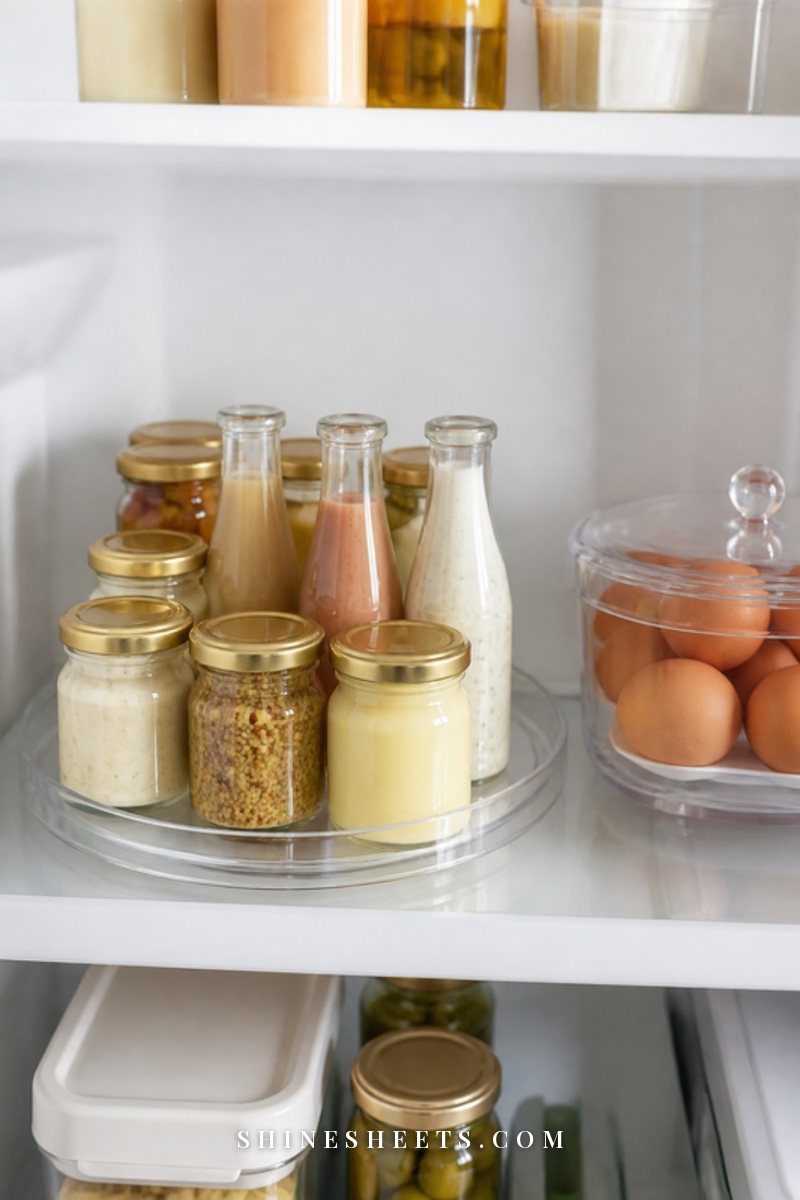
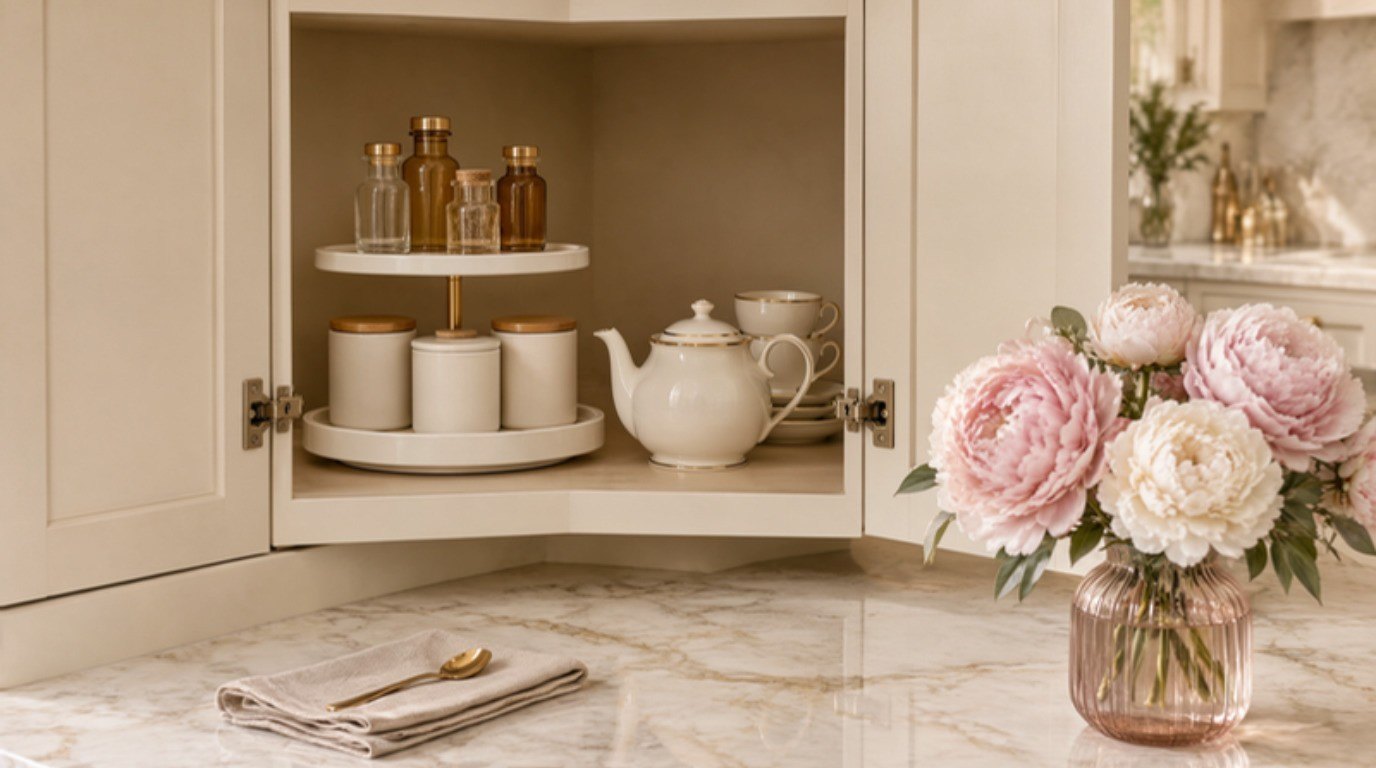
A turntable is the classic corner fix for a reason: it brings the back to the front with one spin. Instead of reaching, you rotate. It works especially well for oils, vinegars, sauces, canned goods and small jars that would otherwise hide behind each other.
For upper corners and pantry shelves, a two-tier white turntable doubles the usable surface in the same footprint. For base cabinets, look for a single large turntable (around 16 to 18 inches across, if your door opening allows it) with a raised lip so things don't slide off mid-spin.
How to make it work well:
- Check the turntable's diameter against your door opening, not just the inside of the cabinet.
- Put heavier items toward the center so it spins smoothly and doesn't tip.
- Group by category on each turntable (all oils on one, all baking extras on another) so you know exactly where to spin to.
- Wipe it once a month. Turntables collect drips, and a sticky one stops spinning.
2. A Pull-Out Bin With a Handle
This is the simplest possible way to reach the blind back of a cabinet. Put the things you rarely use into a sturdy bin with a front handle, slide it all the way to the back, and when you need something, you pull out the whole bin instead of kneeling and reaching. It behaves like a drawer without any installation.
I'd choose cream lidded bins with handles for the deep back, because the lids let you stack and keep dust off things you only touch a few times a year. Look for a rigid bottom (soft fabric bins sag under weight) and a handle you can easily grip.
- One bin, one category: "picnic and party," "spare baking pans," "backup sponges and cloths."
- Measure the depth so the bin reaches about two thirds of the way back. Any deeper and you'll struggle to pull it past the door frame.
- Keep each bin under a weight you can lift comfortably from a crouch.
3. A Stackable Shelf Riser
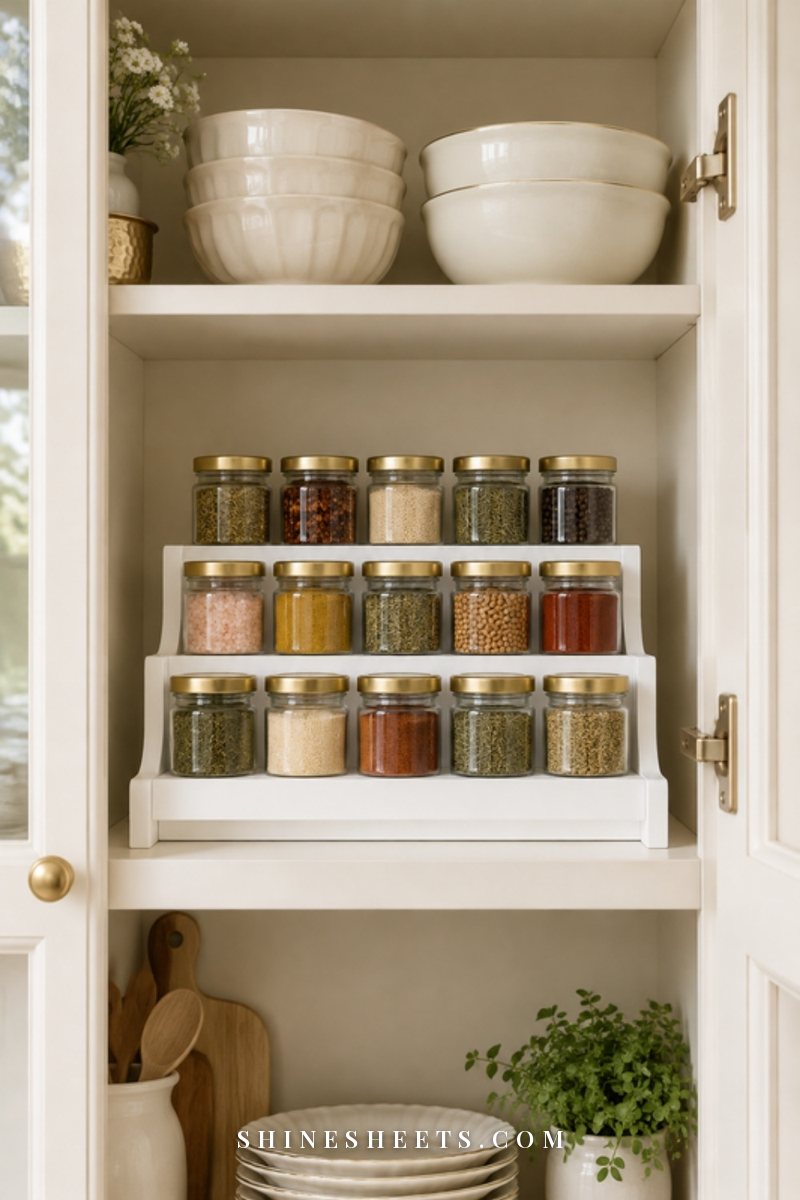
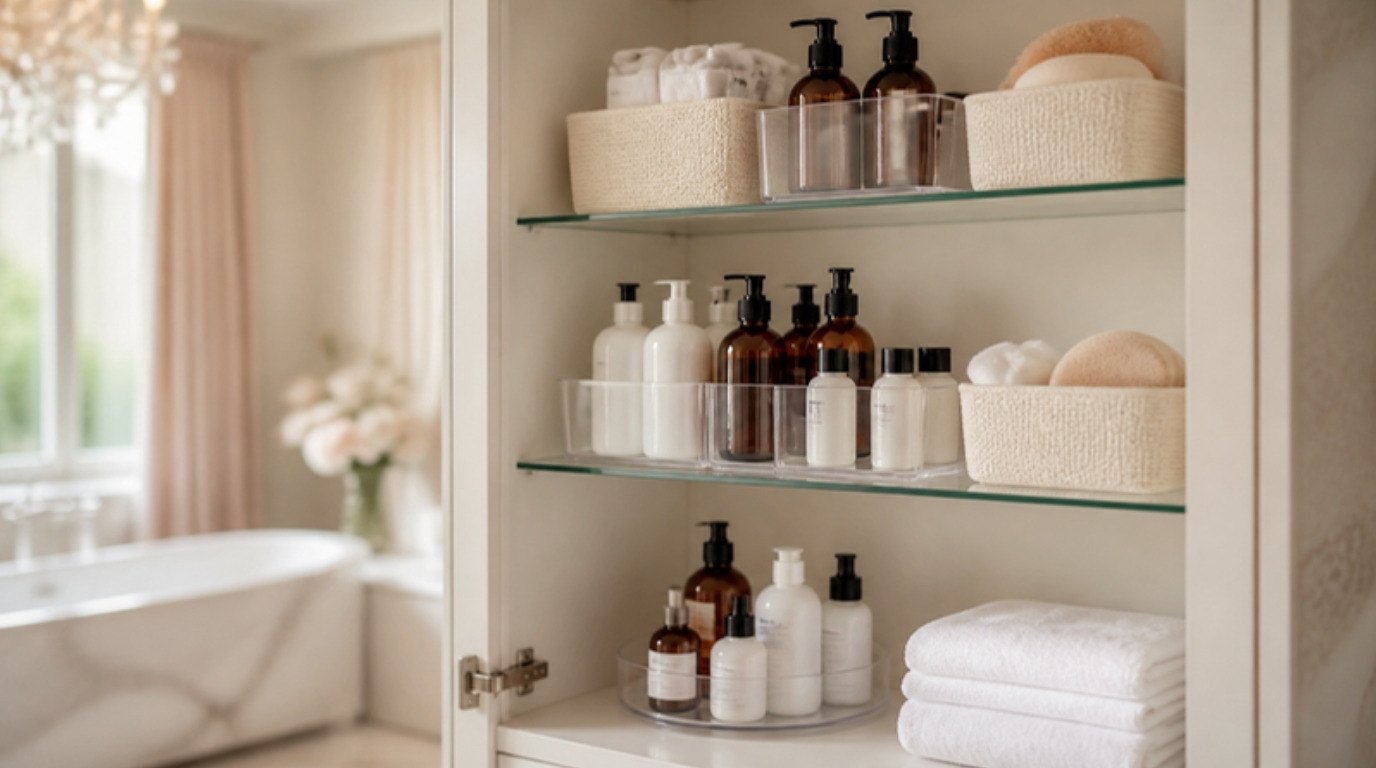
Most corner cabinets have a lot of empty air between the top of your things and the shelf above. A riser turns that air into a second level. Plates go under, mugs or small bowls go on top, and suddenly one shelf holds twice as much without anything being buried.
A stackable white shelf riser works well in upper corners, and you can place two side by side to fill an L-shaped shelf. Look for sturdy legs and a top that won't bow under a stack of plates.
Height check before you buy: measure your tallest item for the bottom level, add about two inches of clearance and make sure the riser plus whatever goes on top still fits under the shelf above.
4. A Sliding Basket Drawer
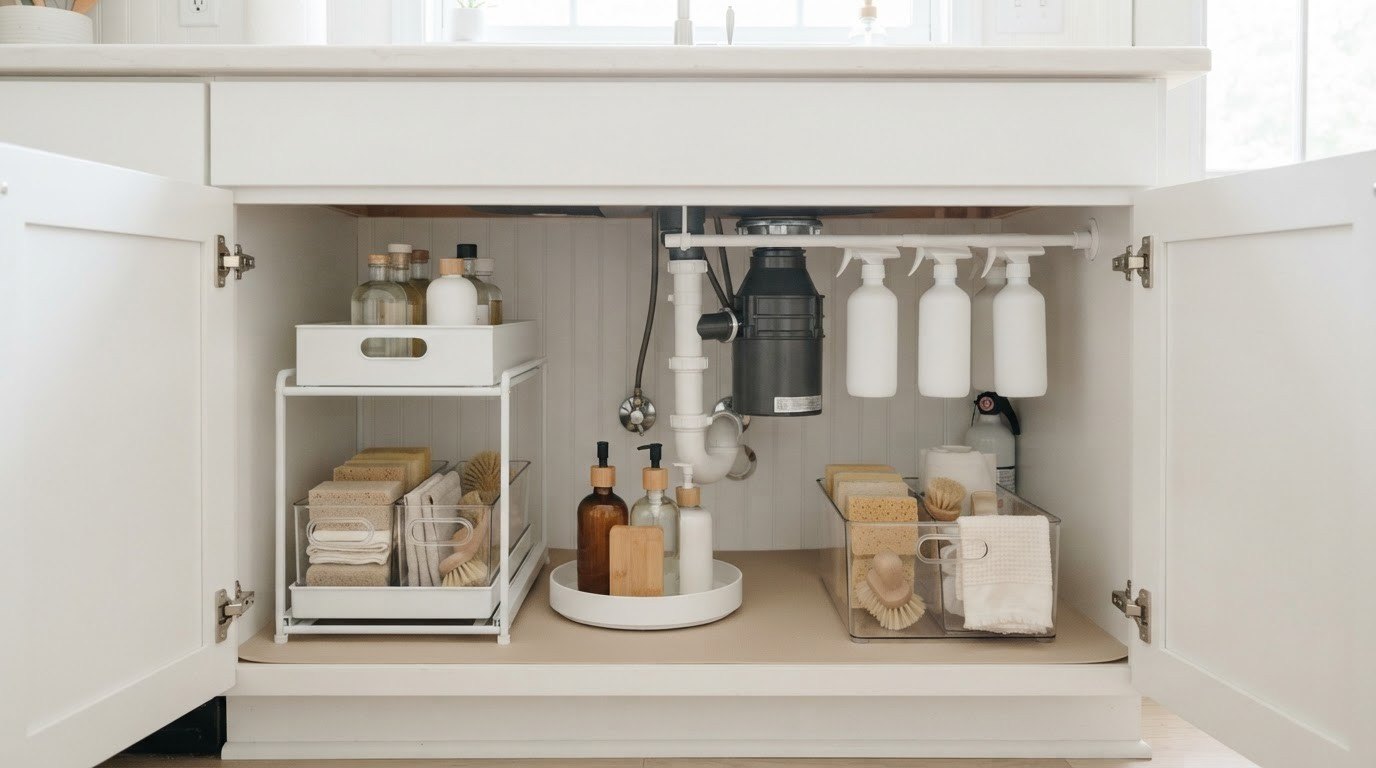
A sliding basket sits on its own frame with a rail, so the basket glides out like a drawer while the frame stays put. Many freestanding versions simply sit on the cabinet floor with no screws, which makes them a lovely renter-friendly option for base corners and under-sink spaces.
A white sliding basket organizer is a pick for the front section of a blind corner, where you want your everyday items within reach. Pair it with a pull-out bin behind it for the rarely used things and you've solved both halves of the cabinet.
- Measure the depth of the frame, not just the basket, because the frame is what has to fit.
- Check that the basket can fully extend before it hits a hinge or the cabinet next door.
- Two narrow sliding baskets side by side often work better than one wide one around pipes or a center post.
5. Clear Labeled Bins
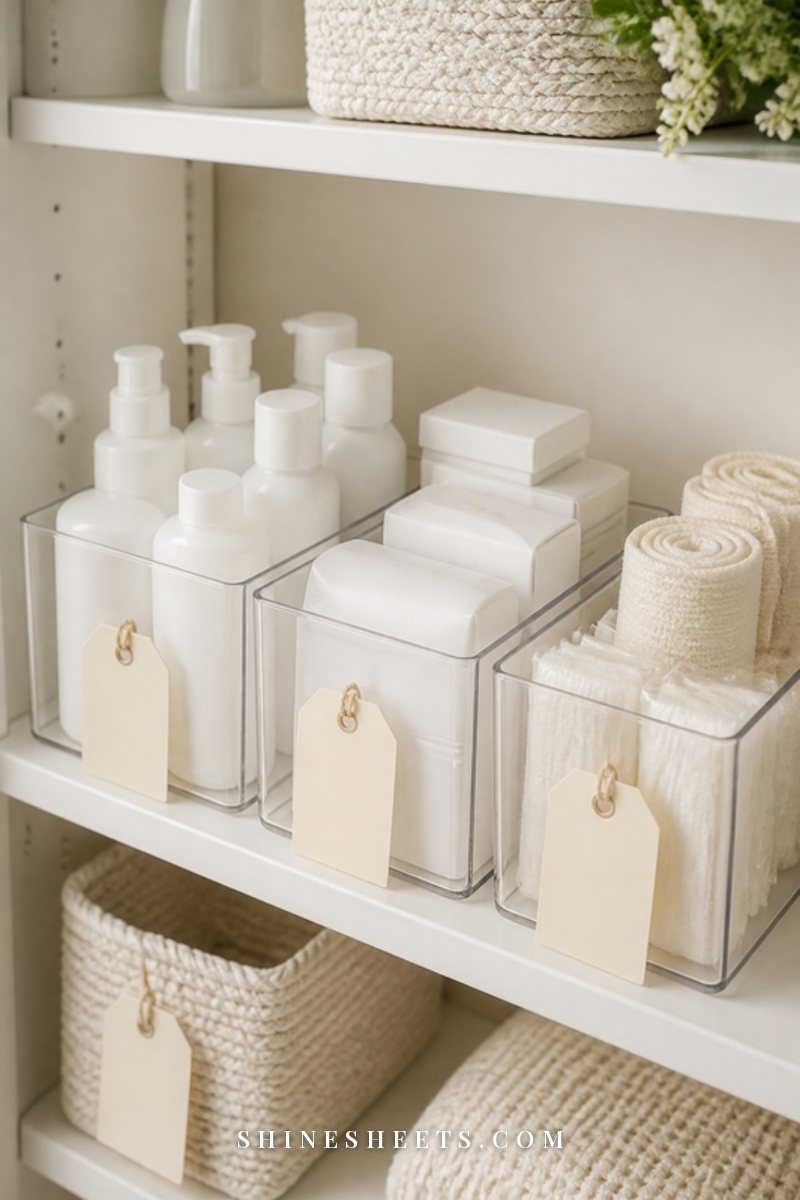
Clear bins solve the "dark" problem without any electricity. You can see what's inside at a glance, which means fewer duplicate purchases and less digging. They're especially helpful for snacks, baking extras, tea and coffee basics or cleaning supplies.
Look for clear bins with front handles, so each one also works as a mini pull-out. Then label the front edge, not the lid, because the front is what you see when you open the door. A label maker gives a neat look, but a simple piece of washi tape and a pen works too.
A labeling tip that makes a real difference: name the category, not the item. "Baking extras" stays true even when you swap one thing for another. "Sprinkles" is wrong the day they run out.
6. A Tension Rod for Lids or Trays
This is the humble fix nobody thinks of. Two or three spring tension rods placed vertically (between the cabinet floor and the shelf above) or horizontally (wall to wall, a few inches apart) create instant dividers. Baking sheets, cutting boards, cooling racks, muffin tins and lids stand on their edge instead of lying in a slippery pile.
- Measure the gap and buy rods that adjust a little above and below that number.
- Twist them firmly and test with one heavy tray before loading.
- Place the most-used tray at the front of the row.
- In an under-sink corner, a horizontal rod near the top holds spray bottles by their triggers, which frees the floor for a basket.
Spring rods leave no marks when removed gently, which makes them one of the most renter-friendly ideas in this whole list.
7. A Battery Tap Light Inside
Sometimes the corner isn't too full. It's just too dark to use. A small light at the top of the cabinet changes everything, and it feels a little luxurious every time you open the door.
Rechargeable tap lights are a pick for most cabinets: they attach with adhesive or a magnetic base and switch on with a press, and many have a motion sensor that lights up the moment the door opens. Rechargeable ones save you from a drawer full of tiny batteries.
- Place the light near the front top edge, pointing back, so it lights the contents instead of your eyes.
- Choose a warm white light for a softer look.
- Keep lights and charging ports away from the sink and any water splashes, and recharge outside the cabinet.
8. A Door-Mounted Organizer
The inside of the cabinet door is the most overlooked surface in a corner cabinet. A slim rack there can hold foil and wrap, pot lids, a cutting board or cleaning cloths, which frees up shelf space for bigger things.
An over-the-door cabinet organizer that hooks over the top of the door needs no drilling. Before you buy, open and close the door slowly with a ruler held against the inside to see how much clearance you really have. Shelves and turntables inside can collide with a door rack, and a door that won't close is a frustrating surprise.
Keep door organizers for lightweight items only, so the hinges stay happy for years.
Corner Cabinet Fixes at a Glance
Screenshot this table before you shop. It matches each corner problem with the fix that solves it and tells you at a glance whether it's renter-friendly.
| Corner problem | Fix | Best for | Renter-friendly? |
|---|---|---|---|
| Can't reach the back | Lazy Susan or turntable | Oils, cans, jars, sauces | Yes |
| Blind back is wasted | Pull-out bin with a handle | Rarely used items, backups | Yes |
| Empty air above items | Stackable shelf riser | Plates, mugs, small bowls | Yes |
| Kneeling to reach everyday items | Sliding basket drawer | Base and under-sink corners | Yes (freestanding) |
| Can't see what's inside | Clear labeled bins | Snacks, baking extras, cleaners | Yes |
| Trays and lids slide into a pile | Tension rods as dividers | Baking sheets, boards, lids | Yes |
| Too dark to use | Battery tap light | Any deep corner | Yes (adhesive or magnetic) |
| No room left on shelves | Door-mounted organizer | Wrap, lids, cloths | Yes (hook-over style) |
| Whole corner needs to swing out | Built-in blind corner pull-out | Base corners with heavy pans | No, ask first |
If you only pick two, I'd start with a turntable for the front and a pull-out bin for the back. That pair alone fixes the reach problem in most corners.
Corner Cabinet Ideas by Zone
The same fixes work differently depending on where the corner is. Here's how I'd approach each one.
Base Corner Cabinets
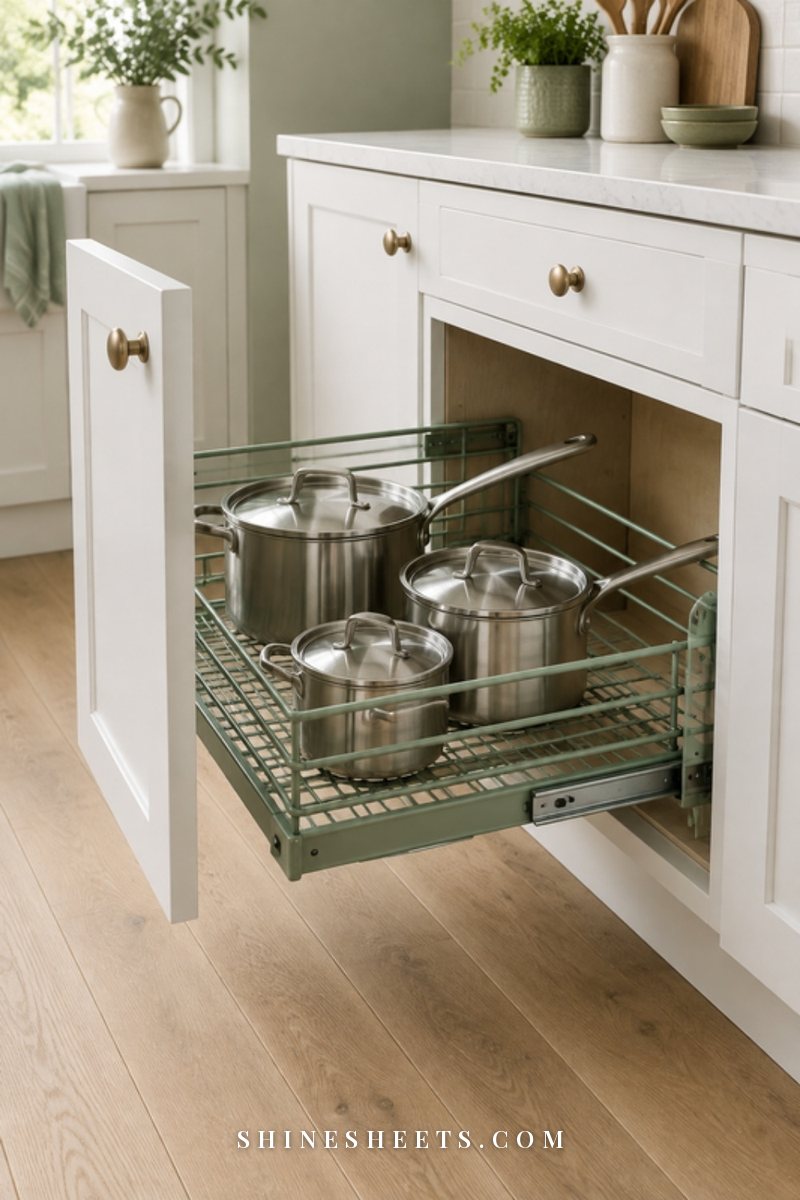
Base corners are the biggest and the hardest to reach, so they deserve your sturdiest pieces. Keep heavy things low and at the front, where you can slide them out without lifting.
- Front: a sliding basket or a large turntable for everyday pots, a nested set of mixing bowls or the small appliance you use every week.
- Back: one or two pull-out bins for the roasting pan, large serving bowls or backup paper goods.
- Side wall: tension rods for baking sheets and cutting boards stored on edge.
- Floor: a washable shelf liner, so crumbs and drips are easy to deal with.
A quick comfort tip: if you have to kneel, keep a folded kitchen towel nearby to kneel on. It sounds tiny, but it makes reaching into the corner so much less of a chore.
Upper Corner Cabinets
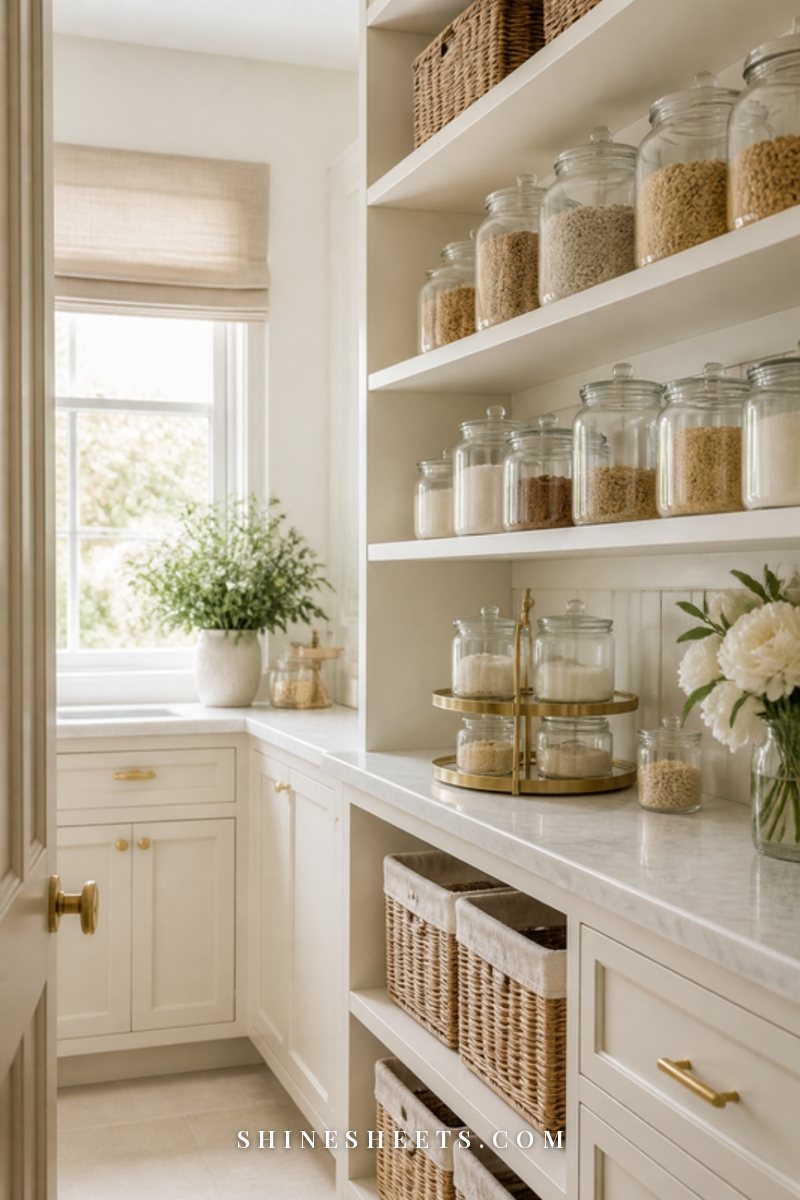
Upper corners are smaller and higher, which makes them perfect for lightweight things you want to see clearly. This is a lovely spot for a little tea corner, spices, baking extras or the mugs and glasses that don't fit in your main cupboard.
- A two-tier turntable for spices, tea tins or small bottles.
- A riser for mugs on top and small plates below.
- Clear bins for snack packs or baking extras, labeled on the front.
- Rarely used glassware or a spare tea set in the deep back corner.
Keep anything heavy out of upper corners entirely. Reaching up and back while holding a heavy dish is how things slip. A sturdy step stool that you can tuck beside the fridge makes the top shelf usable without any wobbly balancing.
Under-Sink Corner Cabinets
Some kitchens and bathrooms have a sink tucked into the corner, which means pipes, a garbage disposal or a water filter take up the middle of the cabinet. The trick here is to work around the plumbing rather than fight it.
- Two narrow sliding baskets, one on each side of the pipes, instead of one wide organizer.
- A tension rod across the top for spray bottles hung by their triggers.
- A small caddy for the cleaning supplies you use most, so you can lift it out and carry it where you need it.
- A waterproof tray or washable liner on the floor to catch drips and show you early if something leaks.
A few kind safety notes for this zone: keep cleaners in their original containers, never mix bleach with vinegar or ammonia (the fumes are dangerous) and add a simple child lock if little ones ever visit. For more layouts that work around pipes, my guide to under-sink organization for kitchens and bathrooms has ideas for every shape of cabinet.
Upgrades That Need a Landlord's Okay (and Ones That Don't)
If you rent, the question isn't only "will this help?" but also "will I get my deposit back?" Here's a simple way to sort it.
No permission needed (usually):
- Freestanding turntables, bins, risers and sliding baskets that simply sit on the shelf.
- Spring tension rods.
- Hook-over door organizers.
- Magnetic or removable adhesive lights.
- Removable shelf liners.
Ask first:
- Anything screwed into the cabinet box, floor or door, including built-in blind corner pull-outs and swing-out units.
- Removing a shelf, a center post or a door.
- Hardwired under-cabinet or in-cabinet lighting.
- Changing the hinges or the door style.
A short script you can borrow when you do ask: "Hi, I'd like to install a pull-out organizer in the corner kitchen cabinet. It attaches with four small screws, and I'm happy to leave it in place or fill the holes when I move out. Is that okay with you?" Clear, friendly and specific usually gets a yes.
With removable adhesive, test it on a hidden spot first and peel it off slowly, pulling the strip straight down rather than out, so you don't lift the cabinet finish. If you're looking for more ways to make a rental kitchen feel like yours, my list of renter-friendly kitchen upgrades that look custom is full of ideas.
How To Keep Your Corner Cabinet Organized
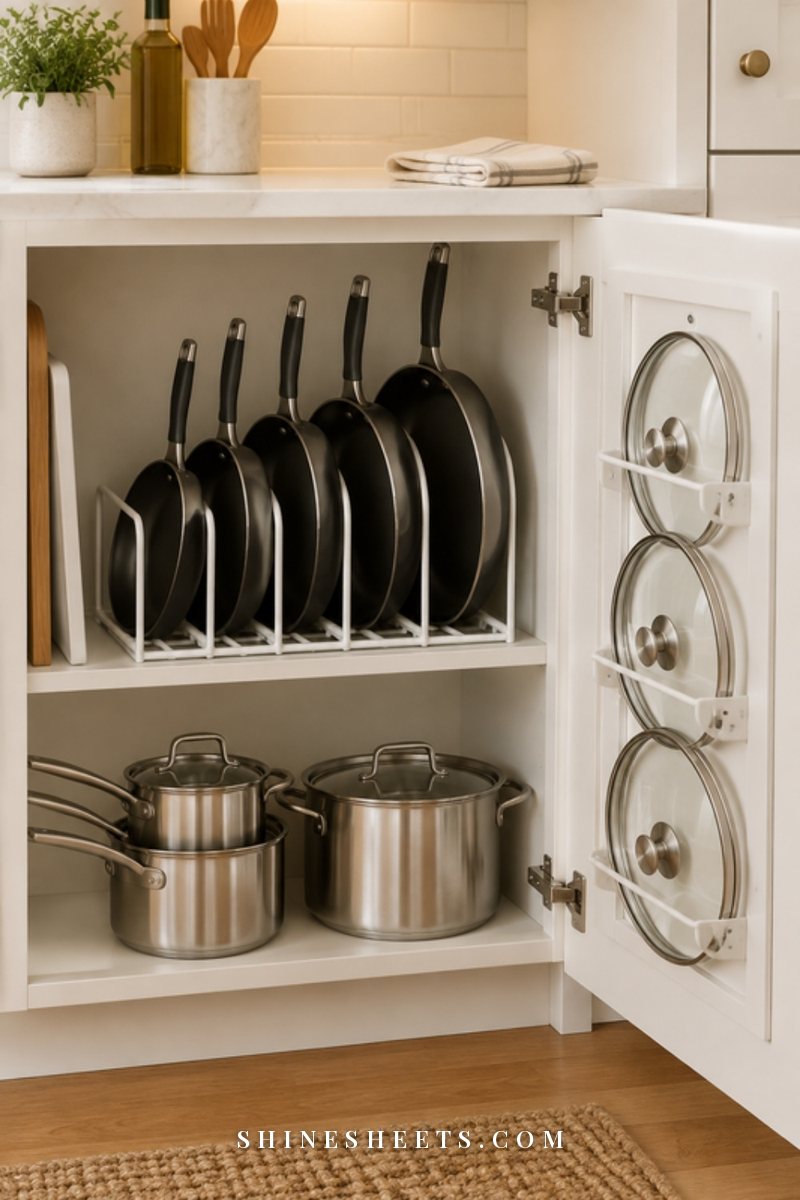
The hardest part isn't setting up the corner. It's keeping it that way once real life starts tossing things in. Two simple habits do most of the work.
The front-to-back rule. What you use comes forward. What you don't use goes back. And nothing lives behind something it has to be lifted over. If you catch yourself lifting a pan to reach another pan, one of them is in the wrong spot.
The twice-yearly check. Pick two dates about six months apart and put them in your phone. Then give the corner 15 minutes:
- Pull every bin and basket forward.
- Wipe the shelves, turntables and the floor of the cabinet.
- Check dates on any food and anything that has crept in from the pantry.
- Look under the sink for drips or damp spots.
- Move anything you used a lot to the front and anything you never touched into the donate box.
One more gentle habit: when something new comes into the kitchen, something similar goes out. It keeps small spaces from slowly filling up again, and it means your carefully chosen organizers keep fitting what they were bought for.
And please give yourself grace on busy weeks. A corner that's a bit messy for a few days is still a corner with a system. Five minutes of putting things back where they belong is all it takes to reset.
Final Thoughts
Corner cabinets have a reputation for being the black hole of the kitchen, but they're really just big, quiet spaces waiting for a little structure. Measure first, decide what truly belongs there, bring the back to the front and add light where it's dark.
You don't need a remodel or a perfect kitchen to make it work. A turntable, a bin with a handle and one simple rule can turn the cabinet you used to avoid into one you open without a sigh, and that small daily ease is worth so much.