Salt stains are easiest to remove while they're fresh. That chalky white line on your boots and the gritty haze by the front door both come from the same road salt, and the longer it sits, the more it dries out leather, roughens suede and dulls your floors. A two-minute wipe tonight saves a lot of scrubbing (and a lot of heartbreak over a favorite pair) later.
The good news is that you don't need anything fancy. Most salt stains lift with warm water, a soft cloth and a little patience, and a few materials need a gentler touch. Once you know which method suits which surface, winter boots and entryways become a lot less stressful.
This guide shows you how to remove salt stains from leather boots, suede, fabric and sneakers, hardwood, tile, stone, carpet and entry mats, with a simple material-by-material table, the right way to dry wet boots, and the small habits that keep salt from coming back all season.
Why Road Salt Leaves White Marks
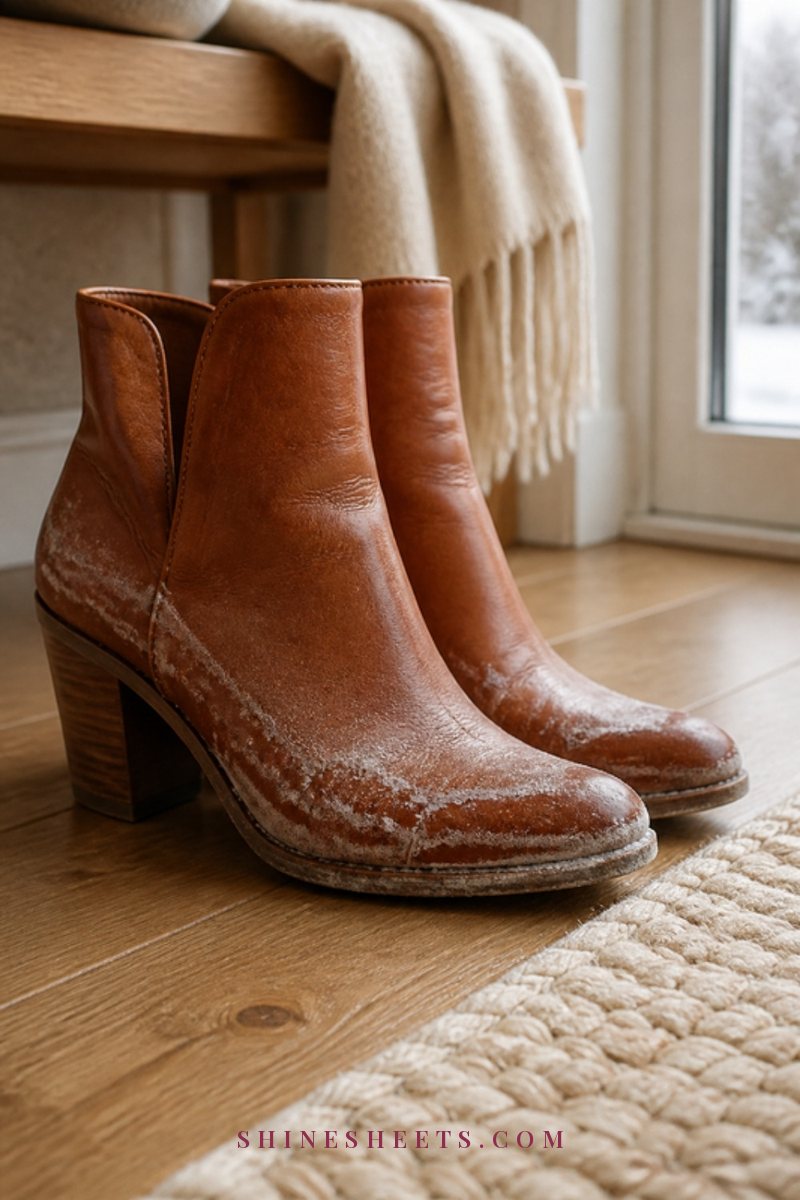
Road salt (usually sodium chloride or calcium chloride) dissolves in melting snow and soaks into whatever it touches. When the water evaporates, the salt crystals stay behind as that familiar white tide line.
Those crystals are more than a cosmetic issue:
- On leather, salt pulls out natural oils, which leaves the material stiff, dry and prone to cracking.
- On suede, it hardens and flattens the soft nap.
- On floors, salt crystals act like fine sandpaper underfoot, and the residue can leave a dull, cloudy film on the finish.
- On carpet and mats, salt attracts moisture and dirt, so the area always looks a little grubby.
That's why the goal is always the same: dissolve the salt, lift it away, then restore what it dried out.
Before You Start: Test First and Gather Your Tools
Every method below should be tested on a hidden spot first (the inside of a boot shaft, under a heel tab, a corner of the rug behind the sofa, a floorboard inside a closet). Wait until it's fully dry and check for color change or water marks before you do the whole surface. Always check the care label or the manufacturer's instructions too, because some finishes have their own rules.
For most salt stains, this is all you need:
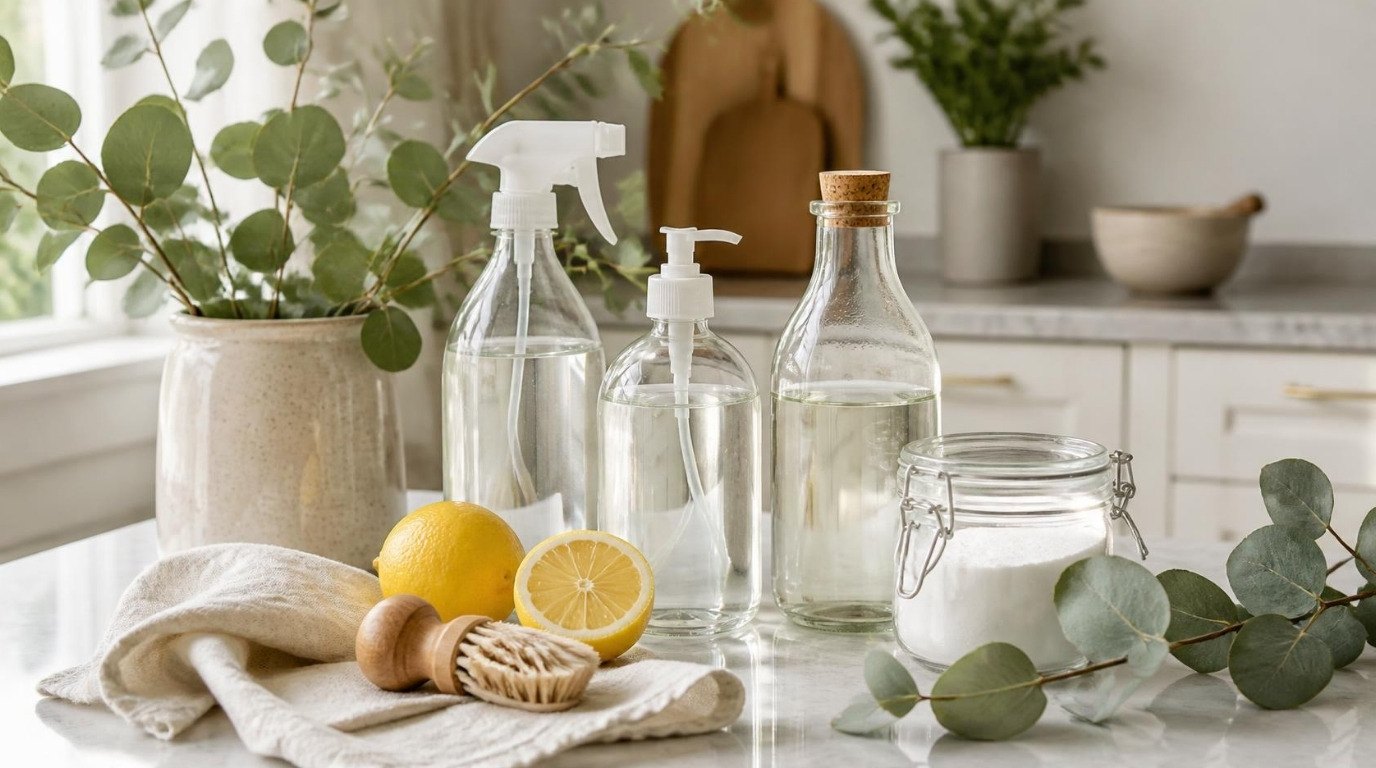
- Two or three soft, clean cloths (a pack of microfiber cleaning cloths is ideal because they lift residue without scratching)
- A small bowl of lukewarm water
- Plain white vinegar for the leather and suede methods
- A drop of mild dish soap for fabric, tile and carpet
- A suede brush and eraser if you own suede
- Leather conditioner for afterward
Salt Stain Removal at a Glance
Here's the whole guide in one table. Screenshot it and keep it on your phone for the next slushy week.
| Material | Method | Avoid |
|---|---|---|
| Smooth leather boots | Equal parts white vinegar and water on a cloth, wipe, rinse with a damp cloth, air dry, then condition | Soaking, direct heat, harsh detergents |
| Suede and nubuck | Let dry fully, brush, use a suede eraser, dab lightly with a vinegar-dampened cloth if needed, dry, brush again | Wet scrubbing, regular soap, hair dryers |
| Fabric, canvas, knit sneakers | Warm water with a drop of dish soap, blot, rinse-blot, air dry; machine wash only if the label allows | Hot dryer, bleach on colors |
| Rubber and synthetic boots | Wipe with warm soapy water, rinse, dry | Solvent cleaners |
| Hardwood floors | Sweep or vacuum first, then a barely damp microfiber mop with a pH-neutral wood floor cleaner, dry right away | Puddles, steam mops, vinegar unless your floor maker approves it |
| Ceramic and porcelain tile | Warm water with a little dish soap, or diluted vinegar, then a clean-water rinse | Leaving residue in grout |
| Natural stone (marble, travertine) | pH-neutral stone cleaner and warm water only | Vinegar, lemon, any acid |
| Carpet and rugs | Vacuum when dry, blot with warm water (plus a drop of dish soap), rinse-blot, dry | Rubbing, over-wetting |
| Entry mats | Shake or vacuum, rinse or wash per label, dry fully | Rolling them up while damp |
How To Remove Salt Stains From Leather Boots
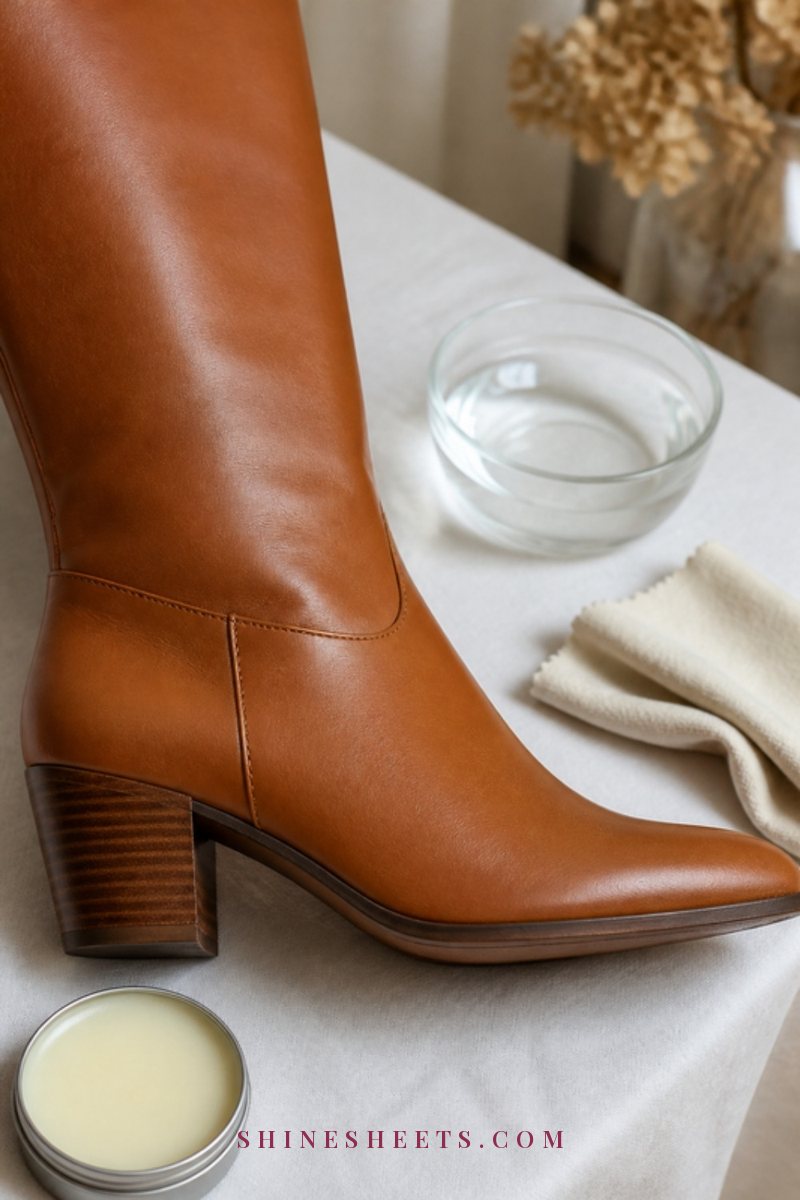
Smooth leather is the most forgiving material on this list, as long as you're gentle and patient with drying. Here's the routine:
- Brush off loose dirt. Use a soft brush or dry cloth to remove grit so you don't rub it into the leather.
- Mix your solution. Combine equal parts white vinegar and lukewarm water in a small bowl.
- Wipe, don't soak. Dip a soft cloth, wring it out well and wipe the salt line in small circles. You'll see the white marks fade as the salt dissolves.
- Rinse. Go over the same area with a second cloth dampened with plain water to remove any vinegar.
- Dry naturally. Stuff the boots with paper towels or a dry cloth to hold their shape and let them dry at room temperature for about 24 hours.
- Condition. Once completely dry, massage a small amount of leather conditioner into the whole boot with a soft cloth, let it absorb, then buff.
If the line comes back as the leather dries, repeat steps two to five. Stubborn, old stains sometimes need two or three gentle rounds rather than one hard scrub.
Conditioning is the step people skip, and it's the one that keeps leather soft and less likely to crack. A simple leather conditioner for boots (choose a neutral or colorless one, and test it on the inside of the shaft first, because some darken lighter leathers) is all you need.
How To Remove Salt Stains From Suede Boots

Suede needs a lighter touch, because too much water can leave its own mark. Work slowly:
- Let them dry completely. Never treat wet suede. Stuff the boots and wait a full day.
- Brush. Use a suede brush in one direction to loosen the dried salt and lift the nap.
- Erase. Rub a suede eraser over the white marks with light pressure, like erasing pencil.
- Dab if needed. For marks that remain, lightly dampen a cloth with a little white vinegar (wring it until it's barely damp) and dab, don't rub, along the stain. Blend the edges outward so there's no sharp line.
- Dry and brush again. Let the suede dry naturally, then brush once more to restore the soft texture.
A suede brush and eraser kit is worth having if you own even one suede pair. It handles salt, scuffs and flattened spots in a couple of minutes. If a precious pair is badly marked, a shoe repair shop can do a professional clean.
Fabric, Canvas and Sneakers

Canvas, knit sneakers and fabric boots handle a little more moisture:
- Brush off dry salt and dirt.
- Mix lukewarm water with a single drop of mild dish soap.
- Dip a soft brush or cloth, then gently work it over the stain.
- Blot with a clean, damp cloth to rinse, then blot dry with a towel.
- Stuff with paper and let them air dry away from heaters.
If the care label says the shoes are machine washable, pop them in a mesh bag on a gentle, cool cycle and air dry them. Wool coat hems and scarves with salt splash can be gently blotted with cool water, too; for anything delicate, my guide on how to care for cashmere covers the softer approach.
How To Remove Salt Stains From Hardwood Floors
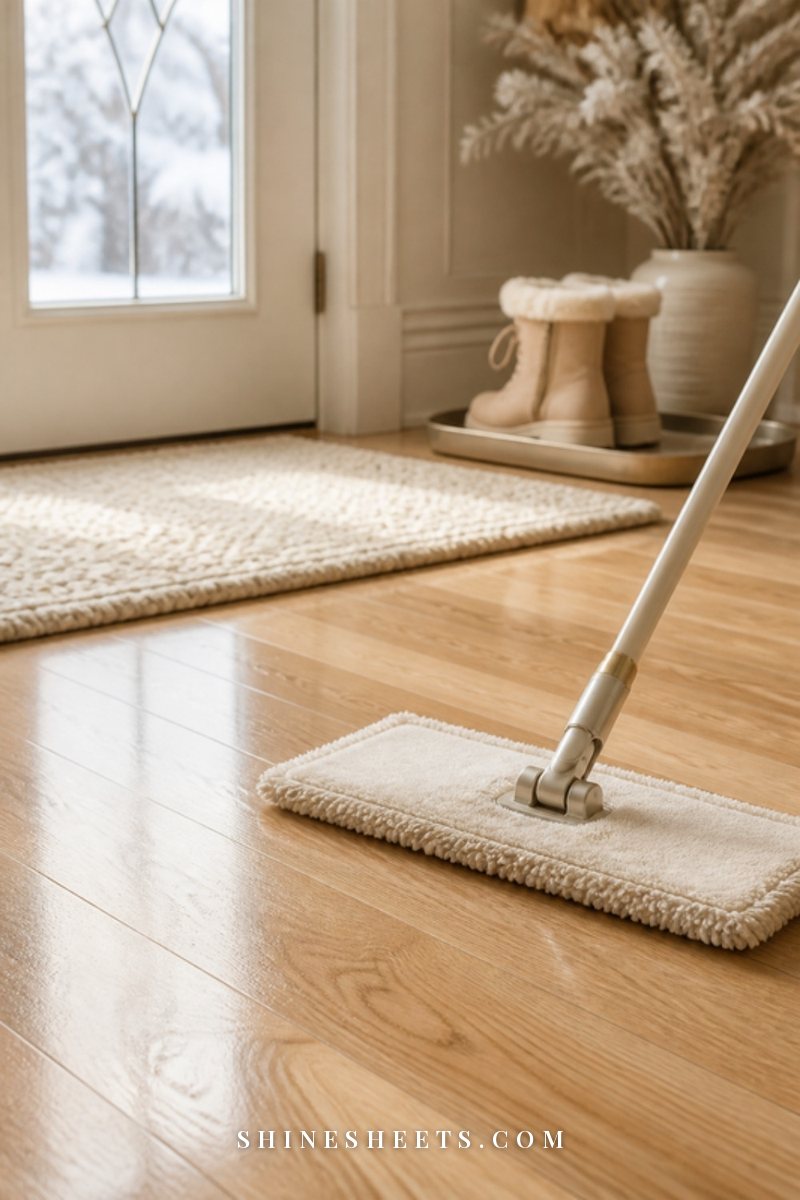
Hardwood is where salt causes the most quiet damage, because the crystals scratch the finish each time someone walks over them. Act soon and keep the water to a minimum:
- Remove the grit first. Sweep with a soft broom or vacuum using the hard-floor setting (no beater bar) so you don't drag salt crystals across the boards.
- Mop with barely damp microfiber. Use a pH-neutral hardwood floor cleaner mixed or sprayed as the label says. The mop should feel almost dry, never dripping.
- Work in small sections and wipe each one dry with a clean cloth right away.
- Repeat for white film. If a cloudy haze remains, do a second pass with fresh cleaner and a clean mop pad.
Many hardwood manufacturers advise against vinegar, steam mops and any standing water, so check your floor maker's care guide before trying anything stronger. If the finish looks permanently dull after cleaning, it may need a professional refresh coat rather than more scrubbing. The sister guide on how to clean hardwood floors has the full everyday routine.
Tile, Stone and Vinyl Floors
Ceramic and porcelain tile are tough. Mop with warm water and a little dish soap, or a mix of one part white vinegar to about eight parts water, then go over the floor with clean water so there's no residue left in the grout. Dry with a microfiber cloth to avoid new water spots.
Natural stone (marble, travertine, limestone) is different. Acids like vinegar and lemon can etch it permanently, so use only warm water and a pH-neutral stone cleaner.
Vinyl and laminate do well with a damp microfiber mop and a cleaner made for those floors. Like hardwood, they don't like puddles, so keep it light and dry as you go. And if you want gentle everyday cleaning ideas for the rest of the house, my natural cleaning guide has plenty.
Carpet, Rugs and Entry Mats

Salt on carpet looks like a white, stiff crust once it dries. To remove it:
- Let the area dry, then vacuum slowly in a few directions to pull up loose crystals.
- Mix warm water with a drop of dish soap.
- Dampen a clean cloth and blot (never rub) the stain from the outside in.
- Blot again with a cloth dampened with plain water to rinse.
- Press a dry towel firmly over the area to absorb moisture, then let it air dry and vacuum once more.
For wool or delicate rugs, follow the rug maker's instructions and test on a hidden corner first. Entry mats are simpler: shake them outside, vacuum, then hose down or wash them according to the label and let them dry fully before putting them back.
How To Dry Wet Boots the Right Way
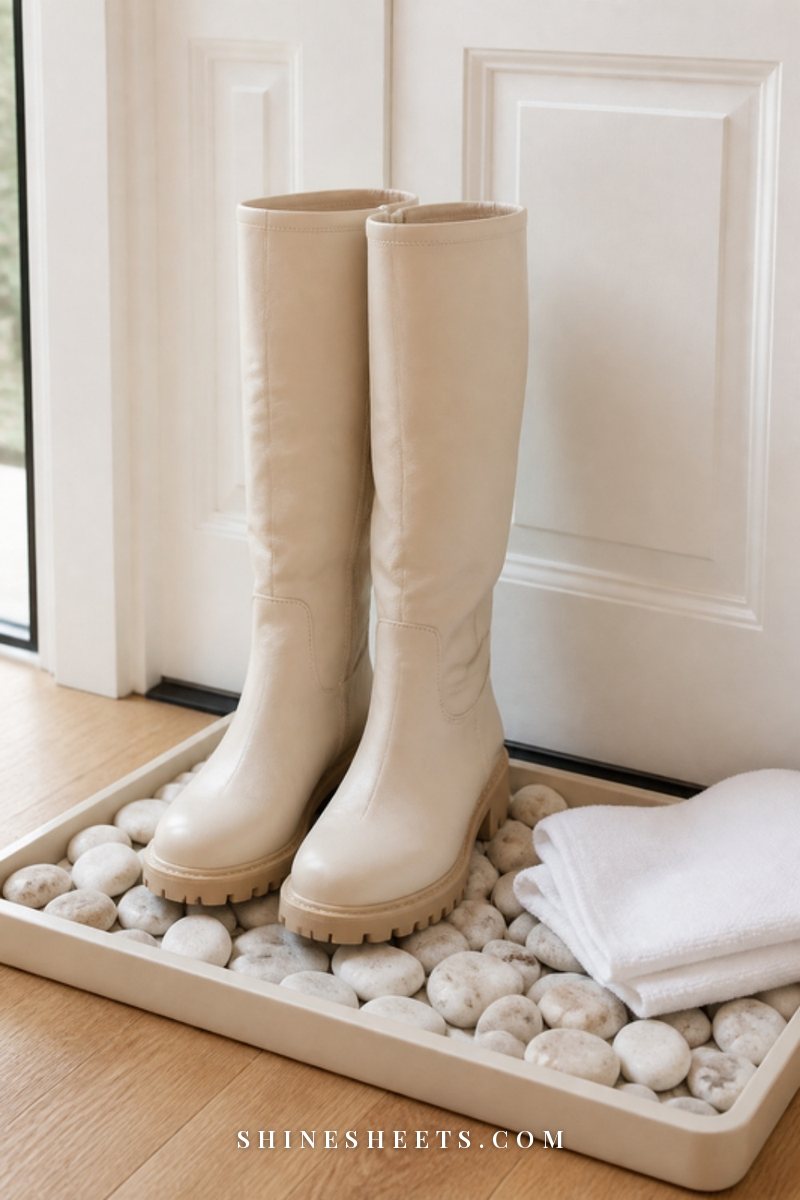
How you dry your boots matters as much as how you clean them. Heat is tempting, but it's the fastest way to crack leather and shrink suede.
- Stuff them. Crumpled paper towels or plain white paper (skip newspaper, since the ink can transfer) absorb moisture and keeps the shape. Swap it out after a few hours if it's soaked.
- Stand them upright at room temperature, ideally somewhere with a little airflow.
- Keep them away from direct heat. No radiators, heating vents, fireplaces or hair dryers.
- Give them time. Leather and suede usually need a full day. Rotating between two pairs in a snowy week helps a lot.
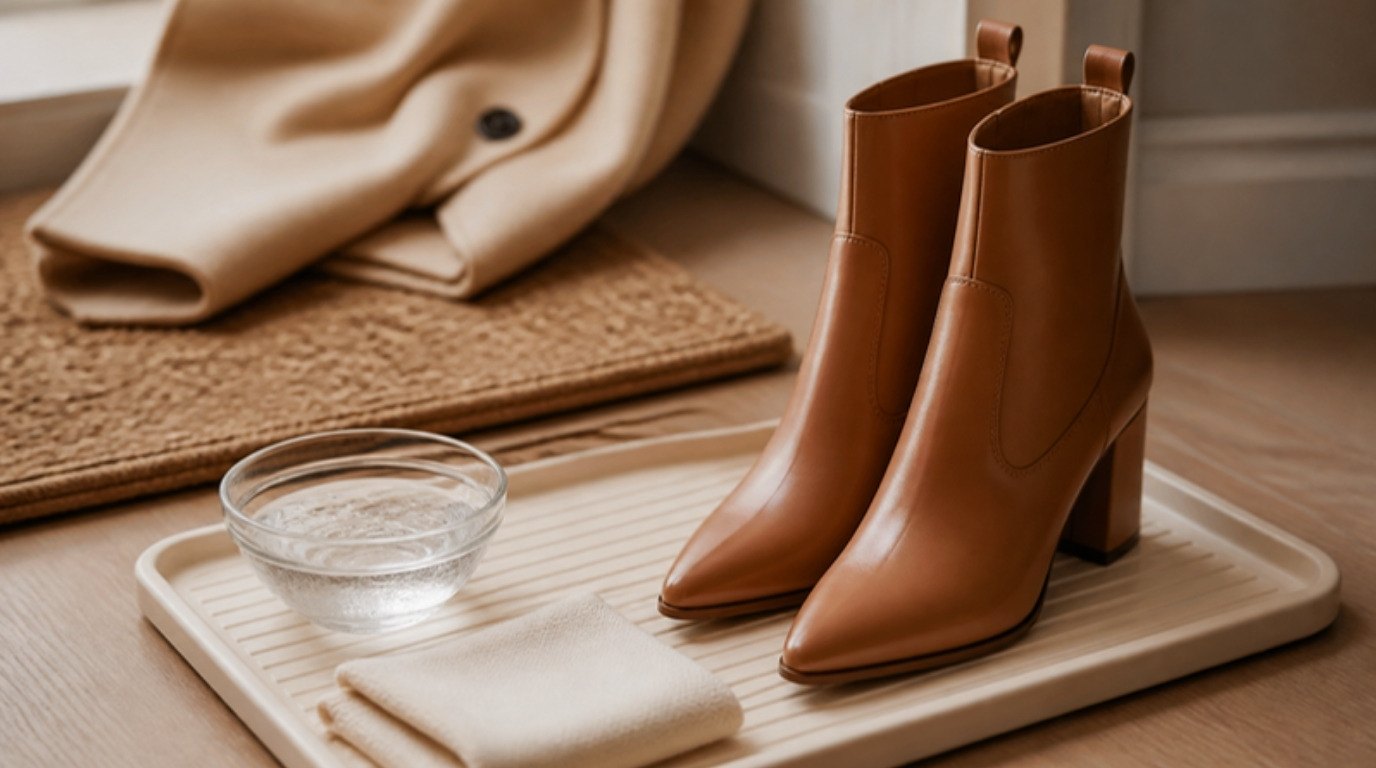
A waterproof boot tray by the door catches the melting slush and salt so it never reaches your floors in the first place.
How To Prevent Salt Stains All Winter

Prevention is where salt stains are really won. Three small systems do almost all the work.
Set Up a Two-Mat Entry System
Put a rough, scraping mat outside the door and an absorbent mat inside. The outside one knocks off slush and crystals; the inside one catches what's left. Add a boot tray right next to it so wet shoes come off within the first step or two. A thick cream coir doormat outside is both practical and pretty. For more ideas on making that corner work hard and look lovely, see my entryway ideas.
Waterproof Before the First Snow
Treat leather and suede boots with a protector spray before the season starts and again every few weeks. Spray outdoors or in a well-ventilated spot, hold the can at the distance the label recommends, and let the boots dry fully before wearing. A waterproofing protector spray for shoes helps salty water bead up instead of soaking in. Always test on a hidden area first, especially on light suede.
Build a Wipe-Down Habit
Keep a cloth and a small spray bottle of plain water by the door. When you come in on a salty day, give your boots a quick wipe before the salt dries. It takes thirty seconds and stops most stains before they start. Once a week, wipe the boot tray and run a damp mop over the entry floor.
At the end of the season, clean, condition and fully dry your boots before you store them, along with your coats (my guide to winter coat storage covers the rest of the winter wardrobe).
Coats, Bags and Car Mats
Salt doesn't stop at your boots. It splashes onto coat hems, the bottom of tote bags and the floor mats in your car, and the same principles apply.
- Wool coats: let the hem dry, brush it gently with a soft clothes brush, then blot any remaining marks with a cloth dampened in cool water. Hang it to dry on a sturdy hanger, away from heat.
- Puffer and synthetic coats: wipe with lukewarm water and a drop of mild soap, then a clean damp cloth. Wash the whole coat only as the care label allows.
- Leather bags: treat them just like leather boots (a well-wrung cloth with diluted vinegar, a plain-water wipe, a full dry and a little conditioner), testing on the underside first.
- Canvas totes: blot with soapy water and rinse-blot, or machine wash if the label says so.
- Car floor mats: rubber mats can be shaken out, rinsed with warm water and dried. Carpet mats can be vacuumed when dry and blotted like any carpet.
Dealing with salt in the car regularly means less of it travels into the house on your shoes, which is a small bonus for your floors.
A Simple Weekly Salt Routine
During the snowiest weeks, a little rhythm keeps salt from ever building up. Here's an easy one to follow:
- Every day you go out: boots off on the tray, a quick wipe with a damp cloth, stuffed with paper if wet.
- Twice a week: sweep or vacuum the entry and the first few feet of hallway.
- Once a week: empty and rinse the boot tray, damp-mop the entry floor, shake out both mats, and give leather boots a proper vinegar-and-water clean if any lines have appeared.
- Every few weeks: condition leather boots and refresh the protector spray on leather and suede.
If you keep your shoes tidy on a rack or in a closet, making sure each pair is fully dry before it goes back helps too. My guide on shoe organization has ideas for keeping winter pairs separate from the rest.
When To Call a Professional
Some items deserve an expert. Take them to a shoe repair shop or a professional cleaner if:
- The boots are expensive, vintage or sentimental and you're nervous about home cleaning
- Salt lines keep returning after several gentle rounds
- Leather has already cracked or suede has gone hard and shiny
- A wool or silk rug, or a hardwood floor, shows dull patches or white marks that cleaning won't lift
There's no shame in handing it over. A professional clean once a season can add years to a pair of boots you love.
Quick Fixes When You're in a Hurry
Sometimes you spot the white line on your boots as you're heading out the door. For a fast fix on smooth leather, dampen a corner of a cloth with plain water, wipe the salt line, then buff dry with the dry side. It won't replace a proper clean, but it stops the salt from setting while you're out. On suede, a quick brush is the safest emergency step; leave anything wet for later. On the floor, a dry microfiber cloth under your foot to pick up loose crystals by the door takes seconds and saves your finish. Then do the full clean that evening, when there's time for everything to dry properly.
Final Thoughts
Salt stains look dramatic, but they're one of the most fixable winter messes. A soft cloth, a little warm water and some patience bring most boots and floors right back, and a good mat and a quick wipe by the door keep them that way.
Look after your boots this season and they'll carry you through many more winters, still soft, still lovely and ready for the next snowy walk.