A kitchen deep clean feels overwhelming mostly because of the order people do it in. Wipe the counters first, then dust the top of the cabinets, and you get to wipe the counters again. Spray the oven, then mop, then drip grease across your clean floor while you rinse the racks. Getting the sequence right is most of the work. The scrubbing itself is the easy part.
The rule that changes everything is simple: top to bottom, dry to wet. Dust falls, crumbs fall, drips fall, so you start high and finish on the floor. Dry jobs (dusting, emptying, vacuuming crumbs) come before wet ones (sprays, soaks, mopping), so you never turn loose dust into mud.
This guide walks you through how to deep clean your kitchen from the ceiling corners to the floor: cabinets inside and out, the greasy range hood filter, the oven, the stovetop, the microwave steam trick, the fridge and freezer, the dishwasher filter, the sink and drain, small appliances, backsplash and grout, and floors. You will also find a zone table with methods, tools and times, plus a 2-hour order of work you can follow like a recipe card (minus the recipe).
Put on a playlist, open a window, and let's make this feel doable.
The Golden Rule: Top to Bottom, Dry to Wet
Before you touch a single cloth, it helps to see the whole job as layers. Here is the order I come back to every time, and it works in any size kitchen, from a tiny rental galley to a big family space:
- Clear: take everything off the counters, empty the dish rack, take out the trash and recycling.
- Start the soaks: oven paste, range hood filter, stove grates and fridge drawers can sit and work while you do other things.
- Dry clean high to low: ceiling corners, light fixtures, cabinet tops, shelves.
- Wet clean high to low: cabinets, backsplash, appliances, counters, sink.
- Floors last: vacuum or sweep first, then mop yourself out of the room.
The soaks are the secret weapon. Anything that is crusted with grease or baked-on food gets easier with time, not elbow grease, so you set those jobs going first and come back to them when the chemistry has done its part.
What You Need for a Kitchen Deep Clean
You do not need a cupboard full of specialty sprays. A small, well-chosen kit covers almost every surface in the kitchen:
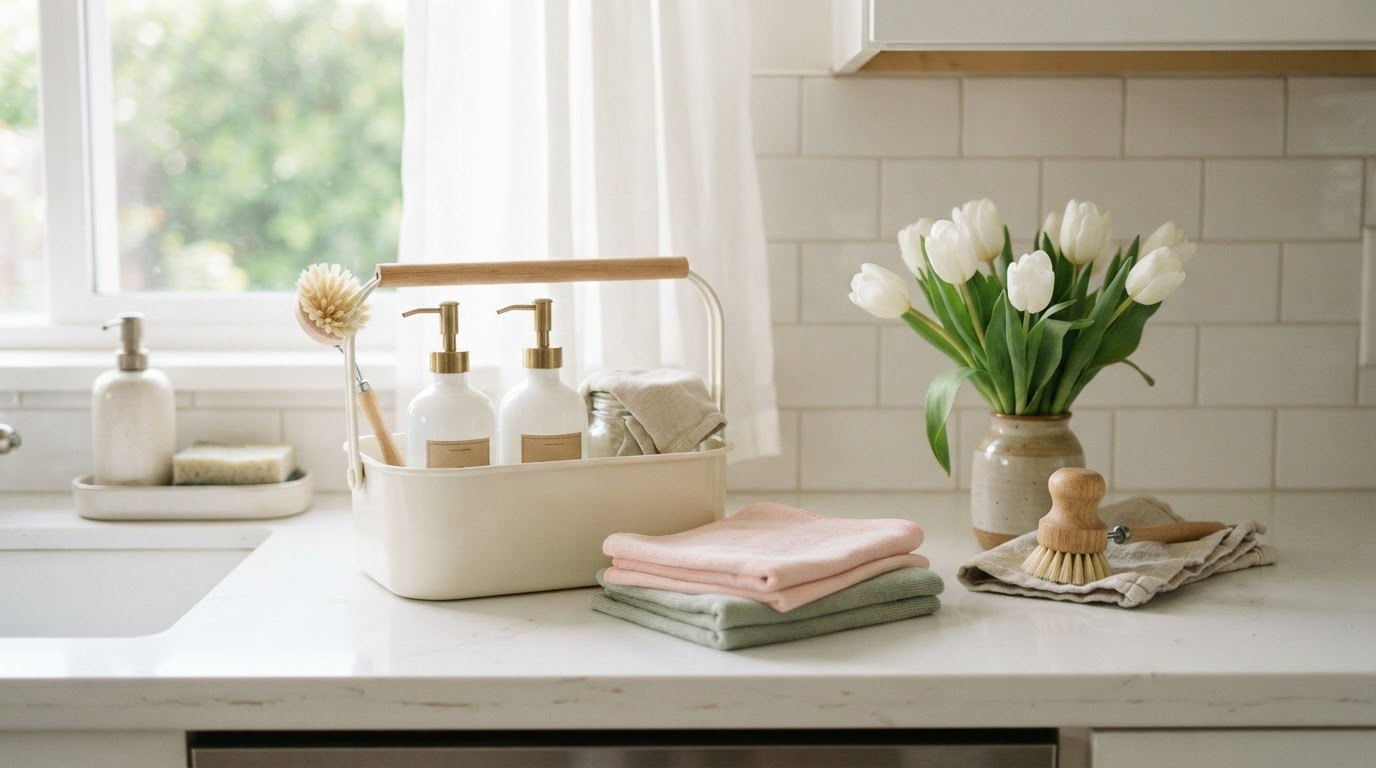
- Microfiber cloths, lots of them. A big set of soft microfiber cloths means you can grab a fresh one the moment one gets greasy instead of pushing grime around. I'd choose a set in two colors so one color is only for glass and stainless steel.
- Brushes in a few sizes. A soft scrub brush set with a big brush, a grout brush and a narrow bottle-style brush handles grates, grout lines and the rubber seal on the fridge. Look for soft or medium bristles so you never scratch enamel or stainless.
- A real degreaser. Dish soap works on light grease, but a kitchen degreaser spray labeled safe for cabinets and range hoods saves a lot of scrubbing on that sticky film above the stove.
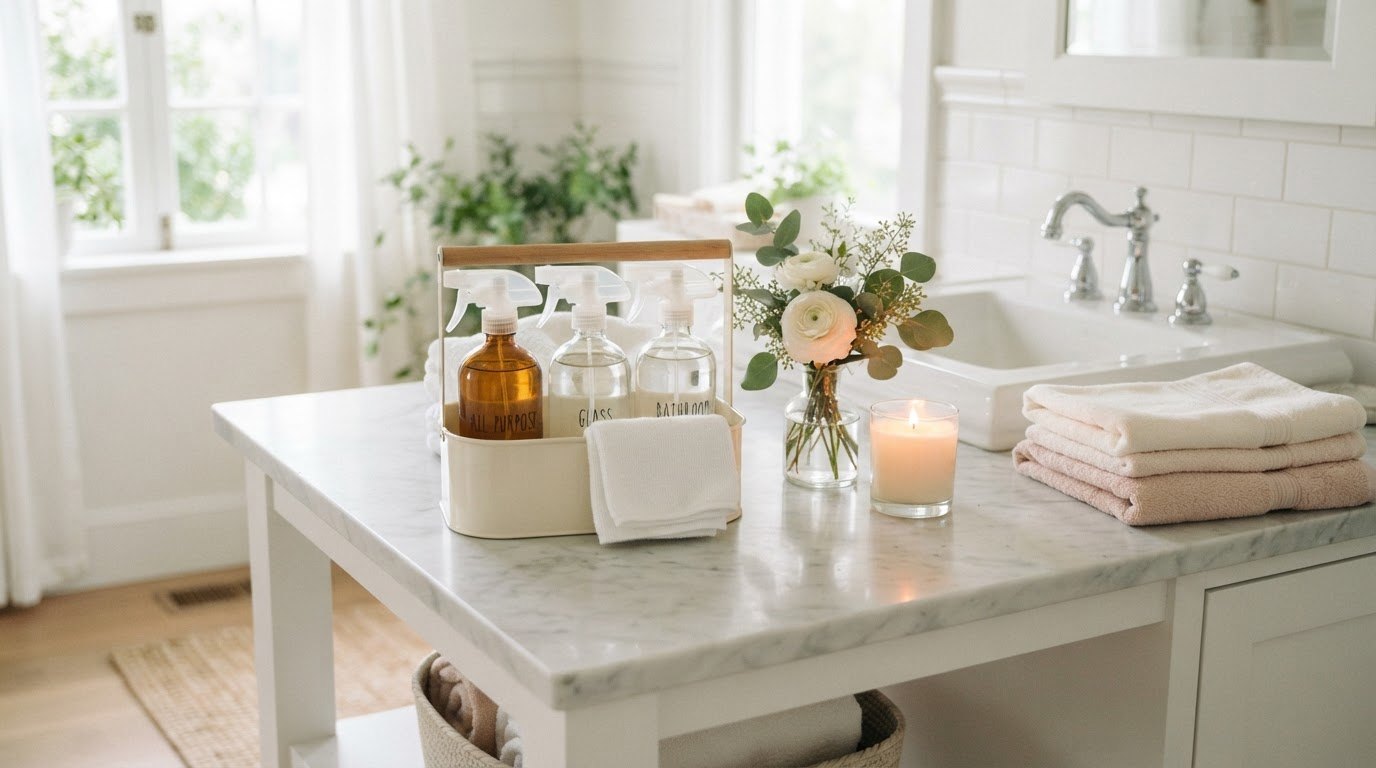
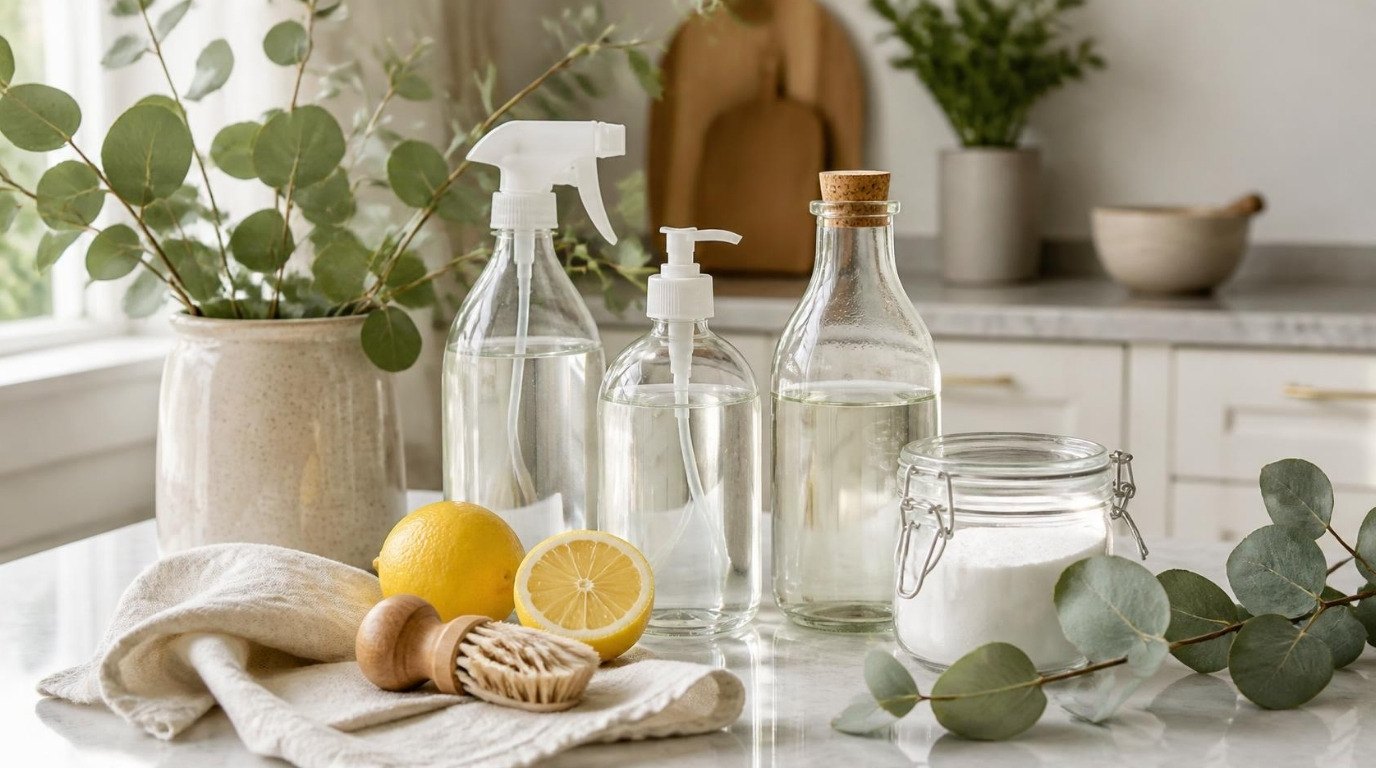
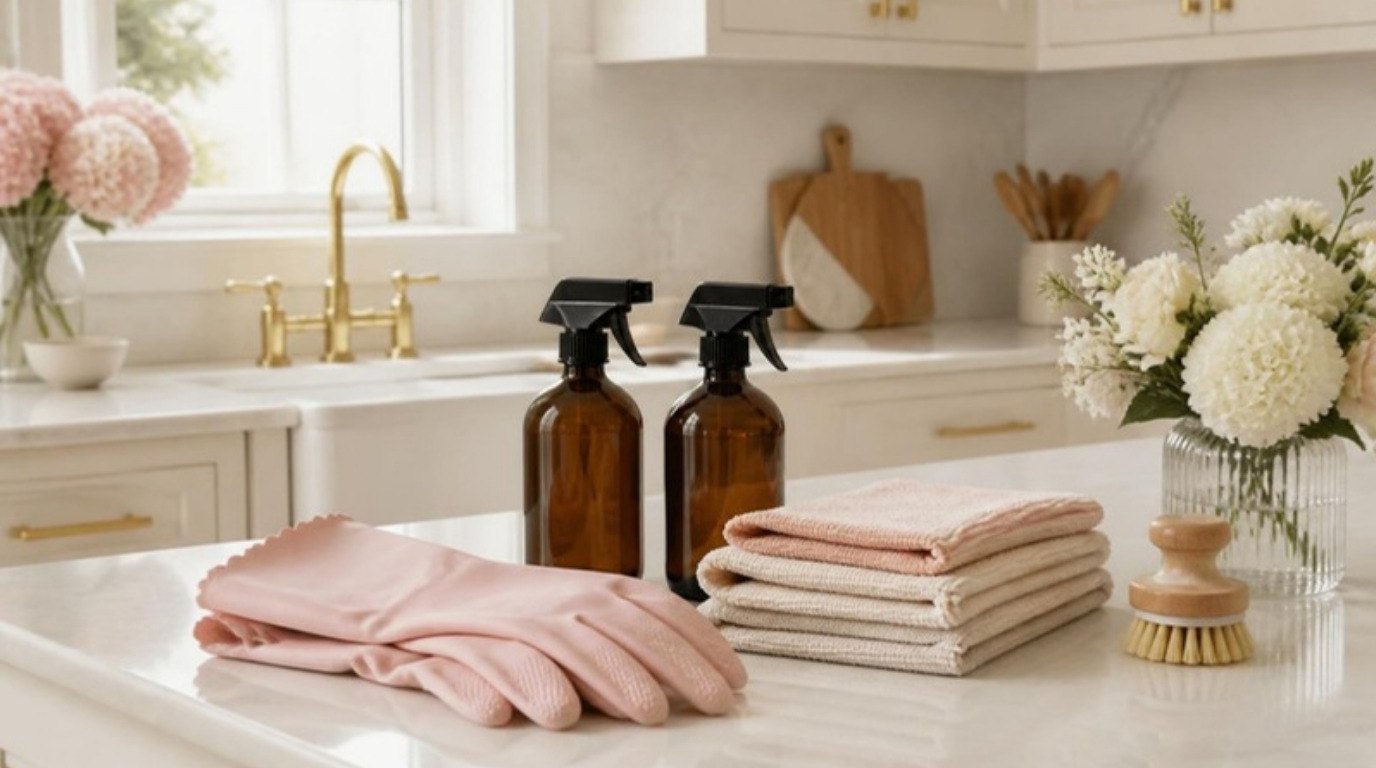
- Refillable spray bottles. A few amber or clear glass spray bottles keep homemade mixes (like diluted vinegar or soapy water) labeled and separate. Label each one with what is inside, always.
- Gloves. A pair of long pink rubber gloves protects your hands from hot water, degreaser and oven paste. Long cuffs keep drips from running down your wrists.
- Something for the oven. Baking soda paste is gentle and works well with patience. If your oven is seriously baked on, an oven cleaning paste that is fume-free and labeled for enamel is a pick for the stubborn jobs.
Add baking soda, plain white vinegar, a gentle dish soap, a plastic scraper (an old gift card works), a vacuum with a crevice tool and a mop, and you are set. If you prefer to keep things mostly plant-based, my guide to natural cleaning covers which simple ingredients work on which surfaces.
The Kitchen Deep Clean Zone Table
Here is every zone at a glance: what to do, what to use and roughly how long it takes. Screenshot it and keep it on your phone for the day you clean.
| Zone | Method | Tools | Time |
|---|---|---|---|
| Ceiling corners and light fixtures | Dry dust, wipe fixtures with a barely damp cloth (power off) | Extendable duster, microfiber cloth | 10 min |
| Cabinet tops and open shelves | Dry dust, then degreaser on a cloth for sticky film | Duster, degreaser, microfiber | 10 min |
| Cabinet fronts and handles | Degreaser or warm soapy water, wipe with the grain, dry | Microfiber, soft brush for handles | 15 min |
| Cabinet interiors | Empty one at a time, vacuum crumbs, wipe, dry, reload | Vacuum crevice tool, damp cloth | 20–40 min |
| Range hood and filter | Soak metal filter in hot water, baking soda and dish soap; wipe hood | Sink or tub, soft brush, degreaser | 10 min active + 15 min soak |
| Oven | Baking soda paste or oven paste, sit, wipe, rinse; soak racks | Paste, scraper, gloves, cloths | 20 min active + soak |
| Stovetop and grates | Soak grates; scrape and wipe the surface with the right cleaner | Scraper, soft brush, cloths | 15 min |
| Microwave | Steam with water and lemon or vinegar, wipe | Microwave-safe bowl, cloth | 5 min |
| Fridge and freezer | Empty, toss old food, wash drawers and shelves, wipe seals | Warm soapy water, soft brush, towels | 30–40 min |
| Dishwasher | Clean the filter, wipe the door seal, run a hot empty cycle | Soft brush, cloth | 10 min |
| Small appliances | Unplug, empty crumb trays, wipe outside, descale if needed | Damp cloth, soft brush | 15 min |
| Backsplash and grout | Degreaser on tile, brush grout lines, rinse, dry | Grout brush, cloths | 15 min |
| Sink and drain | Scrub basin, clean faucet base, freshen drain | Soft brush, baking soda, cloth | 10 min |
| Floors | Vacuum edges and under toe kicks, then mop toward the door | Vacuum, mop, bucket | 15 min |
Add it all up and a full deep clean lands between three and four hours. That is why I split it: the 2-hour plan below covers the high-impact zones, and cabinet interiors can happen on a second day without anyone noticing the difference.
The 2-Hour Order of Work
This is the exact sequence for a focused two-hour session. The times overlap on purpose, because soaks run in the background while you work elsewhere.
- 0:00–0:10 – Clear and start the soaks. Clear counters, take out trash. Spread paste in the oven. Put the range hood filter and stove grates in a sink of hot water with baking soda and dish soap.
- 0:10–0:20 – Dry dust high. Ceiling corners, light fixtures, cabinet tops, the top of the fridge.
- 0:20–0:35 – Cabinet fronts and handles. Degreaser on a cloth, top row first, then lower cabinets.
- 0:35–0:40 – Microwave steam. Start the bowl, and wipe the toaster and kettle while it steams.
- 0:40–1:05 – Fridge. Empty one shelf at a time, toss expired food, wipe shelves, wash drawers, wipe the seal.
- 1:05–1:20 – Range hood, grates and stovetop. Scrub and rinse the soaked filter and grates, wipe the hood, clean the cooktop.
- 1:20–1:35 – Oven. Wipe out the paste, rinse, wipe the door glass.
- 1:35–1:45 – Backsplash and counters. Tile, grout lines, then counters, back to front.
- 1:45–1:50 – Dishwasher filter and sink. Clean the filter, scrub the sink, freshen the drain.
- 1:50–2:00 – Floors. Vacuum edges and toe kicks, then mop toward the door.
If you only have one hour, do steps 1, 3, 5, 6 and 10. Those are the zones where grime builds up fastest and where you will feel the difference most.
How To Deep Clean Your Kitchen, Zone by Zone: 12 Steps
Now for the details. Each step tells you exactly what to do, what to watch out for and how to tell when you are done.
1. Dust the High Places First
Grease in the air settles everywhere above the stove, then dust sticks to it. That is why cabinet tops feel tacky. Start with a dry extendable duster on ceiling corners, the top edge of the cabinets and the top of the fridge. Turn off light fixtures and let bulbs cool, then wipe shades with a barely damp microfiber cloth.
For sticky cabinet tops, spray degreaser onto a cloth (not onto the surface, so nothing drips down the doors), wipe, then dry. A little trick: once they are clean, lay a sheet of wax paper or parchment along the tops. Next time, you just swap the paper.
2. Cabinets, Outside and Inside
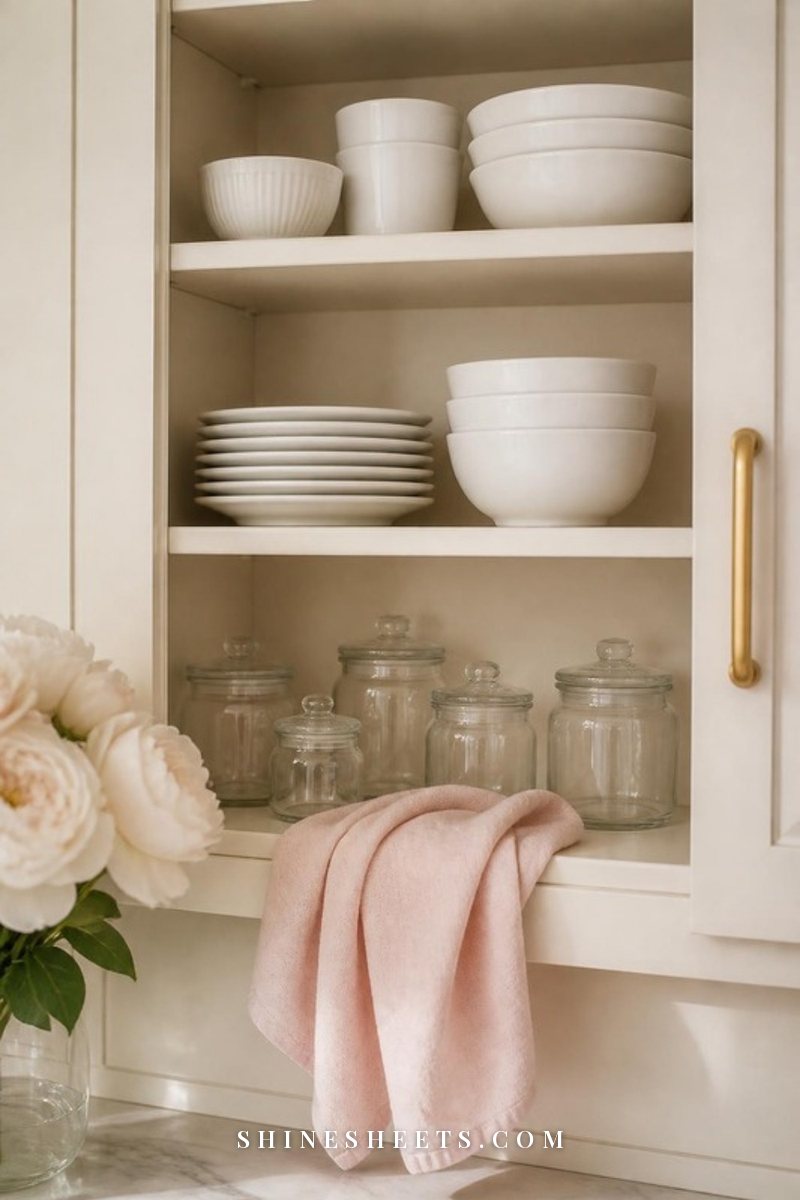
Outside: the dirt lives around the handles and on the doors nearest the stove and trash can. Wipe with degreaser or warm water with a few drops of dish soap, following the wood grain if your cabinets are wood. Use a soft brush around hardware and in the grooves of shaker-style doors. Dry right away so water does not sit in the seams.
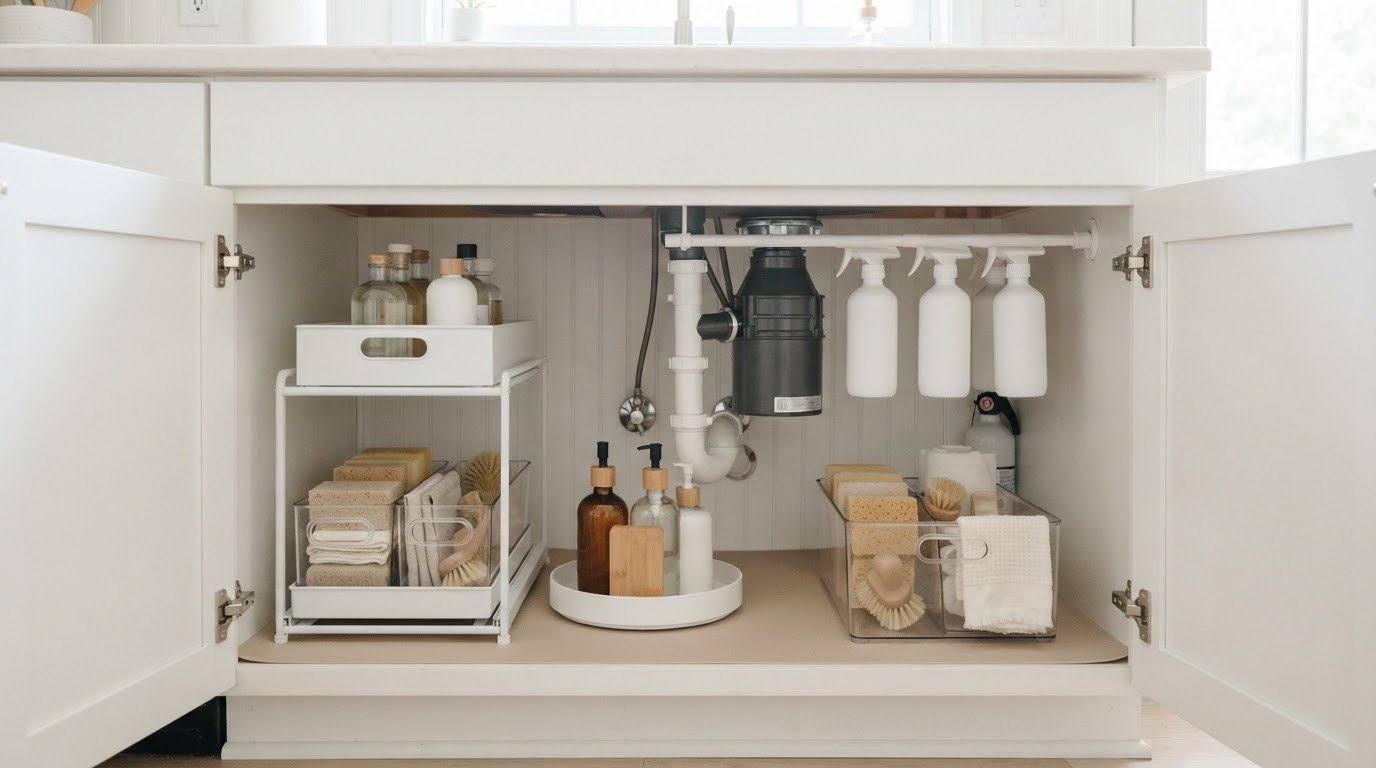
Inside: work one cabinet at a time so the kitchen never turns into a mess of plates and jars. Empty it, vacuum crumbs with the crevice tool, wipe with a damp cloth, dry, then reload. This is the perfect moment to toss expired spices and duplicates. If you want to reload smarter, my kitchen organization ideas show how to group things so cabinets stay tidy longer, and the cabinet under the sink gets its own plan in under sink organization.
Honest admission: cabinet interiors are the step I am most tempted to skip. If you are short on time, do the cabinets you open daily now and the rest next weekend.
3. Range Hood Filter Degreasing
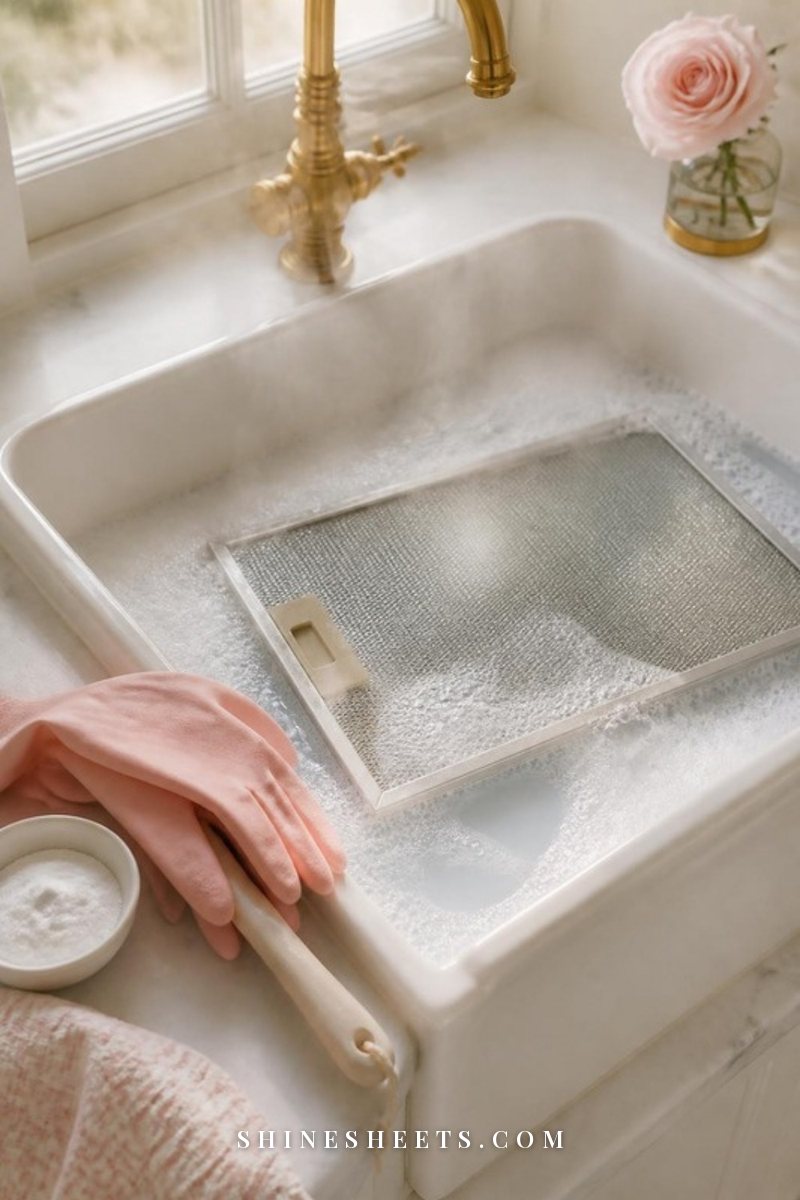
This is the most satisfying step in the whole deep clean. Most hoods have metal mesh or baffle filters that pop out with a small latch or tab. Check your manual first: charcoal filters (used in recirculating hoods) cannot be washed and need replacing instead.
For metal filters:
- Fill the sink (or a large tub) with the hottest water from your tap.
- Add about half a cup of baking soda and a generous squeeze of dish soap, and stir.
- Submerge the filter and let it soak for 15 to 20 minutes.
- Brush gently with a soft brush, following the mesh direction.
- Rinse well and let it air dry completely before putting it back.
While it soaks, spray degreaser onto a cloth and wipe the hood inside and out. For stainless steel, finish with a dry cloth in the direction of the grain to avoid streaks.
4. The Oven
Start this one early because time does most of the work. Take out the racks first. Mix about half a cup of baking soda with a few tablespoons of water until it is like a thick frosting, then spread it over the inside of the oven with gloved hands, avoiding the heating elements and any gas openings. Let it sit at least a few hours if you can (overnight is even better). If you are using an oven paste, follow its label for time.
When it is ready, use a plastic scraper to lift the paste and grime, then wipe with a damp cloth. A spritz of diluted vinegar helps loosen any baking soda residue (it will foam a little, which is normal), then wipe again with clean water.
Racks go in the bathtub on an old towel (to protect the tub) with hot water, dish soap and a little baking soda. Let them soak while you work elsewhere, then scrub with a brush and rinse. If you use the self-cleaning cycle instead, open a window, keep pets out of the kitchen and follow your manual, since it runs very hot and can produce smoke.
5. The Stovetop
The right method depends on the surface:
- Gas stove: soak the grates and burner caps in hot soapy water, then scrub with a brush. Wipe the stovetop with degreaser and keep water away from the burner openings. Let everything dry fully before reassembling.
- Glass or ceramic cooktop: make sure it is completely cool. Sprinkle baking soda over the surface, lay a hot damp towel on top for 15 minutes, then wipe. For burnt spots, use a cooktop scraper held at a low angle. Skip abrasive pads, which scratch.
- Electric coil: unplug or turn off at the breaker, remove the coils and drip pans, soak the drip pans, and wipe the coils with a damp cloth only.
Do not forget the knobs. Many pull straight off, so drop them in the soapy water with the grates.
6. The Microwave Steam Trick
This takes five minutes and almost no effort. Fill a microwave-safe bowl with about a cup of water, add a few lemon slices or a tablespoon of white vinegar, and heat on high for 3 to 5 minutes until it is steaming and the window fogs. Then leave the door closed for another five minutes so the steam softens everything.
Carefully remove the bowl (it will be hot, so use an oven mitt), take out the turntable to wash in the sink, and wipe the inside with a cloth. Splatters lift right off. Wipe the door seal and the keypad with a barely damp cloth last.
7. Fridge and Freezer
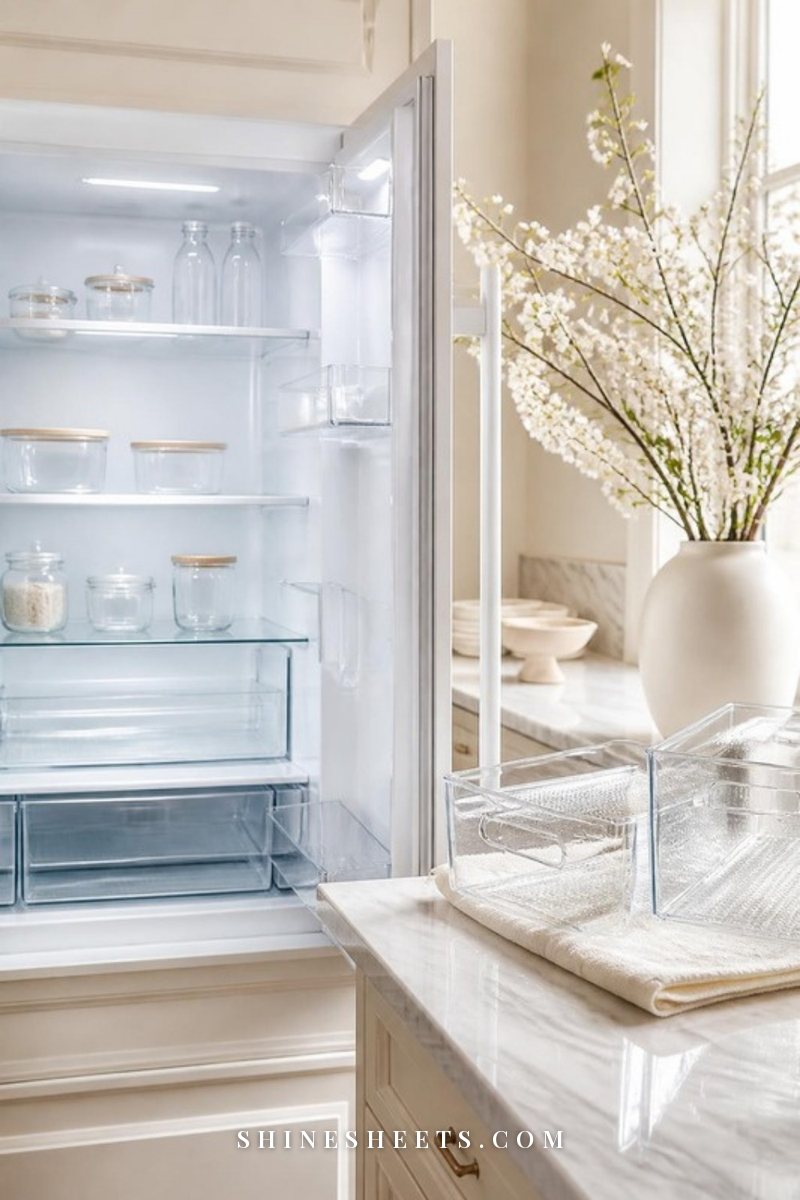
Do the fridge before a grocery trip, when it is emptiest. Set out a cooler or a few bags for cold items, then go shelf by shelf so nothing sits out long:
- Empty one shelf, check dates and toss anything expired or forgotten.
- Remove drawers and glass shelves. Let cold glass warm up a little before washing in warm soapy water, because very cold glass can crack with hot water.
- Wipe the inside walls with warm water and a little dish soap or baking soda (about a tablespoon per quart of water).
- Clean the rubber door seal with a soft brush and soapy water, since crumbs and spills hide in the folds.
- Dry everything, reassemble, and put food back, wiping jars and bottles as they go in.
For the freezer, a full defrost is only needed if you see thick frost. Otherwise, empty it, wipe the shelves and walls with warm soapy water and dry well. An open box of baking soda on a back shelf helps keep smells down. Every few months, it is worth vacuuming the coils at the back or bottom (unplug first) so the fridge runs more efficiently.
8. The Dishwasher Filter
If your dishwasher has started leaving a gritty film or smells a bit off, the filter is almost always the reason. Most modern dishwashers have a cylindrical filter in the bottom that twists out. Pull out the bottom rack, twist the filter counterclockwise, lift it out, and rinse it under warm running water while brushing gently with a soft brush. Rinse the flat mesh part too if it lifts out.
Put it back until it clicks, wipe the door edges and the rubber seal with a damp cloth, and check the spray arms for clogged holes (a toothpick clears them). Finish by running a hot cycle with the dishwasher empty. Once a month is a good rhythm for the filter.
9. Small Appliances
Unplug everything first. Then work through what lives on your counter:
- Toaster: empty the crumb tray over the trash, wipe the outside, and never put anything metal inside.
- Kettle: if you see white mineral scale, fill it halfway with equal parts water and white vinegar, bring to a boil, let it sit for 30 minutes, then rinse and boil fresh water once before using.
- Coffee maker: follow the manufacturer's descaling instructions, and wash the carafe and basket in soapy water.
- Blender and air fryer: wash removable parts, wipe bases with a damp cloth only, and brush crumbs out of the air fryer basket.
Then decide which appliances really need to live on the counter. Fewer things out means faster wipe-downs every day. If your coffee setup is part of the clutter, my coffee corner ideas show how to give it one neat spot.
10. Backsplash and Grout
The backsplash behind the stove collects a fine layer of grease you only notice when you wipe it. Spray degreaser or warm soapy water on the tile, wait a minute, wipe, then rinse with a clean damp cloth.
For grout lines, make a paste of baking soda and a little water, work it in with a grout brush, let it sit five minutes, scrub and rinse. Dry the tile so it does not streak. If you have natural stone like marble or granite, skip vinegar and anything acidic, which can etch the surface, and use a pH-neutral cleaner instead.
11. Sink and Drain
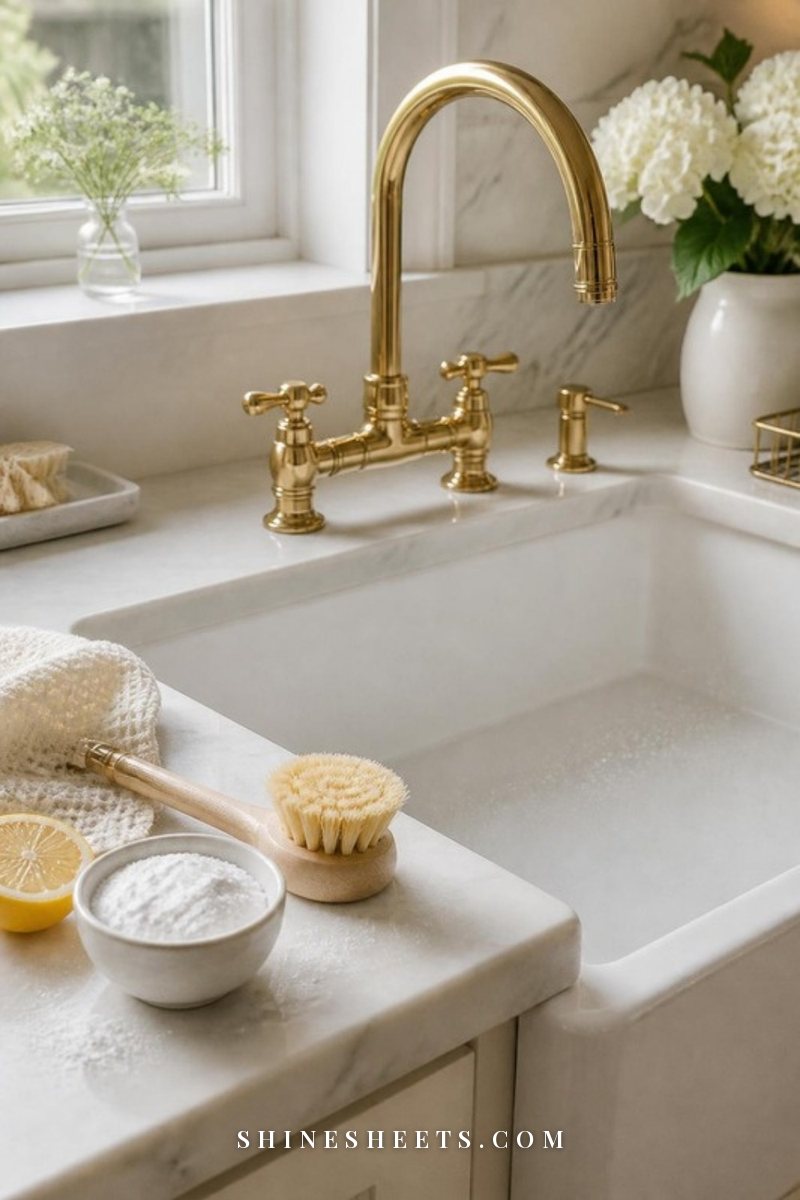
The sink touches raw food, dirty dishes and wet sponges, so it deserves a proper scrub. Sprinkle baking soda over the basin, scrub with a soft brush, and rinse. Pay attention to the faucet base and the gap around the drain, where grime collects. An old toothbrush works well there.
To freshen the drain, pour in about half a cup of baking soda, follow with a cup of white vinegar, let it fizz for 10 to 15 minutes, then flush with hot water. Remove and scrub the drain stopper or strainer basket, too. If you have a garbage disposal, never put your hand inside; run it with cold water and a few ice cubes to knock debris off the blades. Finally, replace or sanitize your sponge, because a fresh sponge on a clean sink is part of the reward.
12. Floors
Floors come last, always. Vacuum first rather than sweep if you can, using the crevice tool along the toe kicks under the cabinets and in the gap beside the stove and fridge, where crumbs hide. Then mop with a cleaner that suits your floor type (wood, laminate, tile and vinyl all have different needs), starting at the far corner and working toward the door so you never step on wet floor.
Wipe the cabinet toe kicks with a damp cloth before you mop. It takes two minutes and makes the whole kitchen look finished.
Kitchen Cleaning Safety: What Never To Mix
A quick, kind safety note, because the kitchen is where people are most tempted to "double up" on cleaners:
- Never mix bleach with vinegar or any acid. It releases chlorine gas.
- Never mix bleach with ammonia (found in some glass cleaners). It creates toxic chloramine vapors.
- Never mix hydrogen peroxide and vinegar in the same bottle. Use them separately if you like, rinsing in between.
- Never combine two different drain cleaners, and do not use a plunger right after pouring a chemical drain product.
Use one product per surface, rinse between products, keep a window open, wear gloves for anything stronger than dish soap, and always read the label. Store cleaners in their original containers or in clearly labeled bottles, away from food and out of reach of children and pets.
How Often To Deep Clean Your Kitchen
A full deep clean every three to four months keeps the kitchen in good shape, with a few smaller rhythms in between:
- Daily: wipe counters and the stovetop, rinse the sink, run or empty the dishwasher.
- Weekly: wipe appliance fronts, clean the microwave, mop, toss old fridge food.
- Monthly: dishwasher filter, range hood filter, small appliance crumb trays.
- Every 3–4 months: the full top-to-bottom plan, including cabinet interiors and the oven.
If you want all of this to fit into your week without thinking about it, my cleaning schedule spreads the jobs across the days, and my guide on how to clean your bathroom fast uses the same top-to-bottom logic for the other room that needs it most.
Final Thoughts
A deep clean is not about a perfect kitchen. It is about resetting the room you use every single day so it feels calm to walk into again. Follow the order, let the soaks do the heavy lifting, and give yourself permission to split it over two days.
When you are done, light a glass candle, make a cup of tea and sit for a minute in your fresh, quiet kitchen. You earned that moment.