Hardwood floors don't need more cleaning – they need gentler cleaning. Most of the dullness, cloudy film and little gray scratches people blame on "old floors" actually come from too much water, the wrong cleaner or grit that never got swept away. Change those three things and even a tired floor starts to look warm and soft again.
The good news is that a beautiful wood floor runs on a very short routine: a quick dry pass most days, a damp (never wet) mop once a week, and a few protective habits that do the heavy lifting for you. No special machines, no complicated products, and definitely no scrubbing on your knees every Saturday.
This guide walks you through how to clean hardwood floors without damaging them: how to tell which finish you have, the daily and weekly routine, what to never put on wood, how to handle sticky spots, scuffs and pet areas, how to protect the floor, and how to deep clean and refresh it once or twice a year. There's also a simple daily, weekly, monthly and yearly care table you can screenshot and keep.
First, Figure Out Your Floor's Finish
Before you buy a single product, find out what's on top of your wood. The finish – not the wood species – decides how you should clean. Most floors in homes and apartments today have a surface finish (usually polyurethane), which sits on top of the wood like a clear protective coat. Older floors, some rustic floors and a few high-end ones have a penetrating finish such as oil or wax, which soaks into the wood instead.
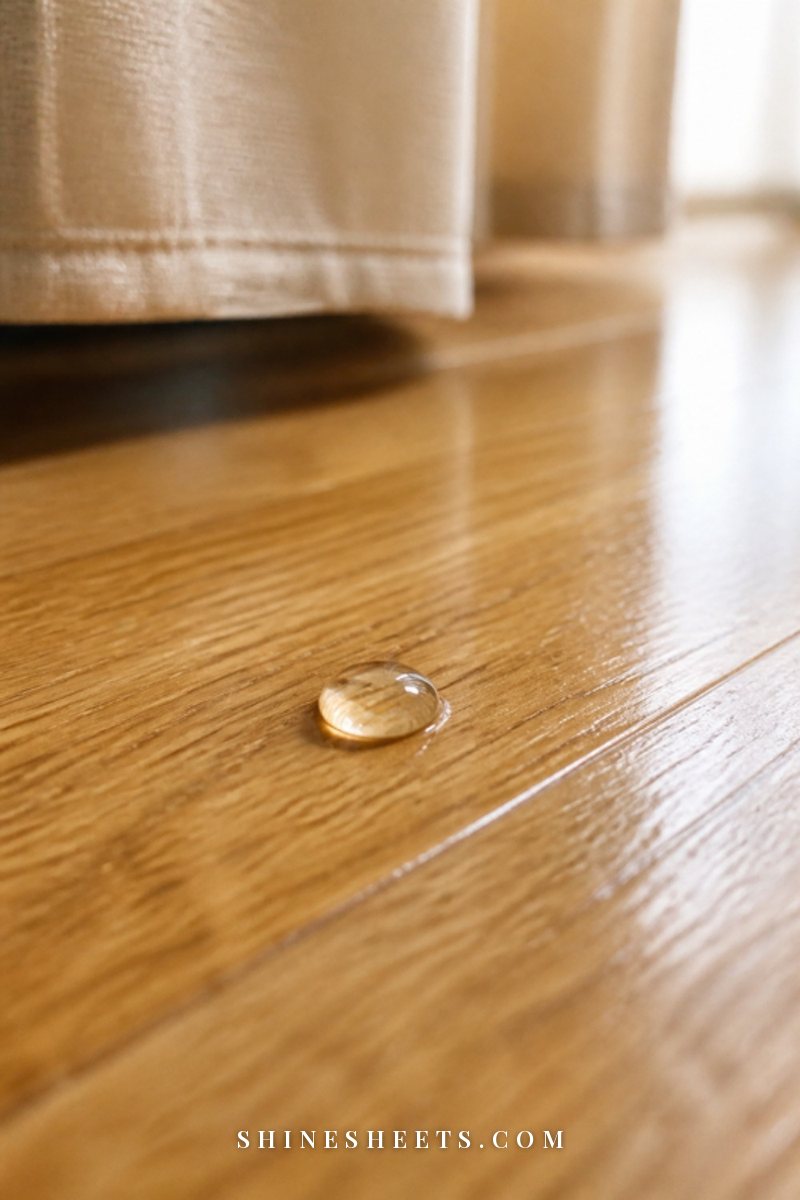
The Water Drop Test
Pick a hidden spot – inside a closet or under a sofa – and place a single drop of water on the floor. Then watch it for a few minutes:
- The drop beads up and sits there: you most likely have a sealed surface finish like polyurethane. Damp mopping with a pH-neutral cleaner is safe.
- The drop slowly soaks in and darkens the wood: you probably have an oil or wax finish, or a worn-through surface finish. Keep water to an absolute minimum and stick to dry methods plus products made for that finish.
- The drop soaks in quickly in high-traffic spots only: your finish is worn in those areas. Clean gently and consider a refresh coat (more on that below).
You can also rub a fingertip across the floor. If a faint waxy smear comes up, it's wax. If you're renting, it's worth simply asking your landlord what the floor is finished with – they'll often know, and it saves you guessing. Laminate and luxury vinyl look like wood but are different materials; follow the manufacturer's instructions for those.
The Simple Hardwood Cleaning Kit
You really only need four things, and none of them are expensive:
- A soft broom or dust mop. A soft-bristle broom with a matching dustpan catches fine grit without scratching. A flat microfiber dust mop works just as well.
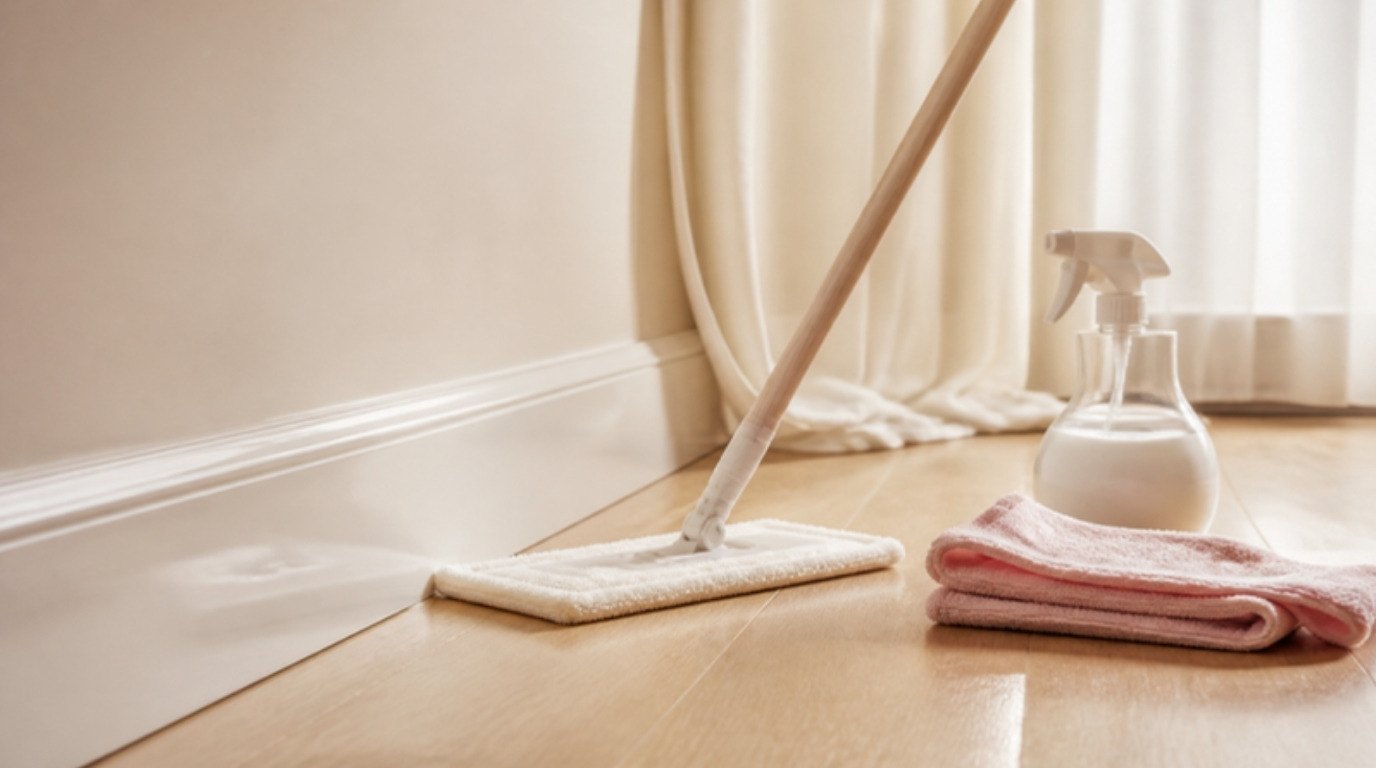
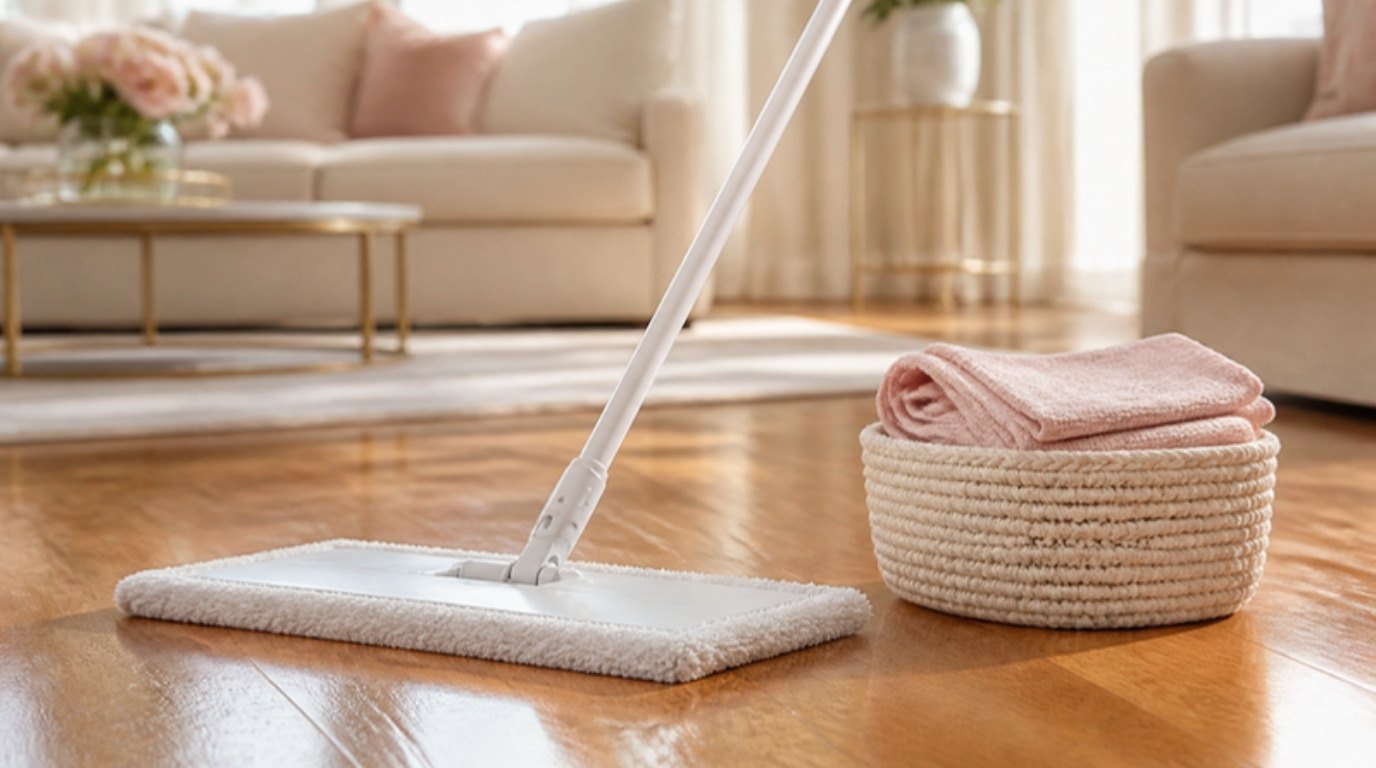
- A flat microfiber mop. A refillable microfiber spray mop is my pick for most homes, because it lets you control exactly how much liquid hits the floor. Look for washable pads and a fine mist rather than a stream.
- A pH-neutral hardwood cleaner. Choose a pH-neutral cleaner made for sealed hardwood – the label should say it's safe for polyurethane-finished floors and needs no rinsing.
- A few spare microfiber cloths for spills, drying and spot work.
If you vacuum, use the hard-floor setting or turn off the beater bar, so spinning bristles don't flick grit across the boards. And keep your supplies together – a small basket in a closet means you'll actually grab them.
Your Daily and Weekly Hardwood Floor Routine
Think of hardwood like a nice pair of leather boots: little and often beats a big rescue job. Grit is the real enemy. Every tiny grain of sand acts like sandpaper underfoot, and that's where those fine scratches and dull walkways come from.
Daily (or Every Other Day): A Quick Dry Pass
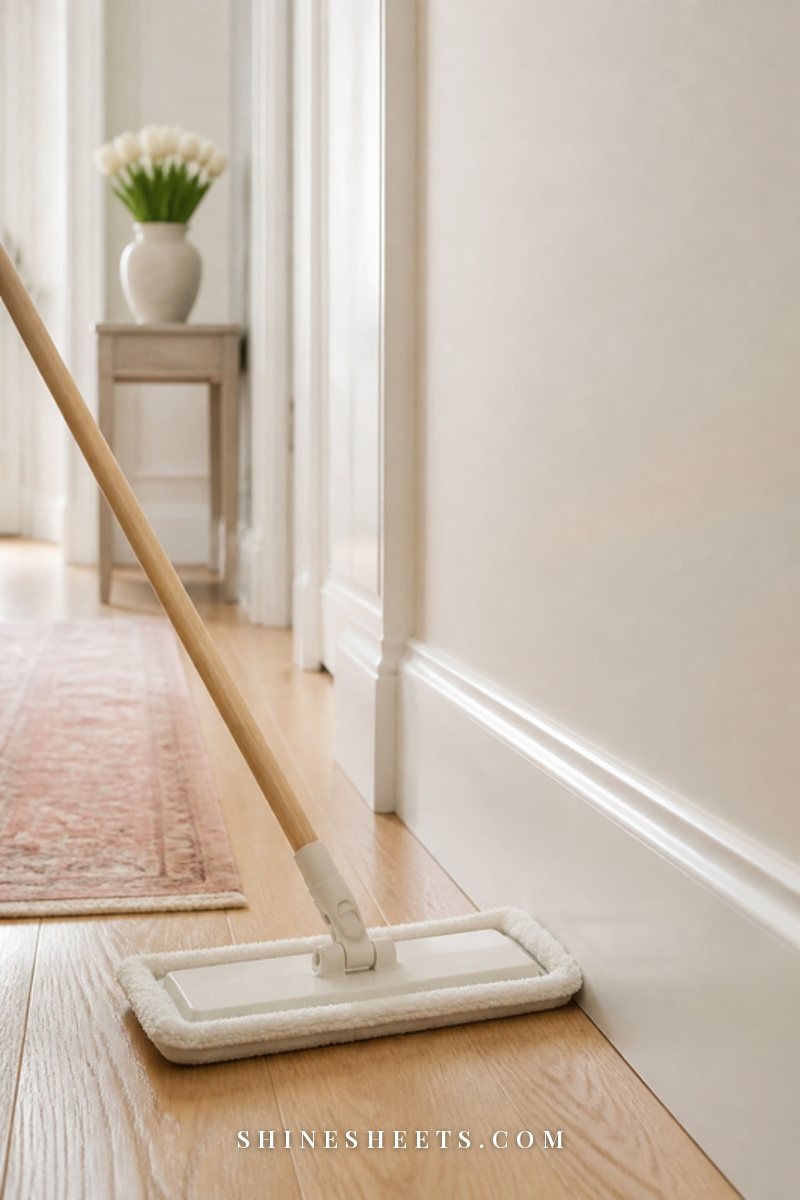
Run a dust mop or soft broom over the busiest areas – the entry, kitchen and the path to the sofa. It takes about five minutes. Move in the direction of the boards, keep the mop head on the floor (lifting it drops the dust again) and finish by shaking the head out outdoors or over the trash.
If dust seems to reappear the minute you finish, the floor isn't the problem – the air is. My guide on how to reduce dust at home covers filters, textiles and the small habits that make floors stay clean for longer.
Weekly: Damp Mop the Right Way
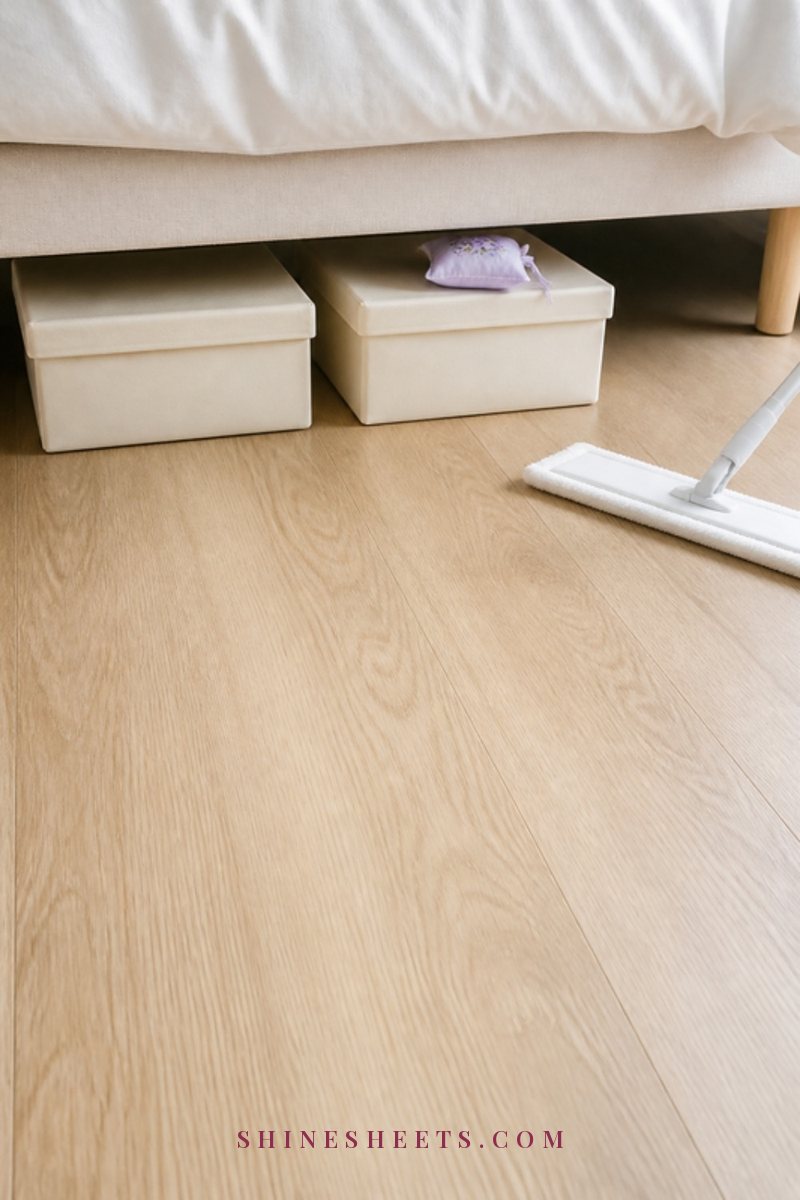
"Damp, not wet" is the whole secret. Wood swells when water sits on it, and liquid that sinks between the boards can cause cupping, gray marks and a dull finish over time. Here's the method for sealed floors:
- Dry clean first. Always sweep or dust mop before you mop. Otherwise you're just pushing wet grit around.
- Mist, don't pour. Spray a light mist of pH-neutral cleaner on a small section (about one square meter or three by three feet), or onto the mop pad itself.
- Mop with the grain. Follow the direction of the boards in long, overlapping strokes.
- Check the shine. The floor should look barely damp and dry within a minute or two. If you see puddles or streaks that linger, you're using too much liquid.
- Swap pads when they're gray. A dirty pad just redeposits grime. For a whole apartment, two or three pads is normal.
- Let it dry before walking on it. Open a window or switch on a fan if the room is humid.
For oil- or wax-finished floors, skip the weekly damp mop and dry clean instead, then use only the cleaner your finish manufacturer recommends, as rarely as possible.
6 Things Never To Use on Hardwood Floors
Most floor damage happens with the best intentions. These are the common culprits:
- Steam mops. Heat and moisture push into seams and can break down the finish, even on "sealed" floors. Many flooring manufacturers specifically warn against them.
- Strong vinegar solutions. Vinegar is acidic, and used often or at high concentration it can dull a polyurethane finish over time. A pH-neutral cleaner is the safer everyday choice. (If you love simple cleaning, my natural cleaning guide explains where gentle DIY methods shine and where they don't.)
- Oil soaps on polyurethane. Oil-based soaps can leave a film on sealed floors that attracts dirt and makes future refinishing harder. Keep them for floors the manufacturer says they suit.
- Excess water. No buckets, no soaking wet string mops, no letting spills sit.
- Abrasive tools. Steel wool, scouring pads and stiff brushes scratch the finish (the one exception is very fine steel wool on certain wax floors, used per the manufacturer's instructions).
- All-purpose sprays, furniture polish and ammonia. These can leave the floor cloudy, slippery or streaky. And as always: never mix bleach with vinegar or ammonia – those combinations release dangerous fumes.
How To Clean Spills and Sticky Spots
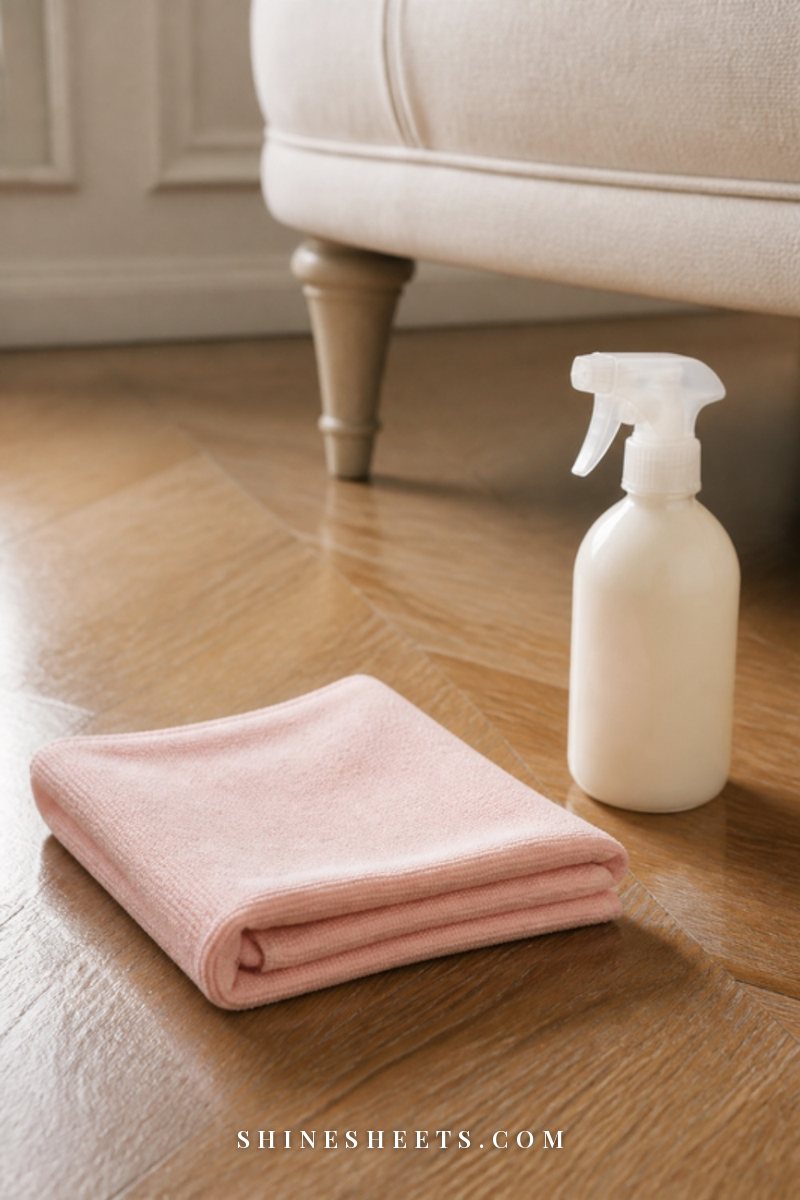
Speed matters more than product. Wipe liquid spills straight away with a dry microfiber cloth, blotting rather than spreading. Then go over the spot once with a barely damp cloth and dry it.
For sticky spots (juice, syrup, spilled tea with honey), spritz a little pH-neutral hardwood cleaner onto a cloth – not directly on the floor – and lay it on the spot for 30 to 60 seconds to soften it. Then wipe with gentle circles and dry the area completely. Repeat rather than scrub.
For dried candle wax, hold an ice cube in a zip bag on the wax for about a minute until it hardens, then lift it gently with a plastic card. Buff the area with a soft cloth. Chewing gum works the same way.
How To Remove Scuffs and Marks
Black shoe scuffs usually sit on top of the finish, not in the wood. Rub them gently with a clean tennis ball or a dry microfiber cloth – most come off in seconds. A clean white eraser also works on stubborn marks (test it on a hidden spot first).
Light surface scratches that only affect the finish often become less visible after a good clean, because dirt settles into scratches and makes them look darker. For small scratches in the wood itself, a wood-tone touch-up marker or wax stick in a matching shade can blend them in. Deep gouges are a job for a flooring pro, and in a rental, for your landlord.
White, cloudy rings from a glass or a hot mug mean moisture got trapped in the finish. Leave them alone for a day or two – some fade on their own as the moisture escapes. If they don't, ask a flooring professional before trying any home hacks with heat.
Hardwood Floors and Pets
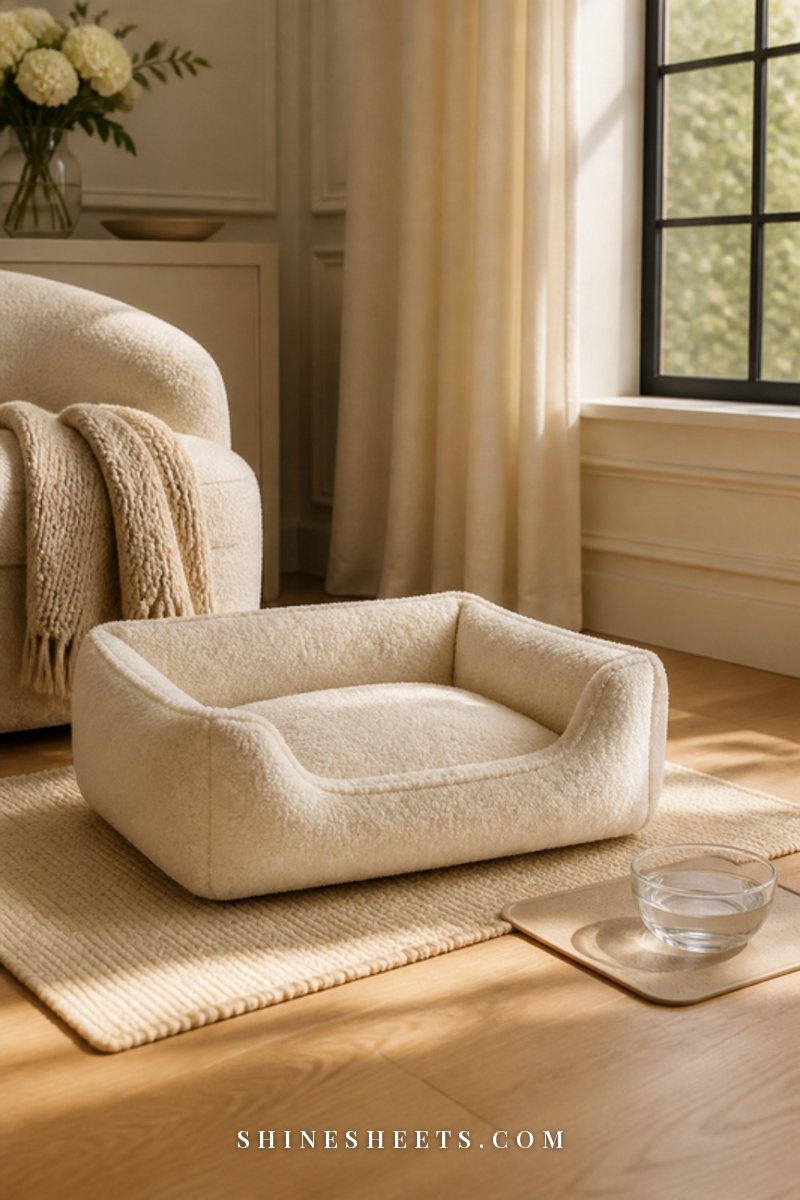
You can have pets and lovely wood floors; you just need a few extra habits:
- Keep nails trimmed. Long nails are the main source of scratches.
- Put a washable mat under food and water bowls. Water splashes are a quiet daily soak for the boards beneath.
- Clean accidents immediately. Blot, then use an enzyme cleaner labeled safe for sealed wood floors, following the dwell time on the bottle, and dry thoroughly. Urine left to sit can stain and damage the wood under the finish.
- Dry mop more often in shedding season – pet hair holds grit.
- Add rugs to "racetrack" areas like hallways and the spot where they skid around the corner.
How To Protect Hardwood Floors Every Day
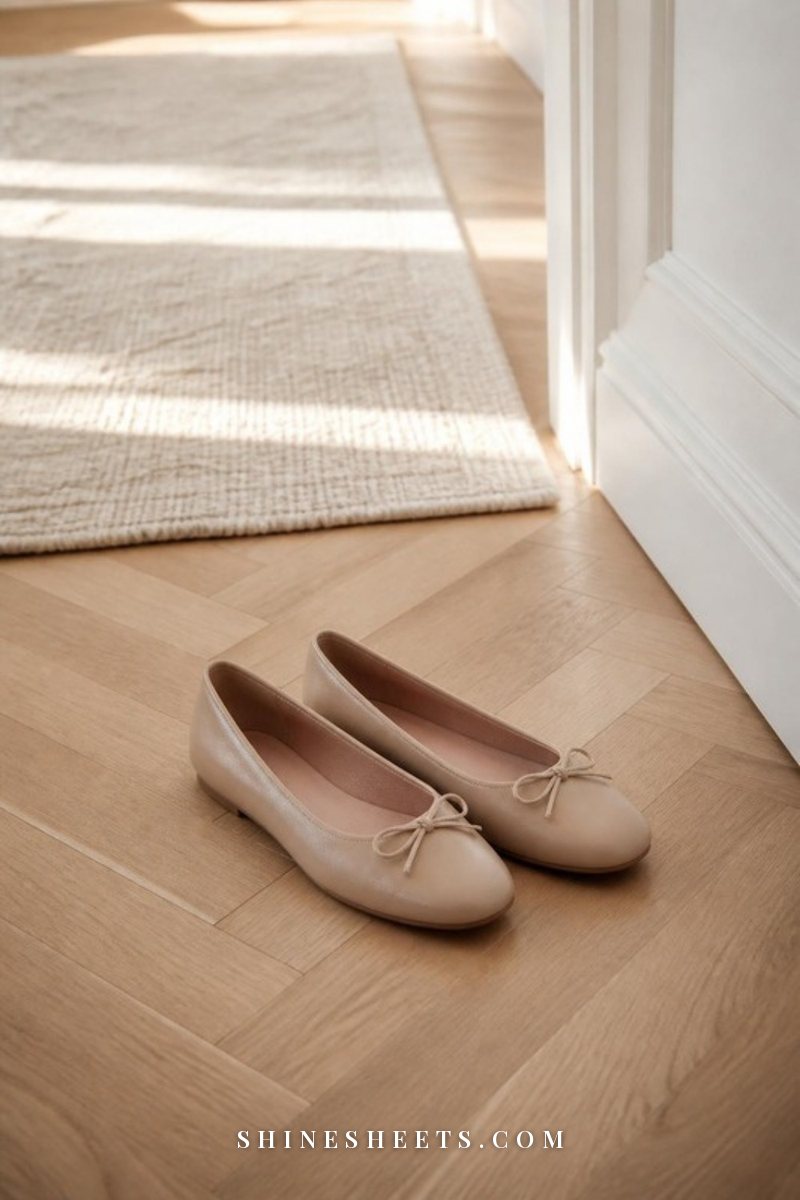
Protection is the least glamorous part of floor care, and the part that saves you the most work. Here's what makes the biggest difference:
Stop Grit at the Door
A washable woven doormat inside the door, plus a coarser one outside, catches most of the sand before it ever reaches the wood. A shoes-off home is even better – a small bench and a basket for slippers makes it feel welcoming rather than strict. My entryway ideas have pretty ways to set this up even in a tiny hallway.
Pad Every Furniture Leg
Stick felt furniture pads under chairs, tables, the sofa and anything you move often. Check them every few months – pads collect grit and wear thin, and a dirty pad scratches just like a bare leg.
Use Rugs Thoughtfully
Area rugs protect high-traffic paths, but choose a rug pad labeled safe for hardwood – some rubber backings can discolor finishes. If you're shopping, my guide on how to choose a rug covers sizes, materials and pads.
Mind the Light and Humidity
Strong sun can fade or darken wood unevenly, so sheer curtains help, and moving rugs occasionally keeps the color even. Wood also moves with humidity: very dry winter air can open small gaps between boards. Many flooring makers suggest keeping indoor humidity roughly between 35 and 55 percent; check your floor manufacturer's guidance.
How To Deep Clean and Refresh Hardwood Floors
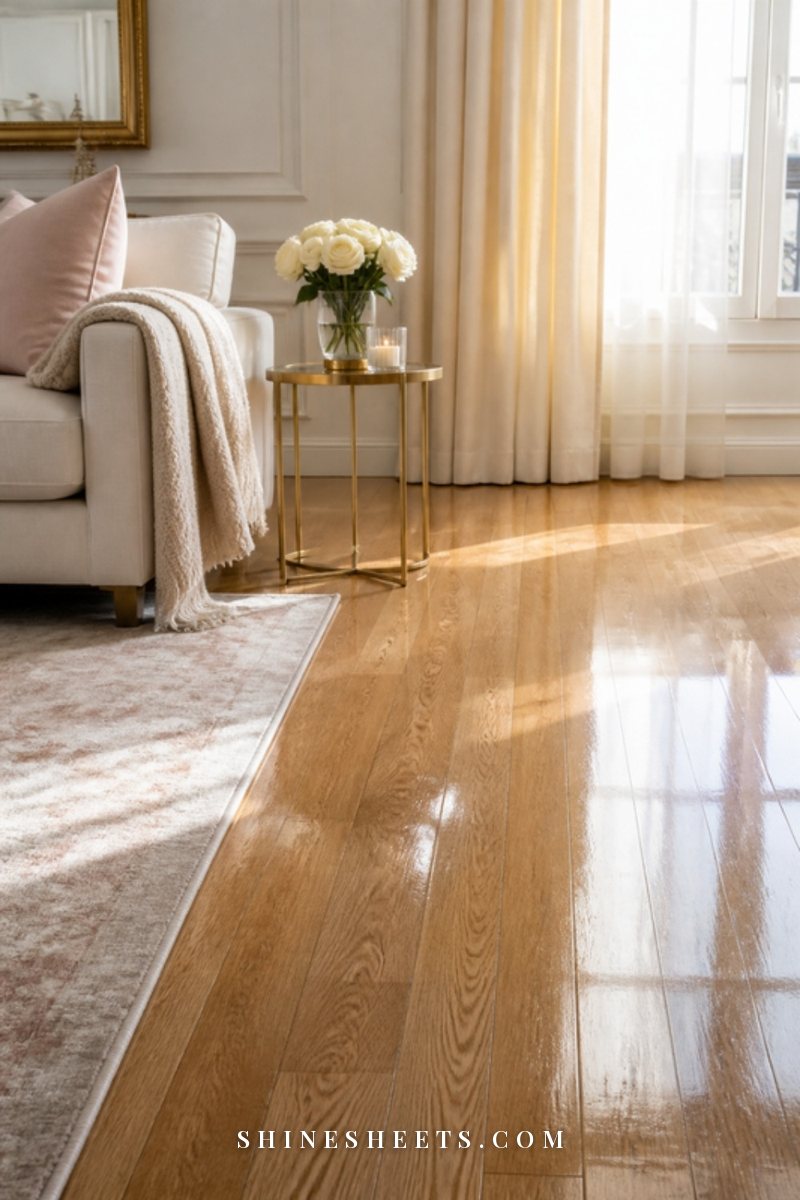
Once or twice a year – a lovely job for a quiet weekend before guests arrive – give your floors a deeper clean:
- Clear the room as much as possible, or at least move chairs and small furniture.
- Dry clean thoroughly, including edges and corners. Use the crevice tool along baseboards.
- Clean in small sections with your pH-neutral cleaner and a fresh microfiber pad, changing pads often.
- Work on problem spots (sticky areas, scuffs) as described above.
- Dry and buff with a clean, dry microfiber pad for an even sheen.
- Consider a refresher. If a sealed floor looks dull even when clean, a hardwood polish or refresher made for polyurethane can restore some shine. Use it sparingly, follow the label exactly, and only on a floor that's truly clean. Wax and oil floors need their own maintenance products.
If the finish is worn through to bare wood in walkways, water soaks in quickly, or the floor looks gray no matter what you do, it's time to talk to a professional about a screen-and-recoat or refinishing. It's far less dramatic (and less expensive) than replacing a floor.
Hardwood Floor Care Table: Daily to Yearly
Here's the whole routine in one place. Screenshot it, or slot the rows into your existing cleaning schedule.
| How often | What to do | Time it takes |
|---|---|---|
| Daily or every other day | Dust mop or soft-broom high-traffic areas; wipe spills immediately | 5 minutes |
| Weekly | Vacuum on hard-floor setting, then damp mop with a pH-neutral cleaner (sealed floors only) | 15–30 minutes |
| Weekly | Shake out doormats, wash mop pads without fabric softener | 5 minutes |
| Monthly | Clean under furniture and along baseboards; check felt pads; rub off scuffs | 20 minutes |
| Every 3 months | Rotate area rugs; replace worn felt pads; check pet areas for wear | 15 minutes |
| Every 6–12 months | Deep clean room by room; apply a finish-appropriate refresher if needed | 1–3 hours |
| Every few years | Professional screen-and-recoat when the finish looks worn in walkways | Book a pro |
One little tip about mop pads: fabric softener coats microfiber and makes it streak, so wash pads with regular detergent and let them air dry.
Quick Answers to Common Hardwood Floor Questions
Is a Robot Vacuum Safe for Hardwood?
Usually, yes – a robot vacuum is great for daily grit. Just keep its brushes clean and check that it doesn't have a wet mopping mode running on oil or wax floors.
Why Do My Floors Look Streaky After Mopping?
Almost always: too much product, a dirty pad or leftover residue from an old cleaner. Mop once with a pad dampened in plain water, then dry buff. Go lighter on the cleaner next time.
How Do I Make Hardwood Floors Shine?
Shine comes from a clean, intact finish. Dry clean, damp mop lightly, then buff with a dry microfiber pad. Avoid products promising a "wet look" on a floor that isn't designed for them – they can build up into a cloudy layer.
How Often Should You Mop Hardwood Floors?
For most homes, once a week is plenty for sealed floors, and every two weeks is fine for quiet rooms like a guest bedroom. The kitchen and entry may need a quick spot mop between sessions. If you find yourself mopping every day, look at what's coming in – usually it's grit from shoes or a doormat that's too small – rather than mopping more.
What About Engineered Hardwood?
Engineered hardwood has a real wood top layer over a plywood core, and it's usually factory-finished. Clean it the same gentle way as sealed solid hardwood: dry clean often, damp mop lightly with a pH-neutral cleaner, and keep water away from the seams. Its wear layer can be thin, so be extra careful with abrasives, and check the manufacturer's warranty before using any polish or refresher, since some products can void it.
Is It Okay To Clean Hardwood With Just Water?
A pad lightly dampened with plain water is fine for a quick touch-up on a sealed floor, and it's handy for removing leftover cleaner residue. It won't cut through greasy kitchen film as well as a dedicated cleaner, though, and the same rule applies: barely damp, never wet, and dry any spot that still looks shiny after a minute.
Always check your flooring manufacturer's care instructions, because they override any general advice (including mine), especially for engineered wood and factory-finished floors.
Final Thoughts
Caring for wood floors is mostly about restraint: less water, gentler products, and a few small habits at the door and under the chairs. Give them five minutes most days and a soft damp mop once a week, and they'll reward you with that warm, golden glow that makes a whole room feel calmer.
Start with the water drop test this week, pick one protective habit, and let the rest settle in slowly. Your floors have plenty of time, and so do you.