Most stains aren't permanent. They become permanent, usually because of something we do in the first ten minutes: rubbing them deeper, rinsing them with hot water or tossing the shirt in the dryer and hoping for the best. The good news is that the opposite is true too. A calm, correct first step saves almost every piece of clothing.
This guide covers how to remove stains from clothes one stain at a time, from your morning coffee to a smudge of foundation on a white collar. You'll find six golden rules, a small stain kit to keep in your laundry spot, a stain removal chart you can screenshot, step-by-step fixes for eleven common stains, what to do with delicates and dry-clean-only pieces, and how to rescue the old stains you'd almost given up on.
No fancy chemistry degree needed. Just a few basics, a little patience and the willingness to check a stain before it goes in the dryer.
The 6 Golden Rules of Stain Removal
Before we get to specific stains, these six rules do most of the heavy lifting. If you remember nothing else from this guide, remember these:
- Act fast. A fresh stain sits on top of the fibers. Give it a day and it settles in, dries and bonds. Even a quick rinse from the back of the fabric within a few minutes makes the later cleanup much easier.
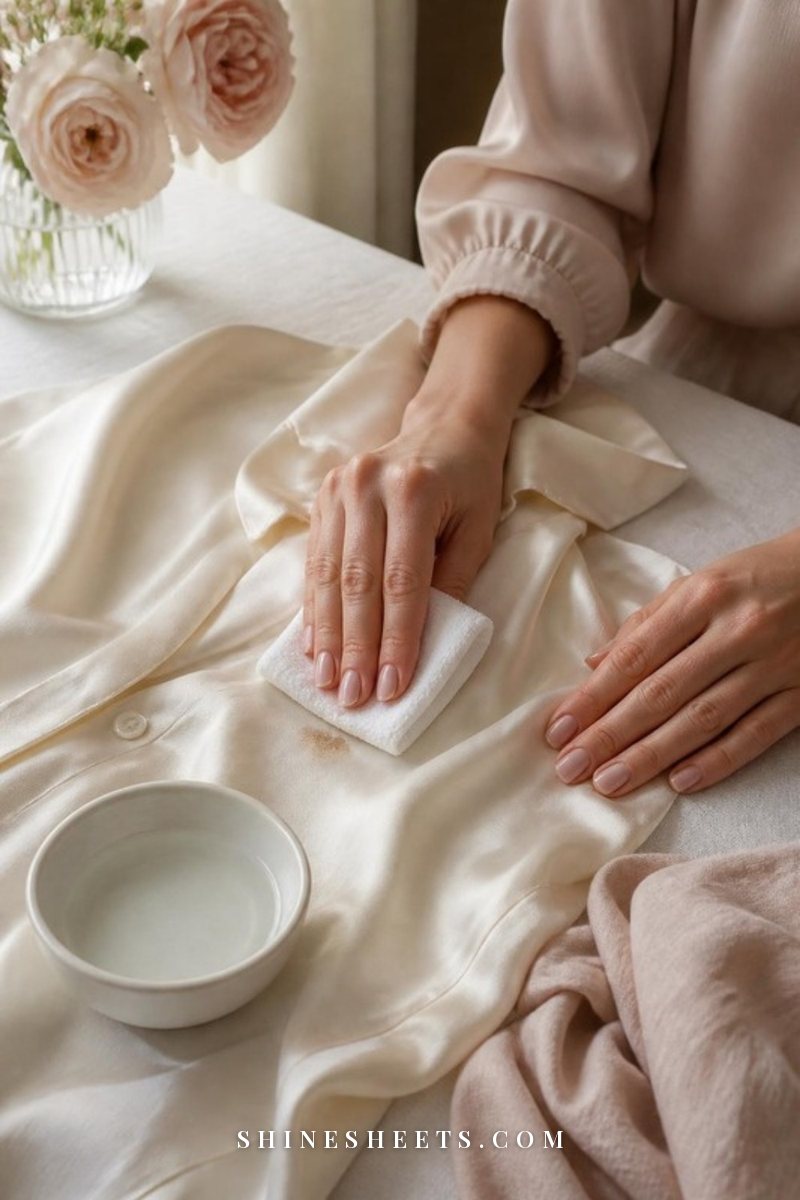
- Blot, don't rub. Rubbing pushes the stain deeper and spreads it wider, and on delicate fabrics it roughs up the surface. Press a clean white cloth or paper towel onto the stain, lift, move to a clean spot and press again.
- Cold water first for protein stains. Blood, sweat, egg, dairy and grass contain proteins that "cook" into the fabric in hot water. Start cold every time you're not sure what the stain is. You can always go warmer later; you can't undo heat.
- Test on a hidden spot. Inside seam, hem allowance or the underside of a pocket. Dab your treatment on, wait five minutes and blot with a white cloth. If color comes off or the fabric changes texture, choose something gentler.
- Don't dry until it's gone. The dryer's heat sets stains almost permanently. After washing, check the spot in good light while the garment is still damp. If you can still see it, treat again and air-dry.
- Read the care label. It tells you the fiber, the safe water temperature and whether bleach is allowed. A triangle with an X means no bleach of any kind; a triangle with two diagonal lines means oxygen bleach only.
One small extra: always work from the back of the fabric when you flush a stain with water. That way you push the stain out the way it came in, instead of through the whole thickness of the fabric.
Your Mini Stain Kit (Keep It Where You Do Laundry)
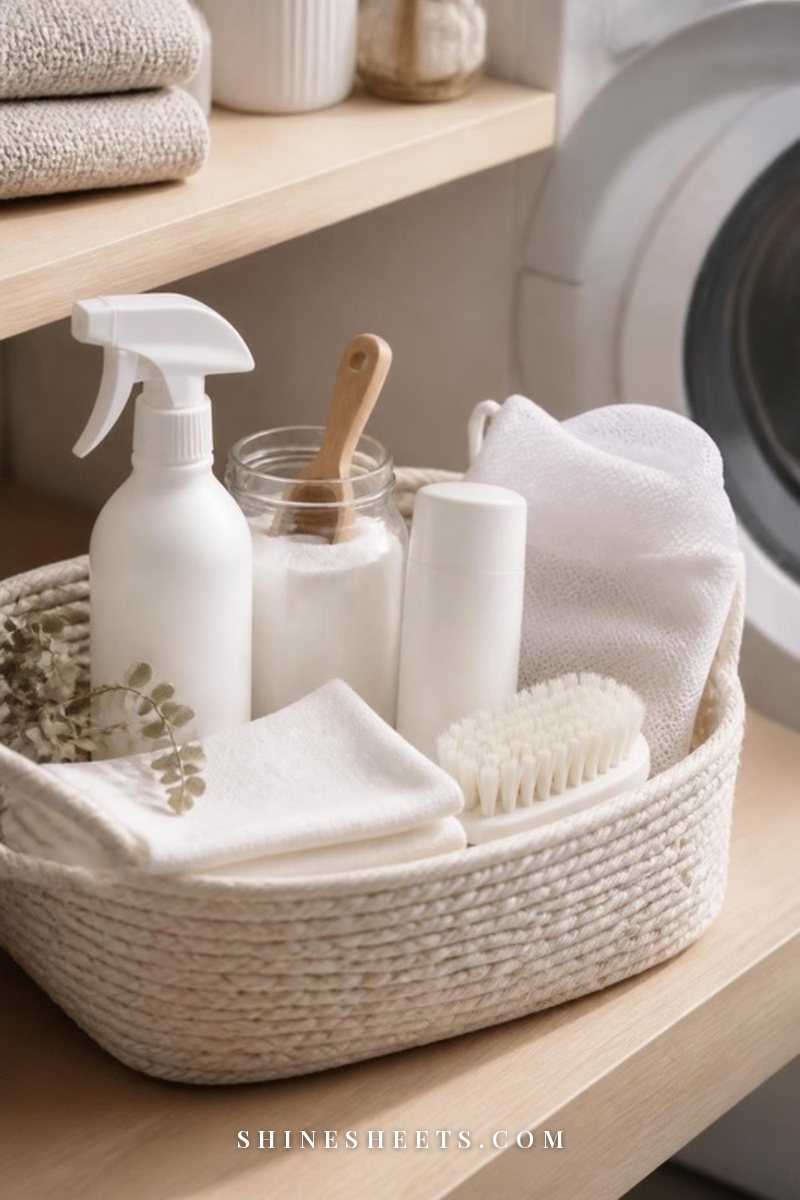
Half the battle is having the right thing within reach the moment a spill happens. A small basket or caddy with these six basics covers almost every stain in this guide:
- An enzyme stain remover. Enzymes break down protein and starch stains like blood, sweat, grass, food and baby formula. An enzyme stain remover spray is the one I'd choose as your everyday first step for washable cottons and synthetics.
- Oxygen bleach powder. This is the gentle, color-safe alternative to chlorine bleach and the secret behind most "it actually came out!" moments. A tub of oxygen bleach powder handles soaking old stains, yellowing and dingy whites.
- A stain stick. For your bag or desk drawer. Look for a laundry stain remover stick you can rub on a spot and leave until wash day, since it's the easiest way to stop a stain from drying out in the meantime.
- A soft brush. A white soft-bristle brush (an old soft toothbrush works too) helps you work a treatment gently into the fibers without scrubbing them rough. White matters, because colored bristles can transfer dye.
- Clear dish soap. Dish soap is designed to cut grease, which makes it perfect for oily stains, makeup and salad dressing. Choose a plain, clear one without added dyes or lotion, like a clear gentle dish soap.
- Mesh laundry bags. For anything delicate you've just treated, a set of white mesh laundry bags keeps it from snagging or stretching in the machine.
Add a few white cotton cloths or old white T-shirt squares, a bottle of rubbing alcohol, some 3% hydrogen peroxide and a box of cornstarch or baking soda, and you're ready for almost anything. For more gentle swaps you can make with pantry basics, my guide to natural cleaning that actually works is a nice companion.
Stain Removal Chart
Here's the whole guide in one table. Screenshot it and keep it on your phone, because stains rarely happen at a convenient moment. "First step" is what to do in the first few minutes; "treatment" is what to do before washing.
| Stain | First step | Treatment | Avoid |
|---|---|---|---|
| Coffee or tea | Blot, flush with cold water from the back | Liquid detergent or enzyme spray, then oxygen bleach soak if needed | Bar soap, letting it dry |
| Red wine | Blot, flush with cold water | Dish soap plus a little hydrogen peroxide (whites), oxygen bleach soak (colors) | Salt rubbed in, hot water |
| Foundation | Scrape off excess | Micellar water or dish soap, worked in with a soft brush | Water alone |
| Lipstick | Lift with a tissue, don't smear | Dish soap or rubbing alcohol dabbed from the back | Rubbing, heat |
| Mascara | Let it dry, brush off flakes | Oil-free makeup remover, then dish soap | Wiping wet |
| Deodorant marks | Rub the fabric against itself or use a dry sock | Dish soap or a vinegar dab, then wash | Ironing over it |
| Sweat yellowing | Rinse in cold water | Enzyme spray, then oxygen bleach soak | Chlorine bleach |
| Grease or oil | Blot, cover with cornstarch for 15 minutes | Dish soap worked in, warmest safe water | Water first, the dryer |
| Blood | Flush with cold water only | Enzyme spray, or hydrogen peroxide on whites | Warm or hot water |
| Grass | Brush off loose bits | Enzyme spray, then rubbing alcohol if green remains | Hot water, chlorine bleach |
| Ink | Paper towel underneath | Rubbing alcohol dabbed and blotted | Spreading it, water first |
| Tomato sauce | Scrape, flush cold from the back | Dish soap, then a little white vinegar | Hot water, the dryer |
| Self-tanner | Rinse in cold water | Dish soap, then oxygen bleach soak | Hot water |
Whatever the stain, finish with a normal wash at the warmest temperature the care label allows (except for blood and sweat, which stay cool), and check before drying.
How To Remove Stains From Clothes, Stain by Stain
Now for the details. Each stain below has its own little routine, but you'll notice they follow a pattern: lift what you can, flush, treat, wait, wash, check.
1. Coffee and Tea
Coffee and tea are tannin stains, the same family as wine and juice. They're easy when fresh and stubborn once dried, especially if there's milk in the cup (milk adds a protein stain on top).
- Blot, then hold the stain under cold running water from the back for a minute.
- Rub a drop of liquid laundry detergent or enzyme spray into the spot with your fingertip and leave it for 10 to 15 minutes.
- Wash as usual. If a faint brown ring remains, soak in oxygen bleach and warm water for an hour (or overnight for whites) and wash again.
Skip bar soap on tannin stains; it can make them harder to lift.
2. Red Wine
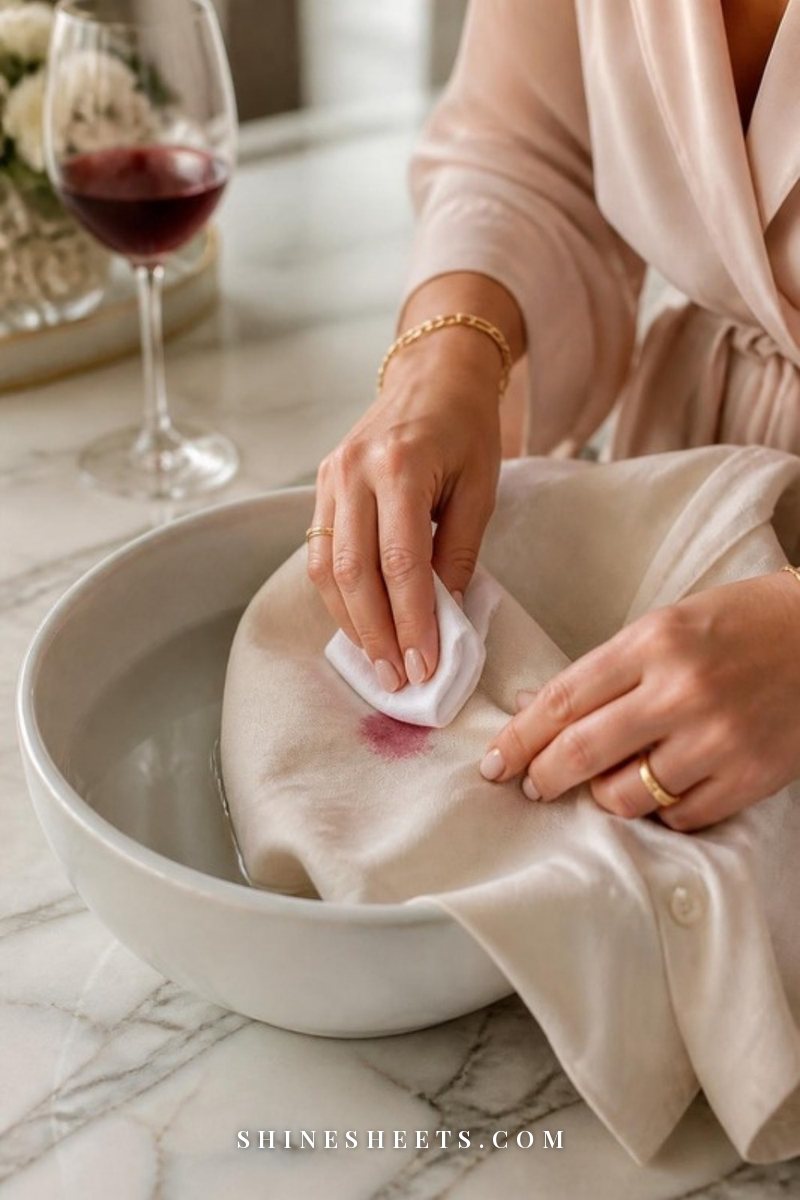
Red wine looks like a disaster but is surprisingly forgiving if you keep it wet. Forget the old trick of rubbing salt in; it can help absorb a puddle on a tablecloth, but on clothes it mostly grinds the color in.
- Blot as much as you can, then flush with cold water from the back.
- Mix one teaspoon of dish soap with two tablespoons of water and dab it on. Blot, repeat.
- On white cotton, dab on a little 3% hydrogen peroxide and let it sit for 10 minutes (test first; it can lighten colors).
- On colors, soak in oxygen bleach solution for one to six hours, then wash.
If you're out for the evening, a splash of club soda or plain water and some gentle blotting buys you time until you get home.
3. Makeup: Foundation, Lipstick and Mascara
Makeup stains are mostly oils, waxes and pigments, so water alone just moves them around. Think of it like taking off makeup at night: you need something that dissolves oil first.
- Foundation: Scrape off any excess with a spoon edge. Dab on micellar water (for light marks) or a drop of dish soap, work it in gently with a soft brush for 30 seconds, then rinse with cool water. Powder foundation can often be shaken and brushed off before you even wet it.
- Lipstick: Lift the waxy bit with a tissue without smearing. Lay the fabric face down on a paper towel and dab rubbing alcohol or dish soap from the back so the color moves into the towel, not the shirt. Replace the paper towel as it picks up color.
- Mascara: Let a fresh smudge dry, then brush off the flakes. Use an oil-free makeup remover on a cotton pad, dab, then follow with a drop of dish soap and rinse.
Collars and necklines collect a slow build-up of foundation, sunscreen and skin oils. Rubbing a drop of dish soap into the collar before every wash keeps that gray line from forming in the first place. (And if you'd like fewer smudges to begin with, setting your base with a little powder helps more than you'd think.)
4. Deodorant Marks
The chalky white streak from getting dressed in a hurry is the easiest stain on this list. Rub the fabric against itself, or use a clean dry sock or a pair of nylon tights, and most of it disappears in seconds.
For stiff, waxy build-up in the underarms of a top you wear often, dab on a little white vinegar or dish soap, wait 15 minutes and wash. Never iron over a deodorant mark, because heat melts it into the fibers. Letting deodorant dry fully for a minute or two before you get dressed prevents most of these marks.
5. Sweat Yellowing
Yellow underarm stains on white shirts usually come from a mix of sweat proteins and aluminum from antiperspirant, built up wash after wash. They take a little patience, but a lot of them come out.
- Rinse the underarms in cold water and spray generously with enzyme stain remover. Leave for 30 minutes.
- Gently brush with a soft brush, then soak the shirt in oxygen bleach and warm water (whatever the label allows) for at least six hours or overnight.
- Wash and air-dry in the sun if you can; sunlight is a gentle natural brightener for whites.
- Repeat once or twice for older stains.
Avoid chlorine bleach here. It reacts with sweat proteins and can actually make yellowing darker. For keeping whites bright between stains, I have a whole list of laundry tips that keep clothes looking new.
6. Grease and Oil
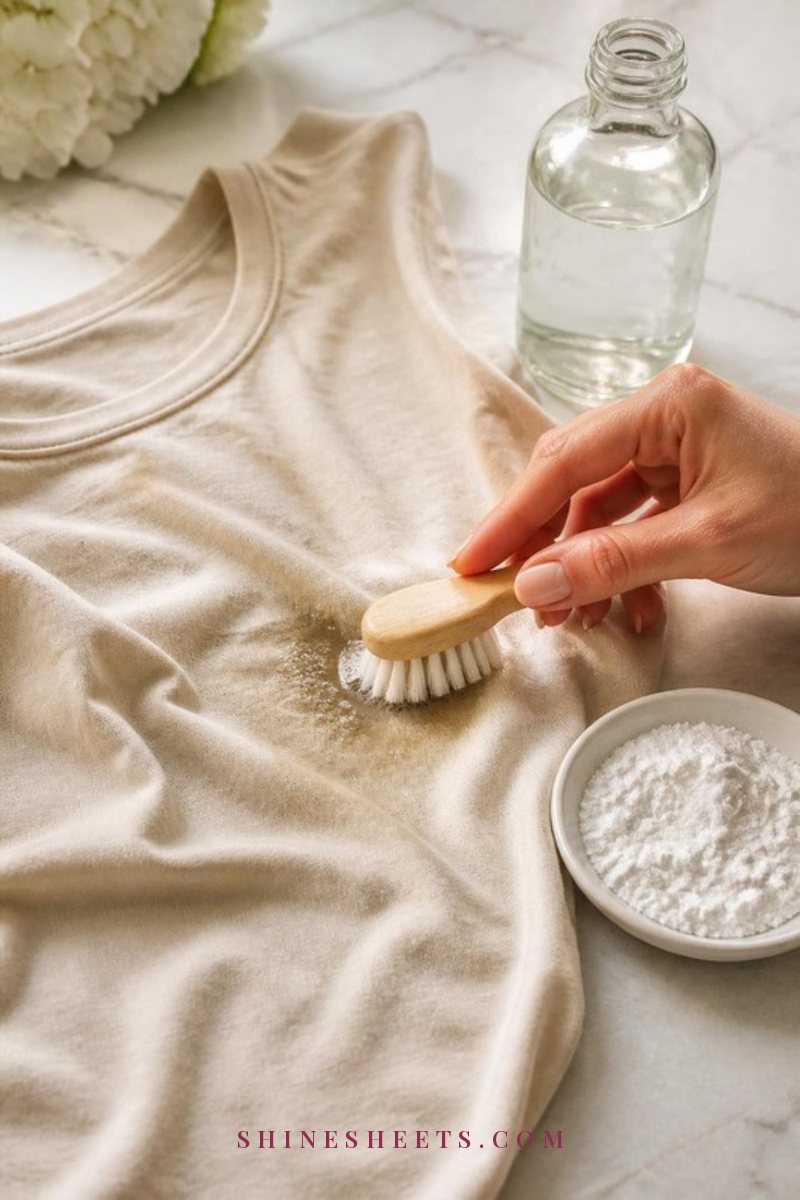
Salad dressing, butter, body oil, hair oil, candle wax residue: oily stains are the ones that look gone when wet and reappear as a dark spot once dry. The key is to never start with water.
- Blot, don't rub, with a paper towel.
- Cover the spot with cornstarch or baking soda and leave it for 15 to 30 minutes so it soaks up the oil. Brush it off.
- Rub a few drops of clear dish soap into the stain from both sides and work it in with a soft brush for a minute.
- Leave it for 10 minutes, then wash in the warmest water the label allows.
- Check in good light while damp. Oil stains often need a second round, and air-drying is a must until they're fully gone.
Body oils and moisturizers count as oily stains too, which is why pillowcases and sheets slowly turn dingy. The same dish soap trick works on bedding; my guide on how to wash sheets walks through the full routine.
7. Blood
Blood is a protein stain, and the single most important rule is cold water only. Warm or hot water cooks it into the fibers, turning a pink spot into a permanent brown one.
- Flush from the back with cold running water as soon as possible, gently squeezing the fabric.
- Spray with enzyme stain remover and leave for 15 to 30 minutes, then rinse cold.
- On white cotton or linen, dab on 3% hydrogen peroxide. It will fizz as it lifts the stain; blot and repeat until the fizzing stops. Test it first on colors, because it can lighten them.
- Wash in cold water and air-dry.
For dried blood, soak in cold water with an enzyme detergent for a few hours before treating. Underwear and bedding can be soaked together in a bowl overnight.
8. Grass
Grass stains combine chlorophyll (a dye) and plant proteins, which is why they can be tricky. They're common on light jeans, picnic dresses and the knees of leggings.
- Brush off any loose dirt or bits of grass.
- Spray with enzyme stain remover, brush gently and leave for 30 minutes.
- If a green tint remains, dab with rubbing alcohol on a white cloth (test first), then rinse.
- Wash in cool to warm water and check before drying.
9. Ink
Ballpoint ink is oil-based and dissolves best in alcohol. Water first tends to spread it into a bigger, paler cloud.
- Place a folded paper towel under the stain.
- Dab rubbing alcohol onto the ink with a cotton ball or white cloth. Don't rub; just press and lift, switching to a clean spot each time. You'll see the ink move into the paper towel.
- Keep going until no more color transfers, then rub in a drop of dish soap and rinse.
- Wash as usual.
Gel ink and permanent marker are much harder. Try the same method, but be prepared to accept a faded mark rather than a perfect result. A pen that leaked in a pocket and then went through the dryer is, honestly, often a lost cause, so check pockets before every wash.
10. Tomato Sauce
Tomato-based stains (pasta sauce, ketchup, salsa) are a mix of oil and a stubborn red-orange pigment. Treat the oil first, then the color.
- Scrape off excess with a spoon, then flush with cold water from the back.
- Rub in a drop of dish soap and leave for 10 minutes. Rinse.
- Dab on a little white vinegar to lift the remaining color, wait five minutes, rinse again.
- Wash, and if an orange shadow remains, lay the damp garment in sunlight for a few hours. Tomato pigment fades surprisingly well in the sun.
11. Self-Tanner
Self-tanner stains happen when the active ingredient reacts with fabric the same way it reacts with skin, which is why fresh streaks on sheets and collars darken over a few hours. Speed matters more here than with almost any other stain.
- Rinse the area in cold water as soon as you notice it.
- Work in a drop of dish soap with your fingers or a soft brush, then rinse.
- Soak in oxygen bleach and cool water for a few hours, then wash.
Prevention is easier than cure: wear loose, dark clothes for the first few hours after applying and let the tanner dry completely. My self-tanner for beginners guide has more tips for avoiding streaks on skin and fabric.
What To Do With Delicates and Dry-Clean-Only Clothes
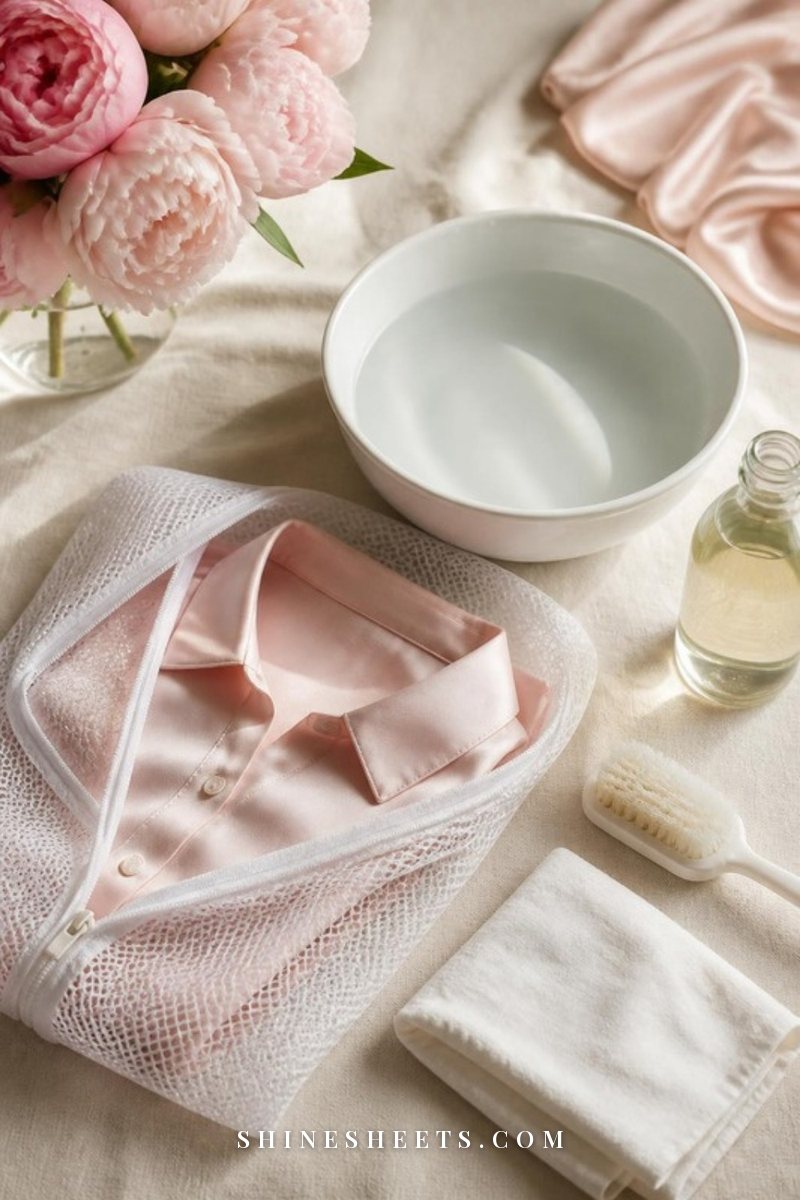
Silk, wool, cashmere, rayon, acetate and anything with structure (tailored blazers, lined dresses, embellished pieces) need a gentler approach. Here's how I'd think about them:
- Skip enzymes and oxygen bleach on silk and wool. Enzyme cleaners break down proteins, and silk and wool are protein fibers, so they can weaken the fabric itself. Use a pH-neutral delicate detergent or a tiny drop of mild soap instead.
- Use less water, not more. Dampen a white cloth, dab lightly from the outside of the stain toward the center and blot dry right away. Silk especially can get water rings if you soak one patch.
- Treat oil with powder. On silk and wool, cornstarch or talc left on an oil spot for a few hours, then brushed off, is often all you need.
- Wash in a mesh bag on the delicate cycle (if the label allows machine washing) and always air-dry flat.
For "dry clean only" clothes, the safest move is to blot, stop and take it to a dry cleaner within a day or two. Point out the stain and tell them what it is; "red wine, Saturday night" helps them choose the right solvent. Don't add water or any home remedy first, because that can set the stain or leave a ring the cleaner can't remove.
Knits have their own little rules, and my guide on how to care for cashmere and wool sweaters covers washing, drying and storing them so they last for years.
How To Rescue Old, Set-In Stains
A stain that went through the dryer, or a mystery spot you found at the back of the closet, isn't automatically a lost cause. It just needs a longer, slower approach. Here's the routine I'd try before giving up:
- Identify it if you can. Oily stains look darker and slightly translucent; protein and tannin stains are usually yellow or brown with a defined edge.
- Pretreat. Dish soap for oily stains, enzyme spray for everything else. Work it in with a soft brush and leave it for at least an hour.
- Soak long. Dissolve oxygen bleach in the warmest water the label allows and submerge the garment for six to eight hours or overnight. For whites, you can repeat with a fresh solution.
- Wash and check. Look at the stain in daylight while it's still damp.
- Repeat once or twice. Many set-in stains fade a little more with every round. Air-dry in between.
If a stain survives three full rounds, it's probably permanent. That's when I'd give the piece a second life: wear it around the house, dye it a darker color, or turn it into a cleaning cloth. Carpet and upholstery follow slightly different rules, so for spills that landed on the rug too, see how to clean carpet stains.
A Quick Safety Note: What Never To Mix
Stain removal is mostly gentle, but a few household combinations release harmful gases, and it's easy to stack products without thinking when you're frustrated with a stubborn spot. Please keep these apart:
- Chlorine bleach + ammonia (some glass and all-purpose cleaners contain ammonia) releases toxic chloramine vapors.
- Chlorine bleach + vinegar (or any acid) releases chlorine gas.
- Chlorine bleach + rubbing alcohol can form harmful compounds.
- Hydrogen peroxide + vinegar in the same container makes a corrosive acid that can irritate skin, eyes and lungs.
Rinse the fabric completely between different treatments, work in a ventilated room, and wear gloves if your hands are sensitive. If you ever feel lightheaded or your eyes sting while cleaning, step outside into fresh air right away.
Final Thoughts
Stains feel like small emergencies, but most of them only need three things from you: a calm first minute, the right kind of treatment and the patience to check before the dryer. Keep your little kit nearby, save the chart, and give stubborn spots a second round before you give up on them.
Your favorite white shirt, your silk blouse and your comfiest pair of jeans deserve a long life, and now you have everything you need to give them one.