For a long time my "everyday makeup" was either nothing at all or a full twenty-minute production that made me late. There was no in-between. I'd stand at the bathroom sink with a drawer full of half-used products, try to copy a tutorial I'd watched the night before, and end up wiping half of it off because it looked like a lot for a Tuesday.
What finally fixed it wasn't a new product. It was a timer. I gave myself seven minutes, one minute per step, and allowed only the things that make the biggest difference: even skin, a little brightness under the eyes, color in the cheeks, defined brows and lashes, and a soft lip. Everything else became optional.
So this is my gentle everyday makeup routine for beginners: seven steps in seven minutes, with a minute-by-minute timeline you can keep open while you practice. It's a soft, natural look that reads as "you, but well rested," and it works with simple, widely loved drugstore and K-beauty basics. No contouring, no ten brushes, no special skills.
If you've ever felt like makeup is a language everyone else learned in middle school, this one is for you. Grab your kit, set a timer on your phone and let's keep it easy.
What You Need: A 7-Piece Beginner Kit
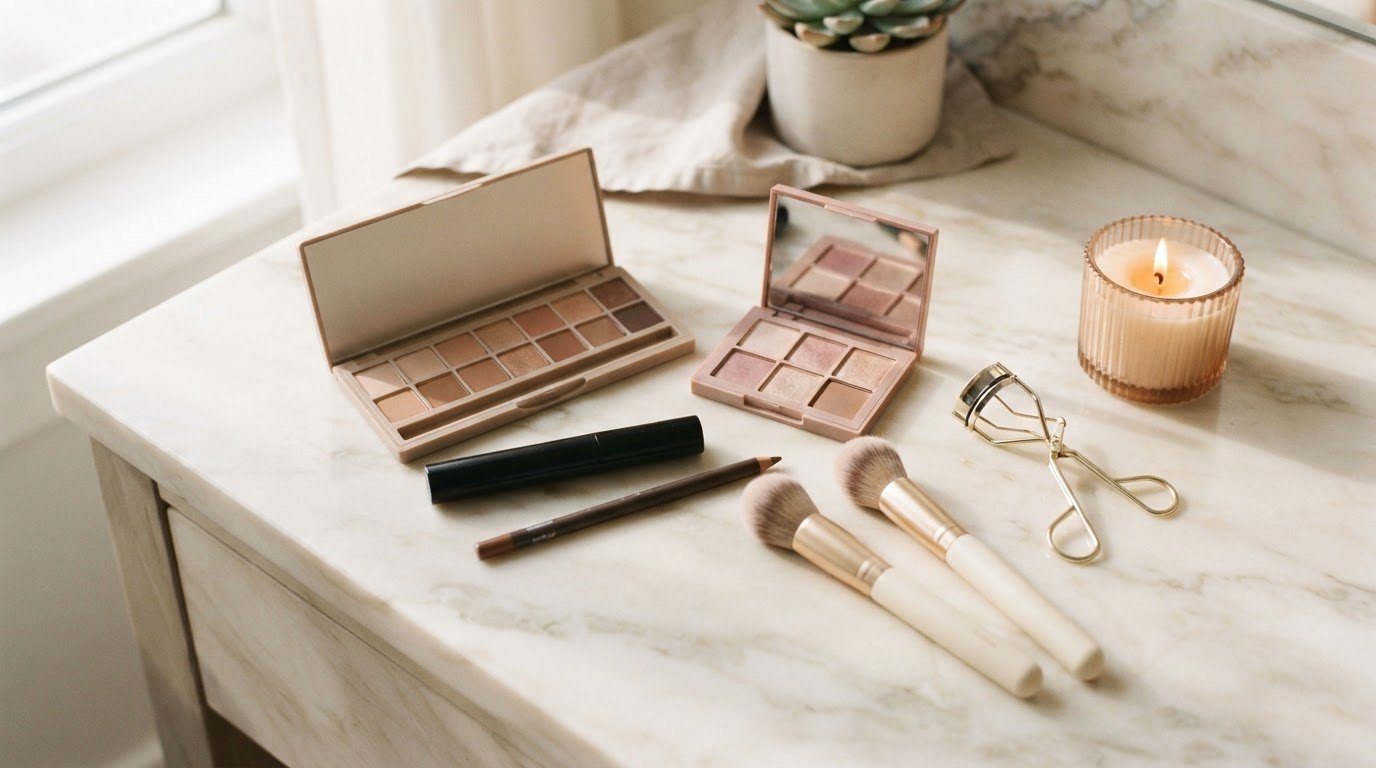
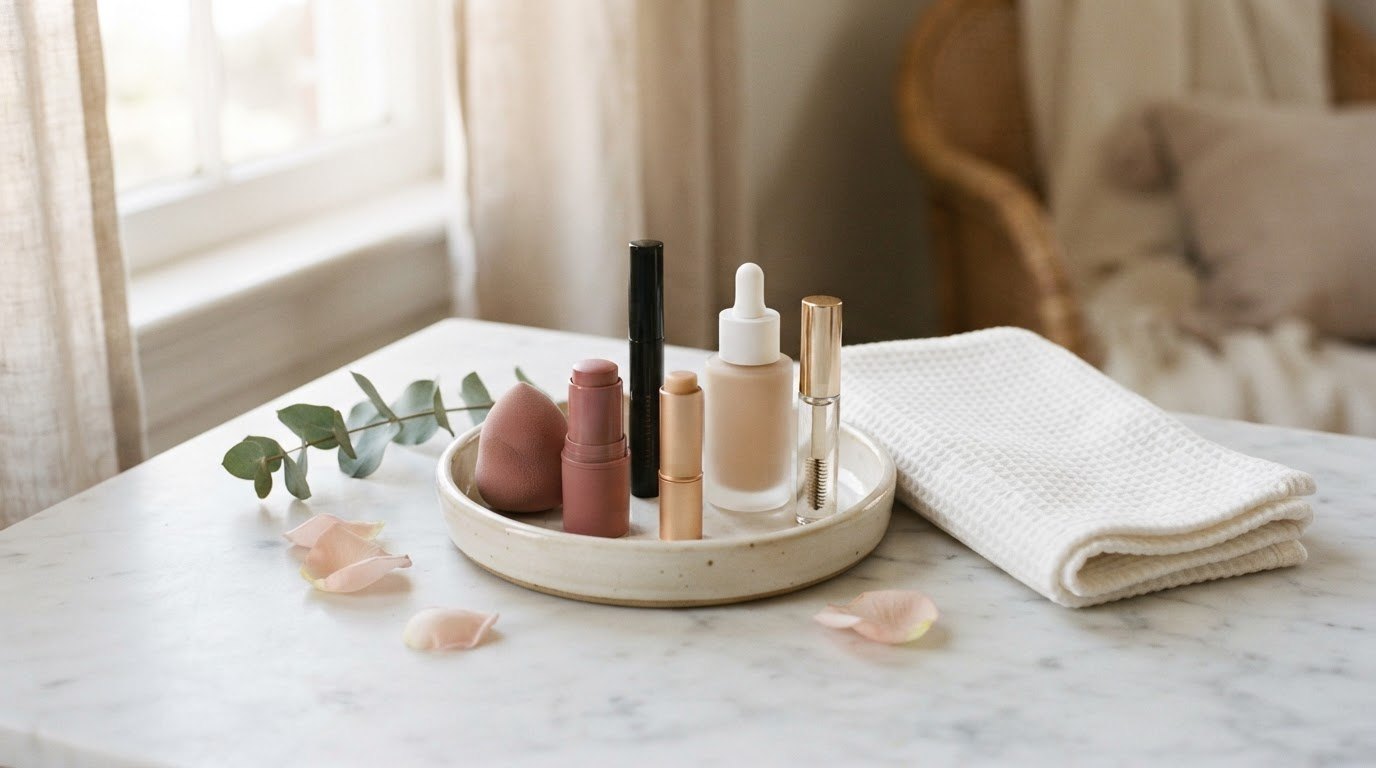
You don't need a full vanity to start. In fact, fewer products make the routine faster and help you learn what each one actually does. Here's the whole kit, one product per step:
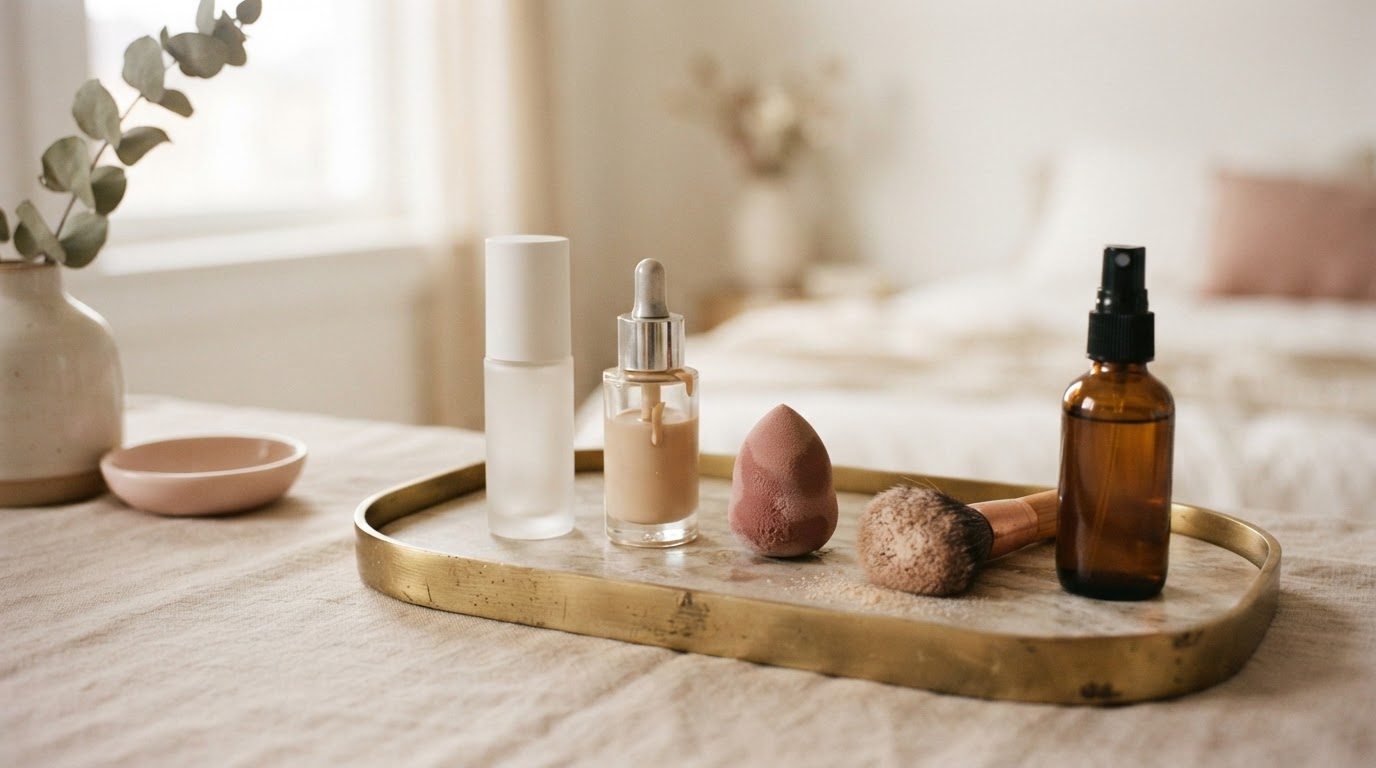
- A skin tint or tinted moisturizer with SPF. Sheer, forgiving and quick. A lightweight skin tint with sun protection evens out redness without looking like makeup. (Foundation works too, but a tint is much harder to get wrong.)
- A creamy concealer one shade lighter than your skin for under the eyes, or your exact shade for spots.
- A damp sponge for blending. A soft pink blending sponge sinks product into skin so it looks like skin, not a layer on top.
- A cream blush in a soft pink, peach or rose. Cream is the most beginner-friendly texture because you can blend it with your fingers.
- A brow gel, clear or tinted.
- A mascara in black or brown.
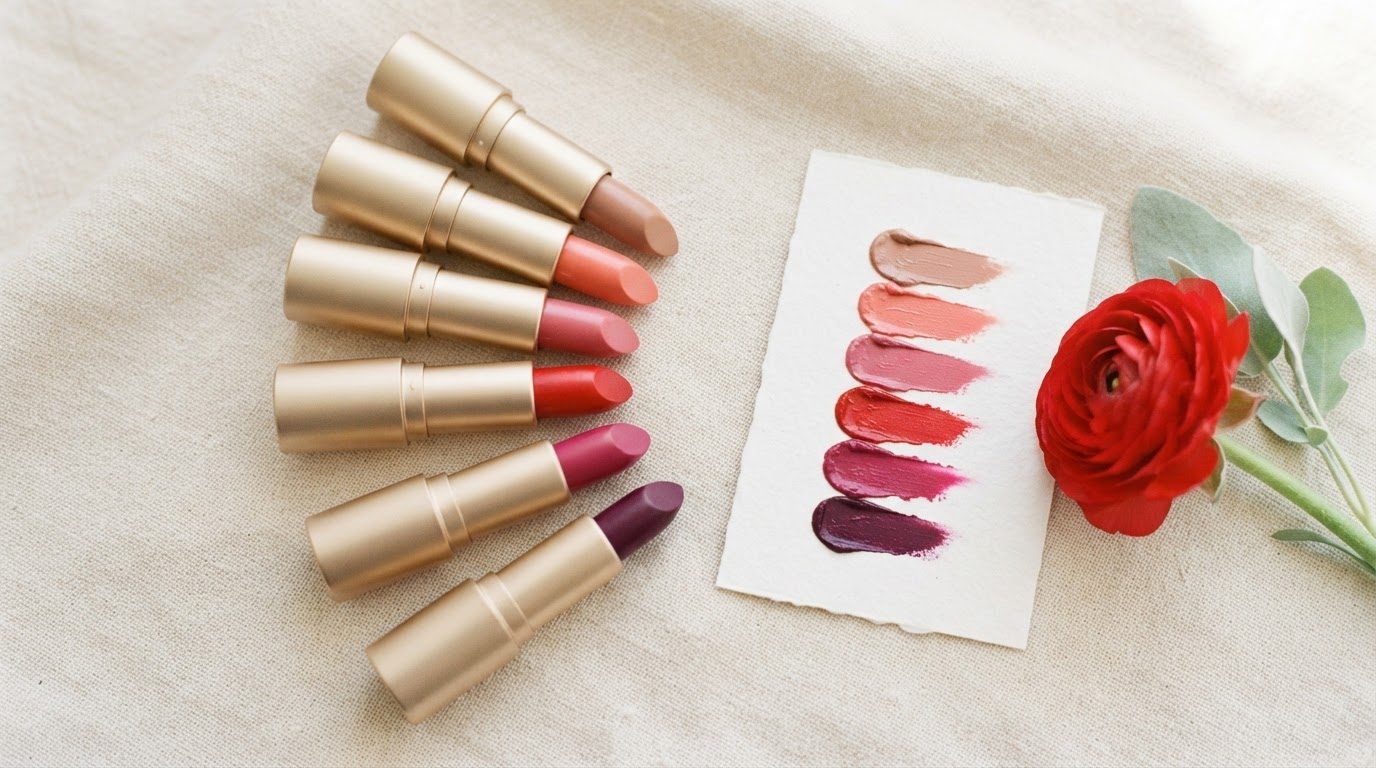
- A tinted lip balm or a sheer lipstick in a "your lips but better" shade.
That's it. If your skin is very dry you might add a moisturizer underneath, and if your T-zone gets shiny like mine you might add a tiny bit of powder later, but neither is required to look put together.
Not sure which shade of tint or concealer to buy? My guide on how to choose a foundation shade walks you through undertones and the jawline test, and the same rules apply to skin tints.
Before You Start the Timer: 2-Minute Skin Prep
Makeup sits on top of skincare, so the prep matters more than any product. This part doesn't count toward your seven minutes, because you'd do it anyway.
- Cleanse or rinse. A splash of lukewarm water is enough on most mornings.
- Moisturize. A thin layer, then wait about a minute while you brush your teeth. Makeup slides around on wet, freshly applied cream.
- Sunscreen. If your skin tint has SPF, it helps, but most of us don't apply enough tint to get the full protection on the label. A regular sunscreen underneath is the safer habit.
I have combination, sensitive skin with a T-zone that gets shiny by lunchtime, so I keep the moisturizer light in the middle of my face and a little richer on my cheeks. If you want a full routine built around that, my post on a skincare routine for combination skin has the details.
The 7-Minute Timeline
This is the heart of the routine. One step per minute, in this exact order, because each step makes the next one easier. Screenshot it and prop your phone against the mirror for the first week.
| Minute | Step | Product type | Beginner tip |
|---|---|---|---|
| 0:00–1:00 | 1. Even out skin | Skin tint or tinted moisturizer | Dot it on the center of your face only and blend outward. Skip the edges. |
| 1:00–2:00 | 2. Brighten and cover | Creamy concealer | A small triangle under the inner eye, plus a dot on any spot. Tap, never rub. |
| 2:00–3:00 | 3. Blend and melt | Damp sponge | Bounce over tint and concealer edges until you can't see where they stop. |
| 3:00–4:00 | 4. Add color | Cream blush | Smile, dab on the apples, blend up toward the temples with fingertips. |
| 4:00–5:00 | 5. Frame the face | Brow gel | Brush up first, then smooth the tails outward. Fill gaps lightly if needed. |
| 5:00–6:00 | 6. Open the eyes | Mascara | Wiggle at the root, pull to the tips. One coat on top lashes is enough. |
| 6:00–7:00 | 7. Finish | Tinted lip balm | Apply, press lips together, then dab any leftover on cheeks for a matching flush. |
The first few times it might take ten or twelve minutes, and that's completely fine. Speed comes from repetition, not rushing. By the second week your hands will know the order and you'll barely need the table.
7 Steps in 7 Minutes, Explained
Here's what to actually do in each minute, plus the little mistakes I made so you don't have to.
1. Even Out Your Skin (Minute 1)
Squeeze a pea-sized amount of skin tint onto the back of your hand. Your hand warms it slightly, which makes it blend more easily. Dot it on your forehead, nose, chin and the inner parts of your cheeks, then spread it outward with your fingers in quick, light strokes.
The secret is to keep most of the product in the center of your face, where redness and uneven tone usually live, and let it fade to almost nothing at your hairline and jaw. That's what keeps it from looking like a mask. If you can see a line along your jaw, you either used too much or the shade is off.
Formula to remember: pea-sized amount, center first, fade out.
2. Brighten and Cover With Concealer (Minute 2)
Concealer is where beginners usually go overboard, and I was no exception. My early attempts were big upside-down triangles that looked great in tutorials and very obvious in daylight.
Instead, place a small amount just in the inner corner under each eye, where shadows are darkest, and a tiny dot on any blemish or red patch. Wait ten seconds so it thickens slightly, then tap it in with your ring finger. Tapping keeps the product where you put it; rubbing moves it away.
For under the eyes, a concealer one shade lighter than your skin brightens. For spots, use your exact shade, because a lighter color on a blemish actually draws attention to it.
3. Blend and Melt With a Sponge (Minute 3)
Run your sponge under the tap, squeeze it out in a towel until it's just damp, and bounce it over your whole face. Focus on the edges: around the nose, the jawline, under the eyes where concealer meets tint.
This minute is what makes the routine look polished instead of patchy. A damp sponge presses the product into your skin and soaks up any excess, so the finish looks natural and lasts longer. If you only have time for one "pro" step, it's this one.
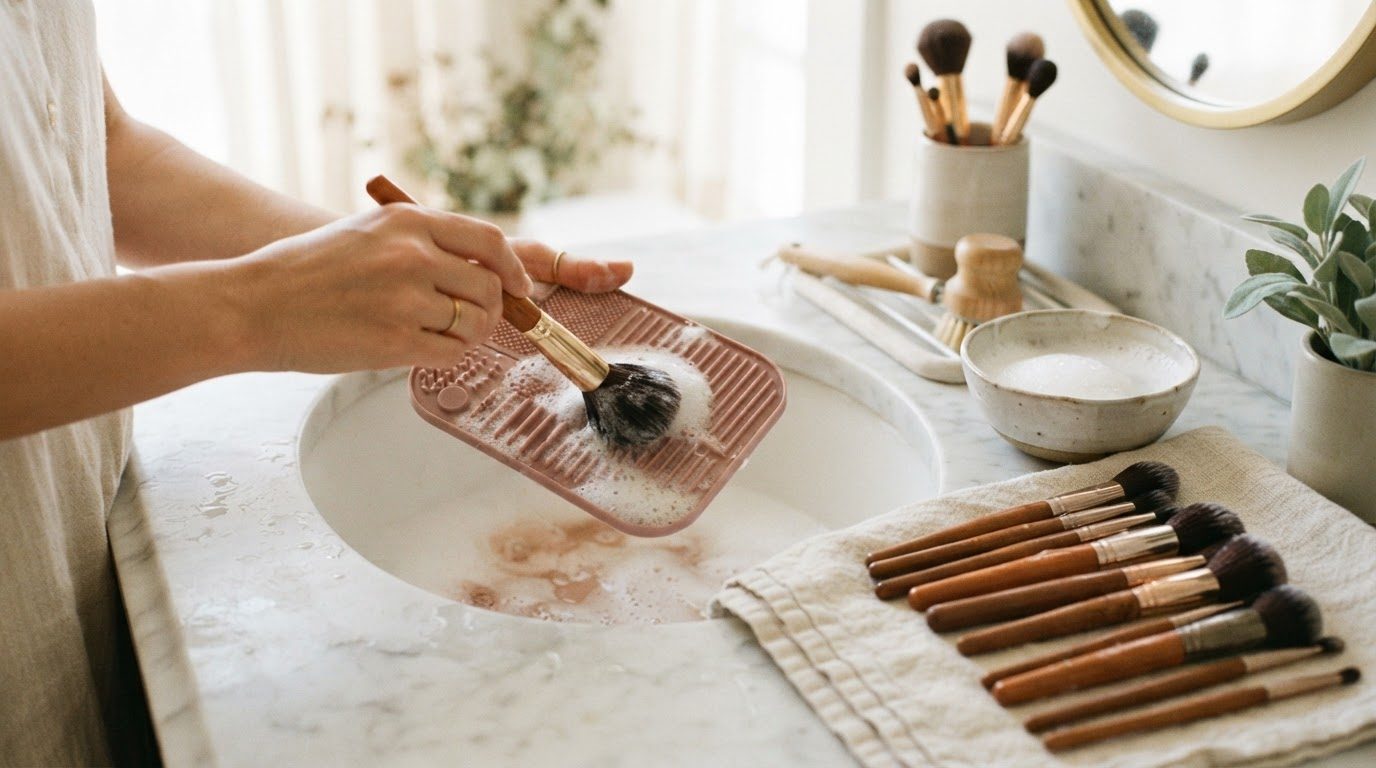
Rinse your sponge after use and wash it properly once a week with gentle soap, then let it dry somewhere airy. A damp sponge in a closed drawer is not a happy sponge.
4. Add Color With Cream Blush (Minute 4)
Blush is the step that makes people ask if you've been on vacation. Smile at yourself in the mirror, then dab a small amount of a soft pink cream blush stick on the round part of your cheeks. Blend it upward and outward toward your temples with two fingers, in little circles.
Start with less than you think. You can always add a second layer, but taking blush away usually means redoing the skin underneath. A good test: step back from the mirror to arm's length. If you can see a clear stripe of color, blend more. If your cheeks just look healthy, you're done.
Picking a shade is simpler than it seems. Fair skin usually looks lovely in soft pink or light peach, medium skin in rose or warm apricot, and deeper skin in berry, warm coral or brick. When in doubt, pinch your cheeks and match the color that shows up.
5. Frame Your Face With Brow Gel (Minute 5)
Groomed brows make your whole face look more awake, even with nothing else on. Brush your brows upward with the gel wand, then smooth the outer ends slightly out and down so they follow their natural shape.
If you have sparse spots, lightly fill them first with a brow pencil in short, hair-like flicks, then set with gel. A clear brow gel is the easiest place to start because it holds hairs in place without any risk of looking too dark.
Keep the front of your brows the softest part. Heavy color at the inner corner is what makes brows look drawn on.
6. Open Your Eyes With Mascara (Minute 6)
Look down into the mirror, hold the wand horizontally and place it right at the root of your top lashes. Wiggle it side to side for a second, then pull up and out to the tips. That wiggle at the base is what gives lift and makes lashes look thicker.
One coat on the top lashes is plenty for everyday. If you want a bit more, add a second coat only to the outer half of your lashes, which gently lifts the eye. Bottom lashes are optional, and on tired mornings I'd skip them, since they're usually the first place mascara smudges.
A brown lengthening mascara is a lovely beginner choice, especially if you have fair lashes, because it defines without looking harsh. If you'd like to go a bit further with your eyes on days you have extra time, my guide to eye makeup for beginners covers simple shadow and liner looks.
7. Finish With a Tinted Lip (Minute 7)
The last minute is the easiest. Swipe on a sheer pink tinted lip balm, press your lips together and you're done. Tinted balms are forgiving: no lip liner, no precise edges, and they look fine even when they fade.
Here's my favorite little trick: dab whatever is left on your fingertip onto the top of your cheeks, over your blush. Matching cheeks and lips is a very old trick (there's a reason I love Old Hollywood beauty) and it instantly makes a look feel finished and intentional.
If you prefer more color, a sheer lipstick works the same way. Choose a shade one or two steps deeper than your natural lip color and apply it with your finger for a soft, blurred edge.
How To Adjust the Routine for Your Skin
The seven steps stay the same for everyone, but a few small swaps make them work better for your skin type.
| Skin type | Swap or add | Watch out for |
|---|---|---|
| Combination | Lighter moisturizer on the T-zone, a light dusting of powder on the nose and forehead only | Powdering your whole face, which can make cheeks look dry |
| Oily | Oil-free tint, powder blush instead of cream if cream slides off by noon | Heavy layers of powder; a blotting paper at lunch works better |
| Dry | Richer moisturizer, hydrating concealer, cream products only | Powder, which clings to dry patches |
| Sensitive | Fragrance-free products, fewer layers, gentle removal at night | Trying several new products at once; add one at a time |
With my shiny T-zone, I'd add one tiny step after the lip: a little loose powder pressed onto the nose and center of the forehead with a puff. It takes fifteen seconds and keeps the shine away until afternoon. If you need a long workday look, my tips on how to make foundation last all day work just as well for skin tints.
6 Beginner Mistakes (and Easy Fixes)
- Using too much product. Start with half of what you think you need. Natural makeup is about layers so thin you can barely see them.
- Applying makeup on wet moisturizer. Give skincare a minute to settle, or everything will slip and separate.
- Matching your face to your hand. Hands and faces are rarely the same color. Test shades on your jawline in daylight instead.
- Rubbing concealer. Tap it in. Rubbing moves it off the shadow you're trying to cover.
- Skipping blending at the edges. Most "cakey" looks are actually just unblended edges around the nose and jaw.
- Doing it in bad light. Bathroom lighting is often yellow and dim. If you can, do your routine near a window, or at least check it there before you leave.
The 2-Minute Version for Rushed Mornings
Some mornings you have two minutes and a cold coffee. On those days, keep only the steps that do the most work:
- Concealer under the inner eyes and on any spots, tapped in with a fingertip (40 seconds).
- Cream blush on the cheeks, blended with fingers (30 seconds).
- Mascara on top lashes, one coat (30 seconds).
- Tinted lip balm, pressed in, leftovers on the cheeks (20 seconds).
It's amazing how finished this looks for so little effort. Concealer and blush do most of the "well rested" work, and mascara and lip make it feel like you meant it.
Keep It Clean: A Short Safety Note
A few small habits keep your skin and eyes happy:
- Patch test new products on a small area of your jaw or inner arm for a couple of days, especially if your skin is sensitive like mine.
- Replace mascara about every three months. It's the product most likely to collect bacteria, and it dries out anyway.
- Don't share eye or lip products, even with your best friend.
- Take it all off before bed with a gentle cleanser, so your skin can rest overnight.
- Stop using anything that stings, itches or causes redness, and see a doctor or pharmacist if irritation doesn't calm down.
Not sure how old your products are? My guide on how often to replace your makeup has a simple chart for every product type.
Store Your Kit So Mornings Stay Fast
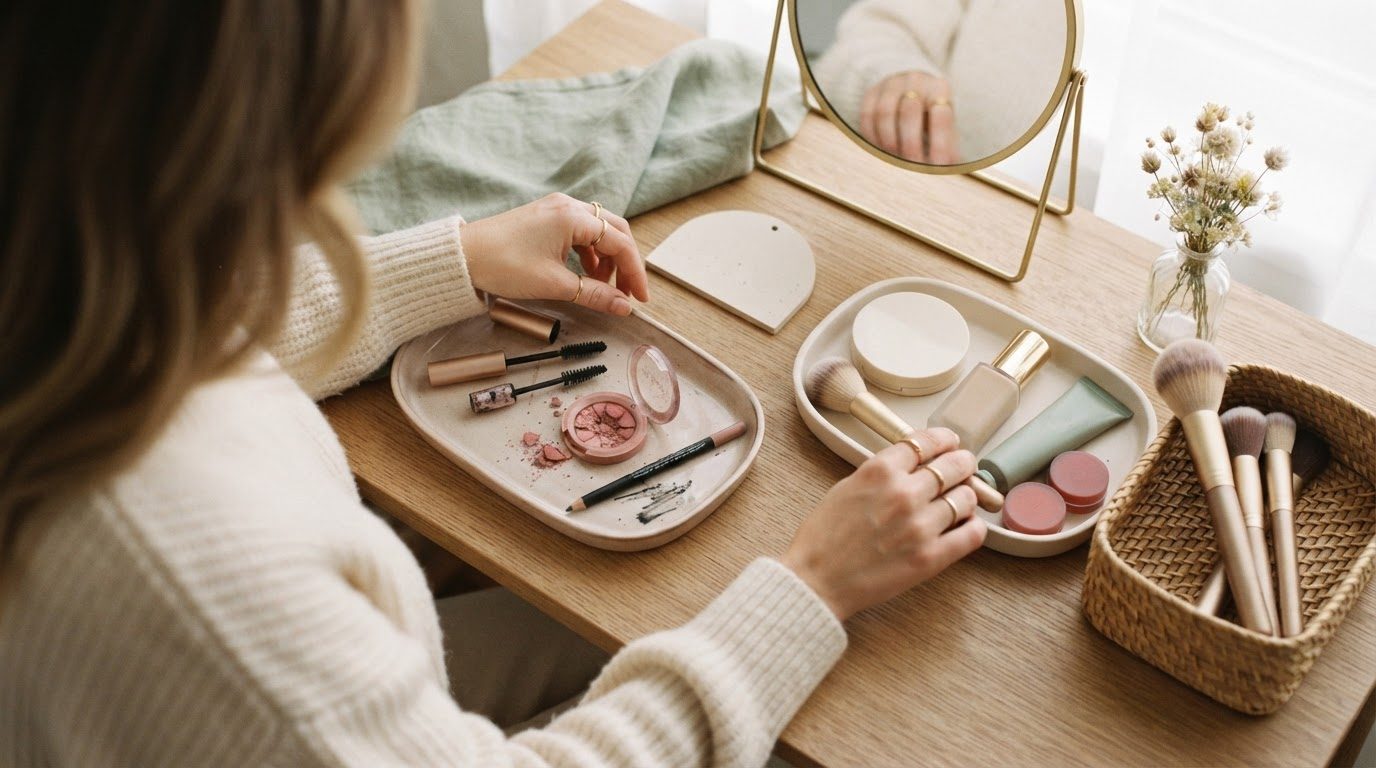
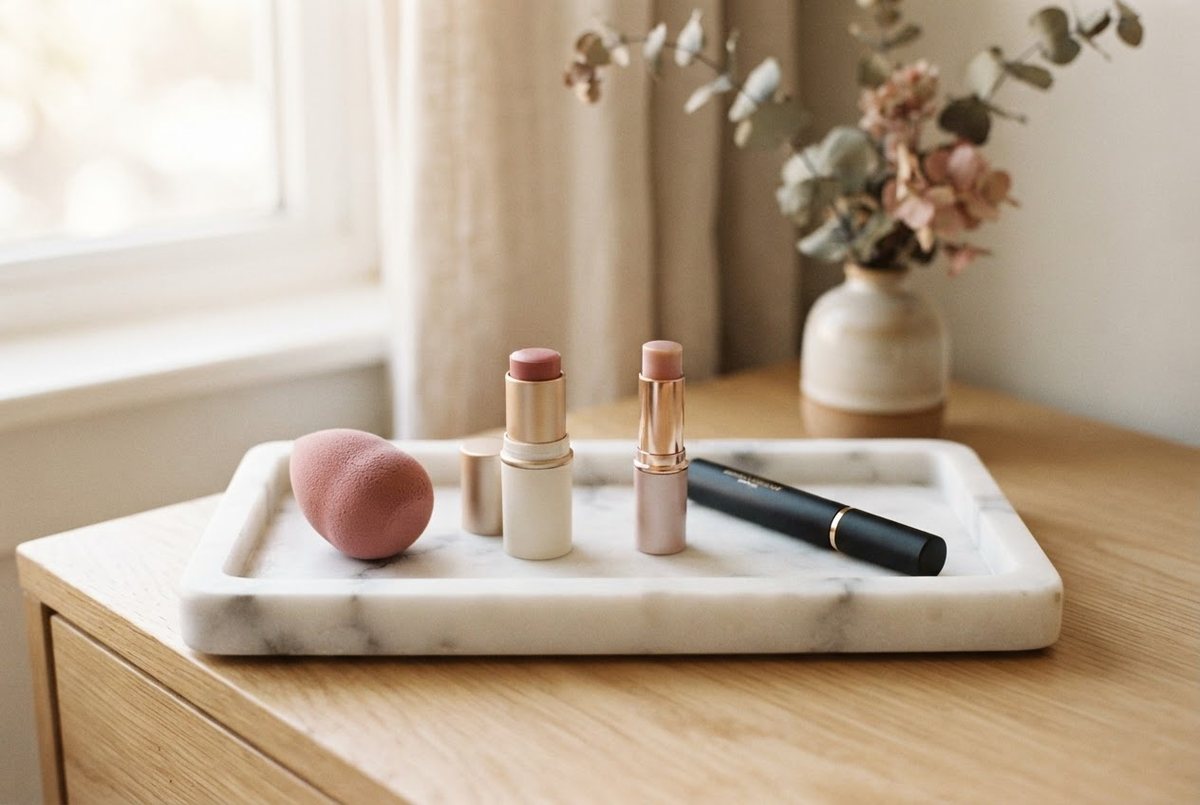
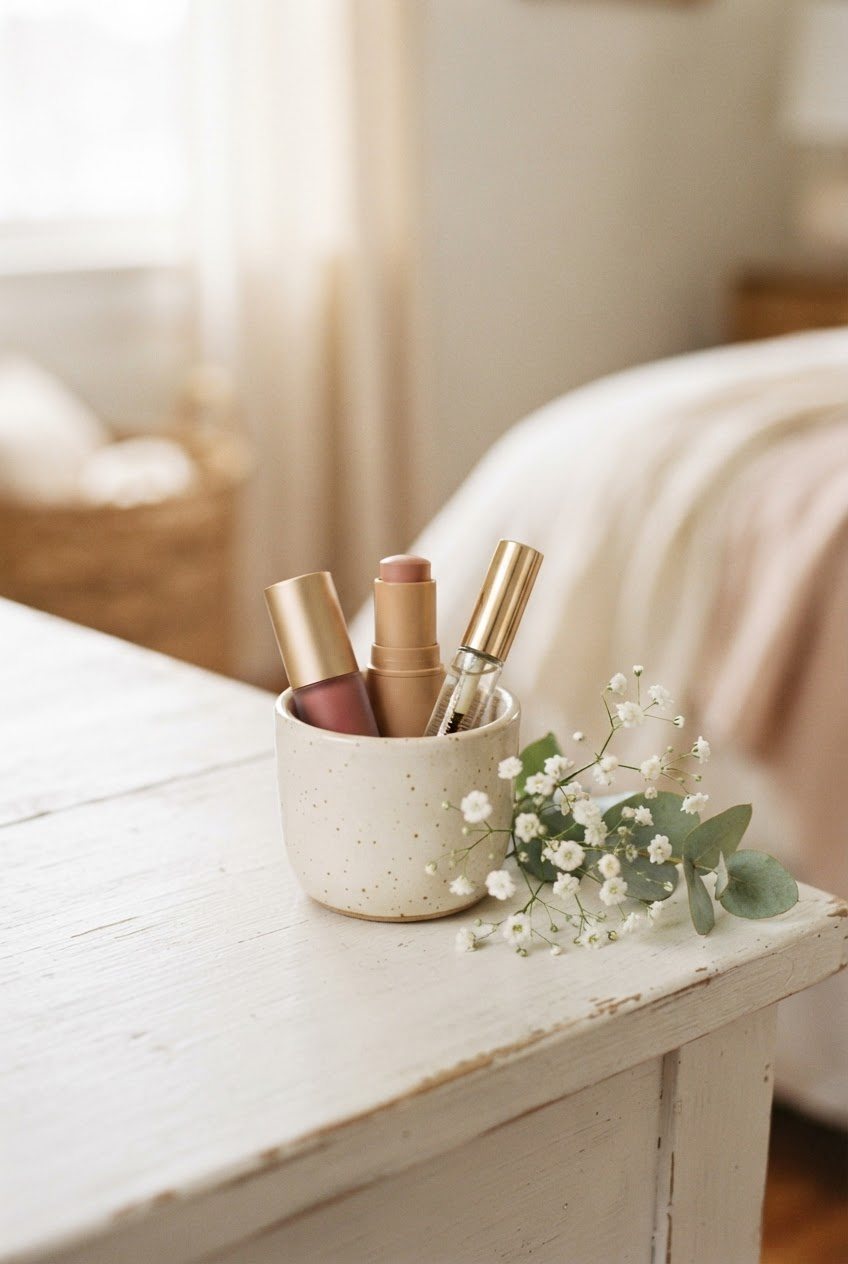
The seven-minute routine stays seven minutes only if you can find everything. Keep your seven products together in one small cup, tray or pouch, in the order you use them. When you reach for step one, the rest are right there.
A small cream ceramic organizer cup on your bathroom counter or vanity is perfect for tubes, wands and sticks, and it looks much calmer than a drawer of loose products. For more ideas on keeping a bigger collection tidy, my post on vanity organization has you covered.
Final Thoughts
An everyday makeup routine isn't about looking like someone else. It's about having a small, reliable way to feel a little more put together on the days you want it, without it eating your whole morning.
Start with the timeline, give yourself a couple of weeks of practice and let it be imperfect while you learn. Seven minutes, seven steps and a soft, natural you looking back from the mirror. That's more than enough.