Brow tinting at home can be a lovely, low-effort way to make your brows look fuller and more defined, but only when safety comes first and shortcuts stay out of the picture. The skin around your eyes is thin and sensitive, and your eyes themselves are far too precious for guesswork, so the careful version of this routine is the only version worth doing.
That's also why I want to be very plain from the start: brows are something many people tint at home with a kit made for brows, while lashes are a different story. Lash tinting is safest done by a trained professional, and in many places it is restricted or not approved for home use at all.
In this guide to brow and lash tinting at home, you'll find what tint actually is, why hair dye must never go near your eyes, how to patch test properly, when not to tint, a calm step-by-step for brows, the safety rules if you still consider a lash kit, what to do if tint gets in your eye, and aftercare that helps your color last. There's also a table that puts every step and safety note side by side.
Take your time with this one. Slow and careful is the whole point.
What Brow and Lash Tint Actually Is
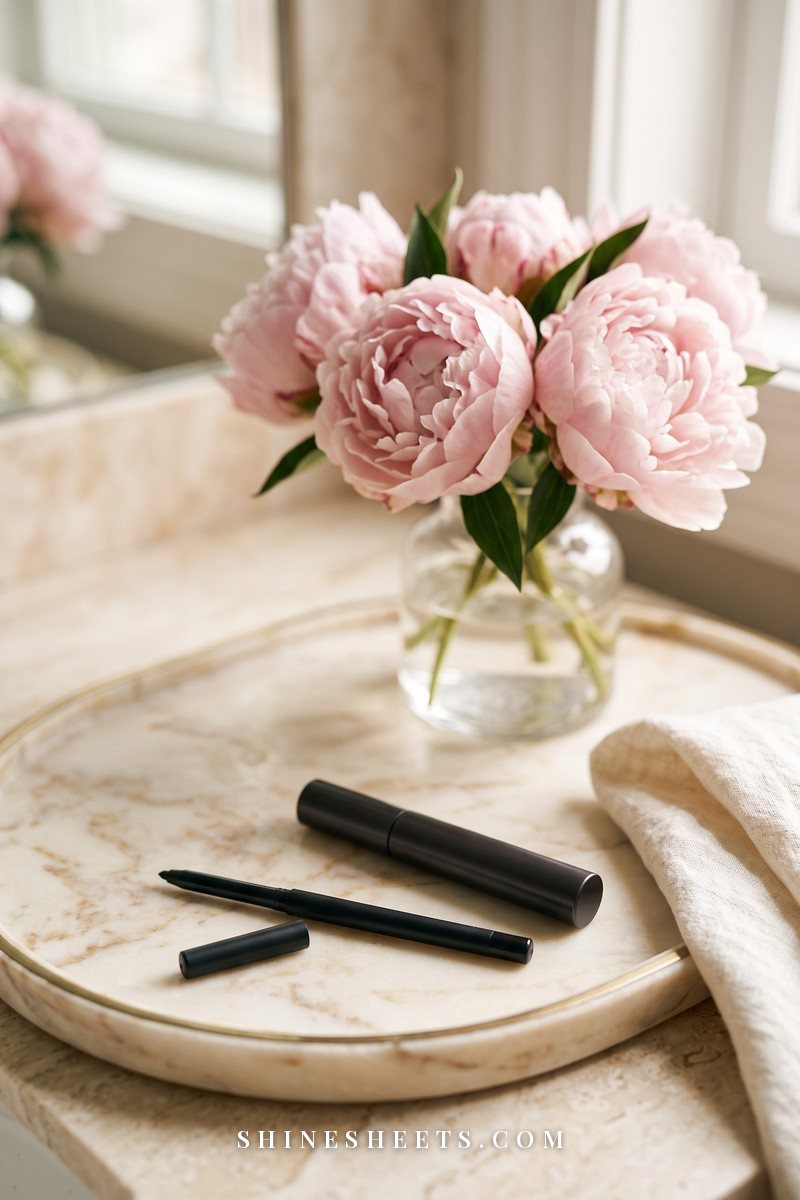
Brow and lash tint is a semi-permanent color made specifically for the short, fine hairs around your eyes. It usually comes as a small tube of color and a separate developer that you mix in tiny amounts just before applying. The color coats and slightly penetrates the hair, so brows look deeper and more visible, and pale tips show up.
A few things tint is good at:
- darkening light or sparse-looking brow hairs so the shape you already have looks fuller,
- evening out brows that are lighter at the tail than at the front,
- making a simple daily routine faster, because you need less pencil or powder.
And a few things it can't do: tint doesn't create hair where there isn't any, it doesn't change your brow shape and it doesn't last forever. Most brow tint fades gradually over about three to six weeks, depending on your skin, your cleanser and how often you exfoliate around your brows.
If you'd like to make the most of your natural shape after tinting, my guide to natural brows shows how to fill and set them in just a few minutes.
Why Lashes Are Best Left to a Professional
Here's the honest, unglamorous truth: tinting lashes at home means working with a chemical product right at the edge of your eye, with your eyes closed, unable to see what you're doing. Even a tiny slip can let tint or developer touch the eye's surface, which can cause stinging, redness, swelling and, in more serious cases, injury to the eye.
That's why lash tinting is treated so carefully in many places. In the US, for example, the FDA has not approved any color additive for permanently dyeing or tinting eyelashes and eyebrows, and it treats eye-area cosmetics with extra caution. Rules and available products differ from country to country, so it's worth checking what applies where you live.
A trained lash technician can see your eye area clearly, apply protective pads properly, keep product away from the lash line and react quickly if anything feels wrong. That's worth so much more than the money saved. If you love the look of defined lashes, a professional tint or lift is the safest route, and my guide to lash lift aftercare covers how to look after lashes once they're done.
Brows sit higher on the face, away from the eye itself, which is why careful at-home brow tinting is more common. Even then, every step below is about keeping product well away from your eyes.
Never Use Hair Dye Near Your Eyes
This one deserves its own heading because it's the most important rule in the whole guide. Regular hair dye, even a gentle or "natural" one, is made for the scalp, not for the delicate area around your eyes. It is often stronger, can contain ingredients that are much more irritating to eyes and thin skin, and is not intended to be used anywhere near them.
- Never use leftover hair color on your brows or lashes, not even "just a little".
- Never mix hair dye with brow tint to get a custom shade.
- Only use a tint that is clearly made and labelled for brows (or, for professionals, for lashes), and follow its instructions exactly.
If you've seen tutorials that suggest otherwise, please skip them. Your eyes are not the place to experiment.
The 48-Hour Patch Test, Every Single Time
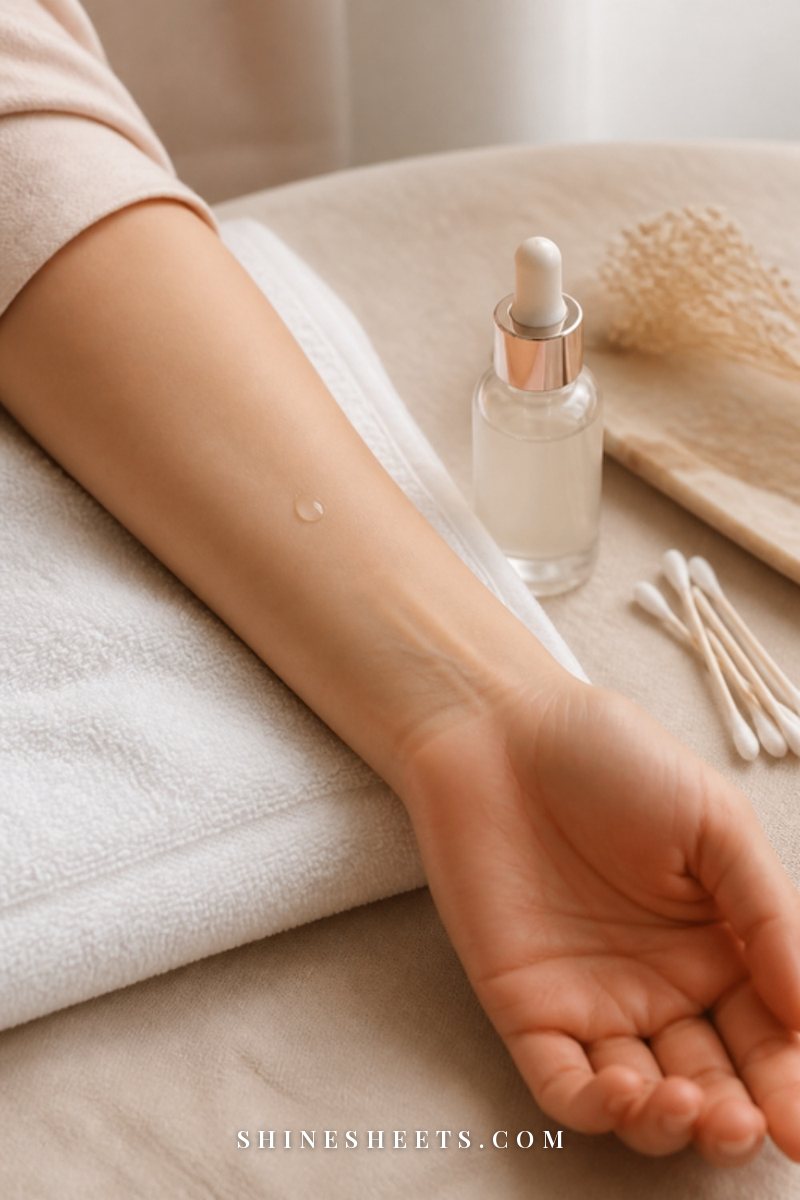
A patch test is your early warning system. Allergies to tint ingredients can develop at any time, even with a product you've used happily for years or a brand-new batch of the same kit. That's why the patch test is for every use, not only the first one.
Here's how to do it:
- At least 48 hours before you plan to tint, mix a tiny amount of tint and developer exactly as the instructions say.
- Apply a small dot behind your ear or on the inside of your elbow, on clean, dry skin.
- Leave it on for the time stated in the kit's instructions, then remove it gently.
- Over the next 48 hours, check the spot. Don't cover it with other products.
- If you notice itching, redness, swelling, burning, blistering or any other reaction, don't tint, and talk to a doctor or pharmacist if the reaction is bothering you.
If you'd like a deeper look at testing products in general, my guide on how to patch test skincare walks through the same kind of process for serums and creams.
When Not To Tint
Even with a clear patch test, there are times when your brows and eyes are better left alone. Skip tinting and wait (or ask a professional) if:
- you have any irritation, redness, cuts, spots or broken skin around your brows or eyes,
- you have an eye infection, conjunctivitis, a stye or any eye inflammation, or you've recently had one,
- you've had eye surgery or an eye procedure and haven't been cleared by your doctor,
- you've just had brow lamination or a lash lift (give it at least the time your technician recommends, often a few days, so the hair and skin can settle),
- your skin is very sensitive or reactive right now, for example during a flare-up or after a strong exfoliating treatment or peel,
- you're using strong active skincare like retinoids around the brow area and your skin feels tender,
- you're unsure about anything in the kit's instructions.
If you've recently had your brows laminated, my brow lamination aftercare guide explains how long to wait before adding tint and other products.
Brow and Lash Tinting Table: Step, Brows, Lashes, Safety Note
Here is the whole process side by side. Notice how the lash column keeps pointing back to a professional: that's intentional.
| Step | Brows at home | Lashes | Safety note |
|---|---|---|---|
| Product | Tint made for brows only | Professional tint, applied by a trained technician | Never use hair dye near the eyes |
| Patch test | 48 hours before every use | Your technician should ask for one too | Any reaction means no tint |
| Prep | Clean, dry, makeup-free brows | Clean lashes, no mascara or oil | Remove contact lenses first |
| Protection | Thin barrier cream around the brow shape | Protective pads under the lower lashes | Keep barrier and tint off the eyelid |
| Mixing | Tiny amount, exactly as instructed | Done by the technician | Mix fresh, never store leftovers |
| Application | Thin layer with a small brush, eyes open | Eyes closed, technician applies | Stop if anything stings or burns |
| Timing | Exactly as the instructions say, with a timer | Timed by the technician | Longer is not better |
| Removal | Damp cotton pad, gentle strokes | Removed carefully with eyes closed | No product should reach the eye |
| Aftercare | Avoid oils and scrubs on brows for 24 hours | Avoid rubbing eyes and oil removers for 24 hours | Seek medical help if eyes hurt or vision changes |
How To Tint Your Brows at Home Step by Step
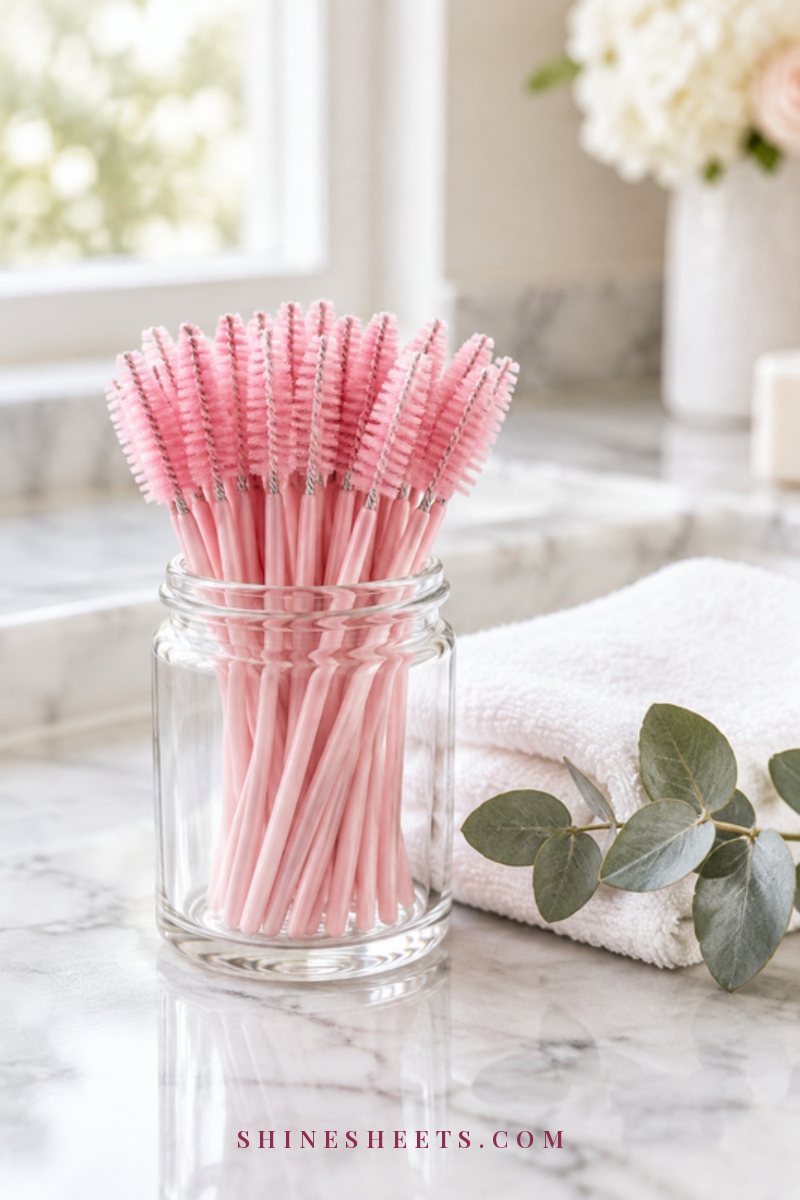
Once your patch test is clear and none of the "when not to tint" points apply, here is the gentle way to do it. Set aside about 30 minutes, work in good natural light and read the kit's instructions twice before you start. Instructions differ between products, so always follow your kit when it says something different from this general guide.
Step 1: Choose a Brow Tint and the Right Shade
Choose a brow tint kit for sensitive skin that is clearly labelled for brows and comes with full instructions. The shade matters more than you'd think: pick one tone lighter than you think you need. Tint tends to look darker on the hair than in the dish, and a too-dark brow can look harsh and blocky.
- Light or blonde hair: a soft light brown or taupe usually looks natural.
- Medium brown hair: a light to medium brown.
- Dark brown or black hair: a dark brown is often softer than black.
When in doubt, go lighter. You can always tint again another time (after a fresh patch test), but you can't easily take color away.
Step 2: Clean and Dry Your Brows
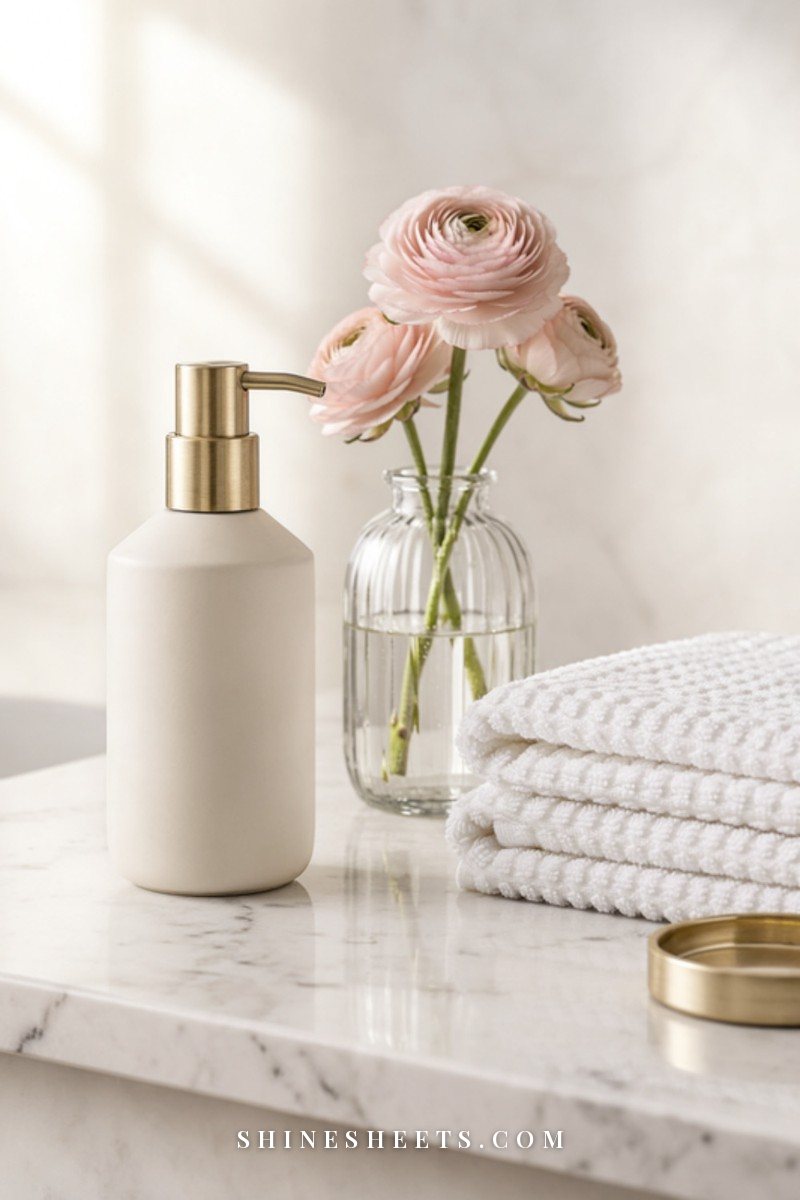
Tint needs clean hair to grip evenly. Remove all brow makeup with a gentle oil-free makeup remover, then wash the area with a mild cleanser and pat it completely dry. Oil (from cleansers, balms or your skin's own sebum) can stop tint from taking evenly, which leaves patchy color.
If you wear contact lenses, take them out before you begin. Tie your hair back and have a clean towel ready.
Step 3: Protect the Skin Around Your Brows
With a cotton bud, apply a thin layer of a simple barrier cream or petroleum jelly around the outline of your brows: above, below and at the ends. Keep it off the hairs you want to tint. The barrier helps prevent stains on the skin and keeps tint from creeping where you don't want it.
Keep the barrier and everything else well above your eyelid. Nothing in this routine should go near your lashes or your lash line.
Step 4: Mix Only What You Need
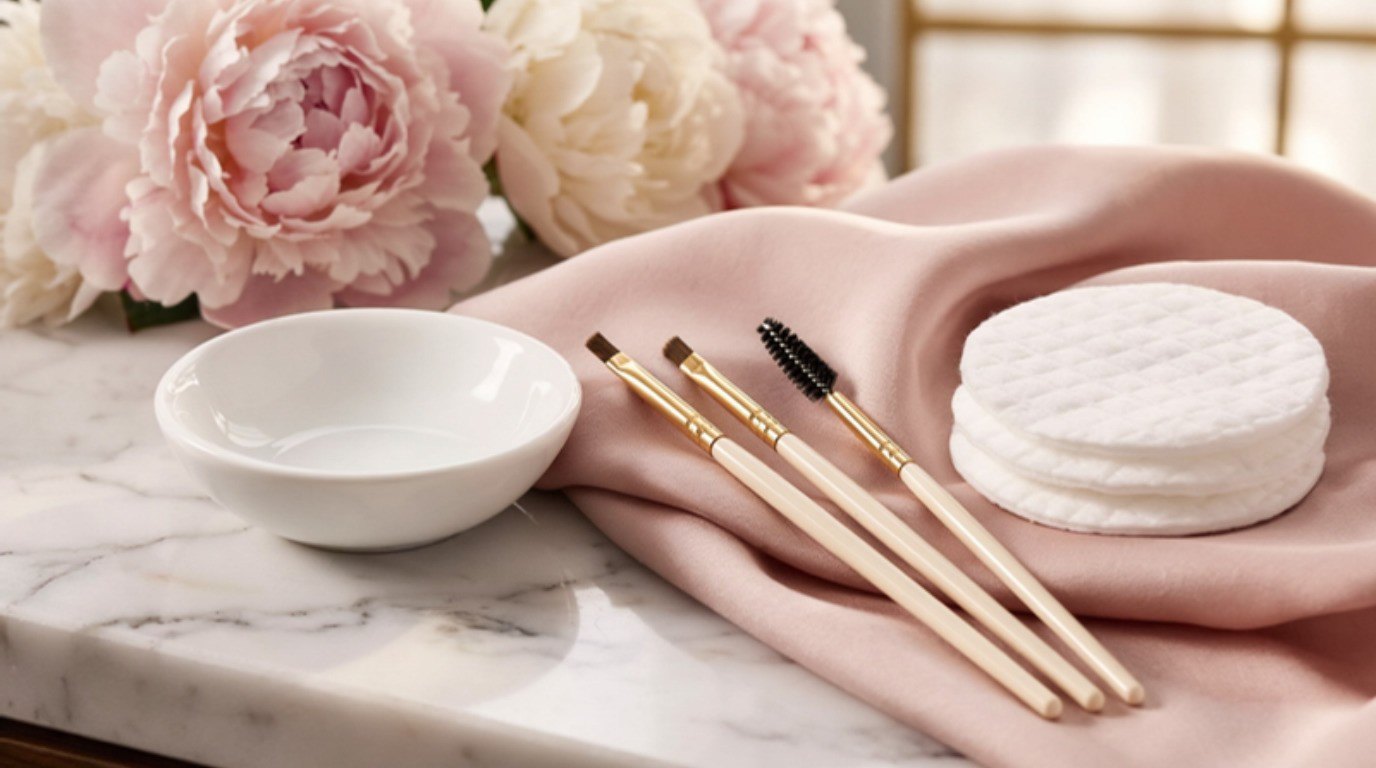
In a small white mixing dish, mix the tint and developer exactly as the kit instructs, usually a tiny amount of each. A white dish makes it easier to see the shade. Mix with the applicator or a clean small brush until smooth, and use it straight away. Never save mixed tint for later and never mix more than you need for both brows.
Step 5: Apply With a Light Hand
Keep your eyes open, look straight ahead and work in front of good light. Using the small brush or applicator, apply a thin, even layer of tint along the hairs, starting at the middle of the brow and moving towards the tail, then finishing the front last with very little product (the front usually looks most natural slightly softer).
- Coat the hairs, not the skin.
- Don't press or rub tint into the brow.
- Use a clean, slightly damp cotton bud to tidy any edges right away.
- If anything stings, burns or feels wrong, remove the tint immediately with damp cotton pads and rinse with cool water.
Step 6: Time It Exactly
Set a timer for exactly the time on your kit's instructions, and don't add extra minutes. Leaving tint on longer doesn't make it safer or longer-lasting, it just raises the chance of irritation and an overly dark result. If you're nervous about the shade, check the instructions to see whether the kit allows a shorter time for a softer result.
While you wait, sit somewhere calm and avoid touching your face. This is a nice moment for a slow breath or two (I'm someone who gets a little anxious when a timer is running, and a calm minute with a cup of evening tea nearby helps more than you'd think).
Step 7: Remove Gently
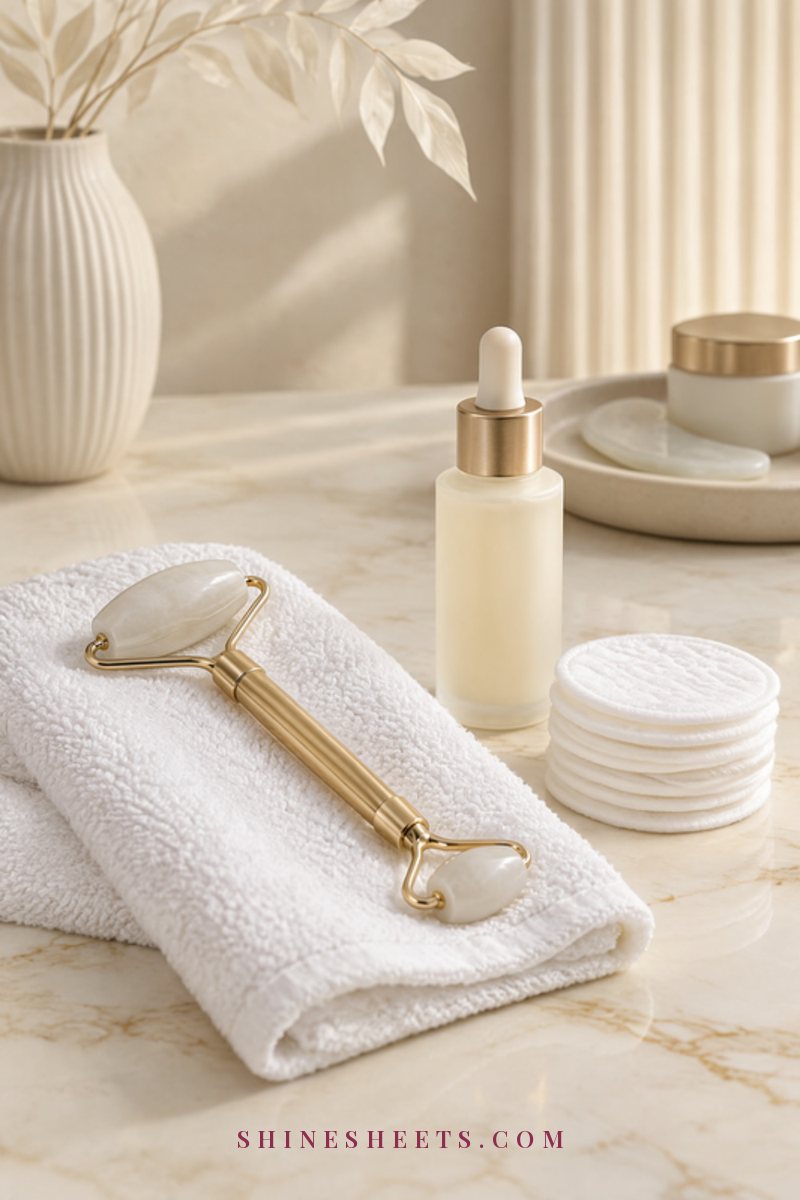
When the timer goes off, remove the tint with a clean, damp cotton pad, using soft strokes in the direction of hair growth. Switch to a fresh pad as soon as one looks stained. Repeat with water until no color comes off, then gently wipe away the barrier cream.
If a little tint stained the skin, it usually fades within a day or two of normal cleansing. Avoid scrubbing hard, which only irritates the area. Finish by brushing your brows into place with a clean spoolie brush.
If You Still Choose a Lash Kit: Safety Rules
I'll say it once more, plainly: lash tinting is safest done by a professional, and in some places it isn't allowed for home use at all. If lash tint kits are legal and sold for home use where you live and you still decide to try one, treat the instructions as non-negotiable and follow these rules:
- Use only a tint made and labelled for lashes, never brow tint unless the kit is clearly made for both, and never hair dye.
- Patch test 48 hours before, every time.
- Have a helper. You can't do this safely on yourself, because your eyes must stay closed the whole time.
- Use protective pads. Cotton under-eye pads placed under the lower lashes protect the skin and catch any drips.
- Keep your eyes closed from application until every trace of tint is removed. No peeking, no blinking it open.
- No product in the eye. Your helper applies a small amount to the lashes only, staying away from the lash line and the inner corner.
- Follow the timing exactly and remove with damp cotton pads, working away from the eye.
- Stop immediately if you feel stinging, burning or watering, and rinse.
If you're mainly hoping for lashes that look longer and fuller, my guide on how to grow eyelashes covers gentle, everyday ways to care for the lashes you have.
What To Do If Tint Gets in Your Eye
Even with care, accidents can happen. If any tint or developer gets into your eye:
- Rinse the eye straight away with plenty of clean, lukewarm running water for at least 15 minutes, holding the eyelid open gently.
- Remove contact lenses if you're wearing them (ideally you already took them out).
- Don't rub your eye.
- Get medical help promptly, especially if there's pain, redness, swelling, blurred vision or sensitivity to light. Take the product packaging with you so the doctor knows what it contains.
It's always better to have it checked and be reassured than to wait and hope.
Aftercare and How Long Brow Tint Lasts
Fresh tint is at its most vulnerable in the first day, so a little care helps it last.
- For 24 hours: avoid getting brows very wet, skip saunas, steam and swimming, and don't put makeup or oils on the brow area.
- For the first few days: avoid scrubs, exfoliating acids and retinoids directly on the brows.
- Every day: cleanse gently and brush brows into place with a clean spoolie.
- Watch the area: mild pinkness right after tinting usually settles quickly; if you notice itching, swelling or a rash later, stop tinting and speak to a doctor or pharmacist.
Most brow tint lasts around three to six weeks. Oily skin, frequent exfoliation and oil-based cleansers usually make it fade faster. When it's time for a refresh, wait until the color has mostly faded, give your skin a break if it felt sensitive last time and always do a new patch test before tinting again.
Final Thoughts
Brow tinting at home can be simple and satisfying when you treat it with respect: a kit made for brows, a patch test every time, a lighter shade than you think and a timer you actually follow. Lashes deserve the extra care of a trained professional, and hair dye never belongs near your eyes.
Your eyes and the soft skin around them are worth every careful minute, and a gentle, patient routine will always look more natural than a rushed one.