The first foundation I ever chose, I picked in a drugstore aisle under bright fluorescent lights, by holding the bottle up to my wrist and thinking "close enough." At home, in daylight, my face was a slightly orange oval floating above a much paler neck. I wore it anyway for weeks, because I'd paid for it and I didn't know what had gone wrong.
What had gone wrong wasn't the shade depth. It was the undertone, the subtle warm, cool or neutral color that sits underneath your skin tone. Once I understood that, choosing foundation went from a guessing game to a simple, two-part process: figure out your undertone, then match on your jawline in daylight.
So this is my gentle guide on how to choose foundation shade without the orange-mask moment. You'll get a quick 3-test undertone check you can do at home in five minutes, a decision table for warm, cool, neutral and olive skin, the exact way to swatch and test, and a few tricks for when your skin changes color between seasons.
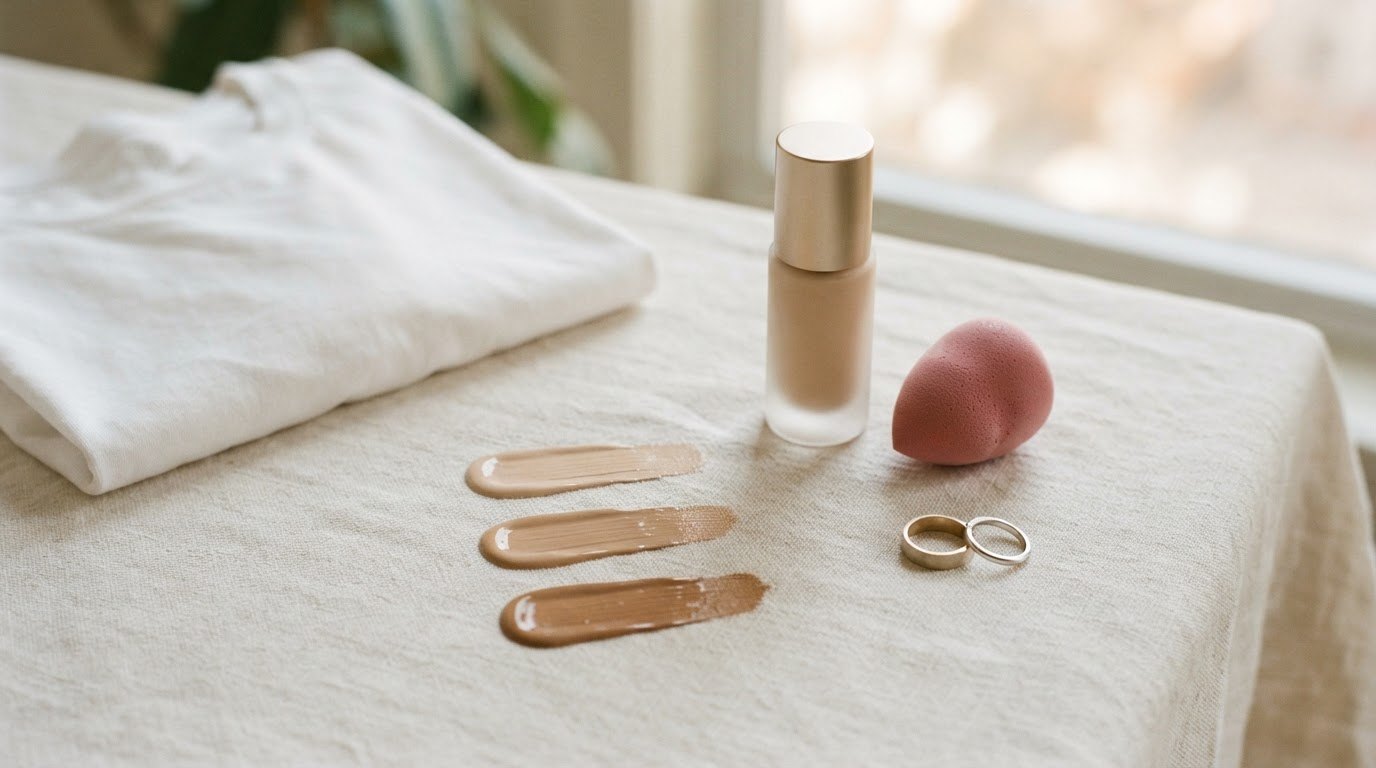
No fancy tools needed. Just a window, a white T-shirt and a little patience.
Skin Tone vs. Undertone: The Difference That Changes Everything
Before any tests, it helps to understand the two things a foundation shade has to match:
- Skin tone (depth) is how light or deep your skin is on the surface: fair, light, medium, tan, deep. It can change with the seasons, a vacation or a few weeks indoors.
- Undertone is the hue underneath: warm (golden, yellow, peachy), cool (pink, red, bluish) or neutral (a mix of both). Olive is a fourth, often-missed group with a green or gray cast. Your undertone stays the same all year.
Most shade mistakes happen when people match the depth but not the undertone. A foundation that's the right lightness but too pink looks ashy or flushed. One that's too yellow can look orange or muddy. When the undertone is right, even a shade that's slightly off in depth blends in much more easily.
That's why most foundation shade names include a letter or word after the number: W for warm, C for cool, N for neutral, or descriptions like "golden," "rose," "beige" and "olive." Once you know your undertone, you can ignore half the shelf.
The 3-Test Undertone Check
This is the heart of the guide. Do all three tests in natural daylight, ideally near a window in the morning or early afternoon, with clean, makeup-free skin. One test can be misleading on its own, so go with the answer that shows up at least twice.
| Test | How to do it | Warm | Cool | Neutral | Olive |
|---|---|---|---|---|---|
| 1. Vein test | Look at the veins on the inside of your wrist in daylight | Mostly green or olive | Mostly blue or purple | A mix, hard to tell | Greenish, skin around them looks slightly gray-green |
| 2. Jewelry test | Hold gold and silver jewelry (or foil) against your bare wrist or face | Gold looks richer and more flattering | Silver looks brighter and cleaner | Both look equally nice | Gold usually wins; silver can look slightly harsh |
| 3. White vs. cream fabric test | Hold a pure white and a cream or ivory fabric under your bare face | Cream makes you look healthier; white can look stark | White makes your skin look fresh; cream looks dull or yellowish | Both work | Cream is kinder; white can bring out a gray cast |
Here's what each one is really telling you, plus a few tips to make the results more reliable.
Test 1: The Vein Test
Turn your wrist up toward the window and look at the veins under the skin. You're not judging the veins themselves, but how they look through your skin. A yellow, golden undertone makes them look greener; a pink, rosy undertone makes them look bluer or purple.
If you genuinely can't decide, that's a real result, not a failure. A mix of blue and green usually means neutral. This test can be harder to read on deeper skin, so lean more on the next two if that's the case.
Test 2: The Jewelry Test
Grab one gold and one silver piece (a ring, a bracelet, or even a strip of gold and silver foil from a gift-wrapping drawer). Hold them against your bare wrist, then near your jaw, one at a time. Don't think about which metal you like more. Look at your skin instead.
Does your skin look brighter, more even and healthier next to one of them? Warm undertones tend to come alive next to gold. Cool undertones look clearer next to silver. If both look lovely, you're probably neutral, which is honestly the luckiest result for jewelry shopping too.
Test 3: The White vs. Cream Fabric Test
This one is my favorite because it's so visual. Hold a pure white T-shirt or towel just under your chin and look at your face in daylight. Then swap it for something cream, ivory or off-white.
If pure white makes you look a little washed out, sallow or tired, and cream makes you look softer and warmer, you're likely warm or olive. If white makes your skin look fresh and bright while cream makes it look yellowish, you're likely cool. If you can't see much of a difference, neutral is your answer. Asking a friend to look while you switch fabrics helps a lot, since it's hard to see small changes in your own face.
A Quick Note on Olive Skin
Olive undertones are the ones most likely to be mismatched, because many shade ranges have historically skipped them. If foundations always look either too pink or too orange on you, no matter what, and your skin has a slightly green or gray cast in daylight, olive is worth exploring. Look for shades described as "olive," "neutral olive" or a warm-neutral with a slightly muted, less peachy color.
Match on the Jawline in Daylight: The Decision Table
Once you know your undertone, use this table to narrow down the shelf and test properly. Start with the "look for" column, then confirm with the jawline test below.
| Your undertone | Look for shade names with | On the jawline, the right shade… | Wrong-shade warning signs |
|---|---|---|---|
| Warm | W, golden, honey, warm beige, caramel, peach | Disappears and makes skin look sunny and even | Pink or gray cast; looks ashy or chalky |
| Cool | C, rose, pink, porcelain, cool beige, "R" for red | Blends in and keeps skin looking fresh, not flushed | Yellow or orange cast; skin looks sallow |
| Neutral | N, neutral, beige, natural, buff | Melts in without adding pink or yellow | Any obvious tint of pink or yellow |
| Olive | Olive, neutral olive, soft warm, muted golden | Matches the slight green-gray cast without turning orange | Orange, peachy or very pink; skin looks gray around it |
If you fall between two rows (say, neutral-warm), choose the neutral shade first. A neutral is almost always easier to warm up with bronzer or blush than a too-warm shade is to cool down.
How To Do the Jawline Test, Step by Step
This is the part most of us skip, and it makes all the difference. Hands, wrists and the inside of your arm are rarely the same color as your face. Your jawline, on the other hand, sits right between your face and neck, so a shade that matches there will connect the two.
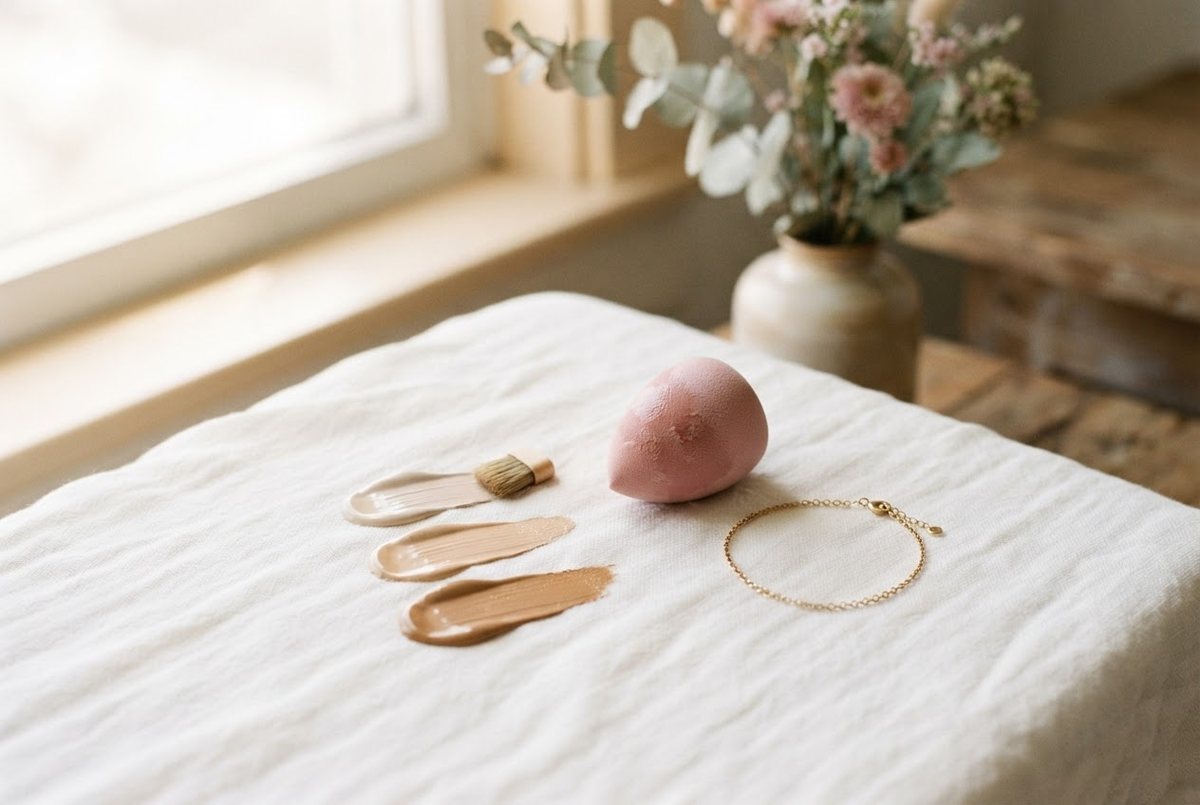
- Pick three shades. The one you think matches, one slightly lighter and one slightly deeper, all in your undertone.
- Swatch in stripes. Apply a small vertical stripe of each, side by side, along your jawline, from the cheek down onto the upper neck.
- Blend the edges slightly. Tap gently with a fingertip so each stripe has soft edges but stays visible.
- Wait 10 to 15 minutes. Many foundations oxidize and darken slightly as they dry. The color you see after a few minutes is the real one.
- Step into daylight. Go near a window or outside. Store lights, bathroom bulbs and phone screens all change how color looks.
- Choose the stripe that disappears. The right shade is the one you can barely see. Not the one that looks "nice," the one that vanishes into your skin.
If two stripes both disappear, choose the one that matches your neck better. A face that's slightly lighter than the neck looks much more obvious than one that matches perfectly, and a little bronzer or blush can warm up your face afterward.
When you can't test in a store, many brands offer online shade finders or let you compare against a shade you already know. Match the depth number first, then the undertone letter.
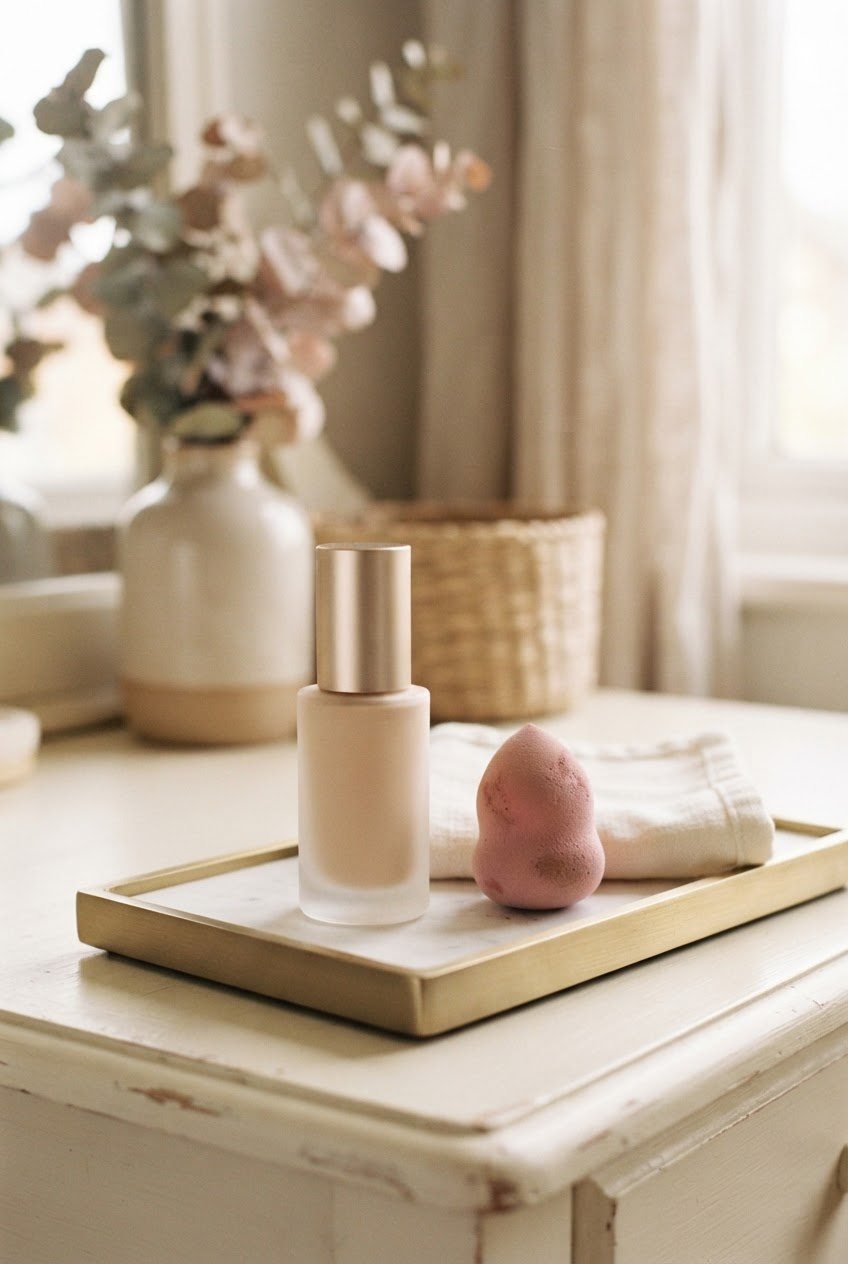
Choosing the Formula: Foundation, Skin Tint or Cushion
The right shade in the wrong formula can still look off, so it's worth matching the texture to your skin and your day.
- Skin tint: sheer, light and very forgiving with shade. A lightweight skin tint with sun protection is the easiest starting point if you're new to foundation or nervous about getting the color wrong, because sheer coverage blends into a wider range of shades.
- Liquid foundation: buildable coverage for evening out redness, spots and uneven tone. A medium-coverage liquid foundation with a natural finish is the classic choice, but shade matters most here, so the jawline test is a must.
- Cushion compact: a K-beauty favorite that gives a fresh, dewy finish and fits in a handbag for touch-ups. A Korean cushion foundation is lovely for normal to dry skin, and many ranges now include cooler and warmer options.
For combination skin like mine, with a T-zone that gets shiny by lunch, I'd choose a natural or satin finish rather than very dewy or very matte, and set only the center of the face. Very dewy formulas can look oily by afternoon, and very matte ones can cling to drier cheeks.
How To Fix a Shade That's Almost Right
Already bought a foundation that's close but not quite? Before you give up on it, try these small fixes:
- Too light: mix in a drop of a deeper shade, apply bronzer over the edges of your face, or wear it in winter when your skin is lighter.
- Too dark: mix with a little moisturizer or a lighter shade, and keep it on the center of your face only, blending to almost nothing at the edges.
- Too pink: mix with a small amount of a warmer or yellow-based shade, or apply a thin layer only where you need coverage.
- Too yellow or orange: blend with a neutral or slightly cooler shade, and apply a rosy blush to balance the warmth.
- Oxidizes and darkens: next time, choose half a shade lighter. Using a primer suited to your skin type and letting skincare fully absorb first can also help.
A damp sponge is your best friend for all of these, because it sheers out the formula and softens any slight mismatch. A soft pink blending sponge presses foundation into skin and soaks up excess, so the finish looks like skin instead of a layer.
Seasons Change Your Shade (and That's Normal)
Your undertone stays the same, but your depth usually doesn't. Many of us are a shade or two deeper in summer and lighter in winter. That's why the foundation that matched perfectly in July can suddenly look a little dark in January.
Here's the simple system I'd recommend:
- Own two shades in the same undertone: your summer shade and your winter shade.
- Mix them in between seasons. In spring and autumn, combine them on the back of your hand until the color matches your jawline.
- Re-test every few months, especially after a vacation or a long, gray winter.
Winter skin can also look duller and drier, which makes any foundation look heavier. My winter skincare routine helps keep skin smooth so your base sits nicely, even when the heating is on.
What To Bring When You Shop for Foundation
A little preparation turns a confusing trip down the beauty aisle into a ten-minute errand. Here's what I'd take along:
- A bare (or nearly bare) face. Skip foundation that day so you can swatch directly on your jawline. A little mascara and lip balm are fine.
- Your undertone, written down. Put "warm," "cool," "neutral" or "olive" in your phone notes, plus the results of each test, so you're not second-guessing yourself under bright lights.
- Your current shade, if you have one. Note the name and number of any foundation, tint or concealer that has matched well in the past. It's a great reference point for comparing across brands.
- A pack of makeup wipes or a cotton pad. So you can remove swatches and try again without irritating your skin.
- Time to wait. Swatch, then walk around for ten or fifteen minutes and check your jawline near the store entrance or a window before you buy.
If you're shopping online, take a photo of your bare jawline in daylight next to a white sheet of paper. It won't be perfect, but it helps you compare your skin with shade swatches more accurately than memory alone. And before you order, check the return policy, since many stores accept opened makeup if the shade turns out wrong.
6 Common Shade-Matching Mistakes
- Testing on your hand or wrist. Always test on the jawline.
- Choosing in store lighting. Check in daylight before deciding, even if it means walking to the store entrance.
- Judging the shade immediately. Wait 10 to 15 minutes for oxidation.
- Picking a lighter shade to look brighter. It usually looks gray or chalky instead. Brightness comes from concealer and blush, not a lighter base.
- Matching to a tan you no longer have. Re-test as the seasons change.
- Ignoring your neck. Your face should connect to your neck without a visible line.
A Gentle Note on Sensitive Skin
If your skin is sensitive like mine, shade isn't the only thing to check. Patch test a new foundation on a small area of your jaw for a couple of days before wearing it all over. Fragrance-free formulas are often kinder, and so is removing your makeup gently every night. If a product stings, itches or causes redness, stop using it, and talk to a doctor or pharmacist if the irritation doesn't settle.
It also helps to keep your tools clean. A sponge or brush that's full of old product can irritate skin and makes even a perfectly matched foundation look streaky. Wash them weekly, and check my guide on how often to replace your makeup to know when an old bottle has had its day.
Putting It All Together
Here's the whole process in one short list, so you can come back to it before your next shopping trip:
- Do the 3-test undertone check in daylight and go with the answer that shows up twice.
- Use the decision table to narrow down shade names in your undertone.
- Pick three shades and swatch them in stripes on your jawline.
- Wait 10 to 15 minutes, then check them in daylight.
- Choose the stripe that disappears, and match to your neck if in doubt.
- Pick a formula that suits your skin type, and keep a second shade for the other half of the year.
Once you've found your shade, the rest of your makeup gets easier too. My everyday makeup routine for beginners takes just seven minutes, and my guide to the best lipstick shades for your skin tone uses the same undertone knowledge to find colors that flatter you. To make your new base last through a long day, set the T-zone with a light dusting of translucent loose setting powder and keep the rest of the face fresh.
Final Thoughts
Choosing a foundation shade isn't a test you pass or fail. It's simply getting to know your skin a little better: its undertone, how it changes with the seasons and which colors make it look like the best version of itself.
Do the three tests once, write your undertone down somewhere you'll remember it, and let daylight and your jawline do the rest. The right shade is the one that disappears, leaving nothing but your own skin, just a little more even and a lot more you.