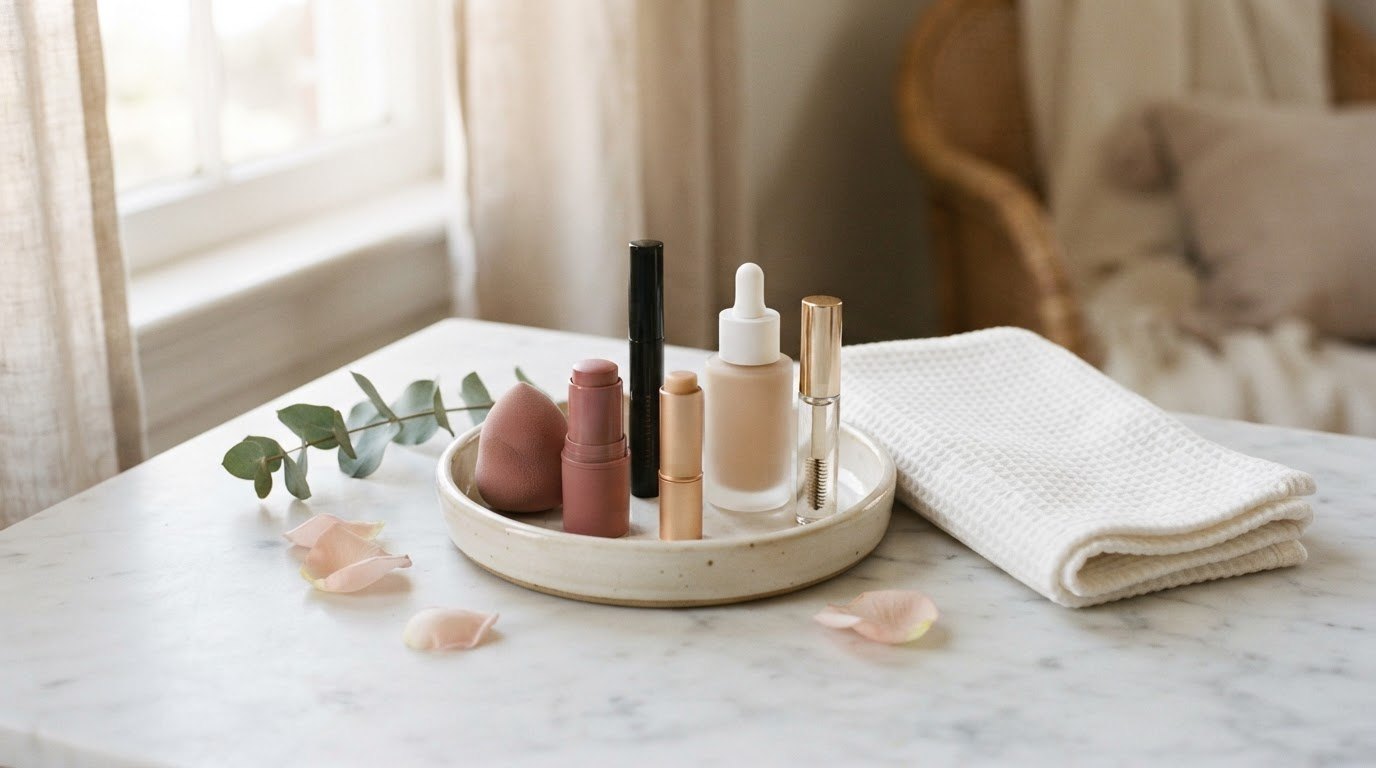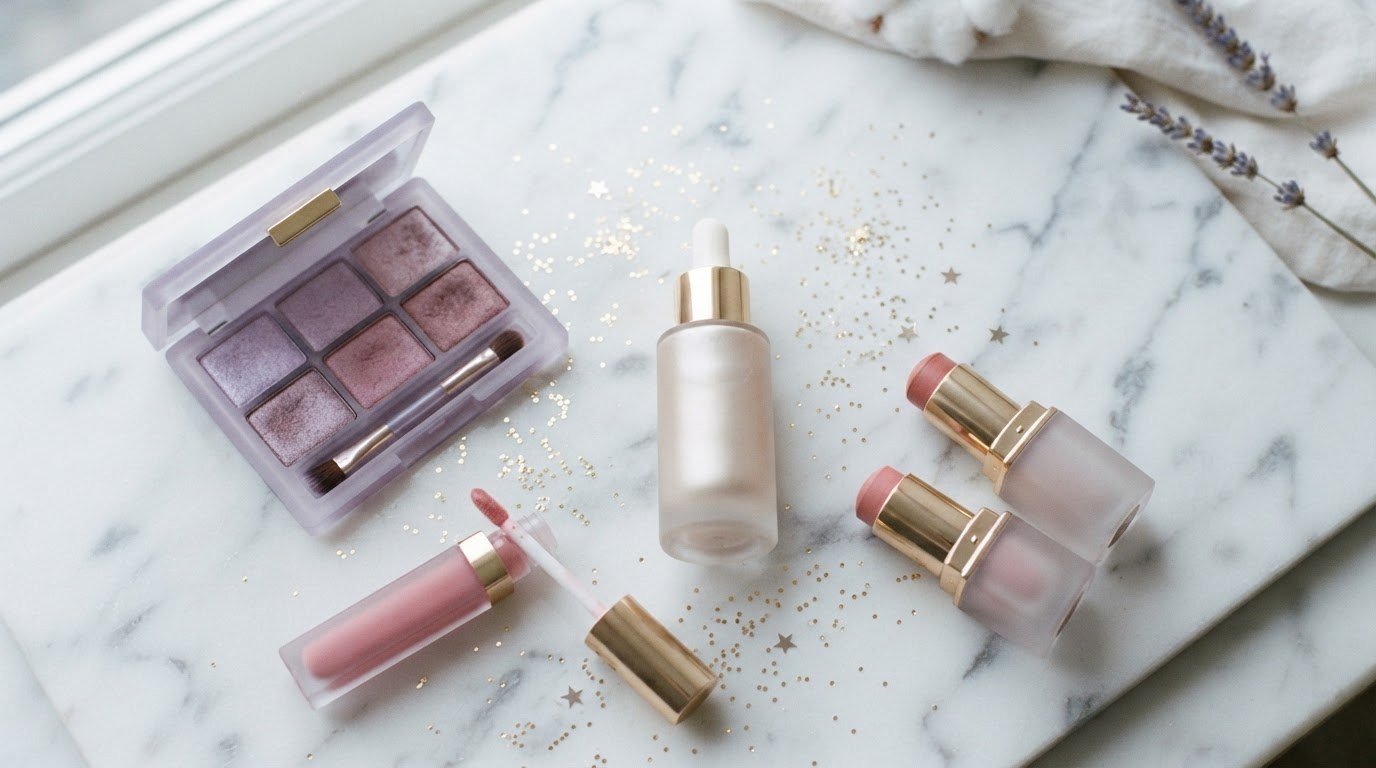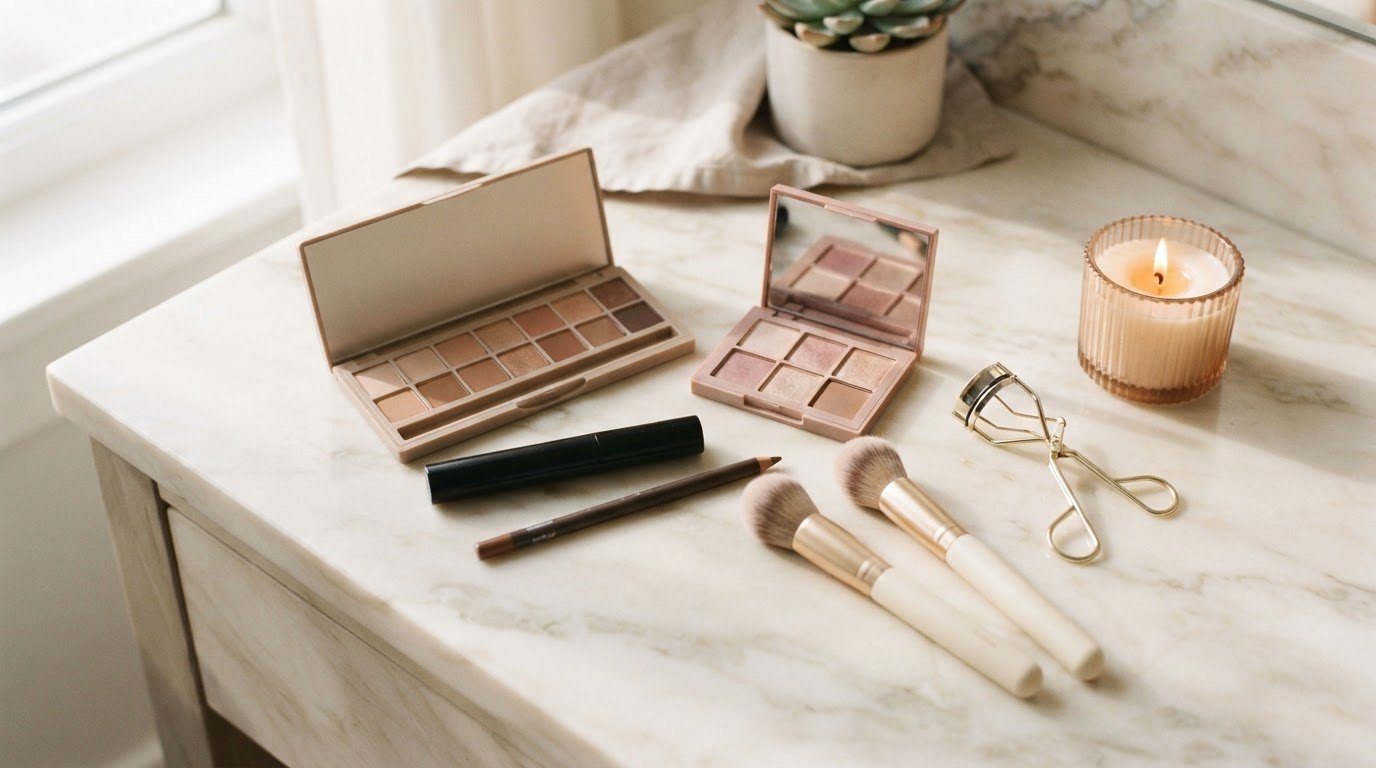
The first time I tried a "simple" eyeshadow tutorial, I ended up with two very different eyes, a shimmery smudge on my cheekbone and the distinct feeling that eye makeup was a secret club I hadn't been invited to. I took it all off, put on a little mascara and decided that would have to do.
Here's what nobody told me back then: beginner eye makeup isn't about talent. It's about knowing which three or four tools actually matter, where each color goes, and having a few tiny tricks for when things go sideways. Once you have those, it really does click.
So this guide to eye makeup for beginners keeps things truly simple. You'll learn the basic eye "map", the short list of tools worth buying, how to prep your lids so everything stays put, and then 5 easy looks, step by step – from a 3-minute everyday eye to a soft evening smoky eye and a classic winged liner. There's also a look × tools × time table, so you can see at a glance which look fits your morning.
No 20-step routines, no 35-shade palettes you'll never finish. Just soft, pretty, wearable eyes.
Your Eye Makeup Map: 5 Words To Know
Every tutorial uses the same few terms, and once you know them, instructions suddenly make sense. Look in a mirror with your eyes open, then gently close one eye to find each area.
- Lid: the moving part of your eye, from the lashes up to the fold. This is where most color goes.
- Crease: the fold or natural "dip" between your lid and brow bone. A slightly deeper shade here adds dimension.
- Brow bone: the area just under your eyebrow. A light matte shade here brightens and lifts.
- Lash line: the edge where your lashes grow. Liner and smudged shadow live here.
- Inner corner: the little spot next to your nose. A touch of light or shimmer here makes eyes look awake.
If your crease disappears when your eyes are open (that's hooded eyes, and they're beautiful), you'll want to place color a little higher than tutorials suggest. My makeup tips for hooded eyes walk you through exactly where.
The Only Tools You Really Need
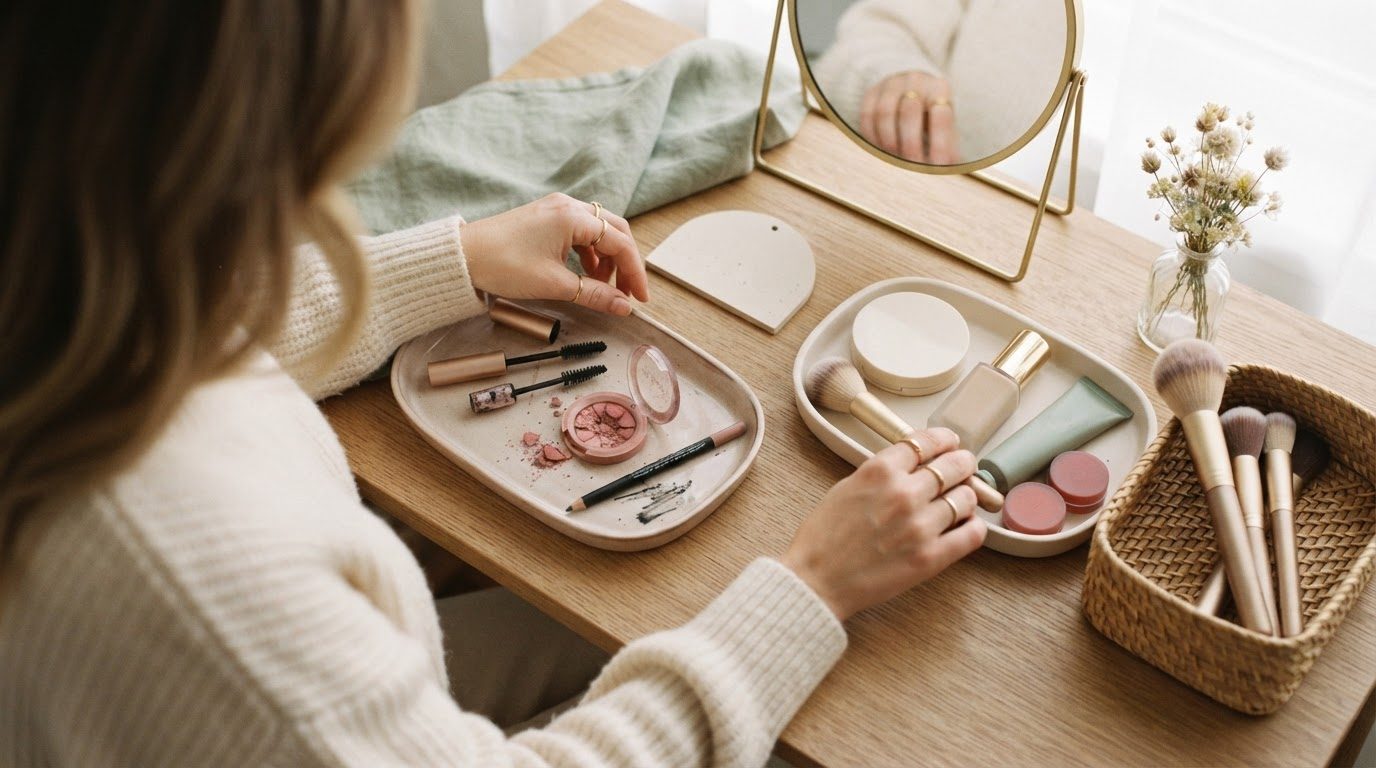
Walk into any beauty aisle and it looks like you need forty things. You don't. For all five looks in this guide, this short list is enough:
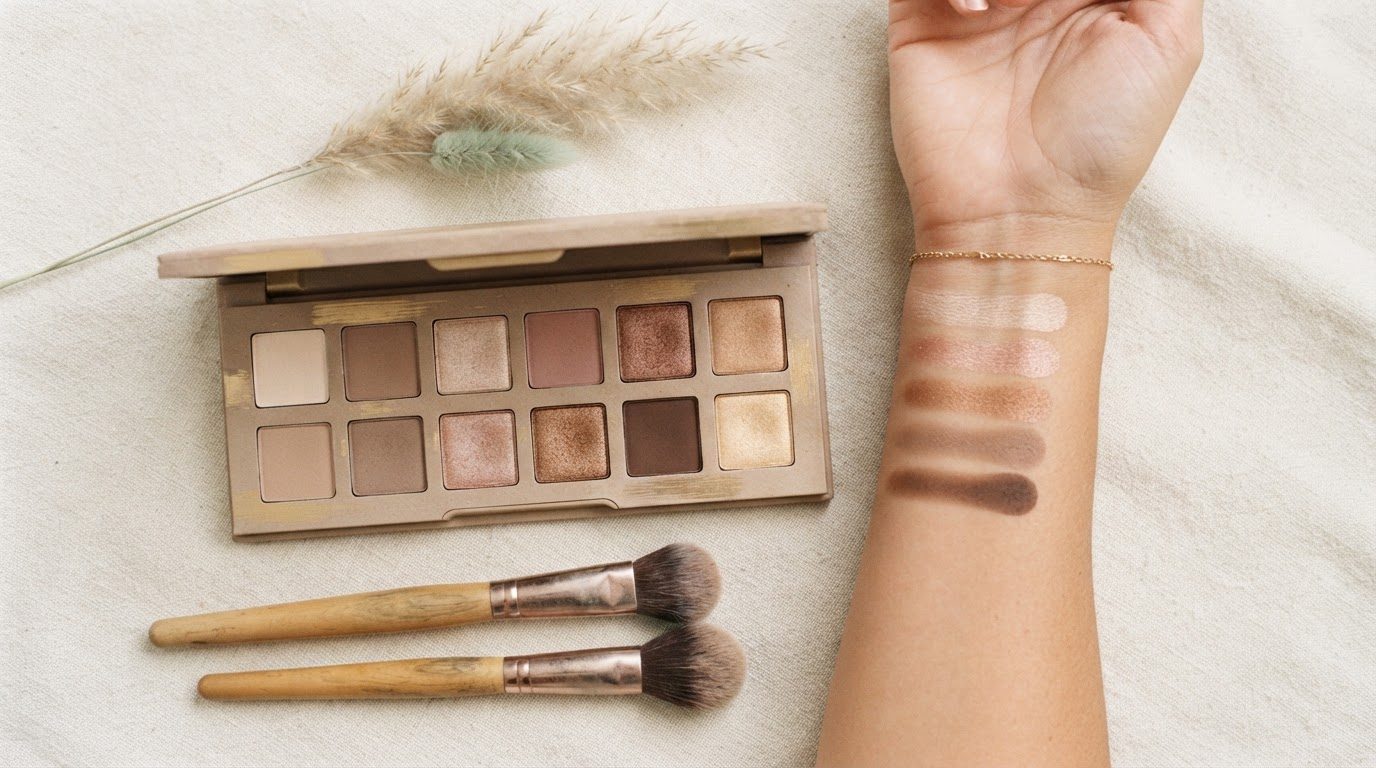
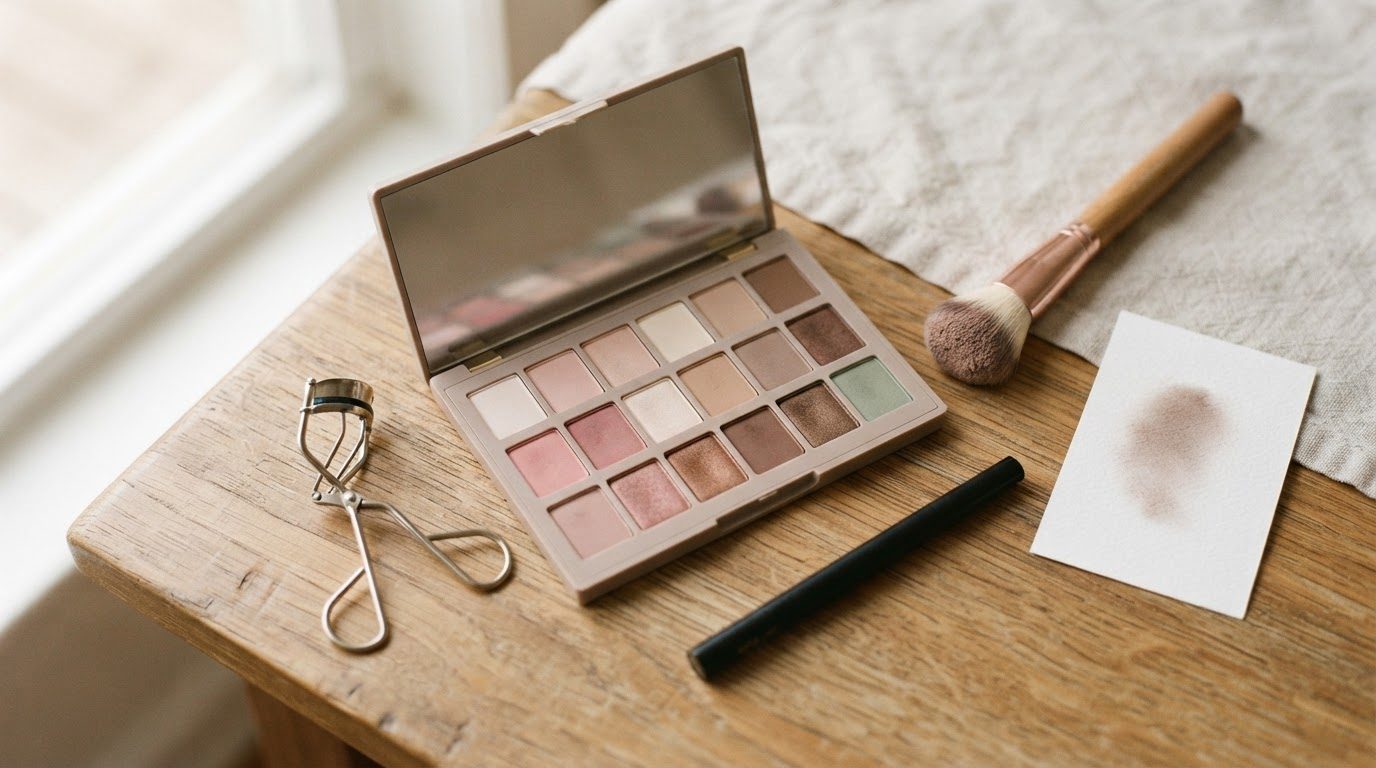
- A neutral matte eyeshadow palette. Look for 6–12 shades with a light cream, a soft beige, a warm mid-brown and a deeper brown, plus one or two shimmers. A neutral nude eyeshadow palette from a well-known best-selling line is the best first buy because every shade works together.
- Two brushes. One fluffy blending brush for the crease and one small, flat or dense brush for packing color on the lid. A simple eyeshadow brush set with 5–6 brushes covers everything; look for soft synthetic bristles that don't scratch.
- Mascara. A lengthening mascara in black or brown-black is the most beginner-friendly – it separates lashes instead of clumping them. Look for a slim or rubber wand, which makes it easier to reach the tiny lashes in the corners.
- A brown eyeliner pencil. Brown is softer and much more forgiving than black. A waterproof brown eyeliner pencil with a built-in smudger is ideal for smudged and tightlined looks.
- An eyelash curler (optional but lovely). It opens up your eyes instantly, especially if your lashes grow straight down.
- Cotton swabs and micellar water. Your eraser. Every beginner needs an easy way to fix a wobble.
Optional extras for later: an eyeshadow primer, a liquid liner pen and a pink-toned palette. Add them once you've worn the basics for a few weeks and you know what you love.
A little sensitivity note, since my combination skin is sensitive too: look for products labeled "ophthalmologist-tested" or "suitable for sensitive eyes", patch test new products on your inner arm first, and stop using anything that stings or makes your eyes red or itchy.
Prep: The 2-Minute Step That Makes Everything Last
Eyelids get oily (hello, shiny T-zone, I see you), and oil is what makes shadow crease and fade by lunchtime. A tiny bit of prep changes everything.
- Keep lids light. Skip heavy eye cream on the lid itself in the morning, or let it sink in for a few minutes first.
- Apply a primer or concealer. Dab a rice-grain amount of eyeshadow primer on each lid and tap it in with your ring finger. Concealer works too – just set it with powder.
- Set with a neutral shade. Sweep the lightest matte shade from your palette over the whole lid. This creates a smooth base so other colors blend instead of grabbing.
That's it. Two minutes, and your look will stay put for hours.
How To Pick Shades for Your Eye Color
You don't need a color theory degree. Neutrals flatter everyone, and that's why every look in this guide starts with them. But if you want your eye color to stand out a little more, these easy pairings help:
- Brown eyes: lucky you – almost everything works. Warm bronze, soft plum, dusty rose and champagne all make brown eyes look rich and bright.
- Blue eyes: warm shades are your friend. Peachy browns, copper, soft terracotta and warm champagne make blue look even bluer.
- Green and hazel eyes: reddish and purple-toned shades bring out the green. Try mauve, soft plum, rosy brown and antique gold.
- Gray eyes: cool taupes, soft silver and smoky charcoal-browns echo the gray beautifully.
Not sure where to start? Choose one matte shade that's about two shades deeper than your skin tone for the crease, and one soft shimmer for the lid. My guide to natural eyeshadow colors that look great on everyone has more ideas if you want to build a tiny, versatile collection.
And one more gentle note: your skin tone matters as much as your eye color. If a shade looks almost invisible on your lid, go a step deeper. If it looks like a bruise, go a step lighter or warmer. Swatching on the back of your hand next to your face in daylight is the quickest way to tell.
5 Simple Eye Makeup Looks for Beginners
Each look builds on the one before, so I'd suggest trying them in order over a week or two. Practice at night when you're not in a rush (I like doing it after my evening tea, with a candle lit and nowhere to be). Then wipe it off and try again tomorrow morning.
Look 1: The 3-Minute "Just Woke Up Pretty" Eye
Perfect for school runs, errands, quick video calls and days when you want to look rested, not "done".
- Curl your lashes. Place the curler at the base of your upper lashes, squeeze gently for 5 seconds, then move it halfway up and squeeze again for 3 seconds.
- Tightline (optional). Lightly lift your upper lid and wiggle a brown pencil into the base of your top lashes, from underneath. It makes lashes look thicker without visible liner.
- Mascara on top lashes. Hold the wand at the base of your lashes, wiggle side to side for a second, then pull up. Two coats, letting the first dry for 30 seconds.
- Brighten the inner corner. Tap a tiny bit of the lightest palette shade into the inner corner with your fingertip.
Beginner tip: keep mascara off your lower lashes for this look. It keeps the eye looking fresh and avoids smudges under your eyes.
Look 2: The One-Shadow Everyday Wash
The easiest "real" eyeshadow look in the world – one color, one brush, under 5 minutes.
- Prep your lids with primer and the light base shade (see above).
- Pick one soft mid-tone – a taupe, a warm beige or a soft brown that's two shades deeper than your skin.
- Apply with the fluffy brush. Tap off the excess, then sweep the color over your lid and into your crease using small back-and-forth "windshield wiper" motions.
- Soften the edges. With a clean part of the brush, blend the top edge until there's no visible line.
- Finish with mascara on your top lashes.
Beginner tip: always start with less product than you think. You can add more, but taking it away is much harder.
Look 3: Soft Pink Eyes
Fresh, romantic and surprisingly flattering on almost everyone – pinks and mauves make brown, green and blue eyes all pop. It's a lovely choice for spring brunches, birthdays and dinners out.
- Prep and set with your base shade.
- Add a matte soft brown to the crease with your fluffy brush. Pink on its own can look a little "tired" or irritated, so a neutral crease shade keeps it soft and grown-up.
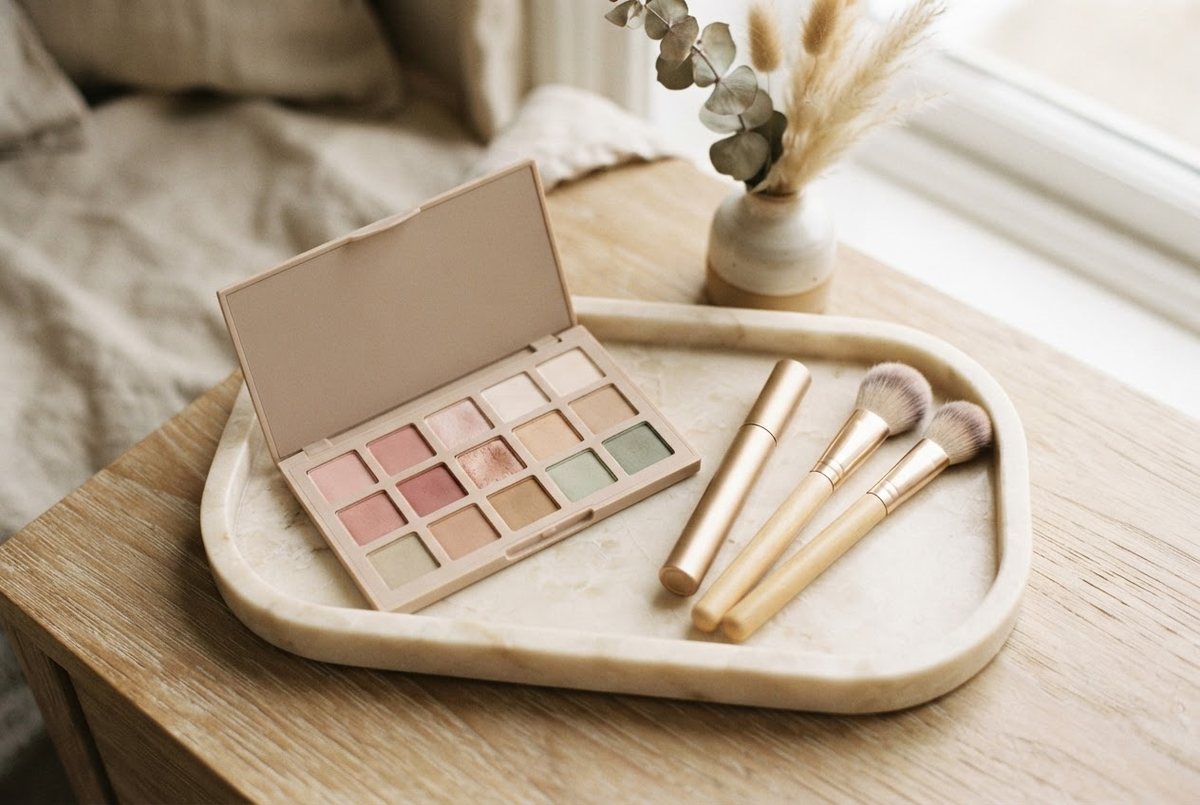
- Pat a shimmery pink on the lid. Use your flat brush or fingertip and press, don't swipe. A pink-toned nude palette gives you matching rosy mattes and shimmers in one place; look for one with at least one dusty rose and one champagne shade.
- Blend where the colors meet with the fluffy brush, using tiny circles.
- Smudge a touch of the pink under your lower lashes, only on the outer third.
- Mascara on top lashes, and lightly on the bottom if you like.
Beginner tip: choose dusty rose or mauve over bright pink. Muted pinks look effortless; bright ones need more skill to balance.
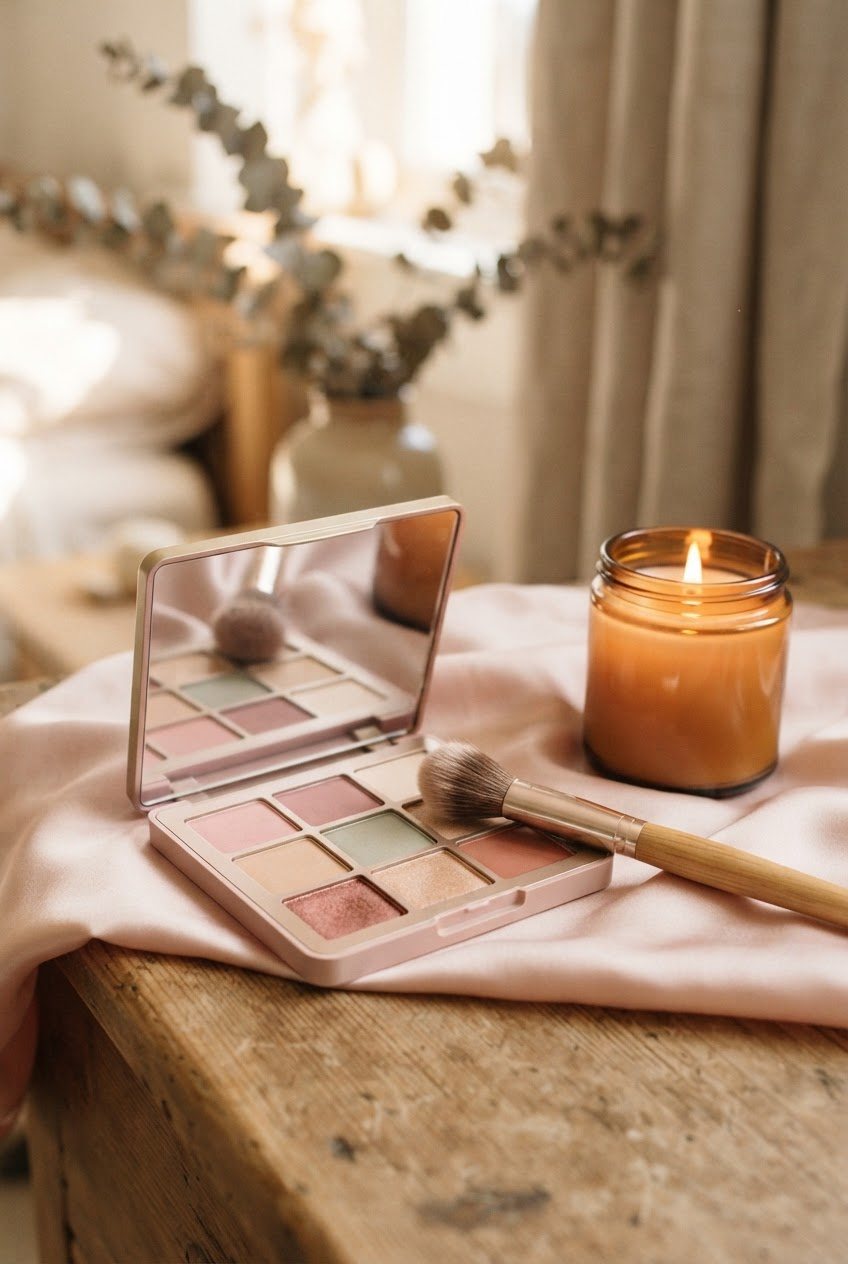
Look 4: Soft Smoky Brown Eye
The friendliest smoky eye there is. It looks sultry for evenings out but it's built from a smudged pencil, which hides mistakes beautifully. It's also a lovely starting point if you're thinking about New Year's Eve makeup.
- Prep and set the lids.
- Draw along your upper lash line with the brown pencil. It doesn't need to be neat – a slightly thicker line on the outer half is perfect.
- Smudge it right away with the smudger end or a small brush, blending upwards and outwards.
- Press a deep brown shadow on top of the smudged liner to set it, then blend a mid-brown above it into the crease.
- Repeat on the lower lash line, outer half only, keeping it softer and thinner than the top.
- Add shimmer to the center of the lid with a fingertip – champagne or soft gold catches the light beautifully.
- Two coats of mascara on top, one on the bottom.
Beginner tip: do your eyes before foundation and concealer for this one. If shadow falls onto your cheeks, you can wipe it away without ruining your base.
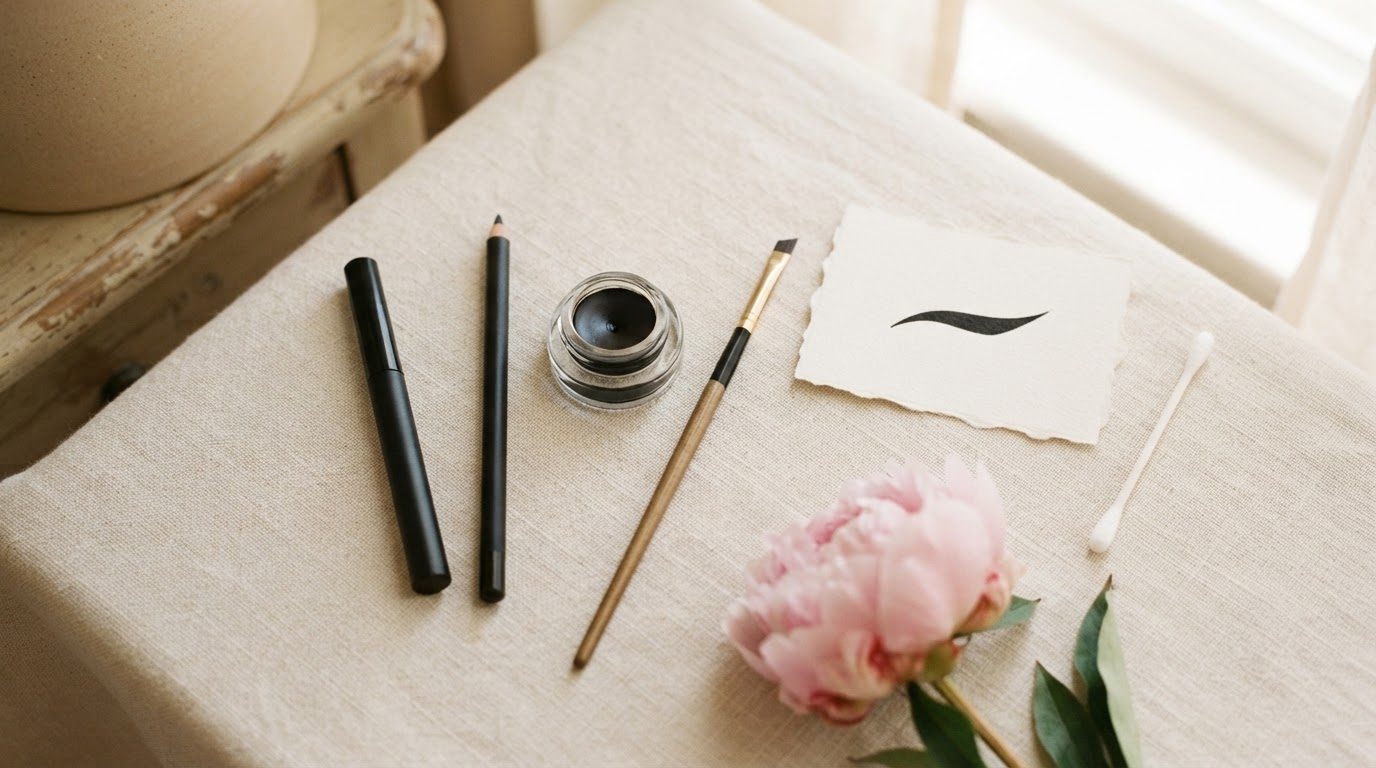
Look 5: Classic Winged Liner
I adore Old Hollywood glamour, and nothing says it like a soft wing. It takes practice, but the trick below makes it far less scary.
- Prep and set your lids so the liner doesn't transfer.
- Find your angle. Imagine a line from the outer corner of your lower lash line towards the tail of your eyebrow. Your wing follows that line.
- Draw the wing first. With eyes open and looking straight ahead, draw a short flick along that line – start small, about the length of a grain of rice.
- Connect it. Draw from the tip of the wing back down to the middle of your upper lash line, making a little triangle.
- Fill the triangle and line the rest of your lash line, getting thinner towards the inner corner.
- Clean it up. Dip a cotton swab in micellar water and sharpen the bottom edge of the wing.
- Mascara to finish.
Beginner tip: start with a pencil or a soft brown shadow on an angled brush before moving to liquid liner. If you'd like more styles, my guide on how to apply eyeliner and the different eyeliner styles has you covered.
Eye Makeup Looks at a Glance: Look × Tools × Time
Here's everything in one place. Use it to choose a look based on how much time you have and which tools are on your vanity today.
| Look | Tools you need | Shades | Time | Difficulty | Best for |
|---|---|---|---|---|---|
| 1. "Just woke up pretty" | Lash curler, mascara, brown pencil (optional) | Lightest palette shade for the inner corner | 3 minutes | Very easy | Busy mornings, errands, video calls |
| 2. One-shadow wash | Primer, fluffy brush, mascara | Light base + one taupe or soft brown | 5 minutes | Easy | Work, school, everyday wear |
| 3. Soft pink eyes | Primer, fluffy brush, flat brush, mascara | Base, soft brown, dusty rose shimmer | 8–10 minutes | Easy–medium | Brunches, dates, spring and summer |
| 4. Soft smoky brown | Primer, brown pencil, smudger or small brush, fluffy brush, mascara | Base, mid-brown, deep brown, champagne shimmer | 10–12 minutes | Medium | Evenings out, parties, holidays |
| 5. Classic winged liner | Primer, pencil or liquid liner, cotton swabs, micellar water, mascara | Light base + black or brown liner | 10–15 minutes (faster with practice) | Medium–hard | Special occasions, Old Hollywood moments |
A simple practice plan: do Look 1 for three days, then Look 2 for three days, and add one new look each week. By the end of the month, you'll have a small, confident "eye wardrobe" that covers every occasion.
7 Common Beginner Mistakes (and Easy Fixes)
- Using too much product at once. Tap your brush on the back of your hand before it touches your eye, every time.
- Harsh lines in the crease. Blend with a clean fluffy brush in small circles until the edge looks like a soft shadow, not a stripe.
- Uneven eyes. Work on both eyes step by step (step 1 on both, then step 2 on both) rather than finishing one eye completely first.
- Fallout under the eyes. Do eyes before your base, or tuck a tissue under your eye while applying dark or shimmery shades.
- Clumpy mascara. Wipe the wand on the tube opening, wiggle at the root and comb through with a clean spoolie while it's still wet.
- Black liner all the way around. It can make eyes look smaller. Brown liner on the outer half of the lower lash line is far softer.
- Old products and dirty brushes. They cause patchy application and can irritate your eyes. Clean brushes once a week – my guide on how to deep clean makeup brushes makes it quick.
Keep Your Eyes Happy: A Gentle Safety Note
Eye makeup should feel nice, never uncomfortable. A few simple habits help keep your eyes healthy:
- Replace mascara about every 3 months and liquid liner every 3–6 months, even if there's some left. My guide on how often to replace your makeup has the full list.
- Never share eye products, even with your best friend.
- Don't apply makeup on the inner rim if your eyes are sensitive, and skip eye makeup completely if you have an eye infection.
- Always remove it before bed. Hold a cotton pad soaked in micellar water or an eye makeup remover on your closed eye for 10 seconds, then wipe gently downwards – no scrubbing.
- Listen to your eyes. If a product causes stinging, redness, swelling or itching, stop using it. If symptoms don't settle quickly, check in with a doctor or an eye care professional.
Final Thoughts
Eye makeup isn't a secret club after all. It's a handful of tools, a little map of your eye and some playful practice on quiet evenings. Your first wing might be wobbly, and your first smoky eye might look more "rainy" than sultry – and that's completely fine.
Start with Look 1 tomorrow morning, keep a cotton swab nearby, and give yourself a few weeks. Soon these five looks will feel as natural as brushing your hair.