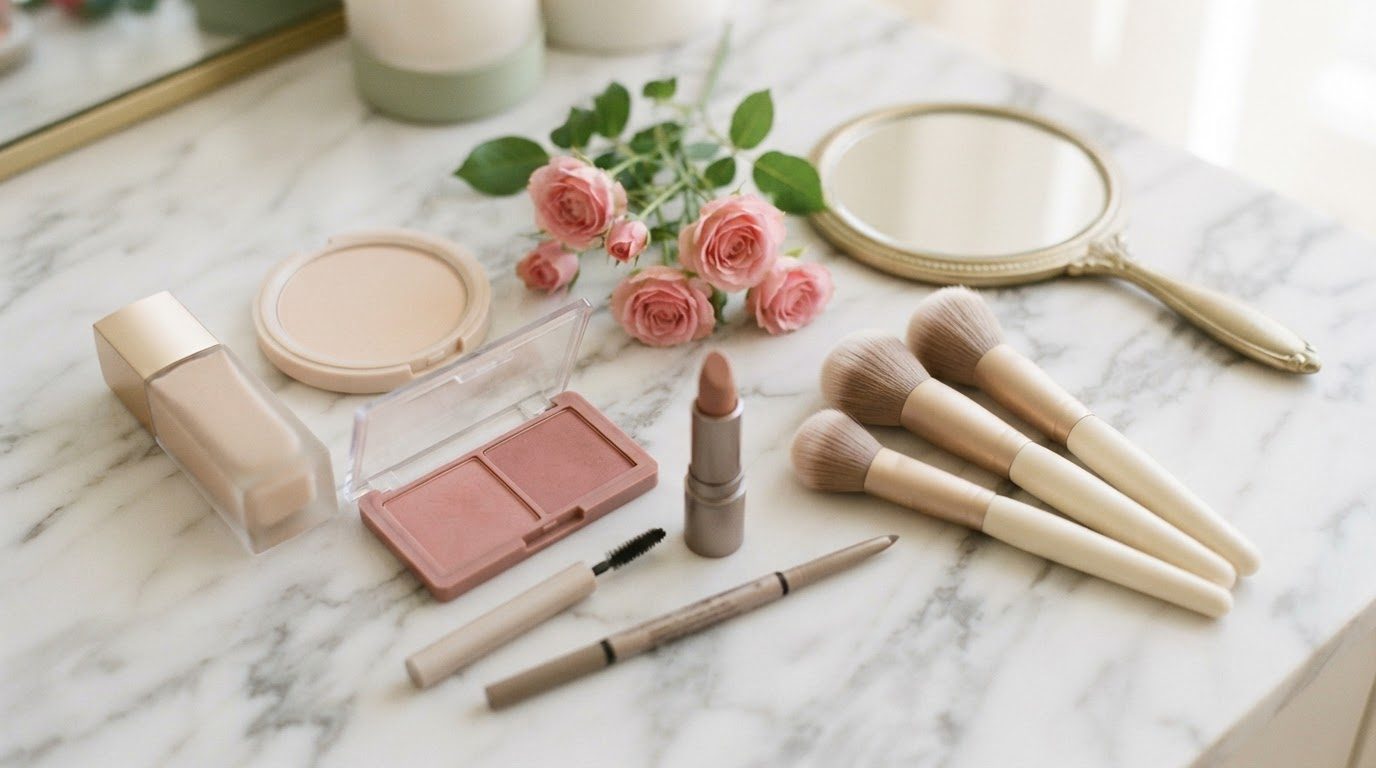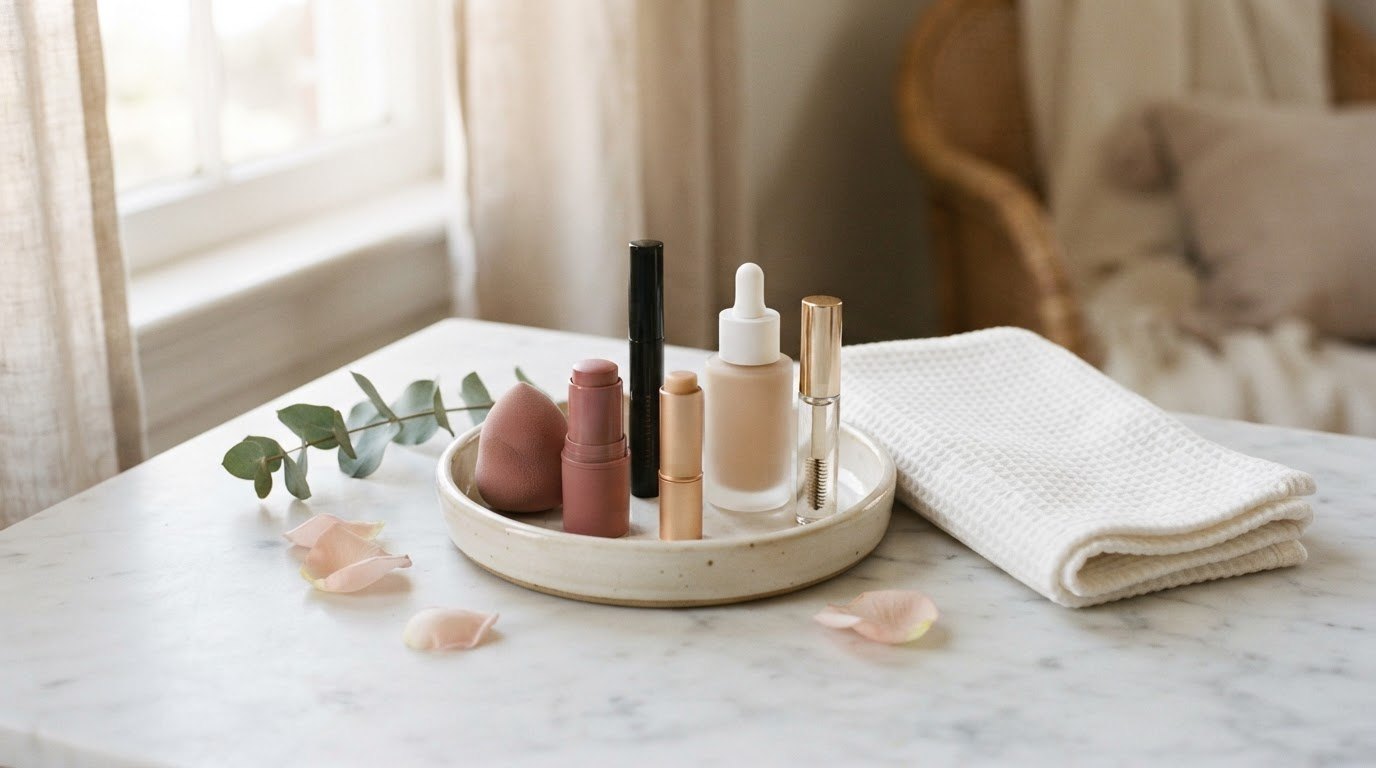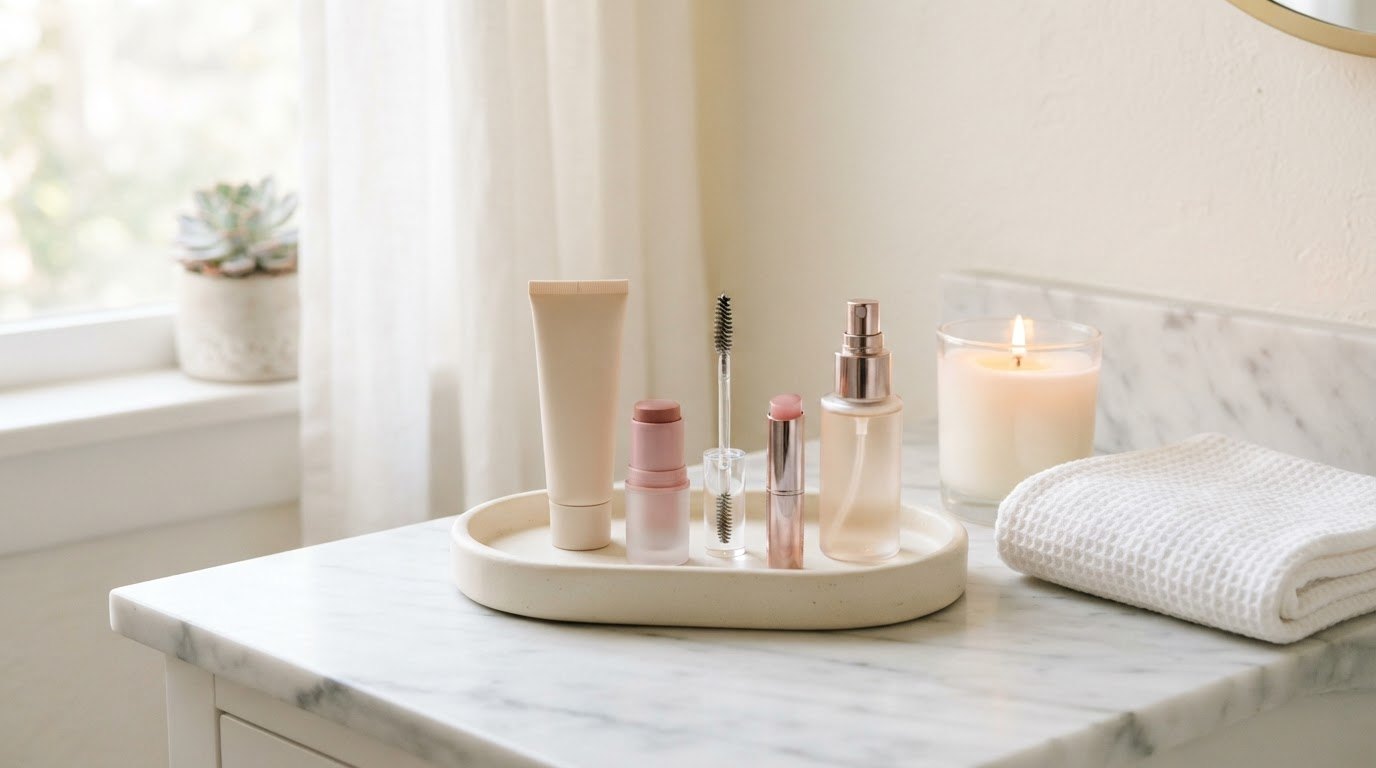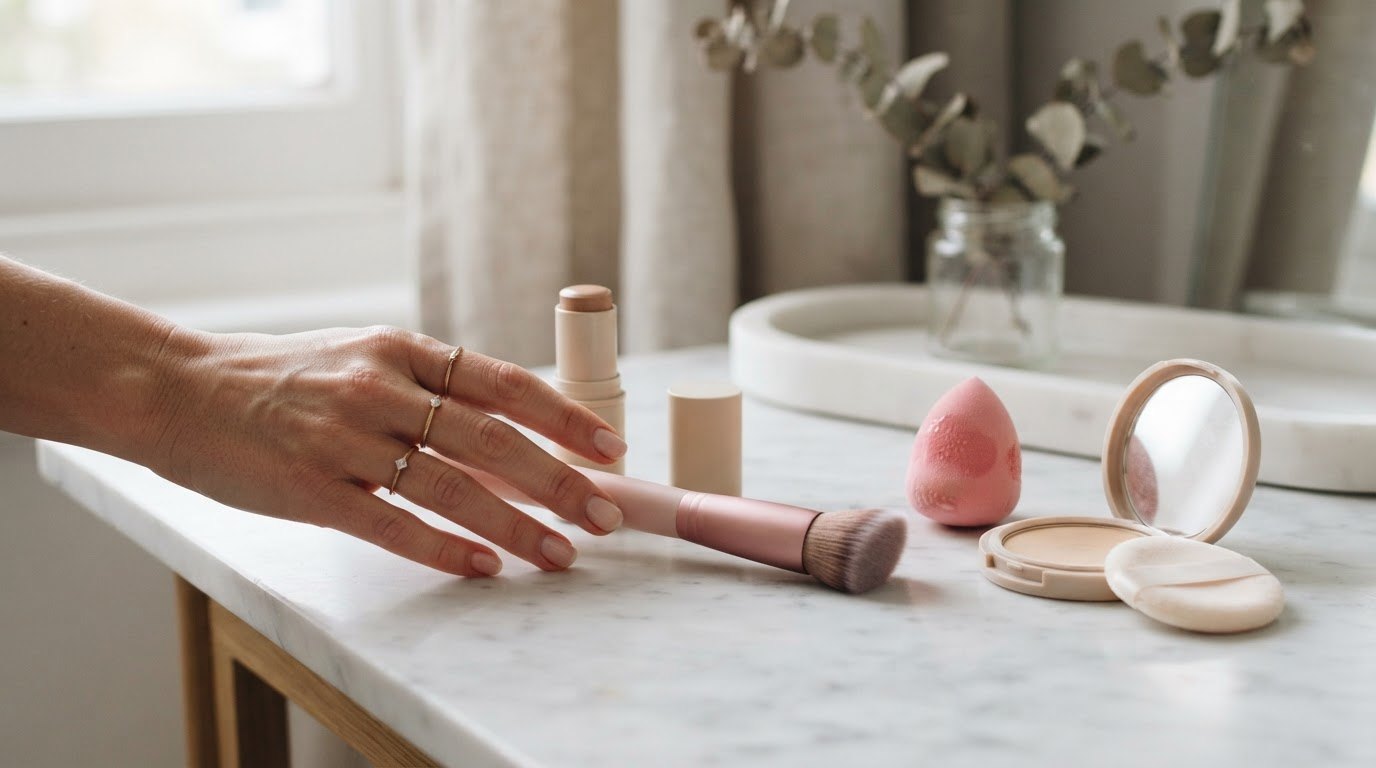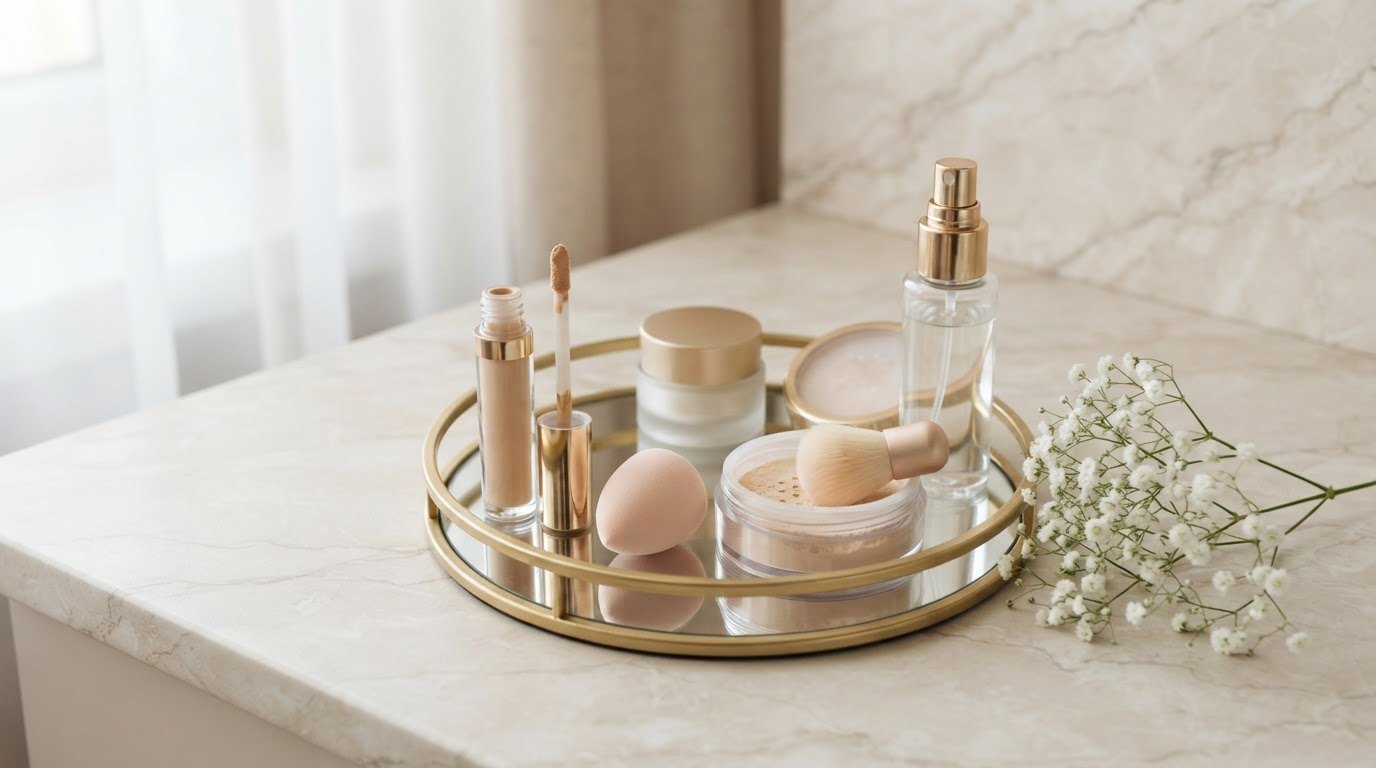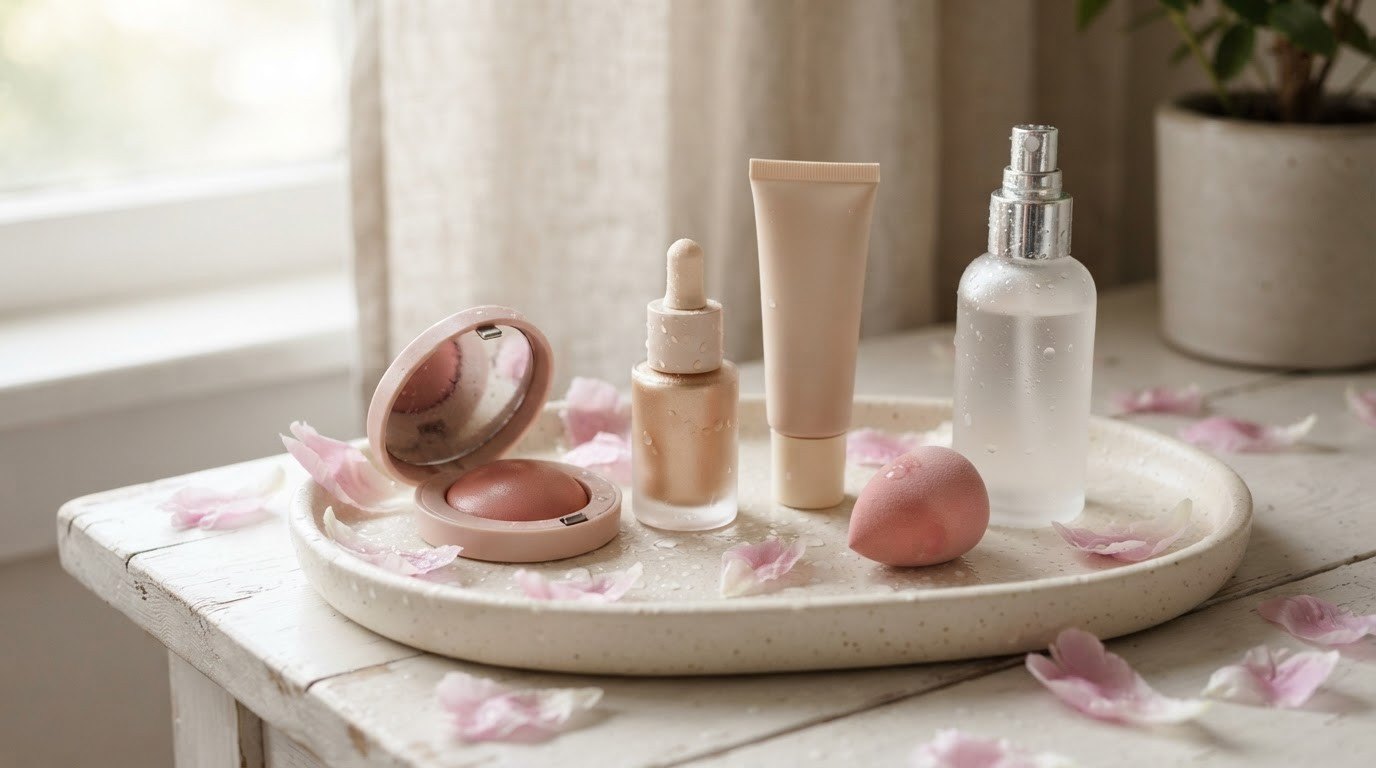
Dewy skin and oily skin can look surprisingly similar in a photo, but they come from opposite places. Dewy is a soft, controlled sheen that sits on the high points of your face, where light naturally hits. Oily is shine that spreads everywhere, especially across the forehead, nose and chin, and slides off by lunchtime. The difference is almost never the products alone. It's where you put the shine and where you quietly keep it matte.
Once you know that, a dewy makeup look becomes much easier to wear, even if you have combination skin with a shiny T-zone like mine. You prep for hydration, choose a lighter base, use creams where you want radiance and add a little powder only where you need it.
In this guide, I'll walk you through skin prep, skin tint vs foundation, where to stay matte, cream products, strategic powder, setting mist and touch-ups that don't flatten everything. There's also a "dewy by skin type" table and a midday refresh routine at the end.
What a Dewy Makeup Look Really Is
Think of fresh, well-rested skin after a good night's sleep and a glass of water: smooth, slightly luminous on the cheekbones, soft everywhere else. That's the goal. Not wet, not greasy, not shimmery.
A good dewy look has three features:
- Hydrated skin underneath. Makeup can't fake bounce on dry, tight skin for long.
- A thin, skin-like base. You can still see a little real skin through it.
- Shine in the right places. Cheekbones, the bridge of the nose, the cupid's bow and the inner corners of the eyes. The rest stays soft.
If you love an effortless, barely-there finish, this look sits close to clean girl makeup, with a little more radiance and a few more cream products.
Step 1: Prep Your Skin With Hydration Layers
This is the step that decides whether your dewy look reads fresh or oily. Dehydrated skin often overproduces oil to compensate, while well-hydrated skin gives you natural bounce that makeup just enhances.
Cleanse Gently
Use a gentle, non-stripping cleanser in the morning, or simply rinse with water if your skin is dry. Squeaky-clean skin tends to feel tight, and tightness shows through makeup.
Layer Water Before Oil
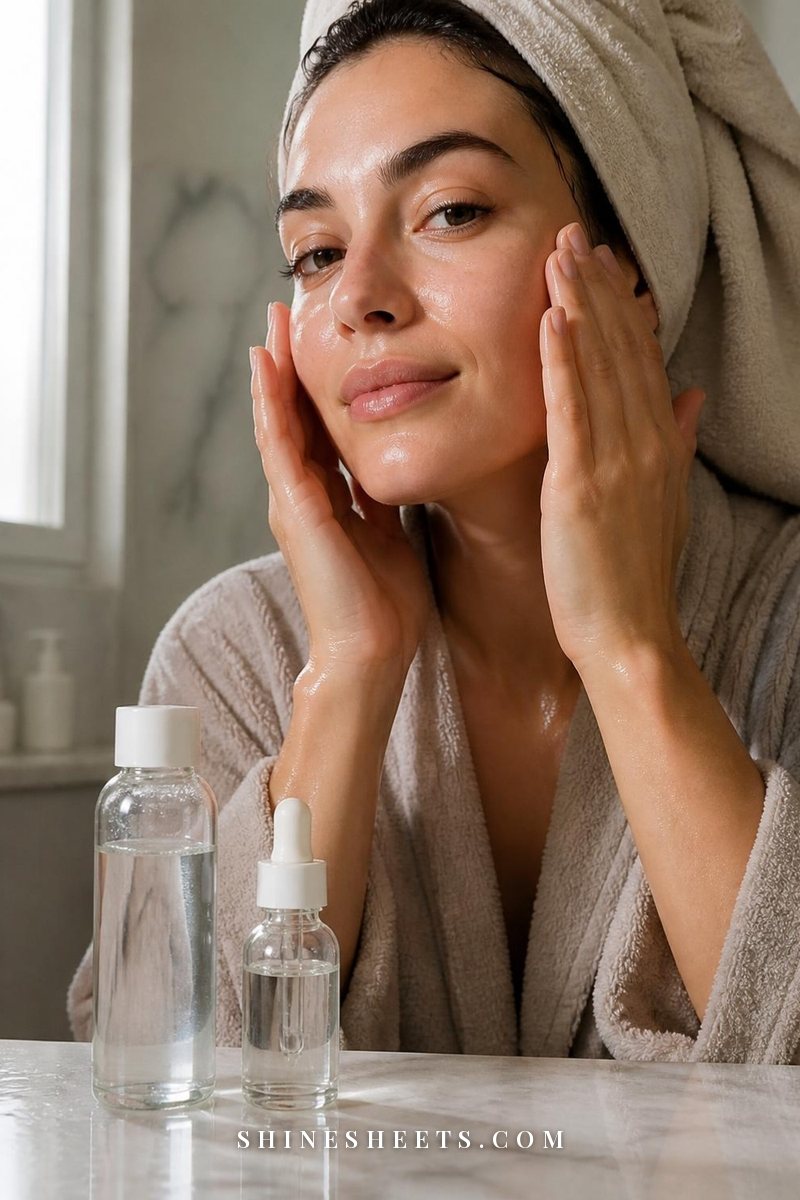
Apply thin, watery layers first: a hydrating toner or essence patted in with your hands, then a hydrating serum. Hyaluronic acid works beautifully here when applied to slightly damp skin. My guide to using hyaluronic acid the right way explains the damp skin rule that makes it work.
Moisturize to Match Your Skin
- Oily or combination skin: a light gel cream all over, or a richer cream only on dry areas.
- Dry skin: a nourishing cream, pressed in well.
- Normal skin: a lightweight lotion.
Then wait three to five minutes. This little pause is everything: makeup on top of wet moisturizer slips and patches.
Sunscreen in the Morning
Finish with sunscreen during the day. Many modern formulas have a naturally dewy finish, which gives you a head start.
Prime Where It Helps
A hydrating dewy primer on the cheeks and outer face helps your base look fresh for longer. On combination skin, I'd choose a different, mattifying or pore-blurring primer just for the T-zone. Two primers sounds fussy, but it takes about ten extra seconds and makes the biggest difference of anything in this guide.
Step 2: Choose Your Base – Skin Tint vs Foundation
The base you choose sets the tone. Here's how to decide.
Skin Tint
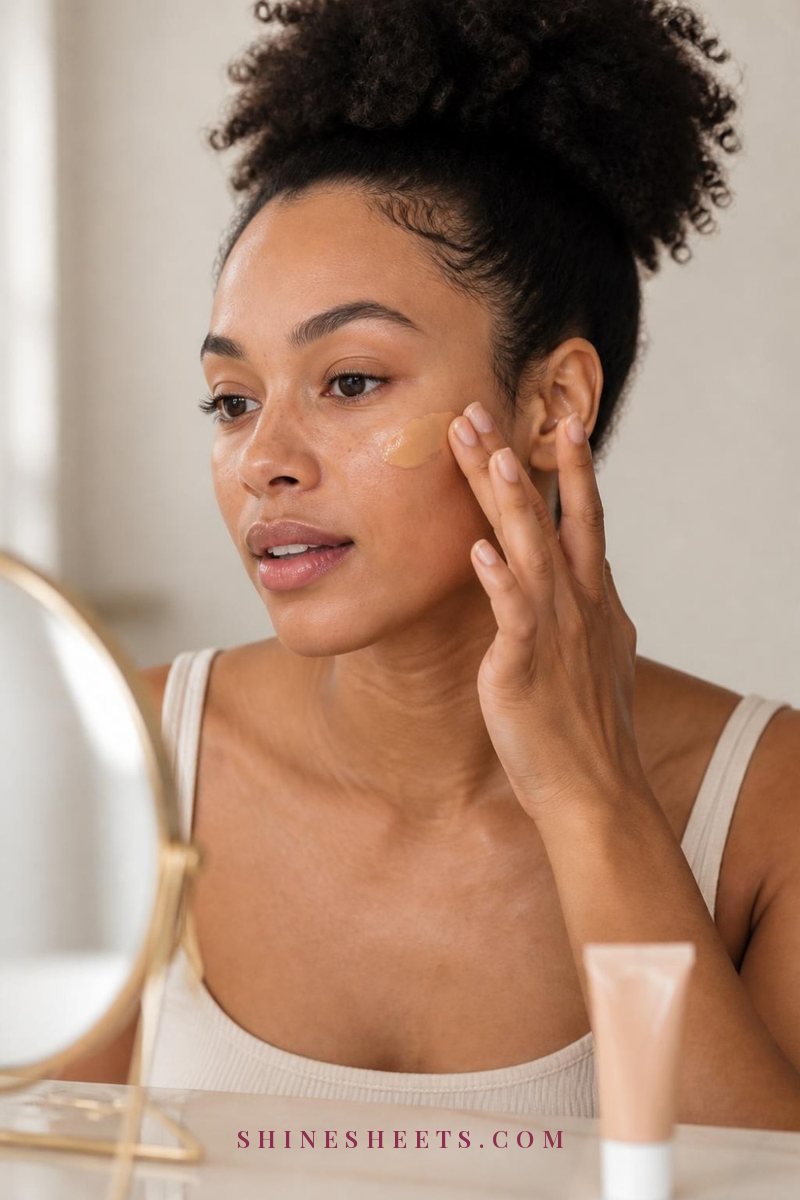
A dewy skin tint gives sheer coverage that evens out redness and lets your real skin show through. It's the easiest way to get a natural, luminous finish. Look for a lightweight, hydrating formula, ideally with a little SPF, and apply it with your fingers so the warmth of your hands melts it in.
Best for: fairly even skin, dry or normal skin, weekends and "no-makeup" days.
Light Foundation
If you want a little more coverage, choose a light to medium foundation with a natural or satin finish (not full matte, not very shiny). Apply a thin layer with a damp sponge, pressing rather than wiping.
Best for: uneven skin tone, oily skin that needs a bit more staying power, events and long days.
The Mixing Trick
Mixing one pump of foundation with a few drops of moisturizer or a liquid highlighter on the back of your hand gives you a custom, sheer, luminous base. It's a lovely way to use a foundation you already have.
Concealer, Only Where Needed
Spot conceal under the eyes, around the nose and on any blemishes with a hydrating concealer. Tap it in with your ring finger. Under the eyes, a little goes a long way, and too much will crease.
Step 3: Keep the T-Zone Matte (the Secret to Not Looking Oily)
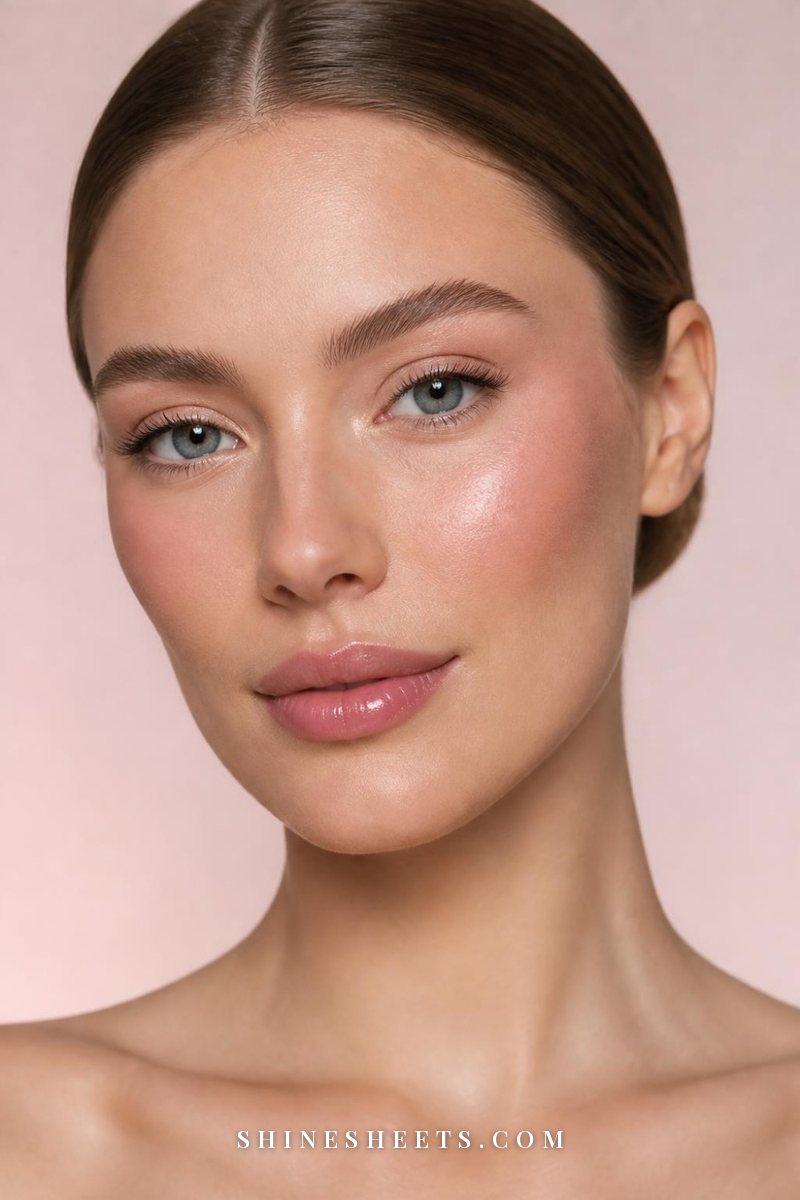
This is the step most dewy tutorials skip, and it's the one that matters most if your skin gets shiny. Dewy works on the outer face. The center of your face, especially the forehead, sides of the nose and chin, is where oil naturally builds up during the day. If you add shine there, by midday you'll look greasy rather than fresh.
The simple rule I follow with my combination skin: shine on the outside, soft in the middle.
- Matte zones: the center of the forehead, the sides of the nose, around the nostrils, the chin.
- Dewy zones: the tops of the cheekbones, the temples, the bridge of the nose (a tiny dot only), the cupid's bow.
- In-between: the cheeks, which can be luminous but not shiny.
Step 4: Add Cream Products for a Lit-From-Within Finish
Cream and liquid products blend into skin rather than sitting on top, which is what gives that luminous, healthy finish. Powder blush and bronzer can look flat on dewy skin, so this is where creams really shine.
Cream Blush
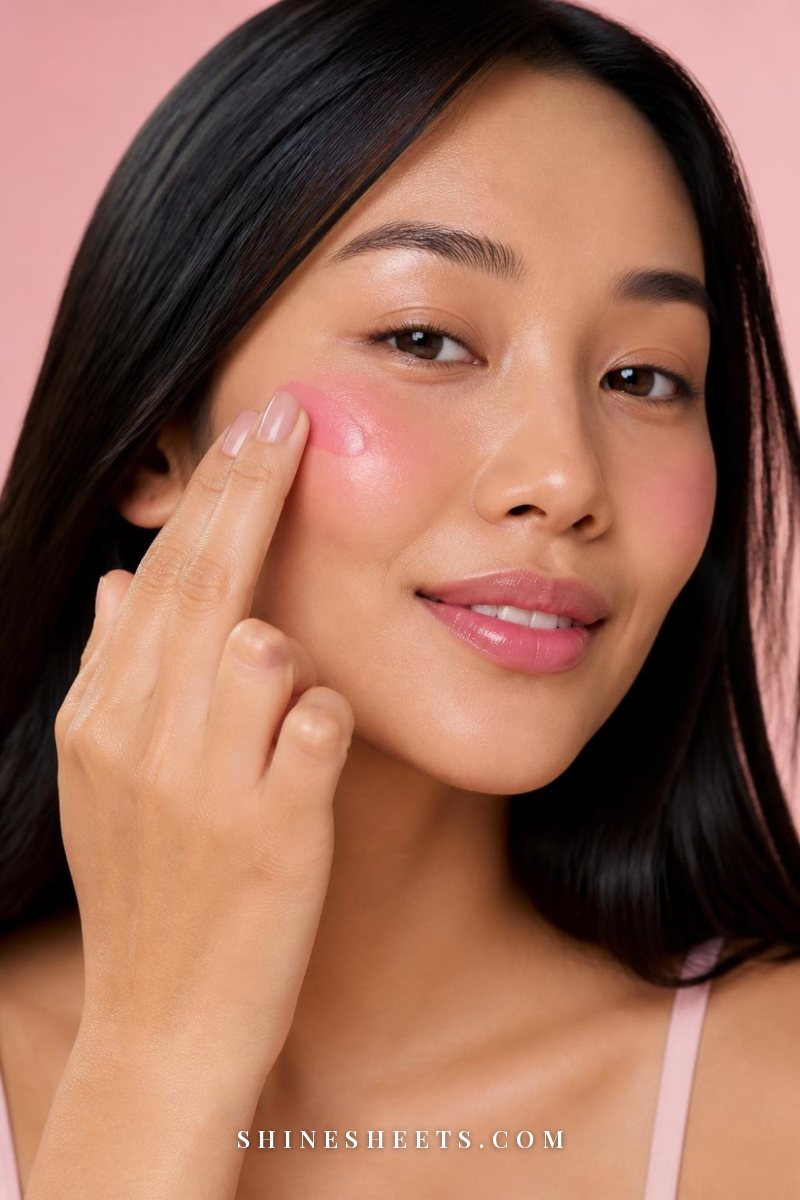
A pink cream blush is the heart of a dewy look. Dab a little on your fingertips, smile and tap it onto the apples of your cheeks, then blend up toward your temples. Start with less than you think, because cream is easy to build and harder to take away. Soft pinks, peaches and rosy tones look fresh on most skin tones.
Cream Bronzer (Optional)
For a little warmth, tap a cream bronzer where the sun would naturally hit: the top of your forehead, the tops of your cheekbones and along the jawline. Blend it very well with a sponge or your fingers. If you'd like more definition, my guide to soft, gradual sculpting in soft glam makeup shows how to build it gently.
Liquid Highlighter
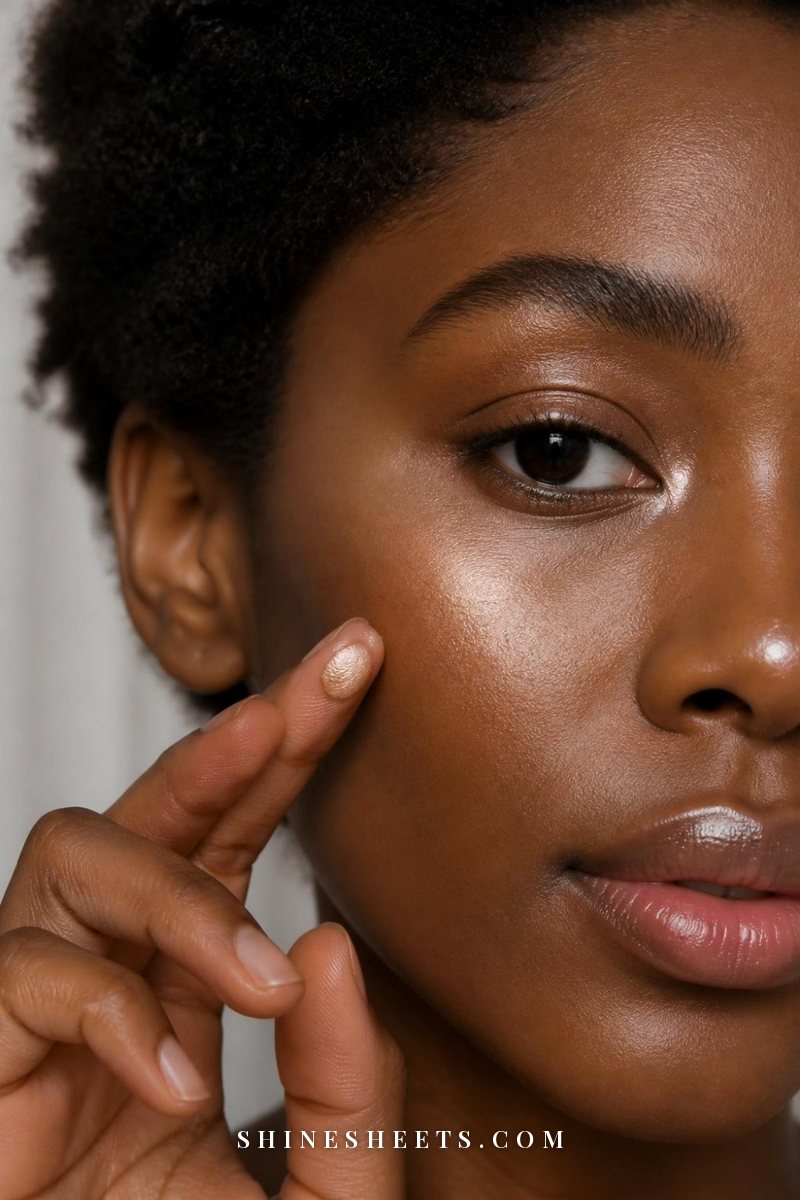
A champagne liquid highlighter is what turns "fresh" into "luminous." Use one tiny drop at a time and tap it onto:
- The tops of your cheekbones, blending up toward your temples.
- A small dot on the bridge of your nose.
- Your cupid's bow, above the center of your top lip.
- The inner corners of your eyes.
Avoid chunky glitter and big shimmer particles. You want a smooth sheen, not sparkle, and a pearly or champagne tone flatters almost everyone.
Lips and Eyes
Keep the rest simple so the skin is the star: a tinted lip balm or gloss, brushed-up brows and a coat of mascara. A little balm or clear gloss on the eyelids adds an extra dewy touch if your lids don't get oily.
Step 5: Use Powder Strategically
Powder isn't the enemy of a dewy look. Powder everywhere is. Used in a few small places, it makes your dewy look last much longer.
- Choose a finely milled, translucent powder. Heavy or tinted powders can look cakey on top of creams.
- Use a small, fluffy brush or a powder puff. Press the powder in rather than sweeping it across.
- Powder only the matte zones: the center of the forehead, the sides of the nose and the chin. Under the eyes, a tiny amount if your concealer tends to crease.
- Skip the cheekbones completely. This is where your dewy finish lives.
If you have dry skin, you might skip powder entirely, or use just a whisper on the sides of the nose.
Step 6: Lock It In With Setting Mist
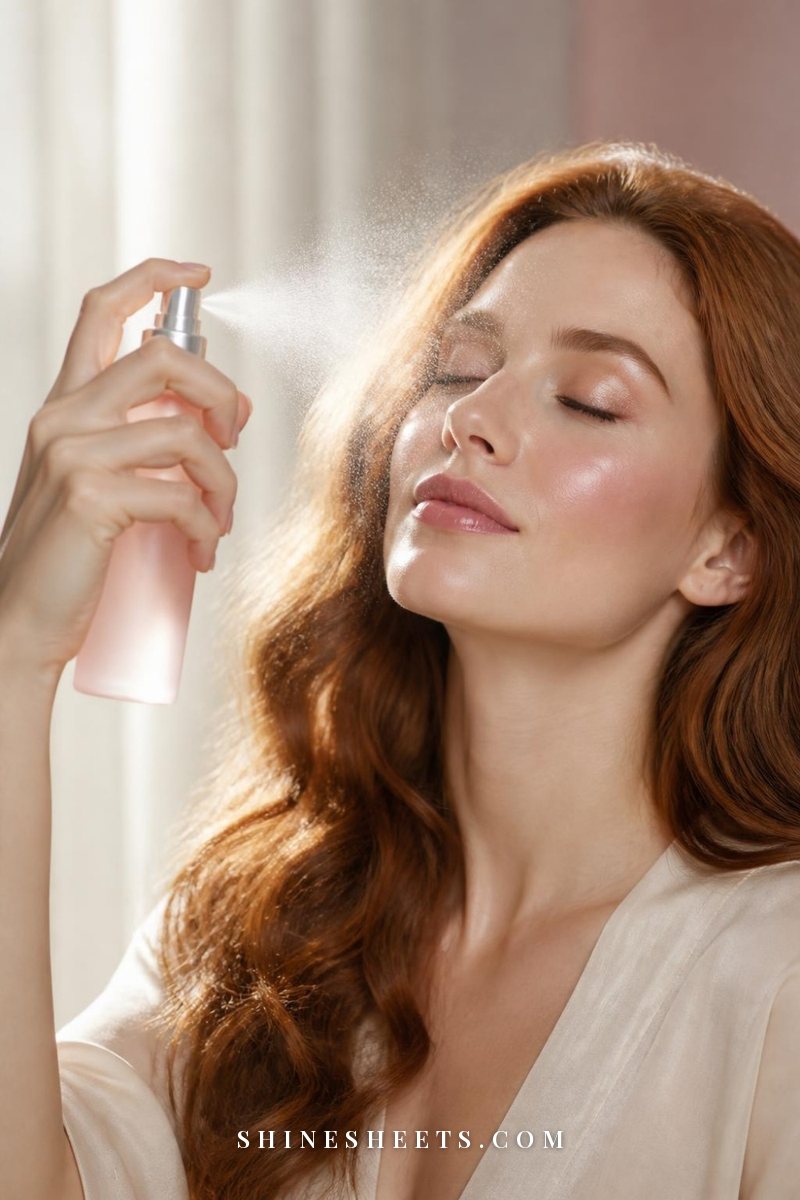
A setting mist melts powder and cream products together so nothing looks layered, and it brings back a fresh sheen after powdering.
Hold a hydrating dewy setting spray about an arm's length from your face, close your eyes and mist in an X shape, then a T shape. Let it dry on its own, without touching your face. For extra staying power, some people mist a makeup sponge and press it lightly over the face too.
Dewy Makeup by Skin Type
Here's the table I'd screenshot. Dewy looks different depending on your skin, so adjust each step to suit yours.
| Skin Type | Prep | Base | Where To Powder | Finish |
|---|---|---|---|---|
| Oily | Light gel moisturizer, mattifying primer in the T-zone | Light foundation with a natural finish | Forehead, nose, chin and around the mouth | Highlighter only on the tops of the cheekbones, setting mist |
| Combination | Gel cream all over, richer cream on dry areas, two primers | Skin tint or a sheer light foundation | Center of the forehead, sides of the nose, chin | Cream blush and highlighter on the outer face, setting mist |
| Dry | Hydrating serum, rich cream, hydrating primer | Dewy skin tint or the mixing trick | Little or none, maybe under the eyes | Cream products everywhere you like, a generous setting mist |
| Normal | Hydrating serum and a lightweight lotion | Skin tint or light foundation | A light touch on the sides of the nose | Cream blush, highlighter and setting mist |
| Sensitive | Simple, fragrance-free hydration and sunscreen | Skin tint with few ingredients | As needed in the T-zone | Fragrance-free setting mist, patch test new products first |
If dryness is your main struggle, the base matters even more than the makeup. My gentle skincare routine for dry skin is a lovely foundation (literally) for this look. And if your T-zone is shiny like mine, here's my skincare routine for combination skin that keeps both areas happy.
Midday Refresh Routine
Even the best dewy look needs a little care during the day. The mistake most of us make is reaching for more powder and patting it over everything, which flattens the radiance and builds a cakey layer. Here's a gentler five-step refresh that takes about two minutes:
- Blot, don't powder. Press oil blotting papers onto the forehead, nose and chin. Press and lift, never rub. This removes excess oil without disturbing your makeup.
- Touch up only the T-zone. If you still need it, a tiny amount of powder on the sides of the nose and the center of the forehead only.
- Revive the cheeks. Tap a little cream blush or highlighter back onto the cheekbones with your ring finger if they've faded.
- Mist. A light spritz of setting spray melts everything back together.
- Refresh your lips. A swipe of tinted balm finishes the look in seconds.
Keep blotting papers, a small cream blush and a lip balm in your bag, and you'll look fresh all the way to evening.
Common Dewy Makeup Mistakes
These are the little things that tip a dewy look into oily, patchy or cakey territory:
- Skipping the wait after moisturizer. Makeup slides on wet skin. Give it three to five minutes.
- Adding shine to the T-zone. Highlighter on the forehead and chin reads as oil by midday.
- Using too much product. Dewy looks best thin. Several sheer layers beat one thick one.
- Choosing glittery highlighter. Big shimmer particles show texture and pores. Choose a smooth, pearly finish.
- Powdering everything at the end. It cancels out all your cream products. Powder only the matte zones.
- Mixing powders and creams in the wrong order. Creams go first, powder last. Cream on top of powder tends to look patchy.
- Ignoring your skin's needs. Very dry or irritated skin won't look dewy with makeup alone. Care for your skin first, and see a dermatologist if irritation or breakouts don't settle.
What To Look For in Dewy Products
You don't need a whole new makeup bag for this look. When you do shop, these criteria help you pick products that look fresh instead of greasy:
- "Natural," "satin" or "radiant" finish on bases, rather than "matte" or "high-shine."
- Lightweight, buildable texture. You should be able to sheer it out with your fingertips.
- Fine pearl instead of glitter in highlighters. Look at a swatch in daylight: smooth sheen is what you want.
- Cream formulas that set slightly. A cream blush that dries down a little lasts much longer than one that stays slippery.
- Fragrance-free or low-fragrance options if your skin is sensitive, and a patch test before using anything new on your whole face.
Dewy Makeup for Different Occasions
The same basic steps work everywhere. You just turn the radiance up or down a little.
Everyday
Skin tint, cream blush, a touch of highlighter on the cheekbones only and lip balm. It's fresh, quick and easy to refresh.
Work and Long Days
Switch to a light foundation for staying power, powder the T-zone a little more generously and keep the highlighter subtle. Pack blotting papers for the afternoon.
Evening and Special Occasions
Build the highlighter in one or two thin layers, add a soft shimmer on the eyelids, a slightly deeper blush and a glossy or satin lip. Evening light is softer, so you can be a little more generous with shine.
Photos
Camera flash can make shine look stronger than it does in real life. Keep the T-zone well set, use a smooth highlighter rather than a sparkly one and blot right before the photos. Nothing drastic, just a little more control in the center of the face.
Warm, Humid Days
Go lighter on everything. A skin tint, a cream blush and a quick mist are often enough. Let the weather do some of the dewy work for you, and lean on blotting papers rather than extra powder.
A Quick 10-Minute Dewy Routine
For busy mornings, here's the whole look in the fewest steps:
- Minutes 1–3: hydrating serum, moisturizer and sunscreen. Let them settle while you brush your teeth or make tea.
- Minutes 4–5: skin tint applied with your fingers.
- Minute 6: concealer only where you need it.
- Minute 7: cream blush on the cheeks.
- Minute 8: a drop of liquid highlighter on the cheekbones.
- Minute 9: a light press of powder on the T-zone.
- Minute 10: brows, mascara, lip balm and a quick mist.
That's it. Ten calm minutes for fresh, luminous skin that still looks like you.
Final Thoughts
A dewy makeup look is less about having perfect skin and more about knowing where light should land. Hydrate well, keep your base thin, use creams on the outer face and save powder for the few places that get shiny. That's the whole secret.
Start with the 10-minute version, adjust it with the skin type table and keep your little refresh kit in your bag. Fresh, soft, radiant skin that lasts all day is completely within reach.