Foundation looks like makeup when there's too much of it in the wrong places. That's really the whole secret. The skin-like finish you see on other people almost never comes from an expensive bottle – it comes from a thin layer in the center of the face, soft edges everywhere else, and a little patience between steps.
Most of us were taught to cover the whole face evenly, edge to edge, like painting a wall. But faces aren't walls. Your cheeks, nose and chin usually need a bit of evening out, while your hairline, jaw and the sides of your face mostly need to be left alone. When you work with that, foundation stops sitting on top of your skin and starts melting into it.
This guide walks you through how to apply foundation so it looks like skin: how to prep, how to pick a formula for your skin type, which tool to reach for, the "less in the middle, blend outward" method, why spot concealing beats adding more, where to set (and where to skip), how to fix cakey, patchy or orange-looking foundation, and how to make the whole thing last. There's also a formula + tool match table you can screenshot for your next makeup bag clear-out.
Take a breath, pull your hair back, and let's start with the step most people rush.
Start With Skin Prep (It Does Half the Work)
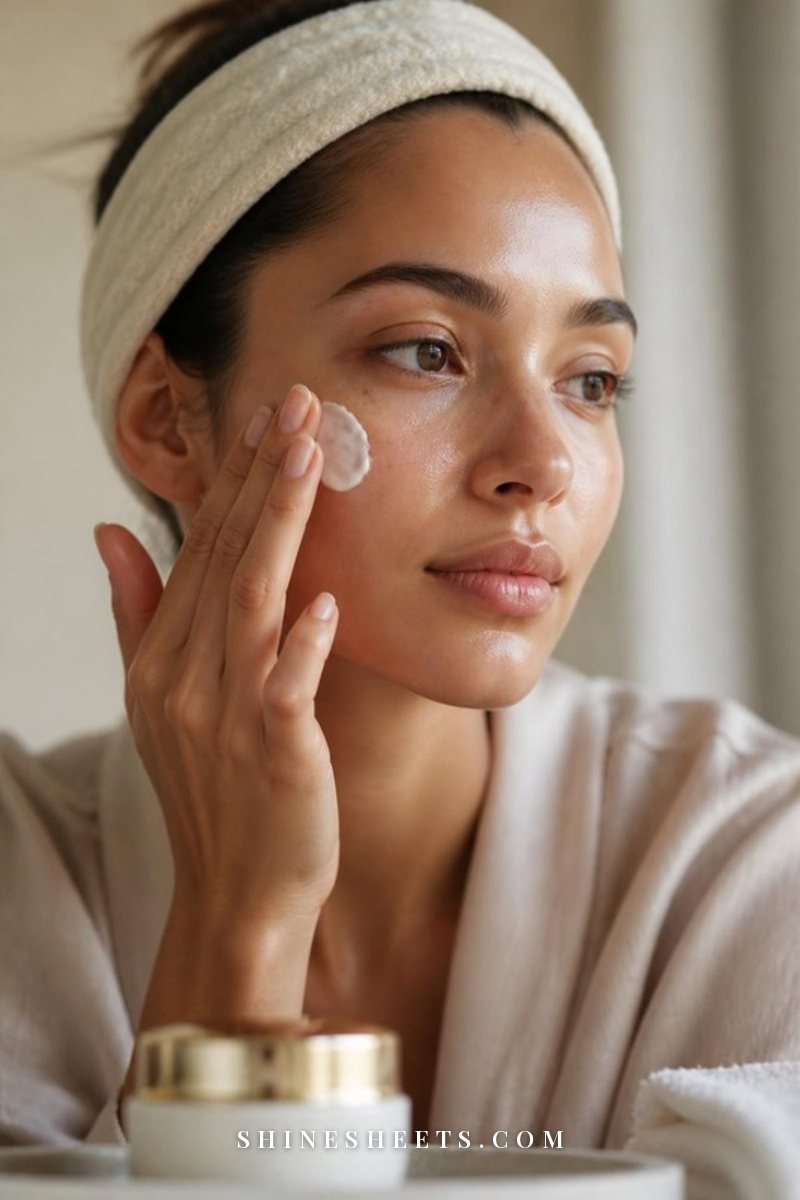
Foundation can only be as smooth as the surface it sits on. If your skin is tight, flaky or slick with a heavy cream, no technique will save the finish. Good prep isn't a ten-step routine – it's three small things done in the right order.
Cleanse and Moisturize, Then Wait
Wash with something gentle (no squeaky-clean cleansers on makeup days), then apply a moisturizer suited to your skin. Dry skin likes a cream, oily skin likes a gel, combination skin often likes a gel-cream. Here's the part almost everyone skips: wait 5–10 minutes before foundation. Use that time for brows, a sip of tea or getting dressed. Applying foundation over moisturizer that hasn't settled is one of the top reasons it slides, pills or looks patchy by lunch.
If you wear sunscreen during the day (and I hope you do), it goes on after moisturizer and also needs a few minutes to set. A quick test: touch your cheek with a clean fingertip. If it feels tacky-dry rather than slippery, you're ready.
Use Primer Only Where You Need It
Primer isn't mandatory. Think of it as a targeted fix, not a full-face layer. My skin is combination and a bit sensitive, with a T-zone that turns shiny by midday, so I'd only ever put a mattifying primer down the center of the face and leave my cheeks alone. If your cheeks are the dry part, a hydrating primer pressed onto just those areas gives foundation something smooth to grip without adding shine elsewhere.
A few simple rules for primer:
- Pea-sized amount for the whole area you're treating – more just pills.
- Press, don't rub, especially over pores.
- Match the base where you can: water-based primer under water-based foundation, silicone under silicone. Mixing them is a common cause of separation.
- Give it a minute to settle before foundation goes on.
Pick the Right Formula for Your Skin Type
The "right" foundation is less about the brand and more about how its formula behaves on your skin. Before anything else, make sure the shade is right – a perfect technique can't rescue the wrong color. If you're unsure, my guide on how to choose your foundation shade by undertone walks you through testing on the jaw in daylight.
Then look at the formula:
- Dry skin: hydrating liquids, serum foundations or a skin tint with a satin or dewy finish. Avoid long-wear matte formulas that grab onto dry patches.
- Oily skin: oil-free, lightweight liquids with a soft-matte or natural finish. Skip heavy creams and anything labeled "radiant" for all-over use.
- Combination skin: a natural or satin finish, with oil control done by primer and powder in the T-zone rather than by the foundation itself.
- Mature or textured skin: thin, flexible liquids and serum foundations that move with the skin. Thick, full-coverage mattes tend to settle into lines (my post on makeup for mature skin goes deeper on this).
- Normal skin or "I barely need it" days: a skin tint or sheer liquid. A lightweight skin tint is a lovely pick for weekends because it evens tone without hiding freckles or texture.
Coverage matters too. Sheer to medium coverage looks most like skin on most people, because you can build it only where needed. Full coverage isn't wrong – it just needs a lighter hand and more blending at the edges.
Fingers, Damp Sponge or Brush: Tools Compared
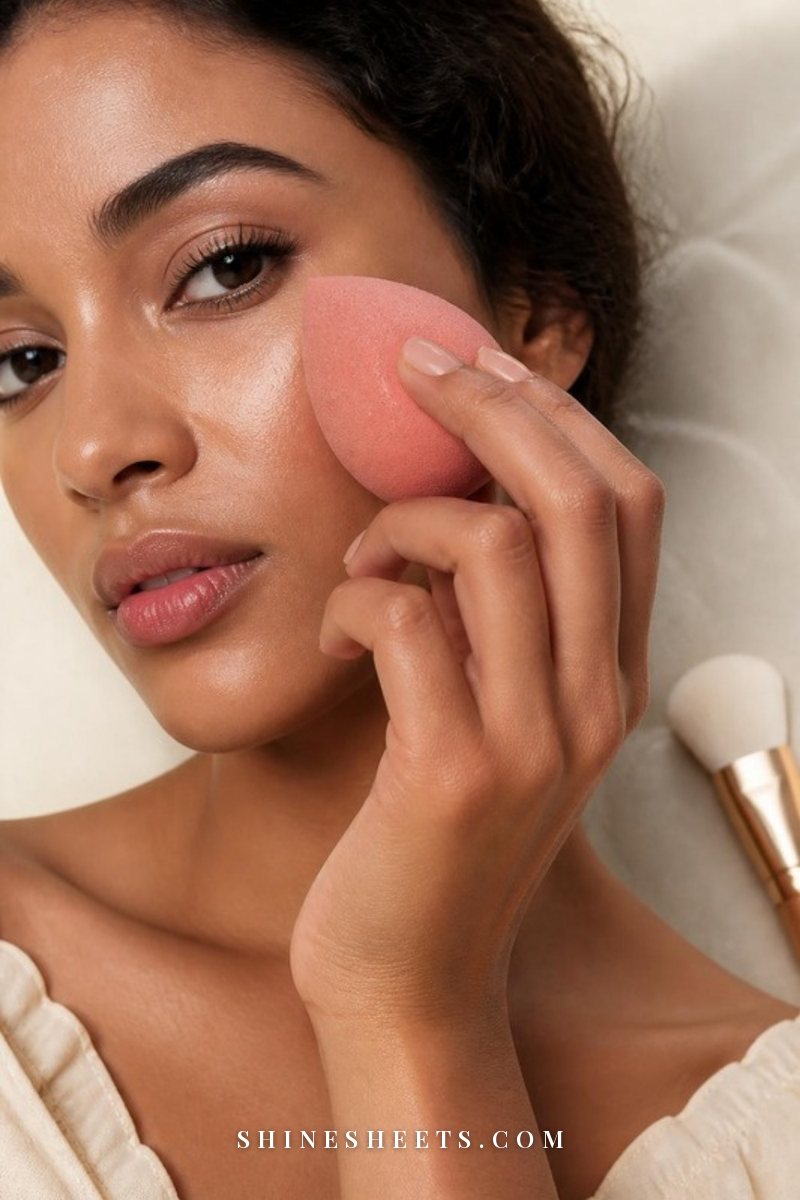
The tool changes the finish more than people expect. The same foundation can look sheer and fresh with a sponge, polished with a brush, and skin-warm and natural with fingers. None of them is "the correct one" – it depends on the formula, your skin and how much time you have.
Fingers
Fingers warm the product so it melts in, which is perfect for skin tints, serum foundations and sheer liquids. They're fast and give the most natural, thin layer. Downsides: they can leave streaks with thicker formulas and they're not great for building coverage. Wash your hands first and use your ring and middle fingers in light pressing motions, not rubbing.
Damp Sponge
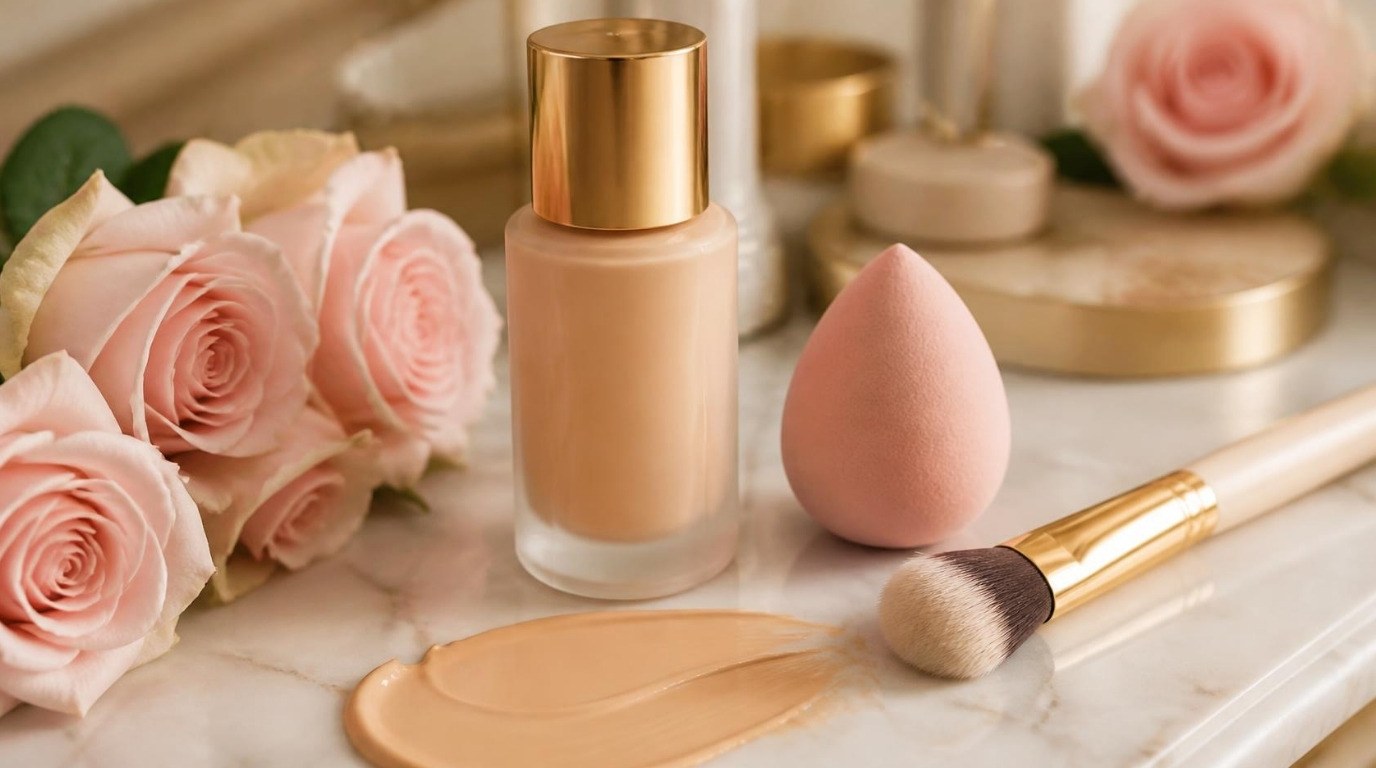
A damp sponge sheers out foundation, presses it into the skin and removes excess as it goes. It's the most forgiving tool for beginners and the best for a skin-like finish on combination or textured skin. A makeup blending sponge set is worth having so you can rotate them and wash them often. Run the sponge under water, squeeze it out completely in a clean towel (it should feel damp, not wet) and use a bouncing motion – never drag it.
Dense Brush
A dense, flat-top or kabuki-style brush buffs foundation into an even, polished layer with more coverage from less product. It's ideal for medium-to-full coverage formulas and for anyone with redness to even out. A dense foundation brush works best in small circles with very light pressure, followed by a few downward strokes so tiny facial hairs lie flat. If you see streaks, the brush is too dry or the formula is setting too fast – switch to a sponge to press over it.
Whatever you choose, keep it clean. A dirty sponge or brush makes foundation patchy and isn't kind to sensitive or breakout-prone skin. Wash sponges after every one or two uses and brushes at least once a week, and replace a sponge when it starts to tear or doesn't come clean.
The Formula + Tool Match Table
Here's the cheat sheet I wish I'd had years ago. Find your skin type in the first column, then follow the row for a formula, a tool and the finish you can expect.
| Skin type | Formula | Best tool | Finish you'll get |
|---|---|---|---|
| Dry | Hydrating liquid or serum foundation | Fingers, then damp sponge | Satin to softly dewy |
| Oily | Oil-free soft-matte liquid | Dense brush, pressed over with a sponge | Natural matte, less shine by midday |
| Combination | Natural or satin liquid | Damp sponge | Even, skin-like, matte only where you set |
| Mature or textured | Thin, flexible liquid or serum foundation | Fingers or damp sponge | Fresh, moves with expression lines |
| Sensitive or redness-prone | Fragrance-free medium-coverage liquid | Clean dense brush, very light pressure | Even tone without heavy layers |
| Normal or low-maintenance days | Skin tint or sheer liquid | Fingers | Barely-there, like your skin on a good day |
A quick note on sensitive skin: patch test a new foundation on your jaw or behind your ear for a couple of days before using it all over, and stop using anything that stings, itches or causes a rash.
How To Apply Foundation: The "Less in the Middle, Blend Outward" Method
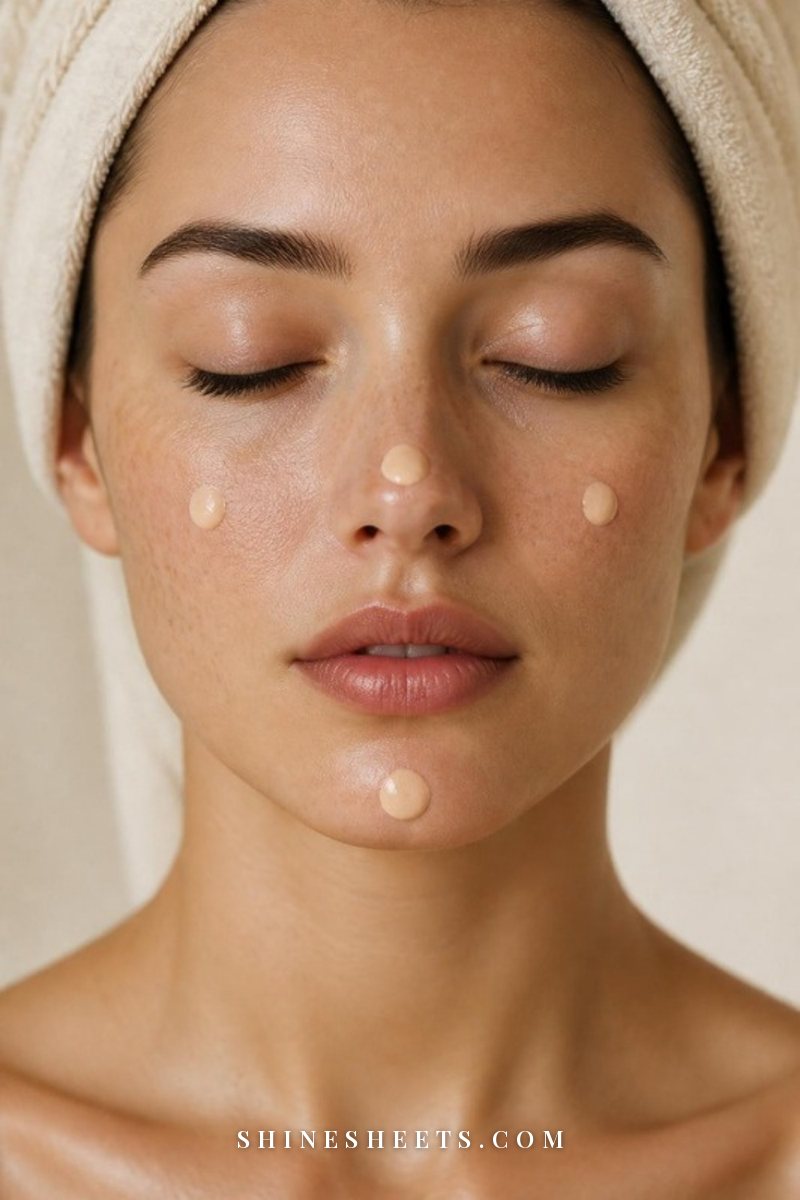
This is the heart of the whole guide. Instead of covering your face evenly, you place a small amount where most people need it – the center, where redness and uneven tone usually live – and blend it out until it disappears at the edges. Your face ends up with more coverage in the middle and almost none at the hairline, which is exactly how real, even skin looks.
- Start with less than you think. One pump is often enough for the whole face; half a pump for a skin tint. Put it on the back of your hand, not straight onto your face. Your hand warms it and gives you control.
- Dot it in the center. Place small dots on the center of each cheek (next to the nose), on the nose, the middle of the forehead and the chin. Skip the outer face for now.
- Blend outward, not around. Working one area at a time, blend from the center of the face toward the hairline, ears and jaw. The product thins as it travels, so by the time it reaches the edges there's barely anything left. That's the goal.
- Feather the edges. Use whatever is left on your tool (no new product) to soften the jawline, the hairline and around the nostrils. If you can see where foundation stops, keep bouncing until you can't.
- Go light around the eyes and mouth. These areas move constantly. Whatever's left on your sponge is plenty – extra product here is what creases.
- Step back and check in daylight. Look at your face from arm's length near a window. Still seeing redness? Don't add a second full layer. Move on to spot concealing instead.
If you only remember one thing from this section: you can always add, but taking foundation away without starting over is hard. Thin layers are your best friend.
Spot Conceal Instead of Adding More Foundation
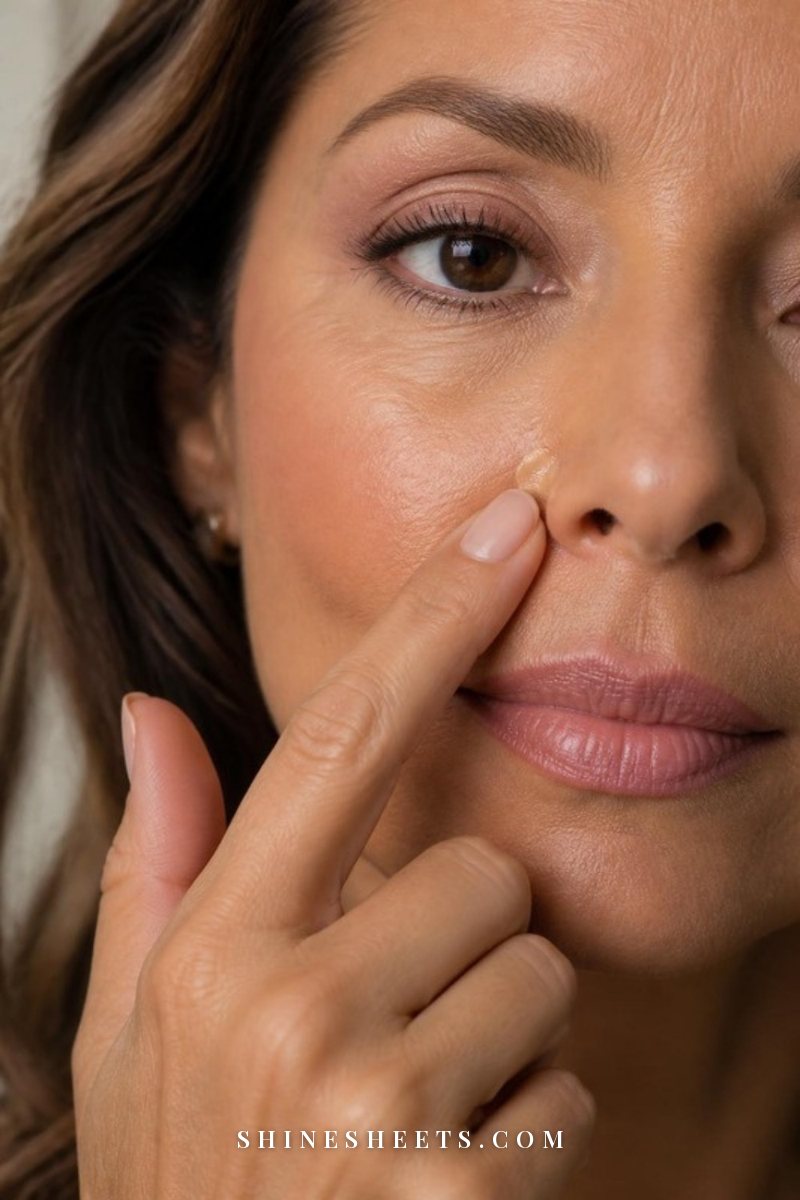
This is the step that makes foundation look like skin instead of a mask. When a blemish, a red patch around the nose or a dark spot is still peeking through, the instinct is to add more foundation all over. That builds weight everywhere just to cover one small area.
Instead, use a concealer that matches your foundation (not lighter) and treat only the spot:
- Use a tiny amount – the size of a grain of rice for a blemish.
- Apply with a small brush or fingertip directly on the spot, not around it.
- Wait 30 seconds so it becomes a little tacky.
- Tap only the edges with a fingertip or clean sponge corner so the center stays covered while the outline disappears.
Under the eyes, a slightly lighter, thinner concealer works best, applied in a small triangle or just at the inner corner where shadows sit. If yours tends to fold into lines, my guide to applying concealer without creasing has the full method.
Set Only Where You Need It
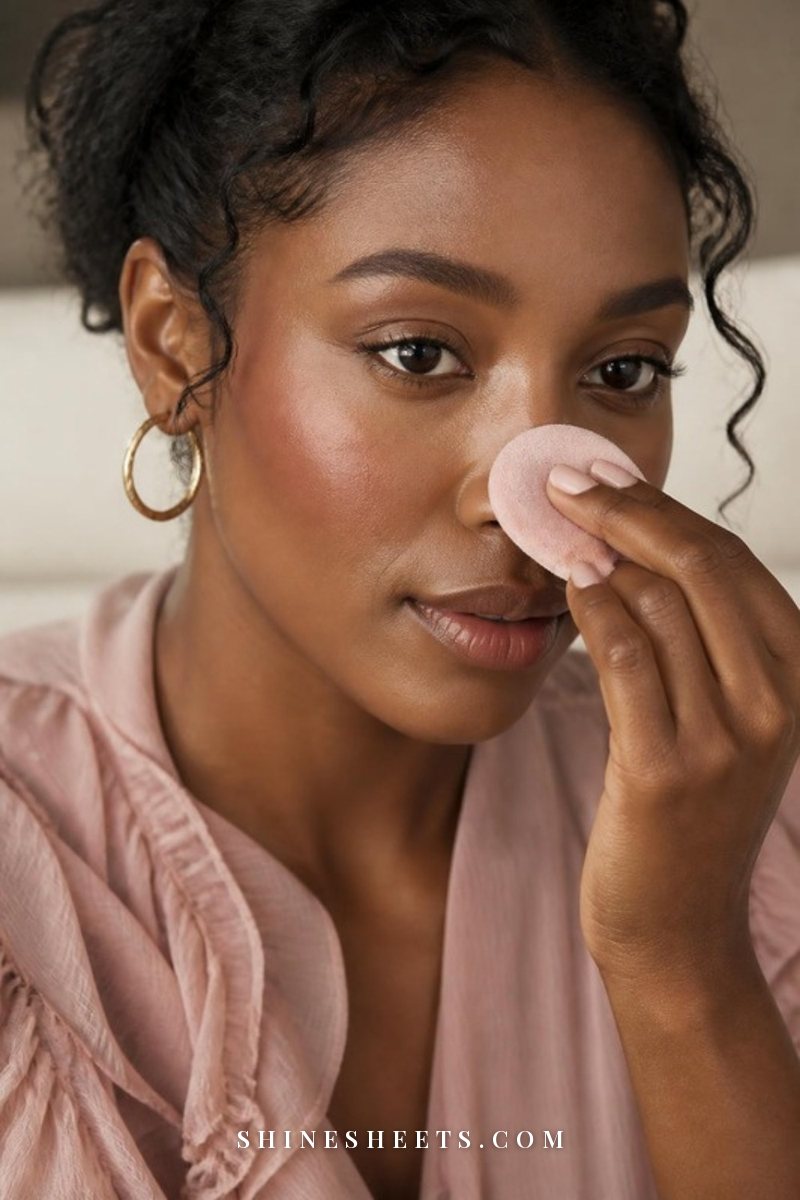
Powder all over the face is one of the fastest ways to make even a beautiful foundation look flat and dry. Most people only need setting where skin gets oily or where makeup tends to move: the sides of the nose, the center of the forehead, the chin and under the eyes.
A translucent setting powder is the easiest choice because it doesn't add color or change your shade. Here's how to apply it without losing the skin-like finish:
- Tap a small amount into the lid or onto the back of your hand.
- Pick it up with a velour puff or a small fluffy brush, then tap off the excess.
- Press and roll the puff onto the T-zone, sides of the nose and chin – don't swipe.
- Use only what's left on the puff for under the eyes.
- Leave the high points of the cheeks unpowdered so they keep a little natural life.
If you have dry skin, you might skip powder altogether and only set with a mist. A hydrating setting spray melts powder into the skin, takes away that "dusty" look and helps everything wear longer. Hold it at arm's length, spritz in an X and a T shape, and let it dry without touching.
If you love a fresh, lit-from-within finish, my dewy makeup look guide shows how to keep shine on the cheeks while the T-zone stays controlled.
Fixes for Common Foundation Problems
Even with a good method, foundation sometimes misbehaves. Most problems come from one of three things: skin prep, product amount or a formula that isn't a match. Here's how to rescue the most common ones.
Cakey Foundation
Why it happens: too much product, too much powder, or layers applied before the one underneath settled.
Quick fix: take a clean, damp sponge and bounce it over the heavy areas – it lifts excess product. Follow with a light mist of setting spray and press it in with clean fingertips.
Next time: half the amount of foundation, powder only the T-zone, and wait between steps.
Oxidizing (Turning Orange or Darker)
Why it happens: some formulas darken as they react with the oils on your skin and the air, and some primers or sunscreens make it worse.
Quick fix: there isn't much you can do once it's happened beyond softening the jawline so there's no visible line.
Next time: test a new foundation on your jaw and check it after 20–30 minutes. If it oxidizes, go half a shade lighter, try a mattifying primer, or let your skincare absorb fully before applying.
Patchy or Clinging to Dry Spots
Why it happens: dehydrated skin, flakes, or a long-wear matte formula on dry areas.
Quick fix: press a tiny amount of moisturizer onto the patch with a fingertip, wait a minute, then bounce a damp sponge over it.
Next time: exfoliate gently a couple of times a week, use a richer moisturizer the night before, and switch to a hydrating formula.
Separating or Breaking Up Through the Day
Why it happens: oil breaking through (usually around the nose and chin), mismatched primer and foundation bases, or touching your face.
Quick fix: press a blotting paper over oily areas first – don't wipe. Then bounce a clean damp sponge over the area, and add a tiny bit of powder only if needed.
Next time: pair water-based with water-based and silicone with silicone, use a mattifying primer only in the T-zone, and keep hands off your face (harder than it sounds).
How To Make Foundation Last All Day
Foundation that looks like skin in the morning should still look like skin in the late afternoon. It won't be perfect at 6 p.m. – nobody's is – but these habits make a real difference:
- Thin layers win. One thin layer plus spot concealing lasts much longer than two full layers, which slide and crack.
- Respect the waiting time. Five to ten minutes after skincare, one minute after primer.
- Set strategically. Powder in the T-zone, mist everywhere.
- Blot, don't powder, at midday. Blotting papers remove oil without adding layers; then a tiny bit of powder only if you really need it.
- Carry a mini touch-up kit: blotting papers, your concealer and a clean mini sponge.
- Keep tools clean. Old product on a sponge breaks down fresh foundation faster.
For an even deeper dive into staying power, my tips to make foundation last all day covers long-wear tricks for hot days, events and long workdays.
A 5-Minute Version for Busy Mornings
On days when you don't have time for the full method, keep it simple:
- Moisturizer and sunscreen, then brush your teeth while they settle.
- Half a pump of skin tint or sheer foundation, dotted in the center and blended out with fingers.
- Concealer only on what really bothers you.
- A quick press of powder on the sides of the nose.
That's it. Add brows, mascara and a tinted balm and you've got a polished face in minutes. If you want the full quick routine around it, my everyday makeup routine for beginners builds the rest of the look step by step.
Final Thoughts
Foundation was never meant to hide your face – just to even things out so you feel a little more put-together. The most beautiful bases I've ever seen weren't flawless; they were thin, soft at the edges and clearly still skin underneath. There's a reason Old Hollywood makeup artists worked in light, careful layers rather than heavy coats.
Start with less, blend outward, conceal only what bugs you and set only where you shine. Give it a week of practice and your hands will learn the rhythm on their own. You deserve to look like yourself, just on a really good day.