Clean girl makeup isn't about wearing less makeup. It's about wearing the right makeup in the right places, so your skin looks like skin, your cheeks look naturally warm and your brows frame your face without anyone noticing there's product on them. The secret is placement and texture, not a long product list.
That's good news if your mornings are rushed. Five core products, mostly cream formulas, and about ten minutes is all this look needs. It also forgives a lot: a slightly uneven blend or a missed spot of concealer reads as "fresh," not "messy."
In this guide to clean girl makeup, you'll find what the look actually is (and what it isn't), the five products that do most of the work, a minute-by-minute 10-minute routine table, a "make it work for your skin type" card for dry, oily and combination skin, and the small mistakes that quietly make a natural look feel heavy.
It took me a while to accept that my shiny T-zone and dewy makeup could get along. They can, with a few tweaks, and you'll find those tweaks below.
What Clean Girl Makeup Actually Is
At its heart, the clean girl look is polished minimalism. Think of how your face looks after a good night's sleep, a glass of water and a little fresh air, then add just enough makeup to make that version show up on an ordinary Tuesday.
The look has four signatures:
- Skin that looks like skin. Sheer coverage, with freckles and natural texture allowed to peek through.
- Warm, flushed cheeks. A cream blush that melts in, usually placed a little higher than you'd expect.
- Brushed-up, groomed brows. Defined by gel and direction, not heavy pencil.
- Hydrated, tinted lips. A balm or gloss rather than a matte lipstick.
What it isn't: a no-effort look, a no-makeup rule or a look reserved for perfect skin. You're allowed to use concealer where you need it. You're allowed to wear mascara. The only real rule is that nothing should look "applied." If you can spot a line where product starts and stops, it needs a little more blending.
If you're completely new to makeup, my everyday makeup routine for beginners walks through the basics first. This guide picks up from there and focuses on the fresh, polished finish.
Start With Skin Prep (It's Half the Look)
Clean girl makeup relies on skin doing a lot of the work. Sheer formulas show what's underneath, so a few minutes of prep makes a bigger difference here than with full-coverage makeup.
Here's the short version:
- Cleanse gently. A splash of water or a mild cleanser is enough in the morning.
- Hydrate in thin layers. A hydrating serum on damp skin, then a lightweight moisturizer. Give it two minutes to sink in before makeup, otherwise your skin tint can slide around.
- Wear sunscreen. Every morning, as the last skincare step. Pick one that sits well under makeup (gel or fluid textures are usually easiest).
If your skin is combination like mine, I'd keep the richer moisturizer on the cheeks and use a lighter layer on the forehead, nose and chin. My skincare routine for combination skin goes into more detail on balancing the two zones.
One small tip that matters more than any product: lip balm goes on first, during skincare, so your lips are soft by the time you get to color.
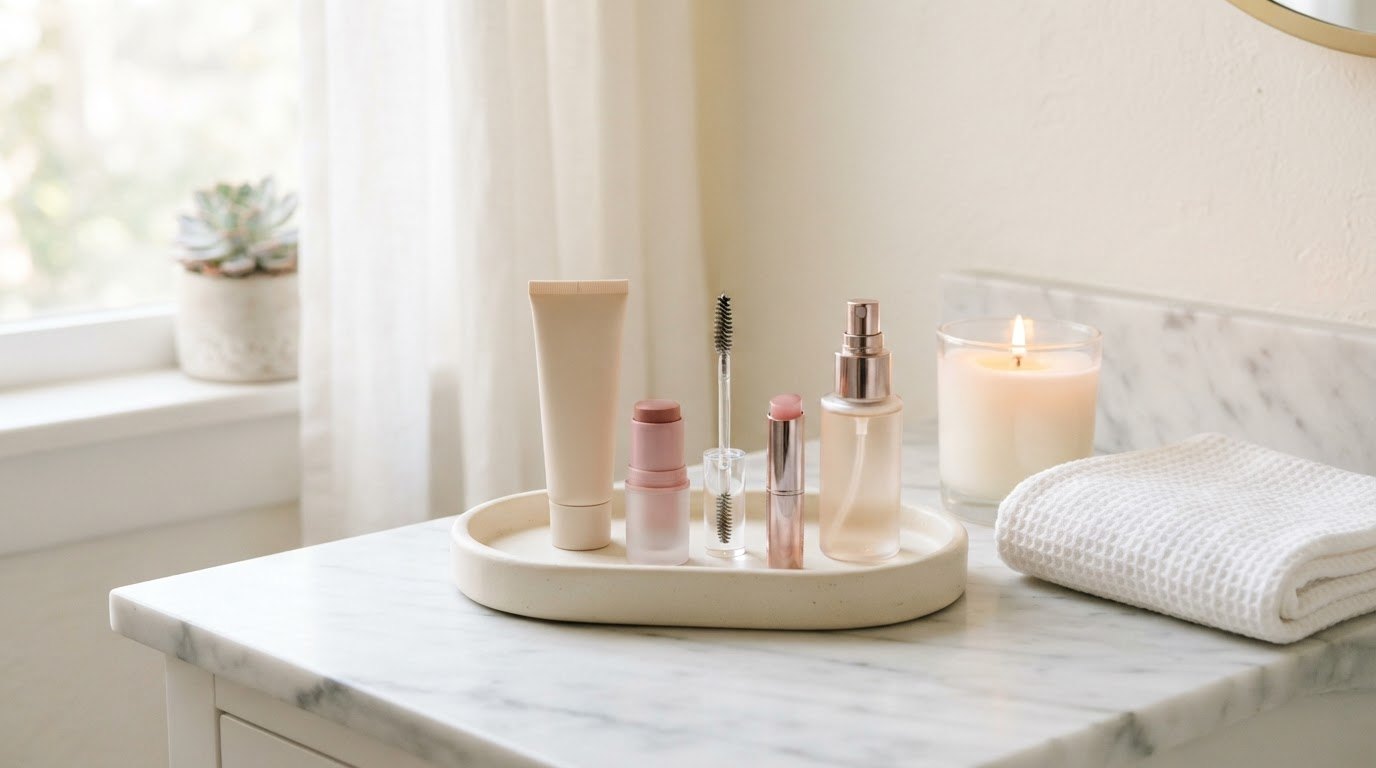
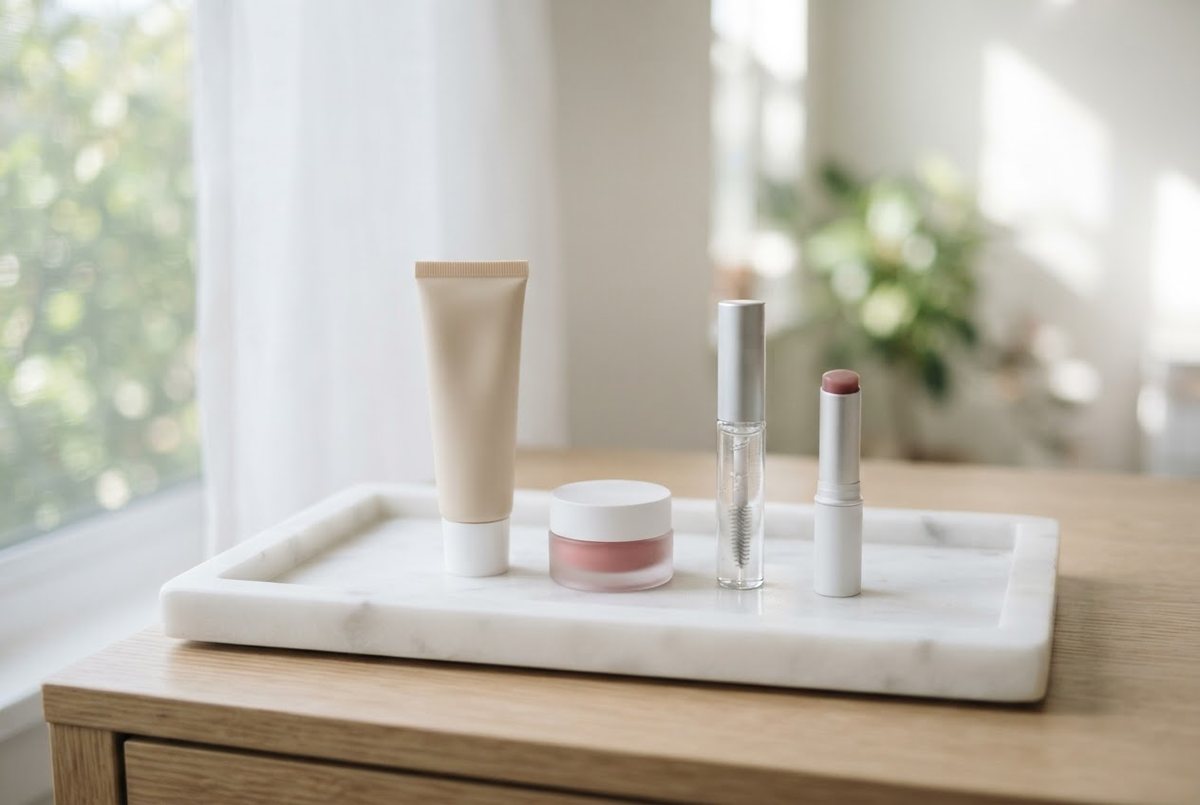
The 5 Core Products You Actually Need
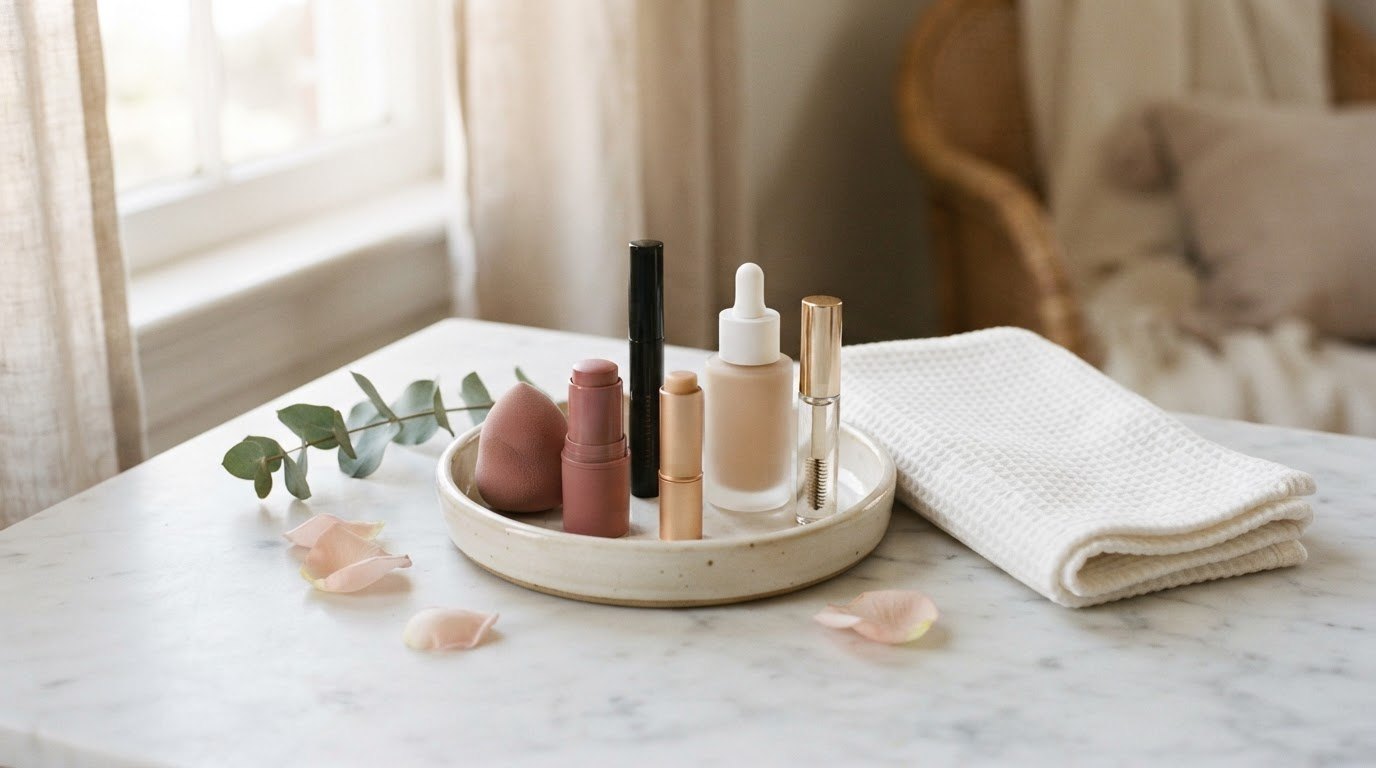
You don't need a new makeup bag for this look. If you already have some of these, use them. If you're shopping, here's what to look for in each one.
1. A Sheer Skin Tint
A skin tint sits somewhere between a tinted moisturizer and a light foundation. It evens out redness without covering everything. Look for a dewy, light-coverage skin tint with a liquid, almost watery texture, and choose your shade by matching your jawline in daylight. If you're between shades, the slightly lighter one usually looks fresher with sheer formulas.
2. A Cream Blush
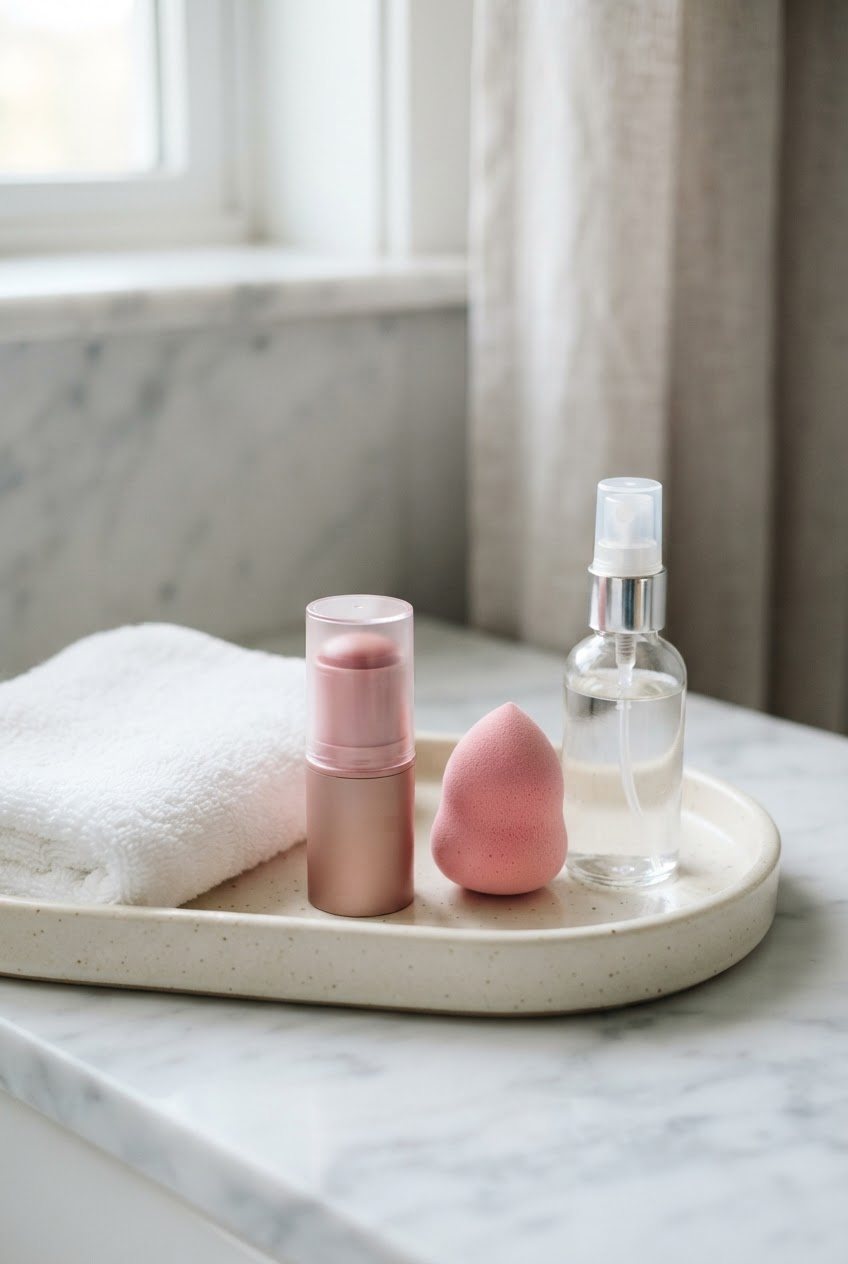
This is the product that makes the whole look come alive. Cream blush melts into skin and looks like a natural flush instead of a powdery stripe. A pink cream blush stick is the easiest format for beginners, because you can dot it on and tap it in with your fingers. Soft pinks and peachy roses flatter most skin tones; deeper skin often looks beautiful in berry or warm rose.
3. A Clear or Tinted Brow Gel
Brushed-up brows are one of the most recognizable parts of the clean girl look. A clear, long-lasting brow gel holds hairs in place without stiffness. If your brows are sparse or very light, a tinted gel adds a little color at the same time.
4. A Tinted Lip Balm
Skip anything that dries matte. You want hydration with a whisper of color, closer to "my lips but better." A sheer pink tinted lip balm is perfect, and you can tap a little onto your cheeks if you ever forget your blush.
5. A Hydrating Setting Spray
Setting spray is the step that melts every layer together, so nothing looks like it's sitting on top of your skin. Look for a hydrating makeup setting spray with a fine mist. On oily days you can swap it for a light dusting of powder on the T-zone only, and finish with the spray anyway.
Optional extras: a creamy concealer for under-eyes and around the nose, a brown or black mascara, and a soft pink makeup blending sponge if you prefer tools over fingers. A damp sponge sheers out any formula that feels too heavy.
The 10-Minute Clean Girl Makeup Routine
Here's the whole routine on one table. Screenshot it, and in a week you won't need it anymore. The times assume your skincare is already on.
| Minute | Step | Product type | Tip |
|---|---|---|---|
| 0–2 | Even out the skin | Skin tint | Start in the center of your face and blend outward; leave the edges sheer. |
| 2–3 | Spot conceal | Creamy concealer (optional) | Only where you need it: inner corners of the eyes, around the nose, any spot. Tap, don't swipe. |
| 3–5 | Add warmth | Cream blush | Two dots on the upper cheek, one on the nose bridge, tap upward toward the temples. |
| 5–6 | Groom brows | Brow gel | Brush up first, then out at the tail. Fill gaps with tiny hair strokes only if needed. |
| 6–7 | Open the eyes | Mascara (optional) | One coat, wiggled at the roots. Skip the lower lashes for a softer look. |
| 7–8 | Tint the lips | Tinted lip balm | Apply straight from the bullet, then press lips together. Tap any extra onto the cheeks. |
| 8–9 | Check the shine | Powder (oily zones only) | A tiny amount on the sides of the nose and center of the forehead. |
| 9–10 | Melt it together | Setting spray | Three or four mists in an X and T shape, then let it dry without touching. |
That's the whole thing. Now, a closer look at the steps where small details make the biggest difference.
Minutes 0–2: Apply Skin Tint in Thin Layers
Squeeze out a pea-sized amount, warm it between your fingertips and press it onto the center of your face (cheeks, nose, chin, middle of the forehead). Blend outward. Your hairline and jaw need almost nothing, which is exactly what keeps the look natural.
If you want more coverage in one spot, add a second thin layer there rather than starting with more product everywhere. Two thin layers always look better than one thick one.
Minutes 2–3: Conceal Only What Bothers You
Freckles, a little texture and a few visible pores are part of this look. Concealer is for the things that change how rested you look: darkness in the inner corners of the eyes, redness around the nostrils, one stubborn spot.
Dot a tiny amount, wait ten seconds so it warms up, then tap with your ring finger. If dark circles are a constant battle for you, my guide on how to get rid of dark circles covers what helps beyond makeup.
Minutes 3–5: Place Blush a Little Higher
For the clean girl flush, blush sits on the upper part of the cheekbone and blends up toward the temple, with a tiny touch across the bridge of the nose. That placement mimics where sun and warmth naturally land on your face.
Start with less than you think. Cream blush builds easily, and it deepens a little as it settles. For placement by face shape, my blush placement guide has simple maps you can copy.
Minutes 5–6: Brush Brows Up, Not Just Through
Run the spoolie upward through the front of your brows, then angle it slightly outward through the middle and tail. Hold for a few seconds so the gel sets in that direction.
If you have gaps, fill them with tiny, hair-like strokes of a pencil before the gel. Avoid outlining the shape, because a crisp outline is the opposite of this look.
Minutes 7–8: Finish Lips With Hydration
Because you applied plain balm during skincare, your lips should already be smooth. Swipe on the tinted balm, press your lips together and you're done. For a slightly glossier version, add a clear gloss to the center of your bottom lip only.
Minutes 9–10: Let Setting Spray Do the Blending
Hold the bottle at arm's length and mist in an X shape, then a T shape. Don't touch your face while it dries. This is the step that takes the look from "I put on makeup" to "my skin just looks good today."
Make It Work for Your Skin Type
The same five products can look completely different on dry, oily and combination skin. Here's a quick card for each one so the routine works with your skin instead of against it.
Dry Skin
- Prep: layer a hydrating serum on damp skin and wait two full minutes before makeup.
- Skin tint: choose dewy or "skin-like" finishes; avoid anything labeled matte or long-wear.
- Blush: cream or liquid only. Powder blush tends to cling to dry patches.
- Skip: powder entirely, unless you have one oily spot.
- Finish: a hydrating setting spray, plus a tiny touch of balm on the high points of the cheeks if you like extra radiance.
Oily Skin
- Prep: a lightweight gel moisturizer and a mattifying or fluid sunscreen.
- Skin tint: look for "natural" or "satin" finishes and apply with a damp sponge for a thinner layer.
- Blush: cream still works; set it with a whisper of matching powder blush if it fades by lunch.
- Powder: press a small amount into the T-zone only, keeping cheeks dewy.
- Midday: blotting papers instead of more powder, so the look stays fresh rather than cakey.
Combination Skin
- Prep: richer moisturizer on the cheeks, lighter layer on the forehead, nose and chin.
- Skin tint: apply as usual, then press a clean sponge on the T-zone to lift any excess.
- Blush: cream blush is perfect, since cheeks are usually the drier zone.
- Powder: a tiny amount on the sides of the nose and center of the forehead only.
- Finish: setting spray over everything, so the matte and dewy zones blend into one finish.
This last card is the one that changed my mornings. Accepting that my cheeks and my T-zone simply need different things, and treating them differently, works far better than trying to find one product that handles both.
7 Mistakes That Make Natural Makeup Look Heavy
If your clean girl makeup looks a bit "done" instead of fresh, one of these is usually the reason. Each has a small, easy fix.
- Too much skin tint at once. Fix: start with half a pump or a pea-sized amount and add only where needed.
- Applying makeup on wet moisturizer. Fix: wait two minutes after skincare. Pilling and patchiness usually come from rushing this step.
- Powder everywhere. Fix: keep powder to the T-zone. Powder on the cheeks erases the fresh finish this look depends on.
- Blush placed too low. Fix: lift it to the top of the cheekbones and blend toward the temples. Low blush can drag the face down.
- Drawing brows on. Fix: brush them up with gel first and fill only the gaps with tiny strokes.
- Skipping lip prep. Fix: plain balm during skincare, tinted balm at the end. My winter lip care routine helps if your lips are often dry or flaky.
- Touching your face while the setting spray dries. Fix: let it dry for a full minute. Hands off is the whole trick.
How To Make Clean Girl Makeup Last All Day
Sheer makeup naturally fades a little through the day, and that's part of its charm. Still, a few habits help it look fresh into the evening:
- Layer cream with powder on the long days. A cream blush topped with a whisper of powder blush in a similar shade lasts noticeably longer.
- Blot, don't powder. Blotting papers lift oil without adding layers. Press gently, don't rub.
- Carry the lip balm. It doubles as a cheek refresh: tap a little onto your cheekbones in the afternoon.
- Mist again. A spritz of setting spray in the afternoon revives a tired finish, especially in dry, heated rooms.
Don't aim for perfection here. A little fading at 5 p.m. looks real, which is exactly what this look is about.
Taking the Look From Day to Evening
The nice thing about clean girl makeup is how easily it builds. When you want more polish for dinner or an evening out, add one or two of these without starting over:
- A second layer of blush, slightly more saturated.
- A thin line of brown pencil smudged into the upper lash line.
- A sheer berry or rose lip in place of the tinted balm.
- A touch of cream highlighter on the tops of the cheekbones only.
If you'd like something a little more dramatic for a special occasion, my soft glam makeup tutorial is the natural next step, still soft, just a bit more defined.
Quick Answers to Common Clean Girl Makeup Questions
Can I do this look with foundation instead of skin tint?
Yes. Mix one pump of foundation with a pump of moisturizer on the back of your hand, or apply it with a damp sponge and press off the excess. You'll get a similar sheer finish without buying anything new.
Does clean girl makeup work on textured or acne-prone skin?
It does, and in some ways it's kinder to texture than full coverage. Thick layers tend to sit in pores and around bumps, while sheer layers let skin look like skin. Conceal only active spots, keep powder minimal and pick non-comedogenic formulas where you can. Be gentle with breakouts and give your skin a proper cleanse at night.
What if I have no time at all?
Do the three-minute version: tinted lip balm tapped onto lips and cheeks, brow gel brushed up, and a little concealer where you need it most. Those three steps cover most of what makes this look recognizable.
Is mascara part of the look?
It's optional. One thin coat of brown or black mascara on the upper lashes keeps things soft. If your lashes are dark already, curling them and adding a swipe of clear brow gel is enough.
Final Thoughts
Clean girl makeup is less about chasing a trend and more about learning what your face looks like at its most rested and making that version easy to reach. Five products, ten minutes and a little patience with blending are enough.
Start with the table, adjust it for your skin type, and give yourself a week of practice. By the end of it, the routine will feel like second nature, and your skin will look like skin, only fresher.