A tidy desk isn't about owning fewer things. It's about every single thing having a home it can go back to in under ten seconds. When something has a home, putting it away takes no willpower at all. When it doesn't, it lands in a pile, and piles are how a calm desk quietly turns into a stressful one by Thursday afternoon.
That's why the prettiest organizers in the world won't fix a desk on their own. What fixes it is a simple order: edit first, then zone, then contain, then reset a little every day. Once those four pieces are in place, the organizers simply make the system easier (and much nicer to look at).
This guide covers the desk organization ideas I find most useful, in exactly that order: a full desk edit, a "desk zones" table you can screenshot, 16 practical ideas from drawer dividers to cable boxes, small-desk and shared-desk tweaks, work-from-home and student versions, and a daily 5-minute reset that keeps it all from sliding back.
You don't need a big budget or a whole weekend. One clear hour and a trash bag will get you most of the way there.
Start With a Full Desk Edit
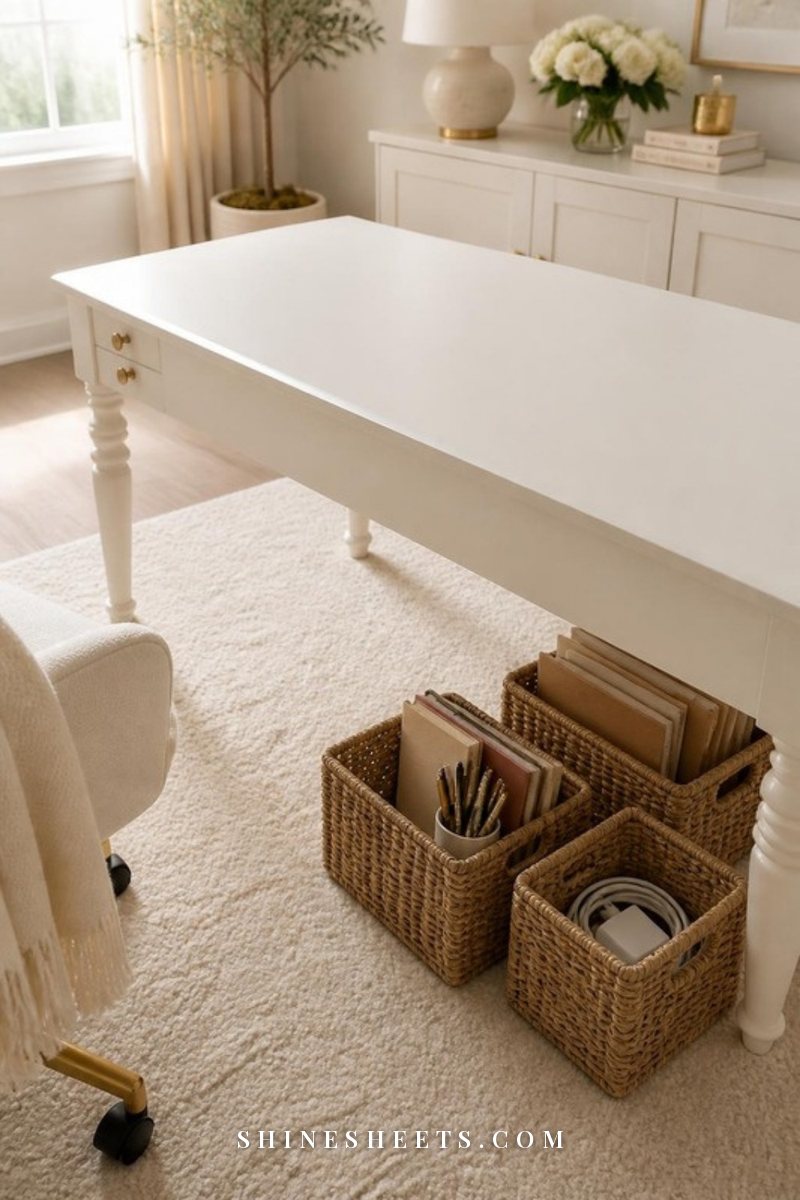
Before you buy a single organizer, take everything off your desk. Everything. The pen cup, the stack of mail, the hand cream, the three chargers that may or may not work. Empty the drawers too if you have the energy (if not, do the surface today and the drawers tomorrow).
Then sort every item into one of four piles:
- Use daily: things you touch at least four days a week, like your laptop, one good pen, a notebook, your water glass.
- Use weekly: a stapler, sticky notes, a calculator, envelopes, reference folders.
- Belongs somewhere else: the mug from the kitchen, the hair clip, the library book, the receipts that belong with your paperwork.
- Let go: dried-out pens, dead batteries, old drafts, freebies you never liked, cords for devices you no longer own.
Test every pen on a scrap of paper as you go. It's oddly satisfying, and most of us are keeping five pens for every one that actually writes. Keep two or three you love and let the rest go.
Wipe the bare desk before anything goes back. A clean, empty surface is the best reminder of how good this can feel, and it's the picture you're aiming to return to every evening.
The Desk Zones Table
The single biggest shift in desk organization is thinking in zones instead of objects. Your desk does three jobs: it's where you work, where you look things up and where you store supplies. When those jobs blur together, you end up digging through sticky notes to find your notebook. When they each get their own area, your hands start to know where to reach without thinking.
Here's the table I'd use as a map. Screenshot it and plan your desk around it.
| Zone | Where it sits | What lives there | Best organizer |
|---|---|---|---|
| Work zone | Directly in front of you, an arm's length deep | Laptop or keyboard, today's notebook, one pen, your drink on a coaster | Nothing, ideally. Keep it clear, or use one small tray for the pen and notebook |
| Screen zone | Back center of the desk | Monitor or laptop on a riser, a few sticky notes, glasses | A monitor stand with a drawer underneath |
| Reference zone | On your non-writing side | Active folders, your planner, papers you're working on this week | A vertical file organizer or in/out trays |
| Supply zone | Top drawer or a small caddy on your writing side | Sticky notes, clips, tape, scissors, highlighters, spare pens | Drawer dividers or a compact desk caddy |
| Tech zone | Under or behind the desk | Power strip, chargers, cables, adapters | A cable management box and cable ties |
| Archive zone | Lower drawer, shelf or a nearby closet | Finished projects, warranties, paperwork you need to keep but rarely touch | Labeled file boxes or hanging folders |
| Pretty zone | One back corner | A candle, a small plant, a photo or one meaningful object | A small decorative tray |
If you're working with a tiny desk, the zones still apply. They just stack upward (screen zone becomes a riser with storage) or move to the wall and under the desk instead of spreading sideways.
16 Desk Organization Ideas That Actually Stay Tidy
These go roughly in the order I'd tackle them. You don't need all 16. Pick the ones that solve the mess you actually have, and skip the rest without guilt.
1. Give the Small Stuff One Tray
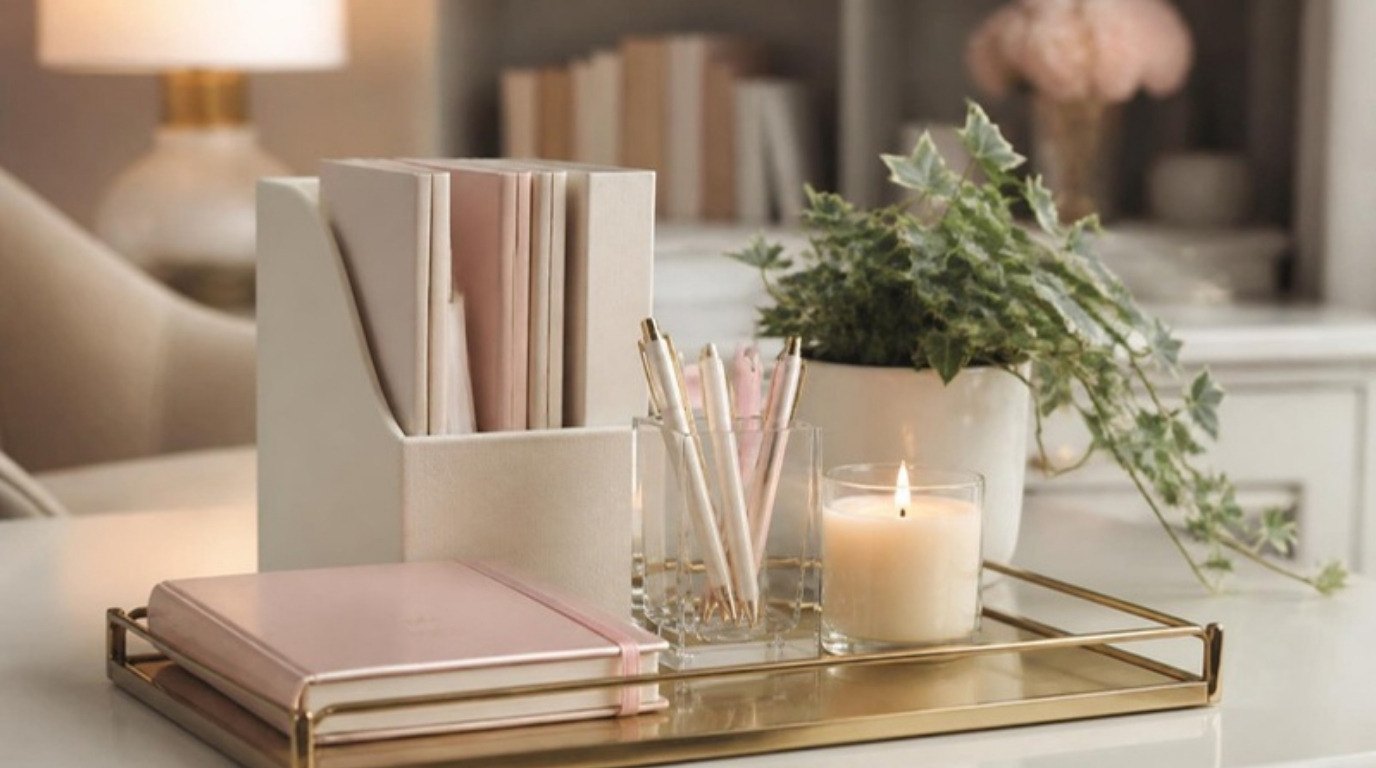
Loose items are the enemy of a calm desk, because ten small things scattered around look like chaos even when the desk is technically clean. One tray changes that instantly. Whatever sits inside the tray looks intentional, and whatever sits outside it is easy to spot and put away.
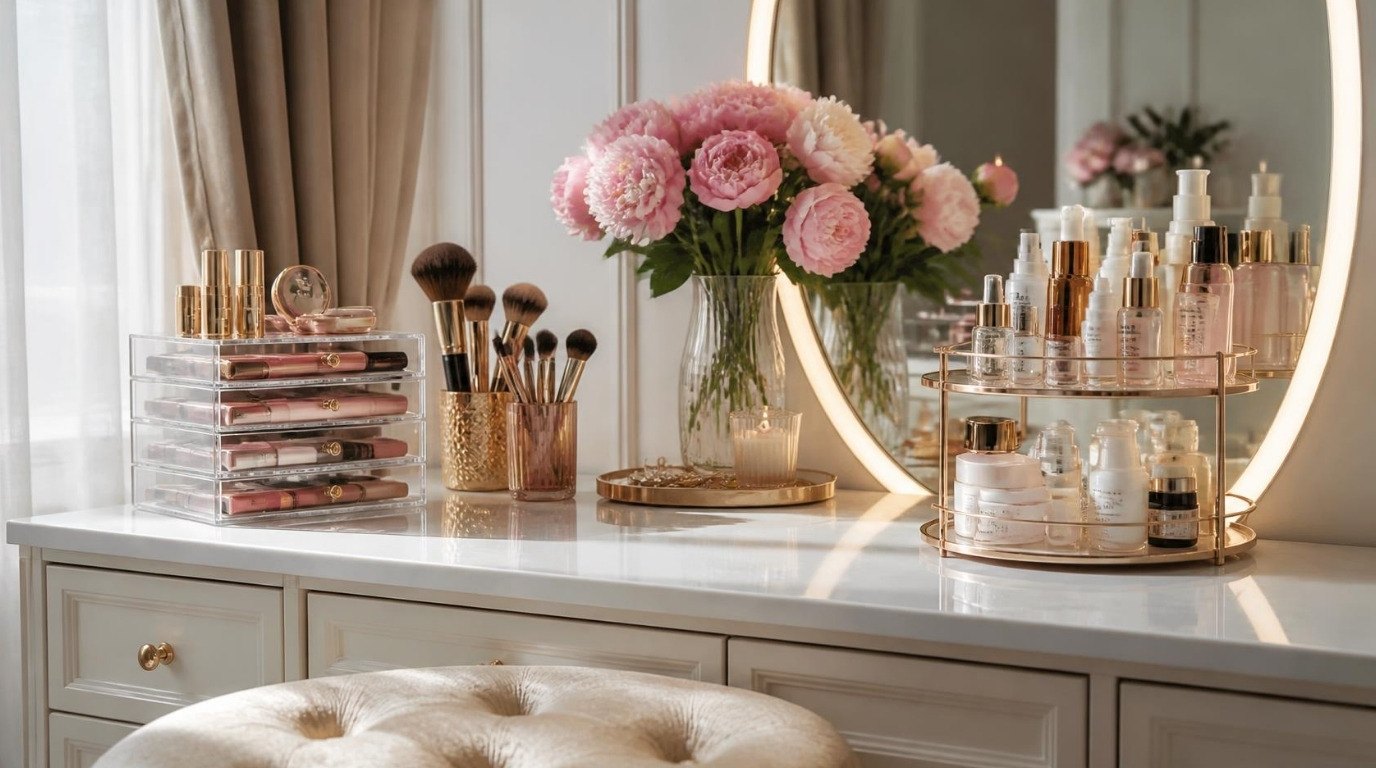
A gold-edged desk tray works beautifully here, holding your pen, your hand cream, a lip balm and your glasses. Choose one about the size of a sheet of paper so it can't swallow your whole workspace. The rule: if it doesn't fit in the tray, it doesn't live on the desk.
2. Divide Your Drawers
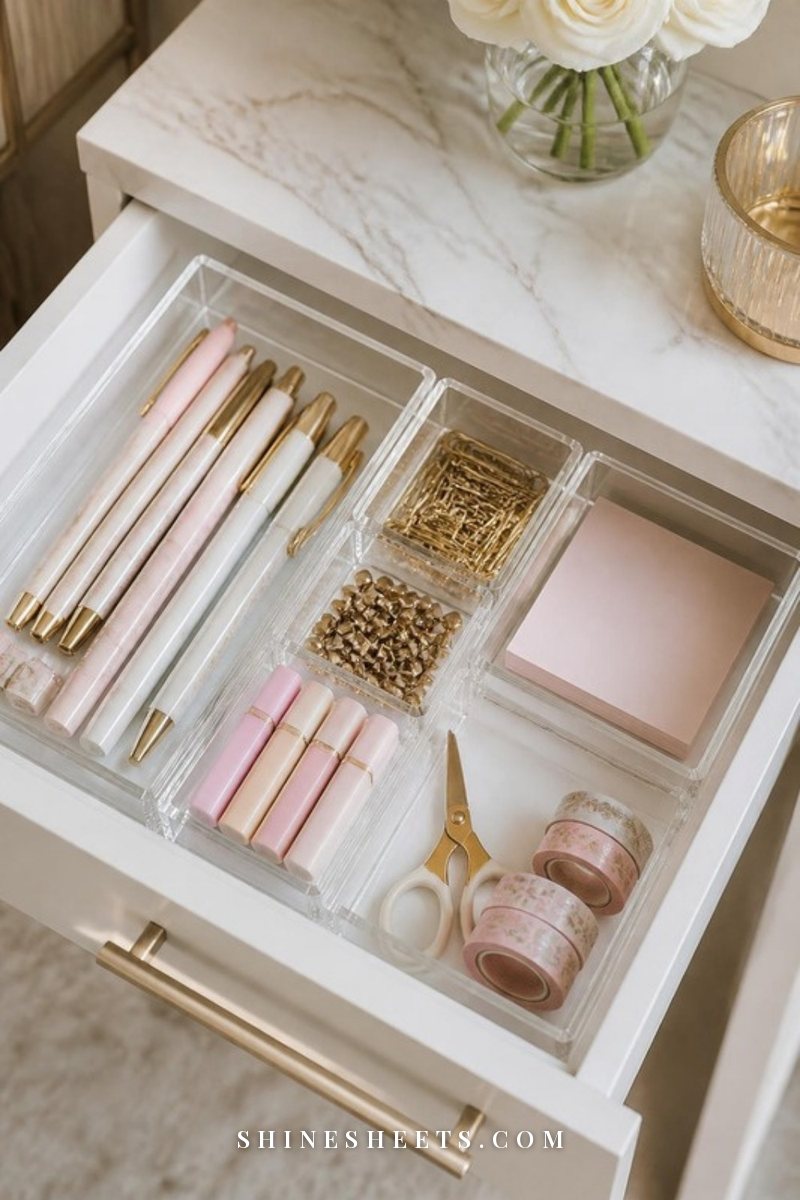
An undivided drawer is just a junk drawer waiting to happen. Pens roll to the back, clips spread everywhere, and in a month you're rummaging. Dividers keep each category in its own little room.
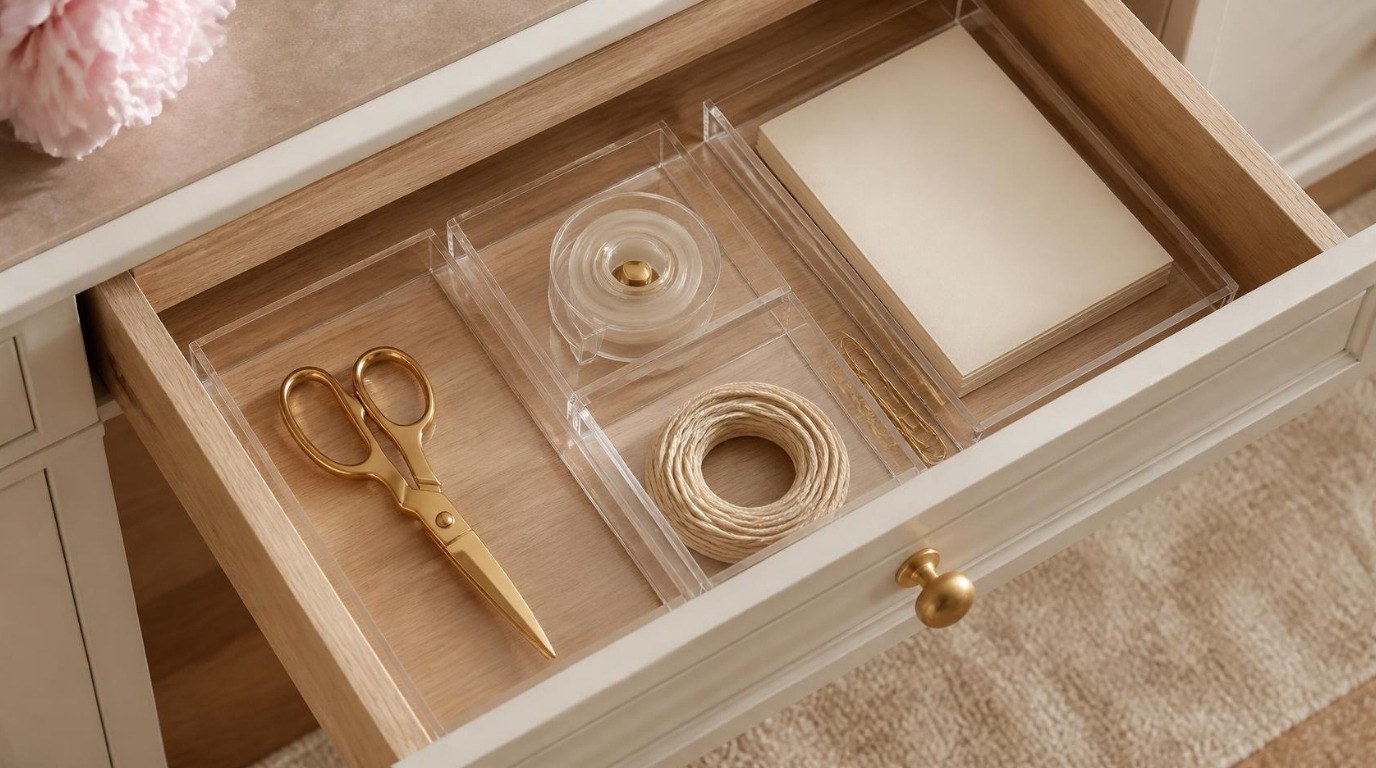
Measure your drawer's inside width, depth and height first (height matters more than people think, because a tall organizer can stop the drawer from closing). Then look for a clear acrylic drawer organizer set with mixed sizes you can arrange like puzzle pieces. Clear trays let you see everything at a glance and wipe clean in seconds.
A layout that works for most desks: one long tray for pens and highlighters, two small squares for clips and pushpins, one medium tray for sticky notes, and one for scissors and tape. If your drawer already has a mind of its own, my 20-minute junk drawer fix uses the same method and works for desk drawers too.
3. Keep Only Today's Tools Within Reach
Your work zone should hold what you need for today's task and nothing else. Working on a report? Notebook, pen, laptop. Paying bills? The bill folder comes out, then goes back when you're done.
This sounds strict, but it's actually freeing. Every object in your line of sight is a tiny, silent tug on your attention, and fewer tugs means it's easier to focus on one thing at a time.
4. Go Vertical With Files
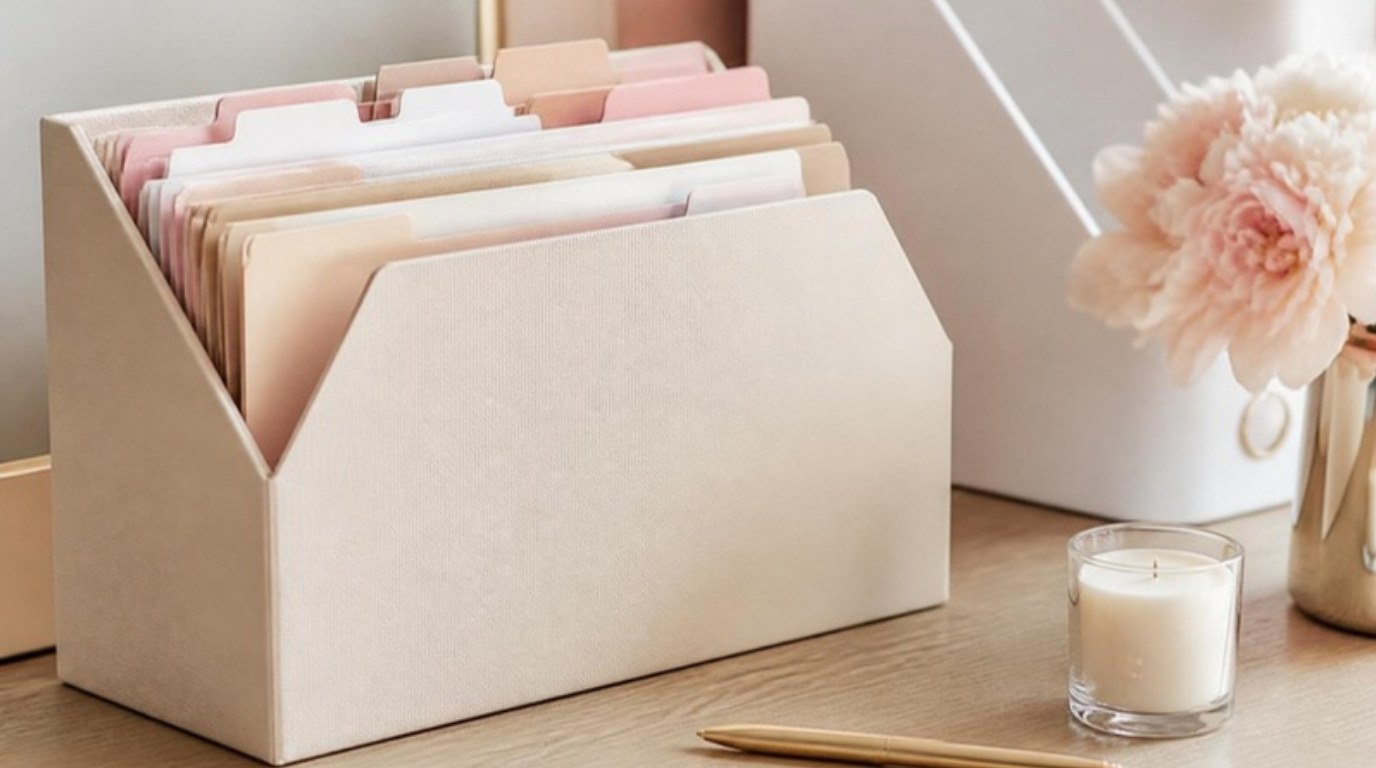
Papers lying flat become a pile. Papers standing up become a system. A vertical organizer shows you every folder's tab at once, so you can grab what you need without lifting a stack.
I'd choose a cream desktop file organizer with three to five slots and place it in your reference zone. Give each slot one job: "this week," "waiting on someone," "to file," and maybe one for an ongoing project. Five slots is the maximum. Any more and you're back to hiding things.
5. Raise Your Screen and Gain a Drawer
A monitor or laptop riser does two jobs at once. It lifts your screen closer to eye level (your neck will thank you on long days), and it creates a whole extra layer of storage underneath.
Look for a white monitor stand with a drawer built in. The drawer becomes the perfect home for sticky notes, a small notebook and your earbuds, and the open space under the stand can hold your keyboard when you need the desk clear for writing by hand.
6. Hide the Cables
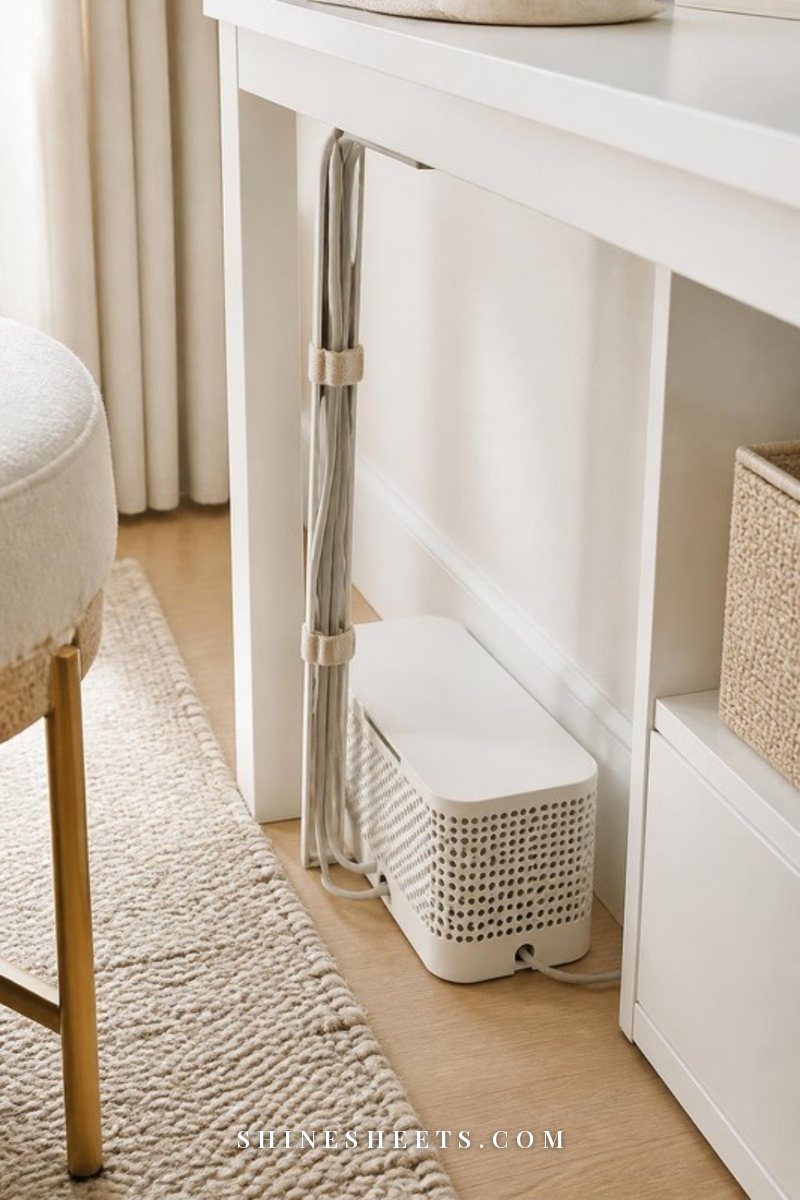
Nothing makes a desk look messier than a nest of cords, and nothing makes it look calmer faster than hiding them. Start by unplugging everything and labeling each plug with a small piece of washi tape so you know which cord belongs to which device.
Then place your power strip inside a white cable management box on the floor behind or under your desk. Coil any extra cord length and secure it with a reusable tie before it goes into the box. Run the cables up a desk leg or along the back edge, and suddenly your floor is clear too.
Leave the box lid slightly ventilated and never cover chargers or power strips with fabric or paper, because they can get warm while they work.
7. Set Up an In and Out Tray
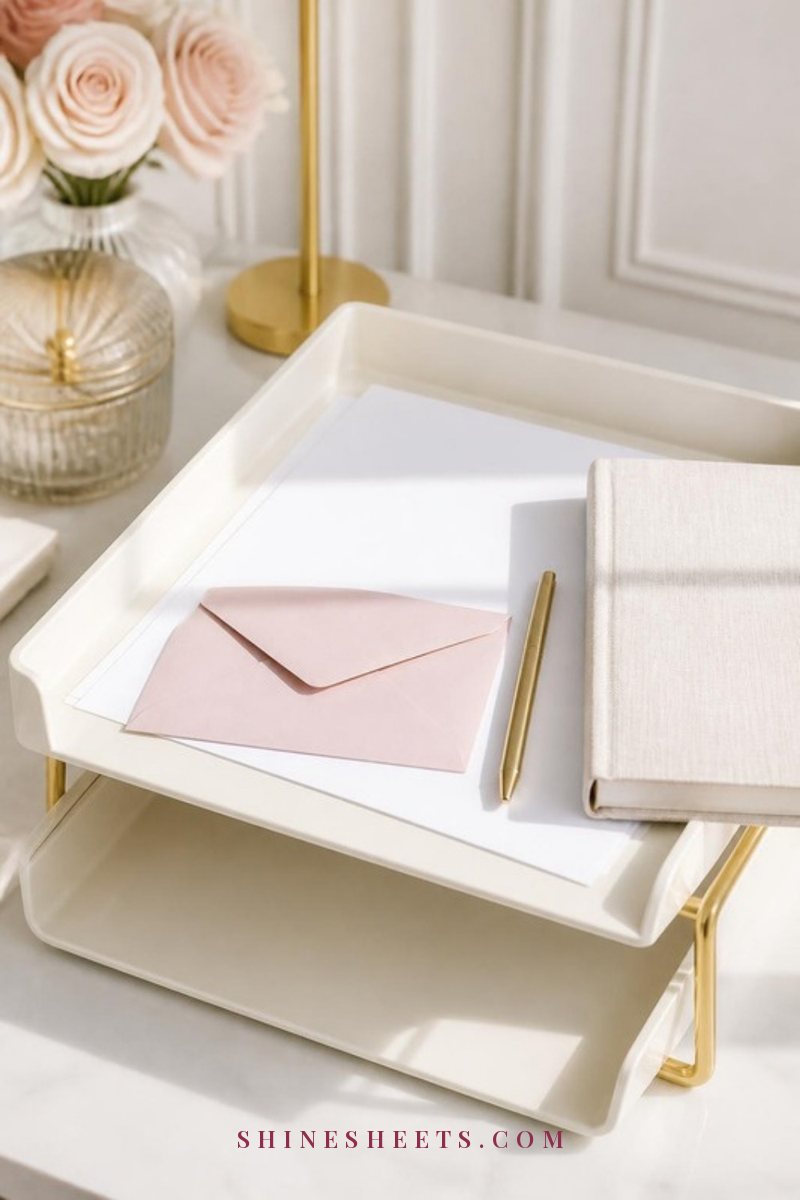
Paper is the main reason desks get messy, because it arrives faster than it leaves. A simple in/out flow fixes most of that. Everything new (mail, forms, handouts, notes) goes into the "in" tray. Anything finished that needs to go somewhere else (to be filed, mailed, signed or handed over) goes into "out."
Two stacking letter trays are enough. The key is the rhythm: empty the "in" tray once a day and the "out" tray once a week. If paper is your big struggle beyond the desk, my guide on how to organize paperwork covers what to keep, what to shred and how to file it at home.
8. Add an Under-Desk Drawer
A lot of pretty desks have no storage at all, which is lovely until you need somewhere to put the stapler. An under-desk drawer adds storage without taking up a single inch of surface.
Look for a slim white under-desk drawer that attaches with adhesive or clamps (the clamp versions are renter-friendly and leave no marks). Check the depth of your desk's apron or edge before you order, and keep the drawer for flat things: notepads, envelopes, a few folders, your planner.
9. Make a Landing Spot for Daily Carry
Your phone, keys, glasses and earbuds will land on your desk whether you plan for them or not. Give them a specific spot so they don't scatter across your work zone. A small dish or one corner of your tray works well.
When the landing spot is full, it's a gentle signal that something wandered in that doesn't belong (like that lip balm from three bags ago).
10. Corral Sticky Notes and Tiny Bits
Sticky notes, paper clips and spare batteries multiply when no one is looking. Keep one stack of sticky notes on the desk and the rest in a drawer tray. Pick a single small container for clips and pins so they never spread across two drawers.
And peel off sticky notes from your screen once a week. If a note has been there longer than seven days, it either goes into your planner or into the trash.
11. Use the Wall Above Your Desk
When the surface is full, look up. A slim floating shelf, a pegboard or a wire grid with clips can hold the things you want to see but don't need to touch: a calendar, a few inspiration cards, a small basket of supplies.
Keep the wall to about 60 percent full. Leave white space so it looks calm rather than cluttered, and stick to two or three materials (say, white, gold and natural wood) so it reads as one design.
12. Keep One "Parking Lot" Notebook
Half of desk clutter is actually thought clutter: scraps of paper with phone numbers, reminders and half-ideas. Replace all of them with one notebook that lives in your work zone. Every random thought gets parked there, dated, in a single line.
Once a day, read the page and move anything important into your planner or task list. This is one of the habits I talk about in how to be more organized at work, and it works just as well at home.
13. Choose a Container Palette
Mismatched organizers make even a tidy desk look busy. Pick two or three finishes and stick with them: clear acrylic plus white plus gold, or cream plus natural wood plus blush. When everything matches, the eye reads the desk as one calm picture instead of fifteen separate objects.
You don't need to replace everything at once. Swap one organizer at a time as old ones break or annoy you.
14. Style With Just Three Pretty Things
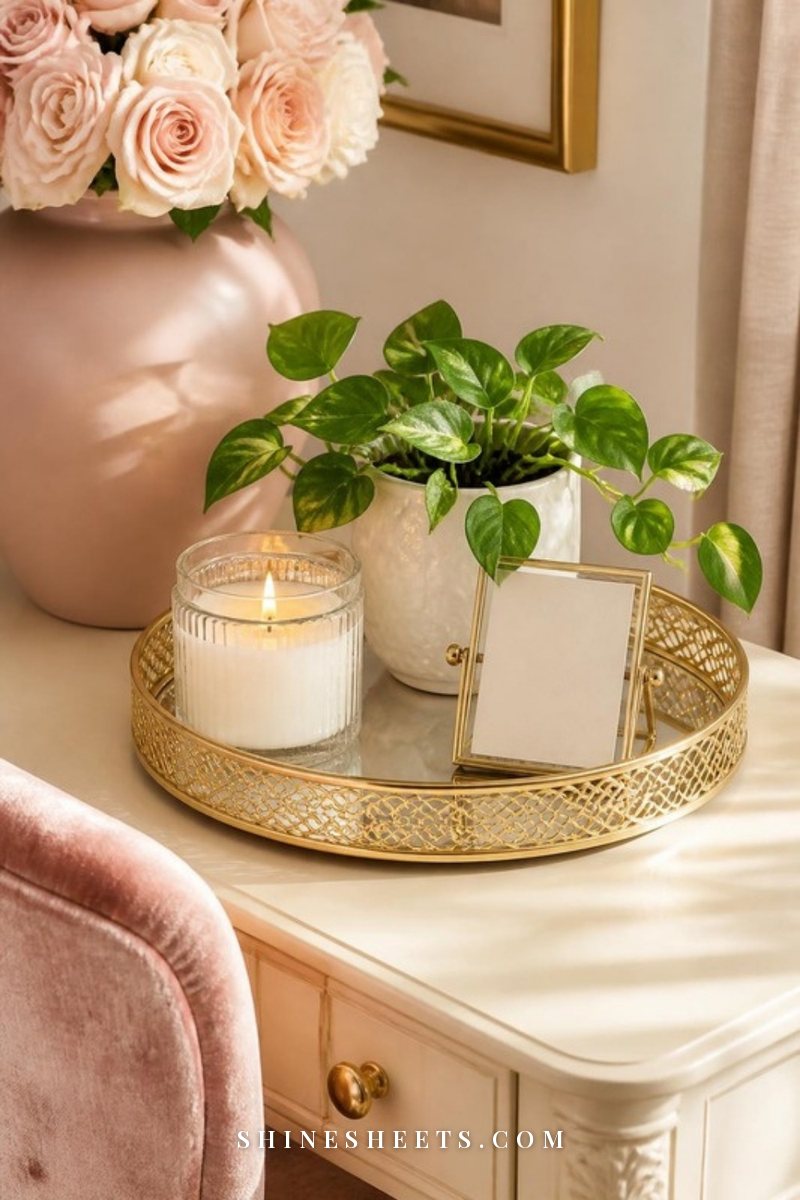
A desk should feel like yours, not like an office supply catalog. But decor on a desk has to earn its space, so I keep it to three things in one corner: a candle in a glass jar, a small plant and one personal item, like a photo or a tiny vase.
Grouping them on a small tray keeps them together and makes wiping the desk easy, because you just lift the tray. If you light a candle while you work, keep it away from papers, never leave it burning when you step away, and follow the basic candle safety tips from the NFPA. For more ideas on making the whole space feel softer, my cozy home office ideas go beyond the desk itself.
15. Create a Charging Station
Choose one place where every device charges, ideally at the edge of the desk closest to the outlet. Keep one cable per device, shorter ones if possible, and let the rest go into a labeled bag in the archive zone.
A charging spot stops the "where is my charger" hunt, and it keeps your phone out of the work zone, which is a quiet focus win all on its own.
16. Give Your Drink a Permanent Coaster
This sounds tiny, but a water glass or tea mug drifts all over a desk during the day, leaving rings and nearly knocking into your laptop. Put one coaster on your non-writing side, in the same spot every day, and your drink will always have a safe home.
Small Desk Organization Ideas
A small desk can be the calmest one of all, because there's simply less room for things to pile up. These five tweaks help it work harder:
- Go up, not out. A riser with a drawer, a wall shelf and a stacking tray use height instead of surface.
- Use the side of the desk. A hook or small clip-on basket on the side can hold headphones or a tote.
- Choose a laptop over a monitor when you can. A closed laptop slides into a drawer or shelf at the end of the day and gives you a completely clear surface.
- Keep a caddy instead of a drawer. If your desk has no drawers, one portable caddy with your supplies can live on a nearby shelf and come out only when needed.
- Edit every month. Small desks fill up fast, so do a quick full edit on the first day of every month.
Shared Desk Organization Ideas
Sharing a desk (with a partner, a roommate or a sibling) works best with clear, visible boundaries. Here are four ways to keep it peaceful:
- Split the zones, share the middle. Each person gets one side for their reference and supply zones, and the work zone in the center stays clear for whoever is using it.
- Give each person a color. Blush folders for you, sage for them. It ends every "is this yours?" conversation.
- Use personal bins. One lidded box or drawer per person, so everything can be cleared off the desk in a minute.
- Agree on a reset rule. A simple "clear surface when you stand up" rule means nobody sits down to someone else's mess.
Work-From-Home vs Student Desk Setups
The zones stay the same, but what lives in them depends on how you use your desk. Here's how I'd adjust each one:
Work-From-Home Desk
- Keep your work zone extra clear for video calls and focused work.
- Give work papers their own slot in the file organizer, separate from home admin like bills and appointments.
- Store a small "work kit" (headphones, notebook, charger) in one drawer so you can pack up at the end of the day and actually feel off duty.
- Close the laptop and clear the surface every evening. It's the physical version of leaving the office.
Student Desk
- Give each class or subject one folder and one color across notebooks, folders and sticky notes.
- Keep a shelf or upright holder for textbooks right next to the desk, spines facing out.
- Use the in tray for assignments to do and the out tray for finished work to hand in.
- Keep a small study kit (highlighters, index cards, a calculator) in one drawer tray so you can start studying in seconds.
Whichever version is yours, pairing a tidy desk with a realistic plan for your time is what really lowers stress. My time management tips for busy women are a lovely next step once your desk is sorted.
The Daily 5-Minute Desk Reset
This is the part that keeps all the other ideas working. Five minutes at the end of every work or study day, in this exact order:
- Minute 1: Return strays. Anything that doesn't belong on the desk (mugs, hair ties, snack wrappers) leaves the room.
- Minute 2: Put tools home. Pens to the tray, supplies to their drawer dividers, files back into the organizer.
- Minute 3: Process paper. Glance through the in tray. Anything that takes under two minutes, do it now. Everything else gets a slot or a note in your planner.
- Minute 4: Plan tomorrow. Read your parking lot notebook and write tomorrow's top three tasks on a fresh page.
- Minute 5: Wipe and set. Give the surface a quick wipe, close the laptop and leave one thing ready for the morning, like your notebook open to tomorrow's page.
Some days you'll only manage two of the five, and that's completely fine. Even a two-minute reset is far better than none, and a desk that's mostly clear in the morning feels like a small gift from your past self.
Common Desk Organization Mistakes
If your desk keeps sliding back into chaos, one of these is usually the reason:
- Buying organizers before editing. You end up organizing things you don't need. Edit first, measure second, shop last.
- Too many open containers. Five pen cups is just clutter with extra steps. One of each type is enough.
- No home for paper. If paper has nowhere to go, it lands on the desk. Set up the in/out flow first.
- Storing "someday" items in prime spots. The top drawer is for daily tools, not for the cards you might send one day.
- Skipping the reset. Every system needs a little maintenance. Five minutes a day is what keeps it easy.
Final Thoughts
A calm desk isn't a perfect desk. It's a desk where everything has a home, the surface is mostly clear and you can sit down and start without moving anything first. Edit what you have, give each zone a job, choose a few organizers you genuinely like looking at and protect your five-minute reset.
Start with just the surface today. Clear it, wipe it and put back only what earns its place. You'll feel the difference the very next time you sit down, and that little sense of calm is worth every minute.