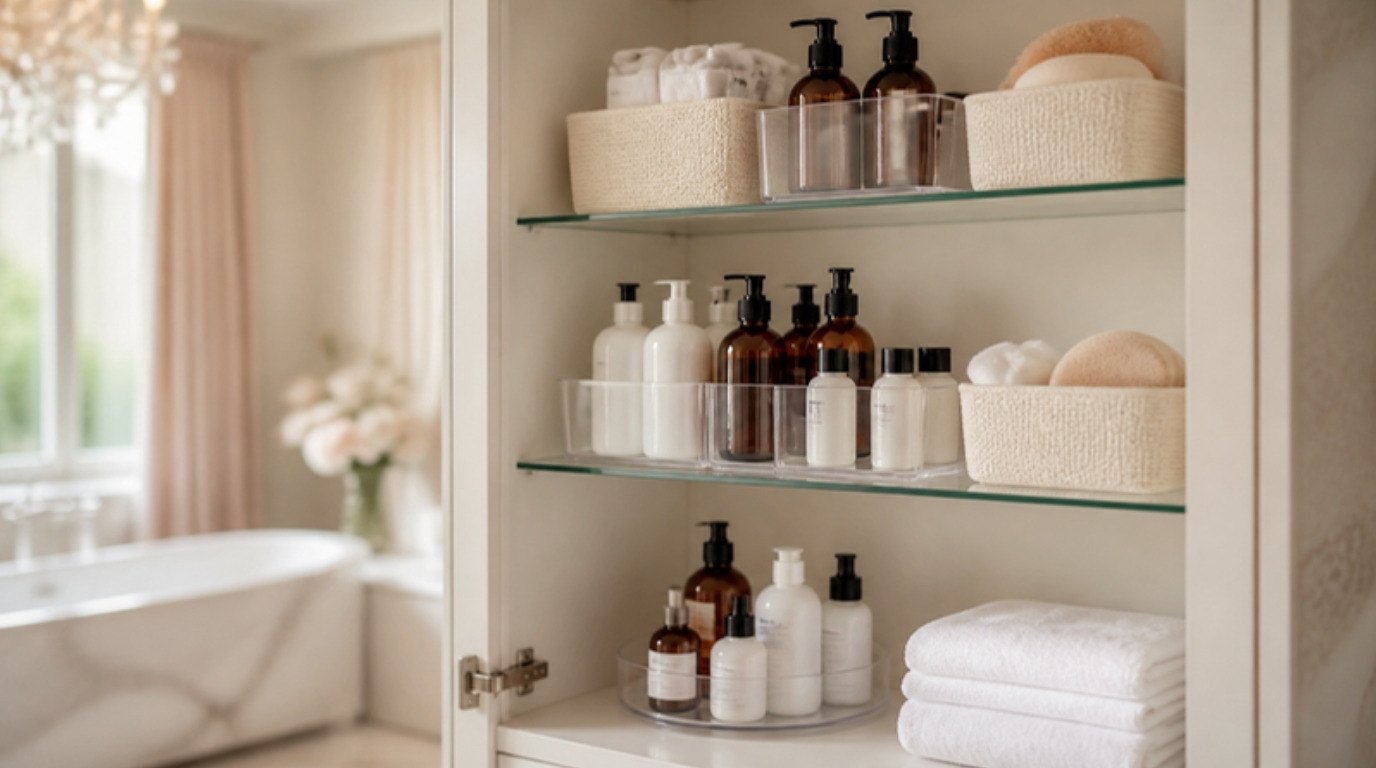
A clear bathroom counter isn't the result of one big weekend tidy. It's the result of a few simple rules that decide, in advance, where everything lives, so the counter doesn't slowly fill back up by Wednesday. The tidy part takes an hour. The rules are what keep it that way.
Bathroom vanities are small, damp and shared, which is exactly why they collect clutter. Everyone puts one thing down "just for now," and those things never leave. The good news is that you don't need new cabinets, a drill or a big budget to fix it, especially if you rent.
This guide is all about bathroom countertop organization that lasts: why counters get messy so fast, how to start with a proper edit, a table that tells you what stays out and what goes away, eight renter-friendly counter-clearing ideas, how to share a counter with a partner or family, a few damp-room safety basics and a two-minute nightly reset that keeps it all working.
Why Bathroom Counters Get Cluttered So Fast
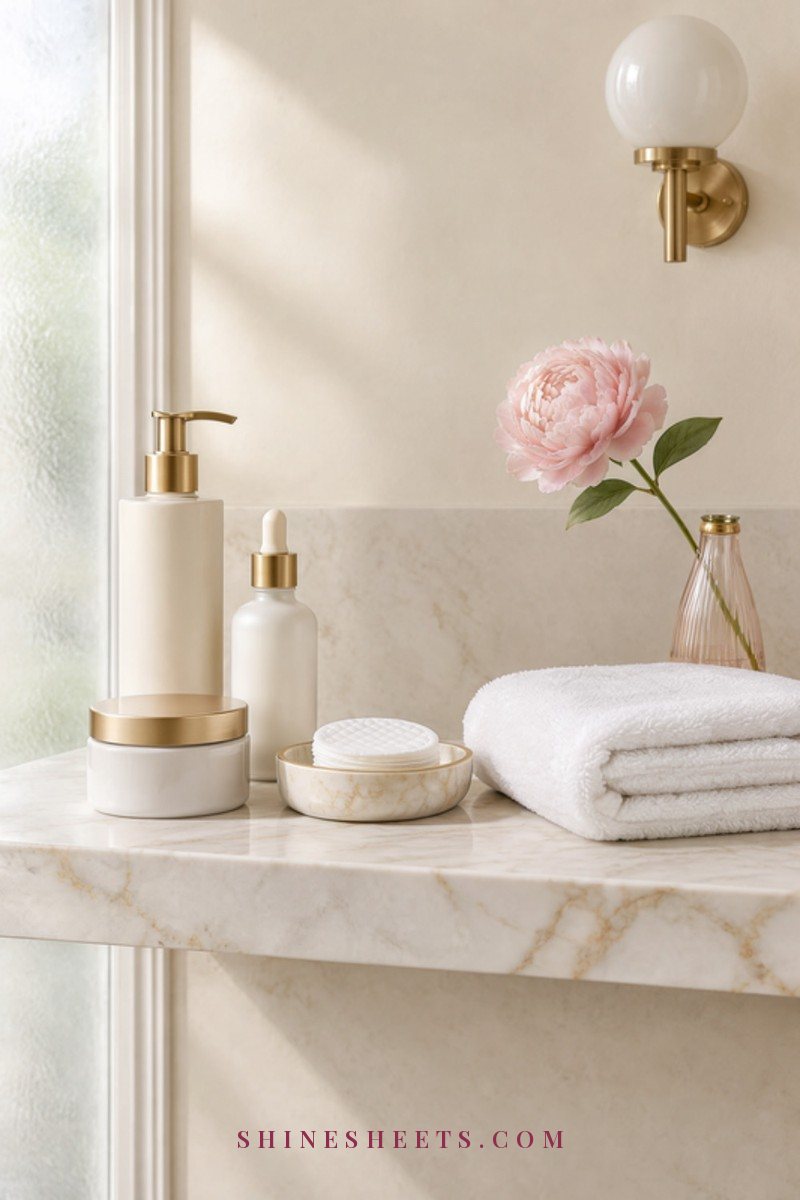
A bathroom counter is the first flat surface you see when your hands are full. It's where things land after a shower, before work, in the middle of a skincare routine. Unlike a kitchen, it rarely has enough built-in storage, so the counter becomes the default "home" for everything.
There are usually three culprits:
- No assigned homes. If an item doesn't have a specific place to go, it stays wherever it was last used.
- Too many "maybe" products. Half-used bottles, travel minis and things you're "still trying" take up surprising amounts of space.
- Several people, one counter. Every extra person adds a toothbrush, a face wash, a razor and their own idea of tidy.
Once you see the pattern, the solution is clear: fewer things out, a home for each thing, and a tiny daily habit to put them back.
Start With an Edit
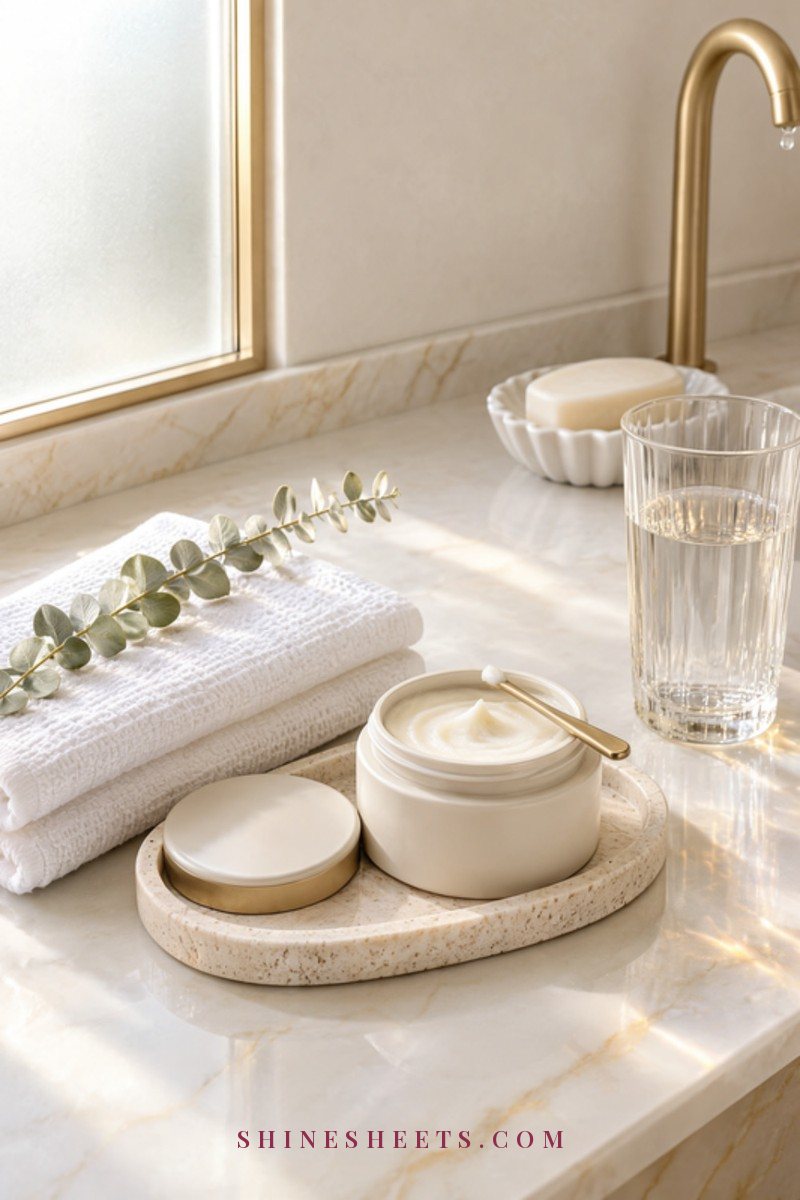
Organizing products you don't use only makes clutter neater. Before you buy a single tray, do this edit. It takes 30 to 60 minutes for most bathrooms.
- Take everything off the counter. Every bottle, jar, brush and hair tie. Put it all on a towel on the floor or in a laundry basket.
- Wipe the empty counter. A bit of warm water and dish soap on a microfiber cloth handles most residue. For hard water marks, spray a little diluted white vinegar, let it sit for five minutes and wipe. (Skip vinegar on natural stone like marble, and never mix bleach with vinegar or ammonia.)
- Toss what's expired or finished. Look for the small open-jar symbol on skincare and makeup that tells you how many months it lasts after opening. Anything that smells off, has separated or changed color can go.
- Sort the rest into three piles: use every day, use weekly or less, and backstock (unopened spares).
- Put back only the daily pile, and only after you've read the ideas below so each item has a proper home.
Be honest with yourself in step four (I know I always want to keep the "nice" lotion out even when it only comes out twice a month). If you don't reach for it daily, it doesn't need counter space.
What about the other two piles? The weekly pile goes into a basket or a cabinet shelf you can reach easily. Backstock goes somewhere less precious, like the back of the under-sink cabinet or a hall closet shelf, ideally in one labeled bin so you can see at a glance what you already have before you buy more. If a product has sat in backstock for more than a year, consider passing it on to a friend while it's still good. Unopened toiletries are often welcome at local shelters too.
What Stays Out and What Goes Away
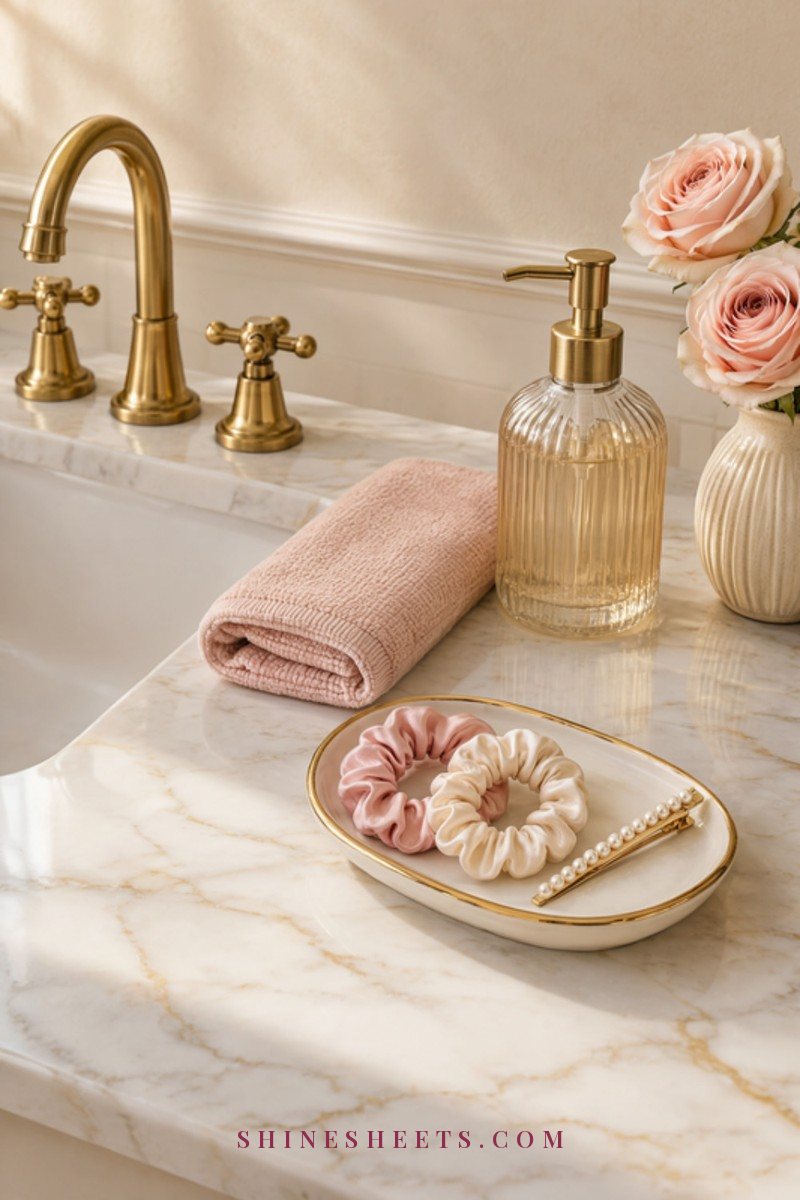
This table is the heart of the system. Use it during your edit, and come back to it whenever the counter starts creeping. The rule of thumb: if it's used daily and is safe and dry on the counter, it can stay out. Everything else gets a home behind a door or in a basket.
| Counter item | Keep out or put away | Where it goes | Why |
|---|---|---|---|
| Hand soap | Keep out | Matching pump by the sink | Used many times a day |
| Toothbrushes and toothpaste | Keep out | Holder set back from the sink edge | Daily use; needs to stay upright and dry |
| Daily skincare (cleanser, moisturizer, sunscreen) | Keep out | One small tray | Daily use; the tray keeps it contained |
| Makeup | Put away | Drawer, caddy or vanity area | Steam and splashes shorten its life |
| Hair dryer and hot tools | Put away | Hook inside a cabinet door or a basket under the sink, once cool | Safety near water and space |
| Hair brushes and ties | Put away | Small lidded box or a drawer | Small items scatter fast |
| Medicines and supplements | Put away | Medicine cabinet or a high, dry shelf | Humidity can affect them; safer out of reach |
| Weekly treatments (masks, exfoliants) | Put away | Labeled basket under the sink | Not daily use |
| Backstock and spare rolls | Put away | Under the sink or a closet shelf | Takes space without being used |
| A small decor touch (plant, LED candle) | Keep out (just one) | Corner of the tray or a riser | Makes it feel calm, not cluttered |
Screenshot the table and check it the next time you're tempted to leave something out "just for now."
8 Counter-Clearing Ideas That Need No Drilling
All of these are renter-friendly and budget-friendly. You don't need all eight. Start with the first three, then add the others as your space needs them.
1. Follow the One Tray Rule
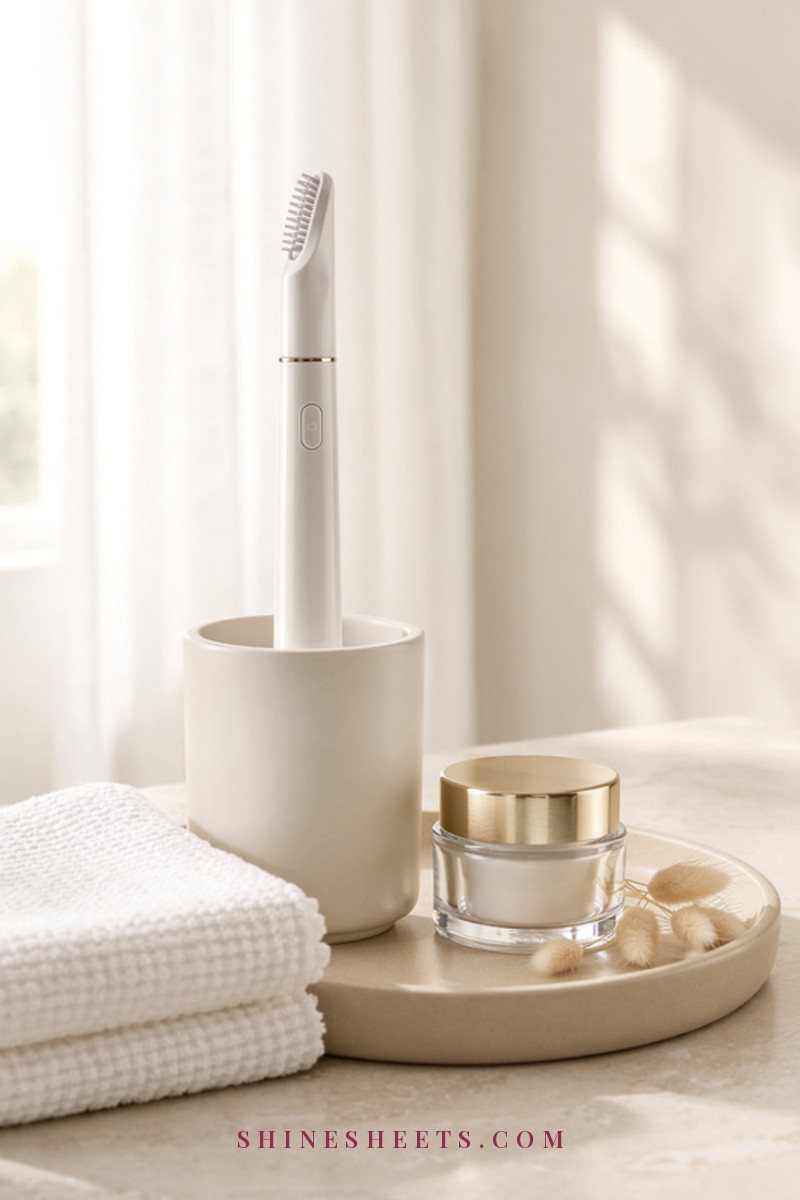
Everything that stays out (apart from soap and toothbrushes) lives on one tray. When the tray is full, something has to go back into a cabinet. That's the whole rule, and it works because it gives you a visible limit.
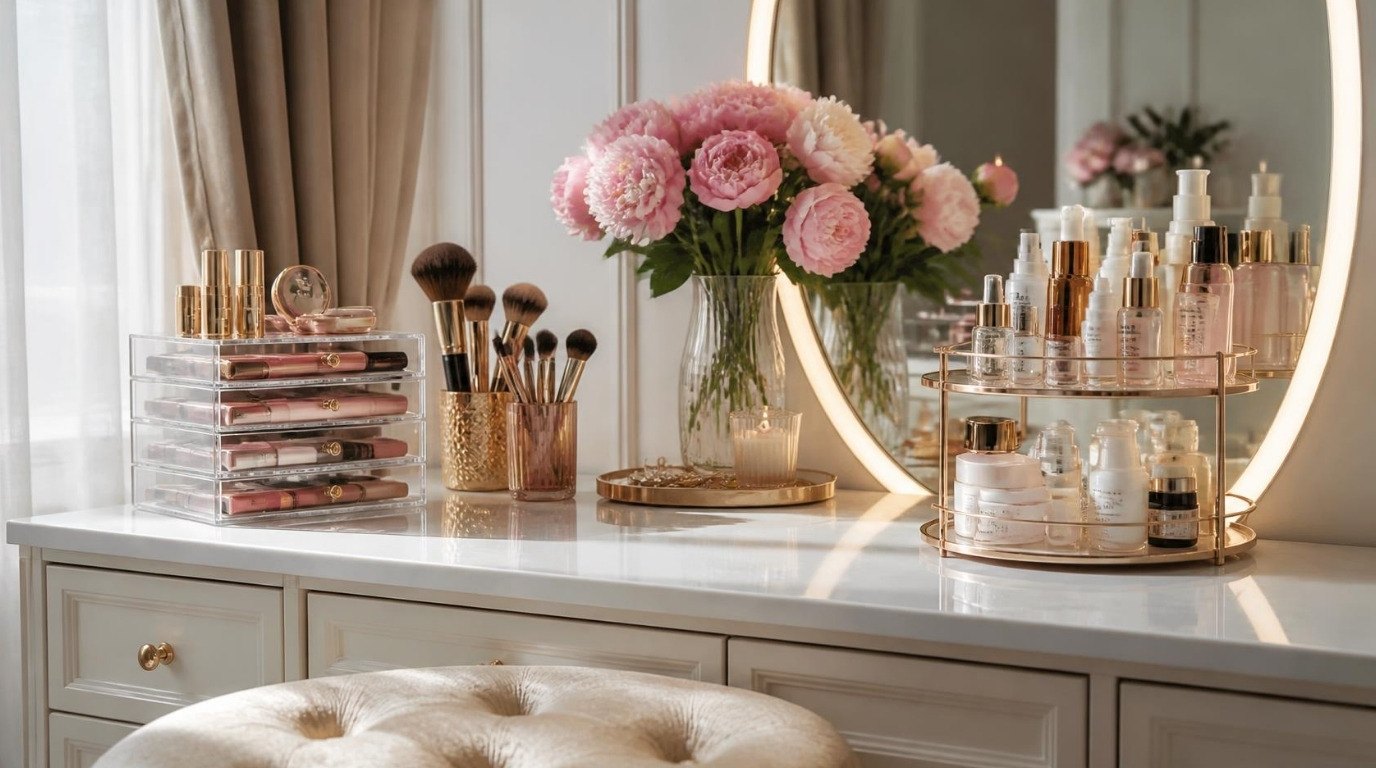
A vanity tray with gold accents makes even a few plain bottles look intentional, and it lifts them off the wet counter so wiping takes seconds. Makeup and extra skincare belong elsewhere; my guide to makeup and skincare storage ideas covers where they can go. Choose a size that fits your daily products and nothing extra: around 10 by 6 inches works on most small vanities.
2. Add a Lazy Susan
A turntable is a small-space hero, especially in a corner or inside a cabinet. Everything stays within reach with one spin, so the back items don't disappear.
A clear acrylic turntable about 9–10 inches across is a pick for a corner of the counter or the bottom shelf of a cabinet. Put skincare you use morning and night on it, tallest items in the middle.
3. Decant Soap Into Matching Pumps
Bright, mismatched bottles are the main reason a counter looks busy, even when it's technically tidy. Decanting hand soap into a single, calm-colored pump instantly quiets the whole space.
Look for a cream ceramic soap dispenser with a rust-resistant pump. Wash and dry it fully before refilling, and refill only with the same type of soap (mixing different formulas can make them separate). Once every few refills, rinse the pump with warm water to keep it flowing.
4. Move the Toothbrush Holder Off the Edge
Toothbrushes right next to the sink get splashed, knocked over and spread toothpaste across the counter. Move the holder back, toward the wall or the corner, so it stays dry and out of your elbow's way.
A white ceramic toothbrush holder with separate slots keeps brushes upright and apart. Rinse it once a week; the bottom collects water and toothpaste faster than you'd expect.
5. Use a Small Riser
Counter space is limited, but the space above it usually isn't. A small two-tier stand or a simple riser doubles your surface without taking more width. Put taller bottles on the bottom and small jars on top, so everything is visible at a glance.
Keep the riser in the back corner, away from the sink, so it doesn't get splashed. And remember the one tray rule still applies: the riser is a home for daily items, not a reason to keep more out.
6. Hang Things on Adhesive or Over-Cabinet Hooks
Hand towels, a hair dryer (once it's cool) or a small pouch can move off the counter and onto a hook. Over-cabinet-door hooks slip over the top of the door with no tools at all. Adhesive hooks stick to tile, mirror frames or the inside of cabinet doors.
For adhesive hooks, clean the surface with a little rubbing alcohol first, press firmly for 30 seconds, and wait the time the package recommends (often an hour) before hanging anything. Check the weight limit, and remove them later by pulling the tab slowly and straight down to protect the paint. If your shower needs the same treatment, my guide to shower organization without drilling has more no-tool ideas.
7. Reset the Medicine Cabinet
If you have a medicine cabinet, it's probably the most underused storage in the bathroom. Empty it completely, toss anything expired, and give the shelves a quick wipe.
Then use it for the things that keep landing on the counter: razors, contact lens supplies, cotton swabs in a small jar, a spare toothpaste. Group similar items together, and keep anything for children or medicines out of reach. Expired medicines shouldn't go into the trash or the sink; many pharmacies and communities offer take-back options, so check what's available near you.
8. Give Everyone a Basket Under the Sink
This one makes sharing so much easier. Each person gets one basket for their own things (hair products, weekly treatments, spares). Their basket comes out when they need it and goes back when they're done.
A soft sage cotton storage basket is a pick because it's light, washable and quiet under a sink. Measure the space first, since pipes take up more room than you'd think. My guide to under-sink organization that actually fits shows how to work around them.
Sharing a Counter With a Partner or Family
A shared bathroom counter works best when the rules are simple and the same for everyone. A few ideas that keep the peace:
- Divide the counter into zones. Each person gets one side or one tray. What's on your side is yours to keep tidy.
- Keep shared items in the middle. Hand soap, toothpaste and a box of tissues belong to everyone and sit in one central spot.
- Use the basket system for everything else. If it's not used daily by that person, it goes into their basket.
- Agree on one reset time. For example, "counter clear before bed." It's easier to follow a shared rule than to ask someone to tidy.
- Keep it kind. Different people have different tolerance for clutter. Talk about what bothers you and find a middle ground instead of silently re-tidying.
If your bathroom is tiny and every inch counts, my list of organization ideas for small bathrooms has more space-saving tricks for shared spaces.
Keep Electricals Safe Near the Sink
Bathrooms are damp, and electrical items need extra care. A few simple habits keep everyone safer:
- Keep plugged-in items away from the sink and anywhere they could fall into water.
- Unplug hair tools right after use. Hair dryers, straighteners and curling irons should never stay plugged in on the counter.
- Let hot tools cool fully before storing them in a basket, cabinet or hook. A heat-resistant pouch is helpful if you're short on time.
- Use outlets designed for bathrooms. Many bathrooms have outlets with test and reset buttons that cut power if they detect a problem. If yours doesn't, or the outlet seems faulty, ask your landlord or an electrician.
- Keep cords tidy and dry. Loop them loosely (wrapping tightly around a hot tool can damage the cord) and store them away from water.
- Choose LED candles for the bathroom. They look soft and calm, and they're safe to leave on the counter while you take a bath.
The 2-Minute Nightly Reset
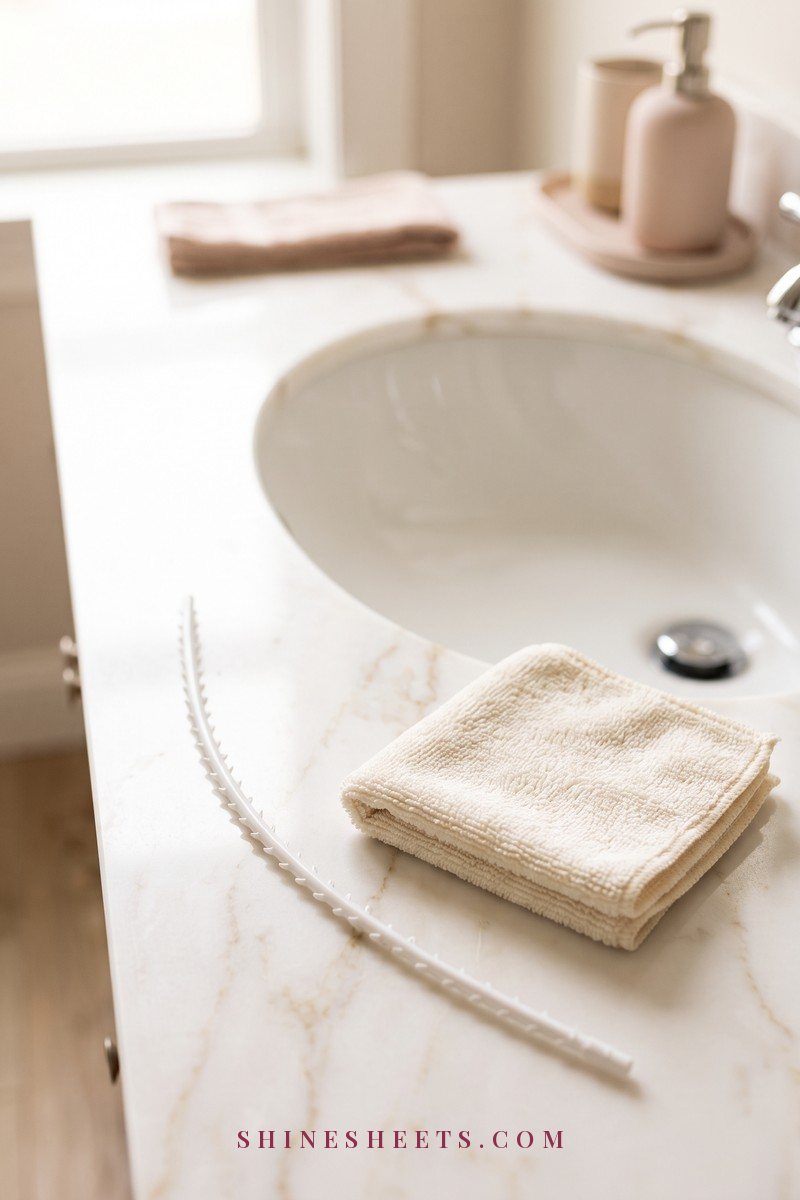
This is the habit that turns a one-time tidy into a counter that stays clear. It takes two minutes, once a day, ideally right after you brush your teeth at night.
- Put everything back on the tray or into its basket or cabinet. (30 seconds)
- Return anything that doesn't belong in the bathroom, like a mug or a hair tie that wandered in. (30 seconds)
- Wipe the counter and sink with a microfiber cloth or a quick-dry towel. (45 seconds)
- Hang up the hand towel so it can dry overnight. (15 seconds)
That's it. When the counter is clear every night, mornings feel calmer and the weekly clean is much quicker. For a full daily routine, my guide on keeping your bathroom clean every day in 5 minutes builds on this reset.
Make a Clear Counter Feel Pretty, Not Bare
A clear counter can sometimes feel a little clinical at first. The trick is to choose one or two calm details on purpose, instead of letting random bottles fill the space.
- Stick to two or three colors. White, cream and one soft accent (sage, blush or gold) make the counter feel pulled together, even with everyday items on it.
- Add one living thing. A small pothos or a single stem in a bud vase brings life to the room. Choose plants that like humidity and change the water in vases every few days.
- Pick one soft light. An LED candle in a glass holder gives the glow of a real candle without any open flame in a small, damp room.
- Swap the towels. A fresh hand towel in a soft color changes the whole look for very little money.
- Leave some empty space. A bit of bare counter is part of the design. It's what makes the room feel calm.
For more renter-safe ways to make the whole room prettier, my guide to a rental bathroom makeover your landlord won't mind has plenty of reversible ideas.
Weekly and Monthly Upkeep
The nightly reset handles the daily mess. A tiny bit of upkeep on top keeps the system from slowly falling apart.
Once a Week (About 10 Minutes)
- Lift everything off the tray, wipe the tray and the counter underneath, and put it all back.
- Rinse the toothbrush holder and let it air-dry completely.
- Wipe the soap pump and nozzle, where residue tends to build up.
- Return anything that has crept out of its basket or cabinet.
Once a Month (About 20 Minutes)
- Check the baskets under the sink and remove anything empty, expired or no longer used.
- Look under and around the sink for drips or dampness. Small leaks are easier to deal with early, and a damp cabinet can encourage mold; let the cabinet air out with the door open for an hour if it feels humid.
- Re-check the medicine cabinet for expiry dates.
- Ask yourself if the one tray rule still fits. If the tray keeps overflowing, it's a sign to edit again, not to buy a bigger tray.
Final Thoughts
A clear bathroom counter isn't about perfection or matching everything. It's about deciding what deserves the space, giving everything else a home and taking two minutes each night to put it back.
Start with the edit, pick two or three ideas that suit your bathroom, and let the nightly reset do the rest. A calm, clear counter is a small thing that makes every morning feel a little lighter.