A small kitchen doesn't need more space to feel calm. It needs every item to live in the spot where you actually use it. Once the mugs sit next to the kettle, the cutting board sits next to the knives and the cleaning things stop drifting onto the counter, even a tiny galley kitchen starts to feel surprisingly easy.
That's why the best fixes are rarely about buying a whole new set of containers. They're about zones, a few clever organizers that use the space you're currently wasting (the back of a cabinet, the gap under a shelf, the inside of a door) and a quick reset habit so it stays that way. It took me a while to stop organizing for how a kitchen looks in photos and start organizing for how I actually move around in it.
This guide gathers 20 pretty, practical kitchen organization ideas for small kitchens, grouped by counters, cabinets, drawers, pantry and the awkward little spaces. You'll also find a kitchen zone map table and a 30-minute cabinet reset card you can repeat whenever things start to slide.
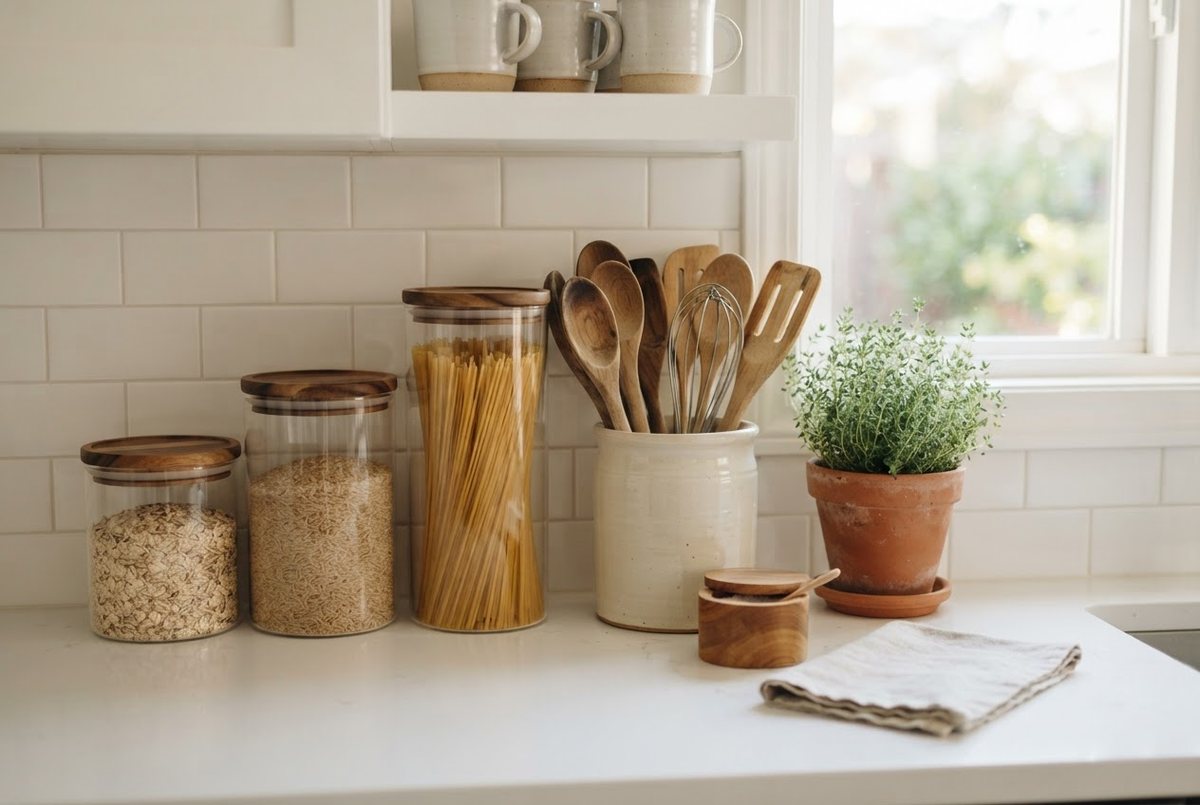
Start Here: Your Small Kitchen Zone Map
Professional kitchens run on zones, and home kitchens work the same way. Each zone holds everything you need for one job, so you're not crossing the room five times to make a cup of tea. Use this map to decide where things should live before you buy a single organizer.
| Zone | Where it goes | What lives there | Helpful organizer |
|---|---|---|---|
| Prep | Your longest stretch of clear counter, ideally between sink and stove | Cutting boards, knives, mixing bowls, measuring cups, peeler, grater | Knife block or magnetic strip, upright board rack |
| Cook | Beside and below the stove | Pots, pans, lids, spatulas, wooden spoons, oils, salt and spices | Utensil crock, lid organizer, spice turntable |
| Clean | Around and under the sink | Dish soap, sponges, cloths, trash bags, cleaning sprays, dish rack | Under-sink caddy, small tray for soap and sponge |
| Coffee and tea | Next to the kettle or coffee maker | Mugs, coffee, tea, sugar, filters, a spoon jar | Small tray, canisters, mug hooks |
| Pantry | A cupboard or shelf away from the stove's heat | Dry goods, snacks, cans, baking basics | Clear canisters, turntables, shelf risers, labels |
| Dishes | Close to the dishwasher or drying rack | Plates, bowls, glasses, everyday cutlery | Shelf riser, drawer dividers |
| Backstock | High shelves, top of the fridge, a hallway closet | Rarely used appliances, party platters, spare paper towels | Lidded baskets or bins |
A quick tip: if you own something you use less than once a month, it doesn't get prime real estate. Prime spots (between your waist and eye level, closest to where you stand) go to the things you reach for every day.
Before You Start: A Gentle Declutter
Organizing things you don't need is just a tidier way of storing clutter. Before you move anything into zones, give yourself one short pass through the kitchen with a bag and a box.
- Duplicates: three can openers, five spatulas, a tower of mismatched lids. Keep the best one or two.
- Broken or chipped: cracked mugs, warped pans, containers without lids. Let them go.
- Single-use gadgets you never reach for: if you can't remember the last time you used it, someone else will enjoy it more.
- Expired pantry items: check dates on spices, sauces and baking basics.
You don't have to do the whole kitchen in one go. Even one drawer and one shelf make the rest of this guide easier. If you'd like a room-by-room approach for the rest of your home, my step-by-step guide to decluttering your home keeps it calm and manageable.
Counters: 4 Ideas for Clear, Calm Surfaces
Counters are where clutter collects first, and where clearing it makes the biggest visual difference.
1. Keep Only Daily Items on the Counter
Here's a simple rule: if you don't use it every day, it doesn't live on the counter. The kettle and coffee maker stay. The stand mixer you use twice a year moves to a high shelf. Most small kitchens instantly feel twice as big once two or three appliances find a new home.
Try the one-week test if you're unsure. Put a sticky note on each counter item and remove it the first time you use that item. Anything still wearing its note after seven days can move into a cabinet.
2. Gather Small Things on a Tray
A tray turns scattered bits into one tidy unit. Put your dish soap, a hand soap and a pretty brush on a small tray by the sink, or oil, salt and pepper on another by the stove. Lifting one tray to wipe the counter takes two seconds instead of moving six bottles.
Choose a tray with a small lip so drips stay contained, and stick to one color family (white, cream, natural wood or a soft sage) so the counter looks calm rather than busy. A tray is also a natural limit: if it's full, nothing else gets added.
3. Stand Your Utensils Up
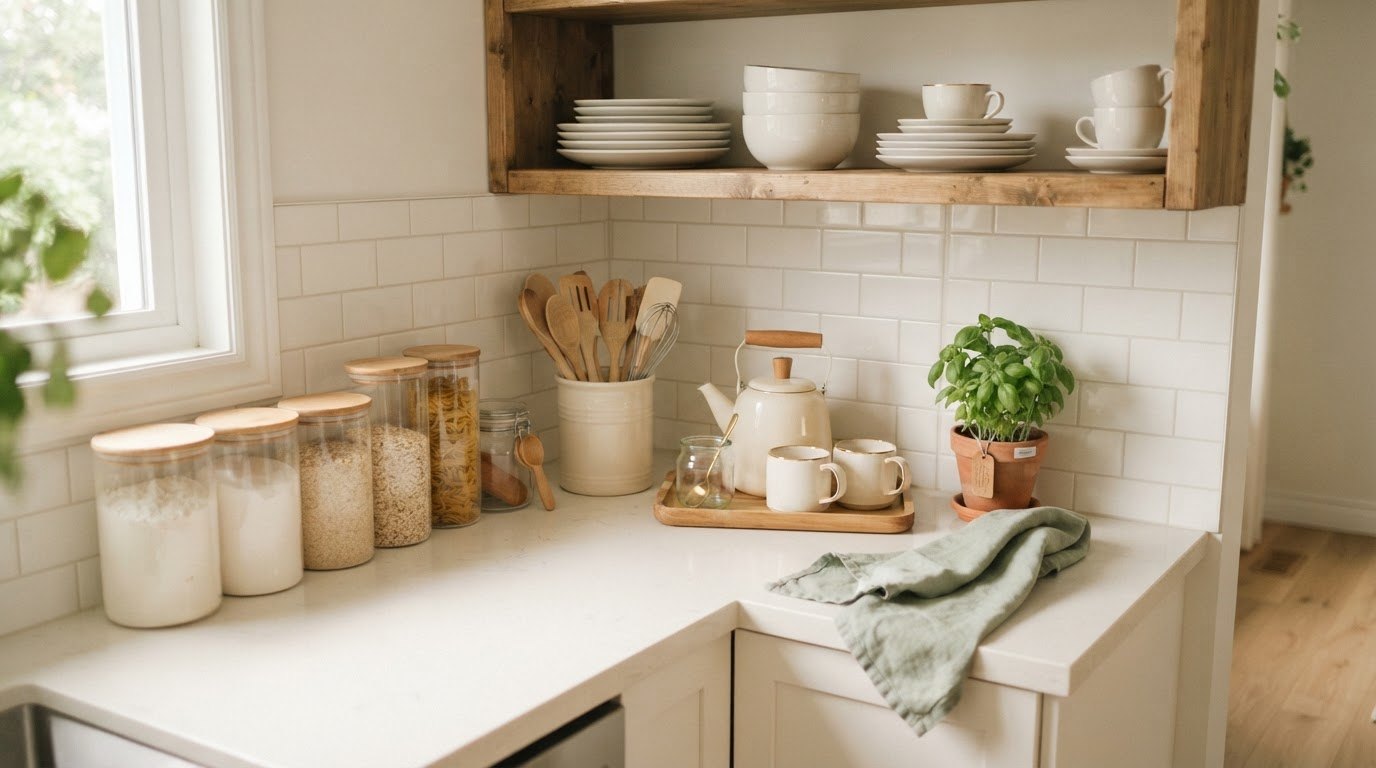
Your most-used cooking tools (spatula, wooden spoons, whisk, tongs, ladle) are much easier to grab from a crock beside the stove than from a crowded drawer. A cream ceramic utensil crock looks lovely and frees up a whole drawer for other things. Keep it to the tools you actually use weekly and move the rest into a drawer.
4. Create a Little Coffee and Tea Station
Group everything for your morning drink in one corner: machine or kettle, mugs, coffee or tea, sugar and spoons. It saves steps every single day, and it's one of the prettiest corners in any kitchen. My guide on coffee corner ideas walks you through setting one up, even on a tiny stretch of counter.
Cabinets: 5 Ways To Use Every Inch
Most cabinets are only half-used, because the space above short items and at the back of deep shelves gets wasted. These fixes help you use the full height and depth.
5. Double Your Shelves With Risers
A shelf riser creates a second level inside the cabinet, so you can stack small plates above larger ones or mugs above glasses without wobbly towers. A white expandable shelf riser adjusts to most cabinet widths and works especially well in upper cabinets with tall gaps.
6. Add Under-Shelf Baskets
The space between the top of your stack and the shelf above is usually empty. White under-shelf baskets slide onto the shelf and hang beneath it, perfect for kitchen towels, foil and wrap boxes, or tea bags. No tools, no drilling, just instant extra storage.
7. Use Turntables in Corners and Deep Shelves
Corner cabinets and deep shelves swallow things. A turntable solves that with one spin: everything at the back comes to the front. Use a clear turntable organizer for oils, vinegars, spices or jars, and you'll stop buying duplicates of things you couldn't see.
8. Store Pans and Boards Upright
Stacking pans means lifting three to reach one. Store frying pans, baking sheets and cutting boards on their sides instead, like files in a folder. An upright rack or a few tension rods inside a cabinet works beautifully. Lids can go in a separate rack or on the inside of the cabinet door.
While you're at it, nest what nests. Mixing bowls fit inside each other, measuring cups stack, and storage containers take up far less space when you keep the lids together in one bin and the bases nested in another.
9. Use the Inside of Cabinet Doors
The back of a cabinet door is free storage that most people never use. Adhesive hooks hold measuring cups and oven mitts, a slim rack holds lids or cleaning sprays, and a small adhesive pocket can hold your shopping list and a pen. Just check the door still closes fully before you stick anything on.
Under-sink doors are a great spot for a hanging bag holder or a hook for rubber gloves, and a pantry door can carry a slim rack for spices or small packets. Keep heavy items low on the door so the hinges aren't strained.
Drawers: 3 Fixes for the Junk-Drawer Problem
Drawers get messy because everything slides into one heap. A few dividers change that almost overnight.
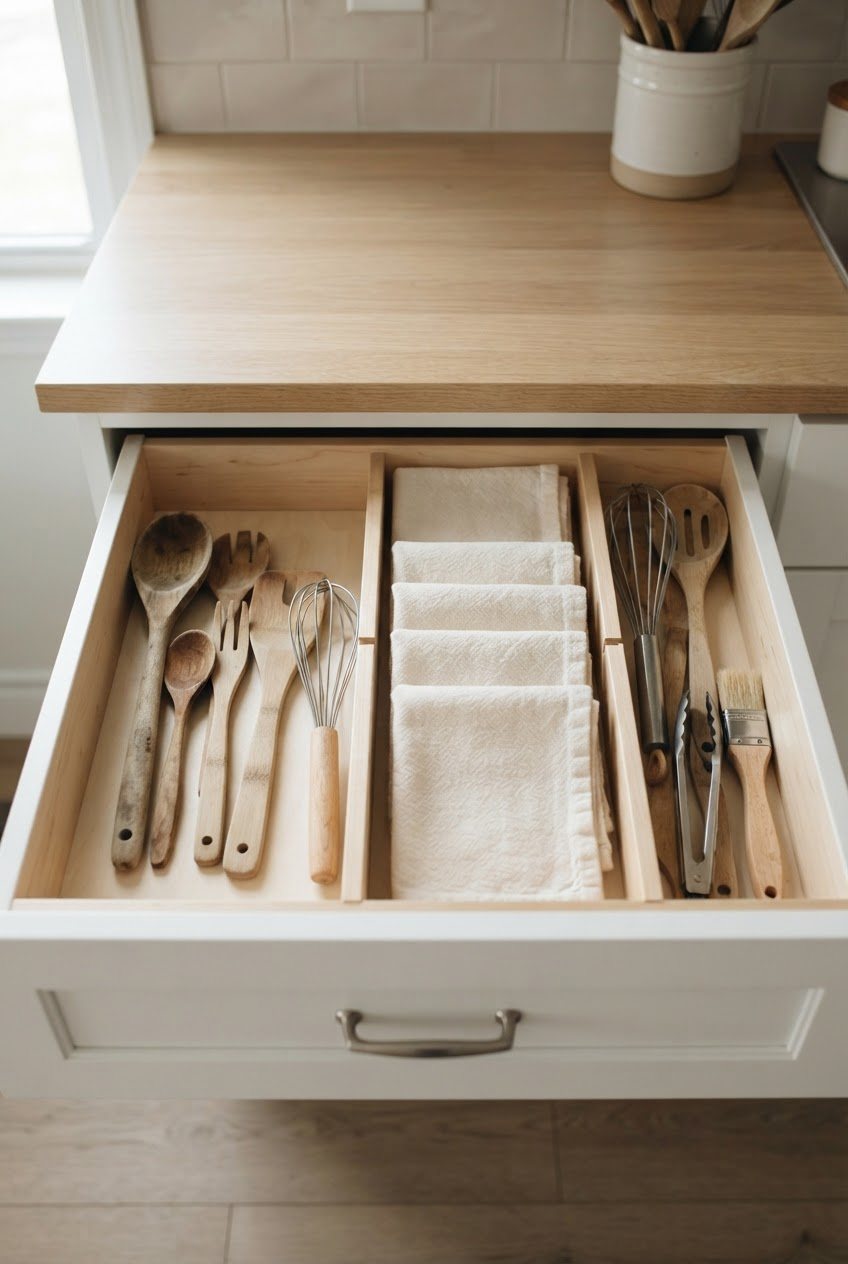
10. Divide Every Drawer
Dividers give each item a fixed spot, which means it gets put back in the same place every time. White adjustable drawer dividers spring-load to fit most drawers, so you can create lanes for cutlery, utensils, wraps and gadgets. Measure your drawers first and leave about a finger's width of space so things don't jam.
Put the things you use most toward the front of the drawer and lay tools flat in a single layer whenever you can. Once things start stacking on top of each other, the drawer is telling you it holds too much.
11. Give Every Drawer One Job
One drawer for cutlery, one for cooking tools, one for wraps and bags, one for tea towels. When each drawer has a single job, you know exactly where something is without opening every drawer in the kitchen. If you have more jobs than drawers, combine those that belong to the same zone.
12. Tame the Junk Drawer (Don't Ban It)
Every kitchen needs one drawer for batteries, scissors, tape and rubber bands. The trick is containing it. Use small trays inside, keep only what earns its place and empty it onto the counter once a month. Ten minutes is usually enough to sort it, toss what's broken and return everything else to its tray.
Pantry: 4 Ideas for Shelves That Stay Tidy
Whether you have a walk-in pantry or a single cupboard, the goal is the same: see what you have at a glance.
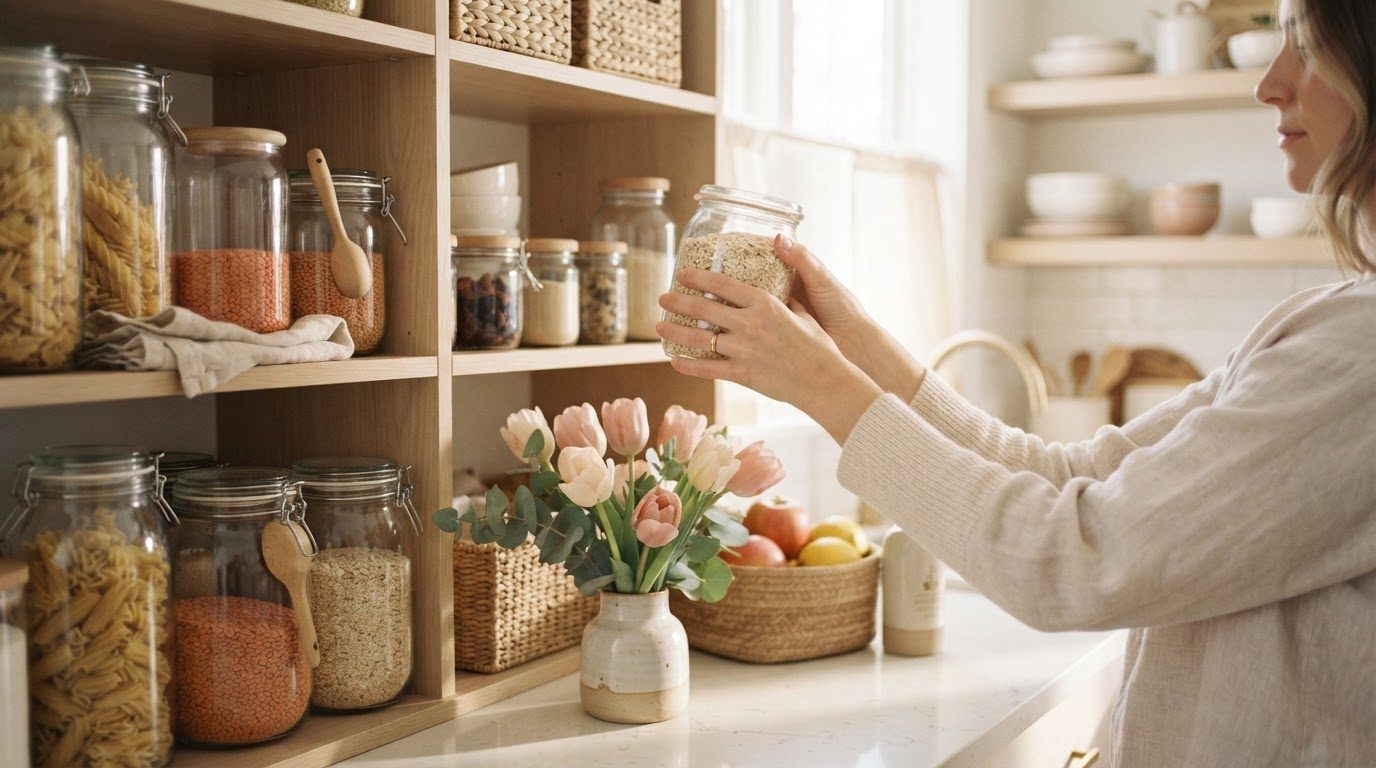
13. Decant Everyday Dry Goods
Clear containers show you exactly when you're running low, keep things fresher and stack far more neatly than half-open bags. Clear airtight pantry canisters are perfect for the staples you use most often. You don't need to decant everything; start with the five or six items you reach for every week.
14. Group Like With Like in Bins
Breakfast things together, baking basics together, snacks together. Open bins let you pull out a whole category at once, which makes cooking faster and putting away the groceries much easier. Lighter items go up high, heavier ones down low.
Bins with handles are easiest to pull from higher shelves, and woven or white bins look softer than mismatched plastic. Keep the snack bin at a height where anyone in the household can reach it, so nobody needs to dig through the shelves to find it.
15. Label Simply
Labels keep everyone in the household on the same page and stop the "where does this go?" question. Keep them simple and readable: a white label with clear black lettering is more useful than anything elaborate. For canisters, add the best-before date on a small sticker underneath.
16. Keep a "Use First" Basket
One small basket at eye level for opened packages and things nearing their date. It's a gentle reminder that cuts food waste, and it makes deciding what to have for lunch much quicker.
Awkward Spaces: 4 Fixes for the Bits Nobody Talks About
These are the spots that quietly create the most mess. A little attention here goes a long way.
17. Organize Under the Sink
The cabinet under the sink is usually a jumble of bottles and sponges. Add a two-tier caddy or a pull-out bin so you can see everything, and keep a small tray at the bottom in case of drips. Hang spray bottles from a tension rod by their triggers to free up the floor.
A quick safety note: keep cleaning products in their original containers, store them away from food, and if little ones visit, add a simple cabinet lock.
18. Use the Side of the Fridge
The side of the fridge often faces a gap or a wall that nobody looks at. Magnetic hooks and shelves can hold paper towels, oven mitts or a small spice rack. Check the fridge manual first, since some models need clear space around them for airflow.
19. Go Vertical on the Backsplash
A rail with hooks, a slim floating shelf or a magnetic knife strip can clear a surprising amount of counter space. Keep it light: a few beautiful, useful things look intentional, while too many look cluttered.
A good rule of thumb is three to five items per rail or shelf, all things you use often: your favorite mugs, a small herb pot, oil and salt, a ladle and a whisk. Wipe the rail down when you clean the counters so it stays fresh.
20. Use the Top of the Cabinets Wisely
If your upper cabinets don't reach the ceiling, that gap is perfect for rarely used items. Use lidded baskets so everything looks calm and dust stays off. Party platters, the holiday cookie tins and spare appliances can all live up there.
The 30-Minute Cabinet Reset
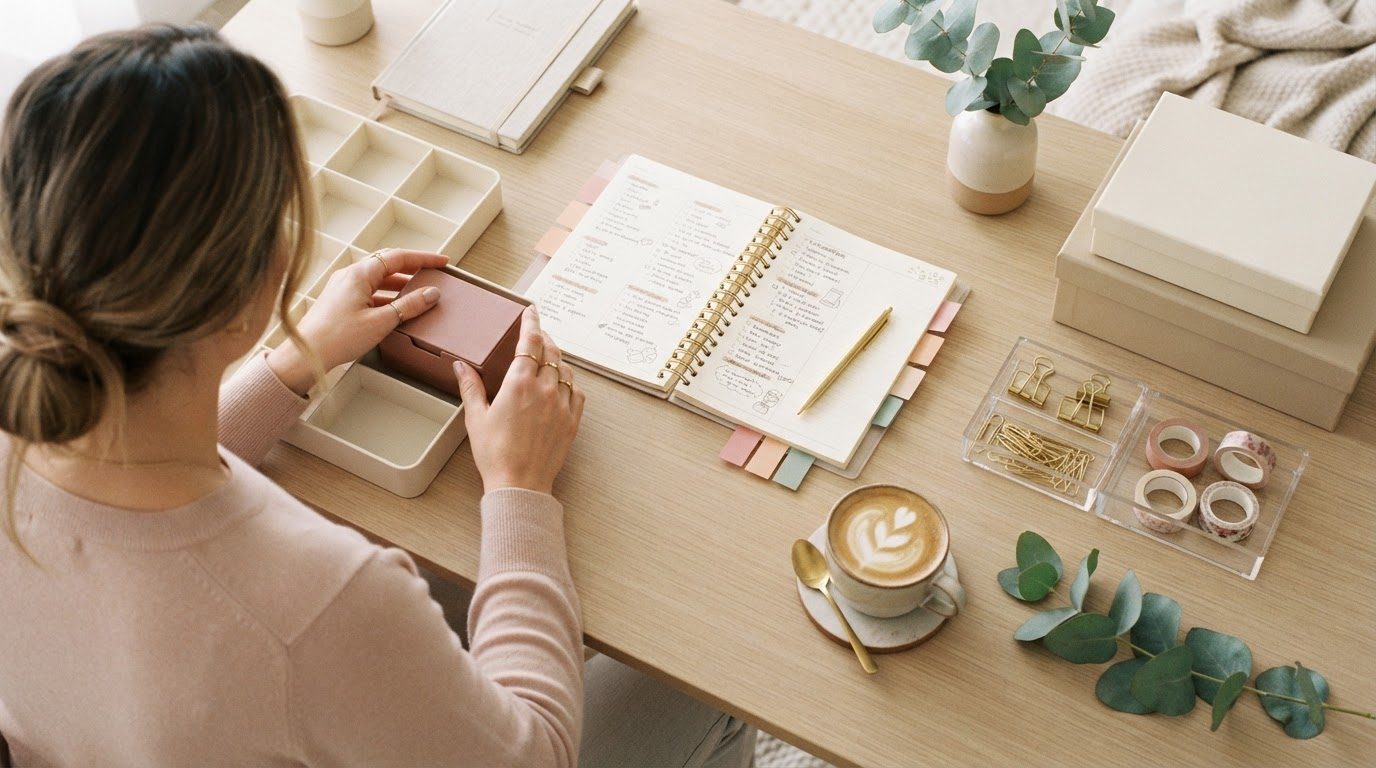
Even the best system slides a little over time. This reset takes one cabinet or one zone from chaotic to calm in half an hour. Screenshot it and repeat it on one cabinet a week.
- Minutes 0–5: Empty it. Take everything out and put it on the counter or table. Wipe the shelves while they're bare.
- Minutes 5–12: Sort fast. Make three piles: keep, belongs somewhere else, donate or toss. Toss anything expired, chipped or broken without a second thought.
- Minutes 12–17: Group what's left. Put like with like: mugs with mugs, spices with spices, baking with baking.
- Minutes 17–25: Put back by frequency. Daily items at the front and at eye level, weekly items behind them, rarely used items up high or in backstock.
- Minutes 25–28: Fix one pain point. Add a riser, a turntable or a label to the one spot that keeps getting messy.
- Minutes 28–30: Return the strays. Take the "belongs somewhere else" pile to where it actually lives, and put the donate bag by the front door.
If you like a weekly rhythm, a cabinet reset fits neatly into a Sunday reset routine, and pairs well with these micro habits for a neat and clean home that keep everything tidy between resets.
How To Keep Your Kitchen Organized Every Day
The difference between a kitchen that stays organized and one that slides back into chaos is a handful of tiny daily habits:
- Reset the counters every night. Two minutes: put things back, wipe down, start the dishwasher.
- Put groceries away by zone. Everything goes where it belongs, not wherever there's space.
- One in, one out. A new mug means an old one leaves.
- Keep the sink empty. Wash or load dishes as you go.
- Don't buy organizers first. Declutter and zone, then buy only what solves a real problem.
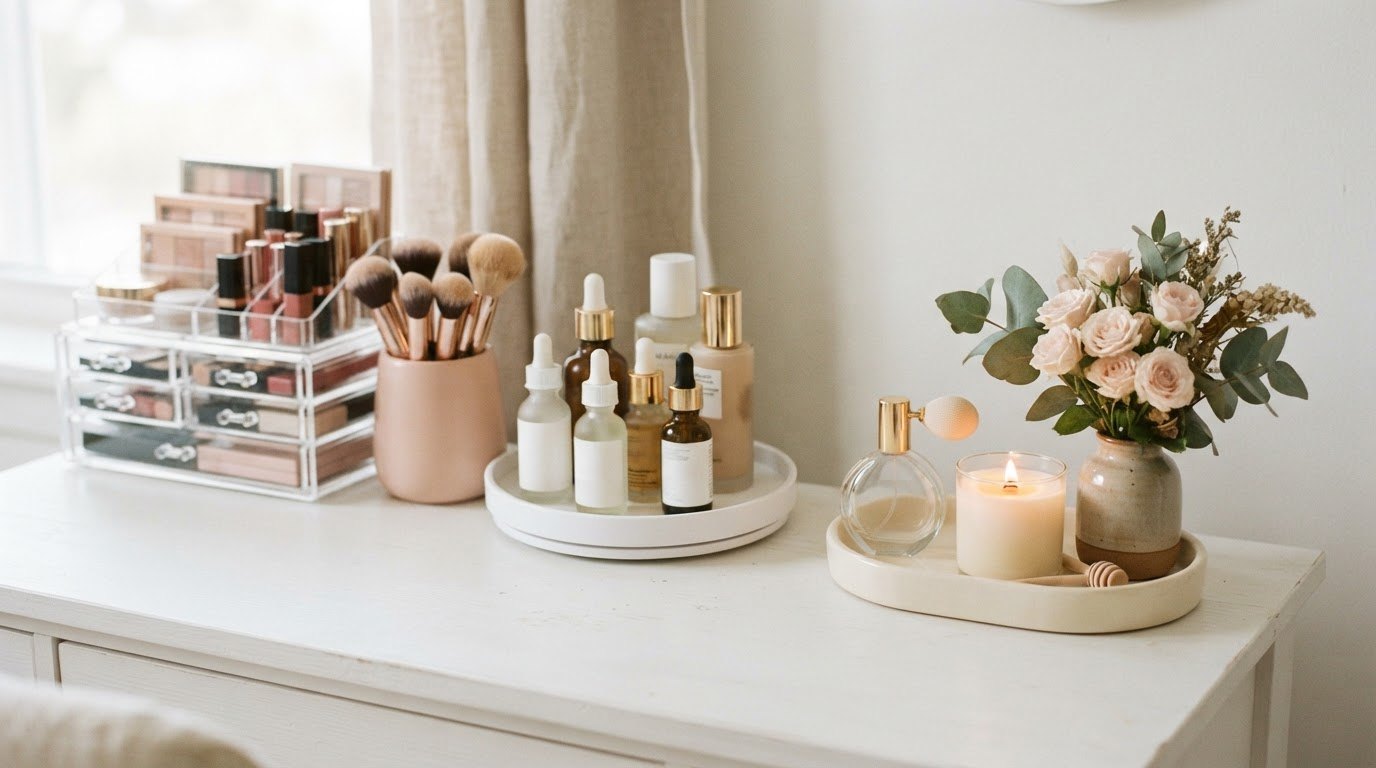
The same principles work all over the home. If you enjoy this kind of system, my guide to vanity organization uses the same zone-and-frequency idea for makeup and skincare.
Final Thoughts
A small kitchen will never be a big one, but it can be a calm, pretty, easy one. Start with the zone map, choose two or three fixes that solve your biggest daily annoyances and give one cabinet a 30-minute reset this week.
Little by little, everything ends up exactly where your hand reaches for it, and that's when a small kitchen starts to feel like the heart of your home.