Shampoo is supposed to clean your hair, and it does that job well. Sometimes a little too well. If your lengths feel rough, squeaky and tangled the moment you rinse, the shampoo isn't the villain exactly. Your hair just went into the wash with nothing to protect it.
That's what a pre-poo is for. It's a small, unglamorous step that happens before you even turn the water on, and for dry, curly, color-treated or long hair it can make the difference between wrestling with knots after every wash and hair that actually feels soft when you towel it.
This guide covers everything you need to know about a pre-poo treatment: what it is in plain words, who it helps most, which oils and products to choose, a pre-poo by hair type table, a simple step-by-step routine, how long and how often to do it, and the mistakes that leave hair greasy or limp. It took me a while to understand that the gentlest part of wash day happens before the shower, so let's start there.
What Is a Pre-Poo Treatment?
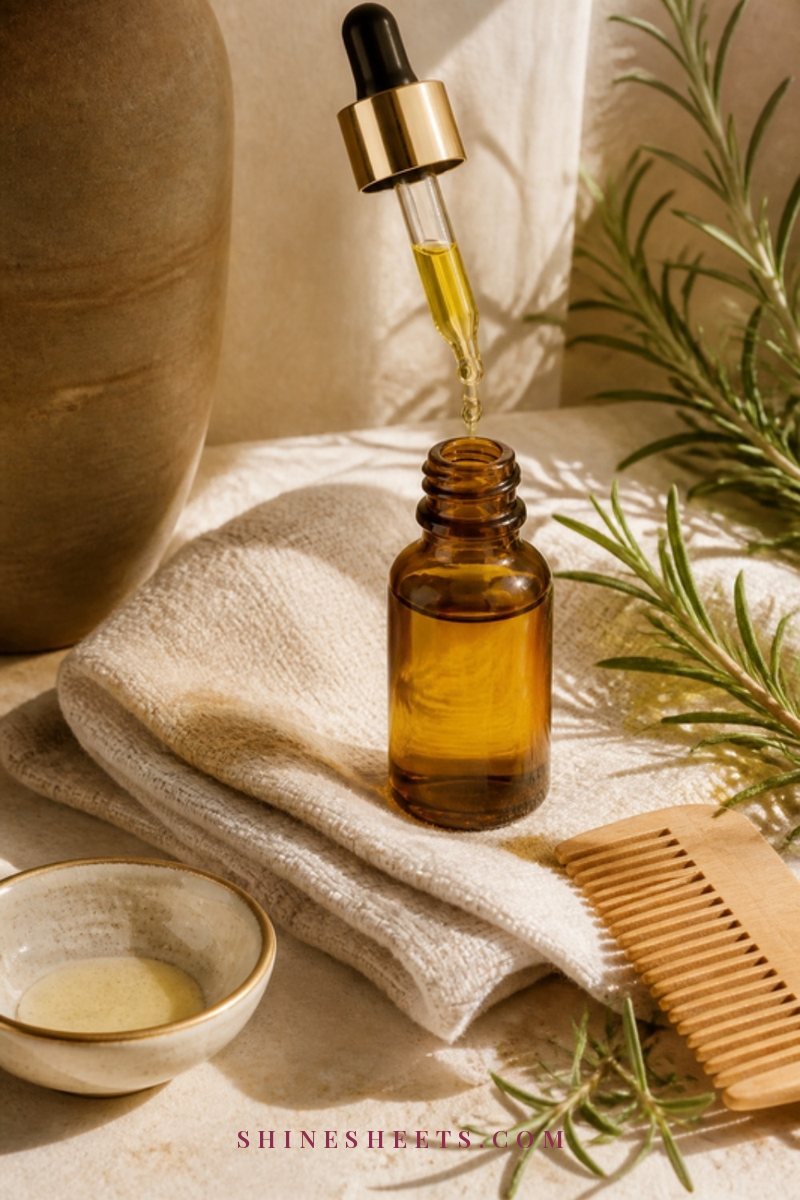
"Pre-poo" is short for pre-shampoo. It simply means putting a protective product, usually an oil or a conditioner, on your hair before you shampoo, leaving it for a while, and then washing as normal.
It's not a mask you leave in afterward and it's not a replacement for conditioner. Think of it as a raincoat for your lengths: the shampoo still cleans your scalp, but the ends that are already older, drier and more fragile don't take the full hit.
The idea comes from traditions of oiling hair before washing that have been around for generations, and it became especially popular in curly and coily hair communities, where every bit of moisture counts. These days lots of people with straight, fine or color-treated hair do a version of it too.
Why a Pre-Poo Helps (In Plain Words)
When hair gets wet, each strand swells a little with water. When it dries, it shrinks back. Repeat that often enough and the outer layer of the hair, the cuticle, gets roughed up, which is part of why hair can start to feel frizzy and tangle easily.
A coat of oil or conditioner before washing does a few gentle things at once:
- It softens the stripping effect of shampoo on your lengths, so they keep more of their natural oils.
- It adds slip, which makes detangling during and after the wash much easier, with less breakage.
- Some oils may reduce how much water the hair soaks up during washing, which can mean less of that swell-and-shrink stress.
- It gives you a calm, slower wash day, which honestly is half the appeal for me.
What a pre-poo won't do: repair split ends, make hair grow faster or fix damage overnight. It's a protective habit, not a miracle, and that's exactly why it works when you keep it up.
Who Benefits Most From a Pre-Poo

Anyone can try a pre-poo, but some hair types notice the difference within a single wash:
- Dry hair. If your ends feel like straw a day after washing, a pre-poo is one of the easiest fixes to try.
- Curly and coily hair. Curls tend to be drier because natural oils struggle to travel down the bends of the strand. A pre-poo also makes detangling far less painful.
- Color-treated or bleached hair. Chemically processed hair is more porous, so it loses moisture quickly and appreciates the extra buffer.
- Long hair. The bottom few inches of long hair can be years old. They've earned a little protection.
- Hair washed in hard water. Minerals in hard water can leave hair rough and dull, and a pre-poo adds a softening layer before the water touches it.
- High-porosity hair. If your hair drinks up water fast and dries fast, a pre-poo helps slow that cycle down. Not sure where you sit? My guide to hair porosity has a simple way to find out.
If your hair is very fine or gets oily within a day, you can still pre-poo. You'll just use less product and keep it to the mid-lengths and ends, which I'll come back to in the table.
What To Use for Your Pre-Poo
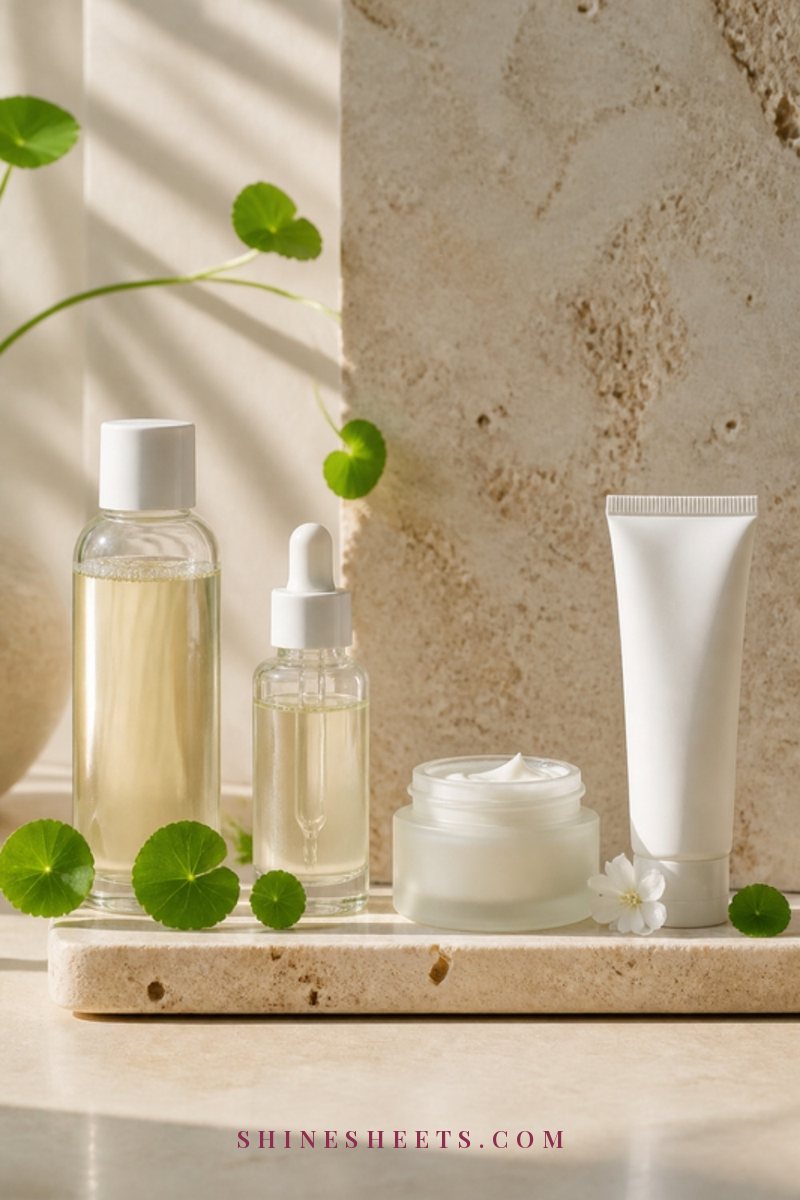
You don't need a special product labeled "pre-poo." Most people use something already sitting in their bathroom. Here are the most common options and what each one tends to suit.
Coconut Oil
Coconut oil is the classic pre-poo oil, and for good reason: it's one of the few oils with small enough molecules to get partly into the hair rather than just sitting on top. That's why it's often recommended to reduce protein loss during washing.
It's not for everyone, though. Some people, especially with coarse or low-porosity hair, find it leaves their hair feeling stiff or straw-like. If that happens to you, it's not that you did it wrong; your hair just prefers something else. Warm a small amount between your palms first, since it's solid when cool.
Olive Oil
Olive oil is heavier and richer. It's lovely for very dry, thick, curly or coily hair that needs real softness, and it's an easy one to try because most kitchens already have it. Use a little less than you think, because it can take two shampoos to rinse out of fine hair.
Argan Oil and Lightweight Blends
If your hair is fine, medium or easily weighed down, lighter oils are your friend. A bottle of pure argan oil is a good pick for the lengths and ends: it spreads easily, rinses out without much effort and leaves a soft finish. Look for 100% argan oil in a dark glass bottle, with nothing else on the ingredient list.
Another option is a lightweight hair oil blend, the kind that mixes a few thinner oils such as jojoba, sweet almond or grapeseed. I'd choose one with a short ingredient list and no heavy silicones if you plan to use it as a pre-poo, since you want it to wash out cleanly.
If you'd like a deeper look at oils, how to apply them and how they differ, my step-by-step guide to hair oiling goes into all of it.
Conditioner
Yes, your regular conditioner can be a pre-poo. This is the easiest option for anyone who hates the idea of oil in their hair. Apply a generous amount to dry lengths, leave it on, and shampoo it off. Fine hair often does best with this approach because it adds slip without heaviness.
Aloe Vera Gel
Plain aloe vera gel is a lighter, water-based option. It's soothing, easy to rinse and gives a little slip. It won't protect hair from shampoo the way oil does, but some people with oily roots and dry ends like it as a gentle middle ground. Choose a pure gel without added alcohol or strong fragrance.
You can also mix: a dollop of conditioner with a few drops of oil is one of my favorite combinations for medium hair because it spreads easily and rinses out without a fight.
Pre-Poo by Hair Type Table
This is the part I wish I'd had at the start. Find your row, then adjust from there. Screenshot it if you like.
| Hair type | What to use | How much | Where to apply | How long |
|---|---|---|---|---|
| Fine or oily-at-the-roots | Conditioner, aloe gel or a few drops of argan oil | 2–4 drops of oil or a palmful of conditioner | Mid-lengths and ends only | 15–20 minutes |
| Medium, straight or wavy | Argan oil, light oil blend, or conditioner plus a few drops of oil | About ½ teaspoon of oil | Ears down to the ends | 20–30 minutes |
| Thick or coarse | Olive oil, argan oil or a richer blend | 1–2 teaspoons | Mid-lengths and ends, a little higher if very dry | 30 minutes to 1 hour |
| Curly or coily | Olive oil, coconut oil (if your hair likes it) or conditioner mixed with oil | Enough to make each section feel slippery | Full lengths, section by section | 30 minutes to overnight |
| Color-treated or bleached | Coconut oil or conditioner plus a light oil | About 1 teaspoon | Mid-lengths and ends, focus on lightened parts | 30 minutes to 1 hour |
| Dry, itchy scalp | A light oil on the scalp (after a patch test) plus your usual pre-poo on the lengths | A few drops on the scalp | Scalp and lengths separately | 20–30 minutes |
Hair rarely fits one row perfectly. If you have fine hair with dry bleached ends, borrow the amount from the fine row and the focus from the color-treated row. That kind of mixing is exactly what the table is for.
How To Do a Pre-Poo Treatment, Step by Step
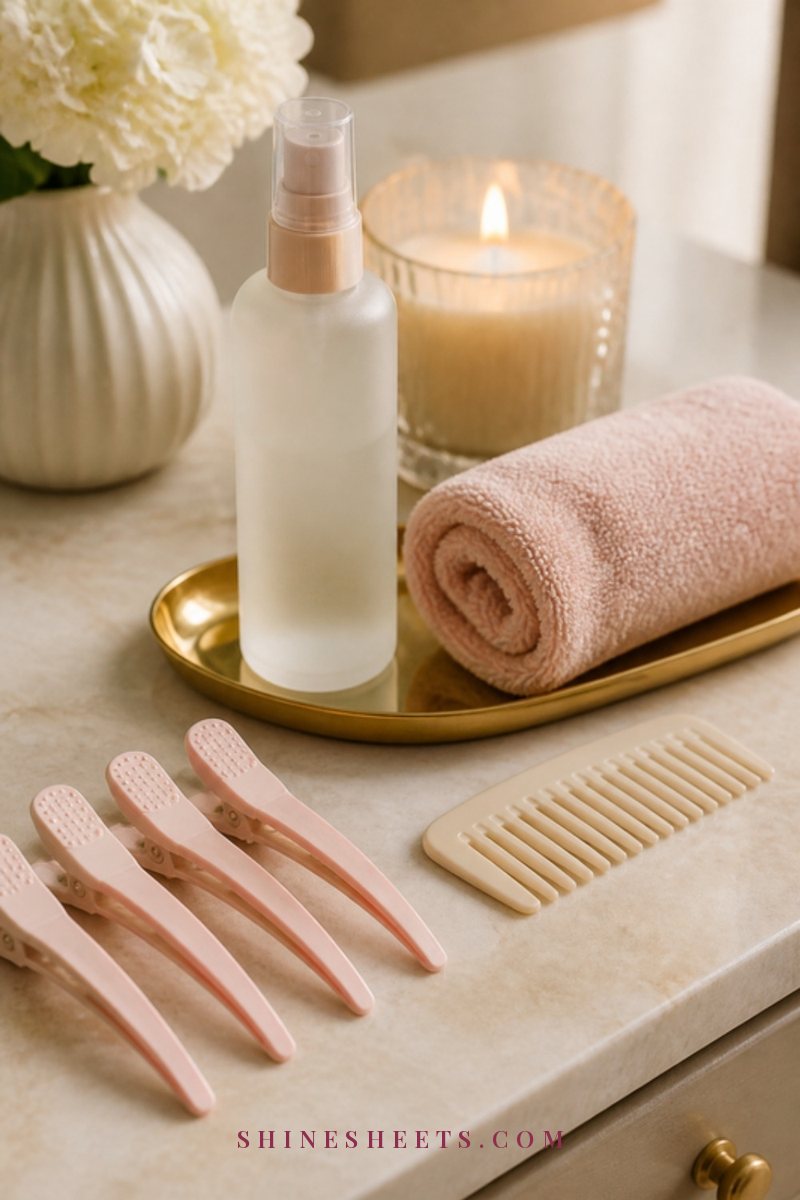
Here's the full routine. Once you've done it a couple of times, it takes about five minutes of actual effort, and the rest is waiting.
Step 1: Start With Dry or Slightly Damp Hair
Oils go on best when hair is dry or just a little damp, because soaking-wet hair is already full of water and the oil slides off. If you're using conditioner, slightly damp hair makes it easier to spread. Either way, skip the full soak.
Step 2: Detangle Gently
Run a wide-tooth comb through your hair first, starting at the ends and working up. Getting the biggest knots out now means the product can actually reach each strand. Curly hair can be finger-detangled instead if that's what your curls prefer.
Step 3: Divide Your Hair Into Sections
For anything thicker than fine hair, split it into four to six sections and hold them with sectioning clips. It sounds fussy, but it's the difference between oil soaking evenly through your lengths and a greasy patch at the front with dry ends at the back.
Step 4: Apply to the Lengths and Ends
Warm the oil between your palms, then smooth it down each section from about the ears (or mid-length) to the ends. Squeeze the ends gently to work it in. Your ends are the oldest, driest part of your hair, so they get the most. Leave the roots alone unless your scalp is dry and you've patch tested.
Step 5: Cover and Wait
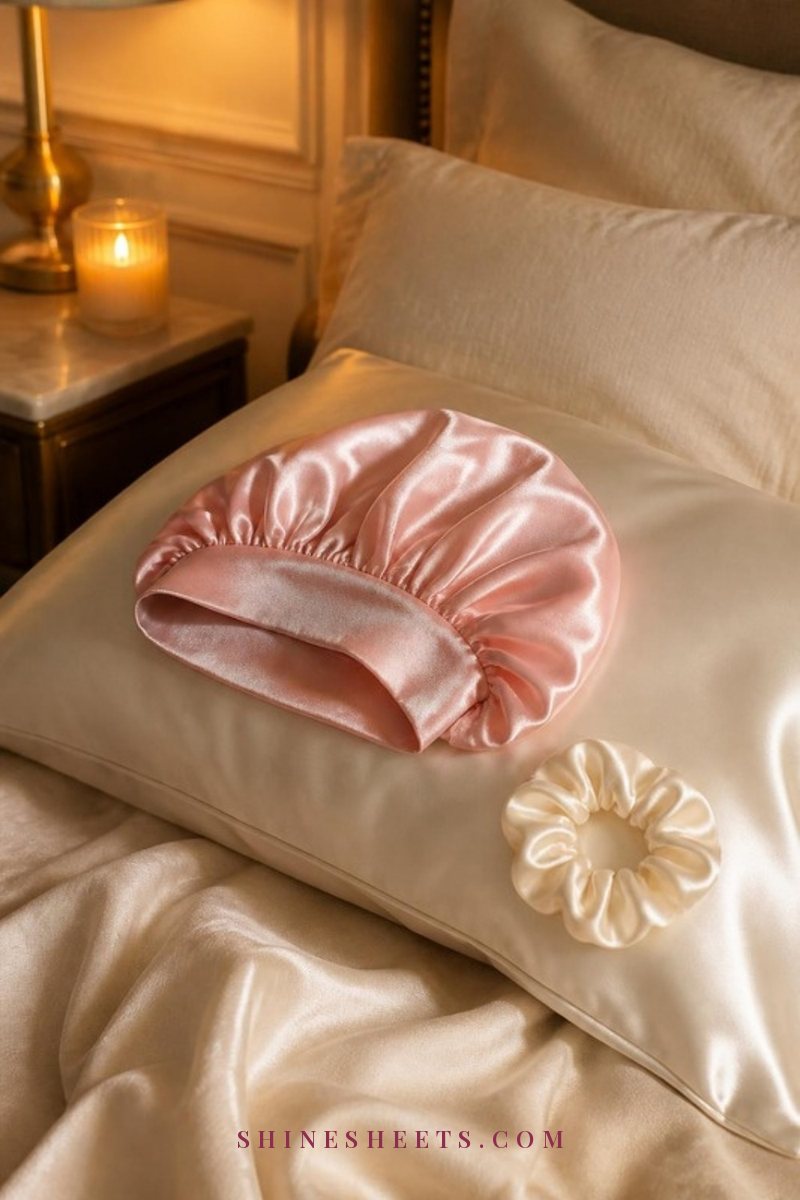
Twist your hair loosely up and pop on a satin-lined shower cap. It keeps the oil off your clothes and furniture and traps a little body heat, which helps the product settle in. Then go do something nice: make tea, read a chapter, light a candle and tidy one drawer.
Step 6: Shampoo as Usual
Here's the part people get wrong: you still shampoo. Apply shampoo to your scalp first, before wetting your hair fully if you've used a lot of oil, since shampoo grabs oil better that way. Massage the scalp, let the suds run down your lengths and rinse well.
If your hair still feels coated, shampoo a second time. Most people with fine or oily hair need two washes after an oil pre-poo, and that's normal.
Step 7: Condition Lightly
Because your lengths were protected, you may need less conditioner than usual. Use a little on the ends, rinse, and towel-dry gently by squeezing rather than rubbing.
How Long To Leave It On (Including Overnight)
The sweet spot for most people is 15 to 30 minutes. That's enough time for the product to coat your hair and for some oils to settle in. Longer isn't always better for fine hair, which can start to feel heavy.
For very dry, thick, curly or coily hair, you can leave a pre-poo on for an hour or even overnight. If you go the overnight route:
- Use a modest amount of oil, so it doesn't seep through.
- Tie your hair loosely and cover it with a satin bonnet to protect your pillow and reduce friction.
- Put an old towel over your pillowcase just in case.
- Wash it out the next morning, shampooing twice if needed.
If overnight treatments leave your scalp itchy or your hair limp, scale back to 30 minutes. Your hair will tell you what it likes.
How Often To Pre-Poo
There's no single rule, but here's a gentle starting point:
- Normal or medium hair: once a week, or before your "proper" wash day.
- Dry, curly, coily or bleached hair: before every wash, if your hair responds well.
- Fine or oily hair: once a week or every other week, with light products.
Give any new routine three or four washes before you judge it. The first time can feel a bit strange, and sometimes it takes a few tries to find the right amount.
Pairing a Pre-Poo With Scalp Massage or Steaming
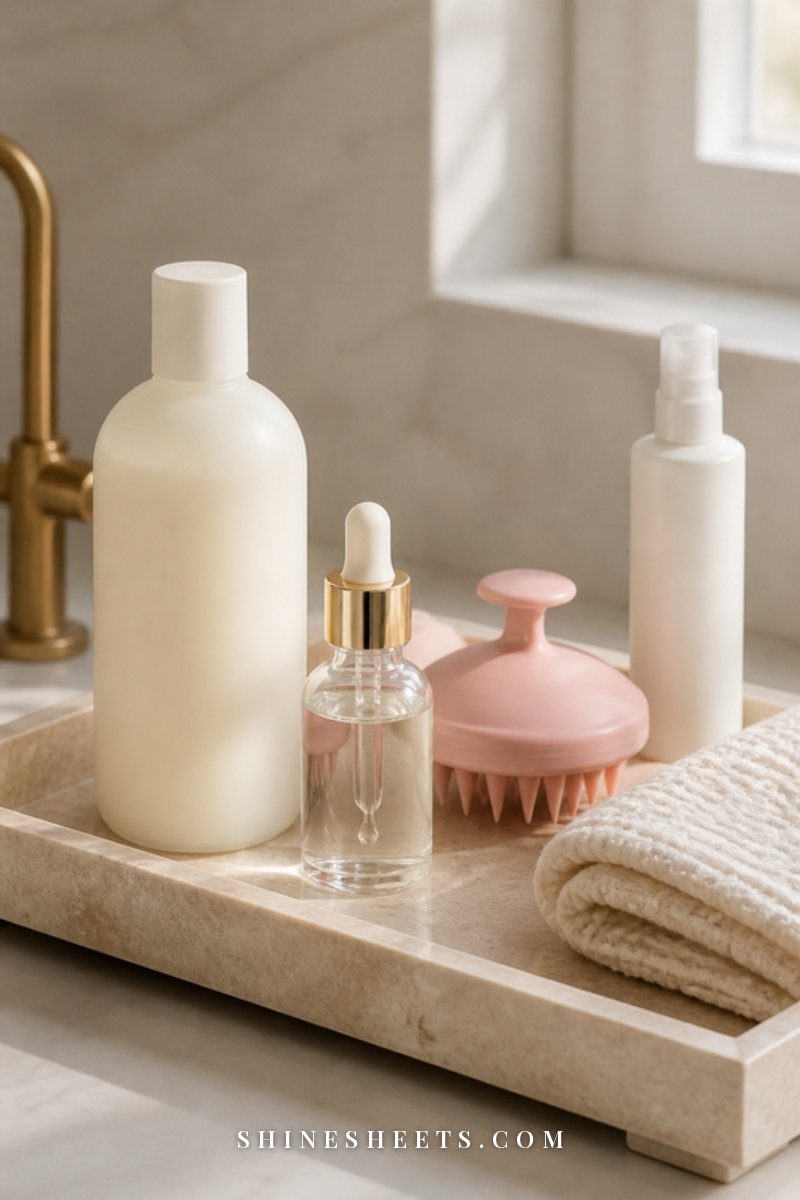
A pre-poo fits beautifully into other wash-day rituals, and it's a good moment to do two things at once.
Scalp massage: while the pre-poo sits on your lengths, spend three to five minutes massaging your scalp with your fingertips (not your nails) in small circles. It feels lovely, helps loosen buildup before you shampoo, and turns the waiting time into something relaxing. My guide to scalp massage walks through the technique and what you can realistically expect from it.
Gentle heat: warmth can help some products sink in. The simplest way is wrapping a warm (not hot) damp towel over your shower cap for 10 to 15 minutes. If you have a hooded steamer or want to go further, steaming pairs especially well with a conditioner-based pre-poo. My new hair steaming guide explains the methods and how often to do it safely.
A quick word on patch testing: if you plan to put any oil on your scalp, try a small amount behind your ear or on your inner arm first and wait 24 to 48 hours. Some people react to coconut oil or essential-oil blends, and an itchy, red scalp is not the cozy wash day anyone wants. If your scalp is already flaky or irritated, start with my guide to a dry, itchy scalp, and see a dermatologist if it doesn't settle.
6 Pre-Poo Mistakes To Avoid
Most pre-poo disappointments come from one of these small things, and every one is easy to fix.
- Using too much oil on fine hair. If your hair is limp and greasy after washing, cut the amount in half and keep it below the ears. A few drops really can be enough.
- Skipping the shampoo afterward. A pre-poo is a "before," not an "instead." Rinsing oil out with water alone leaves it sitting on your hair and scalp, which can lead to buildup and dullness.
- Applying it to soaking-wet hair. Oil and water don't mix, so the oil just slides off. Start with dry or barely damp hair.
- Piling it on the roots. Unless your scalp is dry, heavy oil at the roots mostly means you'll need extra shampooing. Keep the focus on lengths and ends.
- Forcing an oil your hair doesn't like. If coconut oil makes your hair stiff, or olive oil feels heavy, switch. The "best" pre-poo is the one that leaves your hair soft.
- Expecting instant repair. A pre-poo protects; it doesn't rebuild. Split ends still need a trim, and very damaged hair may need bond-repair care too. Think of the pre-poo as the habit that keeps things from getting worse.
And one more gentle reminder: if you notice a lot of hair falling out, thinning patches or a sore scalp, that's a question for a dermatologist rather than a new oil. Hair loss deserves a proper look.
Final Thoughts
A pre-poo is one of those quiet habits that doesn't look like much, a few drops of oil, a shower cap and a cup of tea while you wait, but your hair feels the difference every single wash. Start with the row in the table that matches you best, keep it simple for a few weeks and adjust as you go.
Soft, happy hair rarely comes from one big treatment. It comes from small, kind steps repeated often, and this is a lovely one to begin with.