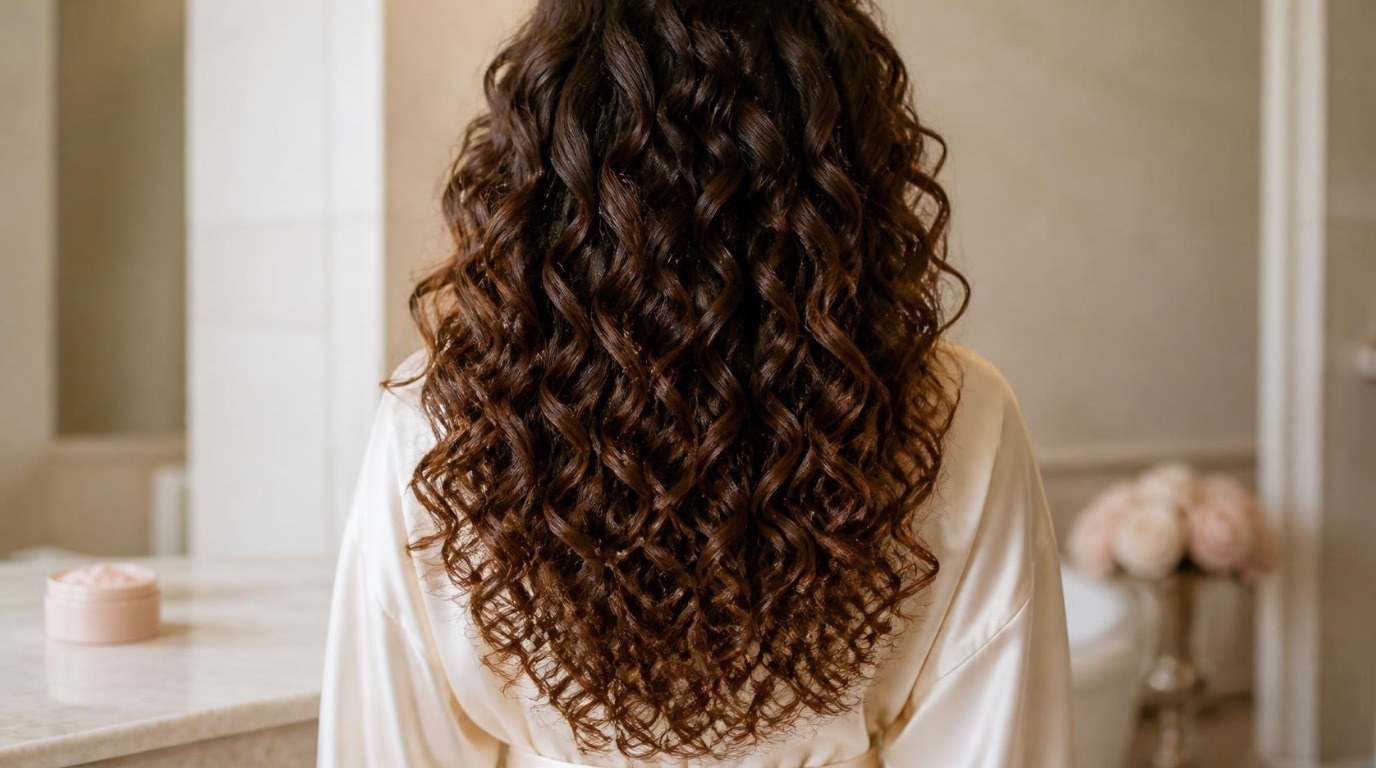
Curly hair rarely needs a cabinet full of products or a complicated ritual. What it needs is moisture, a gentle hand and the right order of steps. Most "bad curl days" come down to a few small things: product going onto hair that's already half dry, a rough towel, a brush at the wrong moment. Fix those, and your curls start doing a lot of the work for you.
It took me a while to accept that curls aren't a problem to be managed. They're a texture with its own logic. Once you understand that logic, wash day stops feeling like a gamble and starts feeling like a calm, repeatable routine you can do half asleep.
This guide is a gentle curly hair routine for beginners. You'll find how to read your curl pattern loosely (without getting lost in charts), the few basics you actually need, a step-by-step wash day, a "wash day order" table to screenshot, how to refresh on day two and three, how to protect your curls at night, how to choose products by curl type and porosity, and the common mistakes that quietly cause frizz.
Grab a wide-tooth comb and a towel you don't mind experimenting with, and let's start with the most freeing part: you don't need to know your exact "type" to begin.
Find Your Curl Pattern (Loosely, Without Obsessing)
You've probably seen curl charts with numbers and letters for every possible shape. They can be helpful, but they can also turn into a rabbit hole, especially because most heads have two or three patterns at once (tighter at the nape, looser at the crown is very common). For a beginner routine, three broad groups are enough:
- Wavy. Hair forms soft S-shapes that start somewhere around the ears and tend to fall flat or frizz if they get weighed down. Waves usually love lightweight products and lose definition fast with heavy creams or oils.
- Curly. Hair forms defined spirals or ringlets, from loose loops to springy corkscrews. Curly hair usually needs a mix of moisture (cream) and hold (gel) to stay defined for more than a day.
- Coily. Hair forms very tight coils or zigzags, often with lots of shrinkage. Coily hair tends to be the most fragile and thirsty, so it loves richer conditioners, generous leave-ins and very gentle detangling.
Here's the simplest way to check: after your next wash, let a small section air dry with nothing in it and look at the shape. That's your starting point. If you're somewhere between groups, follow the lighter advice first and add richness only if your hair still feels dry. If you suspect you're on the wavier end, my wavy hair guide goes deeper into keeping waves bouncy instead of flat.
Pattern tells you how your hair is shaped. Porosity tells you how it drinks. We'll get to that in the product section, because the two together matter far more than any single number on a chart.
What You Need for Wash Day: 7 Simple Basics
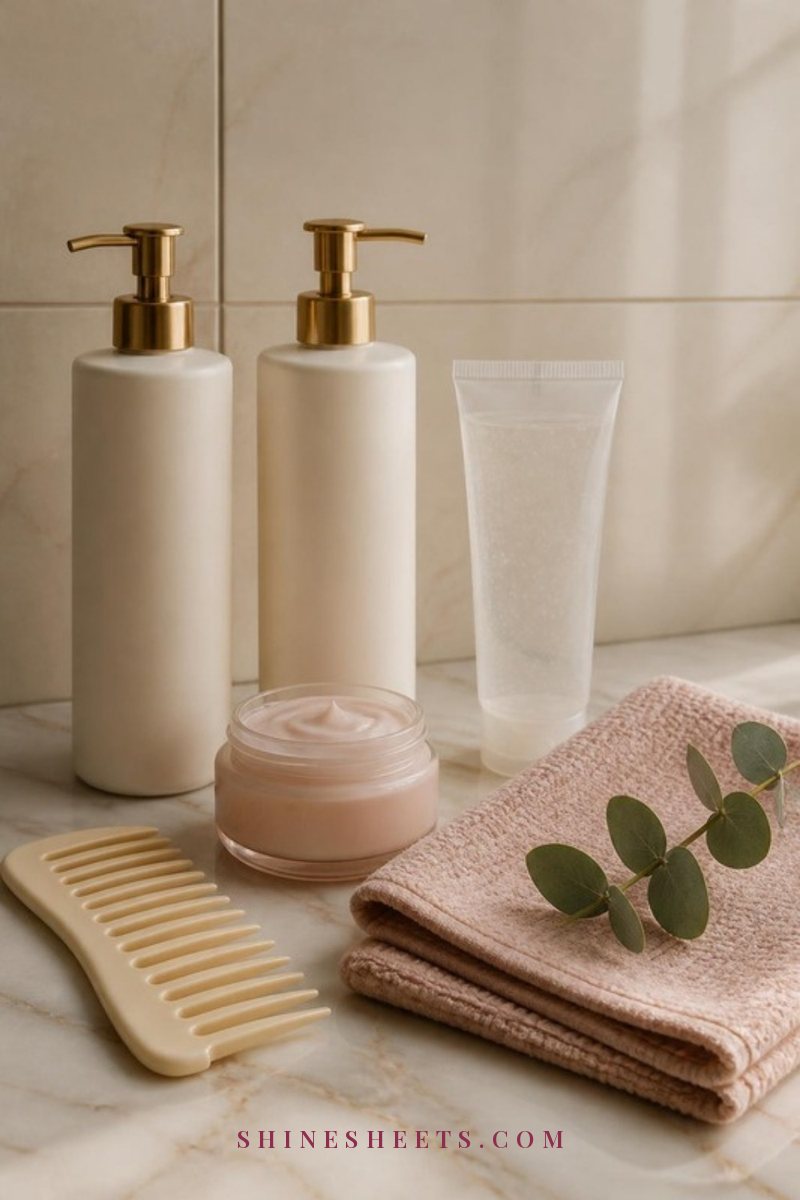
You don't need a fifteen-step product lineup. You need one product for each job, and you can build from there once you know how your hair responds. These are the seven basics I'd start with:
- A gentle cleanser. A sulfate-free curl shampoo cleans your scalp without stripping the lengths. Look for a short ingredient list, mild cleansers and no heavy silicones if your hair is fine. Very dry or coily hair may prefer a co-wash (a cleansing conditioner) on some wash days.
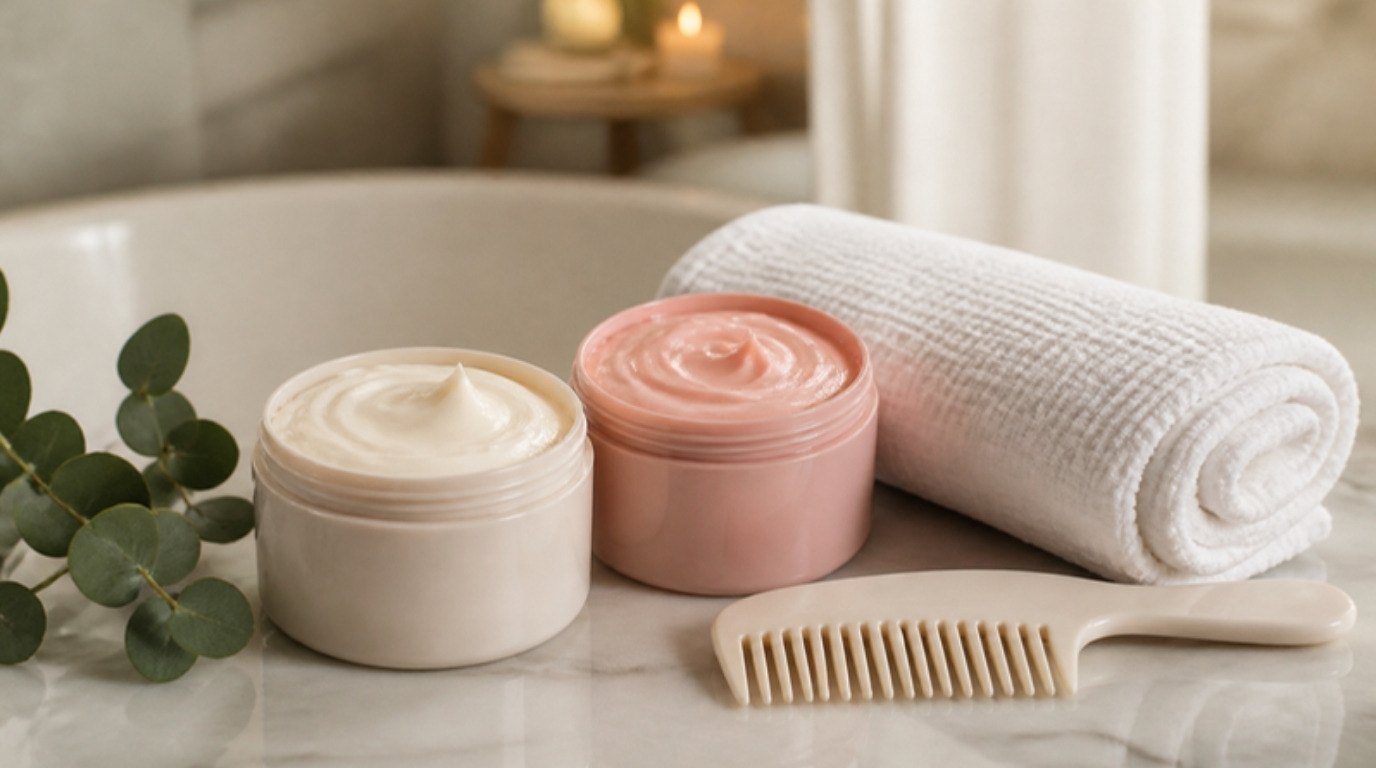
- A slippy conditioner. This is the most important product in the whole routine. A hydrating curl conditioner with plenty of "slip" (that smooth, slippery feel) makes detangling gentle. Buy the big bottle. You'll use more than you think.
- A leave-in conditioner. A light layer of moisture that stays in. For waves, a spray or a thin lotion. For curls and coils, a creamier leave-in.
- A styler for moisture and definition. A curl defining cream helps clumps form and softens the final result. Waves often need only a pea-sized amount, or none at all.
- A styler for hold. A strong-hold curl gel forms a light "cast" while hair dries, which protects the shape from frizz. You'll scrunch the crunch out at the end, so don't be afraid of it.
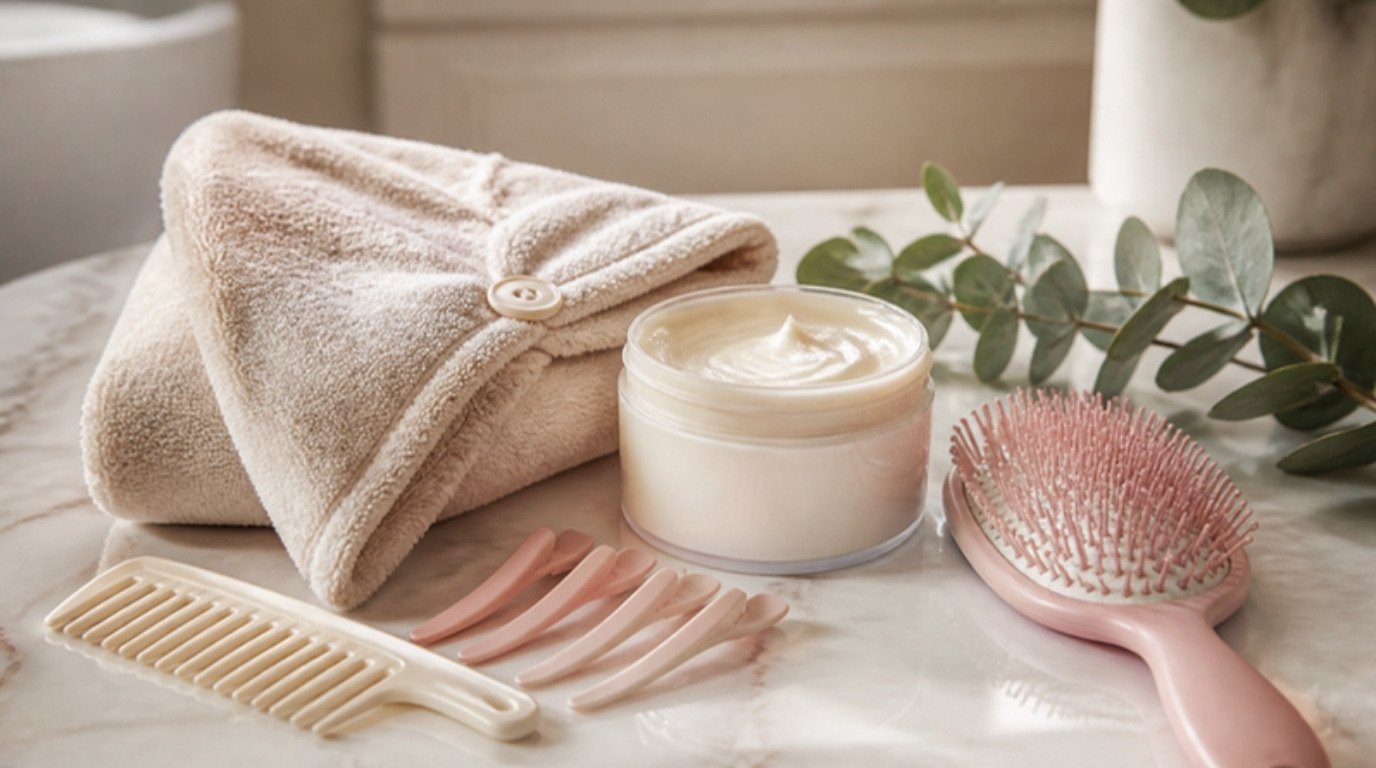
- A soft drying fabric. A microfiber hair towel or an old cotton T-shirt. Regular terry towels rough up the curl surface and break up clumps.
- A wide-tooth comb (or just your fingers). For detangling with conditioner in the shower only. More on that below.
If you diffuse, you'll also want a diffuser attachment for your dryer, which I'll cover in the drying step. And if your curls are color-treated or bleached, bond-repair care can be worth adding later; I explain how it works in my post on using Olaplex for curly hair.
Curly Hair Routine: Wash Day Step by Step
Most people with curls wash two or three times a week, and some coily hair does best with once a week. Start with every two to three days and adjust. The steps below are the backbone of the whole routine. Do them in this order, and notice how much depends on one thing: keeping your hair wet until the styler is on.
Step 1. Cleanse Your Scalp, Not Your Lengths
Wet your hair thoroughly, then focus shampoo on your scalp only. Use your fingertips (not your nails) and massage for about 60 seconds, working in small circles from your hairline to the nape. As you rinse, the suds will run through the lengths, and that's all the cleansing they need.
If your hair feels squeaky afterward, your shampoo is too strong for you, or you used too much. A coin-sized amount is plenty for most lengths. Once every few weeks, a clarifying wash helps remove buildup from gels and hard water, especially if your roots start to feel heavy or itchy.
Step 2. Condition Generously
This is where beginners tend to under-do it. Squeeze out a little water, then apply a big handful of conditioner from mid-lengths to ends. Add more until your hair feels slippery all the way through, like seaweed. Thick or coily hair may need two or three handfuls. Fine waves need less, but still more than you'd use on straight hair.
Leave it on while you do the rest of your shower, about 3 to 5 minutes. Once a week (or every other wash), swap this step for a deeper treatment. My guide to hair masks explains which kind your hair actually needs.
Step 3. Detangle in the Shower With Conditioner
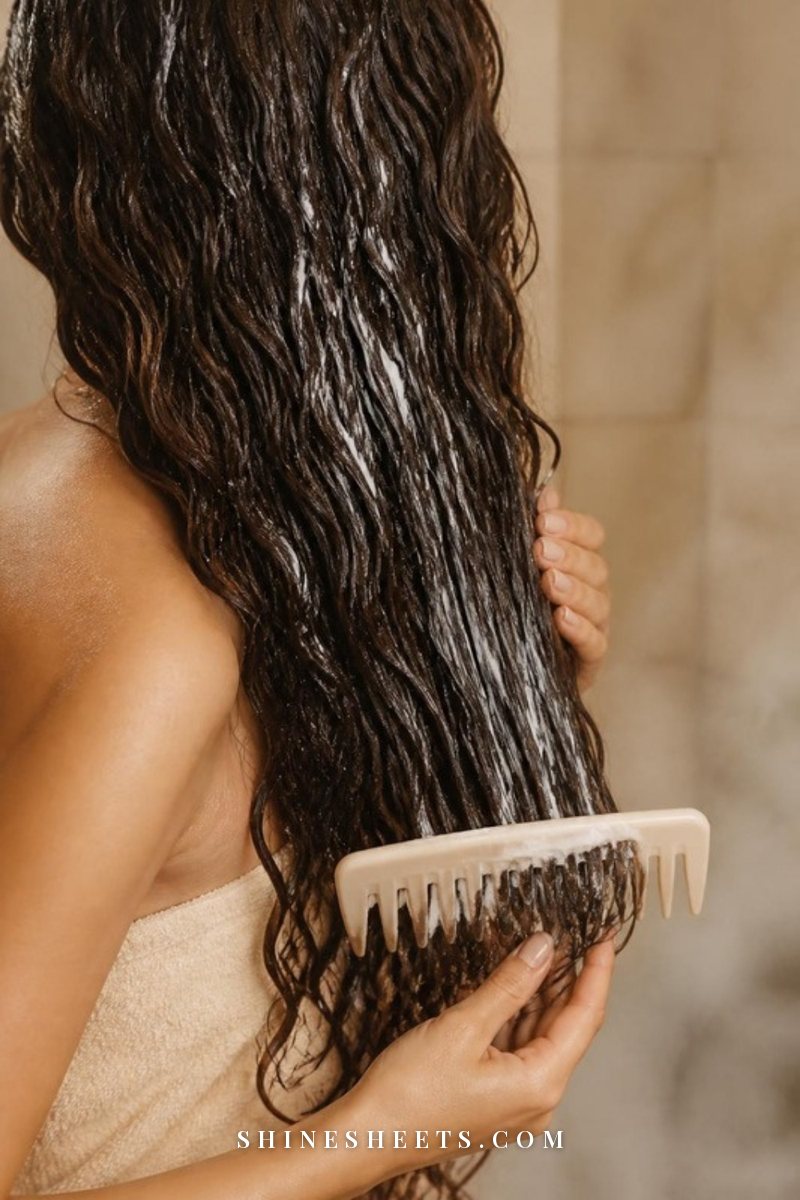
Curly hair should only be detangled when it's soaking wet and full of conditioner. That's when the strands slide past each other instead of snapping. Work in sections, starting at the ends and moving upward, a few inches at a time.
- Use your fingers first to find the bigger knots, then a wide-tooth comb if you need it.
- Hold the section above the knot so you're not pulling on your scalp.
- If you hit resistance, add more conditioner and a splash of water instead of pulling harder.
A little shedding is normal here, because hair that fell out naturally during the week gets caught in your curls until you comb it out. If you ever notice sudden heavy shedding or patches, that's a reason to talk to a doctor or dermatologist rather than change products.
Step 4. Rinse (Partly or Fully)
Here's a curl-friendly secret: you don't always have to rinse out every bit of conditioner. Many curly and coily heads do beautifully with a "partial rinse," where you rinse until the hair still feels slightly slippery. Waves and fine hair usually prefer a full rinse, because leftover conditioner can weigh them down. Try both on different wash days and compare.
Cool or lukewarm water for the final rinse feels lovely and keeps the cuticle a bit smoother, but it isn't a magic trick. Comfort first.
Step 5. Apply Leave-In and Stylers on Soaking Wet Hair
This is the step that changes everything. Don't towel dry first. Apply your products while your hair is still dripping, ideally right in the shower. Water helps the products spread evenly and helps curls clump together, which is what gives you definition instead of frizz.
The order most curls love is: leave-in, then cream, then gel. Use the "praying hands" method (smooth product between flat palms down each section) and then rake it through with your fingers. For waves, you might use just leave-in and gel. For coils, you might use a richer leave-in and cream, and apply in smaller sections.
A simple starting amount: one pump of leave-in, one pea-to-almond-sized blob of cream and two palm-sized amounts of gel for shoulder-length hair. Adjust next time based on how it dried.
Step 6. Scrunch Upward
Flip your head forward or to the side, cup sections of hair in your palms and squeeze upward toward your scalp a few times. You should hear a little "squish" sound. That sound means water and product are working together to form clumps. Scrunch for about 30 seconds per side. Don't rub or twist, just squeeze and release.
Step 7. Plop With a Soft Towel or T-Shirt

Plopping is a gentle way to remove extra water without disturbing your curls. Lay your microfiber towel or T-shirt flat, lower your head so your hair piles onto the center, then wrap the fabric around your head and twist the ends at the nape. Leave it for 10 to 20 minutes, no longer, because plopping too long can flatten the roots.
If plopping feels fiddly, skip it and simply scrunch with the towel instead: cup sections and press upward gently. The goal is the same, less dripping and no friction.
Step 8. Diffuse or Air Dry
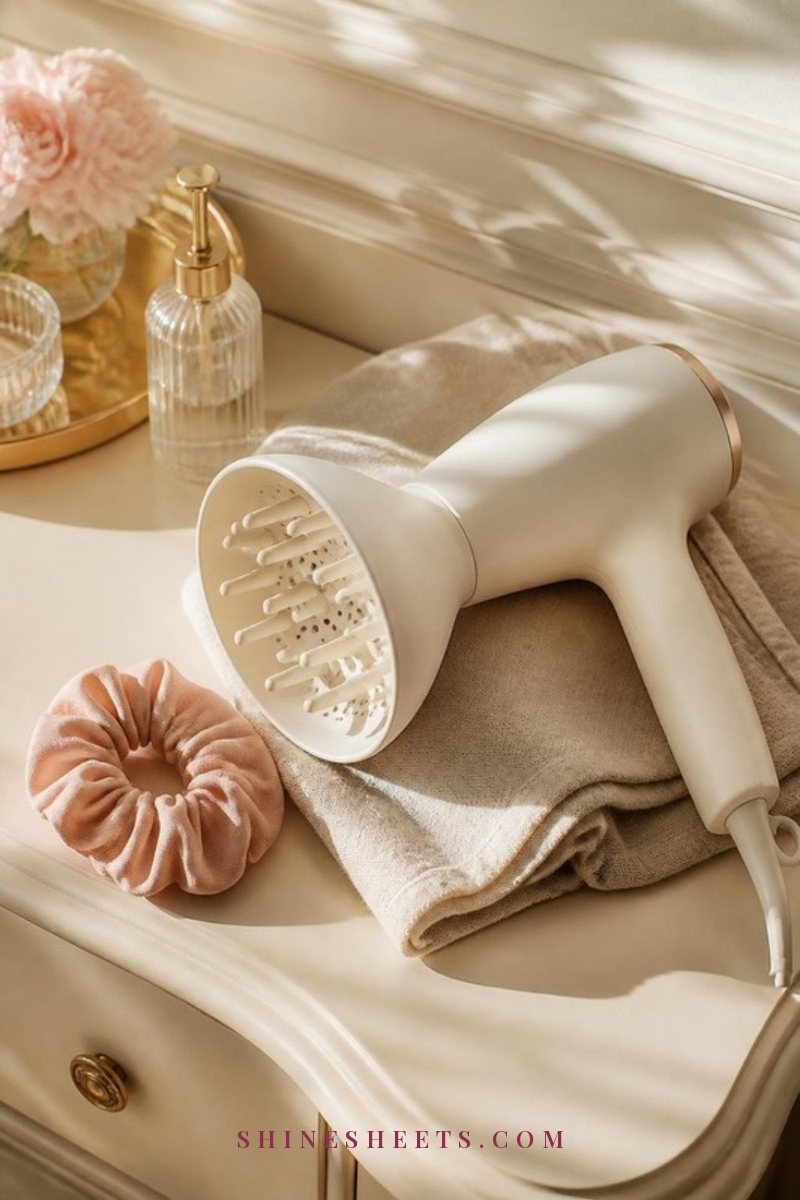
Both work. Air drying is the gentlest, but it can take hours and curls can stretch out while they hang. Diffusing is faster and usually gives more volume at the roots. If you choose it, a bowl-shaped diffuser attachment spreads the airflow so it doesn't blow your curls apart.
- Use low or medium heat and low airflow.
- "Hover diffuse" for the first few minutes (hold the diffuser near your hair without touching) so the cast forms without frizz.
- Then cup sections in the bowl and lift them toward your scalp, hold for 30 to 60 seconds, and move on.
- Stop at about 80 to 90 percent dry and let the rest air dry, or dry fully if you're heading out into cold air.
Whatever you choose, don't touch your hair while it dries. This is the hardest step for most of us, and the one that makes the biggest difference.
Step 9. Scrunch Out the Crunch
Once your hair is 100 percent dry (really dry, not "almost"), it may feel stiff from the gel cast. That's good. Put a drop of lightweight oil or a little leave-in on your palms, and gently scrunch upward to break the cast. Your curls will soften, keep their shape and stay defined for days. If your roots look flat, lift them by shaking gently at the scalp with your fingertips.
The Wash Day Order Table
Screenshot this and keep it on your phone for the first few wash days. Timing is approximate and assumes shoulder-length hair; longer or thicker hair will take a little longer.
| Step | Product | Technique | Time |
|---|---|---|---|
| 1. Cleanse | Sulfate-free shampoo or co-wash | Fingertips on scalp only, let suds rinse through lengths | 2 min |
| 2. Condition | Slippy conditioner (or mask once a week) | Big handfuls, mid-lengths to ends, until hair feels like seaweed | 3–5 min |
| 3. Detangle | Conditioner already in hair | Fingers first, then wide-tooth comb, ends up to roots | 3–10 min |
| 4. Rinse | Water only | Partial rinse for curls and coils, full rinse for waves | 1 min |
| 5. Style | Leave-in, then cream, then gel | On soaking wet hair, praying hands, rake through | 3–5 min |
| 6. Scrunch | None | Squeeze upward toward scalp until you hear a squish | 1 min |
| 7. Plop | Microfiber towel or cotton T-shirt | Wrap loosely, no rubbing | 10–20 min |
| 8. Dry | Diffuser or air | Low heat, hover first, then cup and lift; hands off | 15–40 min (or air dry 2–4 hours) |
| 9. Soften | Drop of light oil or leave-in | Scrunch out the crunch when 100% dry | 1 min |
If you only remember one row, make it step 5. Product on soaking wet hair is the single change that turns most frizzy wash days into defined ones.
How To Refresh Curls on Day 2 and Day 3
Curls rarely look exactly the same on day two, and that's completely normal. Some sections flatten, some frizz, some clump into bigger curls overnight. A quick refresh takes five minutes and saves you a full wash day.
- Mist. Fill a fine-mist spray bottle with water (you can add a small squirt of leave-in and shake it). Spray sections until they're damp, not dripping.
- Re-shape. Twist a frizzy curl around your finger, or smooth a little cream over it with praying hands.
- Add a touch of hold. Rub a pea-sized amount of gel between wet palms and glaze it over the surface of your hair.
- Scrunch and let it be. Scrunch upward, then let it air dry or diffuse for a few minutes.
On day three or four, if your roots feel oily or heavy, a little dry shampoo at the scalp only can stretch things one more day. Beyond that, it's usually kinder to your scalp to simply wash.
How To Protect Your Curls Overnight
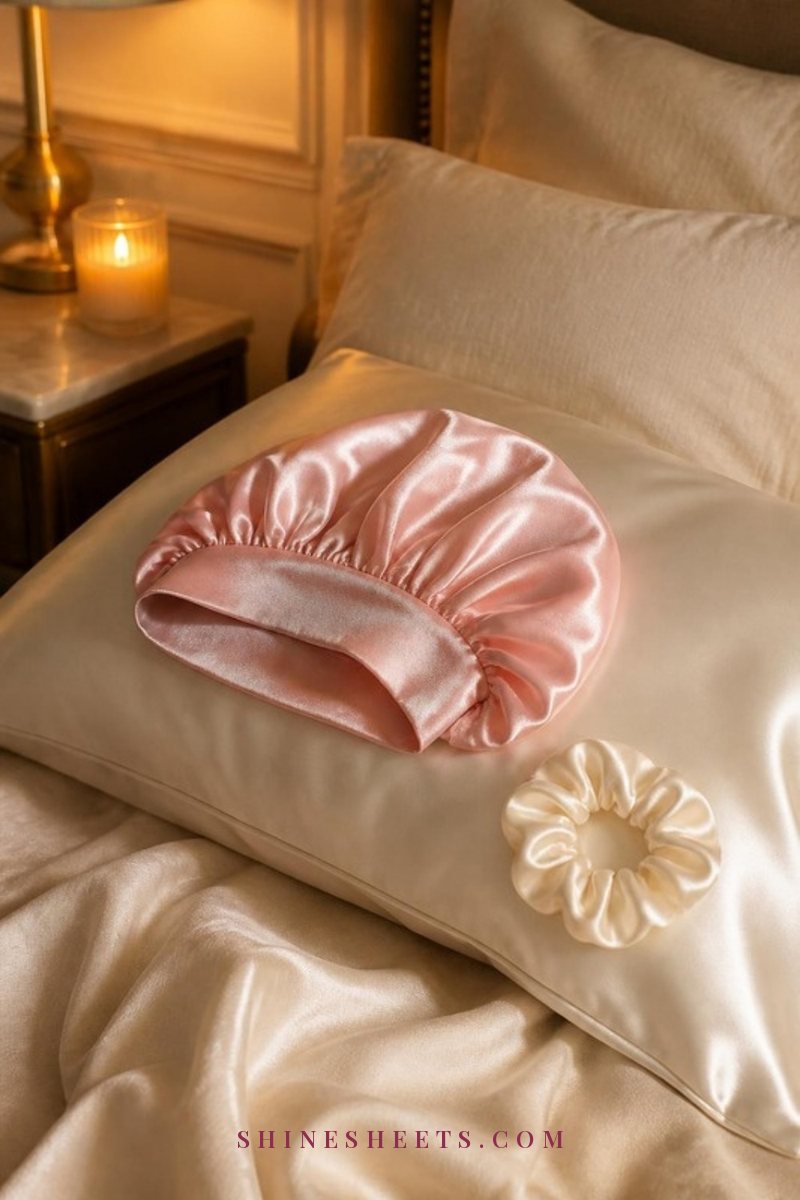
The way you sleep can undo a whole wash day. Cotton pillowcases absorb moisture and create friction, and tossing and turning crushes curls into odd shapes. A little night protection keeps your curls fresher for days.
- The pineapple. Gather your curls loosely at the very top of your head and secure them with a soft scrunchie (not a tight elastic). This keeps your curls from being squashed while you sleep. It works best for medium to long curls.
- A silk or satin bonnet. A silk hair bonnet is the easiest option for shorter curls and coils, or if you move a lot at night. Choose one with a soft, wide band so it doesn't leave a dent at your hairline.
- A silk or satin pillowcase. If bonnets slide off, a smooth pillowcase still reduces friction. I compare the options in my post on silk pillowcase benefits.
In the morning, take your hair down, shake it gently at the roots, and refresh only the sections that need it.
How To Choose Products by Curl Type and Porosity
Curl pattern tells you what kind of definition and hold you'll want. Porosity tells you how easily your hair absorbs and keeps moisture, which decides how rich your products should be. If you're not sure where you stand, my guide to hair porosity has a simple way to find out.
By Curl Type
- Wavy: lightweight everything. Spray or lotion leave-in, mousse or light gel, cream only if the ends feel dry. Skip heavy butters and rich oils, which pull waves straight.
- Curly: a balance of moisture and hold. Creamy leave-in, a curl cream, then a medium-to-strong gel. Most curly heads do best with both a cream and a gel.
- Coily: moisture first. Rich, slippy conditioner, a creamy leave-in, a thicker curl cream or butter, and a gel to seal the shape. Smaller sections help products reach every strand.
By Porosity
- Low porosity: products tend to sit on top of the hair. Choose lightweight, water-based formulas, apply on very wet hair, and use warmth (a warm towel or a shower cap for 10 minutes) when deep conditioning.
- Medium porosity: the easiest to work with. Most balanced curl products work well, so focus on matching your curl type.
- High porosity: hair drinks moisture fast and loses it fast. Look for richer conditioners and creams, and finish with a gel that has good hold to "seal" the moisture in. Protein treatments now and then can help strengthen the strands.
Introduce one new product at a time and give it two or three wash days before deciding. Curls react to humidity, water hardness and even how much product you used, so one wash day is never the full story.
7 Common Curly Hair Mistakes (and What To Do Instead)
None of these make you "bad at curly hair." They're just habits most of us brought over from straight-hair routines. Swapping even one or two can make a visible difference on your next wash day.
1. Brushing Curls When They're Dry
A brush through dry curls breaks up every clump and leaves a cloud of frizz. Detangle only when hair is soaking wet and full of conditioner, and use your fingers to separate curls once they're dry.
2. Using Too Much Product
More cream doesn't mean more definition. Too much product makes curls heavy, greasy at the roots and flat by midday. Start with less, then add a little more next wash if your hair feels dry or undefined.
3. Applying Product to Damp Instead of Wet Hair
If you towel dry first and then style, you'll often get frizz and patchy definition. Style while your hair is still dripping, ideally before you step out of the shower.
4. Rubbing With a Rough Towel
Terry towels roughen the outer layer of the hair and break up clumps. Plop, or scrunch gently with microfiber or a cotton T-shirt. If frizz is your biggest frustration, my guide to smoothing frizzy hair has more ideas.
5. Heavy Oils on Fine Waves
Rich oils and butters can be lovely for coily, high-porosity hair, but they pull fine waves flat and make them look greasy. If your waves are fine, use one or two drops of a light oil only to scrunch out the crunch, or skip oil entirely.
6. Touching Your Hair While It Dries
Every touch while your curls are still wet invites frizz. Set a little "hands off" rule until your hair is fully dry, then scrunch out the crunch.
7. Expecting Perfect Results From the First Wash Day
Curls usually need a few weeks to adjust, especially if you've been brushing, straightening or using heavy silicones. Give the routine three or four wash days before you change products, and write down what you used each time so you can see what helped.
Final Thoughts
A good curly hair routine isn't about perfection. It's about a few kind, consistent habits: a gentle cleanse, lots of conditioner, products on soaking wet hair, and hands off while it dries. Everything else is fine-tuning.
Your curls might look a little different every wash day, and that's part of their charm. Be patient with them, keep notes on what works, and let your hair show you its natural shape. It's usually more beautiful than you expect.