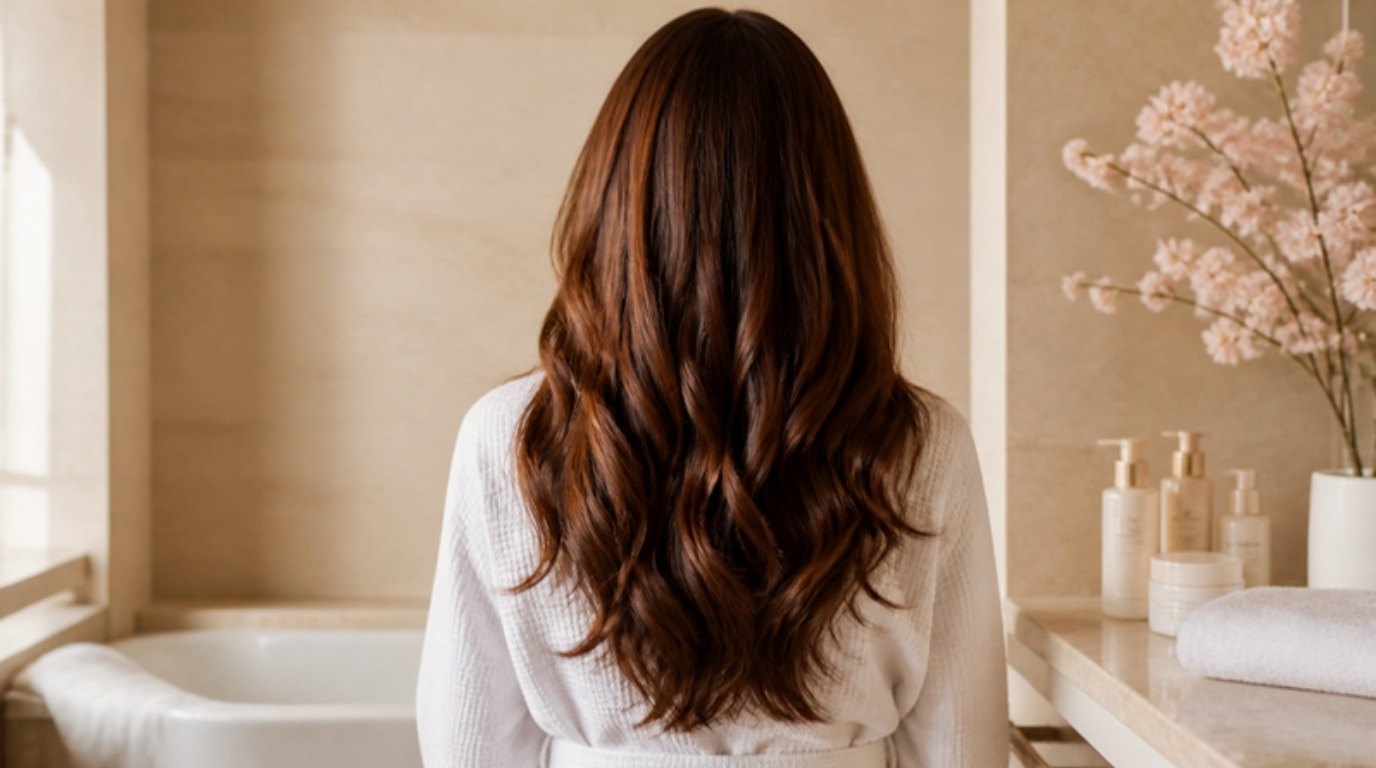
Hair steaming is one of those treatments that sounds fancy but is really just a gentle bit of physics: warm, moist air helps the outer layer of your hair relax a little, so the conditioner you already own can do a better job. It isn't a miracle, and it won't rebuild damaged hair, but if your hair drinks up products and still feels thirsty by Wednesday, a little steam can make a real, touchable difference.
The best part is that you don't need a salon or an expensive machine to try it. A warm towel and a shower cap will get you most of the way there, and a hooded steamer is simply a more even, more relaxing version of the same idea.
This guide covers hair steaming from start to finish: what it actually does, who it suits best, three ways to do it at home (with a comparison table so you can pick yours), a step-by-step routine, how often to steam, safety tips, aftercare and the mistakes that can quietly undo all the good work.
What Hair Steaming Actually Does
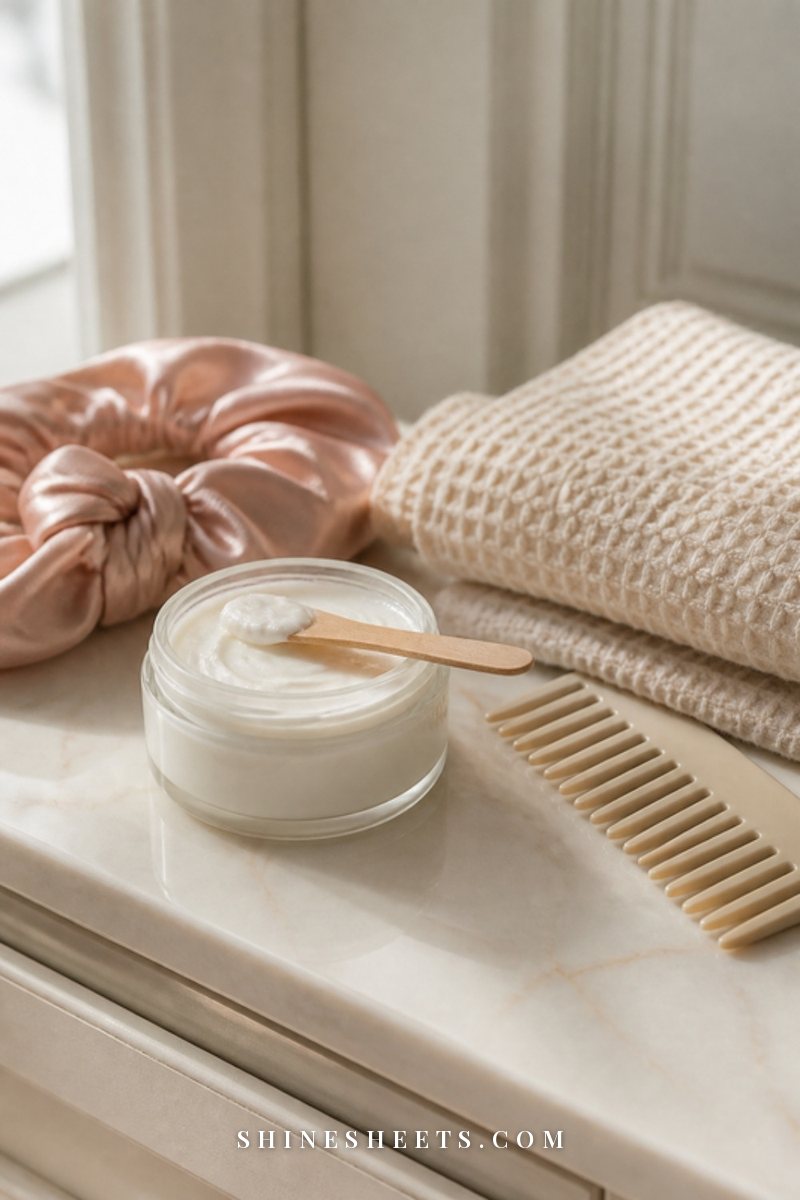
Each strand of hair has an outer layer called the cuticle, made of tiny overlapping scales. When those scales lie flat, hair looks shiny and holds on to moisture well. When hair is dry, porous or tightly coiled, the cuticle can be either a bit too closed (so products sit on top) or a bit too raised (so moisture escapes quickly).
Moist heat gently swells the hair shaft and lifts the cuticle slightly, which helps a conditioning mask spread through and soak in more evenly. Then a cool rinse helps everything settle back down. That's really all there is to it, said plainly.
What steaming can do:
- Help a deep conditioner feel more effective, so hair is softer and easier to detangle.
- Make dry, rough ends feel smoother and more flexible.
- Give a relaxing, spa-like moment to an ordinary wash day.
What steaming can't do:
- Repair split ends (only a trim does that).
- Make hair grow faster or stop shedding.
- Replace a good routine. It's a booster, not a foundation.
I like to think of it as warming up a moisturizer before you apply it. Same product, just a little more cooperative.
Who Benefits Most From Hair Steaming
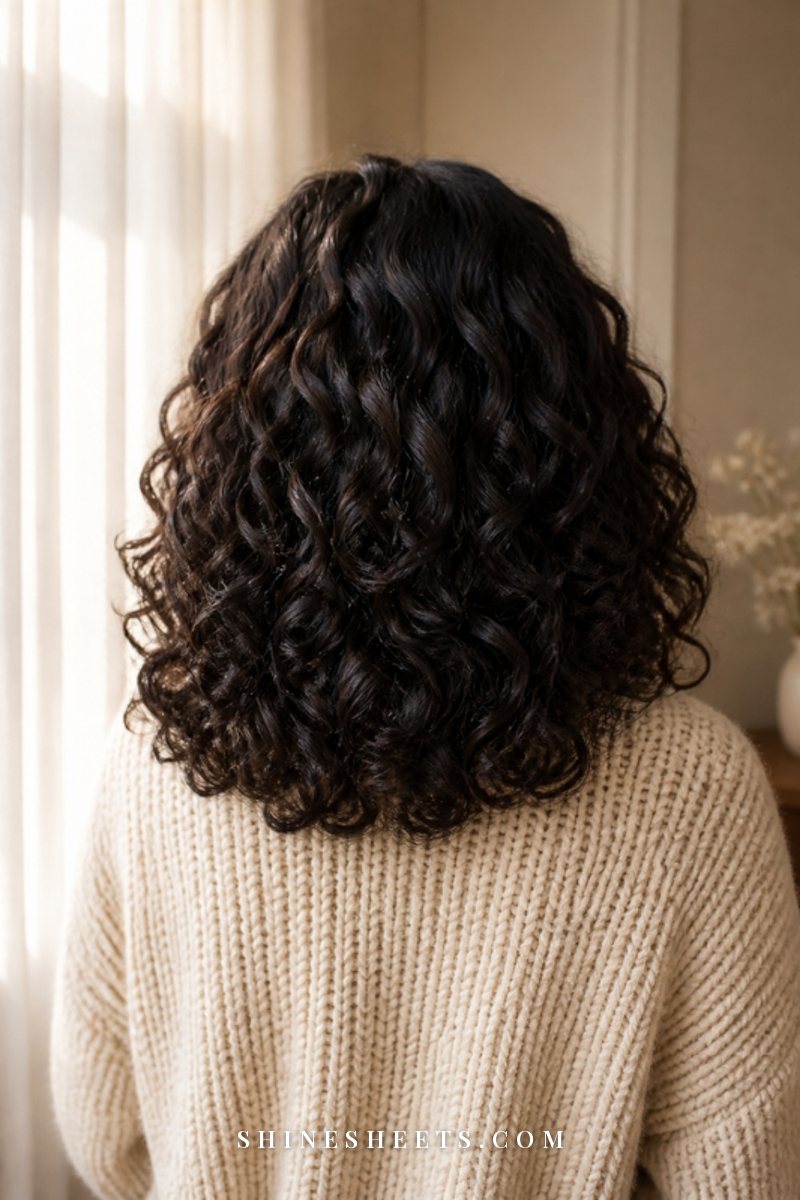
Almost anyone can steam, but some hair types notice a much bigger difference than others.
- Low porosity hair. This is the hair type that loves steam the most. The cuticle is tightly packed, so conditioners tend to sit on top and feel greasy instead of sinking in. Gentle heat helps them actually get inside. If you're not sure where you land, my guide to finding your hair porosity has a few easy ways to tell.
- Dry hair. If your lengths feel rough no matter how much conditioner you use, steam can help your mask do more in the same amount of time.
- Curly and coily hair. Natural oils travel down curls more slowly, so the ends are often thirsty. Steaming before styling can make curls feel softer and clump more easily.
- Color-treated or lightened hair. These strands tend to be more porous and lose moisture quickly. Steam helps a mask deposit softness, and a cool rinse afterward helps seal it in.
- High porosity hair. It can still benefit, but keep sessions shorter and always follow with a leave-in and a light oil, because high porosity hair absorbs fast and loses fast.
If your hair is fine and gets weighed down easily, steaming isn't off the table. Just choose a lighter mask, keep the time on the shorter side and focus on the mid-lengths and ends, not the roots.
3 Ways To Steam Your Hair at Home
There are three common methods, from the simplest to the most luxurious. All three use the same principle (warmth + moisture + a mask), so pick the one that fits your budget, hair length and patience.
1. Hooded Hair Steamer
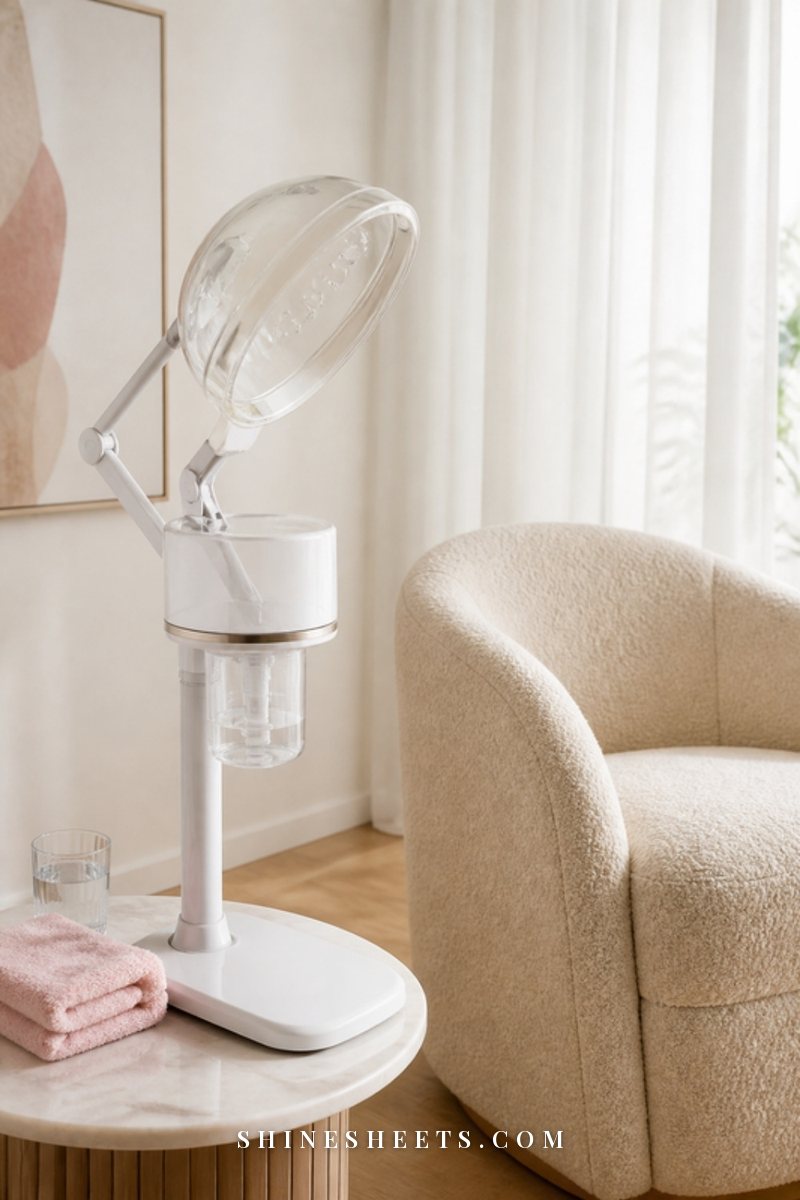
A tabletop or stand hooded hair steamer is the most even and comfortable option. You fill a small water reservoir with distilled water, wait a few minutes for it to warm up, then sit under the hood while it surrounds your hair with a soft, consistent mist.
Look for one with a large enough hood to fit your hair without squashing it, an adjustable stand or a stable tabletop base, an auto shut-off and a timer. Read the manual before the first use, because fill lines and warm-up times vary.
A steamer is worth it if you have long, thick, curly or coily hair, if you deep condition weekly, or if you simply want a real spa moment at home. For occasional steaming, the next two methods are perfectly enough.
2. Warm Towel Method
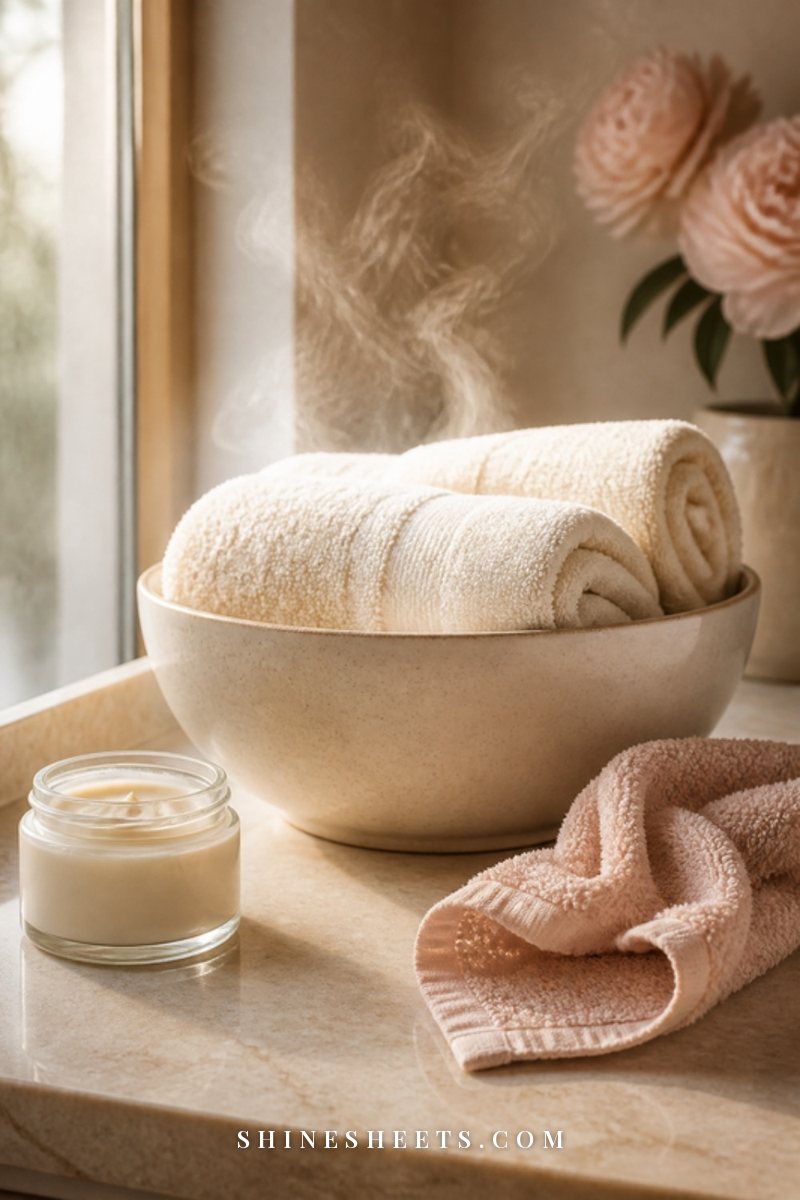
This is the classic, practically zero-cost option. Dampen a clean towel, wring it out until it's no longer dripping, then warm it. You can soak it in hot (not boiling) water from the tap and wring it out wearing rubber gloves, or warm a damp towel in the microwave for about 30 to 60 seconds.
Always test the towel on the inside of your wrist first. It should feel comfortably warm, like a hot bath, never hot enough to make you flinch. Wrap it around your hair (over a shower cap is best, so the towel doesn't soak up your mask) and leave it for 15 to 20 minutes, re-warming once if it cools.
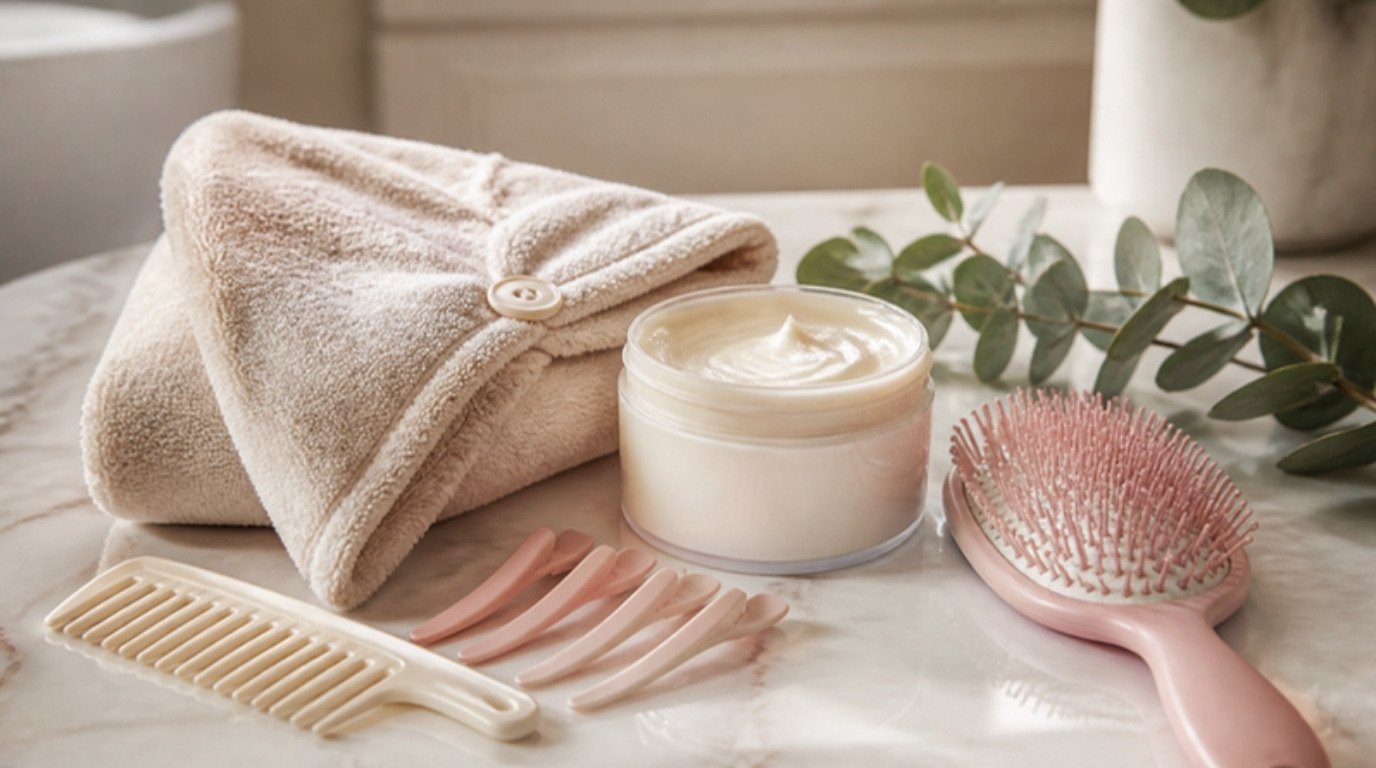
A thin cotton or microfiber hair towel wrap works well here because it holds warmth without getting too heavy. Keep this towel only for hair treatments, so you're not wrapping your mask-covered head in the towel you dry your face with.
3. Shower Cap and Body Heat
The gentlest version of all: apply your mask, cover your hair with a plastic shower cap, then add a satin-lined shower cap or a beanie on top. Your own scalp heat creates a warm, humid little greenhouse under the plastic.
For a bit more warmth, a thermal heat cap (the kind you warm in the microwave or plug in on a low setting) gives steady, even heat without any water at all. Leave it on for 20 to 30 minutes. This method is lovely for busy evenings because you can move around, tidy up or make a cup of tea while it works.
Hair Steaming Methods Compared
Here's a quick side-by-side to help you choose. Screenshot it if you're deciding between buying a steamer and starting with what you already have.
| Method | Heat type | Time | Cost | Best for | Watch out for |
|---|---|---|---|---|---|
| Hooded hair steamer | Even, moist mist | 15–30 min | Higher one-time cost | Long, thick, curly or coily hair; weekly deep conditioning | Distilled water only; keep away from sinks; follow the manual |
| Warm towel | Moist, short-lived | 15–20 min (re-warm once) | Almost nothing | Trying steaming for the first time; short to medium hair | Test the temperature on your wrist; towels cool fast |
| Shower cap + body heat | Gentle, trapped humidity | 20–30 min | Very low | Fine hair, busy evenings, high porosity hair | Mildest effect; layer a second cap for more warmth |
| Thermal heat cap | Dry, steady warmth | 20–30 min | Low to medium | Low porosity hair that needs consistent heat | Not true steam; use the lowest comfortable setting |
If you're unsure, start with the towel or the shower cap for a month. If you notice a difference and want more, then a steamer makes sense.
How To Steam Your Hair: Step by Step
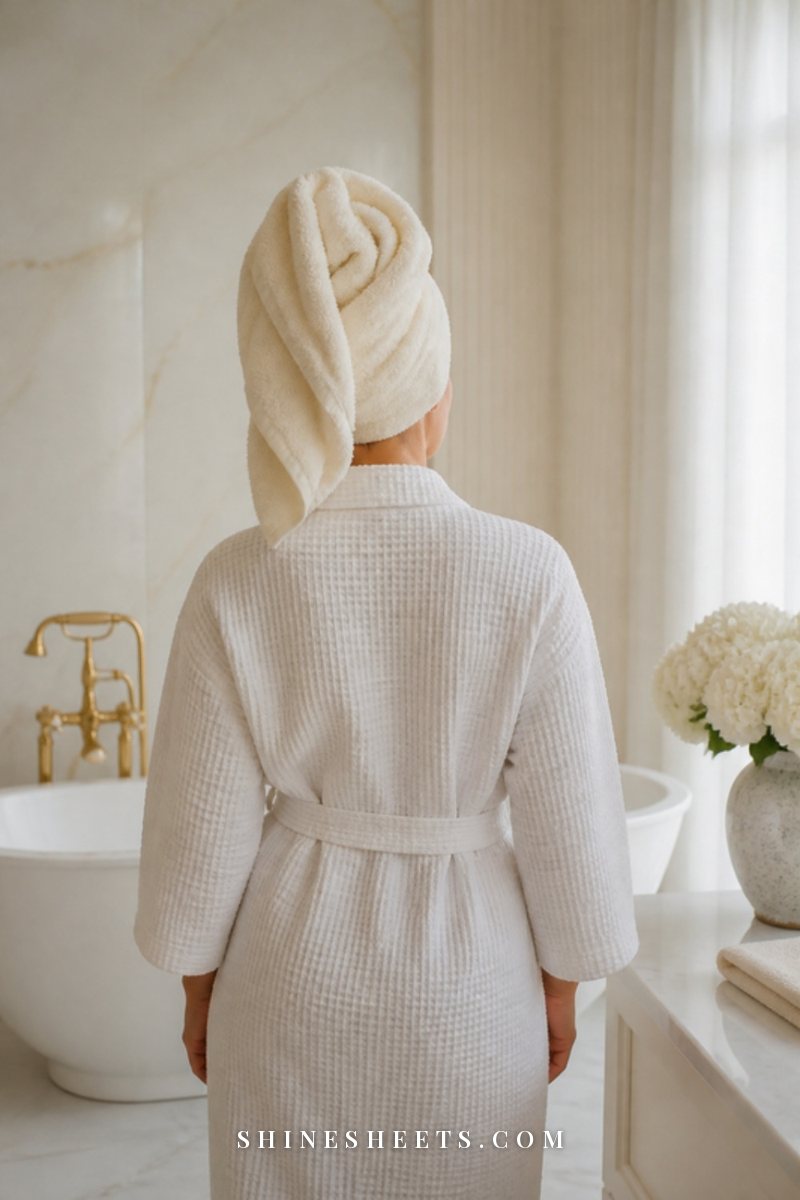
This routine works with any of the three methods. Give yourself about an hour from start to finish, including washing.
- Start with clean hair (or a pre-poo). Steam works best on freshly washed hair, because there's no product buildup blocking the mask. Use a gentle shampoo and squeeze out excess water with a towel. If your hair is very dry, you can steam a pre-wash oil or conditioner instead and shampoo afterward. My guide to the pre-poo treatment walks you through that version.
- Detangle gently. While hair is damp, work through it with a wide-tooth comb, starting at the ends and moving up. Tangles trap the mask in clumps and leave other parts dry.
- Apply a generous layer of mask. Section your hair into four to six parts and smooth a deep conditioning hair mask through each one, focusing on mid-lengths and ends. Use enough that every strand feels coated and slippery. For a deeper look at choosing one, see my roundup of hair masks for every hair type.
- Cover your hair. Pile it loosely on top of your head and add a plastic shower cap. This keeps the moisture close to your hair (and keeps the mask off your towel or steamer hood).
- Steam for 15 to 30 minutes. Fine or high porosity hair: 15 minutes is plenty. Thick, coily or low porosity hair: up to 30 minutes. Never longer than that. More time doesn't mean more softness.
- Let it cool for a few minutes. Remove the heat and leave the cap on for five more minutes while your hair comes back to room temperature.
- Rinse with cool water. Rinse the mask out thoroughly with lukewarm water, then finish with a short cool rinse. It's not glamorous in winter, but it helps the cuticle settle and makes hair look shinier.
That's seven steps, but after the second or third time, it becomes one easy flow you don't have to think about.
How Often Should You Steam Your Hair
For most people, every one to two weeks is the sweet spot. Here's a simple guide:
- Very dry, coily or low porosity hair: once a week, on your deep conditioning day.
- Curly, wavy or color-treated hair: every one to two weeks.
- Fine, straight or high porosity hair: every two weeks or even once a month, with shorter sessions.
Pay attention to how your hair feels a day or two after steaming. Soft, bouncy and easy to comb means you're in a good rhythm. Limp, mushy or stretchy strands mean it's time to steam less often (more on that in the mistakes section).
In the colder months, when indoor heating dries everything out, you might lean toward the more frequent end. In humid summer weather, you may need it less.
Hair Steaming Safety Tips
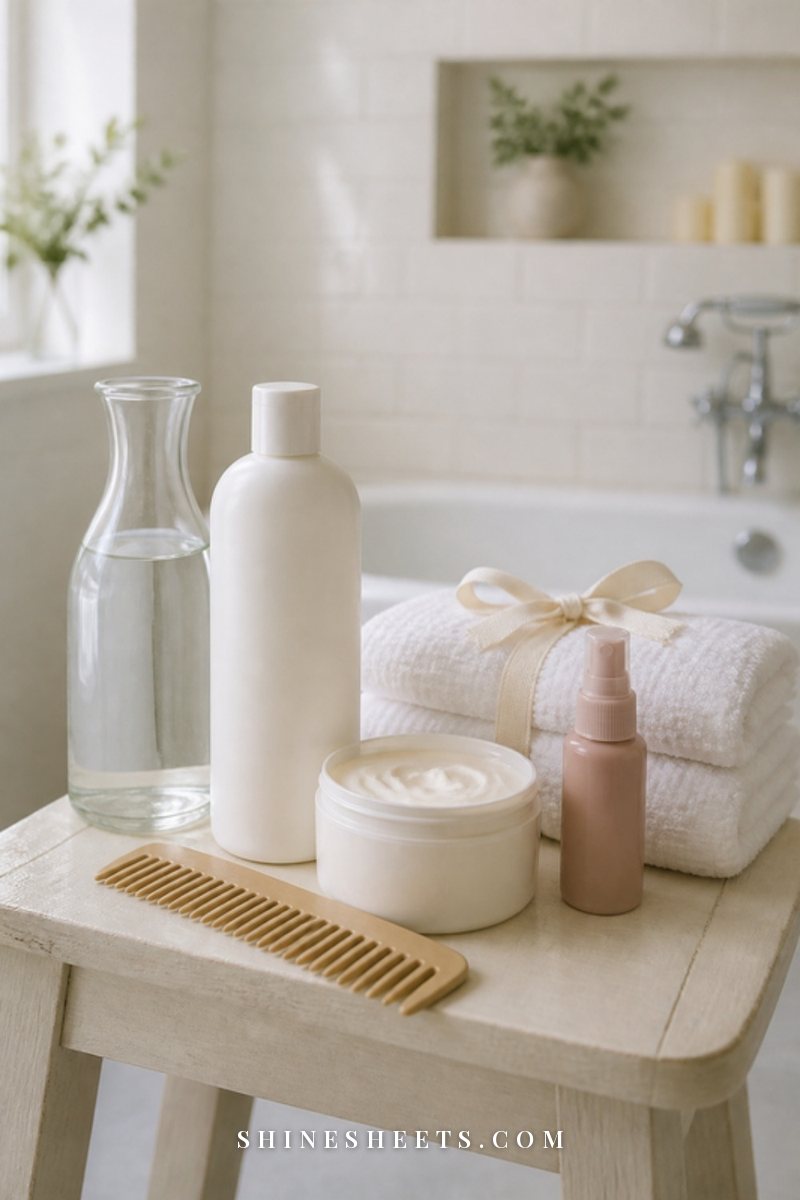
Steaming is gentle, but heat and water always deserve a little respect. A few simple habits keep it relaxing instead of risky:
- Always test the temperature. Towels and caps should feel comfortably warm on your wrist before they touch your scalp. If it ever feels hot or tingly, take it off right away.
- Keep electric steamers away from water. Set the steamer up in a dry room, not next to the bathtub or sink, and keep the cord out of the way. Never fill or empty the reservoir while it's plugged in.
- Use distilled water in a steamer. Tap water can leave mineral buildup that affects how the machine works. Empty and dry the reservoir after each use.
- Keep your face at a comfortable distance. The steam should surround your hair, not blast your face. Sit back under the hood rather than leaning into it.
- Skip it on an irritated scalp. If your scalp is sunburned, broken, very itchy or freshly treated with a chemical service, wait until it has calmed down.
- Patch test new masks. Heat can make products feel more intense. Try any new mask on a small area of skin behind your ear 24 hours before using it under heat.
And a kind but important note: steaming is for softness and comfort, not for hair loss. If you're noticing thinning, patches or much more shedding than usual, please see a dermatologist, who can look at what's really going on.
Aftercare: Locking In the Moisture
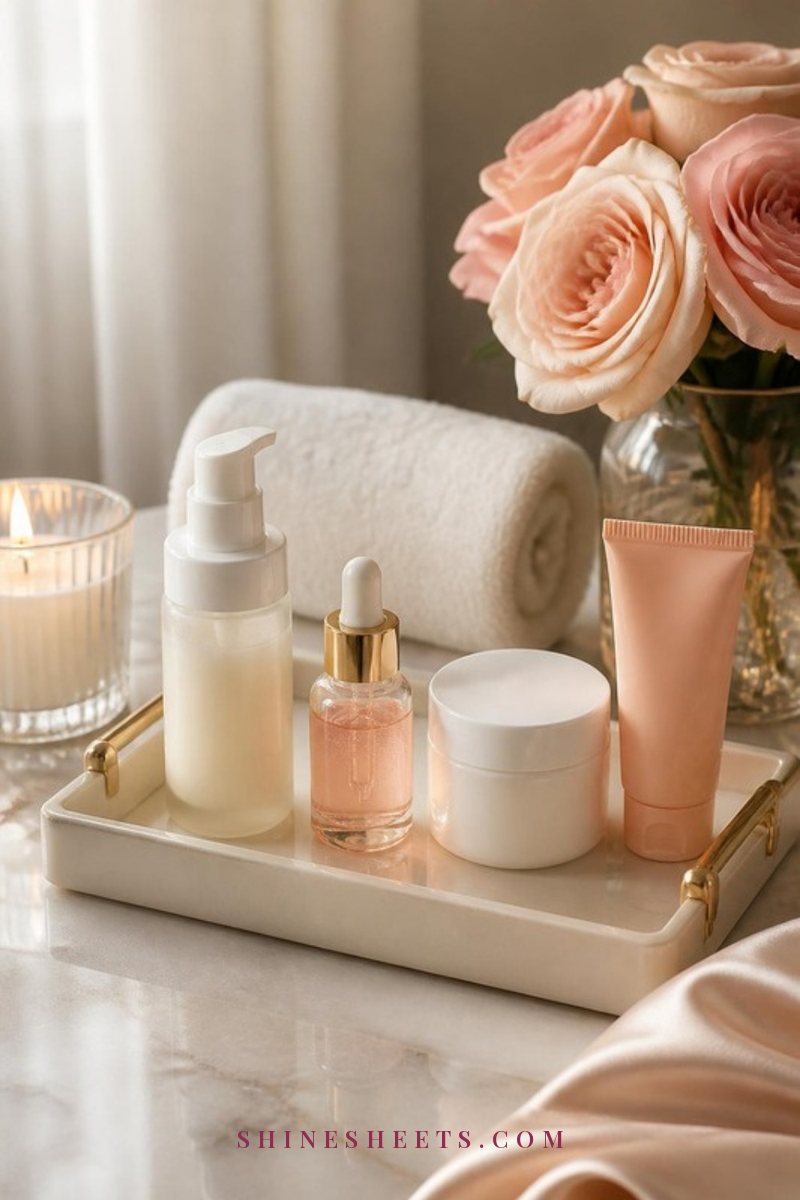
Steaming opens the door, and aftercare closes it. Skipping this part is the reason some people feel their hair is lovely for an hour and dry again by bedtime.
- Apply a leave-in while hair is damp. A light layer of leave-in conditioner on towel-dried hair keeps that new softness from evaporating. Here's my full guide to using leave-in conditioner the right way.
- Seal your ends. Rub two or three drops of a light oil between your palms and press it into the last few inches of your hair. Low porosity hair does best with lighter oils, coily hair can take a little more.
- Be gentle while drying. Blot with a soft towel instead of rubbing, then air dry or use a low heat setting with a heat protectant.
- Protect it overnight. A satin scrunchie and a smooth pillowcase help your hair keep its softness for days.
If you love the ritual side of hair care, steaming pairs beautifully with hair oiling. Just don't do both heavy treatments on the same day if your hair is fine. Alternate them instead.
5 Hair Steaming Mistakes To Avoid

Most hair steaming problems come from doing a little too much of a good thing. Here are the five I'd watch out for:
- Steaming too long. Thirty minutes is the upper limit. Longer sessions don't add more moisture, they just keep your hair swollen for longer than it needs to be.
- Steaming too often. Hair that gets wet, swells, dries and shrinks over and over can start to feel mushy, stretchy and weak. This is often called hygral fatigue. In simple words: the strand gets tired of constantly expanding and contracting. If your hair feels limp, gummy or breaks easily when wet, take a two-week break and add a little protein back into your routine.
- Using a light conditioner instead of a mask. A thin rinse-out conditioner doesn't have much to give. Use a rich mask so the steam has something worthwhile to help absorb.
- Steaming over buildup. Heavy styling products, dry shampoo and silicones form a film that blocks moisture. If your hair feels coated, use a gentle clarifying wash first.
- Forgetting the cool rinse and leave-in. Without these, the cuticle stays slightly raised and moisture escapes faster. The final two minutes matter as much as the steaming itself.
If you're unsure whether your hair needs moisture or protein, notice how it feels: dry, rough and brittle usually needs more moisture; limp, stretchy and mushy usually needs a little protein and a break from steam.
Can You Steam Without a Mask?
You can, but it's a bit like warming up a mug with nothing in it. Plain steam on clean hair adds a little temporary moisture, and some people with tight coils like a quick plain steam to soften their hair before detangling or styling. That's a fine, gentle option.
For most of us, though, the real benefit comes from what the steam helps absorb. A few combinations that work well:
- Steam + rich moisturizing mask: the classic choice for dry, rough or curly hair.
- Steam + conditioner and a few drops of oil: a softer option when your hair feels dry but you don't have a mask on hand.
- Steam + light protein mask: occasionally useful for color-treated hair that feels weak, but keep it short (15 minutes) and not every time.
Whatever you pick, use products you already know your hair and scalp tolerate. Steam isn't the moment to test something brand new on your whole head.
Final Thoughts
Hair steaming doesn't have to be complicated or expensive. A warm towel, a good mask and half an hour of patience are enough to see whether your hair loves it.
Start gently, keep it to every week or two, and always finish with a cool rinse and a little leave-in. Your hair will tell you what it likes, and you'll get a slow, calming spa moment out of every wash day along the way.