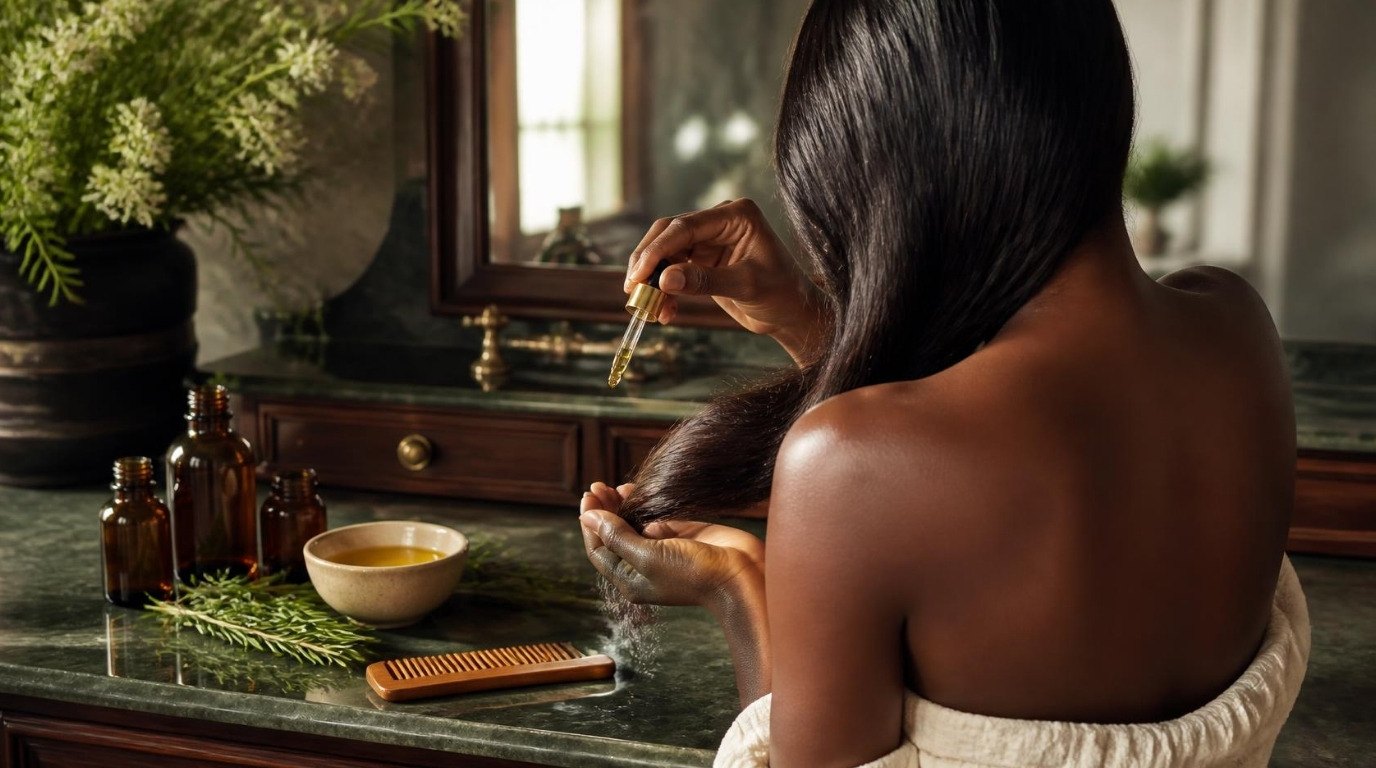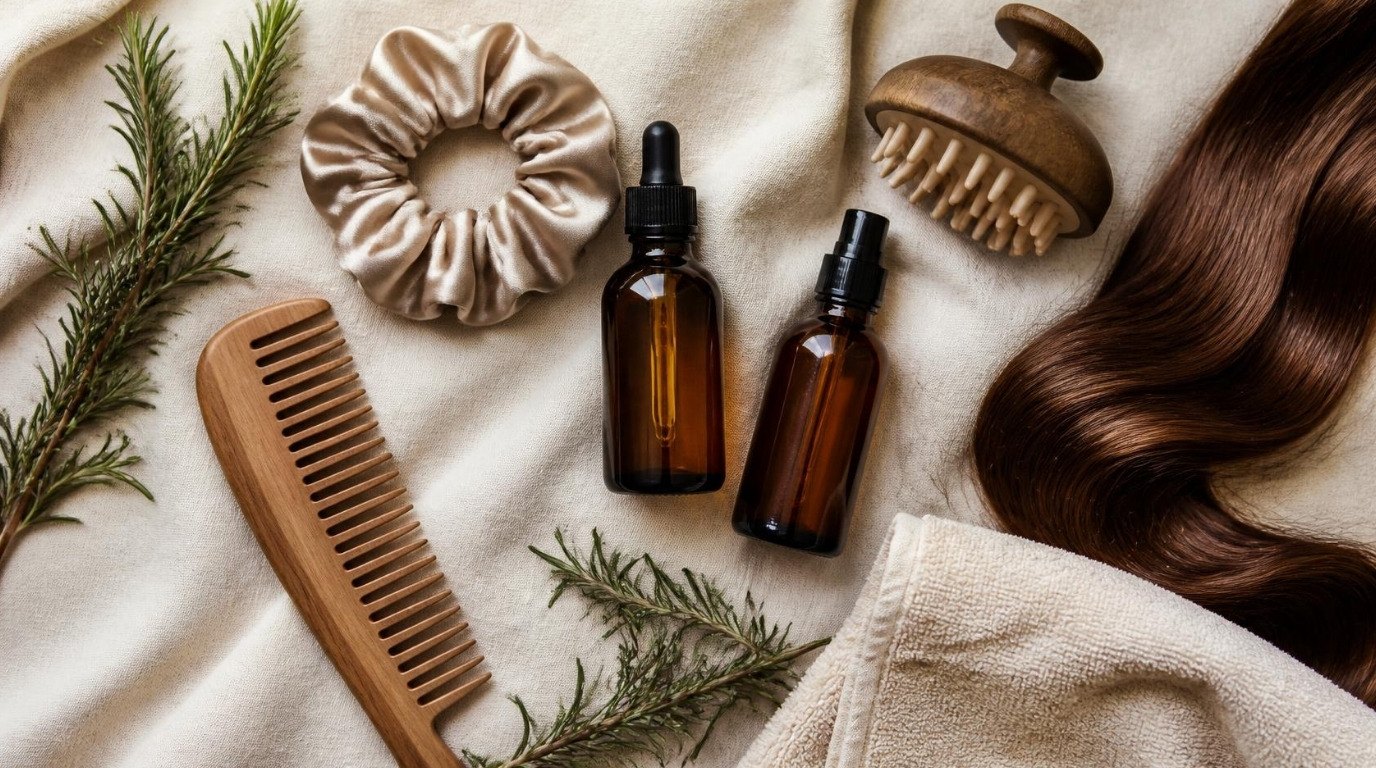
Hair oiling works best when you treat it as care for the lengths of your hair, not as a magic growth potion. A little oil, in the right place, for the right amount of time, can make dry ends softer, shinier and much less likely to snap. Too much oil, on the wrong scalp, left on for days, mostly gives you limp roots and a shampoo battle.
The good news is that getting it right is simple once you know your hair type and pick one of three ways to do it. It took me a while to stop pouring oil on like I was dressing a salad, and that one change made all the difference.
This guide covers hair oiling from start to finish: what it can and can't do, how to choose an oil for your hair, a quick oil-by-hair-type table, the three main methods, a step-by-step routine, how to wash oil out without a fight and the mistakes that make people give up. If you already have a lightweight argan hair oil sitting in a drawer, you're already halfway there.
What Hair Oiling Can (and Can't) Do
Hair oiling is an old ritual, especially in South Asian households, and there's a reason it has lasted for generations. Before we start, though, it helps to have realistic expectations, because that's what keeps you doing it.
What it can do
- Soften and smooth. Oil coats the outer layer of the hair (the cuticle), so strands feel silkier and tangle less.
- Add shine. A smoother surface reflects more light. Even two drops on dry ends make a visible difference.
- Reduce breakage. Oiled hair rubs less against itself, your brush and your pillow, so fewer strands snap. Less breakage means you keep more length, which is often what people mean when they say oiling "made their hair grow".
- Protect before washing. Some oils, coconut oil in particular, can soak into the hair shaft and help limit how much water and protein the hair loses during washing.
- Turn into a calming ritual. A slow scalp massage with warm oil is lovely for winding down, and that part counts too.
What it can't do
- Cure hair loss. Sudden shedding, thinning patches or a sore scalp deserve a visit to a doctor or dermatologist, not a stronger oil.
- Repair split ends. Oil can glue them down for a day and make them look neater, but the only real fix is a trim.
- Double your growth speed. Rosemary oil has some small, early studies behind it, and I've written about how to use rosemary oil for hair growth if you're curious, but think of it as a gentle bonus, not a miracle.
- Replace moisture. Oil seals moisture in, it doesn't add water. Very dry hair still needs conditioner and the occasional mask.
Once you see oiling as a softness-and-protection step, you'll stop over-doing it, and that's exactly when it starts working.
How To Choose an Oil for Your Hair Type
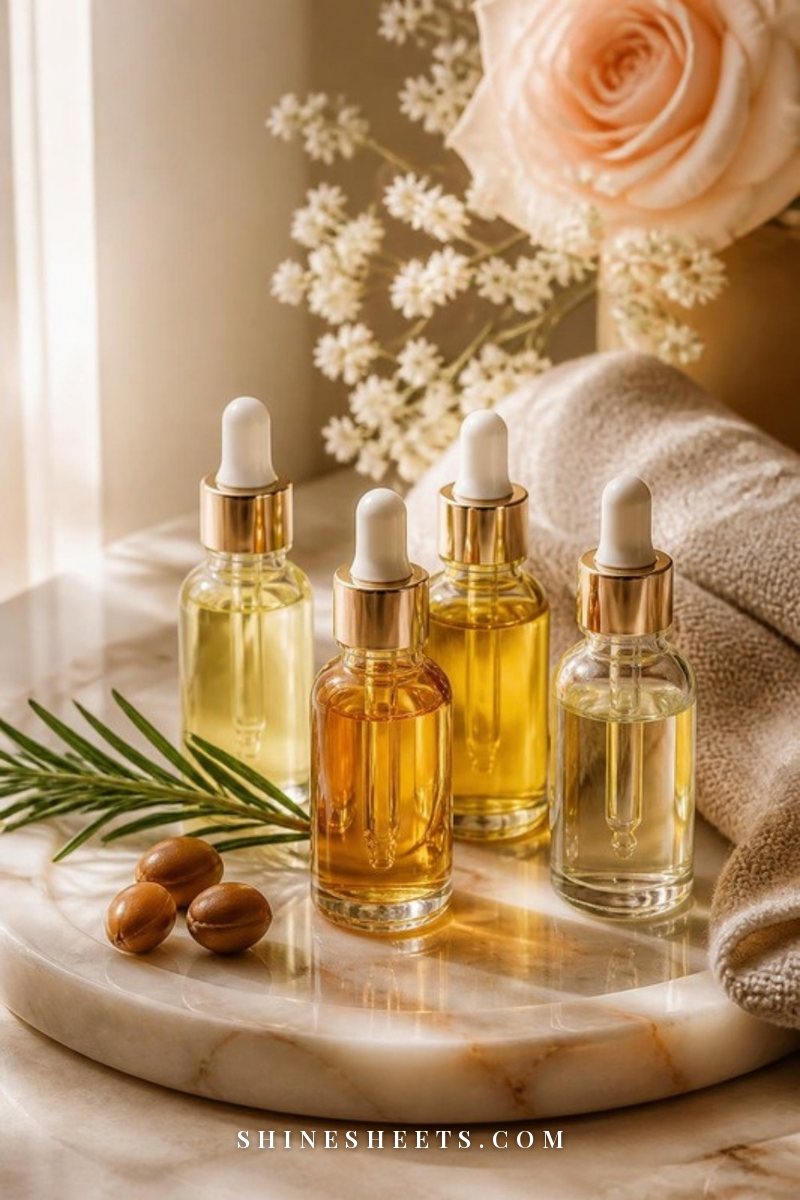
There is no single "best" hair oil. There's the best oil for your strands. The two things that matter most are how thick each strand is and how easily your hair absorbs products. If you're not sure about the second one, the quick tests in my guide to hair porosity will tell you in a few minutes.
Light oils for fine or easily weighed-down hair
Argan, jojoba, grapeseed and sweet almond oil are thin and absorb quickly. They give shine and softness without flattening your roots. Jojoba is especially nice for scalps because it's very close to the oil your skin makes naturally. Use them sparingly: a few drops, not a palmful.
Richer oils for thick, coarse or very dry hair
Coconut, olive, avocado and shea oil are heavier and more nourishing. Coconut oil is the classic pre-wash oil because it penetrates the hair shaft well. One small note: some thick or low-porosity hair actually feels stiff or straw-like after coconut oil, so if that happens to you, swap to avocado or sweet almond.
Thick "treatment" oils to blend, not use alone
Castor oil is very thick and sticky, so it's much easier to use when you mix one part castor with two or three parts of a lighter oil. If you want the background on it, I've covered castor oil benefits for skin and hair separately. Rosemary oil is usually sold already diluted in a carrier oil; a ready-made rosemary hair oil is the easiest way to add it to your scalp routine without measuring essential oils yourself.
A quick safety note: if you mix your own blend with essential oils, always dilute them (a few drops per tablespoon of carrier oil is plenty) and patch test on your inner arm 24 hours before. Never put undiluted essential oil on your scalp.
Oil by Hair Type: Your Quick-Reference Table
This is the part to screenshot. Find your row, then adjust from there: if your hair feels greasy the next day, use less or leave it on for less time. If your ends still feel dry, go a little longer.
| Hair type | Best oils | How long to leave it | How often |
|---|---|---|---|
| Fine, straight, gets oily fast | Argan, jojoba, grapeseed (ends only) | 30–60 minutes before washing | Once a week, or every other week |
| Fine to medium, wavy | Argan, sweet almond, jojoba | 1–2 hours | Once a week |
| Medium, normal | Sweet almond, argan, light coconut blend | 1–3 hours or overnight | Once a week |
| Thick or coarse | Coconut, olive, avocado, castor blend | 2 hours to overnight | 1–2 times a week |
| Curly or coily | Coconut, avocado, olive, castor blend, shea oil | 2 hours to overnight | 1–2 times a week, plus a few drops as a leave-in |
| Bleached, color-treated or very dry | Coconut (pre-wash), argan (leave-in) | 1 hour to overnight | Before every wash, if ends feel fragile |
| Oily or flaky scalp | Lengths only: argan or jojoba; skip the scalp | 30–60 minutes | Once a week |
Overnight is never required. If you only have 30 minutes on a Sunday afternoon, you'll still notice softer ends.
Three Ways To Oil Your Hair: Pre-Wash, Leave-In and Scalp
Most confusion about hair oiling comes from mixing up these three methods. They use different amounts of oil, go on different parts of your hair and happen at different times.
The Pre-Wash Treatment
This is "classic" hair oiling: oil on dry hair, left for a while, then washed out. It's the method with the most benefits for softness and breakage, and the one the step-by-step routine below is built around.
- Where: mid-lengths to ends (scalp optional, see below).
- How much: about half a teaspoon to two teaspoons, depending on length and thickness.
- When: 30 minutes to overnight before shampooing.
The Leave-In Finish
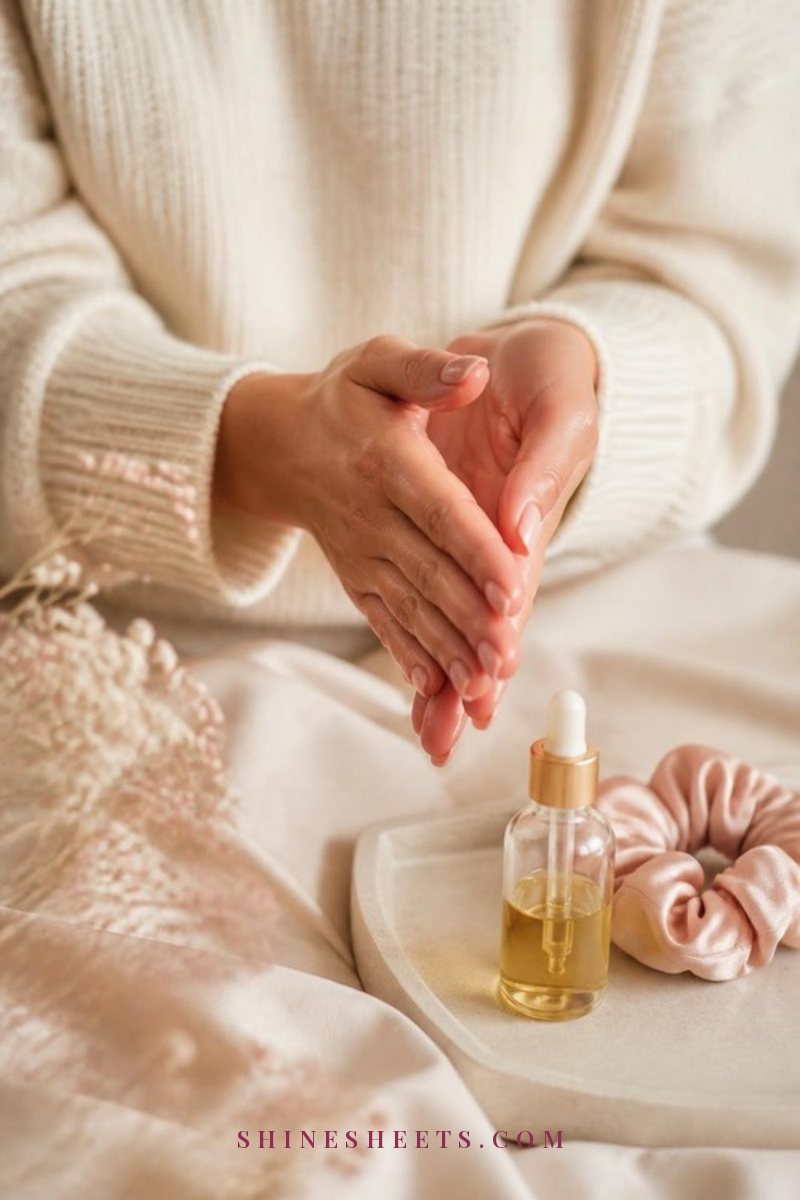
Here the oil stays in as a styling step. You'll use far less: one to three drops warmed between your palms, then pressed (not raked) into the last few inches of damp or dry hair. It tames frizz, adds shine and protects ends from rubbing against your coat collar or scarf.
The formula I'd follow: start with one drop for fine hair, two for medium, three for thick. You can always add a drop. You can't easily take one away.
The Scalp Oiling
Scalp oiling is the most traditional version and the most relaxing one, but it isn't for everyone. It suits scalps that feel tight and dry and don't flake. If your roots get greasy within a day, or you deal with dandruff, skip the scalp and oil only your lengths. My scalp care routine has better options for those cases.
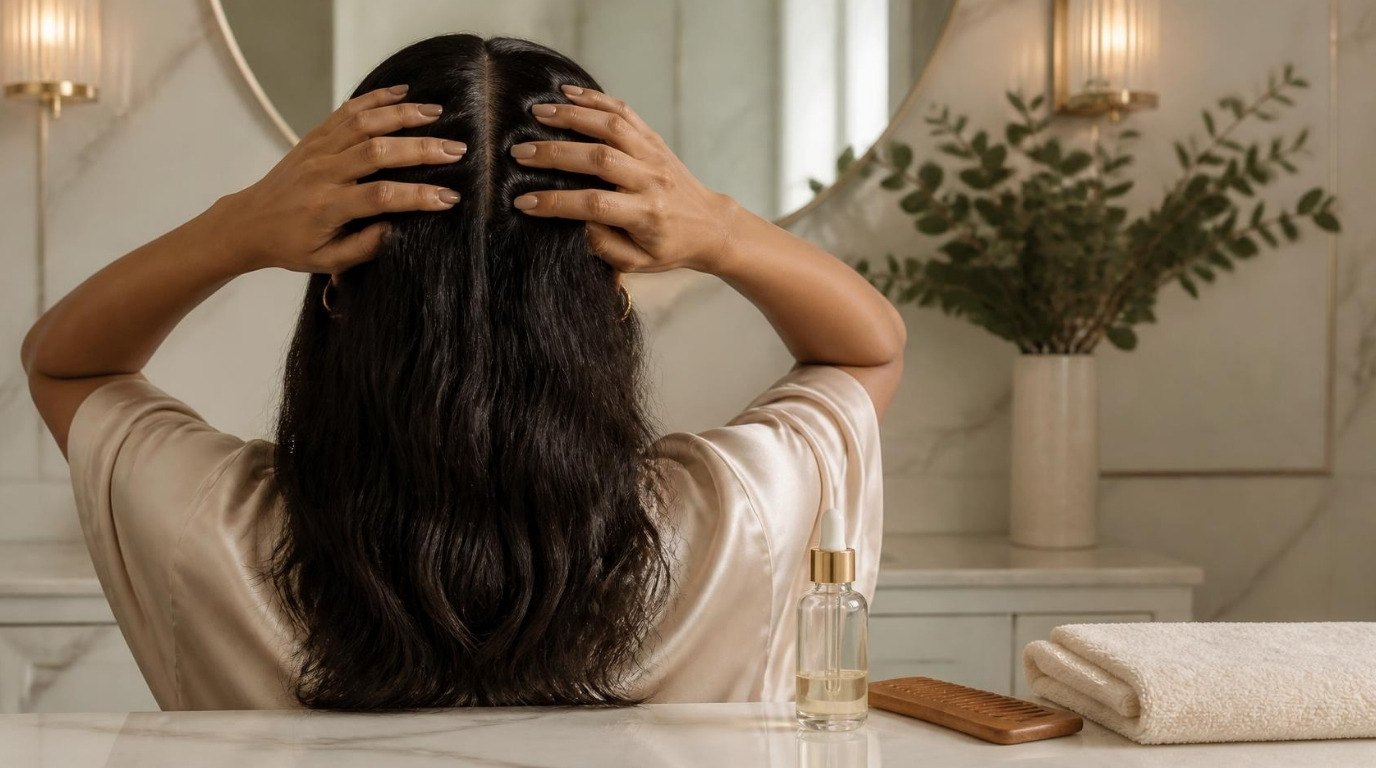
If your scalp is a good match, part your hair into sections and use a dropper to place small dots of oil along each part, then massage with your fingertips (never your nails) in small circles for three to five minutes. A small glass dropper bottle makes this so much tidier than pouring straight from a big bottle.
How To Oil Your Hair Step by Step: 7 Steps
This is the pre-wash routine, start to finish. Give yourself 15 minutes for the application and as long as you like for the waiting part.
1. Start With Dry, Detangled Hair
Oil and water repel each other, so oil spreads better and sinks in more evenly on dry hair. Brush or finger-comb gently first, starting at the ends and working up. Second- or third-day hair is perfect; there's no need to wash before you oil.
2. Section Your Hair
Split your hair into four sections (two in front, two in back) with clips. Thick or curly hair may need six to eight. Sectioning is what stops you from soaking one patch and missing the rest.
3. Warm the Oil Slightly
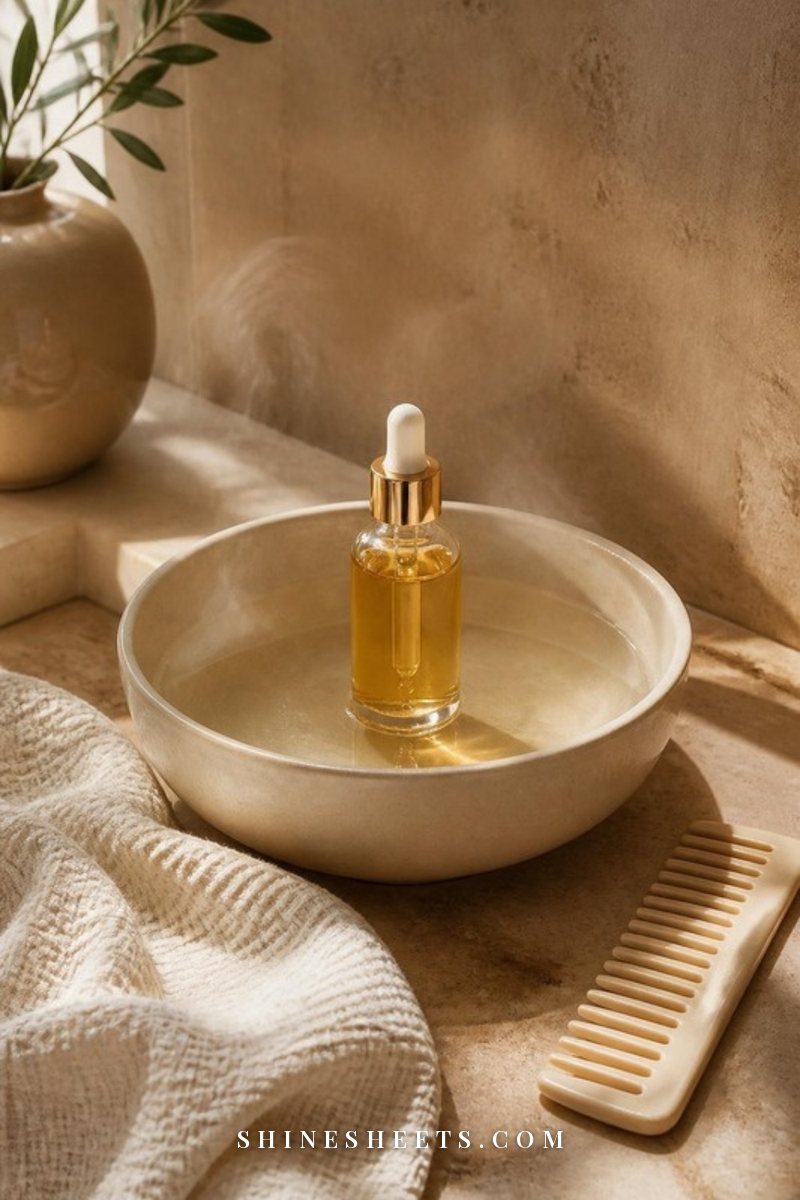
Slightly warm oil spreads more easily and feels wonderful. Stand your bottle in a bowl of warm (not hot) tap water for five minutes, or rub the oil between your palms for a few seconds. Test a drop on your inner wrist first: it should feel pleasantly warm, never hot. I'd skip the microwave, because it heats unevenly and can make the oil scorching in spots.
4. Apply to Mid-Lengths and Ends First
Your ends are the oldest, driest part of your hair, so they get most of the oil. Work section by section: a few drops in your palms, then smooth them from about ear level down to the tips, scrunching the ends gently. Only after that, and only if your scalp is dry and calm, add a little to the roots and massage.
5. Twist It Up and Let It Sit
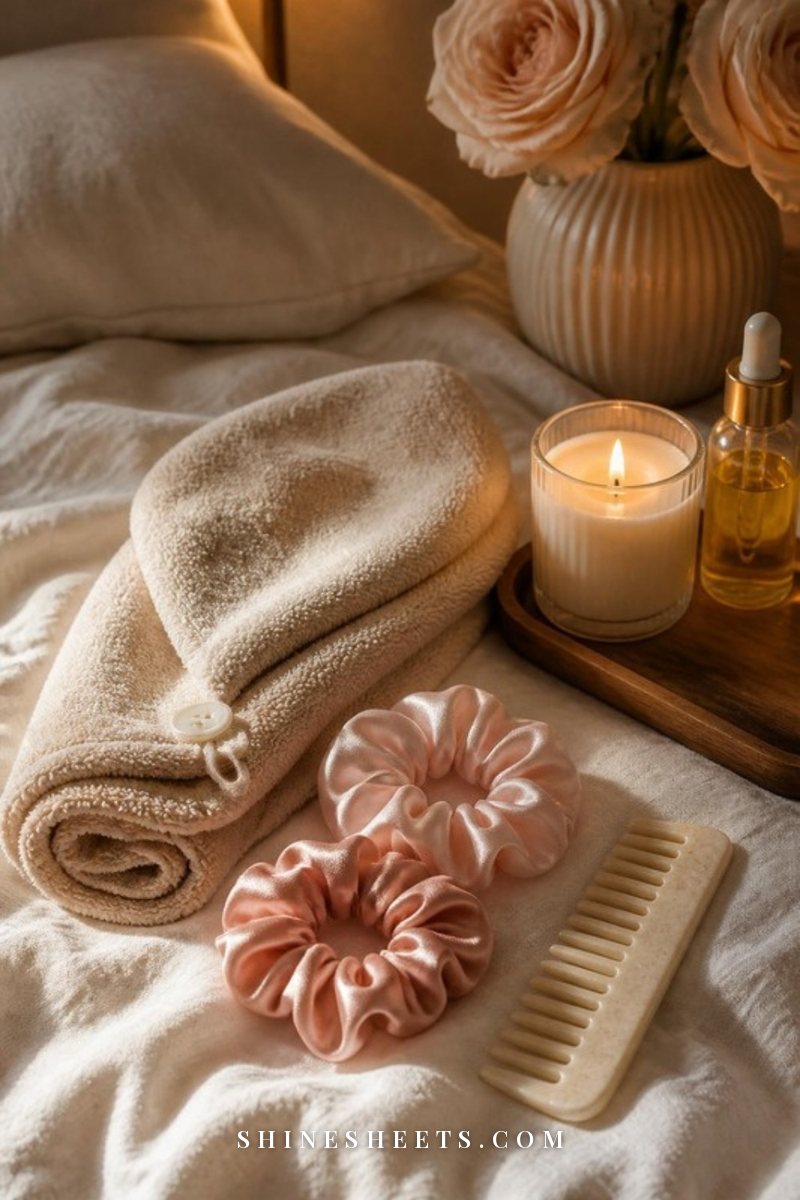
Loosely twist your hair into a low bun and secure it with a soft silk scrunchie, which won't leave a dent or tug at oiled strands. Now leave it for 30 minutes to overnight, following the table above. Fine hair rarely needs more than an hour; thick, coarse hair can happily stay oiled overnight.
If you go overnight, wrap your hair in an old T-shirt, a scarf or a microfiber hair towel wrap, and put a towel over your pillowcase. It's the least glamorous part of the whole ritual, and the most important one for your bedding.
6. Wash It Out the Right Way
This is where most people go wrong, so it gets its own section right below. The short version: shampoo goes on before water.
7. Condition the Ends and Finish Lightly
Use your usual conditioner on the lengths only, rinse, and blot your hair with a soft towel instead of rubbing. If your ends still look a little dry once your hair is dry, finish with one drop of leave-in oil. If they feel heavy, you simply used a bit too much this time, and you'll know for next week.
How To Wash Hair Oil Out Properly

Hair oil can be stubborn, and the classic mistake is jumping into the shower, soaking your hair and then adding shampoo. Water spreads the oil around and dilutes the shampoo before it can grab anything, so you end up with greasy, stringy roots no matter how hard you scrub.
Here's the order that works:
- Apply shampoo to dry, oiled hair. Squeeze a coin-sized amount into your palms and work it into your roots and anywhere the oil feels heaviest, before any water touches your head.
- Add a little water and lather. Just a splash, then massage for a minute. You'll see the oil turn milky as the shampoo grabs it.
- Rinse thoroughly. Use lukewarm water, which loosens oil better than cold, but skip very hot water, which dries out the scalp.
- Shampoo a second time. The second wash lathers much more easily and takes care of what's left. Think of it as double cleansing for your hair.
- Condition the lengths only. Your oiled ends are already soft, so a small amount is enough.
If your hair still feels coated after two washes, keep a gentle clarifying shampoo for those days. Once every two to four weeks is usually plenty, because clarifying formulas can be drying if you use them every time. Colored hair may fade a little faster with them, so check that yours is labeled safe for color.
How Often Should You Oil Your Hair
For most hair types, once a week is the sweet spot. It's often enough to keep ends soft and protected, and not so often that buildup becomes a problem. From there, adjust:
- Every other week if your hair is fine, gets oily within a day or tends to look flat.
- Once a week for medium, normal or wavy hair.
- Twice a week for thick, coarse, curly, coily or bleached hair that drinks up products.
- Before every wash only if you wash two or three times a week and your ends feel fragile, with a short 30-minute oiling each time.
The signs you're oiling too often are easy to spot: hair that never feels quite clean, flat roots, a waxy feeling on the ends or more flakes than usual. If that happens, take two weeks off, clarify once, then restart at a lower frequency.
Oiling also plays nicely with masks. On weeks your hair needs a deeper treatment, swap the oiling for a mask rather than stacking both; my guide to hair masks explains how to pick one by what your hair is asking for.
7 Hair Oiling Mistakes To Avoid
Almost every "hair oiling doesn't work for me" story comes back to one of these. All of them are easy to fix.
1. Using Too Much Oil
More oil doesn't mean more benefit. Past a certain point, the extra just sits on top and makes washing harder. Start with half a teaspoon for shoulder-length hair and add only if your ends still feel dry.
2. Oiling a Dandruff-Prone Scalp
The yeast linked to dandruff feeds on oils, so oiling a flaky, itchy scalp can make it worse. Keep the oil on your lengths and treat flakes with a dandruff shampoo instead. If the itching or redness doesn't settle, a dermatologist can help you sort out the cause.
3. Leaving Oil In for Days
Oil left on for two or three days attracts dust and sweat, can clog follicles and smells stale. Overnight is the longest it needs. After that, wash it out.
4. Wetting Your Hair Before Shampooing
As above: shampoo first on dry hair, then water. This one change solves most "it never washes out" complaints.
5. Choosing an Oil That's Too Heavy
Fine hair coated in coconut or castor oil will often look lank for days. Match the oil to your hair (the table is there for exactly that) and save rich oils for thick strands or the very tips.
6. Rubbing and Scrubbing Your Scalp
Massage should feel soothing. Vigorous scrubbing with your nails, or tugging oiled hair into a tight bun, can cause breakage, the very thing you're trying to prevent. Use your fingertips and keep things loose.
7. Expecting Growth Miracles
If you're oiling only for faster growth, you may feel disappointed and quit. Oiling helps you keep the length you grow by protecting your ends. The overall habits that support healthy growth are a bigger picture, and I've gathered them in my post on how to grow your hair faster with hair oil.
How To Make Hair Oiling a Ritual You Look Forward To
The routine that sticks is the one you enjoy. A few small touches turn hair oiling from a chore into a little weekly treat:
- Pick a fixed slot. Sunday afternoon before an evening wash, or Saturday night before a lazy morning, works well. Same day, same time, no decision needed.
- Keep everything in one basket. Your oil, a dropper bottle, clips, a scrunchie and a wide-tooth comb, all ready to go.
- Light a candle and make tea. I love a glass candle and a cup of evening tea while the oil sits; it's my favorite excuse to journal for twenty minutes.
- Give the scalp massage your full attention. Three slow minutes, eyes closed, shoulders down. It's a tiny reset for your nervous system as much as for your hair.
- Notice the results. After four weeks, run your fingers through your ends and compare. Softer, shinier, fewer broken bits on your brush? That's your sign to keep going.
Final Thoughts
Hair oiling doesn't need to be complicated or messy. Choose an oil that suits your strands, focus on your ends, give it half an hour or a night, and wash it out with shampoo on dry hair first. That's really all there is to it.
Be patient with yourself while you find your perfect amount, because the first few tries are just practice. A few weeks from now, your hair will feel softer in your hands, and you'll have a quiet, lovely ritual that's entirely yours.