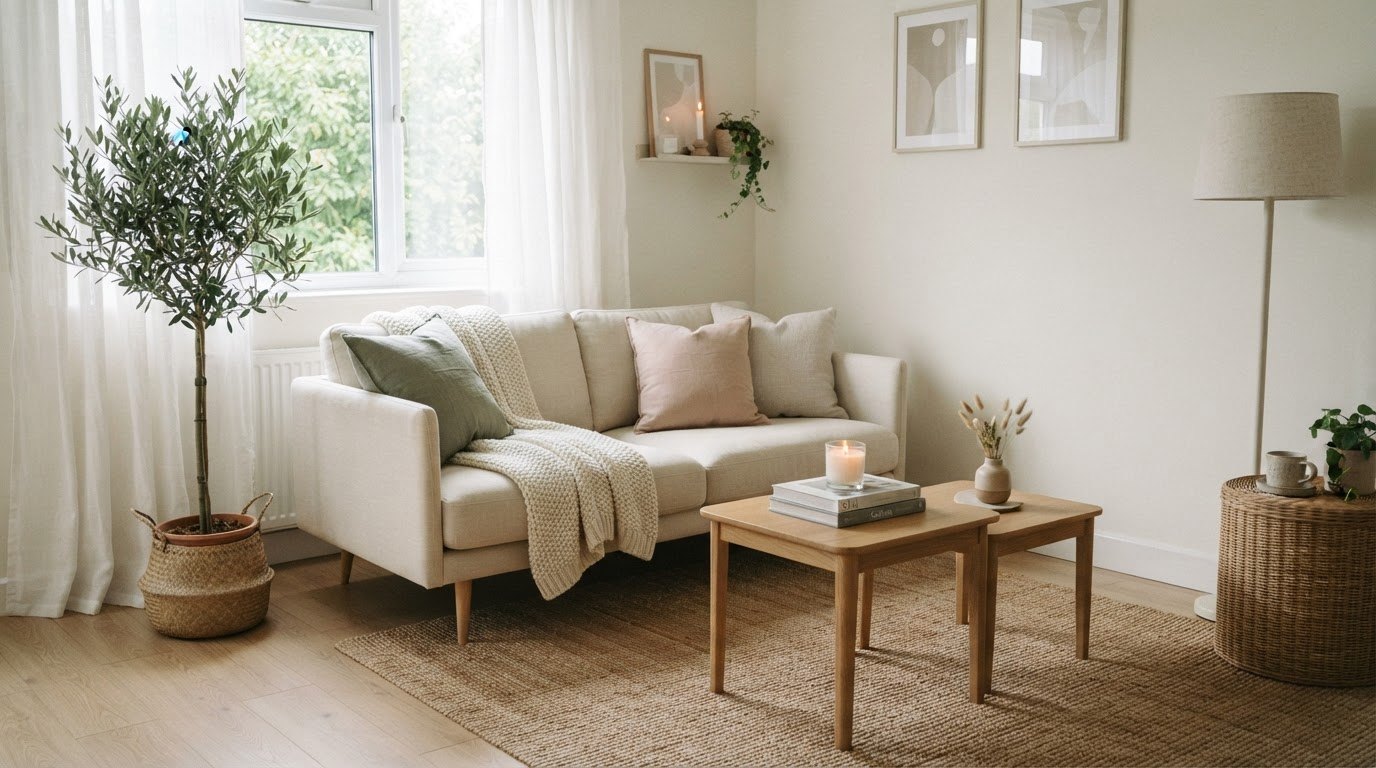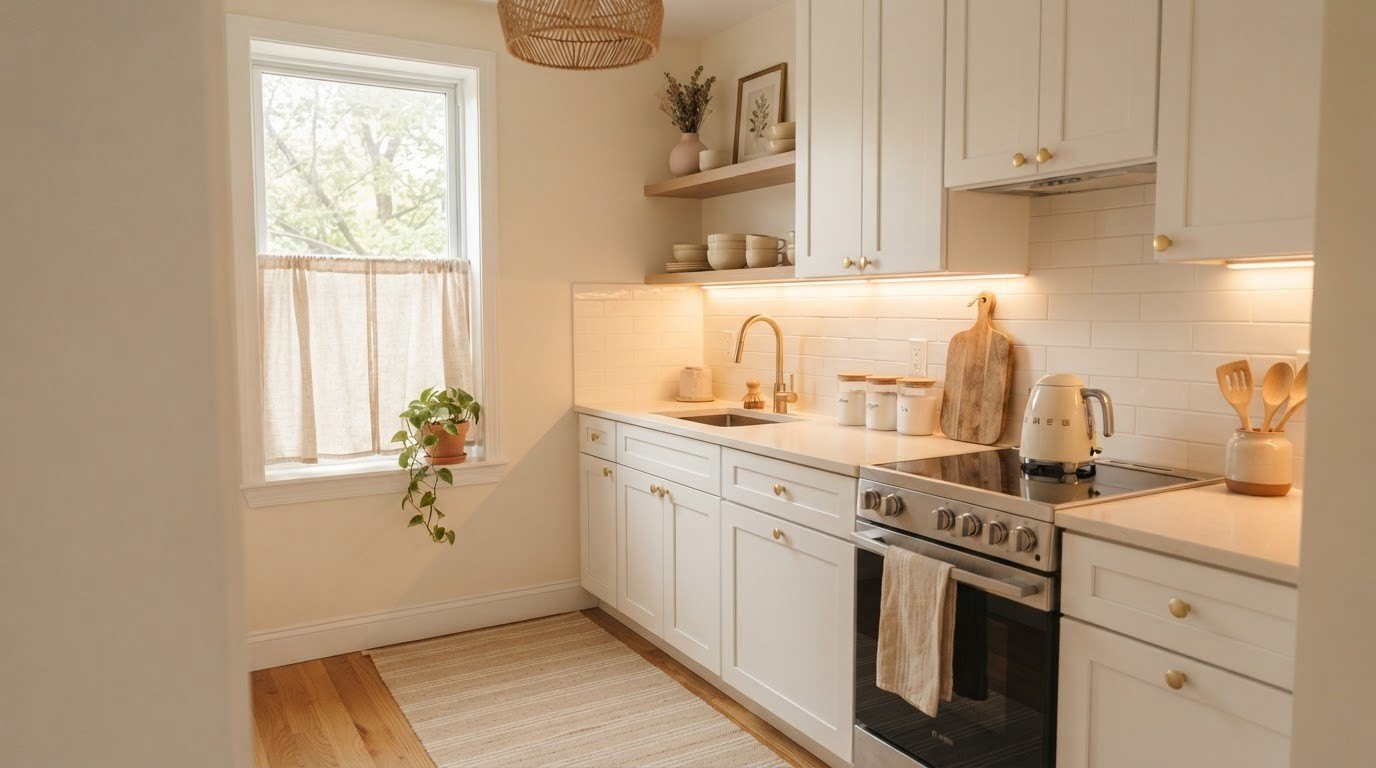
A rental kitchen looks custom when its small details match. Built-in kitchens in design magazines aren't special because of expensive cabinets – they look finished because the hardware, lighting, containers and textiles all speak the same quiet language. You can create that same effect in a rental with removable changes and a little restraint.
The best part is that most of these upgrades take under an hour, and nearly all of them come with you when you move. You swap, add and style instead of renovating, and you keep every original piece in a labeled box for move-out day.
This guide gathers 20 renter-friendly kitchen upgrades, from cabinet hardware and under-cabinet lights to peel-and-stick (with a careful test spot), open shelf styling and a few small rules for the countertop. You'll find a table with the cost, time and removability of every upgrade, plus a "keep only 5 things" countertop rule card that does more than any purchase.
Before You Change Anything
Three quick habits protect your deposit and make every upgrade stress-free:
- Photograph the kitchen first. Cabinets, counters, backsplash, faucet and floor, in good light. Save them in a dated folder.
- Keep a "originals box." Knobs, pulls, screws, bulbs, the faucet and anything else you remove goes in a labeled box or zip bag.
- Check your lease and ask when in doubt. A short message like "I'd like to swap the cabinet knobs and keep the originals to reinstall at move-out – is that okay?" usually gets a quick yes.
Choose One Finish Palette First
Before buying anything, decide on three things: one metal, one wood tone and one soft color. This tiny decision is what makes 20 separate upgrades look like one plan.
- Metal: brushed gold, matte black or warm nickel. Use it for knobs, pulls, the faucet if you swap it, and small accents like a utensil crock.
- Wood: light oak, natural acacia or warm walnut. Use it for cutting boards, canister lids, shelves and trays.
- Soft color: cream, sage, blush or soft white. Use it for towels, the runner, the curtain and small appliances where you can.
If your rental already has a strong feature – dark cabinets, speckled counters, colorful tile – choose your palette to calm it rather than compete. Cream and warm wood soften almost anything. Write your three choices in your phone notes and check every purchase against them.
A small honest admission: the upgrades I'd regret most are the cute impulse pieces that matched nothing else. Sticking to a palette saves more money than any sale.
Hardware and Lighting Upgrades
These are the changes that make the biggest "is this a new kitchen?" difference.
1. Swap the Cabinet Hardware
Builder-grade knobs are the fastest giveaway of a rental kitchen. Replacing them with gold cabinet knobs takes about 30–60 minutes with a screwdriver. Measure the distance between screw holes on any pulls first, so new pulls fit the existing holes exactly – you don't want to drill new ones. Look for knobs that come with screws in two lengths, since cabinet door thickness varies.
Keep every original knob and screw in a labeled bag. At move-out, you swap them back in the same half hour.
2. Add Under-Cabinet Lights
Under-cabinet lighting is what makes kitchens in photos look warm and expensive. Rechargeable under-cabinet lights stick on with magnets or adhesive strips and need no wiring at all. Look for a warm white color, a motion sensor or touch switch and a USB charging option. Place them toward the front edge of the cabinet so the light falls on the counter, not the wall.
3. Change the Bulbs
Swap cold, bluish bulbs for warm white ones (around 2700K–3000K). It's a five-minute change that makes white cabinets look creamy instead of clinical. Keep the originals for move-out.
4. Add a Plug-In Pendant or Sconce
If there's an outlet nearby, a plug-in pendant swagged over a small dining table or a plug-in sconce beside open shelves adds a soft second light layer. It hangs from a single removable hook or small nail, and the cord can be hidden with a paintable cord cover.
5. Swap the Faucet (Only With Permission)
A new faucet is a bigger upgrade, but in many rentals it's allowed if you keep the original and reinstall it. If you're not comfortable with basic plumbing, ask your landlord or a handy friend. If a full swap isn't an option, a simple aerator replacement (it screws onto the tip) improves the water flow and costs very little.
Walls and Surfaces
6. Try a Peel-and-Stick Backsplash (Test Spot First)
A peel-and-stick backsplash can completely change a kitchen, but it needs care:
- Stick a small piece in a hidden spot – behind the toaster, for example – for at least a week.
- Peel it off slowly. If it lifts paint or leaves residue, don't use it on that wall.
- Avoid the area directly behind the stove; heat can warp it.
- Clean and degrease the wall well before applying.
- At move-out, warm it with a hair dryer on low and peel at a low angle.
Subtle patterns – white subway, soft zellige look, cream tile – look more convincing than bold prints.
7. Cover Dated Counters With a Board or Tray
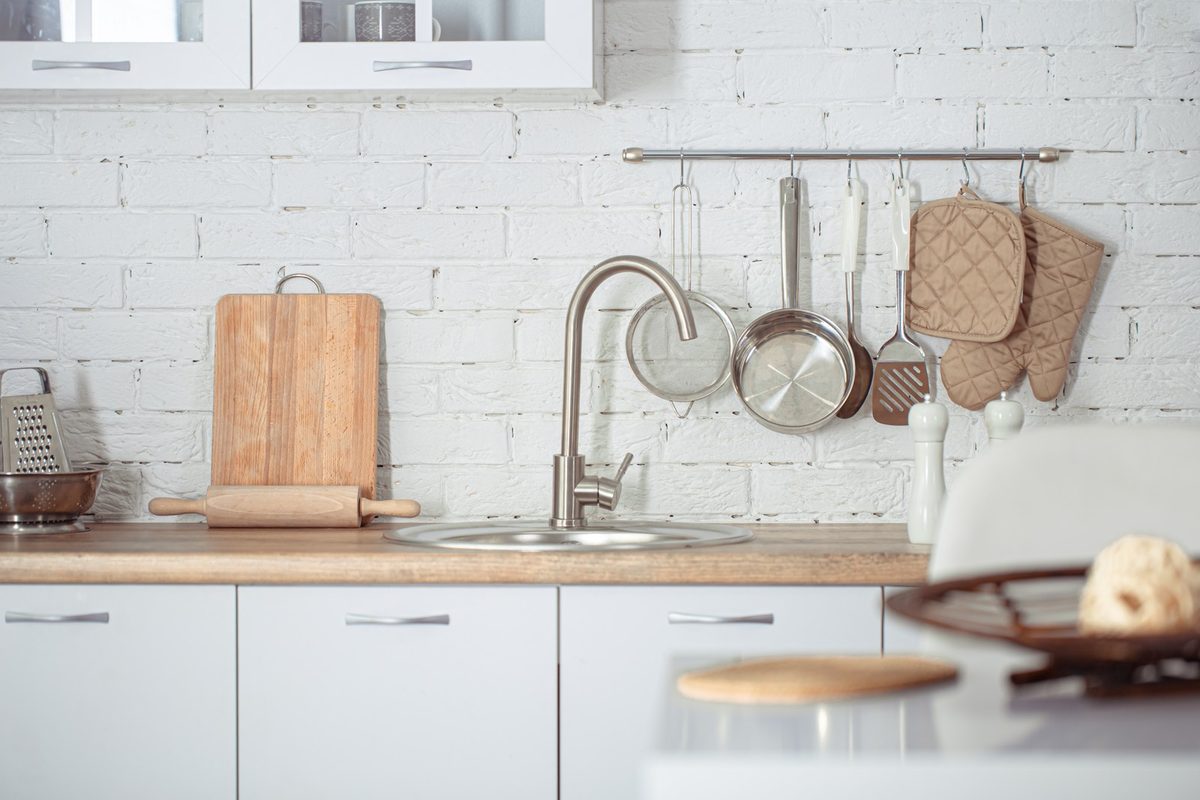
If your counters are a color you don't love, you can't replace them, but you can cover the most visible spots. A large wooden cutting board leaning against the backsplash, with a smaller one layered in front, hides a dated surface and adds warmth instantly. Look for a thick board with a natural finish, ideally one large rectangular and one round or paddle-shaped.
8. Use Removable Contact Paper on Shelves
Lining the inside of cabinets and drawers with pretty removable shelf liner makes every open door feel fresh and protects the original surface. Choose a soft neutral or a small pattern.
9. Hang Art in the Kitchen
One framed print leaning on the counter or hung with removable strips makes a kitchen feel lived-in and personal. Keep it away from the stove and sink, and use a frame with glass so it wipes clean.
Storage and Styling
10. Decant Into Matching Containers
A row of mismatched packaging makes any kitchen look busy. A set of glass canisters with wooden lids turns everyday staples into something you're happy to leave out. Look for airtight seals, a mix of tall and medium sizes and lids that stack. Label them with simple handwritten tags or small clear stickers.
Only decant what you use often. Everything else stays tidy inside the pantry or cabinet. My kitchen organization ideas go deeper into drawers, cabinets and pantry zones.
11. Style an Open Shelf (or Add One)
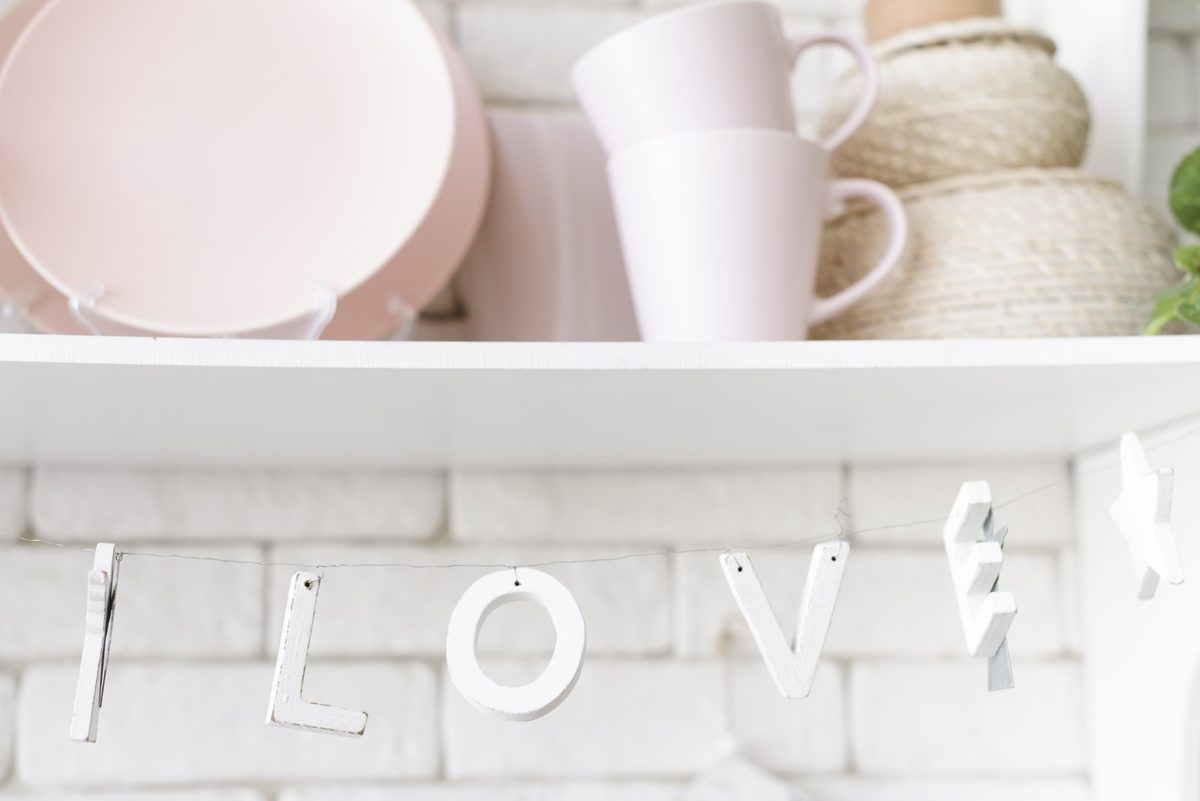
If you have open shelves, style them in layers: stacked plates or bowls, two or three glass jars, one plant and one small framed print. If you don't, a freestanding countertop shelf or a removable wall rail can create the same look without drilling.
The open shelf formula: one-third everyday items, one-third pretty jars, one-third greenery or decor. Leave a little empty space on every shelf.
12. Add a Rolling Cart
A slim rolling cart beside the fridge or in a corner adds storage for cookbooks, linens or a small coffee station. Choose one in white, cream or a soft metal finish so it looks like furniture rather than a utility piece. Style the top shelf like a little open shelf (a plant, a jar, a folded towel) and use the lower shelves for things that are less pretty, tucked into a lidded basket. Because it rolls, it can follow you into the living room when you have guests.
13. Create a Coffee or Tea Corner
A small tray with your kettle or coffee maker, a few mugs and a canister of tea or coffee turns one corner of the counter into a little ritual spot. For layouts and styling ideas, my coffee corner ideas guide covers it in detail.
14. Hide the Trash and Recycling
A visible trash can undoes a pretty kitchen. A slim pull-out bin under the sink or a matching lidded bin in a soft neutral color helps the room look calm.
Textiles and Soft Touches
15. Lay Down a Washable Runner
A washable kitchen runner warms up cold tile or dated vinyl and makes the room feel finished. Look for a low-pile, machine-washable runner with a non-slip backing, in a soft neutral or a gentle vintage-style pattern that hides small spills.
16. Swap the Dish Towels
Matching dish towels in one or two colors look more intentional than a drawer of random freebies. Hang one neatly on the oven handle and keep the rest folded in a drawer. Linen or waffle cotton in cream, sage or soft stripes looks lovely, dries quickly and gets softer with every wash. A set of six is plenty: two in use, two in the wash and two clean in the drawer.
17. Hang a Cafe Curtain
If your kitchen has a window, a short linen cafe curtain on a tension rod adds charm and privacy without blocking the light. It's one of the easiest ways to make a rental kitchen feel like a little cottage.
18. Decant Dish Soap Into a Pretty Dispenser
A glass soap dispenser set for dish soap and hand soap, on a small tray beside the sink, removes one of the most visible pieces of bright plastic in the kitchen. Look for rust-proof pumps and a tray that catches drips.
Finishing Touches
19. Add Plants or Fresh Stems
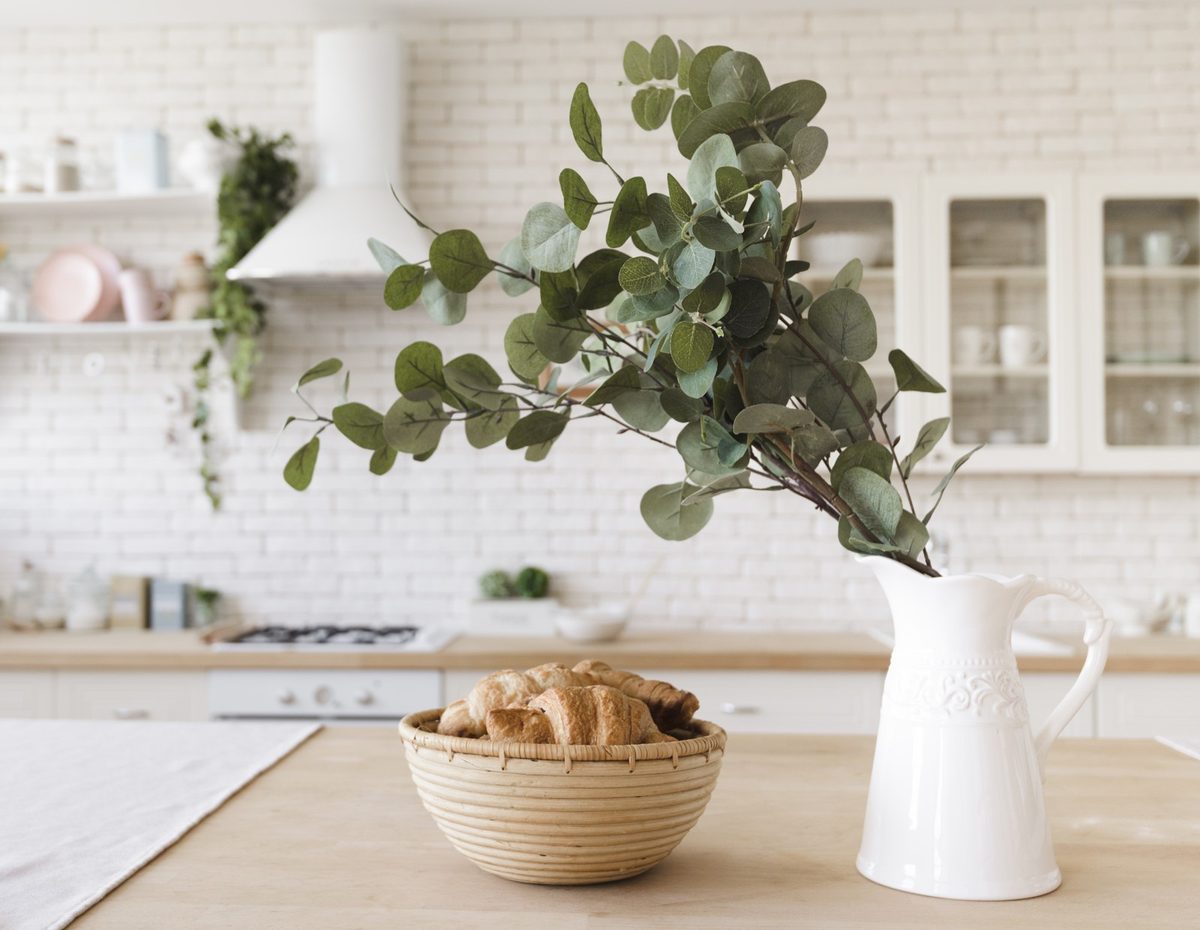
A pothos on top of the fridge, a small herb pot on the windowsill or a few fresh stems in a jug bring a kitchen to life. If light is limited, a good faux trailing plant works and asks for nothing.
20. Follow a Countertop Rule
The single most effective upgrade costs nothing: deciding what lives on the counter. That's what the rule card below is for.
The "Keep Only 5 Things" Countertop Rule Card
Clear counters make a small kitchen look bigger, cleaner and more expensive. Screenshot this and use it whenever the counter creeps back into chaos.
- One appliance you use every day (kettle, coffee maker or toaster – not all three).
- One utensil holder with only the tools you reach for daily.
- One cutting board, leaning against the backsplash.
- One tray by the sink holding the soap dispensers.
- One living thing: a plant or a small vase of stems.
Everything else gets a home in a cabinet, drawer or on the rolling cart. Canisters can live on an open shelf instead of the counter. Bonus rule: if you haven't used something on the counter in a week, put it away.
The 20 Upgrades Table
Here's every upgrade at a glance, with rough costs, the time it takes and whether it's fully removable.
| Upgrade | Cost range | Time | Removable? |
|---|---|---|---|
| 1. Cabinet hardware swap | $30–$120 | 30–60 min | Yes (keep originals) |
| 2. Under-cabinet lights | $20–$60 | 15 min | Yes |
| 3. Warm white bulbs | $10–$25 | 5 min | Yes (keep originals) |
| 4. Plug-in pendant or sconce | $30–$90 | 20 min | Mostly (one small hole) |
| 5. Faucet swap | $60–$200 | 1–2 hours | Yes, with permission |
| 6. Peel-and-stick backsplash | $30–$120 | 2–3 hours | Usually (test first) |
| 7. Cutting boards to cover counters | $20–$50 | 2 min | Yes |
| 8. Removable shelf liner | $10–$25 | 1 hour | Yes |
| 9. Kitchen art | $10–$40 | 10 min | Yes |
| 10. Matching containers | $25–$70 | 30 min | Yes |
| 11. Open shelf styling | $0–$50 | 30 min | Yes |
| 12. Rolling cart | $30–$80 | 30 min | Yes |
| 13. Coffee or tea corner | $15–$40 | 20 min | Yes |
| 14. Hidden trash bin | $25–$70 | 15 min | Yes |
| 15. Washable runner | $30–$80 | 2 min | Yes |
| 16. Matching dish towels | $10–$25 | 5 min | Yes |
| 17. Cafe curtain | $15–$40 | 10 min | Yes |
| 18. Soap dispenser set | $15–$35 | 5 min | Yes |
| 19. Plants or stems | $5–$30 | 5 min | Yes |
| 20. Countertop rule | $0 | 20 min | Yes |
Prices vary a lot by store and style, so treat these as rough ranges rather than exact numbers.
What To Avoid in a Rental Kitchen
- Painting cabinets without written permission. It's one of the most common deposit deductions and very hard to undo.
- Drilling new holes for pulls. Match the existing hole spacing or choose knobs instead.
- Strong adhesives on cabinet fronts. Laminate and painted finishes can peel off with the tape.
- Anything flammable near the stove. Keep curtains, towels, peel-and-stick and decor a safe distance from burners.
- Overloading open shelves. Heavy stacks on rental shelving can loosen anchors. Keep the heaviest items low.
- Buying before measuring. Measure cabinet depth for lights, hole spacing for pulls and floor length for runners first.
Small Kitchen Tricks That Make Everything Look Bigger
- Keep sight lines clear. The counter area you see from the doorway matters most, so style that spot first.
- Use the same container style everywhere. Repetition reads as calm, variety reads as clutter.
- Go vertical. A rail with a few hanging tools or a tall shelf uses wall space instead of counter space.
- Light the corners. Dark corners make a kitchen feel smaller; an extra stick-on light helps.
- Keep the fridge front clear. One or two pretty magnets, not a collage.
Where To Start if You Only Do Three
Not every kitchen needs all 20. If your budget or energy is limited, these three give the most visible change:
- Clear the counter with the 5-things rule. Free, and the room looks twice as calm.
- Add under-cabinet lights. Warm light changes how the whole kitchen feels in the evening.
- Swap the hardware. It makes plain cabinets look chosen rather than inherited.
Then add one textile – a runner or a cafe curtain – when you're ready. For more ways to make a whole rental feel styled on a small budget, my apartment decor on a budget guide has 30 more ideas.
Keeping It Looking Custom
A styled kitchen stays pretty with a few tiny habits:
- Reset the counter every evening. Two minutes: everything back to its home, a quick wipe, towel folded on the oven handle.
- Wash the runner and dish towels every week or two.
- Refill canisters before they're empty, so they always look full and tidy.
- Do a monthly edit. Anything that's crept onto the counter or open shelf and isn't earning its place goes back in a cabinet.
For a gentle, low-fuss way to keep surfaces clean, my natural cleaning guide covers simple swaps and the combinations you should never mix.
Move-Out Day: Putting It All Back
- Reinstall the original knobs, bulbs, aerator or faucet from your originals box.
- Remove under-cabinet lights and hooks slowly, pulling adhesive tabs straight down.
- Warm and peel the backsplash at a low angle, then wipe away any residue with warm soapy water.
- Peel shelf liner and wipe cabinets clean.
- Fill any tiny nail holes if your lease allows it.
- Take after photos from the same angles as your move-in photos.
Everything else – containers, boards, runner, curtain, cart, plants – simply packs up and comes with you.
Final Thoughts
Renter-friendly kitchen upgrades work because they focus on what you touch and see every day: the knobs, the light, the counter, the textiles. None of them need a renovation, and almost all of them move with you.
Start with a clear counter and one small swap. A kitchen that feels like yours is built a few calm changes at a time.