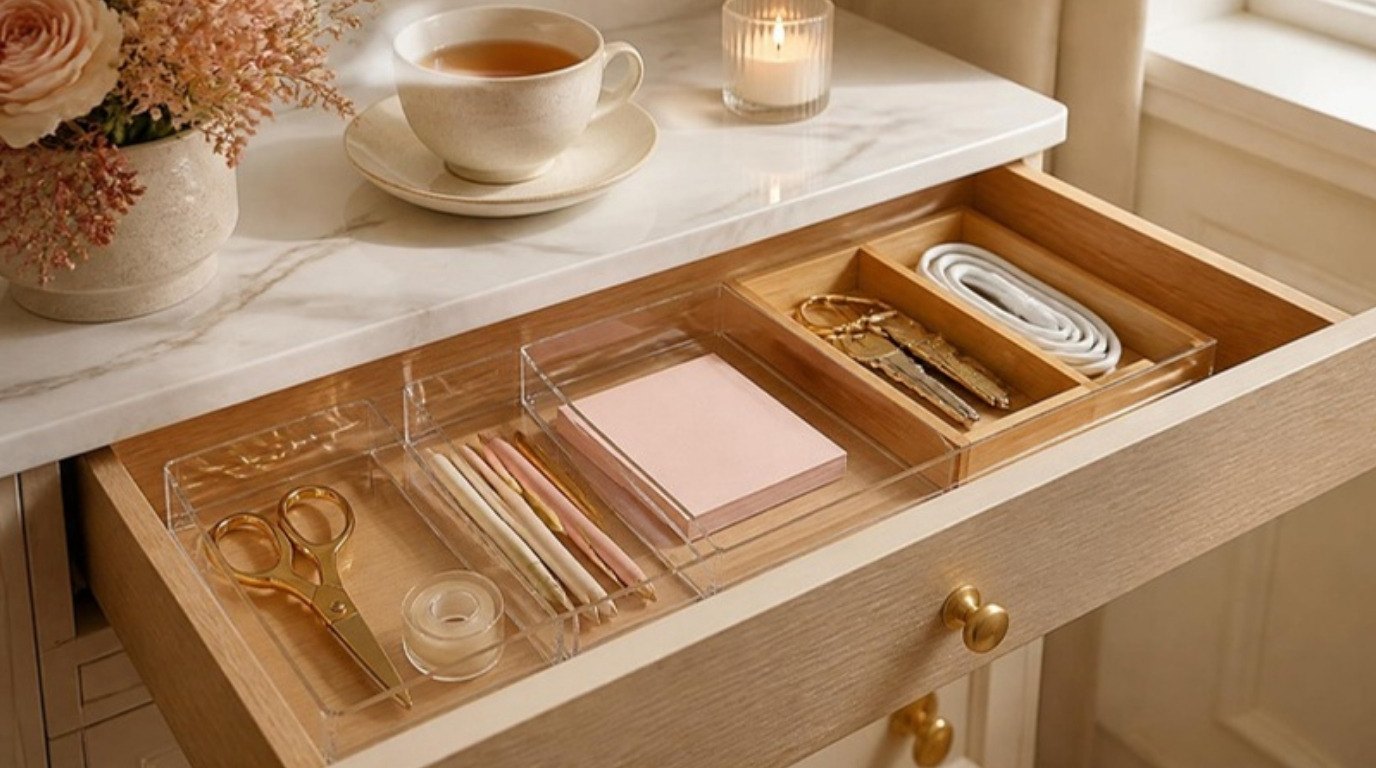
A junk drawer isn't a sign that you're messy. It's a sign that your home has a lot of small, useful things with nowhere else to go. The tape, the spare key, the takeout menu you'll never order from, the battery you're not sure is dead – they all drift into the one drawer that says "yes" to everything.
The fix isn't to get rid of the junk drawer. It's to give it a job, a short list of things it's allowed to hold and a tiny bit of structure so it can't slide back into chaos. Once those three things are in place, it takes about twenty minutes to sort and roughly two minutes a month to keep it that way.
This guide walks you through junk drawer organization step by step: a 20-minute timer plan, the four piles to sort into, a "keep list" card of what actually belongs in there, how to measure and choose dividers that fit, simple labels, and the two habits that make it last. Set a timer, grab a trash bag and a damp cloth, and let's open that drawer.
Why Junk Drawers Get Out of Hand
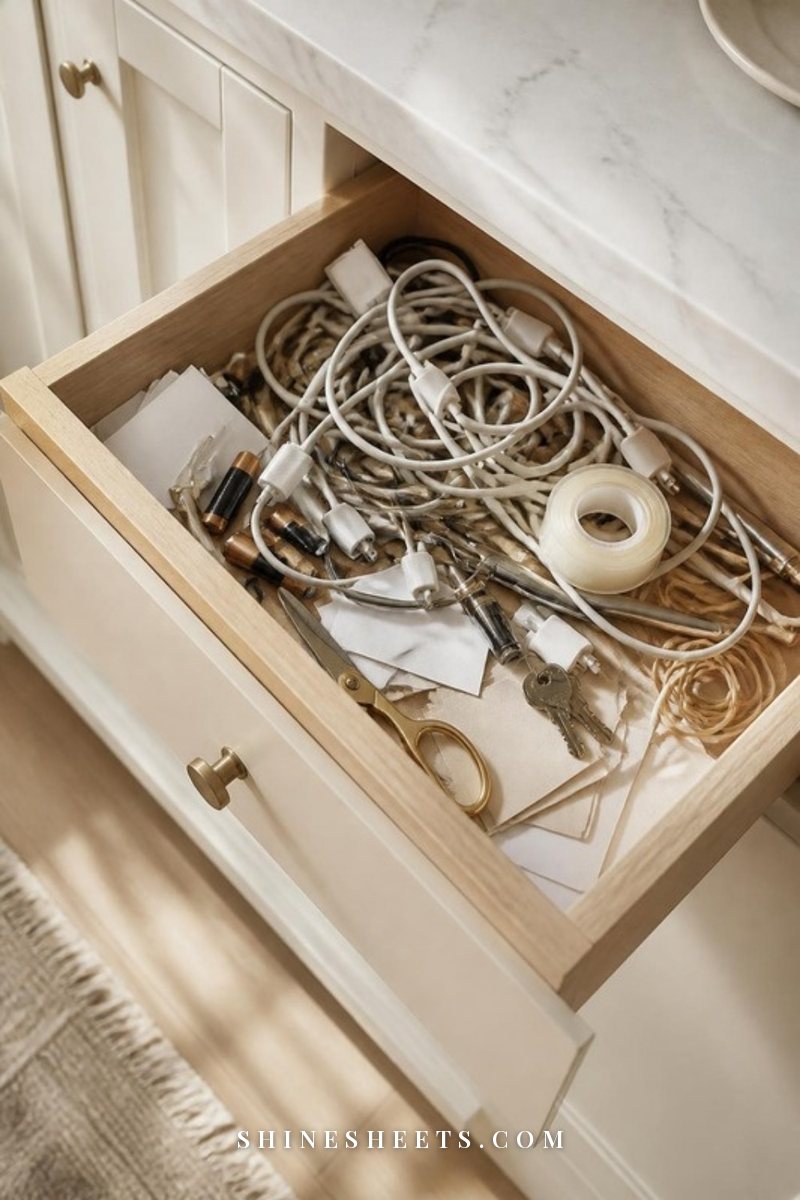
Almost every junk drawer follows the same story. It starts as "the drawer with the scissors and tape," and because it's close to the kitchen counter or the front door, it becomes the fastest place to drop anything small. Nobody decides to fill it. It fills itself, one "I'll deal with this later" at a time.
There are three quiet reasons it stays a mess:
- No boundaries inside. Without dividers, everything slides to the back the moment you close the drawer, and small items end up buried under bigger ones.
- No clear purpose. If the drawer is for "stuff," then literally anything qualifies. A purpose ("small tools and everyday supplies") turns it into a filter.
- No reset. Even a perfectly organized drawer collects strays. Without a quick, regular tidy, a beautiful drawer is back to chaos in about six weeks.
Here's my small honest admission: for a long time, my version of "organizing" was pushing everything into neat-looking piles and calling it done. It looked better for a week. What actually changed things was deciding what was allowed in there at all. If clutter in general tends to make you feel a bit frazzled, my guide on how to be less messy and overwhelmed by mess is a kind place to start, too.
What You'll Need Before You Start
You can absolutely do this with what you already have (shoeboxes cut down and old jar lids make surprisingly good dividers). If you'd like it to look pretty and stay put, these are worth considering:
- Interlocking trays. A set of clear drawer organizer trays in mixed sizes is the most flexible option, because you can rearrange them like puzzle pieces. Look for non-slip pads on the bottom so they don't shift when you open the drawer.
- Adjustable dividers. For deeper or wider drawers, spring-loaded bamboo drawer dividers create long lanes that hold rolls of tape, scissors and flashlights upright. Choose ones with a spring range that matches your drawer's inside width.
- Tiny containers. A few mini storage containers with lids stop thumbtacks, safety pins, spare buttons and picture hooks from escaping.
- Cord helpers. A pack of soft reusable cable ties keeps chargers and earbuds coiled instead of knotted around everything else.
- A way to label. A small label maker is lovely if you enjoy that finished look, but a fine-tip marker on washi tape works too.
- Optional liner. A cream non-slip drawer liner protects the bottom from pen marks and gives the trays something to grip.
One practical tip: don't buy organizers before you've measured and sorted. You'll know exactly which sizes you need once you see what's staying.
The 20-Minute Junk Drawer Fix
Twenty minutes is enough for one standard kitchen drawer. A very deep drawer or a double-wide one might take thirty, and that's fine. The point of the timer isn't speed. It's to stop you from turning a small task into a whole-afternoon project that you never start.
Here's the full plan at a glance. Screenshot it, set a timer on your phone and work through one row at a time.
| Minutes | Step | What To Do | Done When |
|---|---|---|---|
| 0–3 | Empty | Take out every single item and spread it on a towel on the counter. | The drawer is completely bare. |
| 3–8 | Sort | Make four piles: Keep, Belongs Elsewhere, Trash, Donate. | Nothing is left unsorted. |
| 8–10 | Wipe and measure | Vacuum crumbs, wipe with a damp cloth, measure width, depth and height. | Drawer is clean and you have three numbers. |
| 10–15 | Place dividers | Set trays and dividers in place, biggest items first. | Every "keep" category has a spot. |
| 15–18 | Refill | Put back only the Keep pile, one category per compartment. | Drawer closes easily, nothing is stacked. |
| 18–20 | Label and clear | Label trays, bag the trash, carry the Belongs Elsewhere pile to its homes. | Counter is clear. |
If you go over on one step, steal a minute from the next. If you're interrupted halfway, finish the sorting before anything else, because a sorted pile is easy to come back to and a half-emptied drawer is not.
Minutes 0–3: Empty Everything
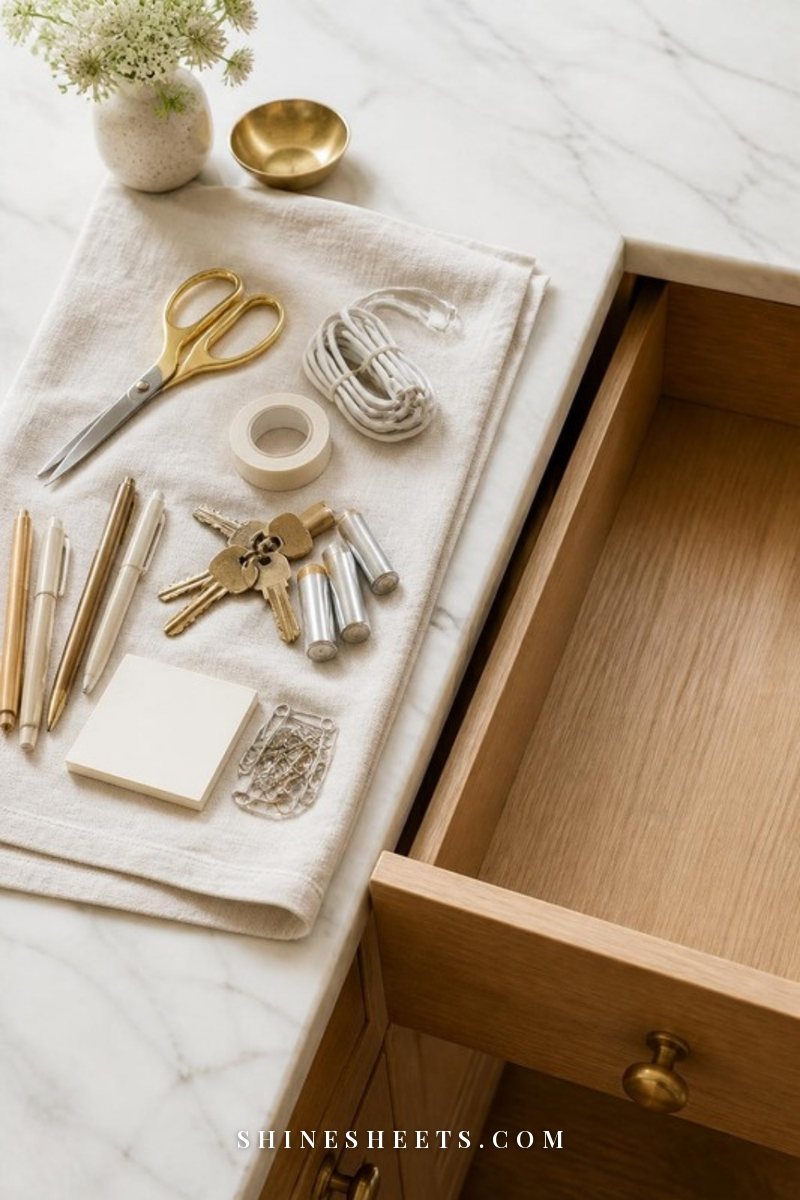
Take out everything. Not just the obvious clutter on top, but the paperclip wedged in the corner and the crumbs in the back seam. Lay a towel on the counter and spread items out in a single layer so you can actually see them.
It's tempting to sort as you go, but resist. Emptying first gives you an honest picture of how much is in there (it's always more than you think), and it lets you clean the drawer properly. Three minutes is plenty for a normal drawer.
Minutes 3–8: Sort Into Four Piles
Now pick up each item and give it one of four labels. Make the decision fast – if you hesitate for more than three seconds, it's probably not a "keep."
- Keep. Things you use at least once a month and that genuinely belong near this spot (more on that in the keep list below).
- Belongs Elsewhere. Useful things that simply live in the wrong place: the hair tie, the lip balm, the screwdriver set, the birthday candles, the spare charger for the bedroom.
- Trash. Dried-out pens, dead batteries, expired coupons, mystery keys you've had for years, twist ties, soy sauce packets, broken rubber bands.
- Donate. Duplicates in good condition: the third pair of scissors, extra notepads, a second tape measure.
Test pens on a scrap of paper as you sort, and keep a maximum of three or four that actually write smoothly. For mystery keys, try each one in your doors once. If it doesn't fit anything you own, let it go.
A quick safety note: don't toss used batteries loose in the trash with other metal items. Put a small piece of tape over the ends (especially on 9-volt batteries, which can spark if their terminals touch metal) and take them to a battery recycling drop-off. Many hardware stores have one near the entrance.
Minutes 8–10: Wipe and Measure
With the drawer empty, run the crevice tool of your vacuum along the seams, then wipe the inside with a damp cloth and a drop of dish soap. Leave it open to dry while you measure.
You need three numbers: the inside width, the inside depth (front to back) and the usable height (from the drawer floor to just under the counter edge or cabinet frame). Write them down on your phone. The height matters more than people think – a tray that's too tall will catch every time you close the drawer.
How To Measure and Choose Drawer Dividers
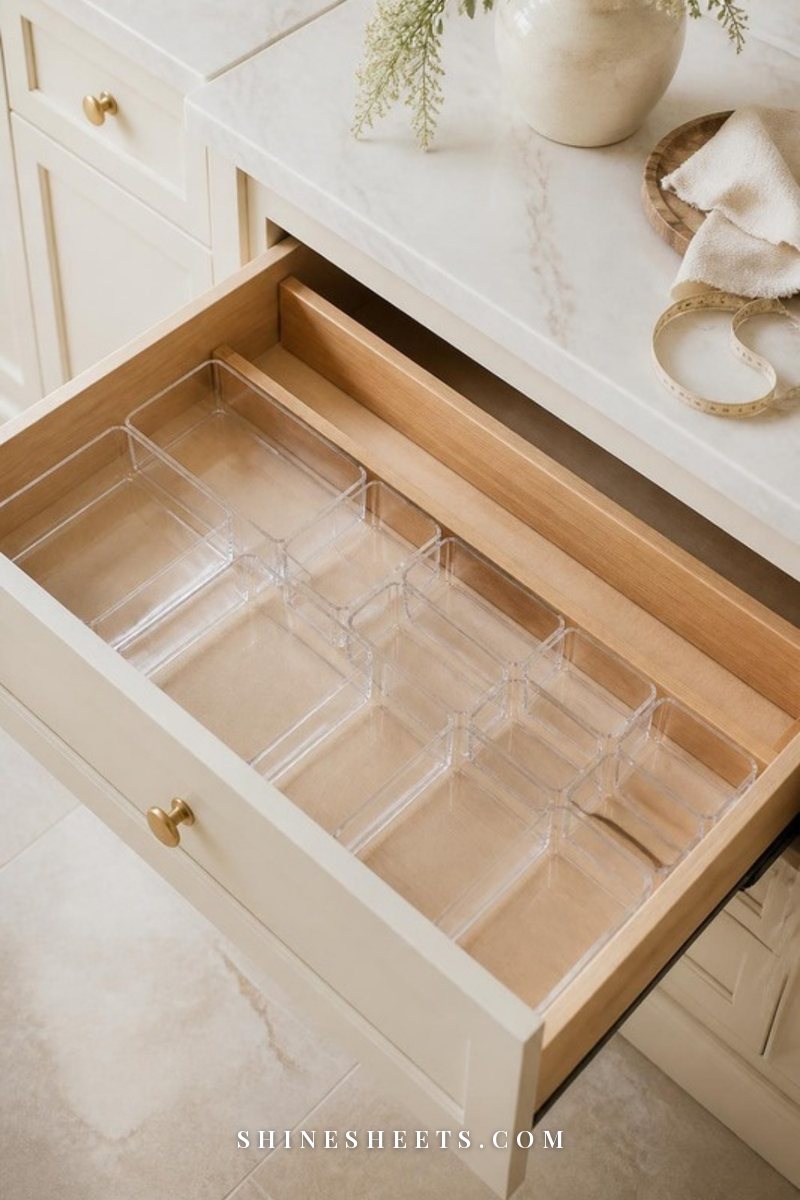
This is where most junk drawers fail or succeed. The right dividers make tidiness automatic. The wrong ones sit there half-empty while the real clutter piles up around them.
Use this simple formula to plan your layout:
- Height: usable height minus about ½ inch. That's the tallest tray you can use without it snagging.
- Width and depth: aim to fill about 90% of the floor, leaving a small gap so you can lift trays out. Gaps larger than an inch let items slip underneath.
- Front row: small trays (around 3 x 3 or 3 x 6 inches) for the tiny things you grab most – pens, sticky notes, the spare key.
- Back row: longer trays (around 3 x 9 inches) or a bamboo lane for scissors, tape measure, flashlight and anything you reach for less often.
Lay your Keep pile on the counter in the shape of the drawer and group it by category before you buy or place anything. If you have a pile of six categories, you need roughly six compartments. That's it.
Clear trays make it easy to see everything at a glance. Bamboo feels warmer and suits a wooden kitchen. Mixing them works beautifully, too: bamboo for the long lane at the back, clear trays for the small front compartments. If you're redoing a few kitchen spots at once, my kitchen organization ideas show how to make the whole room feel calmer without a renovation.
Minutes 10–15: Place the Dividers
Start with the biggest pieces first. Set the long trays or bamboo lanes along the back, then fill in the front with smaller trays. Press them in so they touch each other. Interlocking trays should feel snug, like a puzzle, not loose.
If you have an odd gap left over, a mini container or a folded strip of drawer liner can fill it. Empty space in a junk drawer always becomes clutter space, so close any gap bigger than about an inch.
Minutes 15–18: Put Back Only the Keepers
Give each category its own compartment and resist the urge to double up. If two categories have to share, choose two that are used together (scissors and tape, for example, or pens and sticky notes).
Two quick rules while you refill:
- Nothing stacked. If you need to lift one thing to reach another, the compartment is too full.
- Most-used in front. Whatever you grab every day sits closest to you. Anything used a few times a year goes at the back.
Coil cords loosely and close each one with a reusable tie. Pour pins, tacks and tiny screws into the lidded containers so they can't wander.
Minutes 18–20: Label and Clear the Counter
Labels are not just for looks. They're a quiet instruction to everyone who opens the drawer, including future you on a busy day. Keep them short – "Tape," "Pens," "Keys," "Batteries," "Cords" – and put them on the front edge or the bottom of each tray.
Then finish properly: tie up the trash bag, set the donate pile by the door, and walk the Belongs Elsewhere pile to its real homes. This last minute is the one most people skip, and it's the reason the counter (and then the drawer) fills back up.
What Actually Belongs in a Junk Drawer: The Keep List
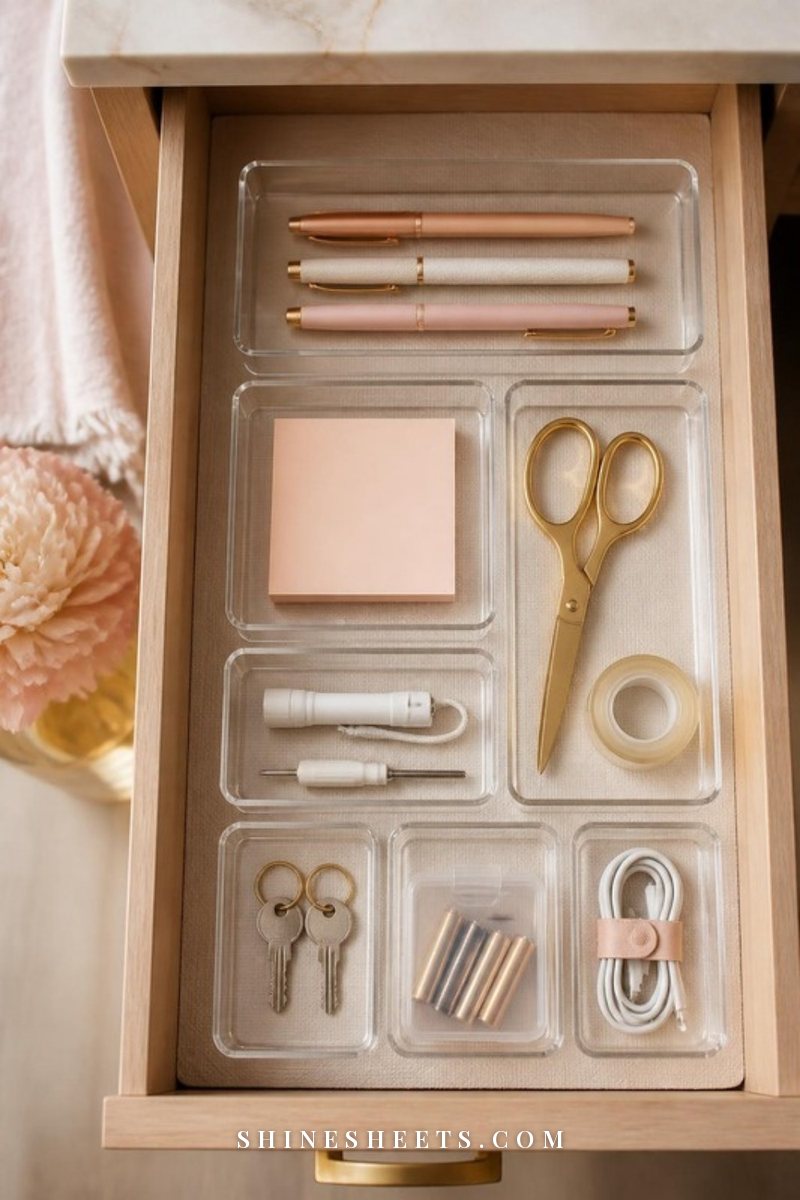
A junk drawer works best as a home for small, everyday tools you need near the kitchen or the front door. If an item doesn't fit one of these categories, it probably has a better home somewhere else. Screenshot this card and keep it handy for the next reset.
| Keep List Category | What Goes Here | Limit |
|---|---|---|
| Writing | Pens that work, one marker, one pencil | 3–4 total |
| Paper | One sticky note pad, one small notepad | 2 items |
| Cutting and sticking | One pair of scissors, clear tape, one roll of packing tape | 3 items |
| Small tools | Mini screwdriver, tape measure, small flashlight | 3–4 items |
| Keys | Spare keys you actually use, each on a labeled ring | Only working keys |
| Batteries | A few common sizes, new only, in a small container | 1 container |
| Everyday cords | One charger and one cable for the kitchen spot | 1–2 cords |
| Tiny bits | Rubber bands, safety pins, picture hooks, bag clips | 1 container each |
The "Limit" column is what keeps the drawer from slowly refilling. When a category goes over, that's your cue to edit, not to buy a bigger tray.
Where Everything Else Should Live
The Belongs Elsewhere pile is usually the biggest one, and it's the secret to a drawer that stays organized. Here's where the usual suspects can go instead:
- Takeout menus and paper coupons. Recycle them. Almost everything is online now, and the ones you love you'll remember.
- Receipts and warranties. A single folder or envelope in a filing box. Snap a photo of anything important.
- Medicine, vitamins and bandages. A dedicated first-aid box in a cool, dry cupboard, out of children's reach.
- Cleaning sponges and spare gloves. Under the sink – my guide to under-sink organization has ideas that fit even awkward pipes.
- Hair ties, lip balm and hand cream. A small tray by the door or in your bag, which is where you actually reach for them.
- Mail, sunglasses and outgoing returns. A drop zone near the front door. My entryway ideas show how to set one up so it stays tidy.
- Birthday candles, matches and lighters. A small box with your party or candle supplies, kept away from heat.
- Big tools, glue guns and extension cords. A proper toolbox or utility shelf.
The drawer gets lighter, and every other spot in the house gets a little more logical, too.
How To Keep Your Junk Drawer Organized
A drawer that looks lovely on day one is nice. A drawer that still looks that way in three months is the real goal. These three habits do almost all the work.
The One-In-One-Out Rule
Every time something new goes in, something old comes out. A new pen arrives from the bank? The scratchiest old pen goes. A new charger comes with a gadget? The frayed one gets recycled.
This rule works because the compartments already have a fixed size. You're not deciding whether you "need" more pens. You're just keeping the drawer at its natural capacity. It also makes you a lot more thoughtful about the freebies you bring home (you'll start leaving promotional pens on the counter where you found them).
The Monthly 2-Minute Reset
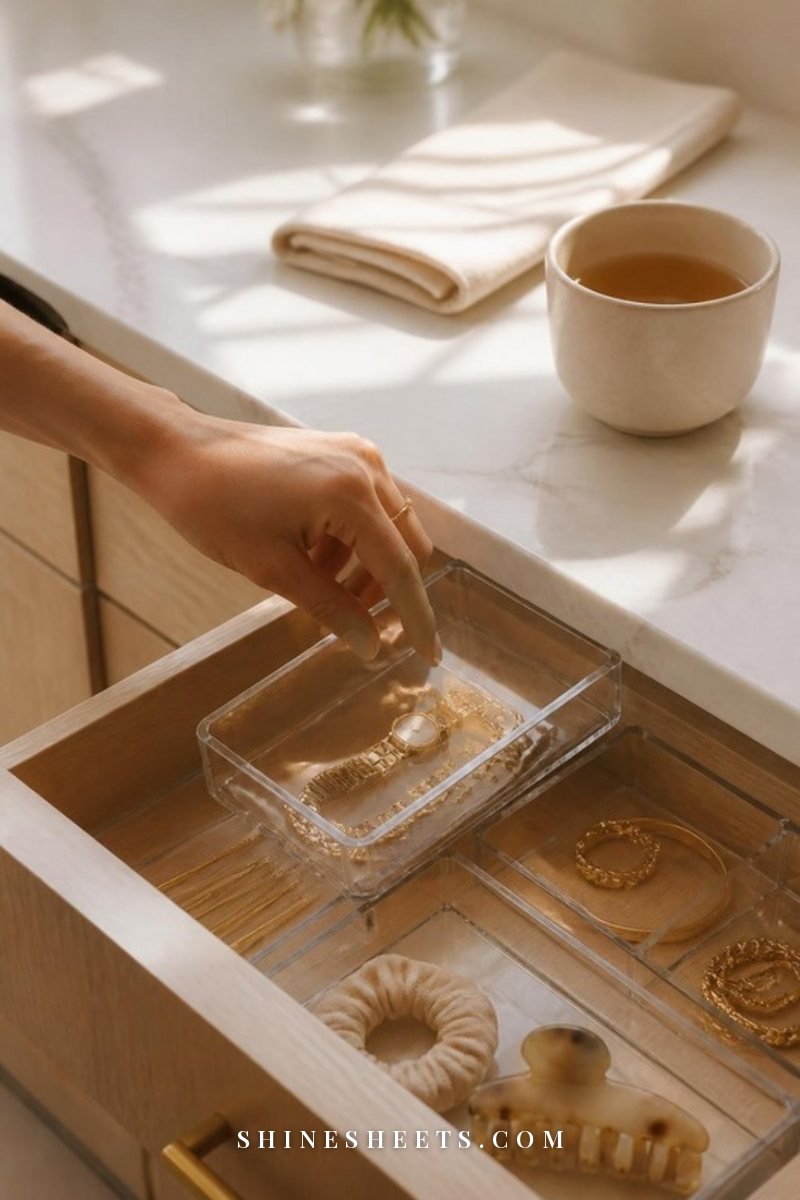
Once a month, open the drawer and spend exactly two minutes on it. Pair it with something you already do – the first Sunday of the month, or the day you water your plants – so it doesn't need its own reminder.
Here's the whole routine:
- Pull out anything that doesn't match a label (10 seconds of spotting, usually obvious).
- Toss dried pens, used-up tape and expired bits.
- Re-coil any loose cords.
- Push trays back into place and wipe up crumbs.
- Carry strays to their real homes.
That's five tiny steps, all in two minutes. If you already follow a monthly reset checklist, just add "junk drawer" as one line on it.
Give the Drawer One Job
Decide out loud (or at least in your head) what the drawer is for: "small tools and everyday supplies." When someone in your home is about to drop something in, that one sentence becomes the test. Does this help with small, everyday tasks? If yes, it gets a compartment. If not, it goes somewhere else.
It feels a little silly at first, but naming a drawer's job is one of the simplest ways to stop it from becoming a catch-all again.
5 Junk Drawer Mistakes To Avoid
- Buying organizers first. You'll end up with trays that don't fit your drawer or your items. Sort and measure first, shop second.
- Keeping "just in case" items. The orphan screw and the key to an old bike lock feel useful, but they quietly eat up space you need for things you use every week.
- Leaving empty space. Any open area larger than about an inch becomes a landing zone. Fill gaps with a mini container or move the trays closer.
- Organizing for someone else's drawer. Pinterest-perfect layouts are pretty, but yours should match what you actually grab. If you never use a stapler, it doesn't need a slot.
- Skipping the last step. If the Belongs Elsewhere pile stays on the counter, it will be back in the drawer by the weekend. Walk it to its homes before you call it done.
Final Thoughts
A tidy junk drawer is such a small win, but it's one you'll feel every single day: the scissors are where you expect them, the tape is right there, and nobody has to dig through tangled cords to find a pen that works.
Give it twenty minutes this week, keep the list short, and let the monthly two-minute reset do the rest. The drawer will still be a little bit of everything, just the useful kind, and that's exactly what it was meant to be.