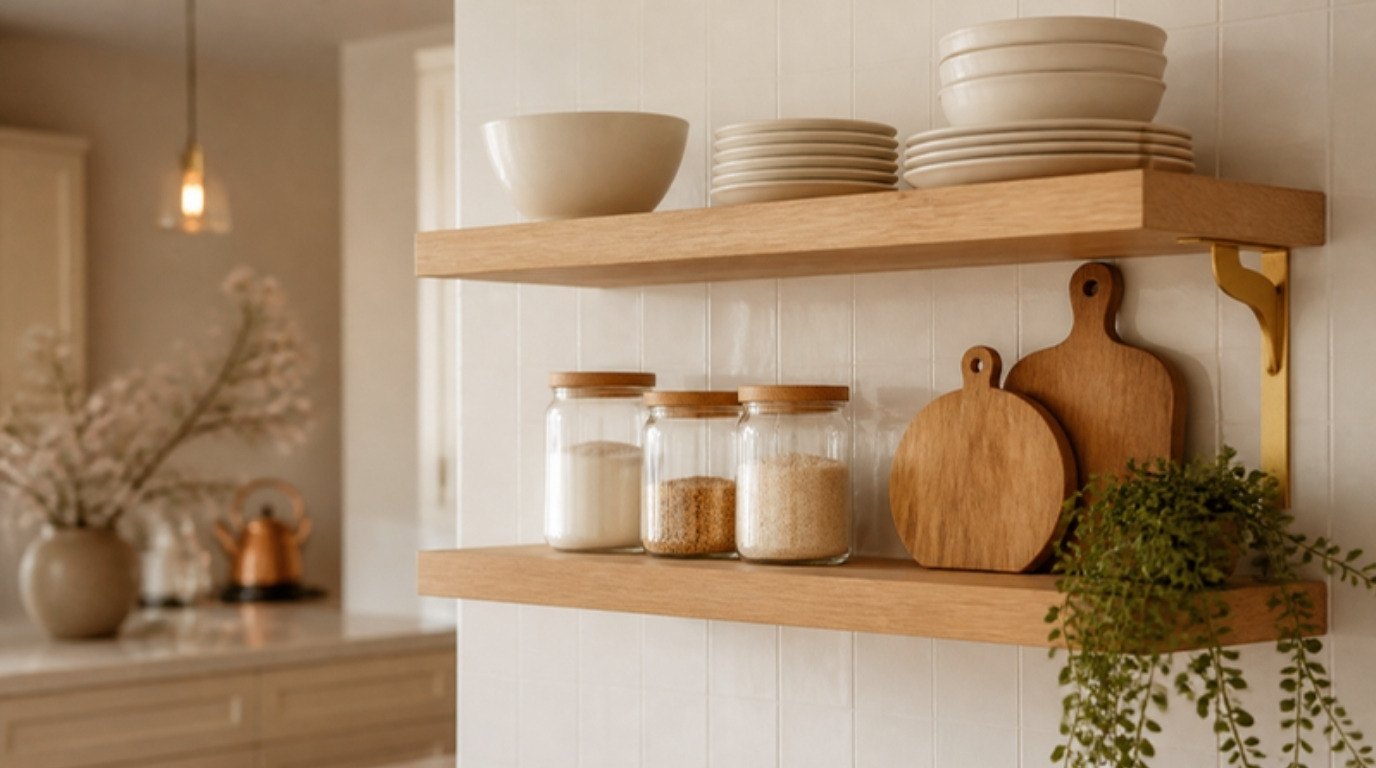
Open shelves look calm when they're mostly useful and only a little decorative. The kitchens that make you sigh on Pinterest aren't full of extra things. They're full of everyday things, chosen in a narrow color palette, arranged with a bit of breathing room around them. That's the whole secret, and it's much easier to copy than it looks.
The trouble starts when shelves become a landing spot for everything that doesn't fit in a cabinet. Mismatched mugs, half-used spice packets, a bottle opener shaped like a fish. Suddenly the kitchen feels busy even when it's clean. I've learned that the fix is rarely buying more decor. It's editing, grouping and giving each shelf a clear job.
This guide covers open kitchen shelf styling from start to finish: why shelves get cluttered so fast, 12 styling tips that keep them calm, a shelf-by-shelf layout plan you can follow, renter-friendly options, small kitchen versions and how to keep everything free of dust and grease.
Why Open Shelves Look Cluttered So Fast
Open shelving has no doors to hide behind, so your eye reads every single object at once. A few things make shelves tip from "styled" into "messy" quickly:
- Too many colors. Five different mug colors on one shelf look like five separate stories.
- Too many small things. Lots of tiny items read as clutter. A few larger pieces read as calm.
- Everything at the same height. A flat line of objects looks like storage, not styling.
- No empty space. When every inch is filled, there's nowhere for the eye to rest.
- Packaging. Printed boxes, bags and labels are visually loud, even when they're tidy.
The good news: every one of these has a simple fix, and none of them require a renovation.
Before You Style: Empty, Clean and Edit
Take everything off the shelves. Yes, all of it. It takes about 20 minutes, and it's the only way to see what you actually have.
Wipe the shelves with warm water and a few drops of dish soap on a soft cloth, then dry them right away (especially wood, which doesn't love standing water). If there's sticky grease near the stove, let the soapy cloth sit on the spot for a minute or two before wiping. Test any new cleaner on a hidden corner first, and never mix bleach with vinegar or ammonia.
Then sort what came off into three piles: use daily, use sometimes, and just decor. Only the first pile is guaranteed a spot on open shelves. The other two have to earn theirs. If you need a home for the overflow, my kitchen organization ideas will help you fit it into cabinets and drawers.
12 Open Kitchen Shelf Styling Tips
Work through these roughly in order. The first few do most of the heavy lifting, and the later ones are the finishing touches.
1. Start With What You Use Every Day
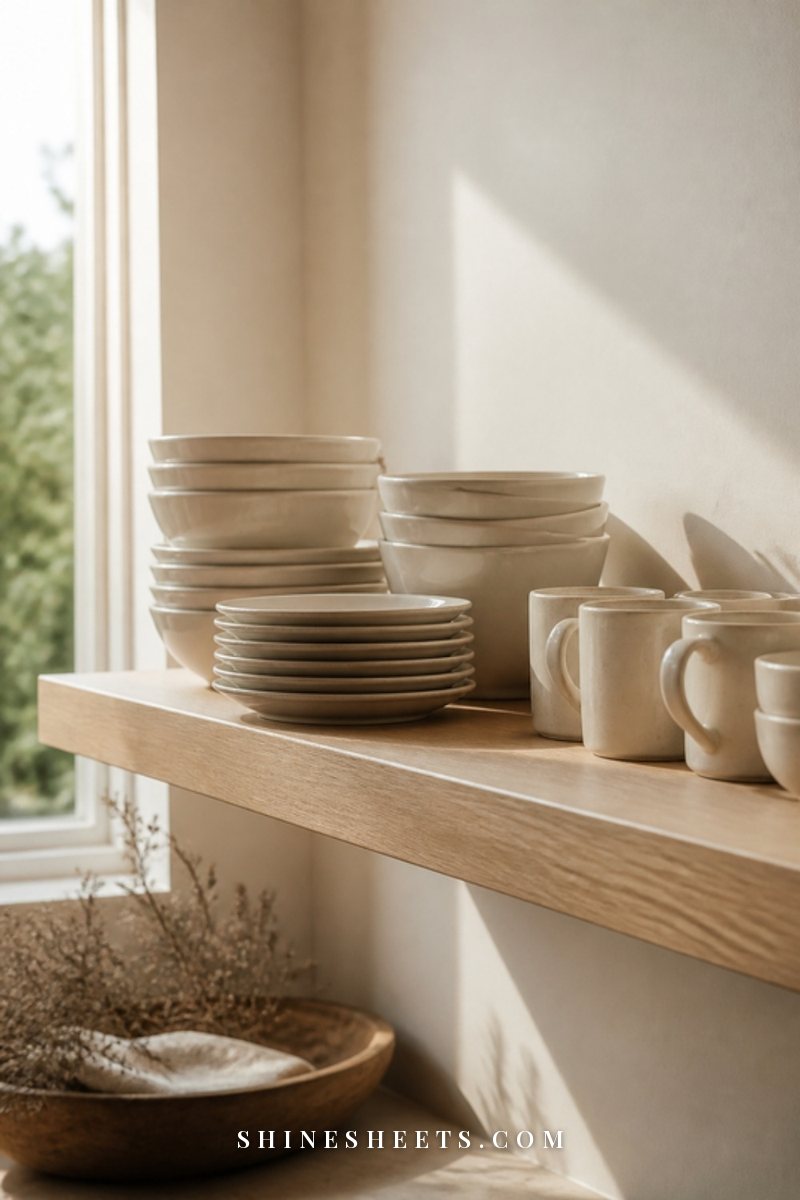
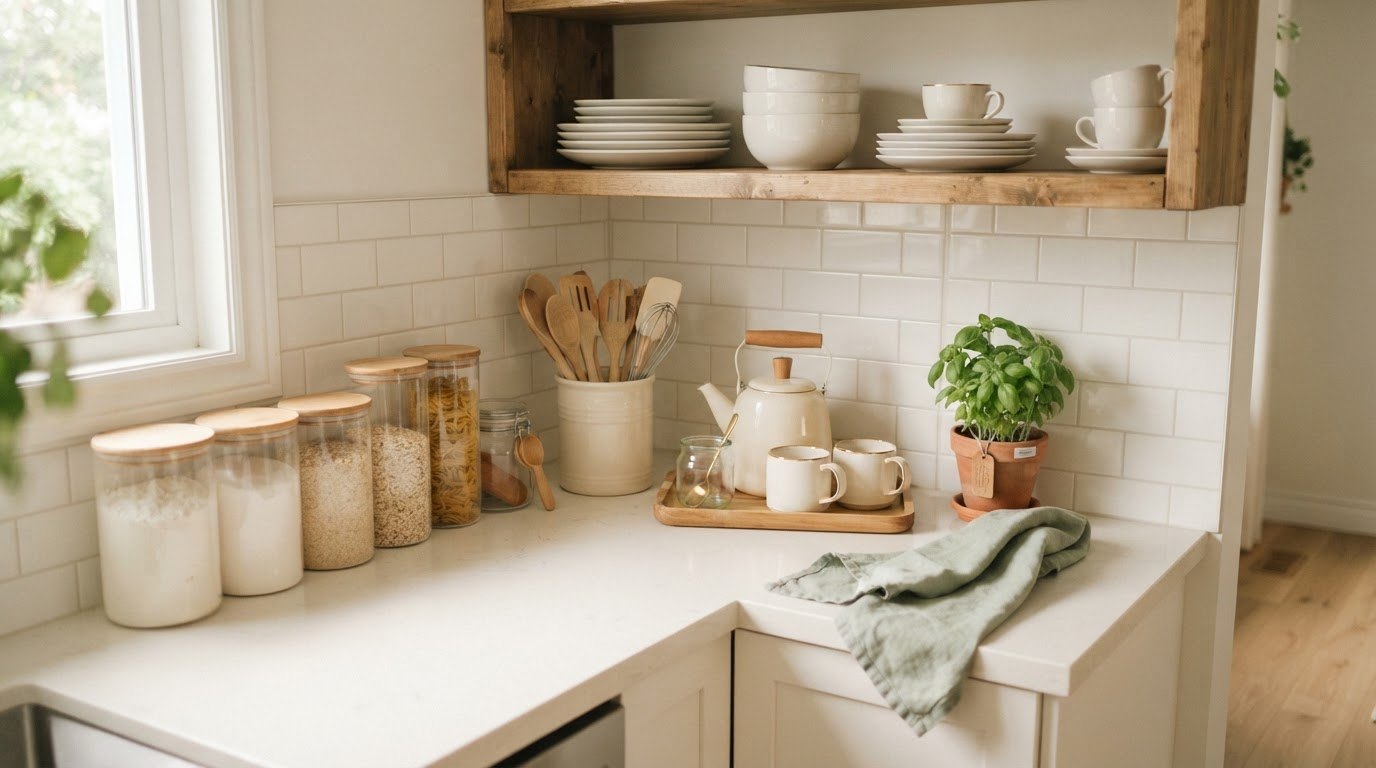
The calmest open shelves are functional first. Plates, bowls, everyday glasses and mugs belong on the lower, easiest-to-reach shelf, because you'll be grabbing them several times a day anyway. Stacked dishes have a lovely, quiet rhythm that looks intentional on its own.
If your current dishes are a mix of sets, this is where a simple cream ceramic dinnerware set makes the biggest difference. You don't need many pieces: six plates, six bowls and six mugs stacked neatly will instantly look more pulled together than twenty mismatched ones.
2. Pick a Tight Color Palette
Choose two or three colors and let everything on the shelves come from that family. A few palettes that always look calm:
- Cream, warm wood and brushed gold
- White, clear glass and sage green
- Beige, blush and natural linen
Anything outside the palette moves to a cabinet. This one rule alone will make your shelves look about twice as calm, because the eye can read the whole wall as one picture. If you're choosing colors for the rest of the room too, my kitchen decor ideas show how to carry the palette through.
3. Group Things in Odd Numbers
Groups of three or five look more natural than pairs or fours. Pairs feel stiff and formal, while odd numbers feel relaxed and collected. Try three stacked bowls, three jars of different heights, or a small vase with two little objects beside it.
A simple formula: one tall + one medium + one low. Use it for every little group and you'll rarely go wrong.
4. Build Visual Triangles
Once you have a few groups, arrange them so the tallest pieces form a loose zigzag across the shelves. If the tall vase is on the left of the top shelf, put the tall jar on the right of the middle shelf, then something tall on the left of the bottom shelf again. Your eye travels across the wall in a gentle triangle instead of getting stuck on one heavy side.
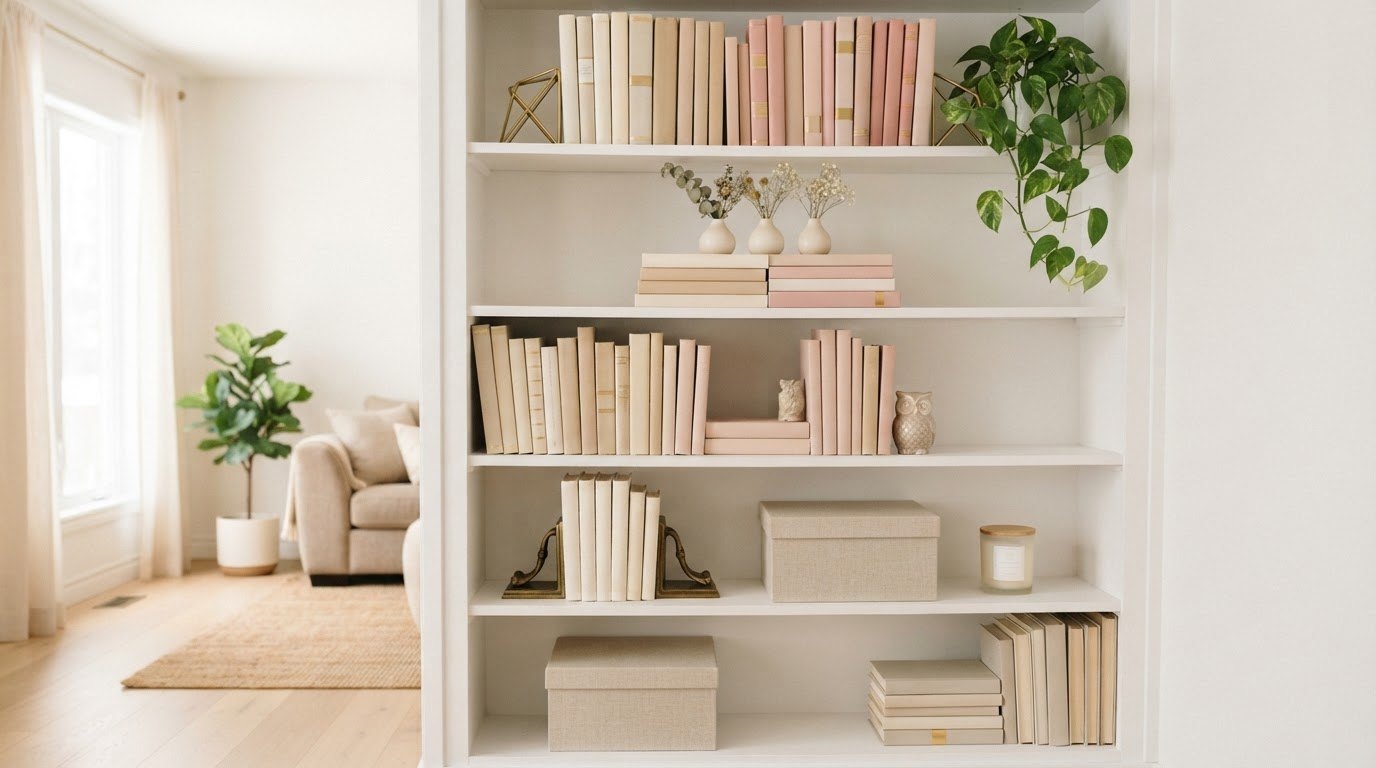
This is the same trick stylists use on bookcases, and my bookshelf styling guide explains it in more detail if you'd like to see it on a bigger scale.
5. Mix Heights and Shapes
Combine tall and short, round and square, stacked and standing. A flat line of identical mugs looks like a store display. A stack of plates beside a tall pitcher and a low round bowl looks like a home.
Look at your shelf from a few steps back and squint a little. If everything blurs into one horizontal band, add something tall. If it looks jumpy, remove one small item.
6. Decant Into Matching Glass Jars
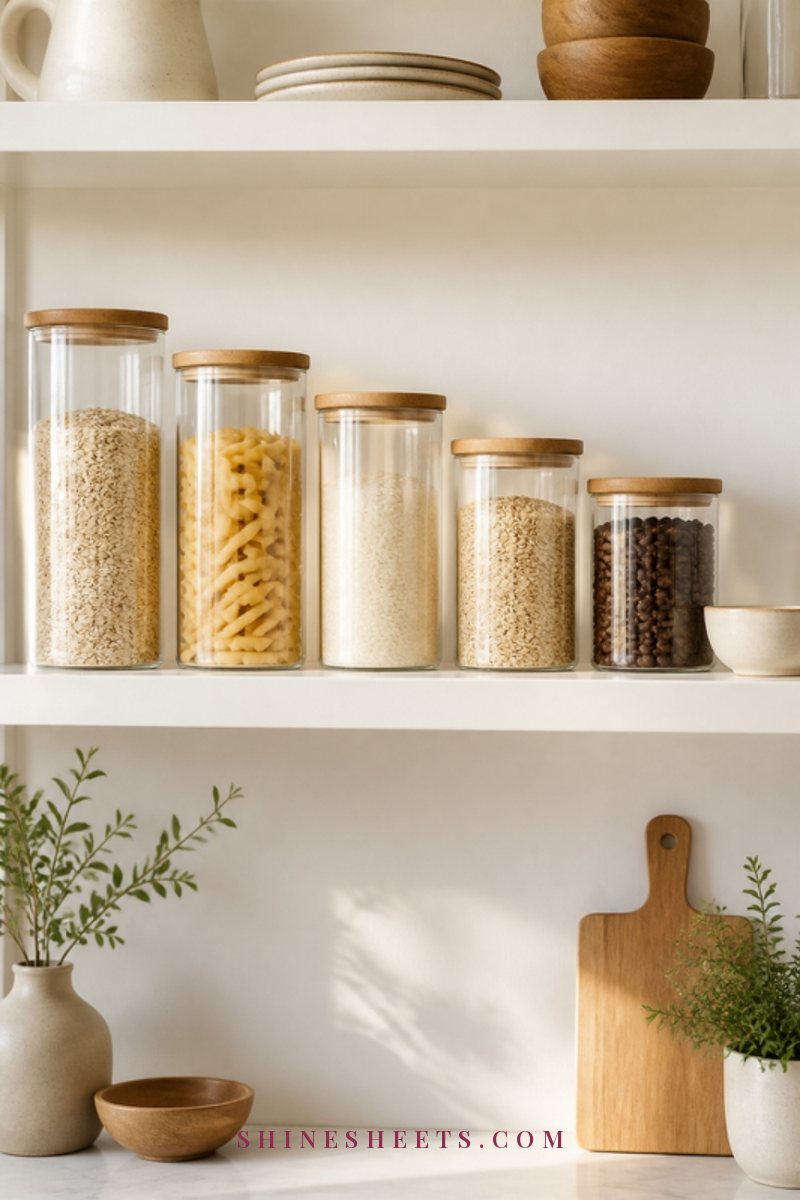
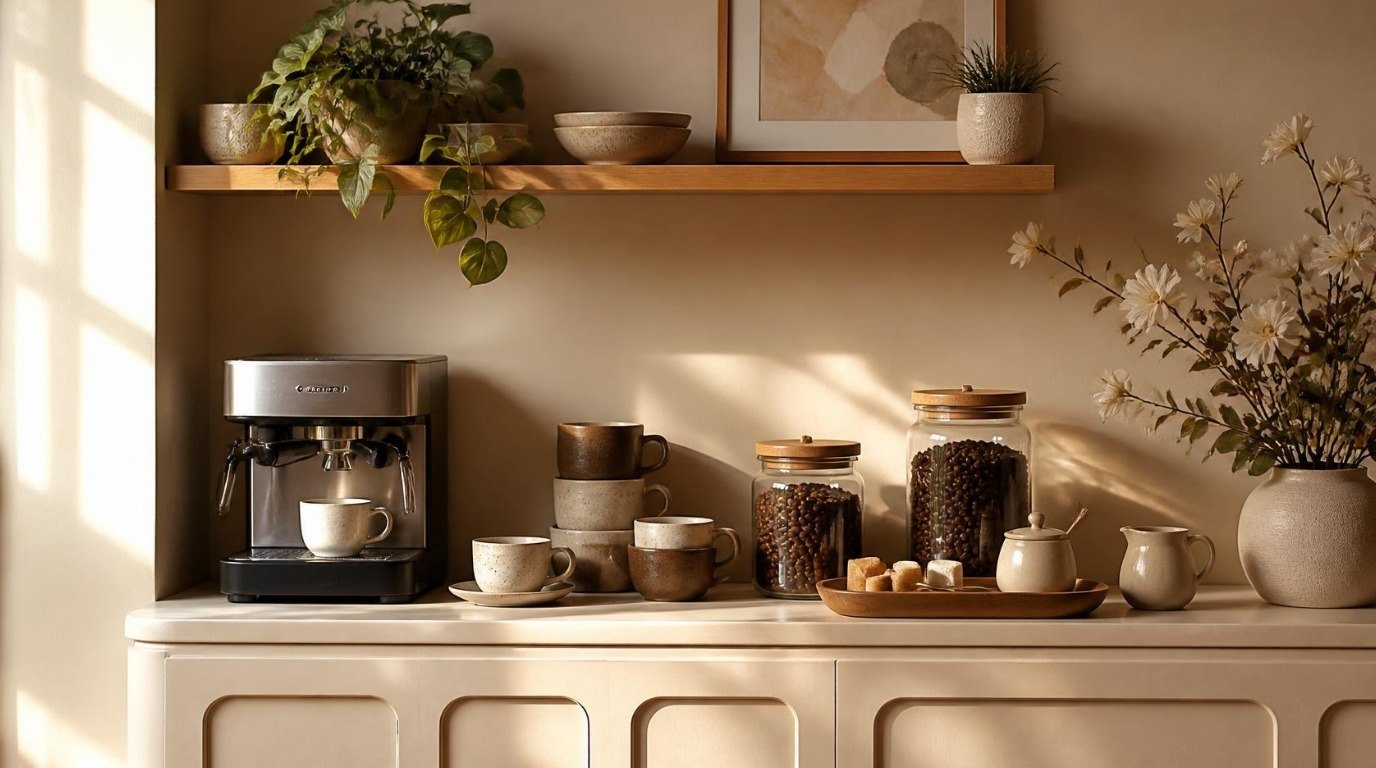
Printed packaging is one of the loudest things in a kitchen. Moving dry staples like oats, pasta, rice and coffee beans into a set of glass storage jars with wooden lids turns them into something soft and pretty to look at, and you can see at a glance when something's running low.
Choose jars in two or three sizes from the same set so they feel related. Line them up from tallest to shortest, or group them in threes. If you want labels, go for small, simple ones in the same color as your palette, placed on the lids or backs rather than the fronts.
7. Lean Cutting Boards for Warmth
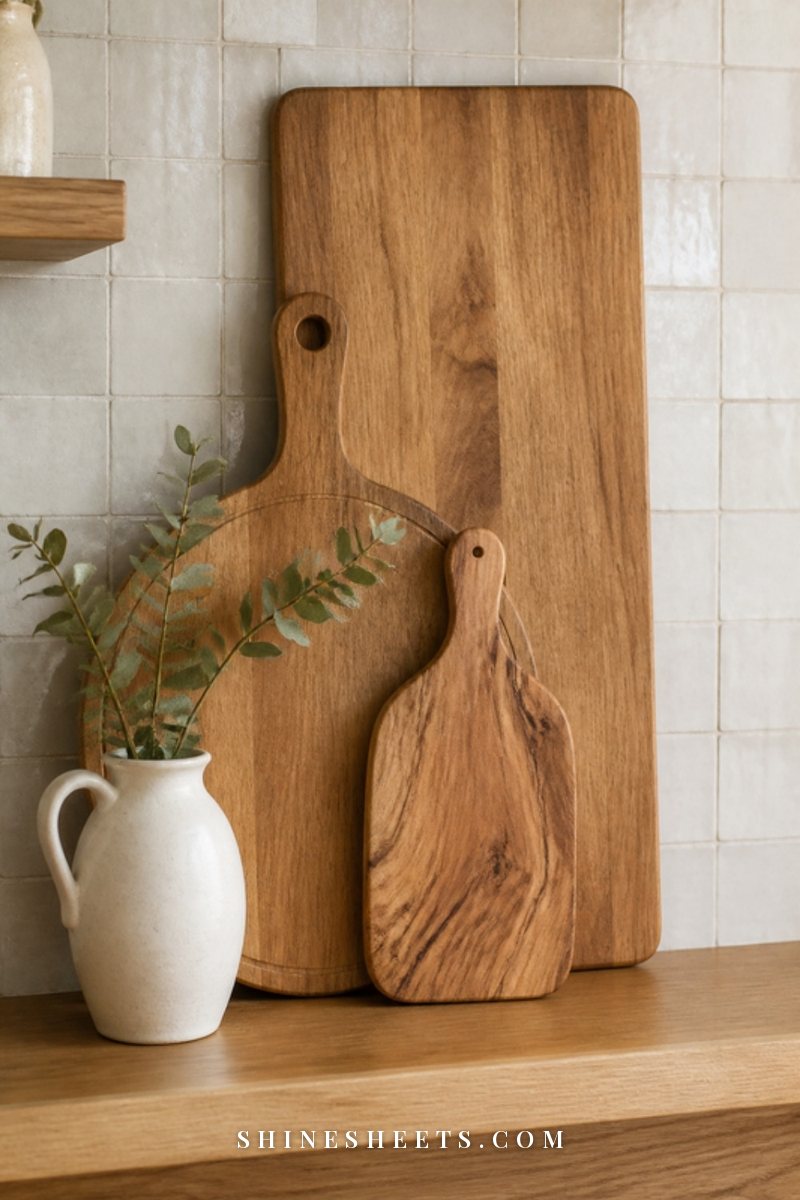
Wooden boards add warmth, texture and a lived-in feeling without adding clutter, because they're still useful. Lean two or three wooden cutting boards of different sizes against the back of a shelf, layered slightly, with the largest at the back.
Round paddle boards and long rectangular ones look especially nice together. They also make a lovely backdrop for a small pitcher or vase placed in front.
8. Add One Living (or Living-Looking) Thing
Every shelf wall needs one soft, organic shape to break up all the hard edges of dishes and jars. A small trailing plant, a little herb pot or a few stems in a bud vase is enough.
Open shelves near a stove get warm and steamy, and many plants won't love that, so a small faux trailing plant is a practical pick. Look for one with matte leaves and realistic variation in color. Let it spill gently over the edge of the top shelf for movement.
9. Bring In One Piece of Art
A small framed print or painting leaning at the back of a shelf makes a kitchen feel personal and finished. Keep it simple: a still life, a botanical sketch or an abstract in your palette. Lean it rather than hanging it, and layer one small object in front for depth.
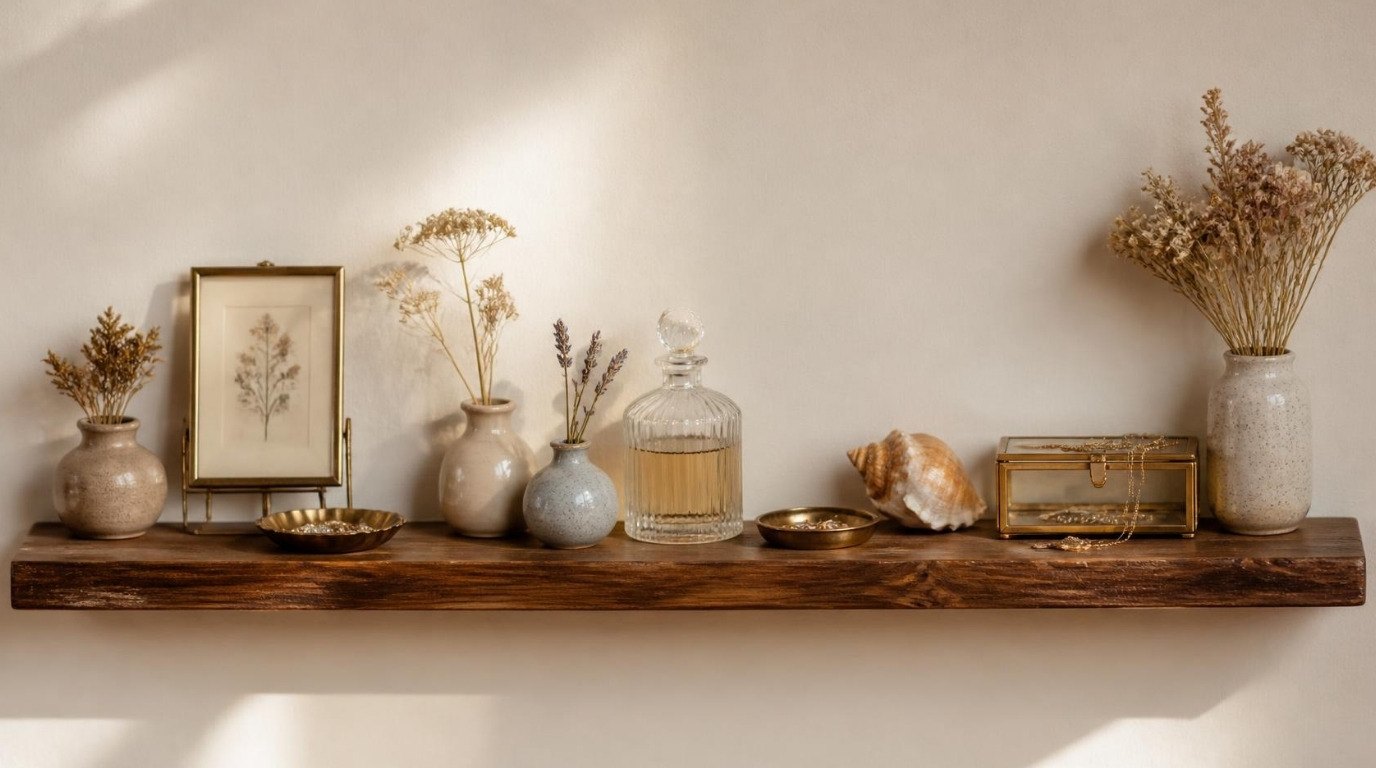
One piece is plenty. More than that starts to compete with the dishes. If you love little collections and want somewhere else to show them off, my trinket shelf ideas give them their own spot outside the kitchen.
10. Leave Empty Space on Purpose
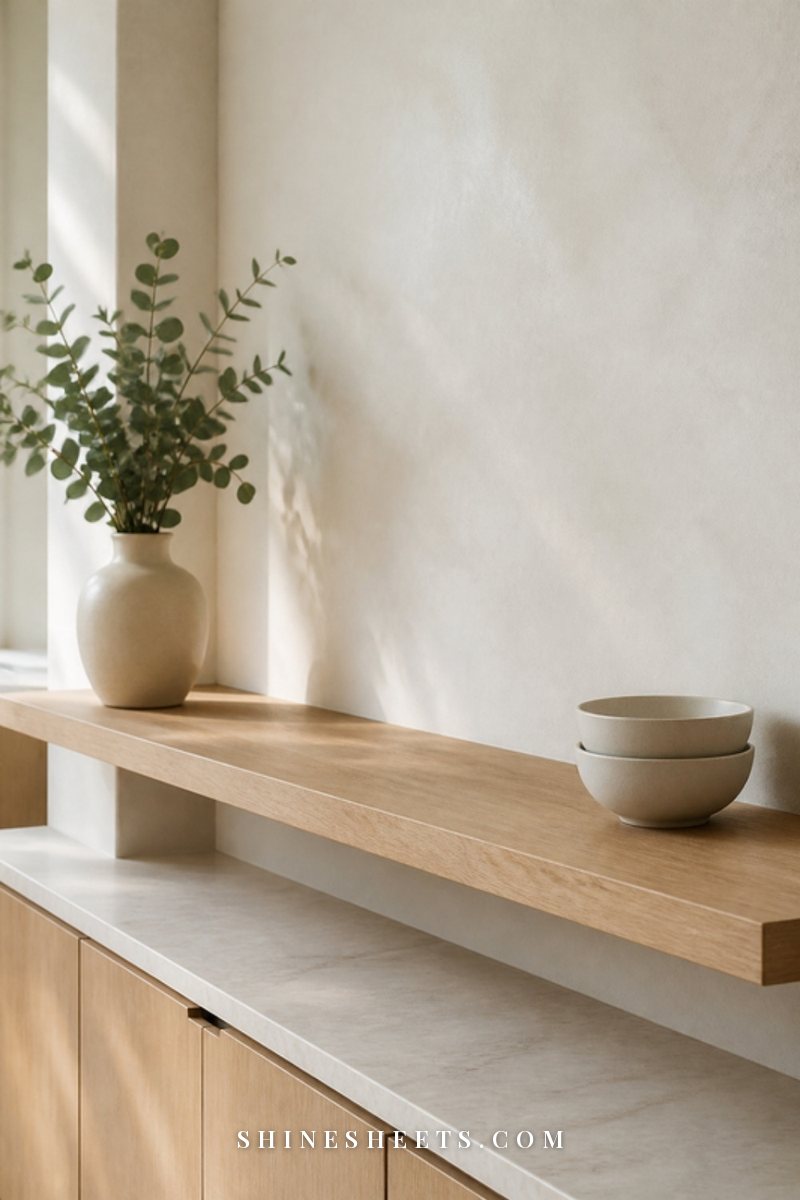
This is the tip most people skip, and it's the one that makes shelves look expensive. Aim for roughly a third of each shelf to be empty. Empty space gives every object room to be seen and makes the whole kitchen feel lighter.
If you're unsure, take one thing away from each shelf and live with it for a day. I almost never want the item back. Calm comes from what you leave out as much as what you put in.
11. Style for Grease and Dust
Open shelves gather dust everywhere and grease near the stove. Plan for it so your styling stays easy to keep up:
- Keep the shelves closest to the stove for things you use and wash often (daily plates, mugs), so they never sit long enough to get sticky.
- Put decor pieces on the shelves furthest from the cooktop.
- Choose smooth, wipeable objects over fussy, textured ones near cooking areas.
- Run the range hood every time you cook; it catches a surprising amount of airborne grease.
- Wipe shelves weekly with a damp microfiber cloth, and do a full take-everything-off clean once a month (about 15 minutes).
For more ways to keep surfaces cleaner between wipes, my sister post on how to reduce dust is full of small habits that add up.
12. Edit Seasonally
Swap just one or two items each season to keep shelves feeling fresh without starting over. A pitcher of branches in fall, a few pine sprigs in winter, cream tulips in spring, a bowl of lemons in summer. Everything else stays the same.
This also stops the slow creep of clutter. When something new goes up, something old comes down. One in, one out.
Shelf-by-Shelf Layout Plan
If you'd like a simple plan to follow, here's how I'd fill a typical set of three open shelves. Adjust the items to your own kitchen, but keep the job of each shelf.
| Shelf | Main job | What goes here | Styling tip |
|---|---|---|---|
| Top shelf | Display and rarely used pieces | One piece of art, a tall vase or pitcher, a faux trailing plant, serving bowls you use for guests | Put the tallest item here on one side, and let the plant spill over the edge on the other. |
| Middle shelf | Pantry and warmth | Three to five glass jars of dry staples, leaning cutting boards, a small cookbook stack | Group jars in odd numbers from tall to short; lean boards behind a low object for depth. |
| Bottom shelf | Everyday dishes | Stacks of plates and bowls, a row of mugs, everyday glasses | Keep it to one color; stack plates by size and leave a hand's width of space between stacks. |
| Single shelf only | A bit of everything | One stack of plates, three jars, one leaning board, one small plant | Use one tall + one medium + one low per group, and leave a third of the shelf empty. |
Screenshot this and keep it handy the next time you restyle. It's a lot easier to edit when each shelf has a clear job.
Renter-Friendly Open Shelving
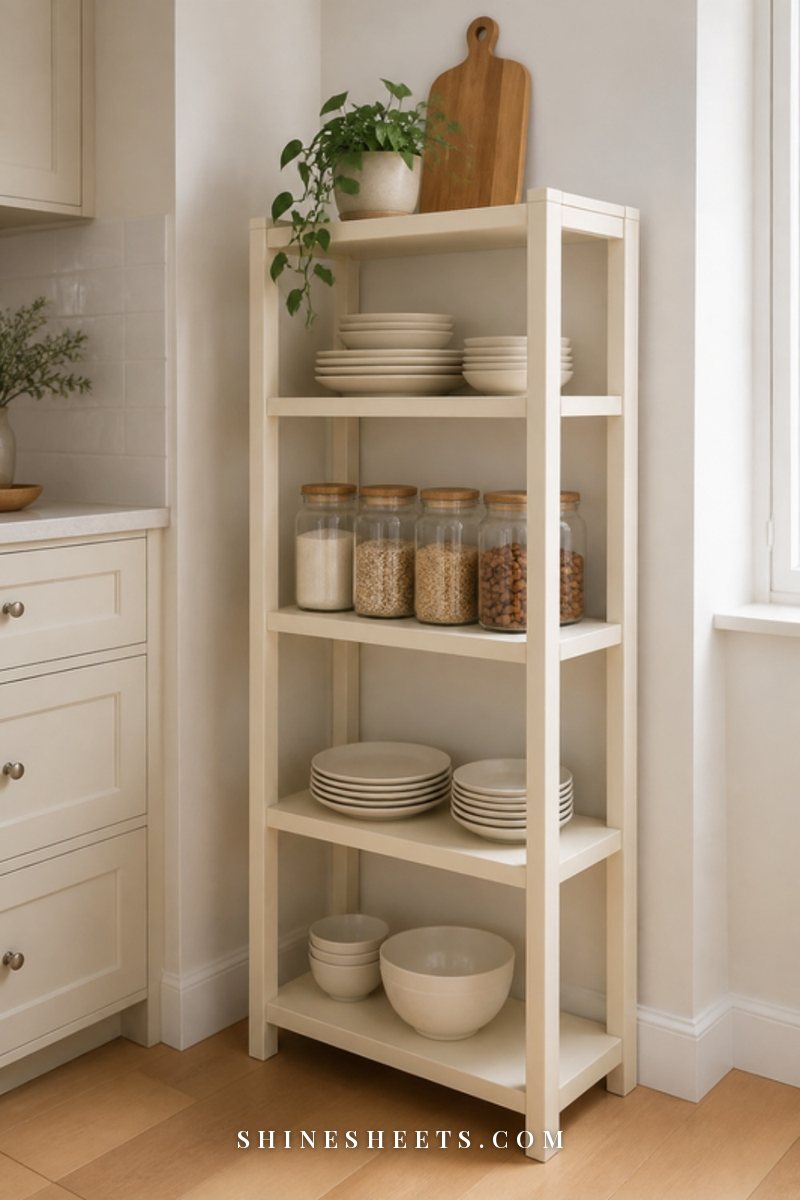
You don't need permission to drill dozens of holes to get the open-shelf look. Some gentle options:
- Freestanding shelving units. A slim open bookcase or bakers rack against a free wall gives you three or four shelves with zero installation.
- Remove a few cabinet doors. Unscrew the doors on one or two upper cabinets, store the doors and hinges safely, and style the inside like open shelves. Screw them back on when you move.
- Countertop risers. A two-tier wooden riser in a corner gives you a mini open shelf for mugs and jars.
- Minimal holes. If you're allowed a few holes, floating wooden shelves need only a couple of screws each and patch easily when you leave. Always anchor into studs or use anchors rated for the weight, because dishes are heavier than they look.
If you do get to mount shelves, brushed gold shelf brackets under plain wooden boards look custom and polished for very little money. For more ideas that don't risk your deposit, my renter-friendly kitchen upgrades guide covers lighting, backsplashes and hardware too.
Small Kitchen Versions
In a tiny kitchen, open shelves have to work even harder, so the rules shift slightly:
- Go one shelf, not three. A single long shelf above the counter looks clean and gives you plenty of storage.
- Stick to one color. White or cream dishes on a white wall make the kitchen feel bigger because the shelf almost disappears.
- Use vertical space. Run a shelf higher up, closer to the ceiling, for things you don't need daily.
- Keep decor to one piece. In a small space, one plant or one small print is enough. Let the dishes do the rest.
- Add a rail underneath. A slim rail with S-hooks under the shelf holds mugs or utensils and frees up shelf space.
Three Styling Formulas for Different Kitchen Styles
The 12 tips work in any kitchen, but the objects you choose change the mood. Here are three simple formulas to borrow, depending on the feel you're after.
Warm Modern
Light oak shelves, cream and white dishes, clear glass jars, one leaning wooden board and a tall ceramic vase with a few branches. Hardware in brushed gold or black. The look is clean and calm, with just enough wood to keep it from feeling cold. Keep the decor to two pieces per shelf at most.
Soft Farmhouse
Slightly rustic wood, stacked ironstone-style plates, a pitcher with fresh greenery, a small framed botanical print and a few linen tea towels folded neatly on the bottom shelf. Baskets work beautifully here for holding onions, potatoes or extra napkins. The key is restraint: one basket, one pitcher, one print, so it reads as charming rather than busy.
Parisian Minimal
White shelves on a white wall, white dishes, a few pieces of clear glassware, one small vintage bowl and a single bud vase with one stem. Add a brass detail somewhere, like a small candle holder or a tray. This look relies almost entirely on empty space, so leave more room than feels natural, closer to half of each shelf.
Whichever formula you choose, stay with it for the whole wall. Mixing all three is where open shelves start to feel confused.
A Quick Weekly Shelf Reset
Once your shelves are styled, a five-minute reset each week keeps them that way. Here's the order I'd follow:
- Put back anything that wandered onto the shelves during the week (keys, mail, a stray spice jar).
- Restack plates and bowls so the edges line up.
- Turn mug handles all in the same direction.
- Wipe the front edge of each shelf with a damp microfiber cloth, where dust and fingerprints collect first.
- Check your fresh stems or greenery and swap or remove anything tired.
It sounds small, but these five steps are the difference between shelves that look styled for a month and shelves that look styled for good.
Common Open Shelf Mistakes To Avoid
- Styling for a photo instead of real life. If you have to move three things to get a plate, it won't stay pretty for long.
- Too many tiny objects. Swap five small things for one larger one.
- Shelves too deep or too shallow. Around 10 to 12 inches deep fits most dinner plates without looking bulky.
- Ignoring the wall behind. A busy backsplash plus busy shelves is too much. If your wall has pattern, keep the shelves extra simple.
- Never editing. Shelves slowly fill up. A quick monthly reset keeps them calm.
Final Thoughts
Open kitchen shelf styling isn't about owning perfect dishes or a designer kitchen. It's about choosing a small palette, giving each shelf a job, grouping things gently and leaving a little room to breathe.
Start with the everyday pieces you already love, take away a bit more than feels comfortable, and add one warm, living touch. Your kitchen will feel calmer every time you walk in, and that quiet feeling is worth far more than any new piece of decor.