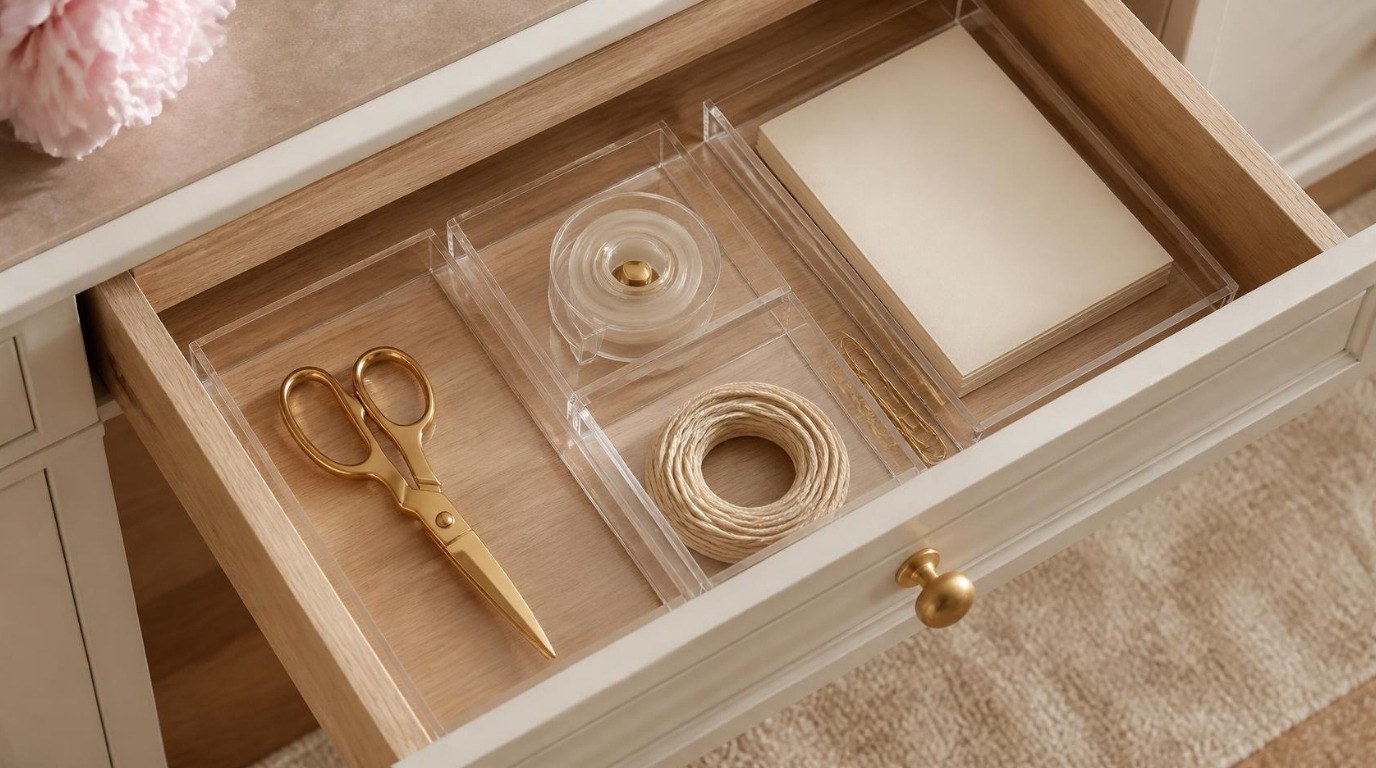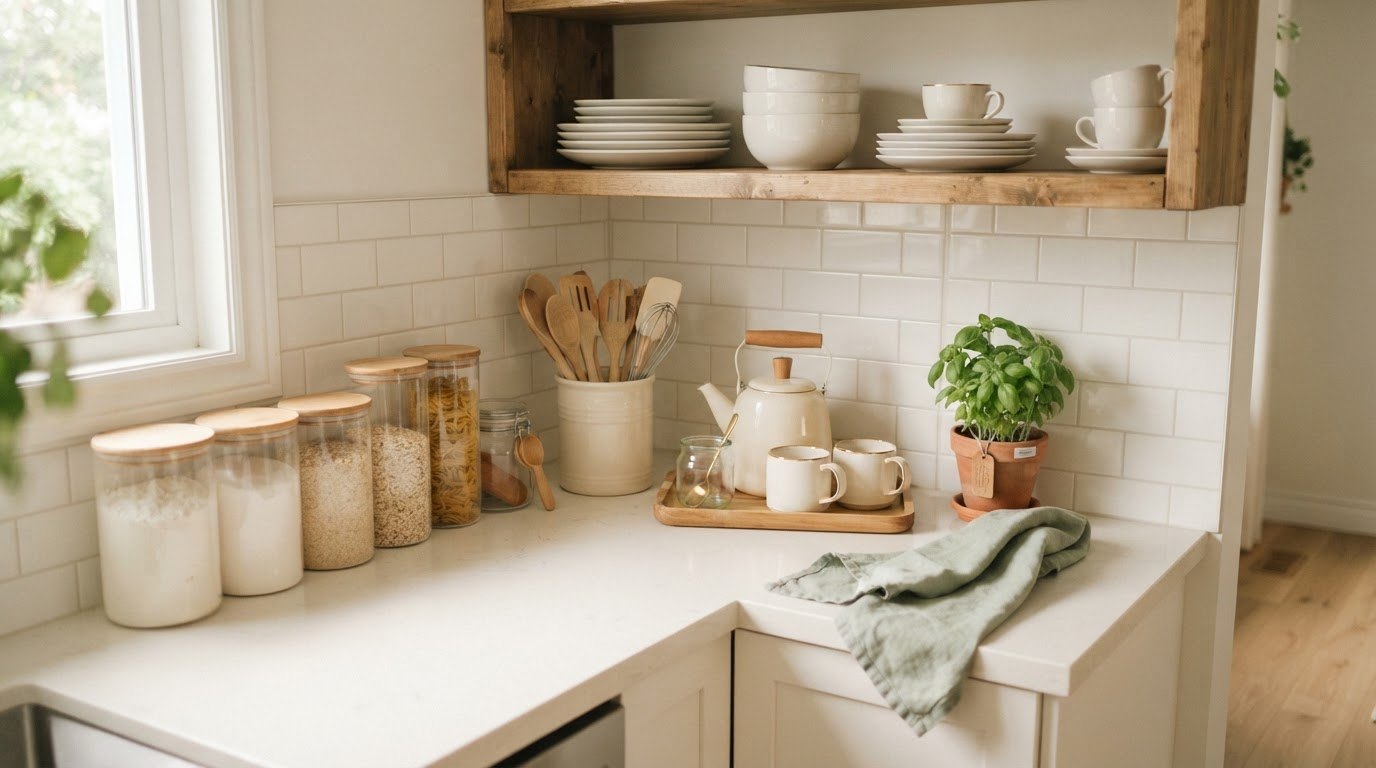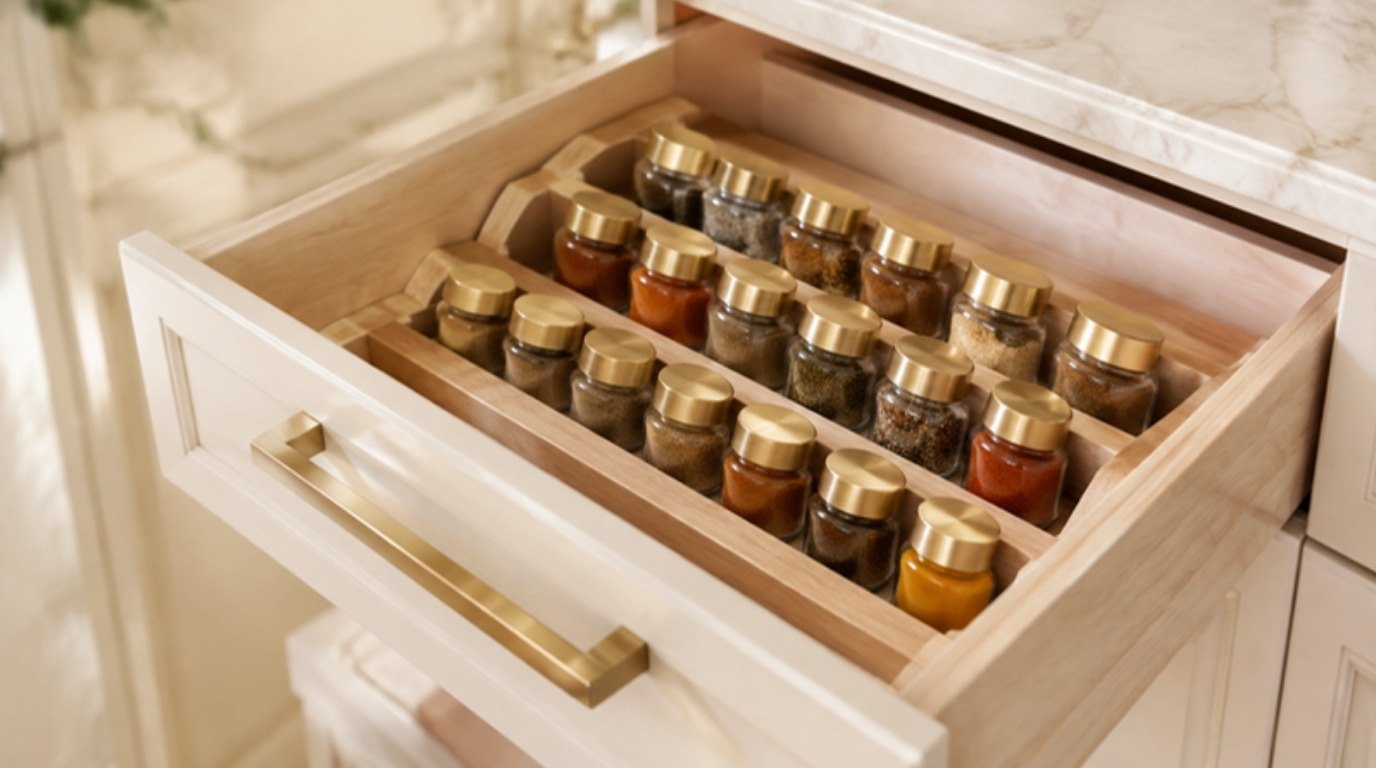
A tidy kitchen drawer has very little to do with how much space you have. It comes down to two things: every tool has one obvious home, and that home sits right where your hands already reach for it. Get those two right and even a narrow rental drawer starts to feel calm (and stays that way without daily effort).
Most drawer chaos isn't a character flaw, either. It's what happens when a kitchen collects things faster than it lets them go: a second peeler, a takeaway set of chopsticks, the garlic press nobody likes. I'll admit I kept three wooden spoons with burnt tips for far too long simply because I never opened the drawer with a plan.
This guide is all about kitchen drawer organization, drawer by drawer. You'll learn how to empty and sort one drawer at a time, how to zone your drawers by where you actually cook, how to set up the six most common kitchen drawers, which dividers suit which job, how to store knives safely, and the two small rules that keep it all from sliding back. There's also a quick-reference table you can screenshot. No remodeling, no drilling, no expensive custom inserts.
If you want the bigger picture for counters, cabinets and shelves too, my kitchen organization ideas for small kitchens cover the whole room. Here, we go deep on drawers and utensils only.
Why Kitchen Drawers Get Messy So Fast
Drawers are the easiest place in a kitchen to hide things. You close them and the mess disappears, so nothing pushes you to deal with it. A few patterns show up in almost every kitchen:
- No dividers. Without walls, tools slide to the back every time the drawer opens and closes.
- Duplicates. Two can openers, four spatulas, a drawer of mismatched measuring spoons.
- The wrong drawer in the wrong spot. Spatulas stored across the room from the stove, so they get dropped wherever is closest.
- Long tools stored at an angle. One ladle placed diagonally jams the drawer and blocks everything underneath.
- Broken things kept "for now". The cracked lid, the whisk with a bent wire, the peeler that only peels skin off your knuckles.
The good news: every one of these has a small, cheap fix. You don't need more space. You need fewer things in each drawer and a clear job for each one.
Start Here: Empty One Drawer and Sort It
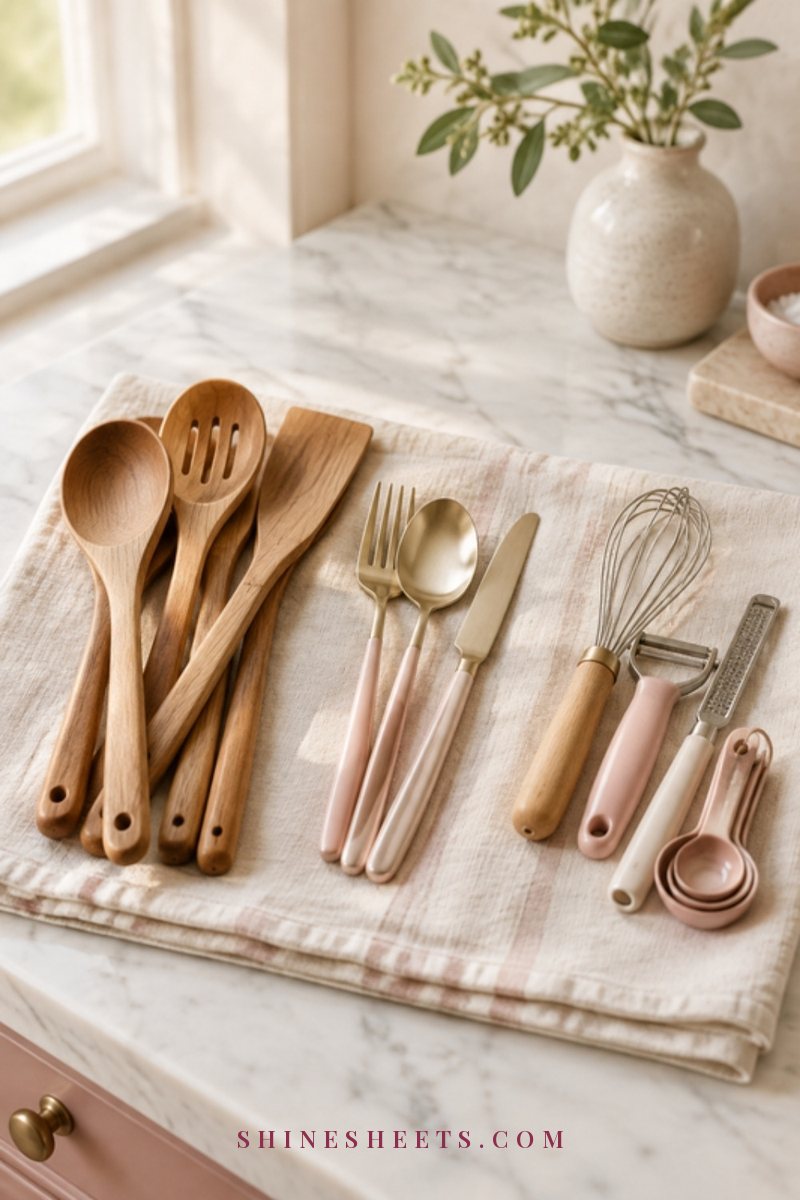
Please don't empty every drawer at once. That turns a calm afternoon into a kitchen covered in whisks. Work on one drawer, finish it, and only then move on. One drawer takes about 15 to 20 minutes.
- Take everything out. Lay it on a clean towel on the counter so you can see it all in one place.
- Wipe the drawer. Vacuum the crumbs, then wipe with warm soapy water and dry completely before anything goes back.
- Sort into three piles: keep (you used it in the last few months and it works), duplicates (the second and third of something), and broken (cracked, melted, rusty, missing parts).
- Deal with the piles right away. Broken goes in the trash or recycling today. Duplicates in good condition go into a donation bag that leaves the house this week.
- Put back only the keep pile, using the drawer plan below.
A gentle rule for duplicates: keep one of each everyday tool, and two only of the things you genuinely use at the same time (two wooden spoons when you're stirring two pans, for example). If you're unsure about something, put it in a box with today's date written on top. Anything you haven't pulled out after three months can go.
That catch-all drawer of batteries, takeaway menus and mystery keys is its own project, by the way. My guide to fixing a junk drawer in 20 minutes walks you through that one separately.
Zone Your Drawers by Where You Use Them
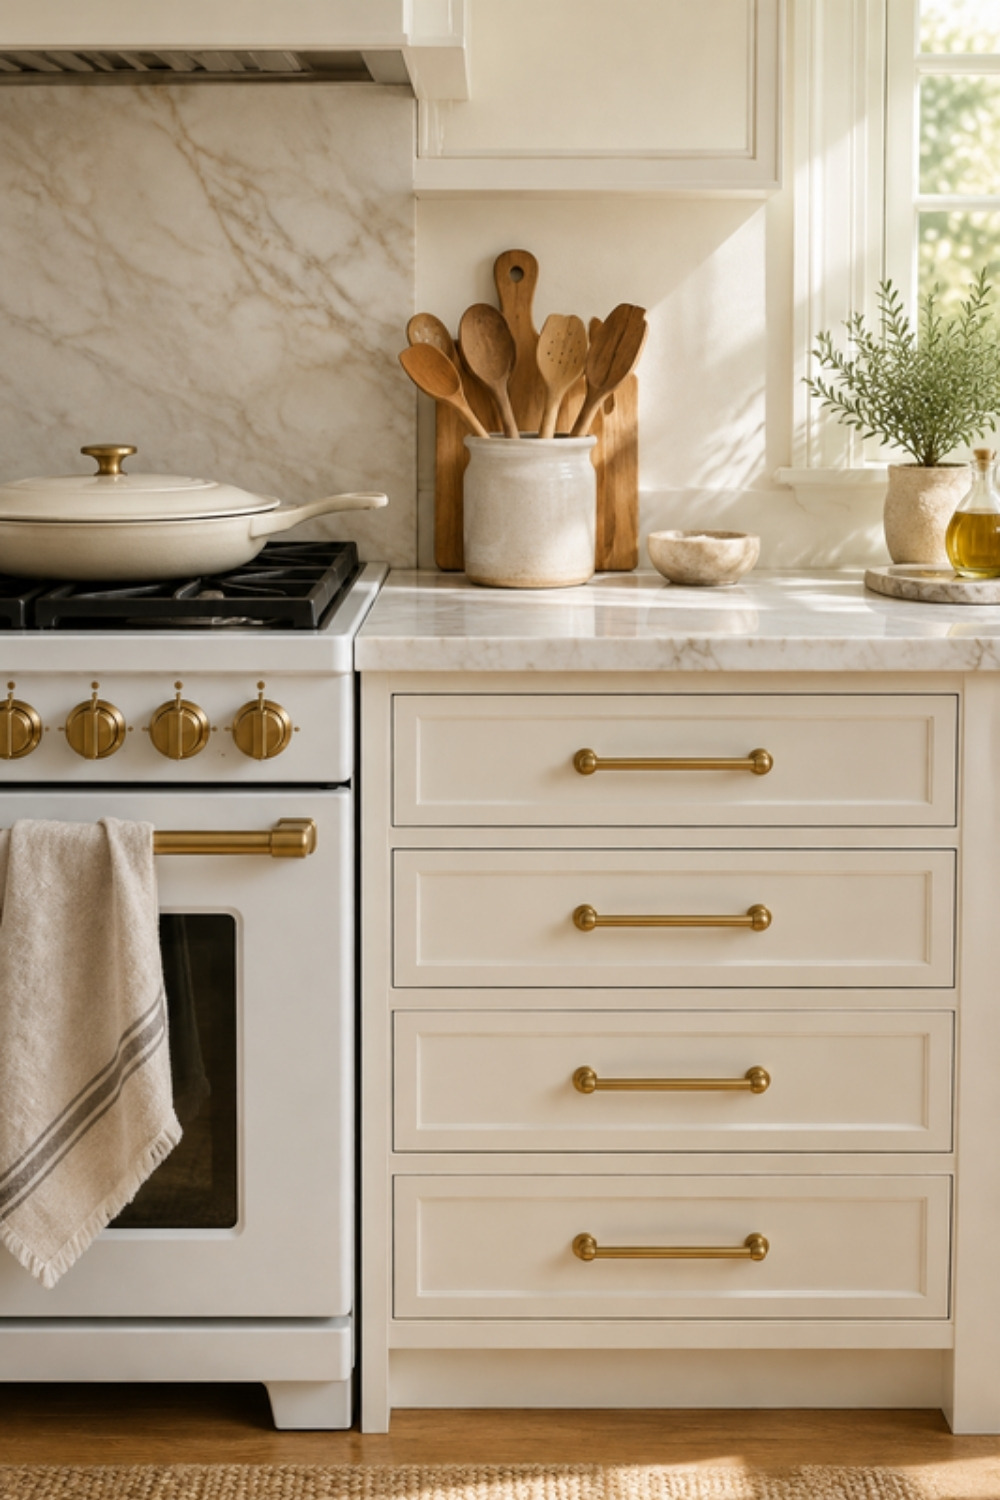
This is the step that makes the biggest difference, and it costs nothing. Before you buy a single divider, stand in your kitchen and notice where each job happens. Then give each drawer the tools for the job that happens right above it.
- Prep zone (next to your main counter space): knives, peelers, measuring cups and spoons, cutting board scrapers, kitchen scissors.
- Cooking zone (closest to the stove): spatulas, wooden spoons, tongs, ladles, a whisk, oven mitts.
- Serving and dish zone (near the dishwasher or dish rack): cutlery, serving spoons, cake server, so unloading takes seconds.
- Clean-up zone (near the sink): tea towels, dish cloths, foil and wraps, food bags.
A good test: you should be able to grab the tool you need while standing in one spot, without taking more than one step. If you're walking back and forth across the kitchen with a hot pan, the drawer is in the wrong place, not you.
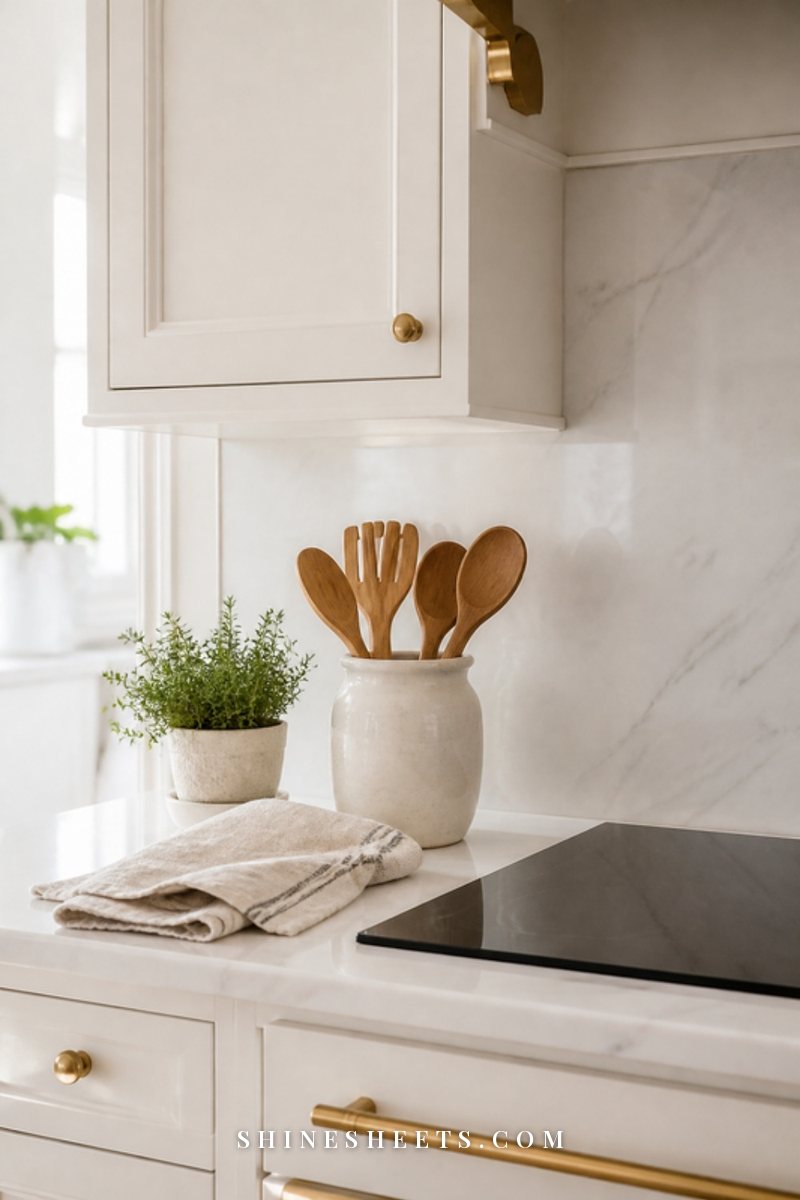
In a tiny rental with only two or three drawers, combine zones: one drawer for cutlery and prep tools, one for cooking utensils, and one for towels and wraps. Overflow cooking tools can stand in a ceramic utensil crock next to the stove, which frees a whole drawer.
The 6 Kitchen Drawers and How To Organize Each One
Your kitchen may not have all six, and that's completely fine. Read through, find the ones you have, and borrow the ideas that fit.
1. The Cutlery Drawer
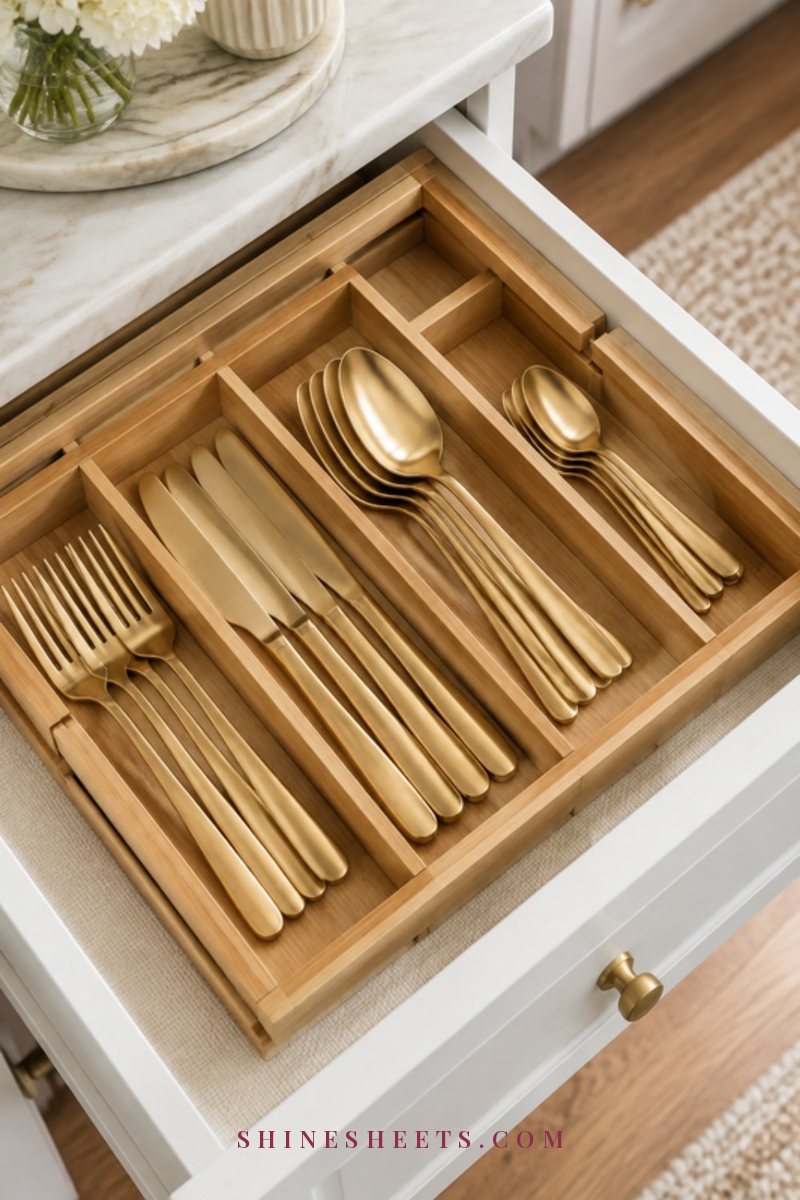
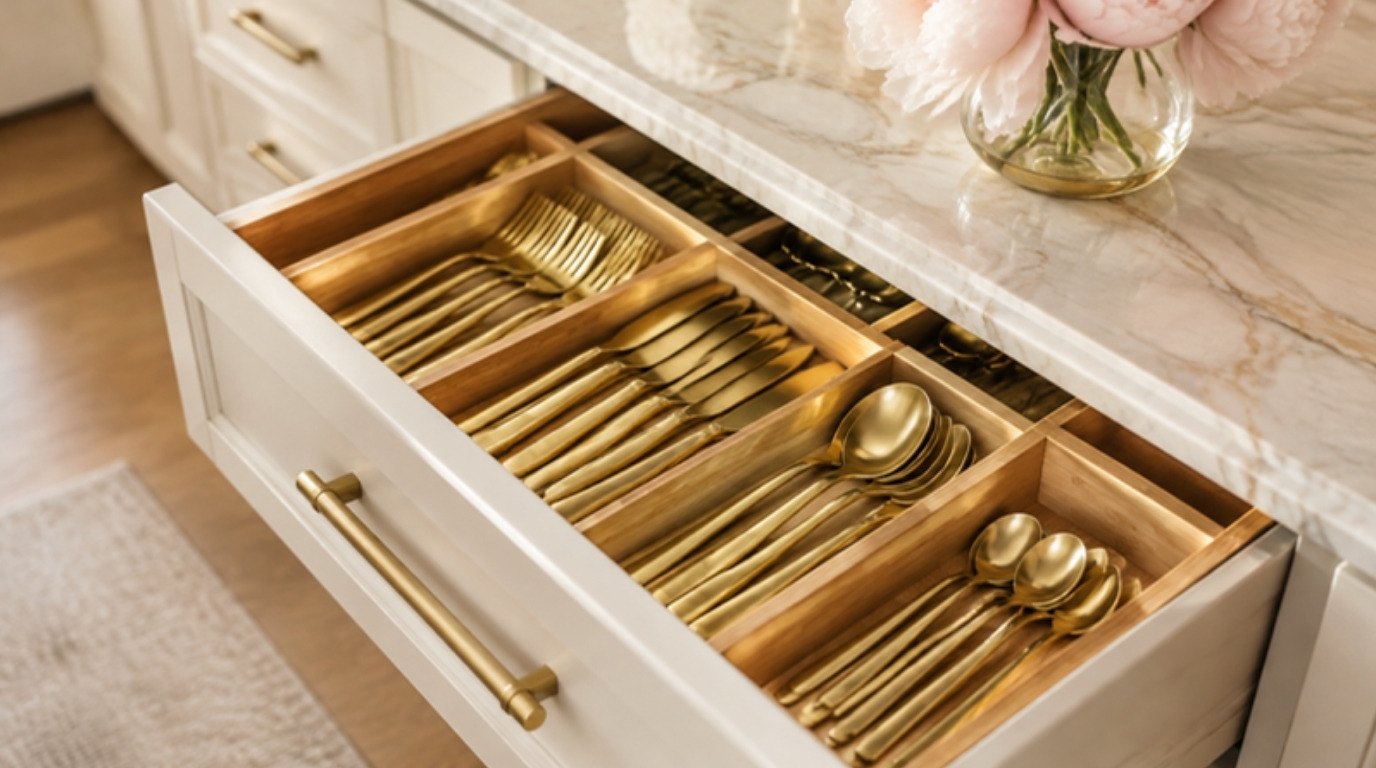
This is the drawer you open most, so it deserves the best divider. An expandable bamboo cutlery tray is the best starting point for rentals because it slides out to fill the full width of the drawer, which stops it from shifting around.
- Place the tray so the most-used pieces (forks and teaspoons) sit at the front.
- Lay every piece in the same direction, handles toward you. It looks calmer and you grab faster.
- Keep only enough cutlery for your household plus a few guests. Extra sets can live in a box on a high shelf.
- Use the side compartments for teaspoons, small dessert forks or chopsticks.
Put this drawer as close to the dishwasher or dish rack as you can. Unloading clean cutlery should take under a minute.
2. The Cooking Utensils Drawer
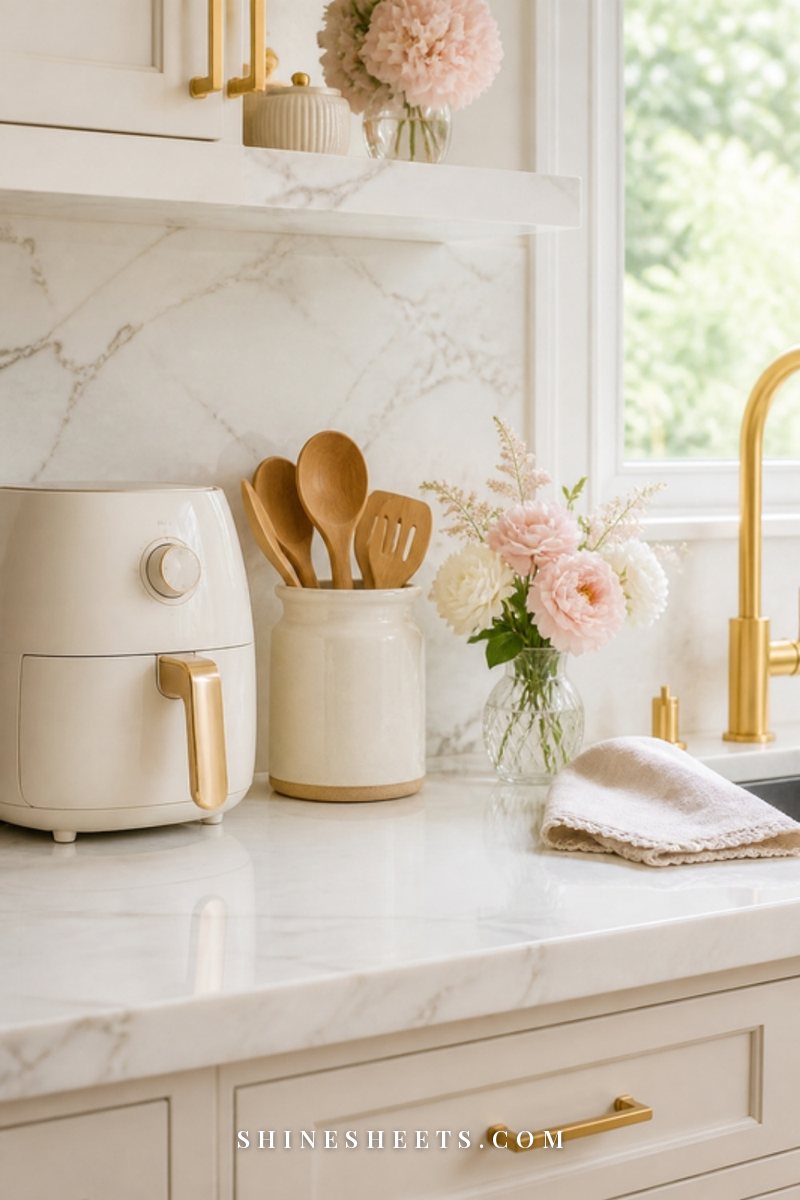
Spatulas, tongs and ladles are long and awkward, which is why this drawer jams so often. The fix is simple: store long tools flat and in one direction, never diagonally.
- Run adjustable spring-loaded drawer dividers from front to back to create long lanes. Each lane holds one type of tool.
- Put the tools you use daily (one spatula, one wooden spoon, tongs) in the front lane.
- Nest similar shapes: ladles inside each other, slotted spoons stacked.
- If the drawer is too short for your longest tool, that tool moves to the utensil crock on the counter.
Aim for one layer only. If tools are piled on top of each other, there are too many for the drawer, and something needs a new home.
3. The Gadget Drawer
Garlic press, zester, can opener, pizza cutter, bottle opener, meat thermometer: small gadgets with odd shapes that roll everywhere. This drawer needs walls, not lanes.
- Fill the drawer with a grid of small white stackable bins in two or three sizes. Mixing sizes lets you fit the bins like a puzzle.
- Group by job: one bin for opening (can opener, bottle opener), one for grating and zesting, one for measuring spoons, one for clips and ties.
- Place the gadget you reach for most at the front left (or front right if you're left-handed).
- Be honest about single-use gadgets. If you use the avocado slicer twice a year, a regular knife can do that job and the slicer can go.
Measure the inside of the drawer before you buy bins: width, depth and height. Write it down in your phone. It saves a lot of returns.
4. The Wraps and Foil Drawer
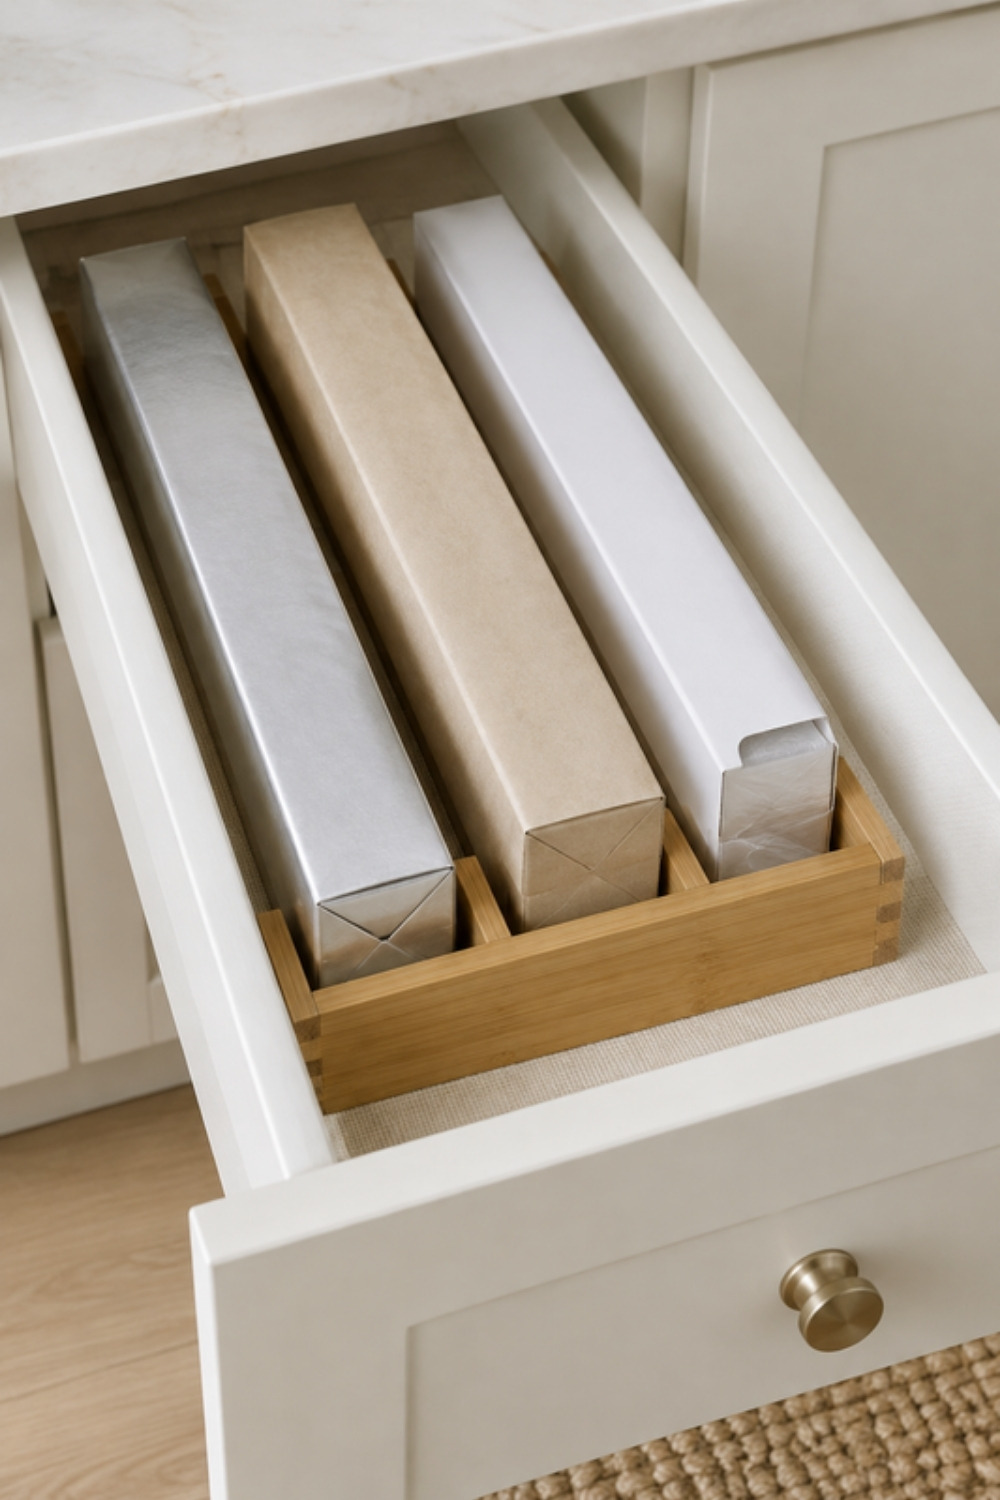
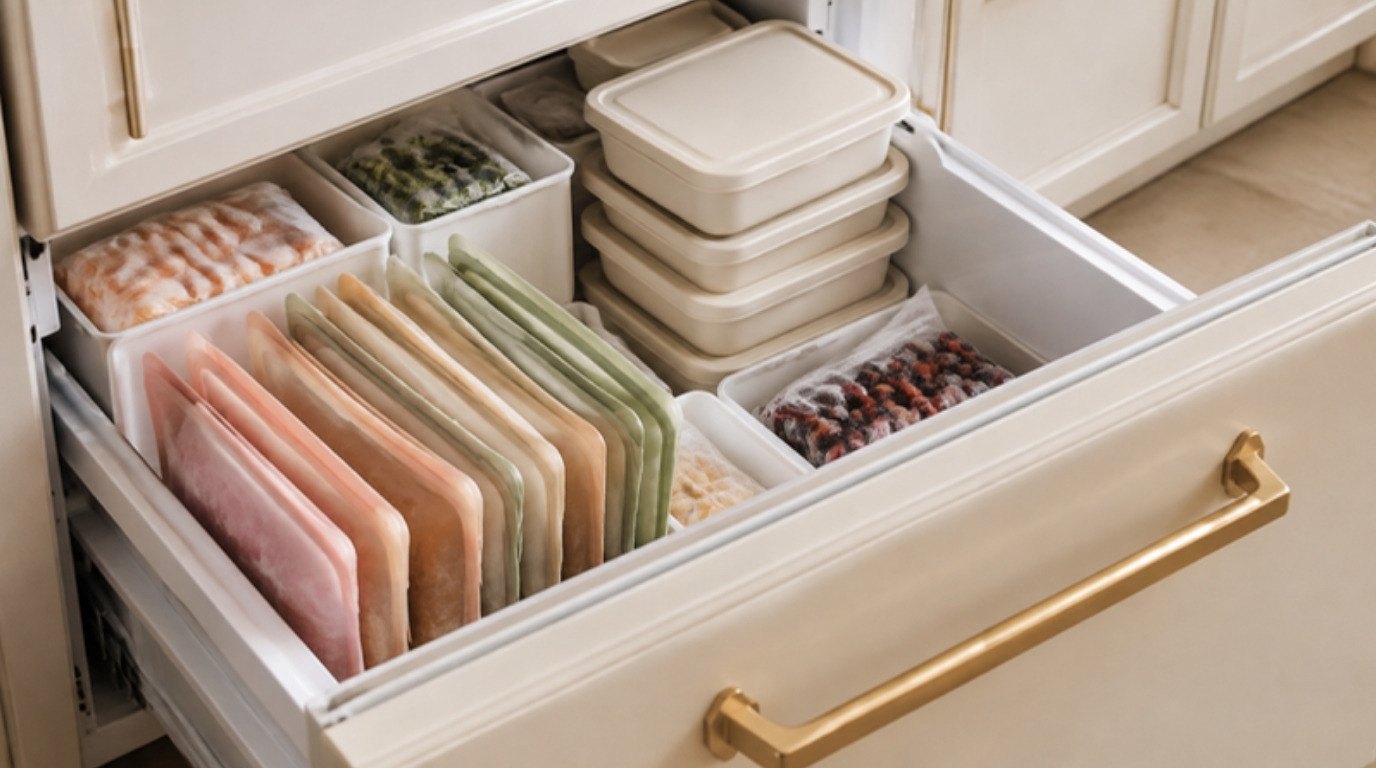
Boxes of foil, cling film, parchment and food bags tend to get stacked flat, so you have to dig to get the one at the bottom. Turn them on their side instead.
- Line the boxes up like books, side by side, with the opening facing up or toward you.
- Use one divider to stop the row from tipping as you use things up.
- Food bags can stand upright in their boxes in the same drawer. Flatten and recycle empty boxes the day they run out.
- Keep only one open roll of each type. Backups go in the pantry.
This drawer works best right next to the sink or fridge, where leftovers get wrapped. If your backups are spilling everywhere, my pantry organization guide shows how to keep a tidy shelf for extras.
5. The Tea Towel Drawer
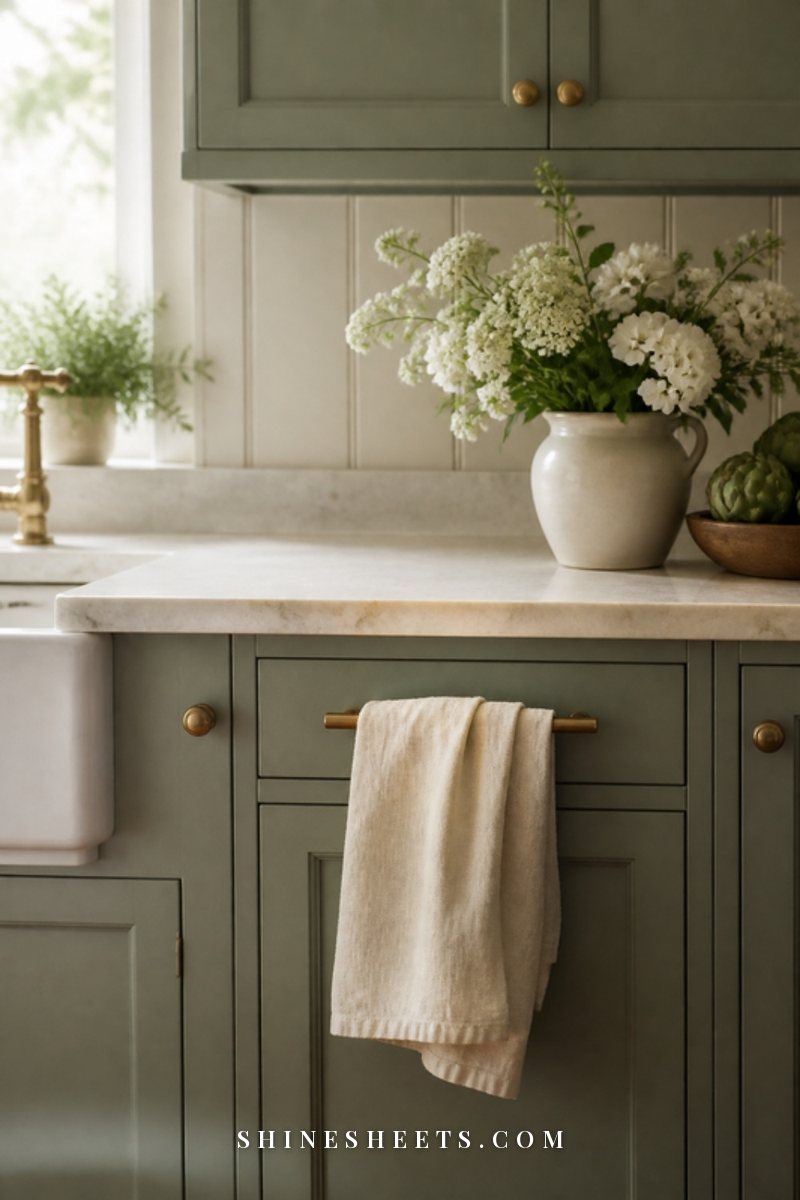
A towel drawer is one of the small pleasures of a tidy kitchen. Fold it once and it stays pretty.
- File-fold your towels: fold in half lengthwise, then in thirds, and stand them up like files so you can see every one.
- Keep separate sections for tea towels, dish cloths and oven mitts.
- Seven to ten tea towels is plenty for most homes (one or two a day, plus spares for laundry day).
- Retire stained, thin or fraying towels to the cleaning cupboard as rags.
Only fold towels once they're completely dry. Damp towels in a closed drawer start to smell musty within a day or two.
6. The Deep Pots or Lids Drawer
If you're lucky enough to have a deep drawer, it can hold pots, pans or lids far better than a cabinet, because you look down into it instead of crouching.
- Store lids upright, like files, using a few tall dividers or a lid rack.
- Nest pots from biggest to smallest and keep handles pointing the same way.
- Place a soft cloth or pan protector between nonstick pans to prevent scratches.
- Leave a little room at the front so you can lift things out without banging the drawer.
Pots and pans have a lot of their own tricks, so if this drawer is your trouble spot, my guide to organizing pots and pans goes into nesting, lids and cabinet layouts in detail.
Kitchen Drawer Organization at a Glance
Here's the whole drawer plan in one table. Screenshot it and keep it handy while you sort.
| Drawer | What goes in | Best divider | Tip |
|---|---|---|---|
| Cutlery | Forks, knives, spoons, teaspoons, chopsticks | Expandable bamboo cutlery tray | Keep it by the dishwasher or dish rack; handles all face you |
| Cooking utensils | Spatulas, wooden spoons, tongs, ladles, whisk | Adjustable spring dividers in long lanes | Store long tools flat, never diagonally; one layer only |
| Gadgets | Can opener, zester, garlic press, peeler, measuring spoons | Small stackable bins in mixed sizes | Group by job; measure the drawer before buying bins |
| Wraps and foil | Foil, parchment, cling film, food bags | One sturdy divider to hold the row | Stand boxes on their side like books; backups go to the pantry |
| Tea towels | Tea towels, dish cloths, oven mitts | Two or three simple dividers | File-fold and store only when fully dry |
| Deep pots or lids | Pots, pans, lids, baking trays | Tall dividers or a lid rack | Lids upright; nest pots largest to smallest |
The Best Dividers for Every Kind of Drawer
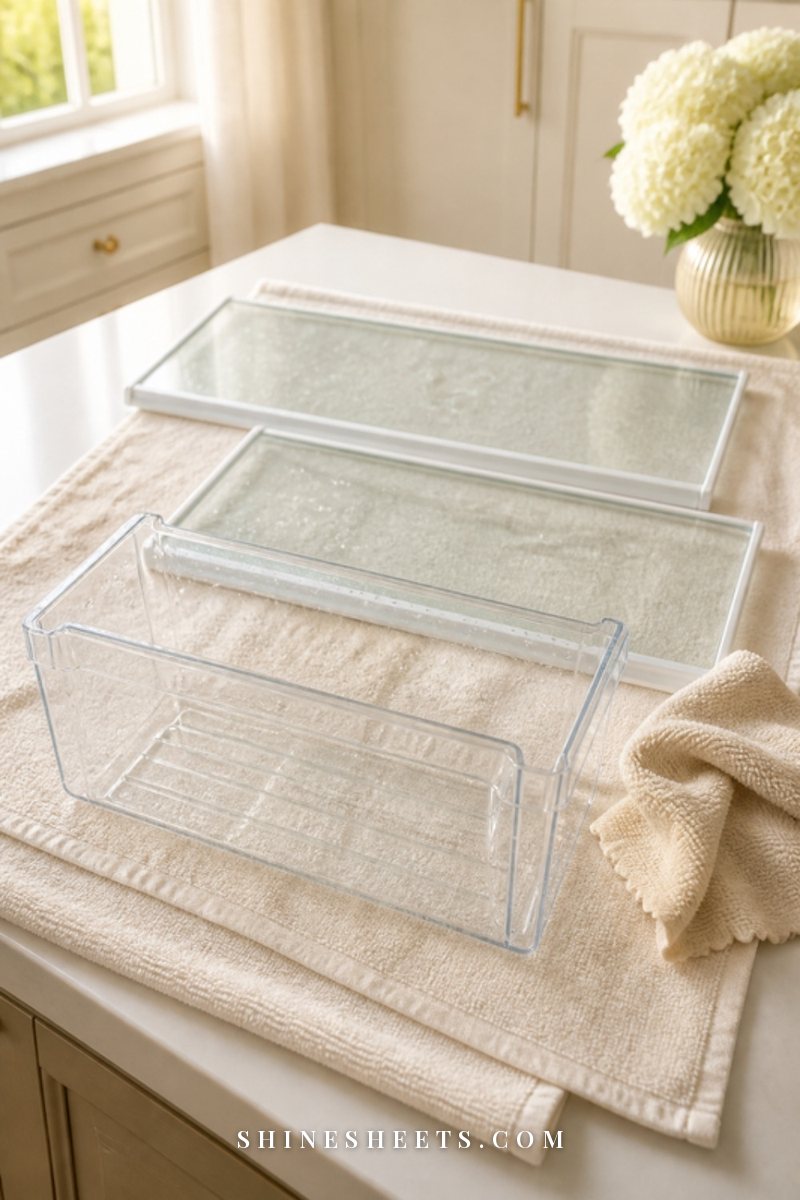
You don't need a matching designer set. A few well-chosen pieces cover almost every drawer, and all of them are renter-friendly (nothing glued, screwed or drilled).
- Expandable bamboo trays: the best choice for cutlery. They adjust to the drawer width, so nothing slides.
- Adjustable spring dividers: best for long cooking tools and towels. They press against the sides of the drawer and hold with tension, and you can move them any time.
- Small bins: best for gadgets and odd shapes. White or clear bins make it easy to see what's inside.
- Non-slip liner: the quiet hero. A non-slip drawer liner stops trays and bins from sliding and protects the drawer bottom from scratches and drips.
How to cut liner to size: measure the inside of the drawer, subtract about a quarter inch from each side so it lies flat without curling up at the edges, mark the back with a pencil and cut with sharp scissors. Smooth it from the center outward.
On a tight budget? Shallow shoeboxes, the lids of gift boxes and clean jars all work as temporary dividers. Try a layout with boxes for two weeks before buying anything, so you only buy what you really need. For more small, no-damage changes around the room, my list of renter-friendly kitchen upgrades has plenty.
How To Store Sharp Knives Safely
Loose knives in a drawer are the one thing I'd ask you to change today. Reaching into a drawer of mixed tools and finding a blade with your fingers is how kitchen cuts happen, and loose blades also get dull and chipped when they knock against metal.
- A knife block on the counter is the simplest option if you have the space.
- An in-drawer knife organizer with angled slots keeps blades apart and pointing away from you.
- Edge guards: slip knife edge guards over each blade if your knives have to share a drawer. They're inexpensive and make the drawer safe to reach into.
Whichever option you choose, keep knives in their own drawer section, never mixed in with spatulas or gadgets. If little ones visit, a high drawer or a counter block out of reach is the safest spot. And always dry knives completely before putting them away to prevent rust spots.
Keep-It-Tidy Rules That Actually Stick
Organizing is the fun part. Keeping it organized needs only two small habits.
The One In, One Out Rule
When a new tool comes in, an old one goes out. New spatula? The melted one goes in the trash the same day. This one rule stops duplicates from quietly building up again, and it makes you pause before buying a gadget you don't really need.
The 5-Minute Monthly Reset
Once a month, set a timer for five minutes and do a quick pass through your drawers:
- Take out anything that doesn't belong and return it to its home.
- Shake crumbs out of the cutlery tray over the sink.
- Wipe any drips on the liner with a damp cloth.
- Check for broken or worn tools and toss them.
- Straighten the rows so everything faces the same way again.
I like to pair it with something I already do, like the evening I water the plants or the first weekend of the month. Five minutes is short enough that it actually happens, and that's the whole point.
Common Kitchen Drawer Mistakes To Skip
- Buying organizers first. Sort and declutter before you shop, or you'll organize things you don't need.
- Overfilling the drawer. If it won't close smoothly, it's too full. Aim to leave about a fifth of each drawer empty.
- Ignoring how you cook. A pretty layout that puts spatulas far from the stove won't last a week.
- Keeping chemicals near food tools. Dishwasher tablets and sprays belong under the sink, not in the utensil drawer. My under-sink organization ideas show how to give them a safe home.
- Skipping the liner. Without it, bins slide and the whole system shifts every time you close the drawer.
Final Thoughts
Good kitchen drawer organization isn't about a perfect, magazine-ready drawer. It's about opening a drawer and finding the spoon you need on the first try, every time. Start with the drawer that annoys you most, give it twenty minutes, and let that small win carry you to the next one.
Your kitchen doesn't have to be big or brand new to feel calm. It just needs a place for everything, and you're already on your way there.