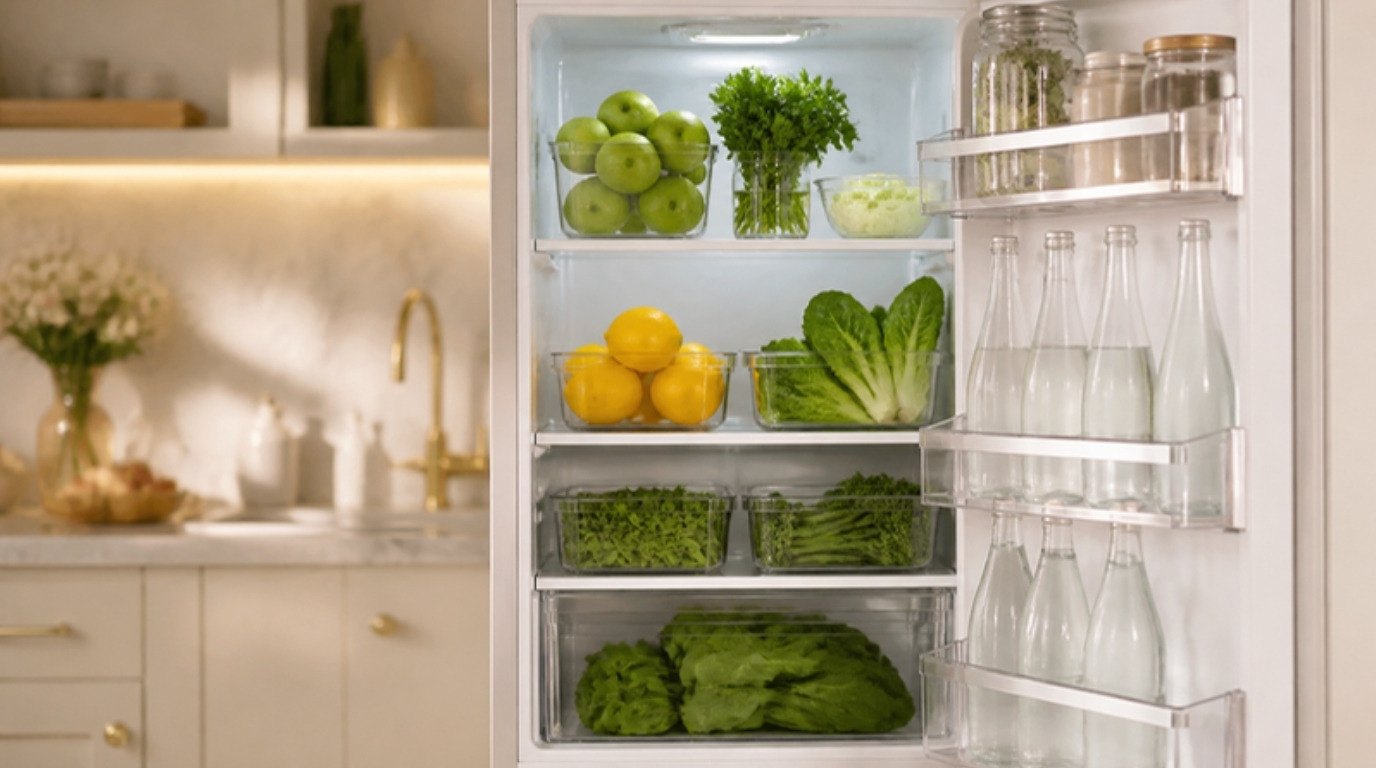
An organized fridge isn't about matching bins or a picture-perfect shelf. It's about giving every type of food a home in the part of the fridge where it stays freshest, so you can see what you have, use it before it spoils and stop buying a third jar of the same mustard. Once the zones make sense, the pretty part follows almost on its own.
This guide walks you through fridge organization step by step: how to clear out and clean, the temperature to aim for, a simple zone map of where everything goes, clear bins and labels, the first-in-first-out habit, an "eat first" bin, small tools that make a real difference, keeping produce fresher, small-fridge tips and a weekly 10-minute reset that keeps it all working.
No recipes, no meal plans and no pressure to make it look like a showroom. Just a fridge that's calm to open.
Why a Fridge Gets Messy So Fast
A fridge is the busiest storage space in the home. Things go in and out several times a day, often in a hurry, by whoever happens to be holding the groceries. Without a plan, food lands wherever there's a gap, the back of each shelf turns into a mystery zone and half-used jars multiply in the door.
The fix is not more effort, it's fewer decisions. When every category has one obvious home, putting groceries away takes two minutes and anyone in the household can do it the same way. It took me a while to realize that the fridge kept getting messy not because I'm messy, but because I'd never actually decided where anything belonged.
If your whole kitchen feels a bit chaotic right now, my kitchen organization ideas are a lovely next step once the fridge is done.
Step 1: Clear It Out and Clean It
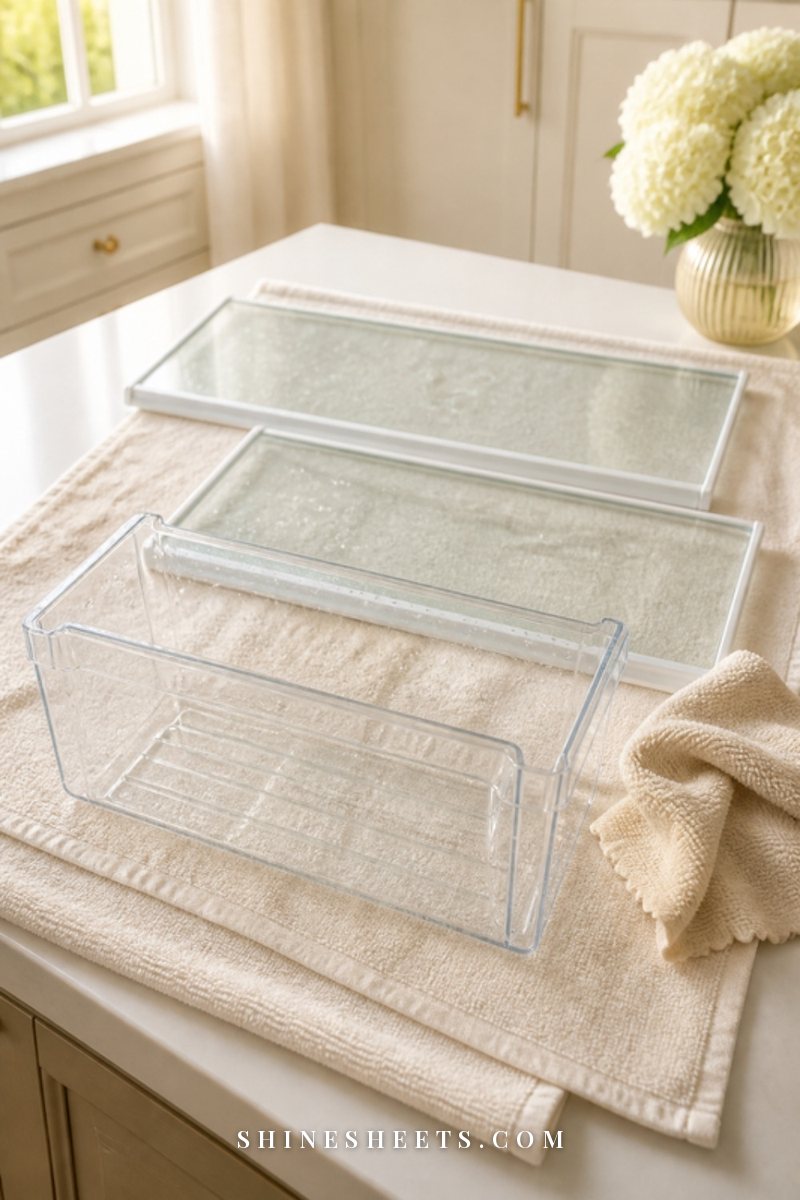
Organizing a full, sticky fridge just moves the mess around. Start with a clean slate. Pick a time right before a grocery shop, when the fridge is at its emptiest, and give yourself about 30 to 45 minutes.
- Prepare a cooler. Put a cooler bag or a box with a few ice packs on the counter for anything perishable while you work. Keep the fridge door closed as much as possible.
- Empty one shelf at a time. Take everything out of one section, check dates and smell-test anything questionable. Throw out what's expired or spoiled, and set aside near-empty jars to combine or use up soon.
- Remove shelves and drawers if they come out. Let glass shelves come to room temperature for a few minutes before washing them in warm water, because very cold glass can crack with sudden heat.
- Wash with warm soapy water. A few drops of dish soap in warm water is all you need. Wipe walls, door seals and the ceiling of the fridge with a soft cloth, paying extra attention to the corners of the drawers.
- Rinse and dry completely. Wipe with a clean damp cloth, then dry everything with a microfiber towel. Moisture left behind is what makes fridges smell musty.
- Put everything back by zone, using the map below, rather than where it lived before.
Unplugging isn't necessary for a regular clean like this. For a deeper clean with stubborn spills and smells, my step-by-step guide on how to clean a fridge covers dwell times and the gentlest options for every surface. A quick safety note: never mix cleaning products, especially bleach with vinegar or ammonia, and if you use anything stronger than soap, rinse well because these surfaces touch food.
Check Your Fridge Temperature
This is the least glamorous step and the most important one. The FDA recommends keeping your fridge at or below 40°F and your freezer at 0°F. The dial inside many fridges uses numbers or "colder/warmer" settings rather than real degrees, so the only way to know is an inexpensive appliance thermometer placed in the middle of a shelf.
Check it after a few hours, adjust the dial if needed and check again the next day. Keep in mind that a very full fridge needs air to circulate, and a door that's opened constantly will run warmer. For how long different foods keep in the fridge and freezer, the cold food storage charts at FoodSafety.gov are the clearest reference I know.
The Fridge Zone Map
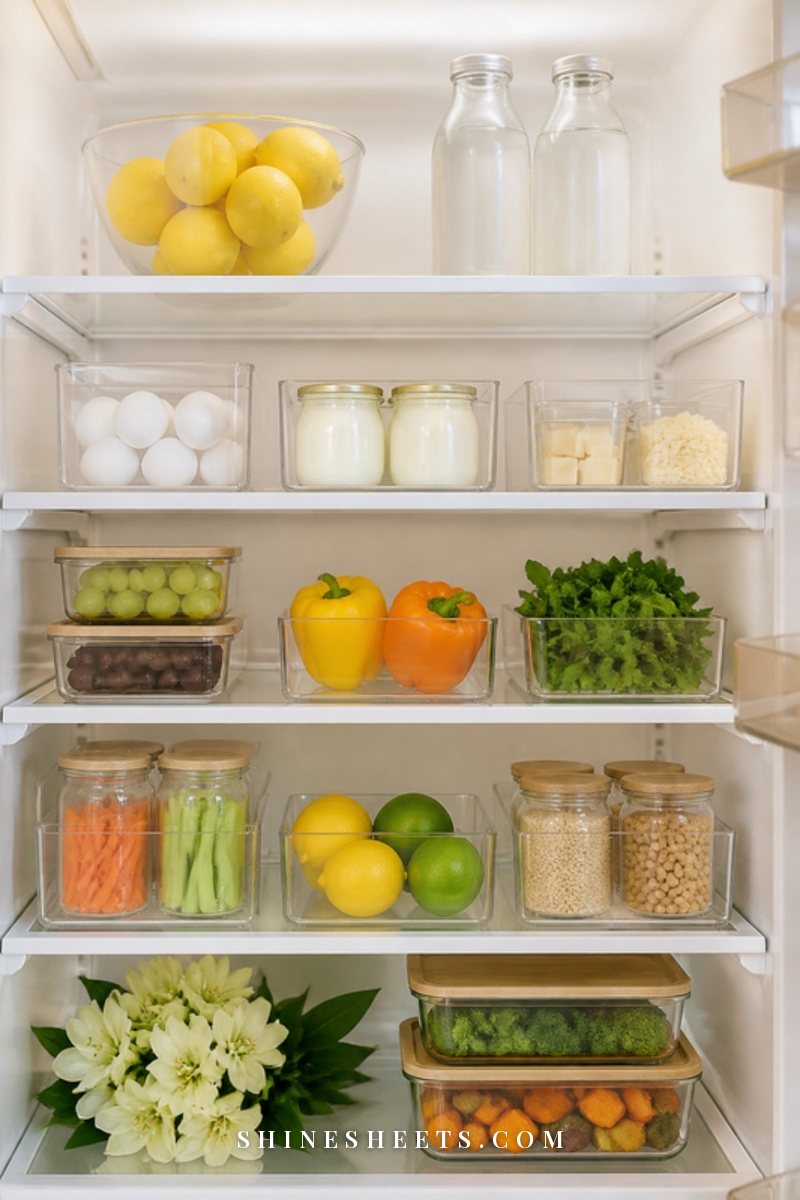
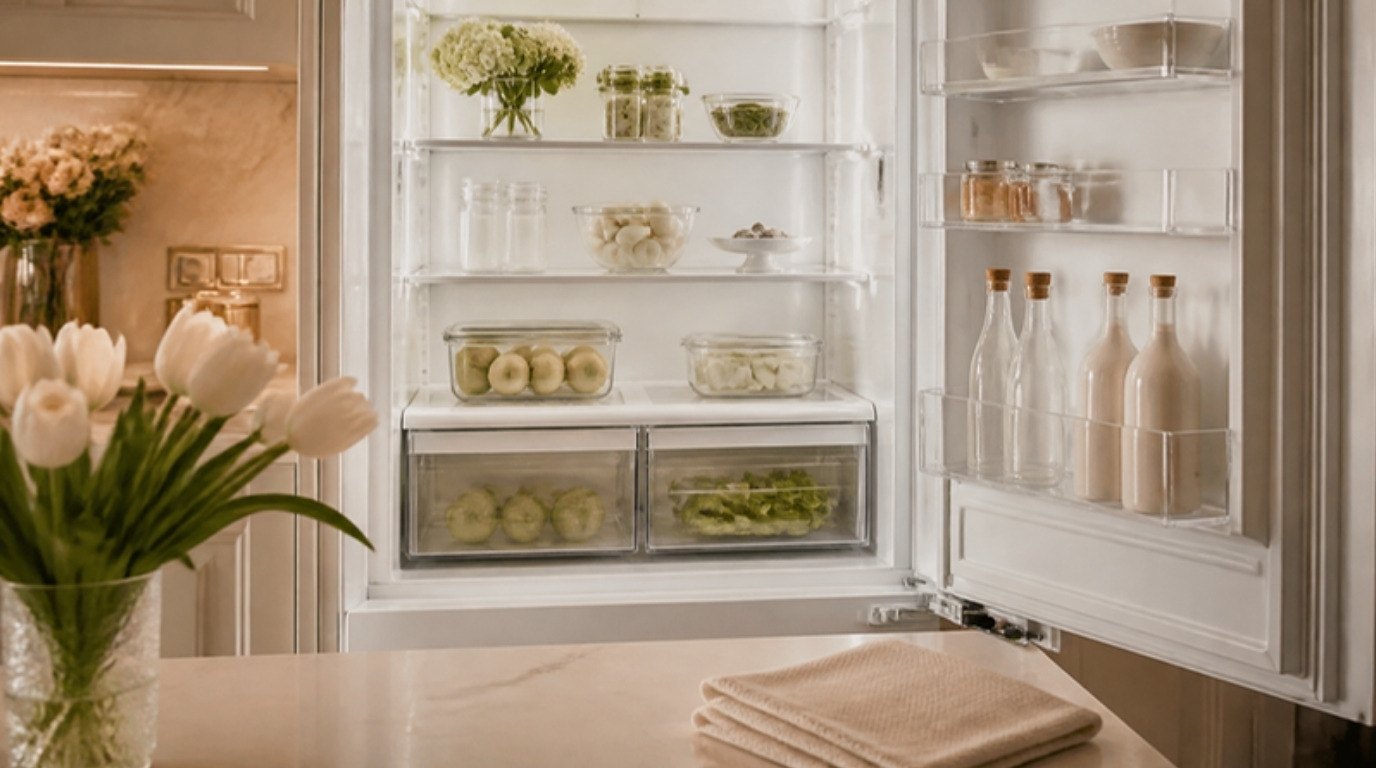
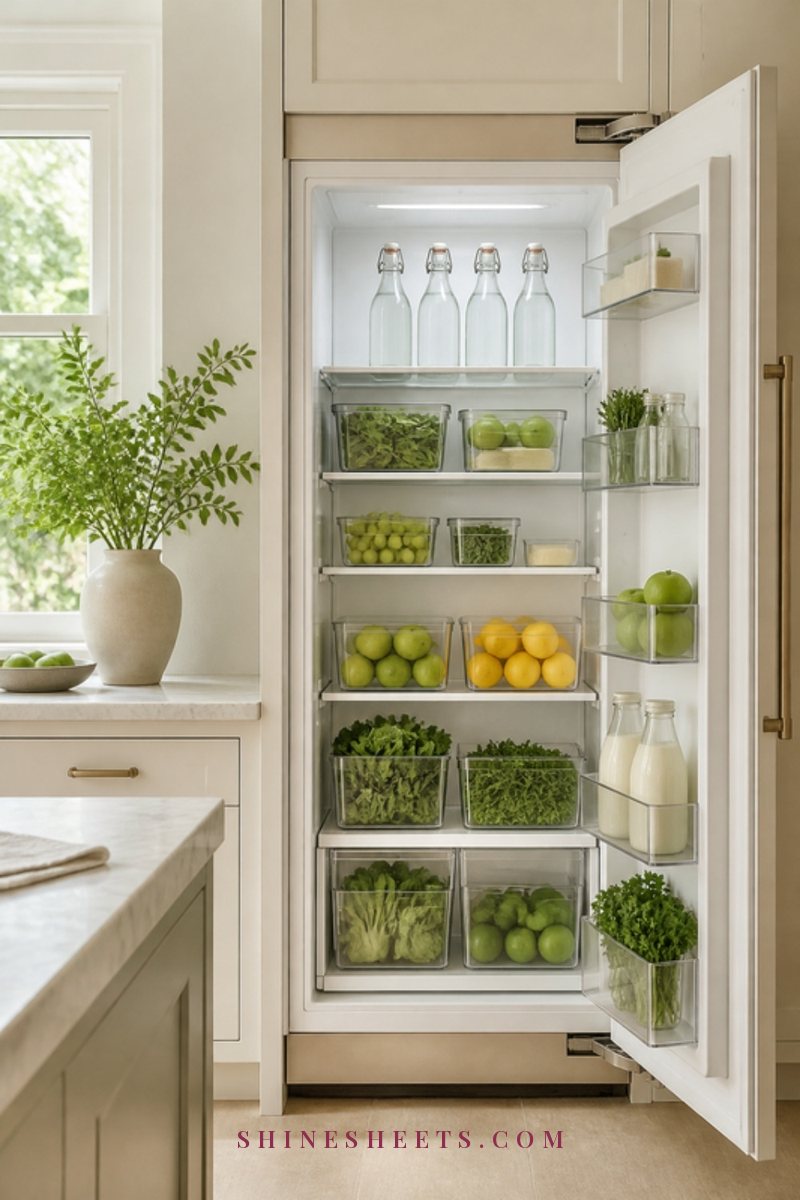
Different parts of your fridge are different temperatures. Cold air sinks, the door is exposed to warm kitchen air every time you open it, and the drawers hold humidity. Once you know this, the "rules" stop being rules and start making sense. Here's the zone map for a typical fridge with the freezer on top or at the bottom (check your manual if yours is unusual, as some models have a colder top shelf).
| Zone | Temperature feel | What goes here | Best container |
|---|---|---|---|
| Door | Warmest, changes most | Condiments, sauces, dressings, jams, juice, bottled water | Door bins, a small clear caddy for little jars |
| Upper shelves | Steady and moderate | Ready-to-eat foods: leftovers, drinks, snacks, deli items, hummus and dips | Clear bins, glass storage containers with lids |
| Middle shelves | Cool and steady | Dairy such as milk, yogurt and cheese; eggs in their carton or a holder | Clear bins, an egg holder, a lazy Susan |
| Bottom shelf | Coldest | Raw meat, poultry and fish, always in a sealed container or on a tray | A deep clear bin or rimmed tray that catches drips |
| High-humidity drawer | Cold and moist | Leafy greens, herbs, vegetables that wilt | The drawer itself, or a produce saver container |
| Low-humidity drawer | Cold and drier | Fruits and vegetables that tend to rot rather than wilt | The drawer itself, lined with a washable liner |
| Freezer | 0°F | Frozen foods, portions for later, ice | Stackable bins, flat freezer bags stored upright |
Screenshot the table and keep it on your phone for the next time you unpack groceries. After a week or two, you won't need it anymore.
How To Organize Each Zone
Now let's go zone by zone, with the small details that make each one work in real life.
The Door
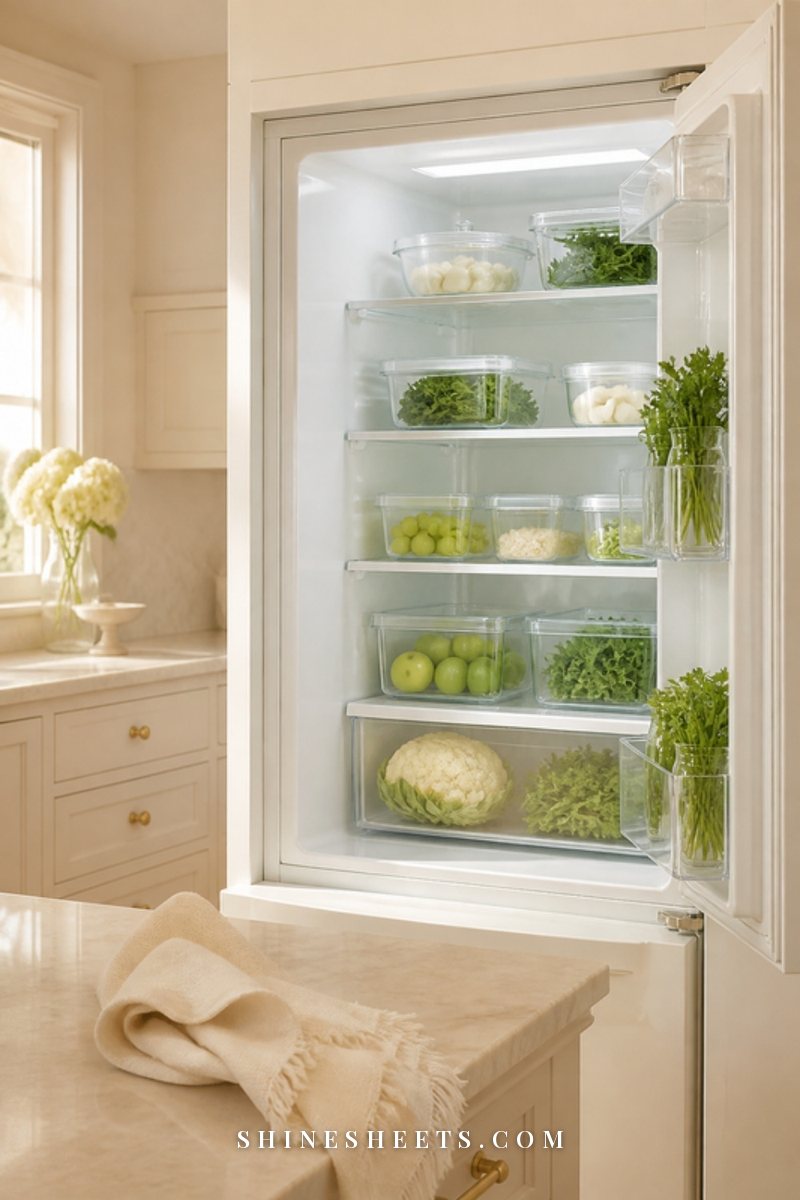
The door is the warmest part of the fridge, so it's perfect for things that are naturally preserved with salt, sugar or vinegar: ketchup, mustard, mayonnaise, salad dressings, jams, pickles, soy sauce and juice. Milk and eggs are better off inside the main compartment, where the temperature is steadier.
- Put the tallest bottles on the bottom door shelf and small jars at the top.
- Group by type: "sauces," "spreads," "drinks." You'll find things faster when similar items stand together.
- If you have lots of tiny jars, a narrow clear caddy keeps them from tipping over and lets you pull the whole group out at once.
- Every few weeks, check for duplicates and half-finished jars. Combine or use them first.
Upper and Middle Shelves
The upper shelves are for anything that doesn't need cooking: leftovers in clear containers, drinks, yogurt cups, cheese and dips. Keeping ready-to-eat food above raw food is a simple food safety habit, because nothing can drip down onto it.
The middle shelves suit dairy and eggs. Keep eggs in their original carton or a covered holder, and give milk its own spot near the front so it's never shoved behind leftovers. A clear egg holder with a lid makes it easy to see how many you have left without opening anything, and it stacks neatly.
The Bottom Shelf
The bottom shelf is the coldest spot and the safest place for raw meat, poultry and fish. Always keep them in a sealed container, a deep bin or on a rimmed tray, so juices can't drip onto anything else. Wash that container in hot soapy water after each use. If you're thawing something, this is the shelf to do it on, always in a container that catches every drop.
The Crisper Drawers
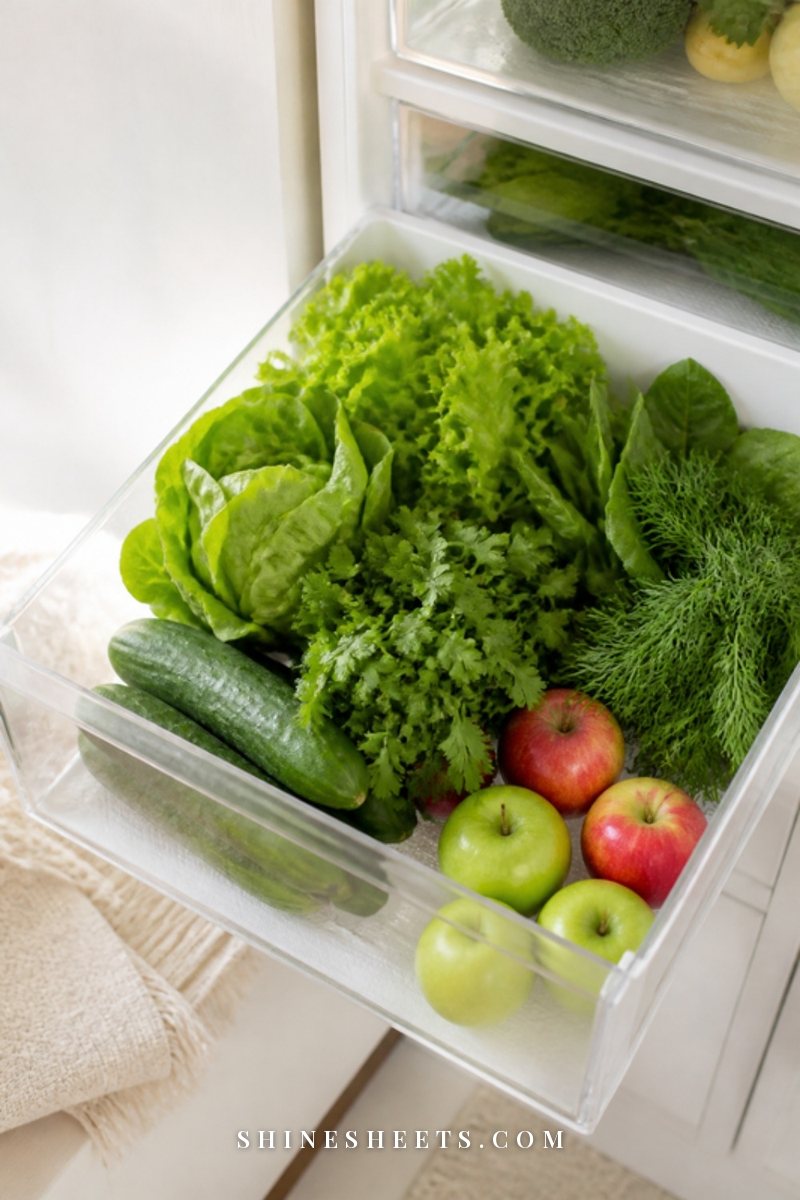
Many fridges have two drawers with a small slider, and that slider controls humidity. Closing the vent keeps moisture in (high humidity), and opening it lets moisture escape (low humidity).
- High-humidity drawer (vent closed): leafy greens, fresh herbs, cucumbers, broccoli, carrots and anything else that wilts when it dries out.
- Low-humidity drawer (vent open): apples, pears, grapes, stone fruit and other fruits that tend to rot rather than wilt. Many of these release a natural gas that speeds up ripening, so keeping them apart from your greens helps both last longer.
Line each drawer with a washable fridge liner. It cushions soft fruit, catches small spills and can simply be rinsed in the sink, which means you'll rarely need to scrub the drawer itself.
Clear Bins and Labels: The Backbone of an Organized Fridge
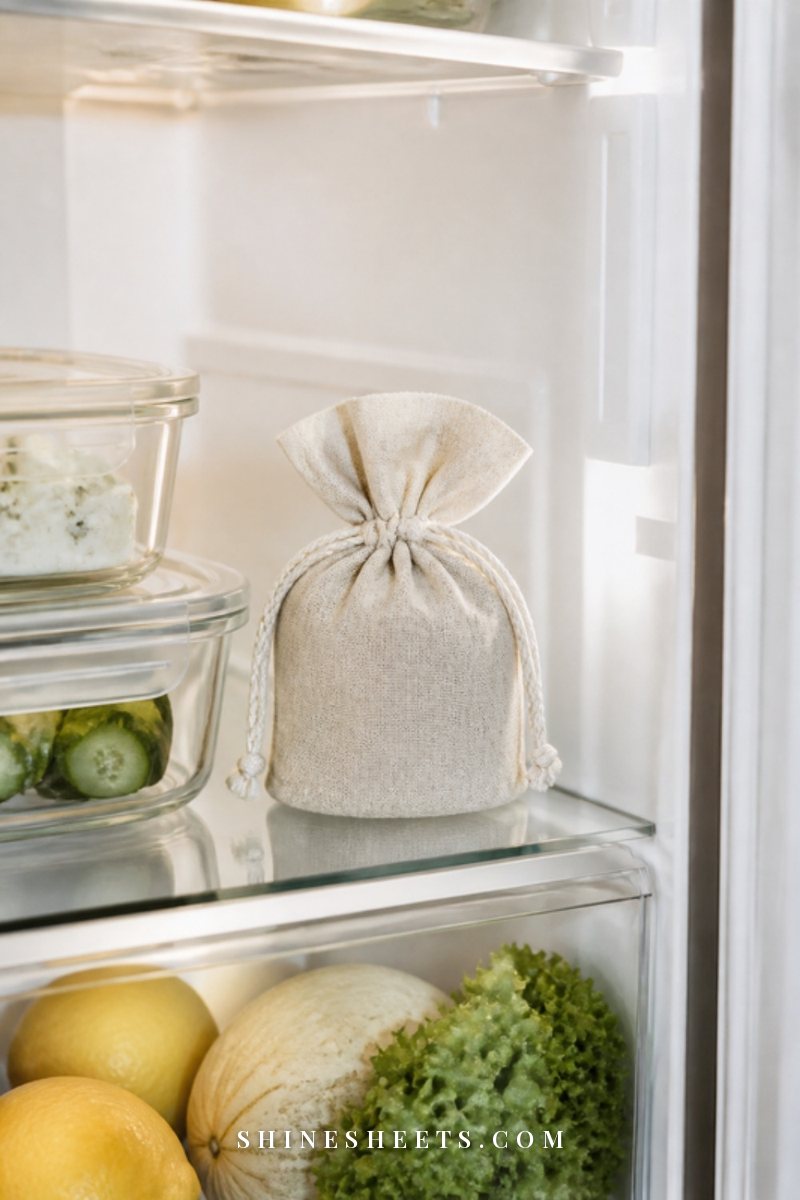
If you add just one thing to your fridge, make it clear bins. They turn a deep shelf into "drawers" you can pull out, so nothing gets lost at the back, and when something spills, you wash one bin instead of the whole shelf.
- Measure first. Note the depth, width and height between shelves before buying anything. Bins that are slightly too tall are the most common mistake.
- Choose bins with handles or a lip so they're easy to pull forward.
- Go for one category per bin: cheese, yogurt, snacks, drinks, "eat first."
- Don't fill every inch. Cold air needs room to circulate, so leave small gaps between bins and the back wall.
A set of clear fridge organizer bins in a few different sizes covers most fridges, and you can always move one to the pantry later if it doesn't fit.
Labels help everyone in the household put things back in the right spot. Keep them simple: one or two words on the front edge of the bin or shelf. White removable labels are ideal because you can change them as your shopping habits change. If you'd like to carry the same system into your cupboards, my guide to pantry organization uses the same categories and label style.
First In, First Out and the "Eat First" Bin
Most fridge waste doesn't come from buying too much. It comes from forgetting what's already there. Two small habits fix most of it.
First in, first out. When you unpack groceries, move older items to the front and put the new ones behind them. Do the same with drinks, yogurt, sauces and leftovers. It takes seconds and means the oldest things are always the easiest to grab.
The "eat first" bin. Choose one clear bin at eye level on the upper shelf and make it the home for anything that needs to be used in the next day or two: half an avocado, opened containers, leftovers from two days ago, the last bit of cheese. When anyone opens the fridge looking for a snack or something for lunch, they check that bin first.
A gentle guideline for leftovers: most are best eaten within three to four days, and if you're ever unsure whether something is still safe, it's okay to let it go. Writing the date on a small piece of tape on the lid takes the guessing out of it.
Small Tools That Make a Big Difference
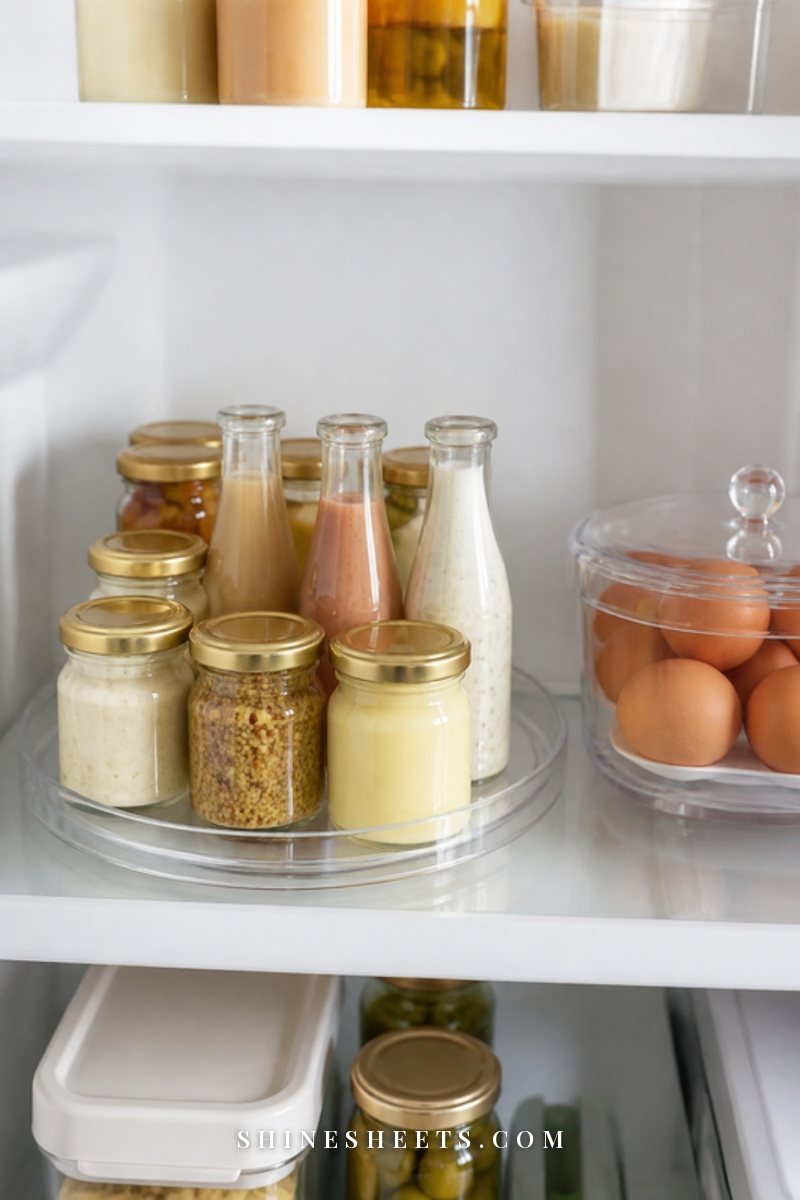
You don't need a whole shopping cart of organizers. A few well-chosen tools solve the most annoying fridge problems.
- A lazy Susan. Perfect for a deep corner or the back of a shelf, where small jars go to be forgotten. Give it a spin and everything comes to the front. A clear fridge turntable works especially well for jams, dips and sauces that don't fit in the door.
- Can and bottle holders. A slim holder that lets cans roll forward or bottles lie flat saves a surprising amount of space on a crowded shelf.
- An egg holder. Easier to stack than a cardboard carton and simple to wipe clean.
- Produce saver containers. Vented containers with a removable inner basket help berries and greens last longer by letting excess moisture drain away. Look for produce saver containers with a vent you can open or close.
- A thermometer. Small, cheap and the only honest way to know your fridge is cold enough.
Keeping Produce Fresher Longer
A few general habits make a noticeable difference, no special tricks needed.
- Wash produce right before you eat it, not before storing it, unless you dry it very thoroughly. Moisture sitting on leaves and berries speeds up spoilage.
- Wrap leafy greens loosely in a dry paper towel inside a container or bag to absorb extra moisture.
- Keep herbs like a little bouquet, with stems in a glass of water and a loose cover over the top (basil usually does better on the counter).
- Don't overcrowd the drawers. Squashed produce bruises and spoils faster.
- Remove anything spoiling right away, because one soft piece of fruit can affect the ones around it.
- Know what doesn't need the fridge. Potatoes, onions, garlic and whole tomatoes generally prefer a cool, dark spot in the pantry, and bananas do better on the counter.
Small Fridge Tips
A small or apartment fridge just needs a little more strategy. These ideas help every inch work harder.
- Go vertical. Stackable clear bins and a shelf riser create a second "floor" on one shelf.
- Decant bulky packaging. Big boxes and bags take up room. Move items into slim, stackable containers.
- Store bottles on their side in a bottle holder rather than standing tall.
- Choose smaller sizes. A smaller jar of sauce you'll finish is better than a big one that takes up half the door.
- Shop a little more often, if that suits your routine, so the fridge never has to hold a whole week's worth at once.
- Keep the freezer upright. Freeze food flat in bags, then stand them up like files in a bin so you can flip through them.
The Weekly 10-Minute Fridge Reset
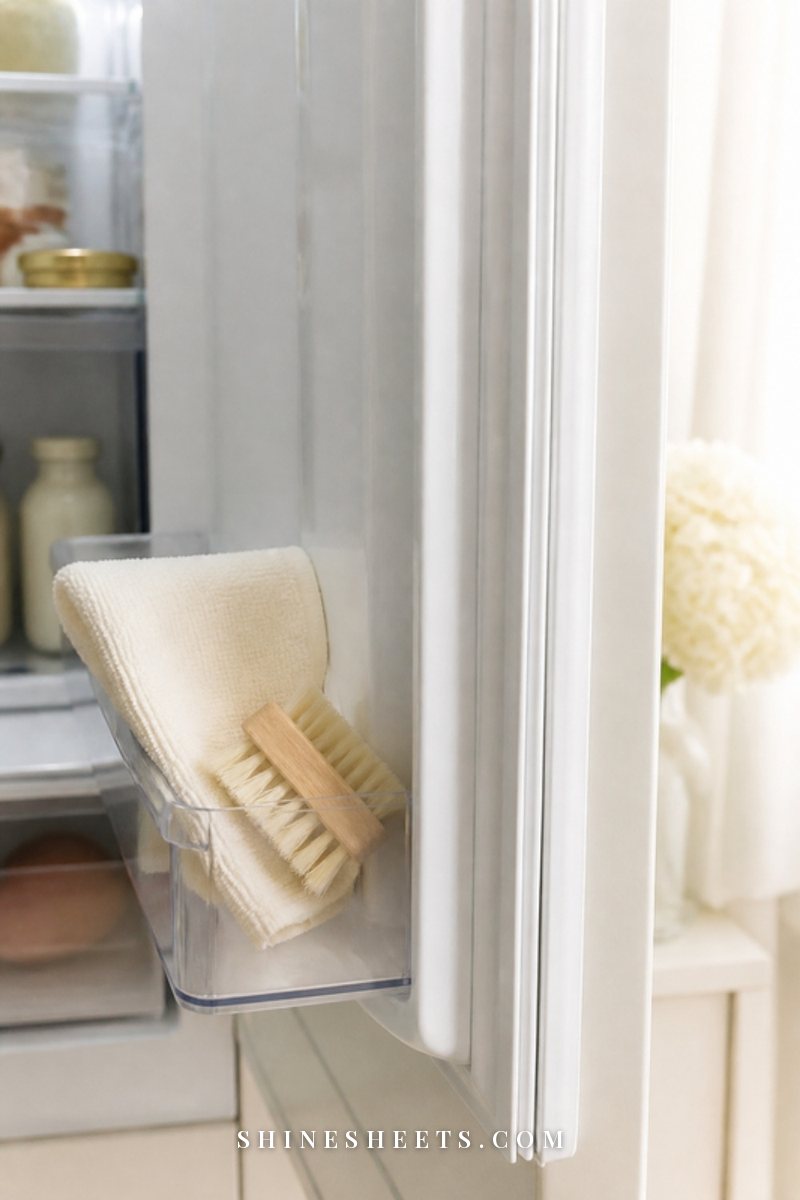
The secret to a fridge that stays organized isn't the first big clean-out. It's a short reset once a week, ideally right before you go grocery shopping. Set a timer for 10 minutes and do this:
- Minutes 1–3: Check and clear. Remove anything expired or spoiled and empty containers that are ready to be washed.
- Minutes 4–5: Refill the "eat first" bin. Move anything that needs using soon into it.
- Minutes 6–8: Wipe. Pull out any sticky bins, wipe the shelves and door bins with a damp microfiber cloth and dry them.
- Minutes 9–10: Note what's low. Glance at each zone and add anything you're out of to your shopping list. This is how you stop buying doubles.
That's it. Ten minutes once a week means you'll rarely need another big clean-out. If you like having your weekly tasks in one place, the fridge reset slots neatly into my cleaning schedule, and I like to pair it with an evening tea and a quick look at the week ahead.
Common Fridge Organization Mistakes
Even a well-meaning fridge setup can go wrong. Watch out for these:
- Overstuffing. Packing the fridge solid blocks the airflow that keeps everything cold. Aim for shelves you can see the back of.
- Buying organizers before measuring. Bins that don't fit end up in a cupboard.
- Raw meat on a top shelf. Always the bottom shelf, always in a container.
- Milk and eggs in the door. It's tempting, but the door's temperature swings too much for them.
- Opaque containers for leftovers. If you can't see it, you'll forget it. Clear glass or plastic wins every time.
- Organizing once and never again. A beautiful system without the weekly reset slowly turns back into chaos.
Final Thoughts
A well-organized fridge is one of those small home changes that makes every single day a little easier. You'll waste less, shop smarter and feel a tiny bit calmer every time you open the door.
Start with the clean-out, follow the zone map and add bins one at a time as you need them. Then let the weekly 10-minute reset quietly do the rest. Your fridge doesn't need to be perfect, it just needs to make sense to you.