A microcurrent facial at home is less about a dramatic before-and-after and more about a small, steady ritual. The current is tiny, the results are subtle, and the women who end up loving their device are usually the ones who treat it like brushing their teeth: a few calm minutes, most days, without expecting a new face by Friday.
That honest framing matters, because microcurrent gets sold with big words. In reality it's a gentle tool that can make your face look a little more lifted, rested and toned for a while after you use it. Pleasant? Very. Life-changing? Probably not. And for some people it isn't safe at all, which is the part the shiny ads tend to whisper.
This guide covers the whole picture of a microcurrent facial at home: what the device actually does, what it can and can't do, who should skip it, exactly how to glide it across each area of your face, how often to use it, and five mistakes that make it less comfortable and less effective. There's also a glide map table you can screenshot and keep by your bathroom sink.
If you're still deciding whether to buy one at all, start with the honest bits below and give yourself permission to say "not for me." That's a perfectly good outcome too.
What Is a Microcurrent Facial?

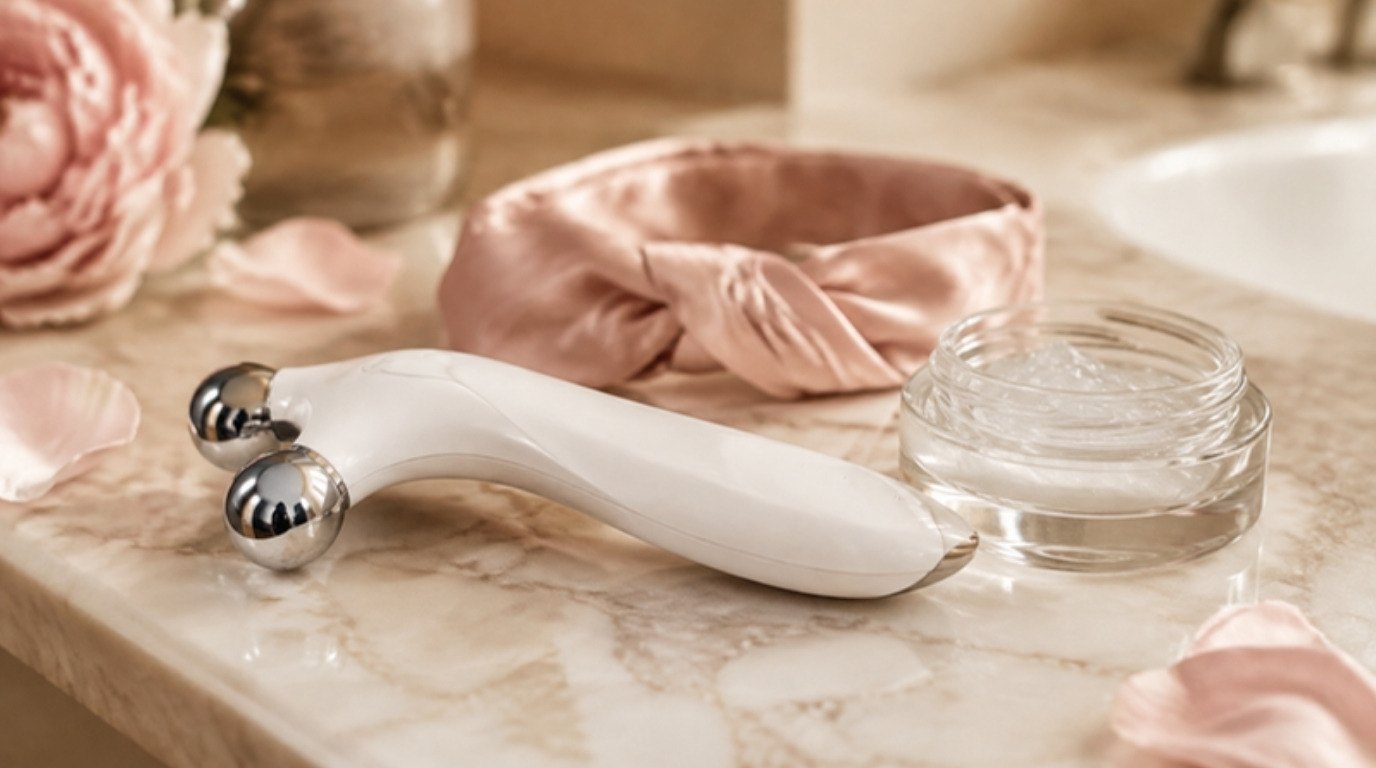
Microcurrent is a very low-level electrical current delivered through a small handheld device, usually with two rounded metal prongs or balls. You glide it slowly over your skin on top of a layer of conductive gel, and most people feel almost nothing beyond a light tingle or a faint metallic taste (that taste is common and harmless, though a little strange the first time).
The current is measured in microamps, which is a tiny fraction of what you'd feel from a static shock. The idea behind it is that this gentle current encourages the small muscles of the face to look more toned, a bit like a very soft workout. You'll often see claims about cell energy and collagen. The research here is still limited and mostly small, so I'd take those claims as "interesting theory" rather than settled fact.
A home device is not the same as a professional microcurrent treatment in a clinic or spa, which typically uses stronger equipment and a trained hand. Home versions are milder by design, which is good for safety and also part of why results are subtle.
It's also worth knowing what microcurrent is not. It isn't light therapy. If you've been looking at glowing red masks, that's a different technology entirely, and my guide to the LED face mask and how to use it at home covers that one. This article is only about current-based devices.
What a Microcurrent Facial Can and Can't Do
Expectations are everything with this tool. Go in hoping for a little polish and you'll likely be pleased. Go in hoping it will replace a dermatologist, and you'll be frustrated and out of money.
What You Might Notice

- A fresher, more awake look right after a session, especially around the cheeks and jawline.
- Slightly lifted-looking brows for a few hours, which some women love before an event.
- Less morning puffiness, partly from the slow, massaging movement itself.
- A calming routine. Five quiet minutes with your own face is a small act of care, and that counts.
What It Won't Do
- It won't erase deep wrinkles or replace professional treatments.
- It won't treat acne, rosacea, melasma or any skin condition.
- It won't give permanent results. Stop using it and your face simply returns to its usual look.
- It won't work well if you only use it now and then. Consistency does most of the heavy lifting.
I find it helpful to think of microcurrent as a "finishing" step for how your face looks, not a fix for how your skin behaves. Hydration, sunscreen and a gentle routine still matter far more for the skin itself.
Who Should Skip Microcurrent
This is the most important section, so please don't skim it. Microcurrent is gentle, but it is still electrical current, and for some bodies that's a real risk. Skip it, or talk to your doctor first, if any of these apply to you:
- A pacemaker or any implanted electronic device (including defibrillators, cochlear implants or neurostimulators). This is a firm no.
- Pregnancy. There isn't enough safety information, so the standard advice is to wait.
- Epilepsy or a seizure disorder.
- Metal implants in the face, such as plates, screws or some dental work. Check with your dentist or doctor if you're unsure what you have.
- Active acne, open wounds, broken skin, a fresh sunburn or an active cold sore in the area you'd treat.
- Recent injectables, fillers, threads or facial surgery. Ask the professional who did the treatment how long to wait.
- Any heart condition or other health concern you're unsure about.
Most devices list their own warnings in the manual, and those are worth reading slowly, even the boring paragraphs. If something in there gives you pause, the kindest choice for yourself is a quick chat with a doctor before your first session.
What You Need Before You Start

The kit is short, and you probably own half of it already:
- The device itself. Look for a handheld microcurrent facial device with adjustable intensity levels, clear instructions, rounded prongs that sit comfortably on your jawline and an automatic shut-off. Starting on the lowest setting is non-negotiable, so a device with several gentle levels is a must.
- Conductive gel. The current needs something to travel through, and dry skin won't do. A water-based conductive facial gel is the usual pick. Look for one that's fragrance-free, and patch test it first (more on that below).
- A gentle cleanser. Oil, makeup and sunscreen can get in the way. A gentle cream cleanser takes everything off without leaving your skin tight, which matters if you're sensitive like me.
- Something to keep hair away. Gel in your hairline is no fun. A soft blush satin spa headband keeps everything tucked back and is kinder to hair than a tight elastic.
- A soft towel. Pat-drying before and wiping away gel after is easier with a cream microfiber face towel you keep just for your face.
How To Patch Test the Gel
Dab a small amount of the gel on the side of your neck or just under your jaw, leave it for 10 minutes, wipe it off and wait 24 hours. If there's no redness, itching or bumps, you're good to go. If there is, choose a different gel. It's a tiny step, and it saves your face from a cranky week.
How To Use a Microcurrent Device at Home, Step by Step

Here's the routine I'd follow for a first session. The whole thing takes about 10 to 15 minutes, including cleansing and cleanup, and the device part is only 5 to 10 minutes.
- Read the manual once. Every device is slightly different. Note its recommended time per session and per area.
- Cleanse thoroughly. Wash your face, rinse well and pat dry. No toner with acids, no retinol, no oils yet.
- Tie your hair back. Headband on, any earrings or necklaces off.
- Apply a generous layer of gel to one area at a time. Think "frosting," not "a thin coat of serum." The gel should sit visibly on top of your skin. If it sinks in, add more.
- Start on the lowest intensity. You can always go up in later sessions. Higher isn't better if it's uncomfortable.
- Glide slowly upward and outward. Keep both prongs touching your skin, and move at roughly one inch per second. Many devices beep to tell you when to lift and move on.
- Work area by area. Neck, jawline, cheeks, under-eye area (only if your device allows it, and only along the bone), then forehead. The glide map below shows the directions.
- Wipe off the gel. Use a damp cloth or rinse with lukewarm water.
- Follow with hydration. A light serum and moisturizer, and sunscreen if it's morning.
- Clean the device. Wipe the prongs with a damp cloth and dry them before putting it away.
If anything stings, burns, twitches uncomfortably or just feels wrong, stop. Mild tingling is normal. Pain is not.
A first session can feel a little anticlimactic, and that's normal. Many women expect a buzz and feel close to nothing, then wonder if the device is even on. Most devices have a light or a beep to confirm they're working. If you feel a faint warmth or tingle near the jaw or notice that metallic taste, the current is flowing.
The Microcurrent Glide Map
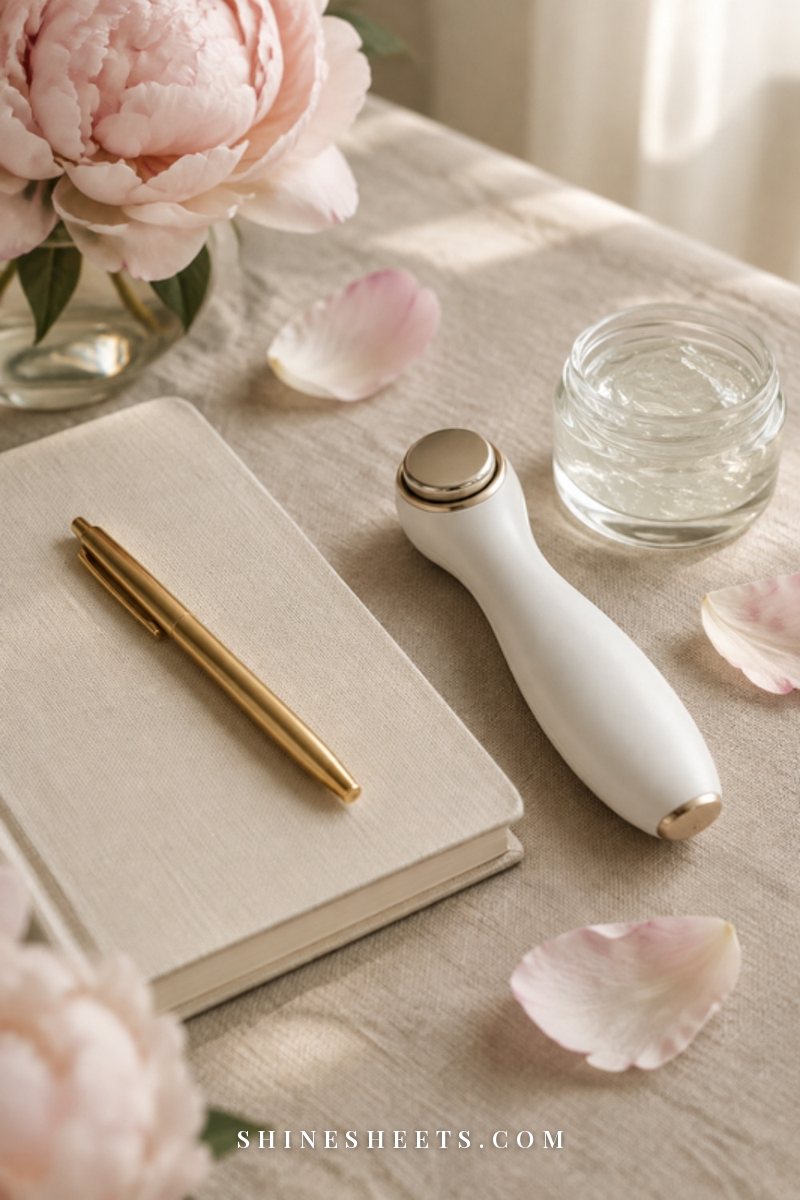
This is the unique part of this guide: one simple table that shows where to glide, which way, how many passes to start with and one small tip for each area. Screenshot it and keep it by the sink for your first two weeks.
| Face area | Glide direction | Passes to start | Tip |
|---|---|---|---|
| Neck | Upward from collarbone toward jaw | 3 per side | Keep the touch light and avoid the front center of the throat. |
| Jawline | Chin outward toward the ear | 3 per side | Let the prongs straddle the jawbone and pause briefly near the ear. |
| Lower cheeks | Corner of mouth outward toward the ear | 3 per side | Smile softly to lift the skin so both prongs stay in contact. |
| Upper cheeks | Side of nose outward along the cheekbone to the temple | 3 per side | Stay on the cheekbone, not on soft under-eye skin. |
| Brows | Upward from brow toward the hairline | 3 per brow | Hold for a second at the top before lifting off. |
| Forehead | Center outward toward each temple | 3 per side | Add more gel here; forehead skin dries the gel fastest. |
| Under the eyes | Only if your device allows it, inner to outer along the bone | 1–2 per side | Lowest setting, very light pressure, eyes closed. |
Always work one side of the face fully, then match it on the other side, so you don't lose track. Total device time with this map lands at about 5 to 8 minutes, which is a lovely place to start.
How Often To Use a Microcurrent Device
Consistency matters more than intensity. A simple schedule that works for many people looks like this:
- First 4 to 8 weeks: 3 to 5 sessions a week, 5 to 10 minutes each.
- After that: 2 to 3 sessions a week to keep things looking the way you like.
- Before an event: a session on the morning of, if your skin is calm.
Follow your device's manual if it suggests something different. Some are designed for daily use, others for fewer sessions.
A Simple Way To Track It

If you want to know whether it's doing anything, take a photo on day one in the same spot, same light, face relaxed, and another at four and eight weeks. Then jot a one-line note after each session in a notebook: date, minutes, how your skin felt. I'd pair it with an evening tea ritual so it becomes a small habit rather than a chore. Without that record, it's very easy to either overestimate or dismiss subtle changes.
5 Common Microcurrent Mistakes
Most "it didn't work for me" stories come down to one of these. Good news: they're all easy to fix.
1. Using Too Little Gel
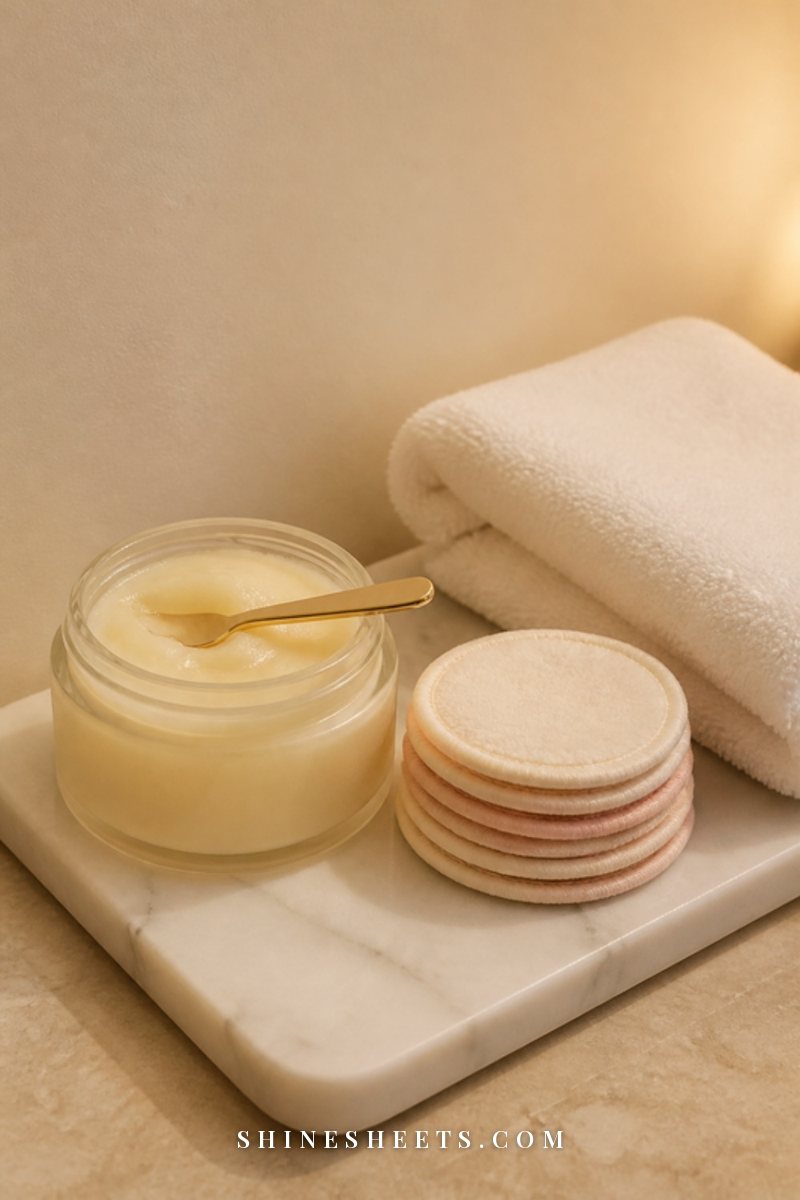
When gel dries or sinks in, the current can feel prickly or stop flowing well, and many devices beep or stop working. Apply a thick, visible layer and top it up the moment it starts to feel tacky. It's the single most common mistake.
2. Turning the Intensity Up Too Fast
Stronger doesn't mean better. If you feel stinging, twitching or see flashes of light near your eyes, turn it down. Stay on the lowest level for at least the first week, then go up one step only if it still feels comfortable.
3. Going Too Fast (or Too Hard)
Microcurrent isn't a rolling massage. Slow, deliberate glides with light, even pressure work better than quick strokes. Both prongs should stay on your skin the entire time.
4. Using It on Skin That Isn't Ready
Skip the session if your skin is broken, sunburned, freshly exfoliated with acids or freshly treated with retinol. My combination, sensitive skin gets grumpy with too many steps at once, so on nights with strong actives, I'd simply give the device a rest.
5. Expecting Results in a Week
Any lifted look after your first session is usually short-lived. Real assessment needs at least four to eight weeks of consistent use. If you've given it two months, used it properly and see nothing you care about, it's completely fine to decide it isn't for you.
Pairing Microcurrent With the Rest of Your Routine
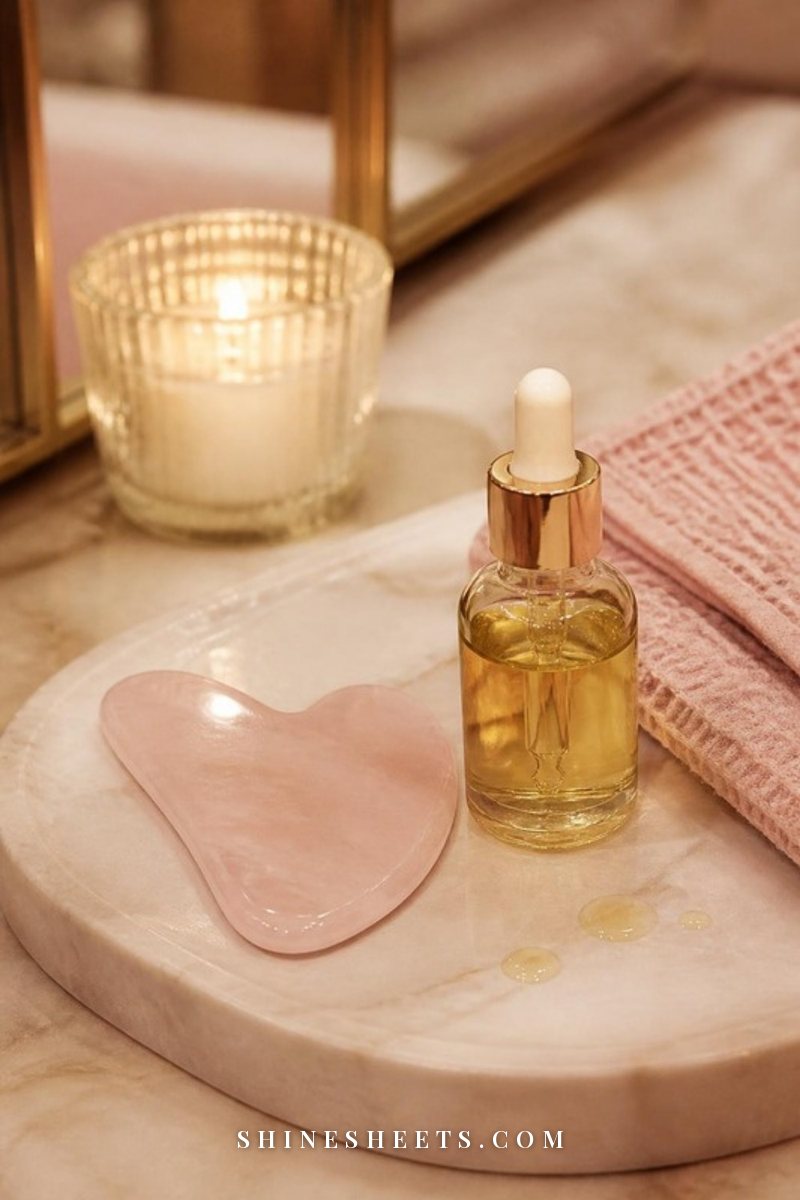
Microcurrent fits nicely into a gentle routine as long as you keep the order right. Gel goes on clean, bare skin. Everything else comes after.
- Serum after, not before. Once the gel is off, a hyaluronic acid hydrating serum on slightly damp skin is a lovely next step. Look for a simple, fragrance-free formula.
- Facial oil last, if you use one. Oil blocks the current, so keep it out of the device step entirely. My guide to choosing a facial oil for your skin type helps you find a light one for the end of your routine.
- Alternate with manual tools. On non-device days, a few minutes with a stone can feel just as soothing. Here's more on the gua sha benefits for beauty and relaxation, and this gentle lymphatic drainage face massage is a sweet morning option for puffiness.
- Make it part of a spa night. If you love a full pamper evening, slot the device in after cleansing and before a mask, as part of a hydrating facial at home.
Avoid stacking microcurrent with strong exfoliating acids or retinol on the same night if your skin is reactive. Alternating nights keeps everything calmer.
Is a Microcurrent Facial at Home Worth It?
It depends on what you want from it. It's likely worth it if you enjoy rituals, you're happy with subtle, temporary changes, you'll realistically use it a few times a week and none of the safety concerns apply to you. It's probably not worth it if you want dramatic or permanent change, you know a device would end up in a drawer, or you'd rather spend that money on sunscreen and a great moisturizer you'll use every single day.
4 Questions To Ask Yourself Before Buying
- Do any of the safety concerns apply to me? If yes, or if you're unsure, that's a doctor conversation first, and a perfectly good reason to stop here.
- Will I realistically use it three times a week? Picture a normal tired Tuesday, not your most motivated Sunday. If the honest answer is "maybe once," a simpler routine will serve you better.
- Am I happy with subtle and temporary? If the idea of results that fade when you stop feels disappointing rather than fine, save the money.
- Does the device feel easy to use? Read the manual online before buying if you can. A device with clear instructions, gentle levels and a comfortable shape is far more likely to become a habit than one that feels fiddly.
Both answers are good answers. A microcurrent device is a nice extra, not a requirement for caring for your face well. And it's never a replacement for a dermatologist if you have a skin concern that worries you.
Final Thoughts
A microcurrent facial at home works best when you treat it as a few calm minutes for yourself rather than a race against your own face. Start low and slow, use plenty of gel, follow the glide map and give it a fair couple of months before you decide.
And if it turns out you prefer a gua sha stone, a cup of tea and a good moisturizer, that's a lovely routine too. Your face doesn't need a gadget to be cared for well.