A lymphatic drainage face massage is less about pressing hard and more about moving slowly. The pressure you need is roughly the weight of a coin resting on your skin – so light it almost feels like you're doing nothing. That's the whole secret, and it's also why so many people get it wrong: they knead, push and drag, then wonder why their face looks red instead of rested.
Done gently, this little ritual can make morning puffiness settle faster, help your face look a bit more awake and give your nervous system a few quiet minutes. It won't reshape your jaw, detox your body or replace anything a doctor would do (more on what it can and can't do in a moment). But as a calm five minutes in your routine, it's lovely.
In this guide to lymphatic drainage face massage, you'll find how it works in plain words, how to prep your skin, the exact direction of every stroke, a 5-minute step table you can screenshot, a 2-minute morning depuff version, and when to skip it entirely. Fingers are enough to start, and I'll show you how to add a gua sha if you like one.
What a Lymphatic Drainage Face Massage Can (and Can't) Do
Your lymphatic system is a network of tiny vessels that carries fluid back toward your bloodstream. Just under the skin of your face and neck, those vessels are very superficial, which is why the gentlest touch is the one that actually reaches them. Pressing harder squashes them instead of encouraging the flow.
Here's an honest picture of what to expect:
What it can realistically help with
- Temporary depuffing. Puffiness after a salty dinner, a short night or a crying session often looks softer after a few minutes of gentle strokes.
- A more awake look. Light movement and a little warmth bring a fresh, rosy look to the skin for a few hours.
- Relaxation. Slow, repetitive touch on the face and neck is calming. For me, as someone prone to anxiety, this is honestly the biggest benefit.
- Releasing a tight jaw. If you clench when you're stressed, the jaw strokes feel wonderful.
- Better product slip. It's a pleasant way to press in your evening oil or moisturizer.
What it can't do
- It can't "detox" your body or remove toxins through your face.
- It can't permanently change your face shape or melt fat.
- It can't treat medical swelling, lymphedema or any health condition – that needs a doctor or a certified lymphatic therapist.
- It can't replace sleep, water and a sensible skincare routine. It's a finishing touch, not a fix.
If you go in with "I'm giving my face five calm minutes and it might look a little less puffy," you'll love it. If you go in expecting sculpted cheekbones by Friday, you'll be disappointed.
Before You Start: A Quick Safety Note
Please skip the massage, or ask your doctor first, if any of these apply:
- Your skin is irritated, sunburned, broken, or you have an active rash or a flare of eczema or rosacea.
- You have active, inflamed breakouts in the area (massage around them, never over them).
- You've had a recent cosmetic procedure – fillers, injectables, laser, peels or surgery. Ask the person who treated you how long to wait.
- You have a medical condition affecting your circulation, heart, kidneys, thyroid or lymph nodes, an infection, a fever or unexplained swelling.
- Something hurts. This should never hurt. Pain means stop.
Sudden, one-sided or painful swelling is a reason to see a doctor, not to massage. Gentle routines are for ordinary morning puffiness only.
How To Prep Your Skin
Prep takes about a minute and makes the massage smoother and kinder to your skin.
1. Start with clean hands and a clean face
Wash your hands, then cleanse with something mild. A gentle, non-foaming hydrating cleanser is a pick I'd choose here, because squeaky-clean skin feels tight and drags more. In the evening, if you wear sunscreen or makeup, my double cleansing guide shows how to do it in about 60 seconds.
2. Pull your hair back
A soft terry spa headband keeps hair out of the oil and off your hairline, which matters for the forehead strokes. Look for a wide, stretchy one that doesn't press on your temples.
3. Add slip
Your fingers or tool should glide, never tug. Use 3–5 drops of a lightweight facial oil, like a squalane or rosehip type, or a generous layer of your usual moisturizer. Look for something fragrance-free if your skin is sensitive. With my combination skin, I keep oil lighter on the T-zone and a little richer on the cheeks.
4. Get comfortable
Sit upright or stand with relaxed shoulders. Take two slow breaths. Your face follows your shoulders – if they're up by your ears, your jaw will be tight too.
The Golden Rules of Pressure and Direction
Every lymphatic drainage face massage, whether it's with fingers or a stone, follows the same few rules. Learn these and you can freestyle safely.
- Feather-light pressure. Imagine moving only the top layer of skin, not the muscle underneath. If you see your skin turning red, you're pressing too hard.
- Clear the exits first. Always start at the neck and collarbone. Fluid needs somewhere to go, so you open the "drain" before working on the face.
- Center to sides, top to bottom. On the face, strokes move outward from the middle toward your ears, then down the sides of the neck toward the collarbone.
- Slow and rhythmic. About one second per stroke. Slower is better than faster.
- Repeat, don't rub. 5–10 slow passes per area beats one long scrubbing session.
- Finish at the collarbone. End with a few strokes down the neck so the routine "closes" where it started.
Your 5-Minute Lymphatic Drainage Face Massage, Step by Step
Here's the full routine. Use your flat fingers (index, middle and ring together) unless a step says otherwise. Below the steps, you'll find everything summarized in one table.
Step 1: Neck (45 seconds)
Place your flat fingers just below your ears. Glide slowly down the sides of your neck toward your collarbone. Do 10 strokes on each side, or both sides at once. Keep the touch so light that you're barely moving the skin.
Step 2: Collarbone (30 seconds)
Rest your fingertips in the soft hollows just above your collarbones. Gently press and release, like a slow pulse, about 10 times. Then sweep lightly outward along the collarbone toward your shoulders, 5 times.
Step 3: Jawline (45 seconds)
Make a soft "V" with your index and middle fingers and place it on your chin, with the jawline between them. Glide outward along the jaw to just below your ear, then sweep down the side of your neck. 8–10 passes per side. This one is especially calming if you clench.
Step 4: Cheeks (45 seconds)
Place your fingers beside your nose. Glide outward across your cheeks toward the top of your ear, then down in front of the ear and along the neck. Work in three rows: under the cheekbone, across the cheekbone and just above it. 5 passes per row.
Step 5: Under the eyes (30 seconds)
Use only your ring finger – it naturally has the lightest touch. Starting at the inner corner, glide outward along the bone under your eye toward your temple. Don't touch the lash line, stay on the bone. 5–8 passes per side. If dark circles are your main concern, my guide on how to get rid of dark circles covers the bigger picture.
Step 6: Brow bone and temples (30 seconds)
With your ring and middle fingers, glide from the inner brow outward along the brow bone to the temple. At the temple, make 3 tiny slow circles, then glide down in front of the ear. 5 passes.
Step 7: Forehead (30 seconds)
Place both hands flat at the center of your forehead. Glide outward to the temples, then down the sides of the face. Work from the brows up to the hairline in three rows. 5 passes per row.
Step 8: Close at the neck (45 seconds)
Repeat Step 1: 10 slow strokes down the sides of the neck toward the collarbone. Finish with 5 soft pulses in the collarbone hollows and one long, slow breath.
The 5-Minute Step Table
This is the article's cheat sheet. Screenshot it and keep it on your phone until the order becomes automatic (it usually takes about a week).
| Step | Area | Strokes | Direction | Seconds |
|---|---|---|---|---|
| 1 | Neck | 10 per side | Below ears → down to collarbone | 45 |
| 2 | Collarbone | 10 pulses + 5 sweeps | Soft press, then outward to shoulders | 30 |
| 3 | Jawline | 8–10 per side | Chin → below ear → down neck | 45 |
| 4 | Cheeks | 5 per row, 3 rows | Beside nose → top of ear → down neck | 45 |
| 5 | Under eyes | 5–8 per side | Inner corner → temple (ring finger) | 30 |
| 6 | Brow bone and temples | 5 passes + 3 circles | Inner brow → temple → down by ear | 30 |
| 7 | Forehead | 5 per row, 3 rows | Center → temples → down sides of face | 30 |
| 8 | Neck (close) | 10 strokes + 5 pulses | Below ears → collarbone | 45 |
Total: about 5 minutes. If you go slower, wonderful. Nobody is timing you.
The Morning Depuff in 2 Minutes
Some mornings you don't have five minutes, you just have a puffy face and a coffee waiting. This mini version keeps only the parts that matter most for puffiness:
- Neck, 20 seconds: 6 slow strokes per side from below the ears to the collarbone.
- Collarbone, 15 seconds: 8 soft pulses in the hollows.
- Under eyes, 30 seconds: ring finger, inner corner to temple, 6 passes per side.
- Cheeks, 30 seconds: one row across the cheekbone, nose to ear, 6 passes.
- Close, 25 seconds: 6 strokes down the neck, one deep breath.
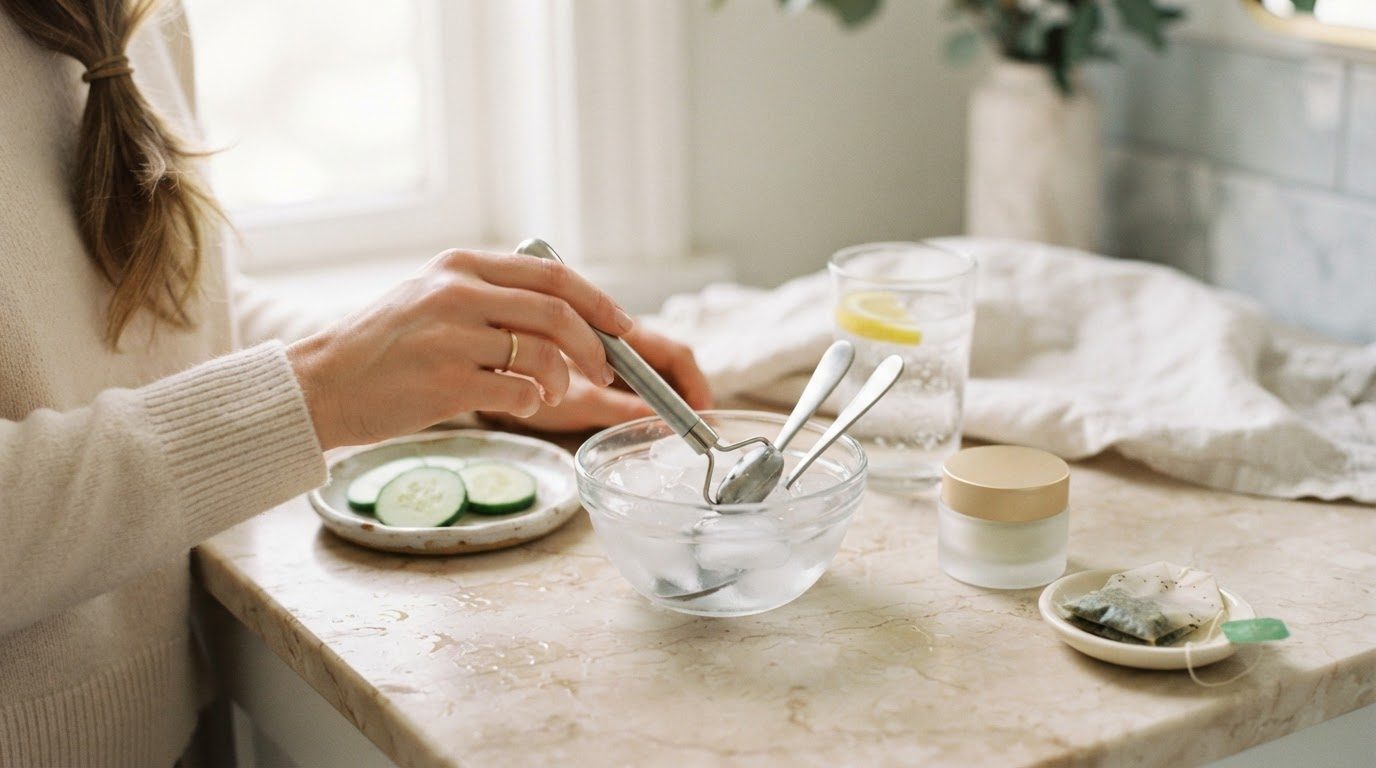
For an extra cool boost, roll a chilled ice roller outward along the same paths for 30 seconds afterward. Look for one with a sealed head that you can keep in the fridge or freezer, and wrap it in a thin cloth if it feels too cold. Cold makes the depuff look more noticeable, but keep it moving and never hold it in one spot.
Fingers or Gua Sha: Which Should You Use?
Both work. The best tool is the one you'll use gently.
Fingers
Fingers are free, warm and very easy to control. You can feel exactly how much pressure you're using, which makes them the best choice for beginners and sensitive skin. Start here for the first two weeks.
Gua sha
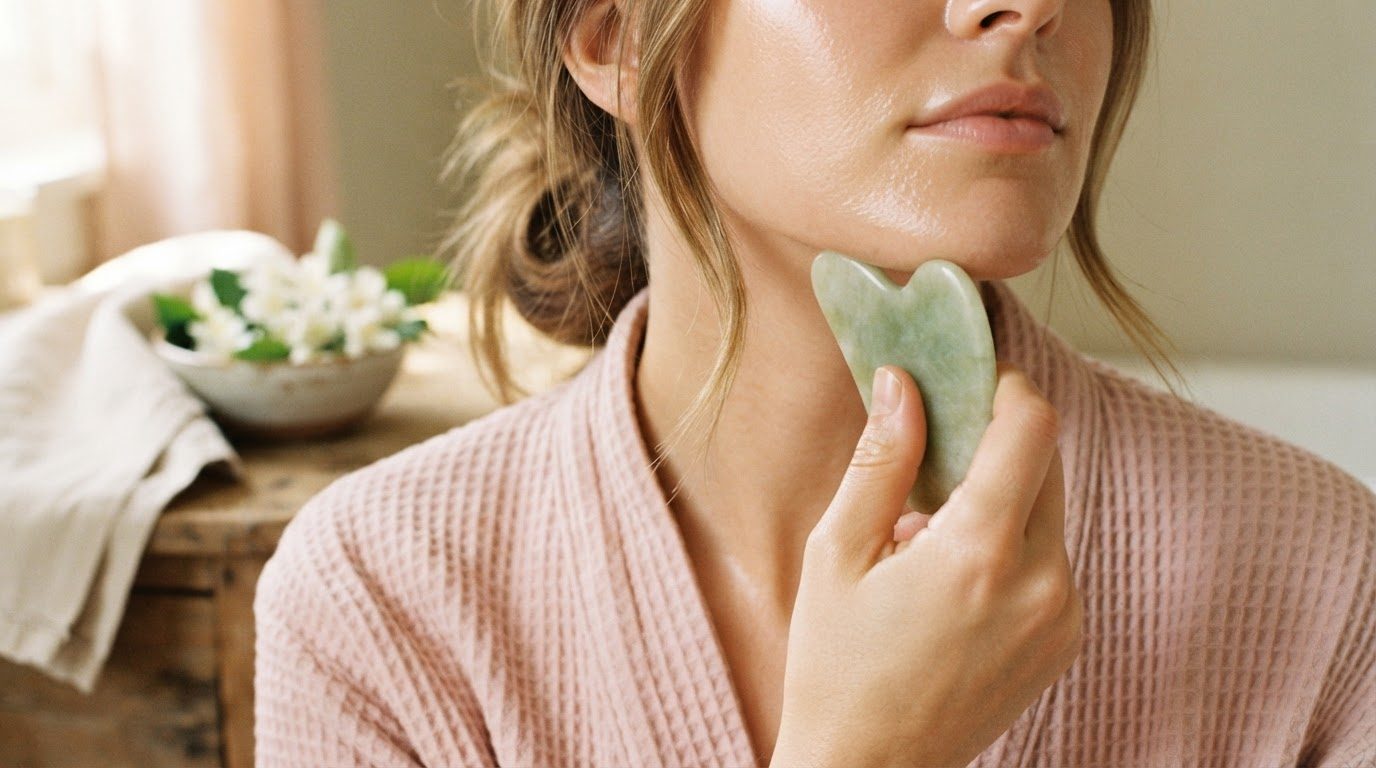
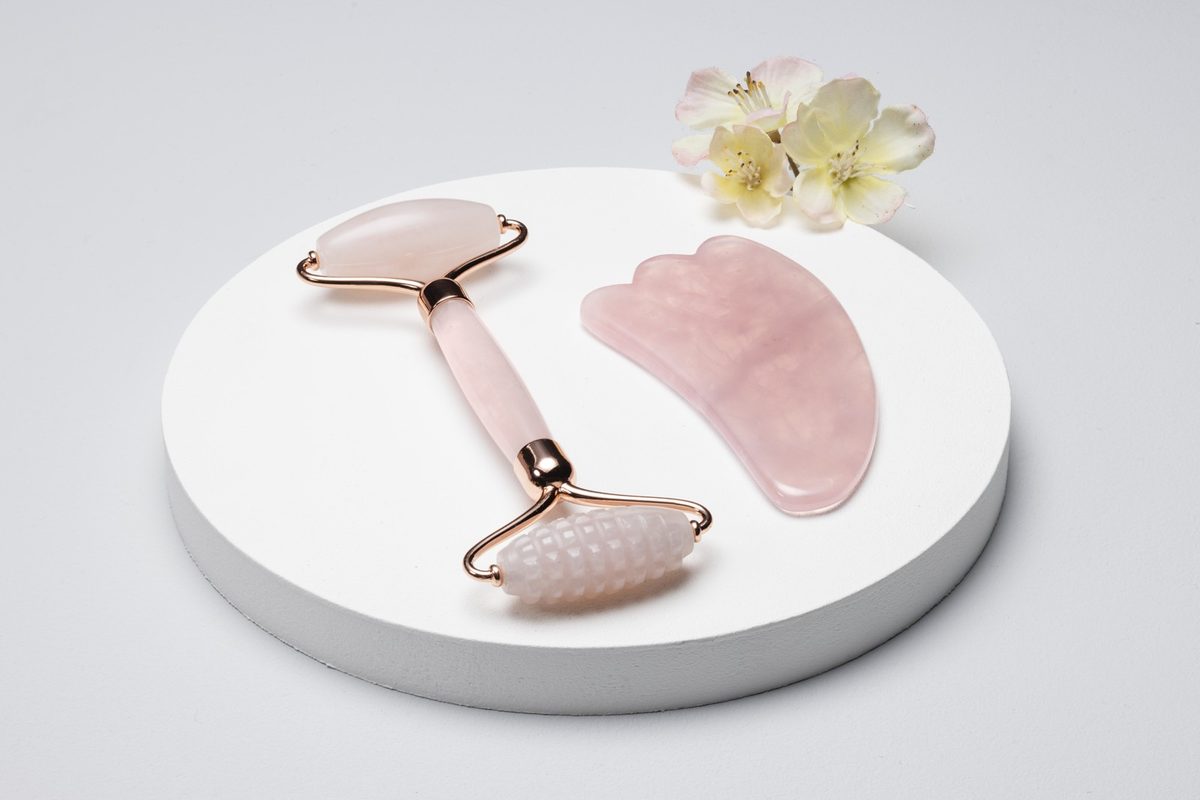
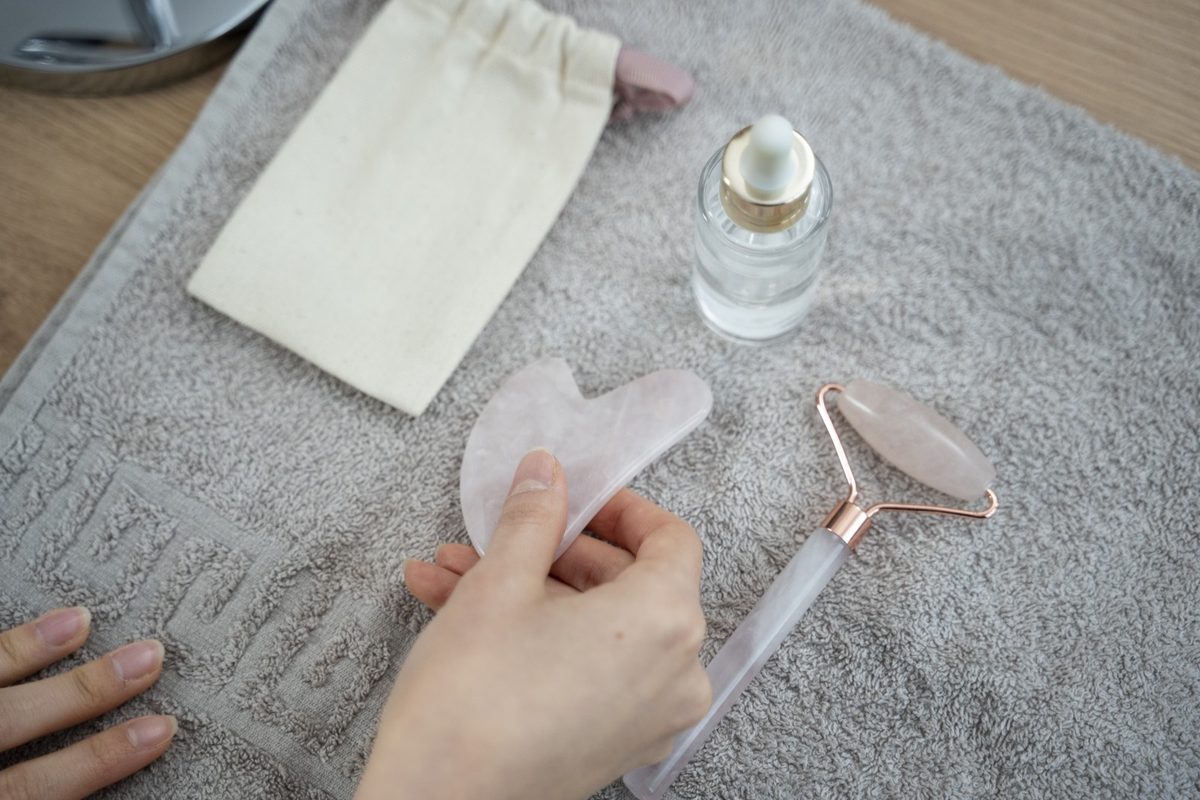
A smooth stone can feel lovely once you know the routine. A rose quartz gua sha is a pick I'd choose for beginners – look for polished, rounded edges with no chips, and a notched side that fits the jawline. Rules for using one:
- Hold it almost flat against the skin, at about a 15-degree angle, never upright.
- Use more oil than you would with fingers.
- Follow exactly the same directions as the table above.
- Do 3–5 passes per area instead of 10 – the stone covers more skin per stroke.
- Wash it with mild soap and water after every use and let it dry.
If you want to read more about the tool itself, there's a whole post on gua sha benefits for beauty and relaxation.
Morning vs Evening: When To Do It
There's no wrong time, but each one has its own feel.
| Morning | Evening | |
|---|---|---|
| Best for | Puffiness after sleep | Relaxation and a tight jaw |
| Version | 2-minute depuff | Full 5-minute routine |
| Slip | Light moisturizer or serum | Facial oil or richer cream |
| Add-on | Chilled ice roller | Warm cloth before you start |
| Afterward | Sunscreen and makeup as usual | Leave the oil on as your last step |
I like the evening version best. After my evening tea, it's a soft signal to my body that the day is done – and it fits right before journaling. If your skin is on the dry side, a massage with oil slots perfectly into the night routine in my skincare routine for dry skin.
Small Habits That Make the Massage Work Better
The massage is the visible part, but a few quiet habits decide how puffy you wake up in the first place.
- Sleep with your head slightly raised. An extra thin pillow can help fluid settle less around the eyes overnight.
- Drink water through the day, not all at once before bed.
- Notice salty evenings. If a salty dinner always shows up on your face, that's useful information, not a rule to stress about.
- Remove makeup gently. Tugging around the eyes every night does more harm than one massage can undo.
- Pat dry. Use a soft cotton face towel and press, never rub.
- Be consistent, not intense. Three or four times a week for a few minutes beats one long session on Sunday.
Common Mistakes To Avoid
- Pressing too hard. Redness, tenderness or that "worked" feeling means you went past lymphatic and into a deep tissue massage.
- Skipping the neck. Starting on the face without clearing the neck first is the most common mistake.
- Working dry. Dragging dry skin can irritate it. Always use slip.
- Going back and forth. Strokes go one way – outward and down. Lift your fingers and start again rather than rubbing back.
- Massaging over breakouts or irritation. Work around them, or skip the day.
- Expecting permanent results. The depuff fades over the day. That's normal, not a failure.
- Using a chipped tool. A rough edge can scratch skin. Retire it.
A Simple Weekly Rhythm
If you want structure, here's a gentle rhythm that doesn't ask too much:
- Monday, Wednesday, Friday mornings: 2-minute depuff with an ice roller.
- Tuesday and Thursday evenings: full 5-minute routine with oil.
- Sunday evening: full routine with a warm cloth first, slow music and no rush.
- Saturday: rest. Your face doesn't need a massage every single day.
Miss a day, miss a week – it doesn't matter. This is a pleasure, not a program.
What To Expect in Your First Two Weeks
The first few tries usually feel a bit awkward. You'll check the table, lose count of strokes and wonder if you're doing anything at all. That's completely normal, and it's a good sign – barely-there pressure is supposed to feel like almost nothing.
- Days 1–3: focus only on the order and direction. Don't worry about seconds.
- Days 4–7: notice your pressure. If your skin turns pink, lighten up.
- Week 2: the routine starts to feel automatic, and you'll probably notice that puffy mornings settle a little faster after the depuff version.
Keep your expectations kind. Some days your face will look clearly fresher, some days you'll see no difference at all, and both are fine. The calm part – the slower breathing, the softer jaw – tends to show up from the very first evening.
One small tip: pair the massage with something you already do every day, like applying your moisturizer or waiting for the kettle. Habits stick much more easily when they ride along with an old one.
Final Thoughts
A lymphatic drainage face massage asks very little: a few drops of oil, a feather-light touch and five unhurried minutes. Start at the neck, move outward and down, and let it be calm rather than perfect.
Some mornings it'll take the edge off the puffiness, some evenings it'll simply help you breathe a little slower. Both are worth it, and your face will thank you for the softness.