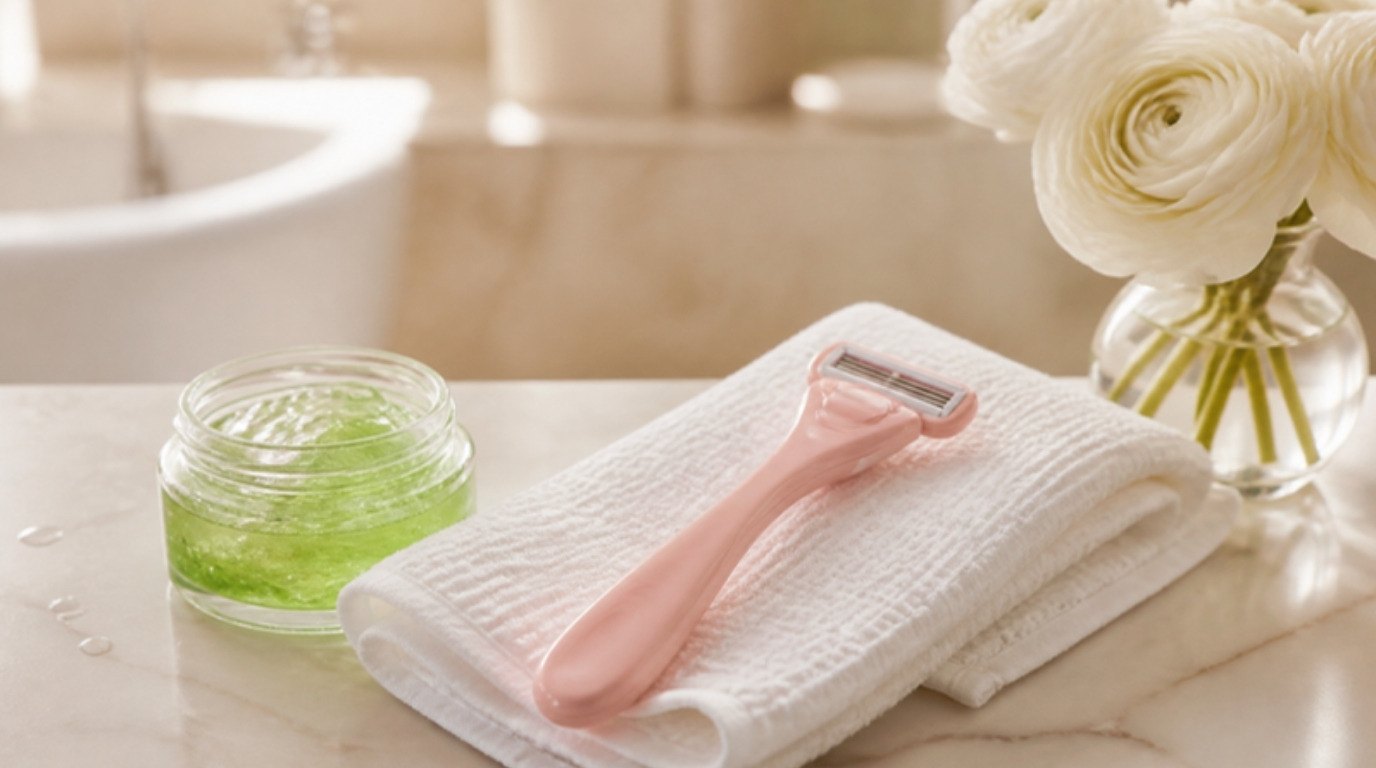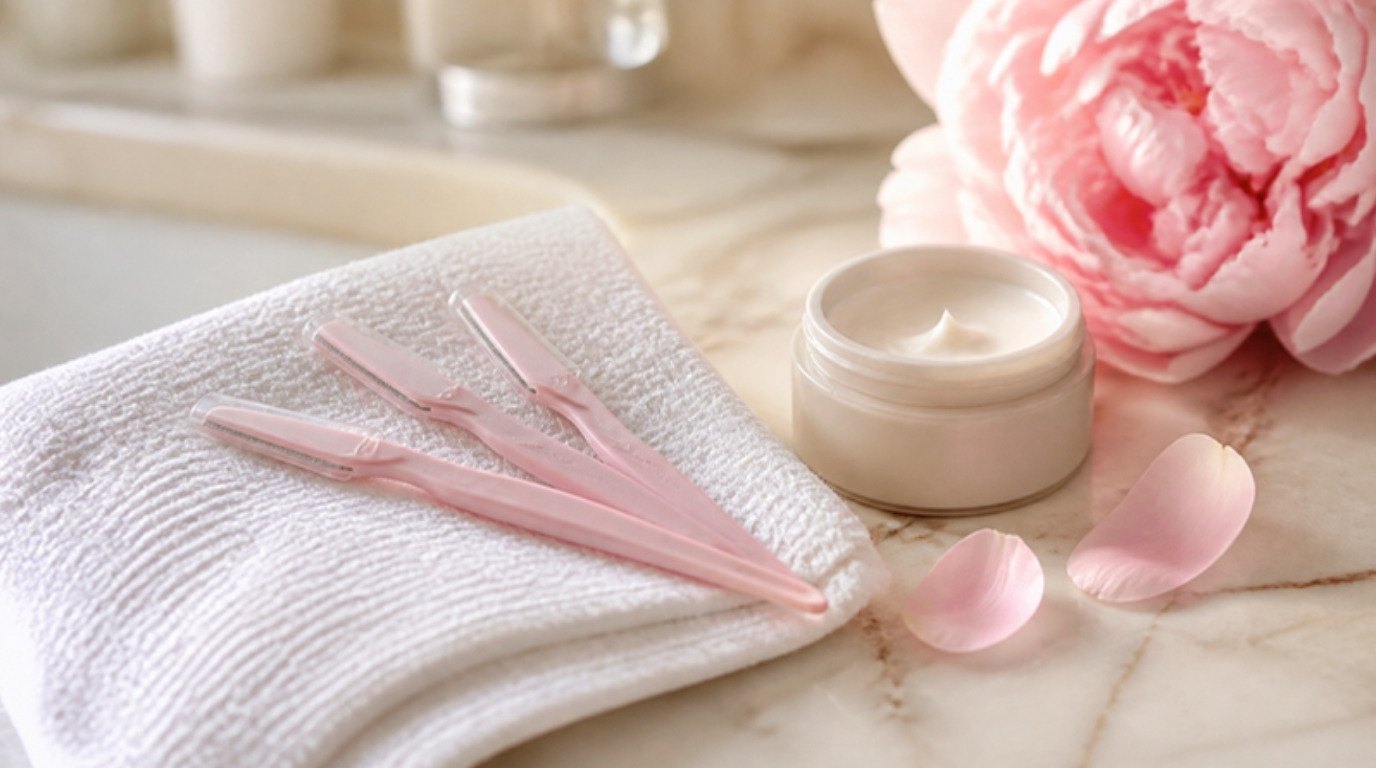
Dermaplaning at home is less about the blade and more about the timing. The difference between smooth, soft skin and a week of tiny red bumps usually comes down to what you do before you start (and what you skip for two days afterward), not how skilled your hand is.
Done gently, it's one of those small rituals that makes skin feel incredibly soft and helps makeup sit more smoothly. Done in a rush, on irritated skin or right after a retinoid, it can leave you red, stinging and wondering why everyone online loves it. As someone with combination, sensitive skin, I'm a firm believer in going slowly with anything that involves a blade near your face.
This guide covers dermaplaning at home safely, from start to finish: what it is, the myths (no, the hair won't grow back thicker), who should skip it or wait, the tools you need, a before-during-after table, a clear step-by-step technique, the areas to avoid, aftercare and how often to do it.
One promise before we start: there's no rush here. Your first session can take twenty minutes, and that's exactly right.
What Is Dermaplaning?

Dermaplaning is a gentle way of removing the fine, soft facial hair often called peach fuzz (vellus hair) along with a thin layer of dead skin cells from the surface, using a small, sharp facial blade held at an angle and moved in short strokes.
In a clinic, it's done by a trained professional with a surgical-style scalpel. At home, people use small single-use facial razors designed for the face, which are much gentler and come with a safety edge. The at-home version is lighter, but the basic idea is the same: a clean blade gliding over clean, dry skin.
It's a form of physical exfoliation, so it belongs in the same mental category as scrubs and exfoliating tools. If you're new to exfoliation in general, my guide on how to exfoliate your face explains how physical and chemical exfoliation differ and how to avoid overdoing both.
Benefits of Dermaplaning
People love dermaplaning for a few simple, visible reasons:
- Softer-feeling skin. Removing fuzz and surface dead cells leaves skin feeling smooth to the touch, usually right away.
- Smoother makeup. Foundation and powder can sit more evenly without fine hair underneath, and there's less of that "fuzzy" look in daylight.
- A brighter look. With the dull top layer gently removed, skin can look a little more even and luminous for a few days.
- Skincare that feels nicer to apply. Serums and moisturizers glide on more easily (just keep things gentle right after; more on that below).
- A calm, self-care ritual. For many people, it's simply a nice monthly pampering moment.
What it won't do: it's not a treatment for acne, scarring or deep texture, and results are temporary. If uneven texture is your main concern, my guide on textured skin covers the full picture and what tends to help.
Dermaplaning Myths, Gently Busted

Dermaplaning has collected plenty of worries over the years. Here's what's true and what isn't:
- Myth: the hair grows back thicker or darker. Shaving doesn't change the thickness, color or speed of hair growth. Hair cut at the surface can feel slightly blunt as it grows back, because the tip is cut straight rather than tapered, which is why it may seem coarser. It isn't.
- Myth: it's the same as shaving your face. Technically it is a form of shaving, but the technique is different: a dedicated facial blade, dry skin, an angled blade and short, feathery strokes rather than a razor with foam.
- Myth: you need it to have good skin. Peach fuzz is completely normal and many people never remove it. Dermaplaning is an option, not a requirement.
- Myth: more often is better. Over-exfoliating weakens your skin barrier. Once every three to four weeks is plenty for most people.
- Myth: it treats acne. Running a blade over active breakouts can spread bacteria and irritate the skin. It's not an acne treatment.
Who Should Skip Dermaplaning (or Wait)
This is the most important section, so please don't skip it. Dermaplaning at home isn't a good idea, at least for now, if any of these apply:
- Active acne or breakouts, especially inflamed or pustular spots.
- A rosacea flare or very reactive, flushed skin.
- Broken, cut, sunburned or peeling skin, or a healing wound anywhere on the face.
- Recent retinoid use without a break. Retinoids make the surface more fragile; pause them for a few days before (or as your dermatologist advises).
- A recent chemical peel, laser or other in-office treatment, unless your provider has said it's fine.
- Eczema, psoriasis or dermatitis on the face, or any rash.
- Cold sores, or an active skin infection.
- Prescription skin treatments or medications that make skin more sensitive; check with your doctor or dermatologist first.
If you have very sensitive skin (I'm in this group), you can still try it, just more gently and less often. My sensitive skin routine guide covers how to keep your barrier happy around any kind of exfoliation. And if you're unsure whether your skin is a good candidate, a dermatologist can tell you in one visit.
What You'll Need
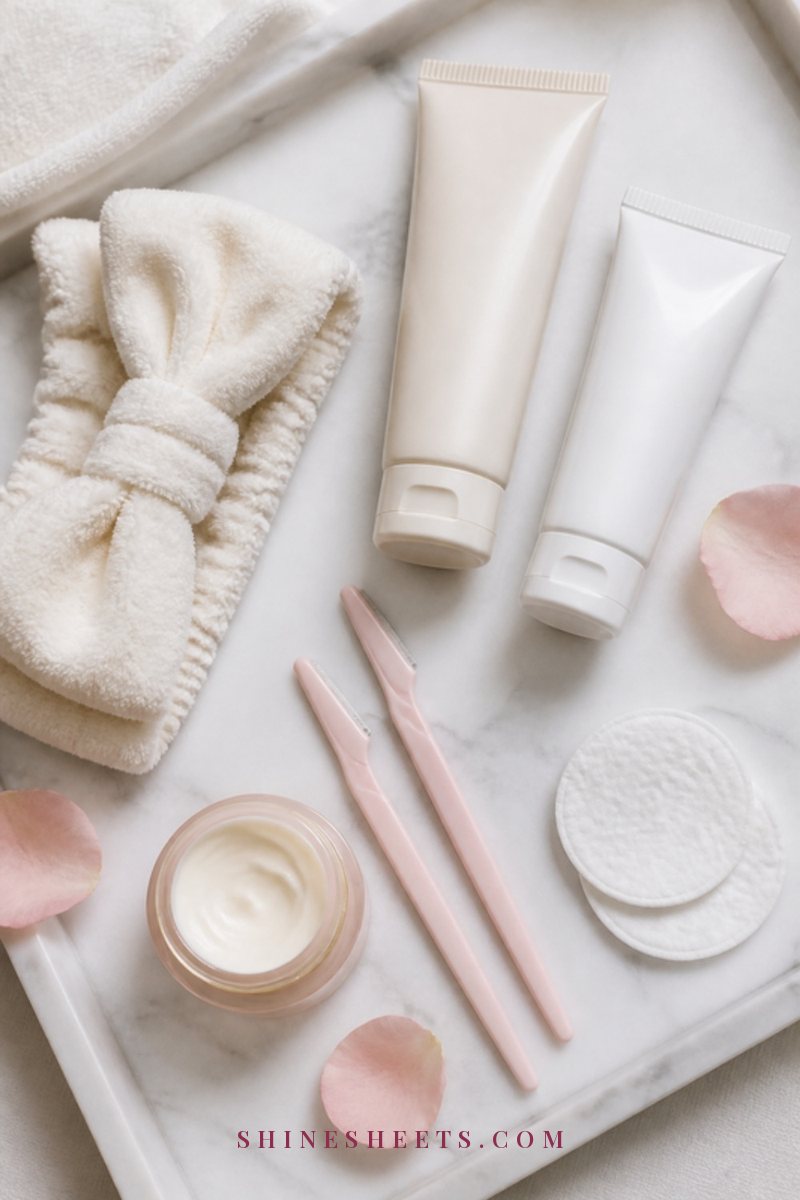
Keep it simple. You need:
- A facial razor. Look for single-use or regularly replaced facial razors designed for the face, with a fine blade and a safety guard. A pack of pink dermaplaning facial razors is an easy pick for beginners. Use a fresh, sharp blade; a dull blade drags and irritates.
- A gentle cleanser. A mild, low-pH, non-stripping cleanser, like a gentle low-pH gel cleanser from a well-loved K-beauty line, preps skin without leaving residue.
- A headband. A soft cream spa headband keeps hair away from your face and hairline.
- A soothing moisturizer. Something calming and fragrance-free for afterward. A centella soothing cream is a lovely choice for sensitive skin. If you're curious about the ingredient, my guide to centella asiatica explains why it's so loved.
- A mineral sunscreen for the next morning (and every morning). A gentle mineral face sunscreen is usually best tolerated right after exfoliation.
- Good light and a clean, dry towel.
Before using any new product around a dermaplaning session, patch test it first. My guide on how to patch test skincare shows you exactly how.
Dermaplaning Before, During and After Table
Here's the whole process at a glance. Screenshot it and keep it nearby for your first few sessions.
| Stage | Do | Don't | Timing |
|---|---|---|---|
| 3–5 days before | Pause retinoids and strong acids; check skin is calm | Book it right after a peel or a breakout | Several days ahead |
| Prep | Wash hands, cleanse face, pat completely dry, headband on | Apply oil, serum or moisturizer before | 5 minutes |
| During | Hold skin taut, blade at about 45°, short downward strokes | Press hard, go over the same spot repeatedly, touch active spots | 10–20 minutes |
| Right after | Rinse with cool water, pat dry, apply a soothing moisturizer | Toners with alcohol, acids, retinoids, vitamin C, scrubs | Immediately |
| Next 24–48 hours | Gentle cleanser, moisturizer, mineral sunscreen daily | Actives, heavy makeup, hot saunas, long sun exposure | 1–2 days |
| Next session | Use a fresh blade | Reuse an old or dull blade | Every 3–4 weeks |
Dermaplaning vs. Other Ways To Remove Peach Fuzz
Dermaplaning isn't the only option, and it helps to know how it compares before you decide:
- Dermaplaning: removes fuzz and a little dead skin at the same time, painless when done gently, results last a few weeks. Not ideal for active acne or very reactive skin.
- Threading: pulls hair from the root, so results last longer. Usually done by a professional and can sting a little; no exfoliation.
- Waxing: also removes hair from the root. It can be harsh on thin facial skin and isn't a good match with retinoids.
- Facial hair removal creams: dissolve hair at the surface. They can irritate sensitive skin, so a patch test is essential.
- Doing nothing: a perfectly valid choice. Peach fuzz is normal, often invisible to everyone but you, and actually helps diffuse light on the skin.
If your main goal is softer, smoother-feeling skin rather than hair removal, a gentle chemical exfoliant once or twice a week may suit you better. If your goal is truly hair-free skin, dermaplaning is a gentle, painless middle ground.
How To Dermaplane at Home, Step by Step

Do this in the evening if you can, so your skin has a whole night to settle before facing sun and makeup. Choose a time when you're not rushed.
- Wash your hands and clean the blade. Start with clean hands and a fresh blade. If your razor is reusable, wipe the blade with an alcohol pad and let it dry.
- Cleanse your face. Use a gentle cleanser to remove makeup, sunscreen and oil. Rinse well.
- Dry completely. Pat your face dry and wait a few minutes. The blade should glide over dry, bare skin with no products on it.
- Put on your headband and make sure you have bright, even light.
- Hold the skin taut. With your free hand, gently stretch the area you're working on. Taut skin is safer and gives a smoother result.
- Angle the blade. Hold the razor at about a 45-degree angle to your skin. Never hold it flat against the skin or straight up.
- Use short, light, downward strokes. Move in small strokes (about half an inch to an inch) in the direction of hair growth, usually downward. Let the blade do the work; there should be no pressure at all.
- Work in sections. Start at the upper cheek and work down to the jawline, then the other cheek, the chin, the forehead and (carefully) above the lip. Go over each area once, twice at most.
- Rinse and soothe. Rinse with cool water, pat dry and apply a calming moisturizer.
- Throw away or clean the blade. Single-use blades go in the trash with their cap on.
A tiny nick can happen, especially at first. If it does, press a clean tissue on it gently, skip the rest of that area, and let it heal before your next session.
Areas To Avoid
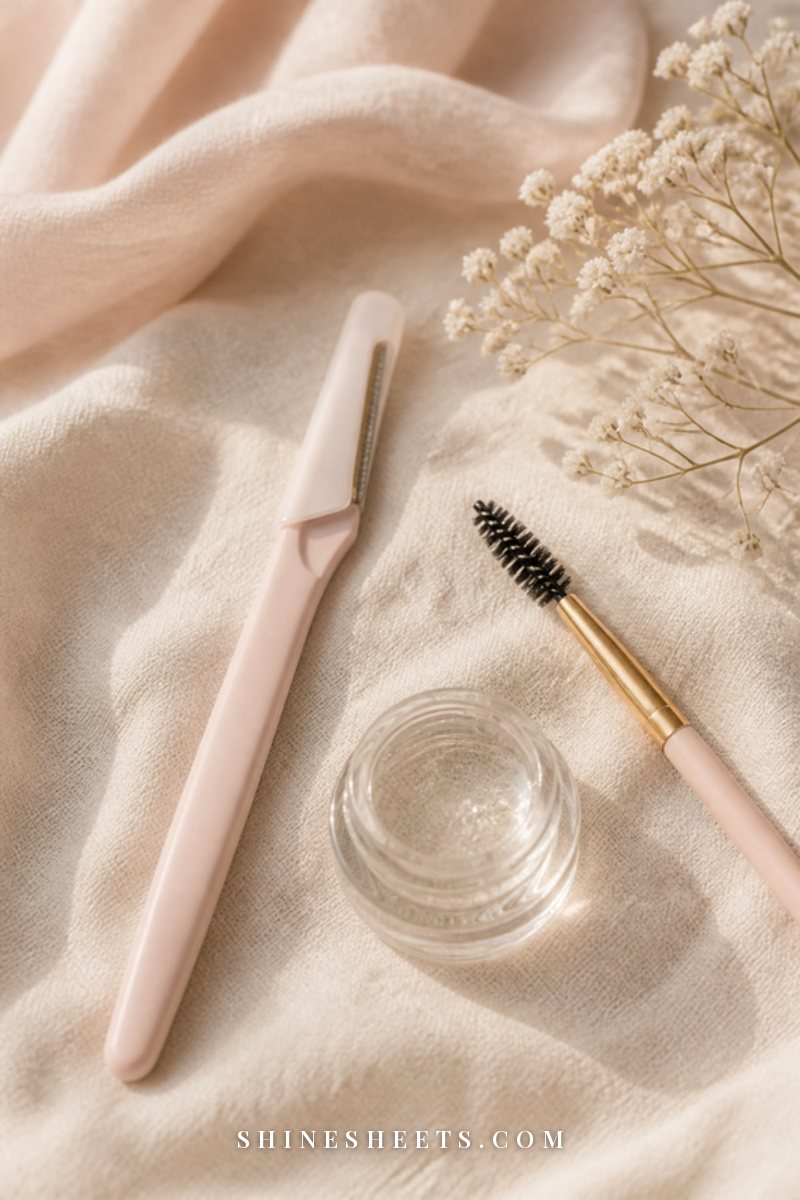
Some areas aren't made for at-home dermaplaning. Steer clear of:
- Eyebrows. It's very easy to take off more than you meant to. Leave brow shaping to tweezers or a professional.
- The hairline and sideburns. Cutting these can create an obvious line as they grow back.
- The nose. The curves make it easy to nick, and the skin is often oilier and more reactive.
- The lips and the lip line itself (the area above the lip is fine with extra care).
- The eyelids and under-eye area. The skin is thin and delicate.
- Moles, raised spots, active breakouts and any broken skin. Go around them, never over them.
- The neck, unless you're confident and very gentle; the skin there is thinner and moves a lot.
Aftercare for the Next 48 Hours

Freshly dermaplaned skin is more vulnerable than it looks. For the next 24–48 hours, treat it like you would after any exfoliation:
- Keep it simple: gentle cleanser, soothing moisturizer, and that's it at night.
- Pause actives: no retinoids, exfoliating acids (AHA, BHA, PHA), strong vitamin C serums, benzoyl peroxide or scrubs for at least 24–48 hours.
- Wear sunscreen every morning, even if it's cloudy. Freshly exfoliated skin is more sensitive to the sun.
- Go lighter on makeup for the first day, and use clean brushes and sponges when you do.
- Skip heat: saunas, hot yoga and long, very hot showers can make skin feel irritated.
- Hands off. Try not to touch your face, and change your pillowcase the night of your session.
Some mild pinkness right after is common and usually fades within a few hours. Stinging, burning, bumps or redness that lasts beyond a day or two are signs to stop and let your skin rest.
How Often To Dermaplane

For most people, once every three to four weeks is ideal. That roughly matches your skin's natural renewal cycle, so you're removing built-up dead cells without stripping away healthy ones.
- Sensitive skin: start with every four to six weeks and see how your skin responds.
- Normal or oily skin: every three to four weeks is usually comfortable.
- If you use other exfoliants (acids, retinoids, scrubs), count dermaplaning as one of your exfoliation days and skip the others that week.
- Before an event, do it at least two to three days ahead, never the same morning, so any pinkness has time to fade.
Peach fuzz grows back gradually over a few weeks, so there's no need to chase perfectly smooth skin every week.
For your very first session, I'd suggest a small trial: just one cheek, or only the jawline. Wait 48 hours and see how your skin feels. If there's no redness, stinging or bumps, you can do the full face next time. It's a little slower, but it's the kindest way to learn how your skin responds, and it gives you time to get comfortable with the angle and the feather-light pressure before working near trickier areas like the upper lip and chin.
Fitting Dermaplaning Into Your Skincare Routine
The easiest way to avoid irritation is to plan your dermaplaning night like a mini calendar, especially if you use active ingredients. Here's a simple example week:
- Days 1–3 before: skip your retinoid and any exfoliating acids. Cleanser, moisturizer and sunscreen only.
- Dermaplaning evening: cleanse, dry, dermaplane, rinse with cool water, then a soothing moisturizer. Nothing else.
- Next morning: gentle cleanse (or just a water rinse), moisturizer, mineral sunscreen.
- Second evening: still gentle: cleanser and moisturizer.
- From the third evening: if your skin feels calm, slowly bring back your usual serums, starting with the gentlest one first.
This is also a lovely moment to notice how your skin feels without its usual actives. Some people discover their skin is calmer with fewer products overall.
Common Dermaplaning Mistakes

Most dermaplaning problems come from a handful of habits. Watch out for these:
- Using a dull or old blade. It tugs and scrapes instead of gliding. Fresh blade, every time.
- Pressing too hard. You're skimming, not scraping. Barely any pressure is the goal.
- Going over the same area again and again. One or two passes is enough.
- Doing it on skin with oil or serum on it. The blade slips and you lose control.
- Dermaplaning right after a retinoid or acid night. This is the classic route to redness and stinging.
- Layering actives straight after. Your skin needs a calm day or two.
- Rushing. A hurried session is when nicks happen. Give yourself time and good light.
When To See a Dermatologist
If you have ongoing skin concerns, are using prescription treatments, notice unusual or dark, coarse facial hair growth, or your skin reacts badly after dermaplaning (lasting redness, bumps, pain, swelling or signs of infection), please see a dermatologist. Sudden changes in facial hair can sometimes be linked to hormones, and a doctor can help you understand what's going on. Professional dermaplaning is also an option if you'd rather leave the blade to someone trained.
Final Thoughts
Dermaplaning at home can be a lovely, calming ritual when you treat it gently: calm skin, a fresh blade, dry skin, light strokes, and a quiet couple of days afterward. Skip it when your skin isn't up for it, and never rush.
Soft, smooth skin is a nice bonus, but the real win is learning to listen to your skin and give it exactly the care it's asking for.