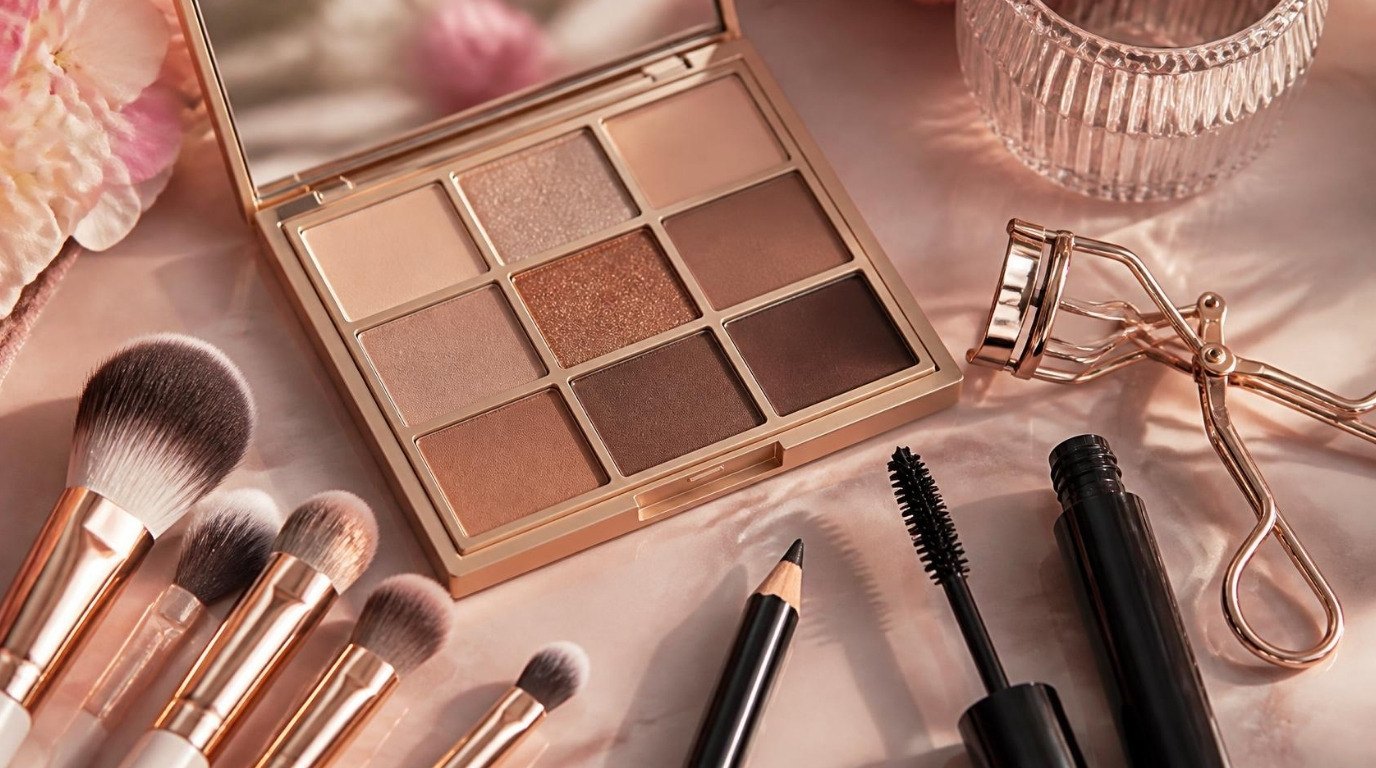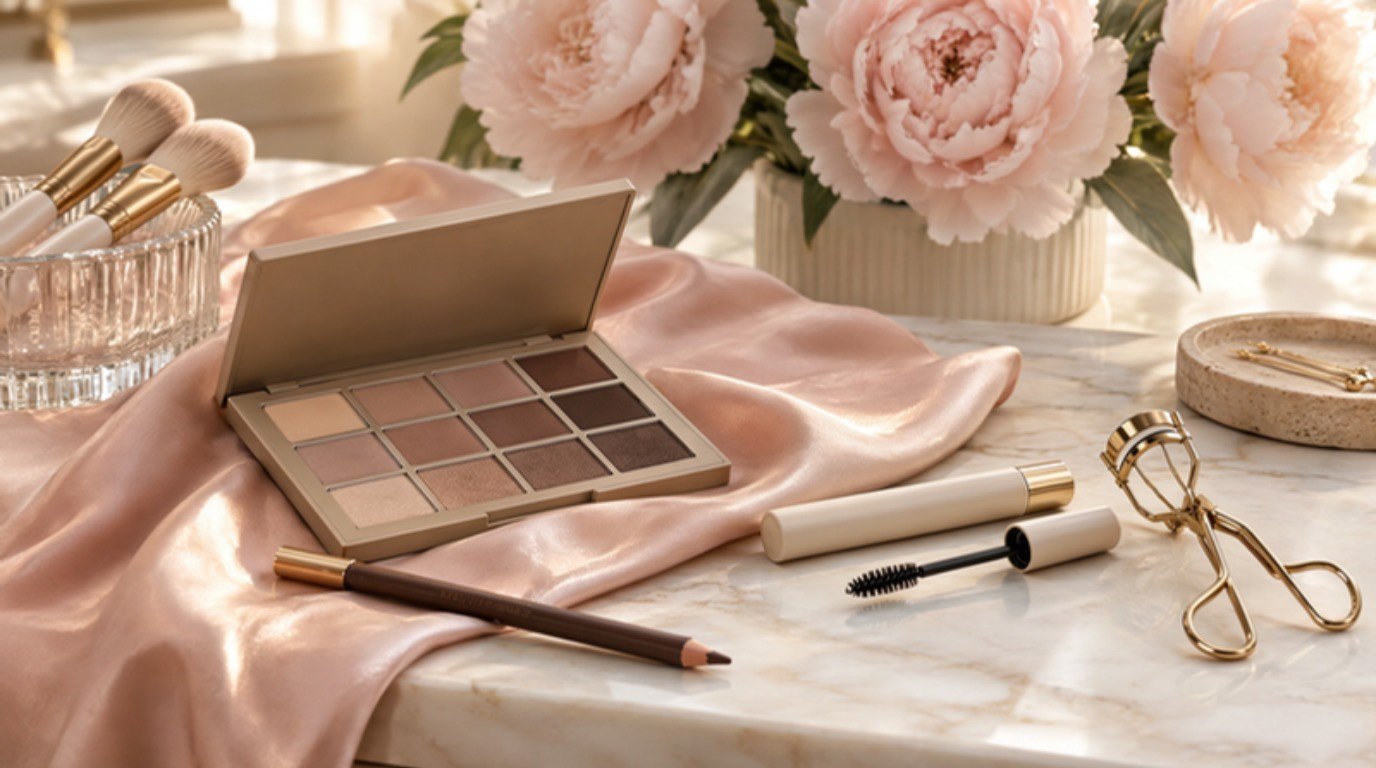
Downturned eyes don't need fixing. They have a soft, dreamy, slightly sleepy quality that a lot of people spend hours trying to fake with smudged shadow. What changes everything is where you place your makeup: a few millimeters of liner angled up instead of down, a little shadow pulled toward your temple, mascara concentrated on the outer lashes. Small placement choices, very big difference.
The tricky part is that most makeup tutorials are made for eyes that tilt up or sit level, so following them step by step can accidentally pull your eyes even lower. It took me a while to understand that it wasn't my technique that was off. It was the map I was following.
This guide is all about makeup for downturned eyes: how to tell if your eyes are downturned, 7 tricks that lift your look, a placement table you can screenshot, an easy everyday look, a soft evening look, what to skip, tips for eyes that are both downturned and hooded, and the eye safety basics that matter more than any product.
What Are Downturned Eyes?
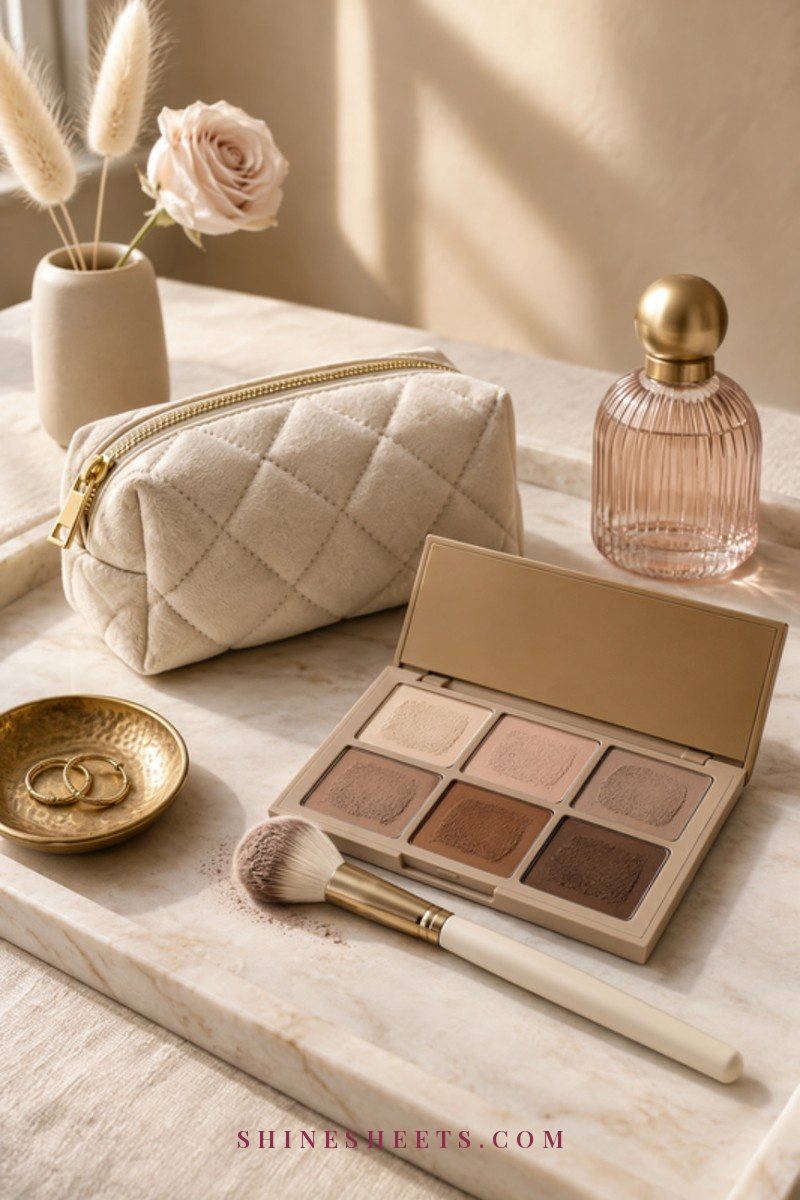
Downturned eyes simply means that the outer corner of your eye sits a little lower than the inner corner. If you drew a line from one corner to the other, it would slope gently downward toward your temple. That's it. It's a shape, like almond or round, and it's beautiful just as it is.
Some people are born with a downturn, and for others it shows up gradually as the skin around the eyes softens over the years. Either way, the goal of this kind of makeup is never to hide your eye shape. It's to add a gentle lift when you want it, so your eyes look a little more awake and open, while keeping that soft, romantic look you already have.
Think of Old Hollywood: so many of the most glamorous eyes on screen had a natural downturn, and the makeup artists of that era simply drew everything slightly upward. Liner that kicked up, shadow that swept out, a brow that lifted at the tail. We're borrowing that exact idea, just in an easier, everyday way.
How To Check If Your Eyes Are Downturned
You only need a mirror, good daylight and a thin makeup brush or a pencil. Here's the quick test:
- Stand in front of a mirror at eye level, face relaxed, looking straight ahead (don't tilt your chin up or down).
- Hold the brush handle horizontally so it touches both the inner and outer corner of one eye.
- Look at the angle. If the outer end of the brush sits lower than the inner end, your eyes are downturned. If it's level, you have neutral eyes. If it slopes up, your eyes are upturned.
- Check the other eye too. It's completely normal for one eye to tilt a little more than the other.
A small tip: take a quick photo of your relaxed face in daylight. Photos often show the angle more clearly than a mirror, because you're not unconsciously lifting your brows while you look.
Before You Start: Prep and Tools
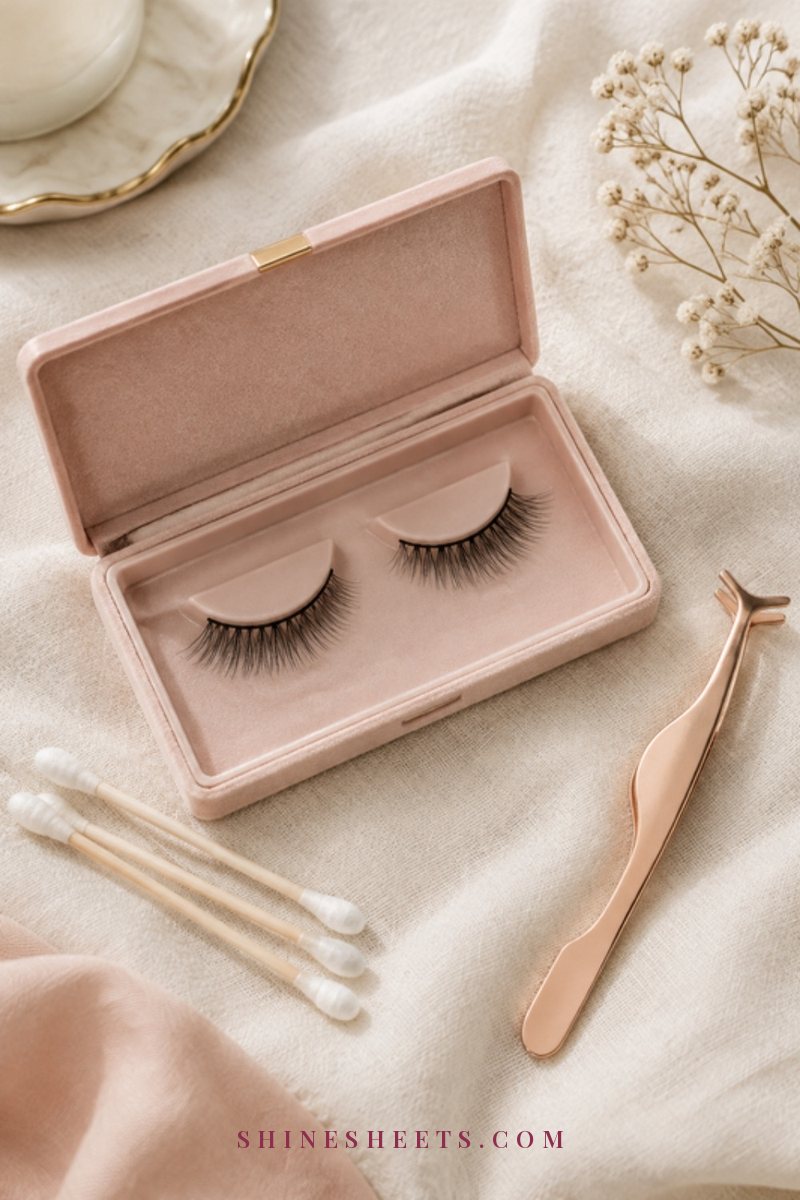
Lifting makeup depends on precision, and precision depends on a clean, smooth base. Spend one minute here and every step after it gets easier.
- Prep the lid. A thin layer of concealer or eyeshadow primer, tapped on with your ring finger, keeps shadow from sliding into the outer crease (which is exactly where downturned eyes tend to collect it). Let it set for 30 seconds. If you struggle with creasing under the eyes too, my guide to applying concealer without creasing covers the under-eye side.
- Use small brushes. A soft eyeshadow brush set with a small pencil brush, a flat shader and one fluffy blender gives you control over the outer corner. Big fluffy brushes alone tend to spread color down and out.
- Work with your eyes open. This is the most important habit of all. Check every placement with your eyes open and looking straight ahead, because that's how the world sees them. A shape that looks lifted with your eye closed can droop the second you open it.
7 Makeup Tricks for Downturned Eyes
You don't need all seven every day. Even two or three (my usual pair is the liner flick and the mascara trick) make a visible difference. Try them one at a time so you can see which ones your eyes love most.
1. Concentrate Shadow on the Outer Upper Lid, Angled Up
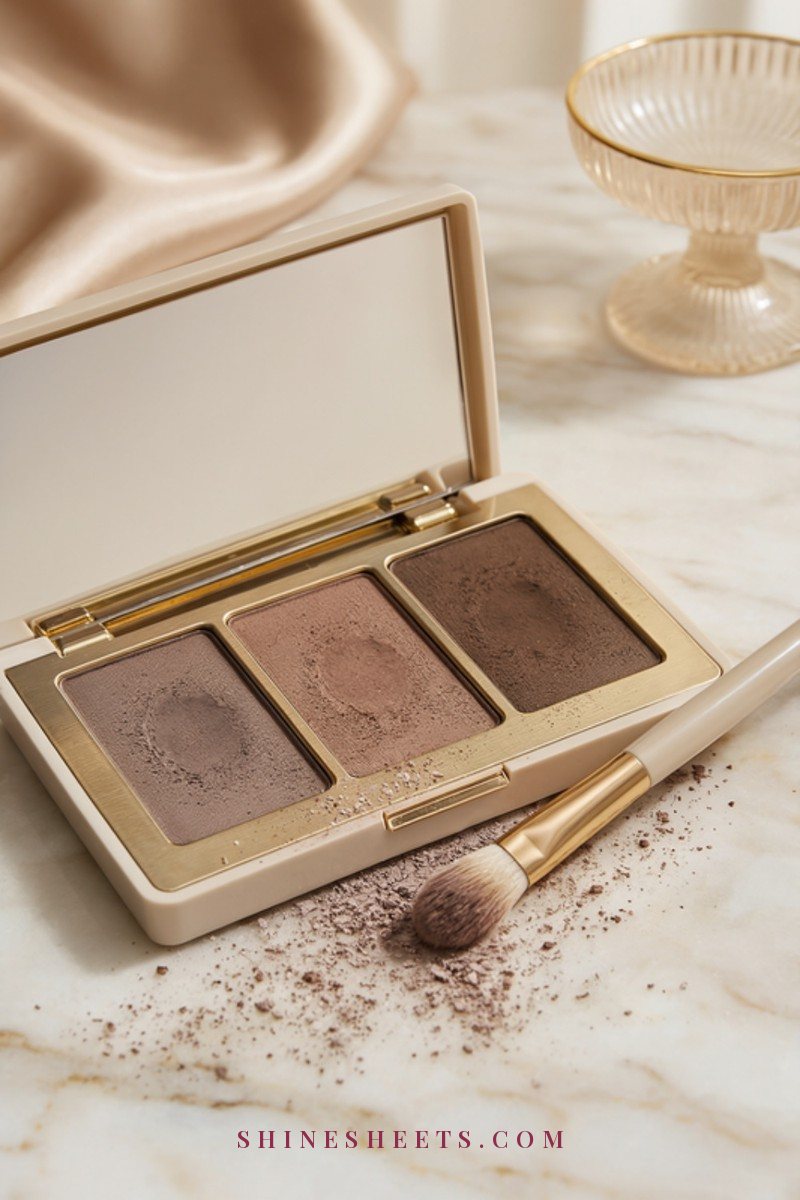
Your deepest shade belongs on the outer third of the upper lid, blended upward and outward toward the tail of your brow, never down toward your cheek. Picture a little arrow pointing from your outer corner to the end of your eyebrow and blend along that line.
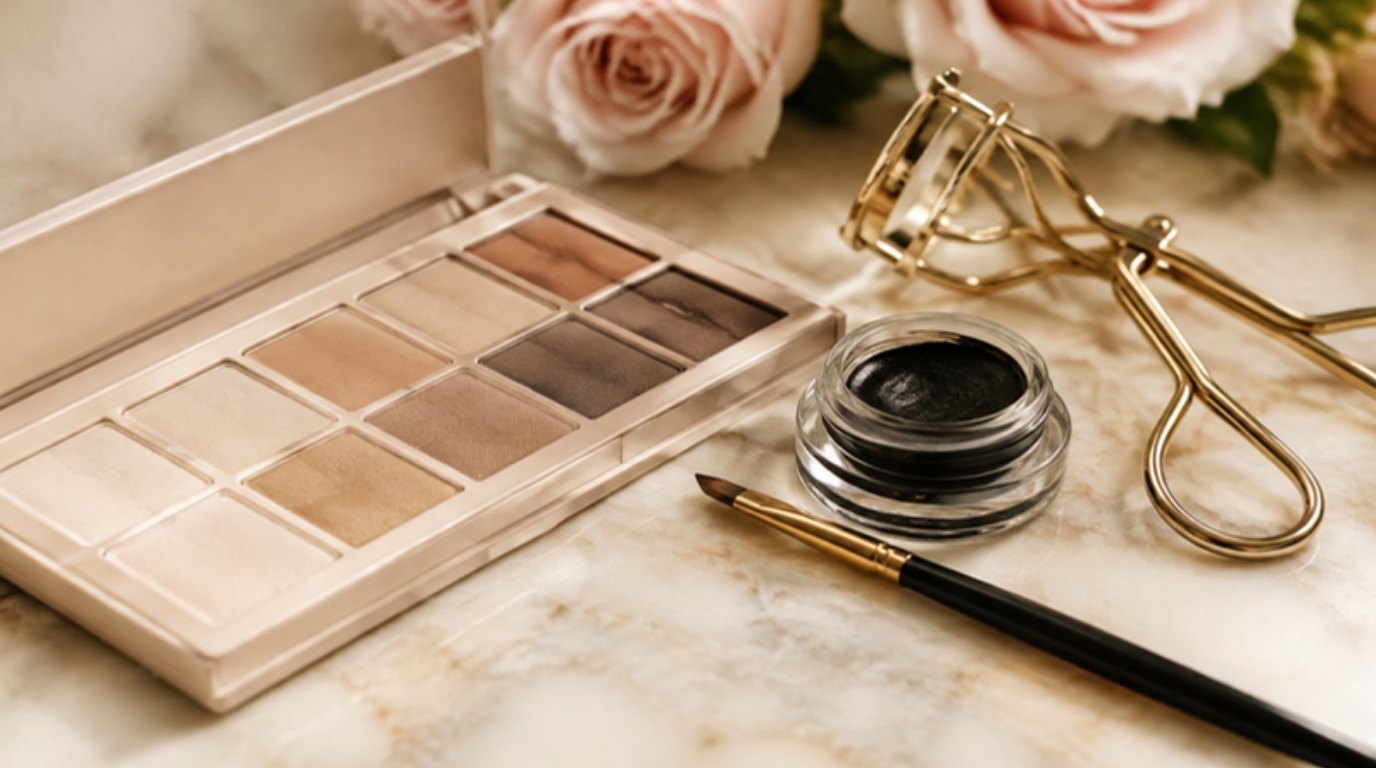
A neutral matte eyeshadow palette with a soft taupe, a warm mid-brown and one deeper brown is all you need. Matte shades are kinder here than shimmer, because shimmer catches light and draws attention to wherever you put it. Here's the easy formula:
- Light matte (close to your skin tone) all over the lid.
- Mid-brown in the crease, blended slightly higher at the outer end.
- Deeper brown only on the outer third, swept up at a 45-degree angle.
Keep the edge soft by blending in tiny circles for about 20 seconds. The shape should look like a soft wing, not a stripe.
2. Keep the Lower Outer Lash Line Light
Whatever you put under your outer corner adds visual weight exactly where the eye already dips. That doesn't mean you can never touch your lower lash line, it just means keeping it airy.
If you want a little definition, take the leftover mid-brown on a small pencil brush and press it only along the outer half of your lower lashes, staying very close to the roots. Then stop slightly before the outer corner, so there's a tiny gap between the bottom line and your top shadow. That little gap is what makes the eye look lifted instead of boxed in.
3. Flick Your Liner Up, Not Along the Drop
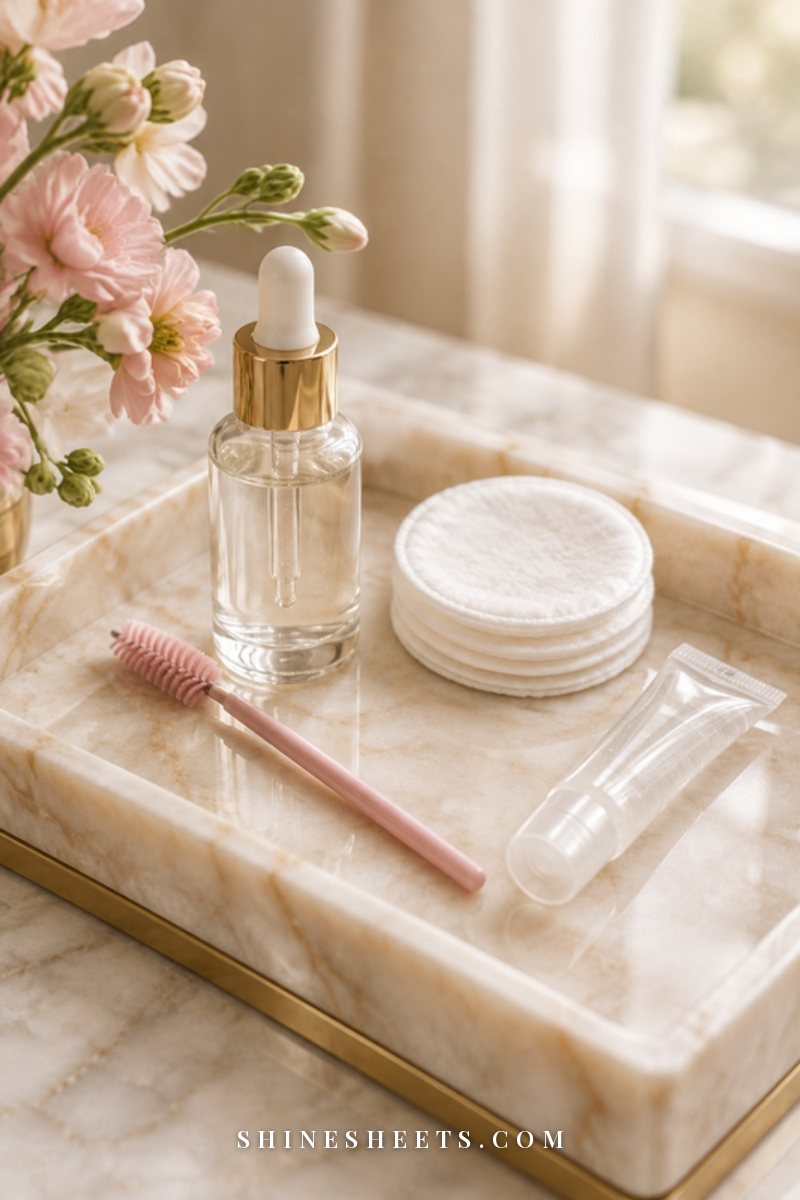
This is the single biggest trick. Most of us instinctively follow the natural line of the lower lash line when we draw a wing, but on downturned eyes that line slopes down, so the wing ends up drooping too.
Instead:
- Line the upper lash line thinly from the inner third outward, getting slightly thicker toward the outer corner.
- At the outer corner, stop following your lid. Look straight ahead and draw a short flick aiming toward the tail of your eyebrow.
- Start the flick a little above the outer corner, where the lashes end, rather than right at the lowest point.
- Keep it short at first (about 3 to 5 millimeters). You can always lengthen it.
A brown gel eyeliner pencil is the friendliest tool for this, because it glides on, stays soft for a few seconds so you can smudge it, and brown looks gentler than black during the day. If you want a refresher on different liner shapes, my guide to how to apply eyeliner and the main eyeliner styles walks through each one.
4. Tightline the Upper Waterline
Tightlining means filling in the tiny space between your upper lashes, from underneath. It makes the lash line look fuller and darker without adding any thickness on the lid, so the eye looks defined and open rather than heavy.
Gently lift your upper lid with one finger, look down into a mirror, and wiggle the gel pencil between the lash roots along the outer two thirds. Use soft, short pressure and go slowly. If your eyes water or feel scratchy, skip this step. Nobody needs it badly enough to be uncomfortable.
5. Curl and Focus Mascara on the Outer Upper Lashes

Lashes are your built-in lifting tool. Curled outer lashes pull the eye up and out like a little wing that you don't even have to draw.
Start with an eyelash curler: clamp gently at the roots for 5 seconds, then move halfway up the lashes for another 3 seconds so you get a soft curve instead of a sharp bend. Then apply a lengthening mascara, wiggling at the roots and sweeping up.
The lift comes from the next part: hold the wand vertically and add a second coat only to the outer lashes, combing them up and slightly outward toward your temple. More length on the outside, less on the inside. My mascara tips go deeper into wand tricks and formulas if your lashes are straight or stubborn.
6. Brighten the Inner Corner
A touch of light at the inner corner shifts attention toward the center of the face and up, and it makes the whole eye look more awake. Choose a soft champagne, ivory or pale pink shade (a matte cream shade is perfect if you prefer to skip shimmer).
Tap a small amount just into the inner corner and a tiny bit along the inner third of the upper lid, using a small pencil brush or your fingertip. Keep it small, about the size of a lentil, so it stays a glow and not a highlight stripe.
7. Lift the Brow Tail
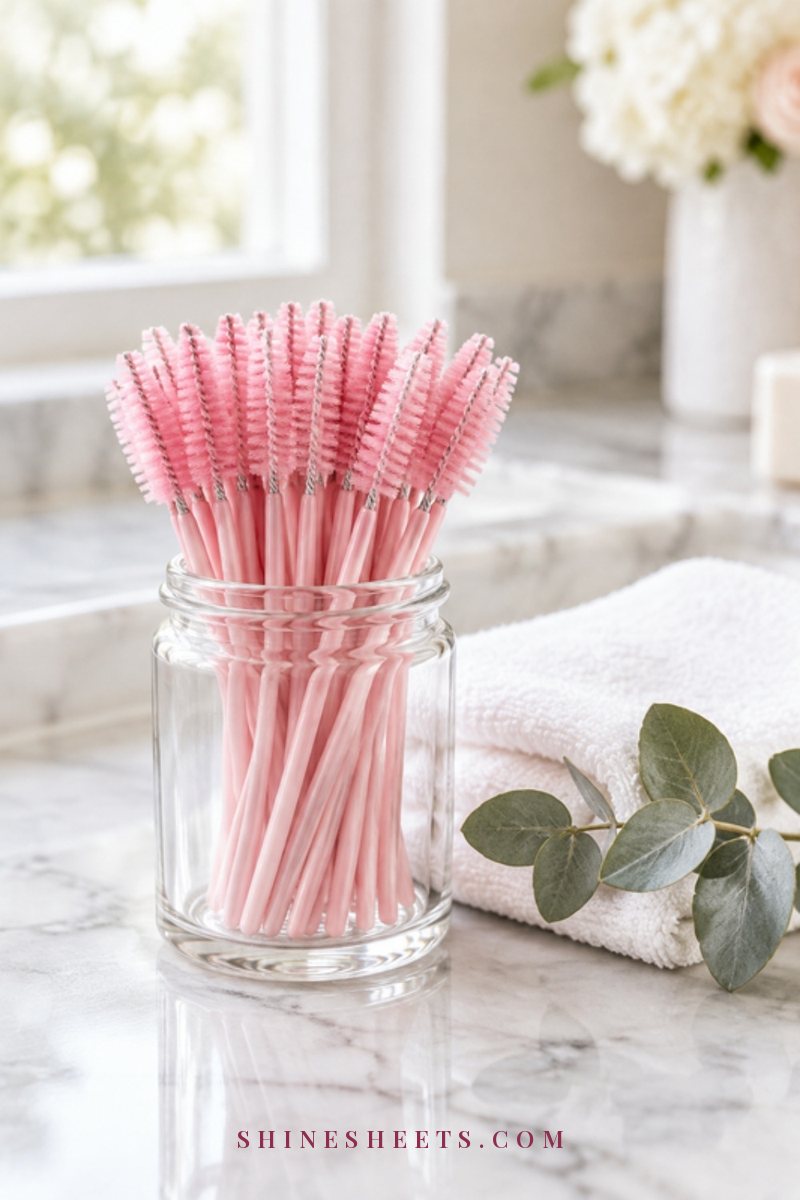
Your eyebrows frame the whole eye, so a brow tail that drops down can make the downturn look stronger. You don't need a dramatic arch. You just want the tail to end on or slightly above the level of its starting point.
Use a soft brown brow pencil and light, hair-like strokes to extend the tail slightly upward and outward. A quick guide: the tail should end roughly on the line from the side of your nose through the outer corner of your eye. Brush everything up with a spoolie, then soften the tail so it doesn't look drawn on.
The Lift Map: Step, Product, Placement and Why It Works
Here's the whole idea in one table. Screenshot it and keep it on your phone for the first few tries.
| Step | Product | Placement | Why it lifts |
|---|---|---|---|
| Prep | Concealer or eyeshadow primer | Thin layer over the whole lid | Stops shadow from sliding into the outer crease |
| Base shadow | Light matte shade | Whole upper lid | Evens the lid so the outer shade stands out |
| Outer shadow | Deeper matte brown | Outer third, blended up toward the brow tail | Moves visual weight up and out instead of down |
| Liner | Brown gel pencil | Upper lash line, short flick aimed at the brow tail | Draws a new upward line over the natural slope |
| Tightline | Same gel pencil | Upper waterline, outer two thirds | Defines the eye without adding lid weight |
| Lower lashes | Mid-brown shadow (optional) | Outer half, stopping before the corner | Keeps the bottom airy so the eye doesn't look pulled down |
| Lashes | Curler and lengthening mascara | Extra coat on the outer upper lashes | Creates a soft natural wing |
| Inner corner | Champagne or ivory shade | Inner corner, a lentil-sized dot | Brightens the center and makes the eye look awake |
| Brows | Brow pencil and spoolie | Tail ending on or above the start level | Frames the eye with an upward finish |
An Easy Everyday Look for Downturned Eyes
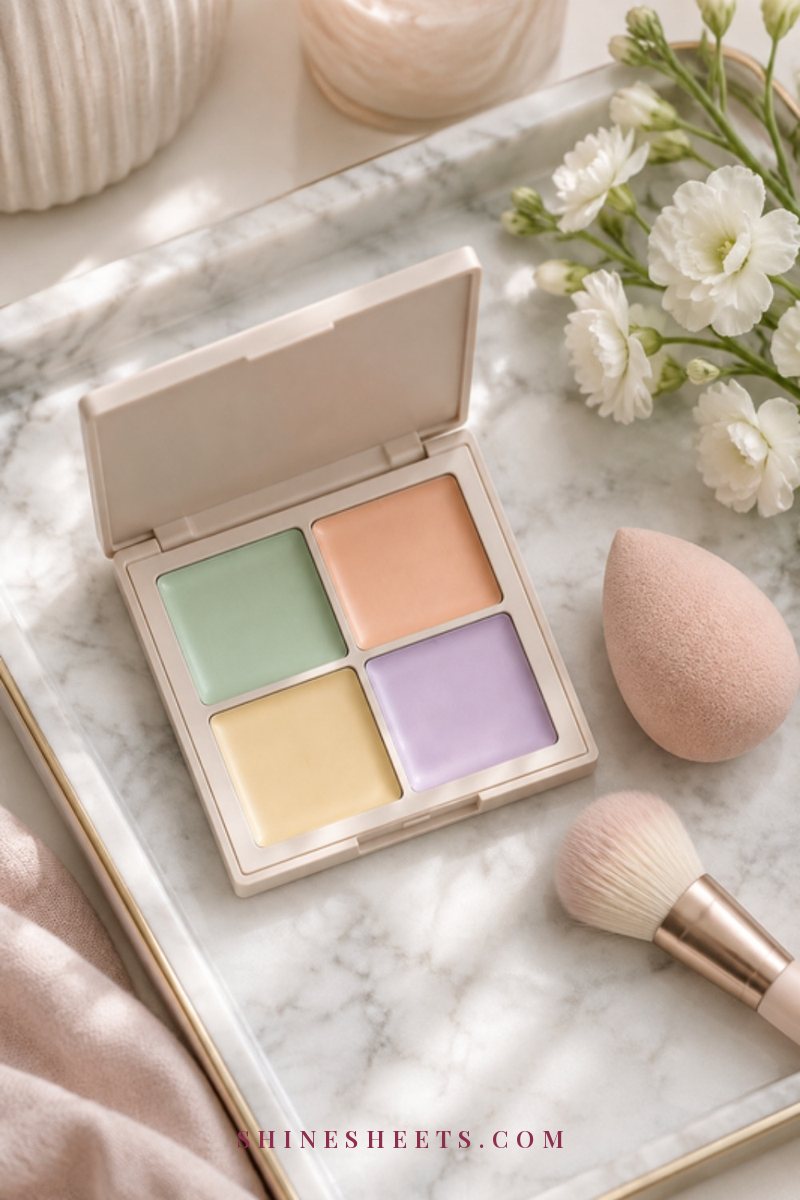
This takes about 7 minutes once you've done it a few times. It's soft enough for errands and work, and it still gives that lifted look.
- Prep (1 minute). Tap a thin layer of concealer or primer over the lid and let it set.
- One shade, placed well (2 minutes). Sweep a mid-brown matte shade only on the outer third of the lid and blend it up toward your brow tail. That's your whole shadow.
- Tightline (1 minute). Fill in the upper waterline along the outer two thirds with a brown gel pencil.
- Mini flick (1 minute). Draw a tiny 2 to 3 millimeter flick aimed at the brow tail and smudge it softly with a small brush.
- Curl and mascara (1 minute). Curl, one coat everywhere, a second coat on the outer lashes only.
- Brows (1 minute). Brush up, fill the tail slightly upward, done.
On busy mornings, steps 3 and 5 alone do most of the work. A tightline and lifted outer lashes take two minutes and look like you tried much harder than you did.
A Soft Evening Look
For a dinner or a celebration, you can turn everything up a little without losing the lift. This is my nod to Old Hollywood: defined, elegant, and still soft.
- Build the outer wing. After your everyday base, press a deeper brown into the outer third with a flat brush, then blend the edge upward with a clean fluffy brush.
- Add a touch of shimmer to the center. A soft champagne shimmer in the middle of the lid only (not the outer corner) catches candlelight beautifully.
- Lengthen the flick. Extend your liner flick to 5 to 8 millimeters, still aiming toward the brow tail, and sharpen the edge with a cotton swab dipped in a little micellar water.
- Smoke the lower line lightly. Press a little of the deeper brown along the outer half of the lower lashes, very close to the roots, then blend it slightly upward so it connects softly toward the flick without dropping below it.
- Two coats on the outer lashes. Add an extra coat of mascara to the outer third, combing up and out.
- Bright inner corner. A dot of champagne shimmer at the inner corner to finish.
If you'd like even more ways to open up the eye for evenings, my guide on how to make your eyes look bigger with makeup has a few extra tricks that pair well with this look.
What To Avoid With Downturned Eyes
None of these are rules you'll be arrested for breaking. They're just the habits most likely to pull your eyes down, so it helps to know them:
- Heavy lower liner. A thick dark line along the whole lower lash line, especially the outer half, adds weight where the eye already dips.
- Dark shadow dragged down and out. Blending your outer shade toward your cheekbone instead of your brow tail exaggerates the downturn.
- Thick outer bottom lashes. Lots of mascara on the outer lower lashes acts like a little arrow pointing down. Skip the bottom lashes or give them one light coat on the inner half.
- A wing that follows the lower lash line. If you extend the line of your bottom lashes outward, it will slope down. Always aim at the brow tail instead.
- Closing a full line all the way around the eye. Fully "boxing in" the eye with liner can make it look smaller and lower. Leave a gap at the outer corner.
- Shimmer on the outer corner. Light draws the eye, so keep shimmer in the center or inner corner instead.
Tips for Downturned and Hooded Eyes Together
Many eyes are both downturned and hooded, which means a fold of skin rests over part of the lid when the eye is open. The good news is that the same lifting ideas still work. They just need a few adjustments:
- Place shadow above the natural crease. With your eye open, put the outer shade slightly above the fold so it's still visible. Shadow placed in the real crease disappears under the hood.
- Draw the flick with your eye open. On hooded lids, a flick drawn with the eye closed often folds into a little "broken wing". Draw it while looking straight ahead and aim higher than you think.
- Lean on tightlining. When there isn't much visible lid, tightlining gives definition without needing lid space.
- Choose smudge-proof formulas. Hooded lids touch the brow bone, so long-wear gel liner and a primer help everything stay in place.
For a deeper look at the hooded side, my guide to makeup tips for hooded eyes covers placement in more detail.
Eye Safety Basics
The eye area is delicate, and no lifting trick is worth an irritated or infected eye. A few simple habits keep things safe:
- Clean your brushes. Wash eye brushes about once a week with a gentle soap or brush cleanser, rinse well and let them dry flat.
- Never share eye makeup. Mascara, liner and even brushes can pass bacteria from one person to another.
- Replace mascara every 3 months. If it smells odd or turns clumpy sooner, toss it sooner.
- Sharpen pencils regularly. A quick sharpen before use gives you a clean tip.
- Keep the lower waterline bare if your eyes are sensitive. Product there easily gets into the eye. The upper waterline is a gentler spot, and even that is optional.
- Remove everything before bed. Use a gentle eye makeup remover on a cotton pad, hold it on the lid for 10 seconds, then wipe softly instead of scrubbing.
- Stop if anything stings. Redness, itching, swelling or watering that doesn't settle means it's time to stop using a product, and if it lasts, check in with an eye doctor.
Final Thoughts
Makeup for downturned eyes isn't about changing your shape. It's about pointing a few small lines in a new direction: shadow up and out, a flick aimed at your brow, lashes lifted at the outer corner, and a lighter touch underneath.
Start with the liner flick and the outer-lash mascara trick this week, add the rest whenever you feel like playing, and let your soft, dreamy eyes do what they already do so well.