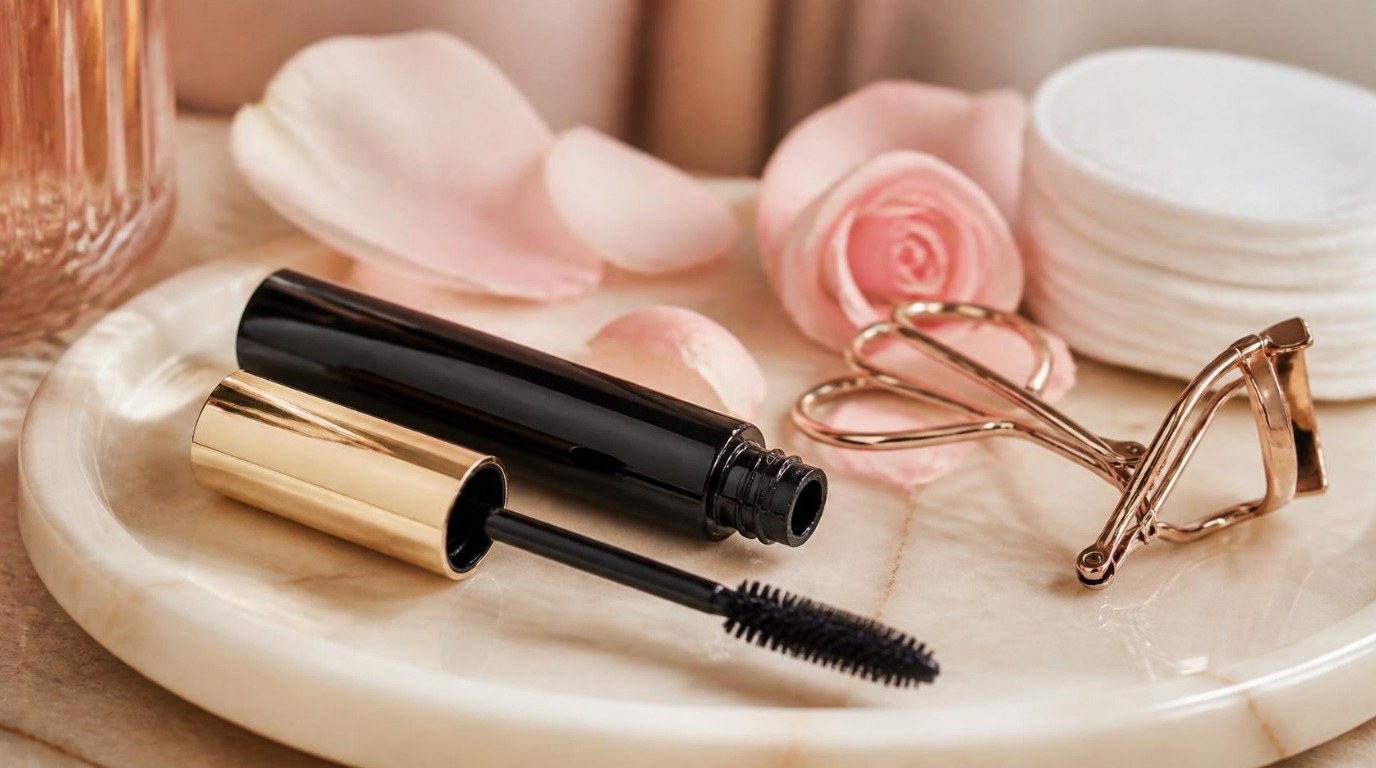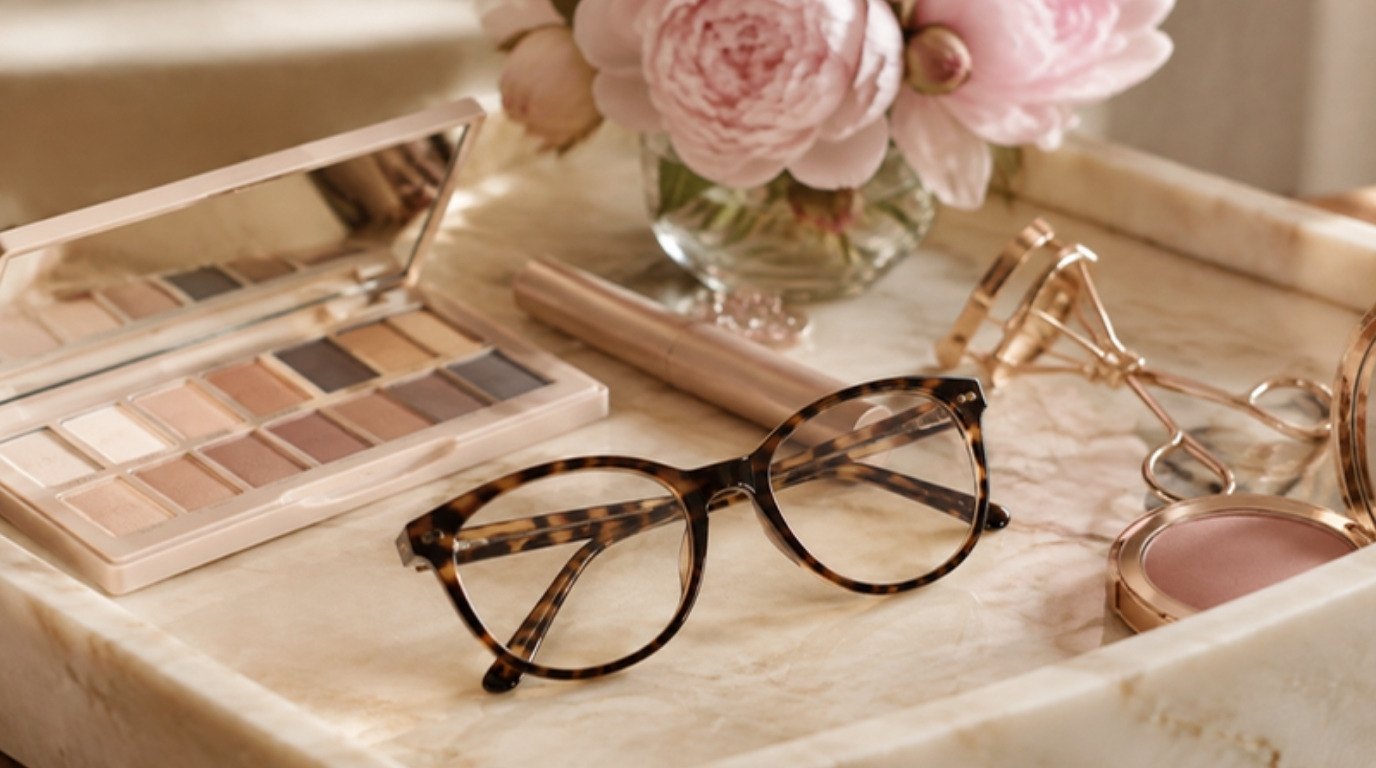
Makeup for glasses isn't about wearing more. It's about working with your lenses and frames instead of against them. Glasses quietly change how your eyes look: some lenses make them appear smaller, others magnify every detail, and frames cast a soft shadow on your lids and rest right where blush and concealer sit. Once you know which of those is happening on your face, the right choices become surprisingly simple.
The lovely news is that glasses can be one of the most flattering accessories you own. They frame your eyes, add instant polish and give your whole face a little Old Hollywood structure (think of all those glamorous cat-eye frames from vintage films). Your makeup just needs a few small adjustments to keep up with them.
This guide covers makeup for glasses wearers step by step: how different lenses and frames change your look, a quick reference table, prep that keeps concealer and powder in place under your frames, eye makeup for nearsighted and farsighted lenses, 6 key tips, how to match makeup to your frame color and how to clean your lenses without smearing anything.
How Glasses Change the Way Your Makeup Looks
Before you change a single product, it helps to understand what your lenses are doing. There are three main effects, and you might have one, two or all three.
- Nearsighted lenses make eyes look smaller. If you need glasses to see far away, your lenses are usually thinner in the middle and thicker at the edges. They shrink what's behind them slightly, so your eyes can look a little smaller and further back. The stronger the prescription, the bigger the effect.
- Farsighted lenses magnify. If you need glasses to see up close (including reading glasses), your lenses are thicker in the middle and enlarge what's behind them. Your eyes look bigger, which is lovely, but so does every smudge, clump and patch of unblended shadow.
- Frames shadow the lids and rest on the cheeks. Thicker frames can cast a soft shadow on your eyelids and under your eyes. The bottom of the frame and the nose pads also sit on your skin, which is where foundation and concealer tend to wear off or smudge during the day.
Not sure which lenses you have? Hold your glasses a few inches from a printed page. If the letters look smaller, you most likely have nearsighted lenses. If they look bigger, they're farsighted. Your optician can always confirm it too.
The Glasses Makeup Table
Here's the whole idea at a glance. Find your lens type and your frame style, and combine the two rows. Screenshot it for the next time you're standing at the makeup counter.
| Lens or frame type | What changes | Makeup focus | Avoid |
|---|---|---|---|
| Nearsighted lenses | Eyes look smaller and set back | Light shimmer on the lid, tightlining, curled and defined lashes | Dark shadow all over the lid, heavy liner around the whole eye |
| Farsighted lenses | Eyes look larger, every detail is magnified | Soft matte shades, well-blended edges, clean precise liner | Chunky glitter, harsh edges, clumpy mascara |
| Strong prescription (thick lenses) | The effects above are stronger | Keep everything blended and simple, focus on lashes and brows | Lots of layered colors that look muddy through the lens |
| Thick or bold frames | Shadow on lids and under-eyes, frame draws attention | Brightening concealer, defined brows, a balanced lip | Very dramatic eyes and lips at the same time |
| Thin metal or rimless frames | Very little shadow, a soft and airy look | Fresh skin, soft definition, any lip you love | Heavy contour near the frame line |
| Oversized frames | Frames sit on the upper cheeks | Blush placed lower, setting powder where frames touch | Blush and highlighter right on the frame line |
| Cat-eye or upswept frames | Lifts the outer corners | A small flick of liner that follows the frame angle | Long wings that fight with the frame shape |
Prep: Concealer and Setting Where Frames Sit
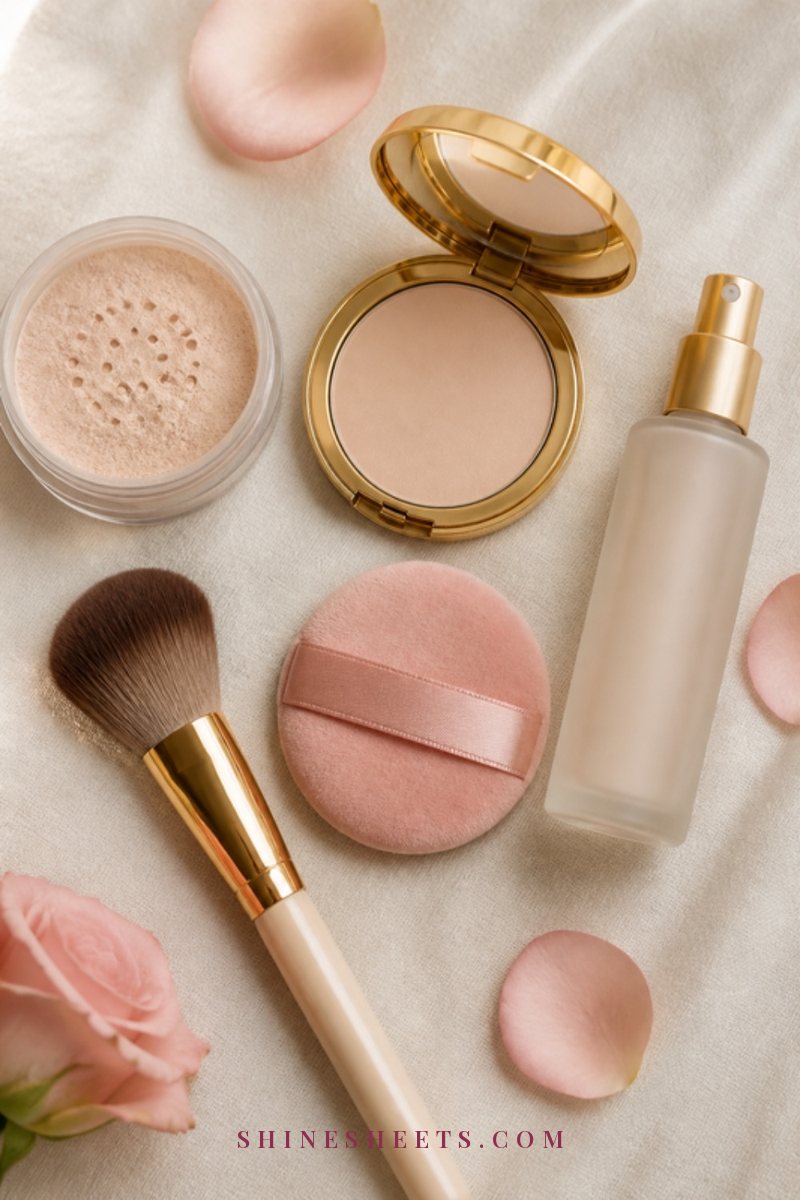
Good prep is what keeps your makeup looking fresh at 4 p.m. instead of patchy where your glasses sit. It only takes a couple of extra minutes.
Brighten the Shadows Under Your Frames
Frames, especially thicker ones, can make under-eye circles look deeper than they are. A thin layer of a brightening under-eye concealer about one shade lighter than your foundation helps lift that shadow. Look for a creamy, lightweight formula with a slightly peach or pink undertone if your circles lean blue or purple.
Apply a small amount only in the inner corner and along the darkest part of the shadow, not all the way under the eye. Tap it in with your ring finger or a damp sponge, wait 30 seconds, then tap again. Less product means less creasing, and since farsighted lenses magnify texture, that matters even more. My guide on how to apply concealer without creasing goes through the whole technique.
Set the Spots Where Your Glasses Rest
Your nose pads and the bottom of your frames rub against your skin all day, which is why makeup there tends to slide off or transfer onto your glasses. A light dusting of powder in exactly those places makes a big difference.
Press a small amount of translucent powder from a setting powder compact onto the sides of your nose where the pads sit, under your eyes and on the top of your cheekbones where the frame rests. Use a small fluffy brush or a powder puff, press rather than sweep, and let it sit for a minute before brushing off any excess. On my combination skin with a shiny T-zone, this step is what stops my glasses from slipping down my nose by lunchtime.
Eye Makeup for Nearsighted Lenses
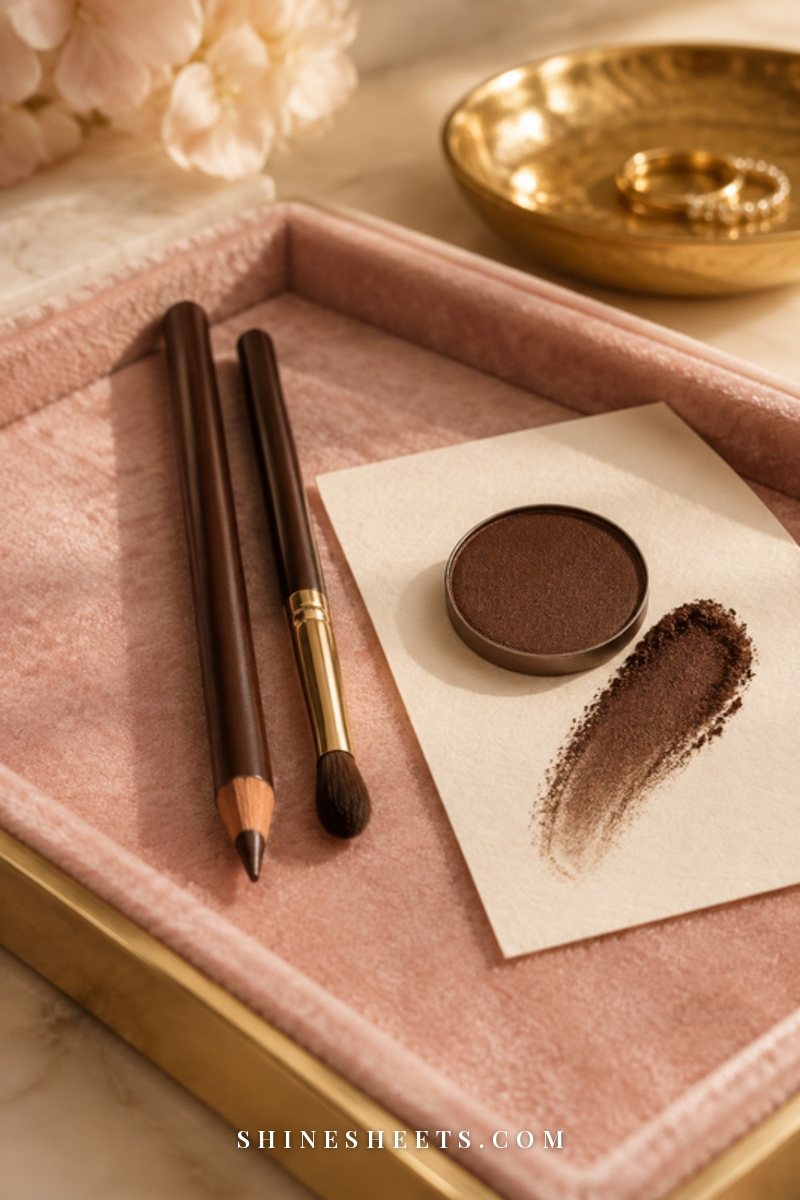
Because nearsighted lenses make your eyes look a little smaller, the goal is to open them up and bring them forward. Think light, bright and defined.
- Brighten the lid. Pat a light shimmer shade (champagne, soft gold or pale pink) on the center of your lid with your fingertip or a flat brush. Light reflects and makes the eye look bigger. Keep any darker shades to the outer corner and crease only.
- Tightline instead of heavy liner. Gently lift your upper lid and press a soft brown or black pencil into the upper waterline, between and under your lashes. It makes lashes look thicker without taking up lid space. Skip lining the lower lash line all the way around, which can make eyes look smaller.
- Add a little brightness in the inner corner. A tiny dot of the same shimmer shade in the inner corner wakes up the whole eye.
- Define your lashes. Curl, then apply mascara mostly to the upper lashes, wiggling at the roots. Defined, separated lashes are the single most noticeable thing through a nearsighted lens.
If your lids are hooded, the same principles apply, with a few placement tweaks. My makeup tips for hooded eyes cover where to put shadow so it actually shows when your eyes are open.
Eye Makeup for Farsighted Lenses
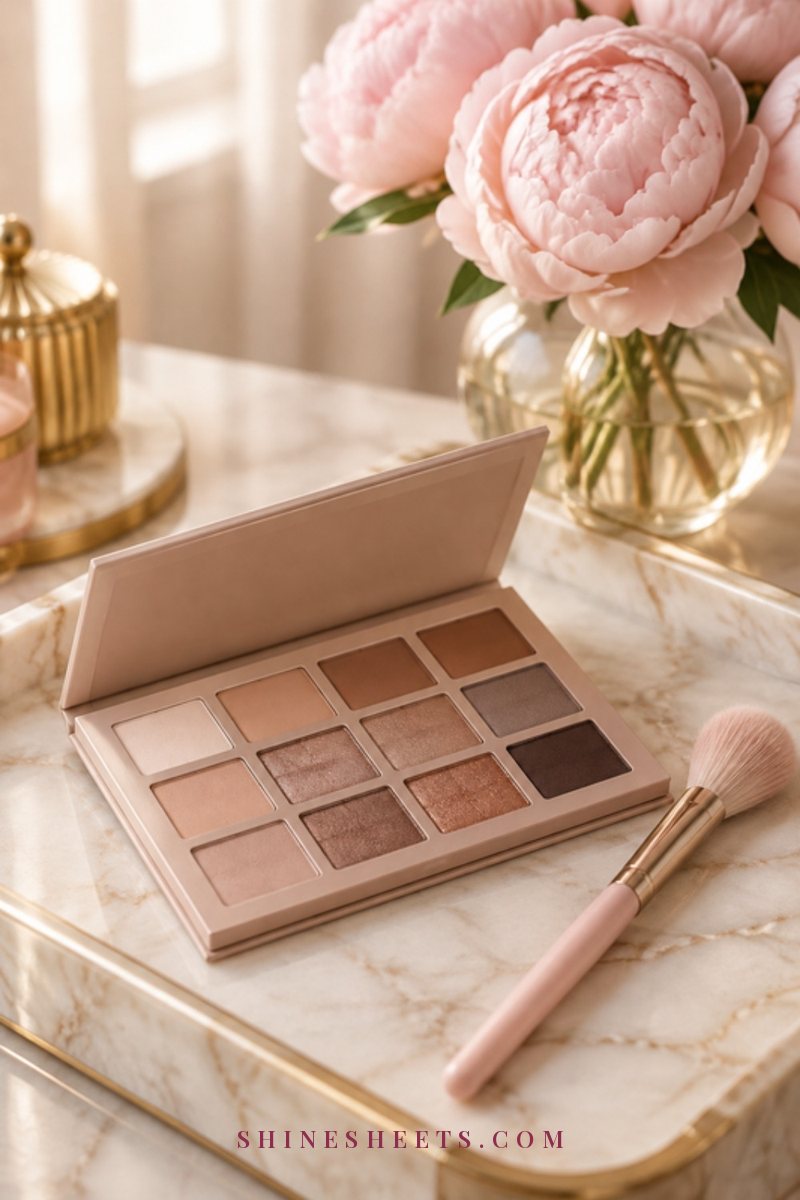
Farsighted lenses work like a tiny magnifying glass. Your eyes look larger and more open, which is a gift, but every detail shows. Here the goal is precise, soft and well-blended.
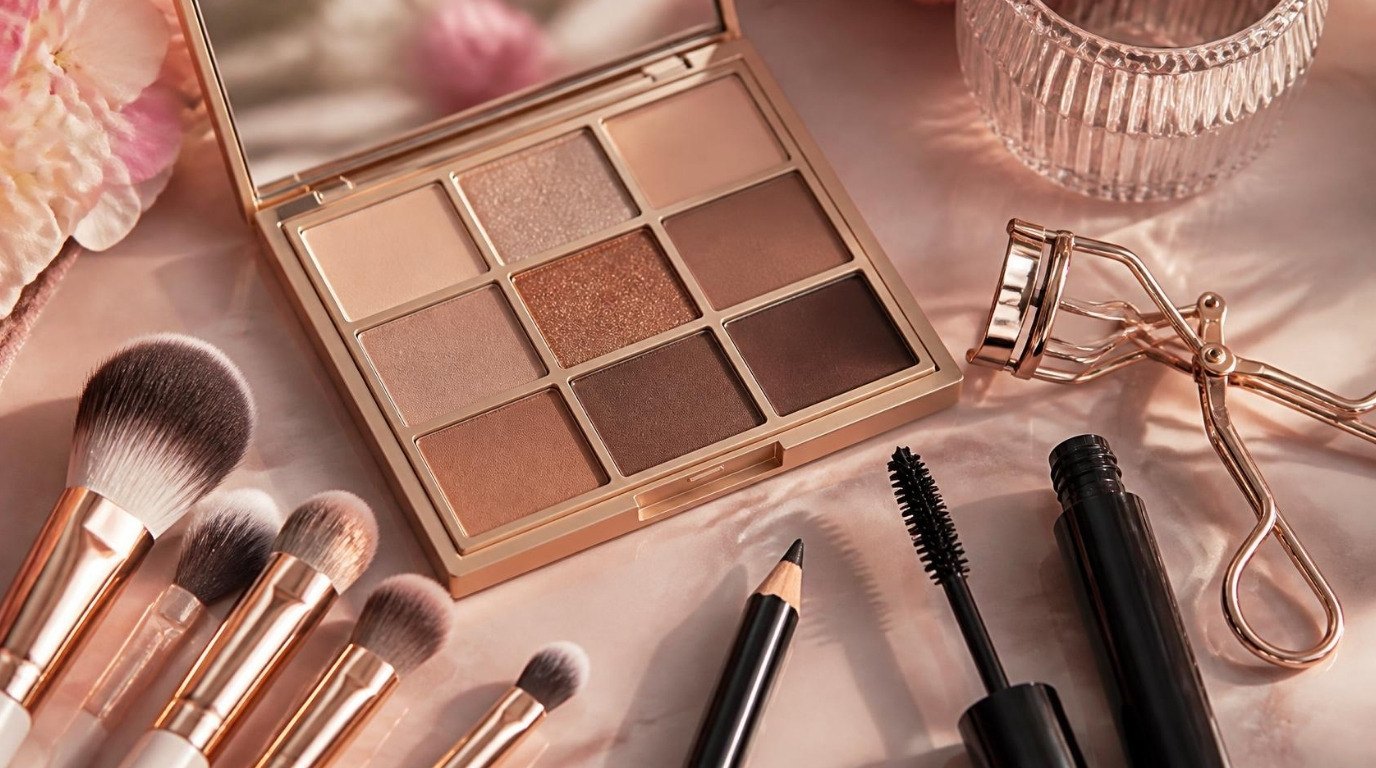
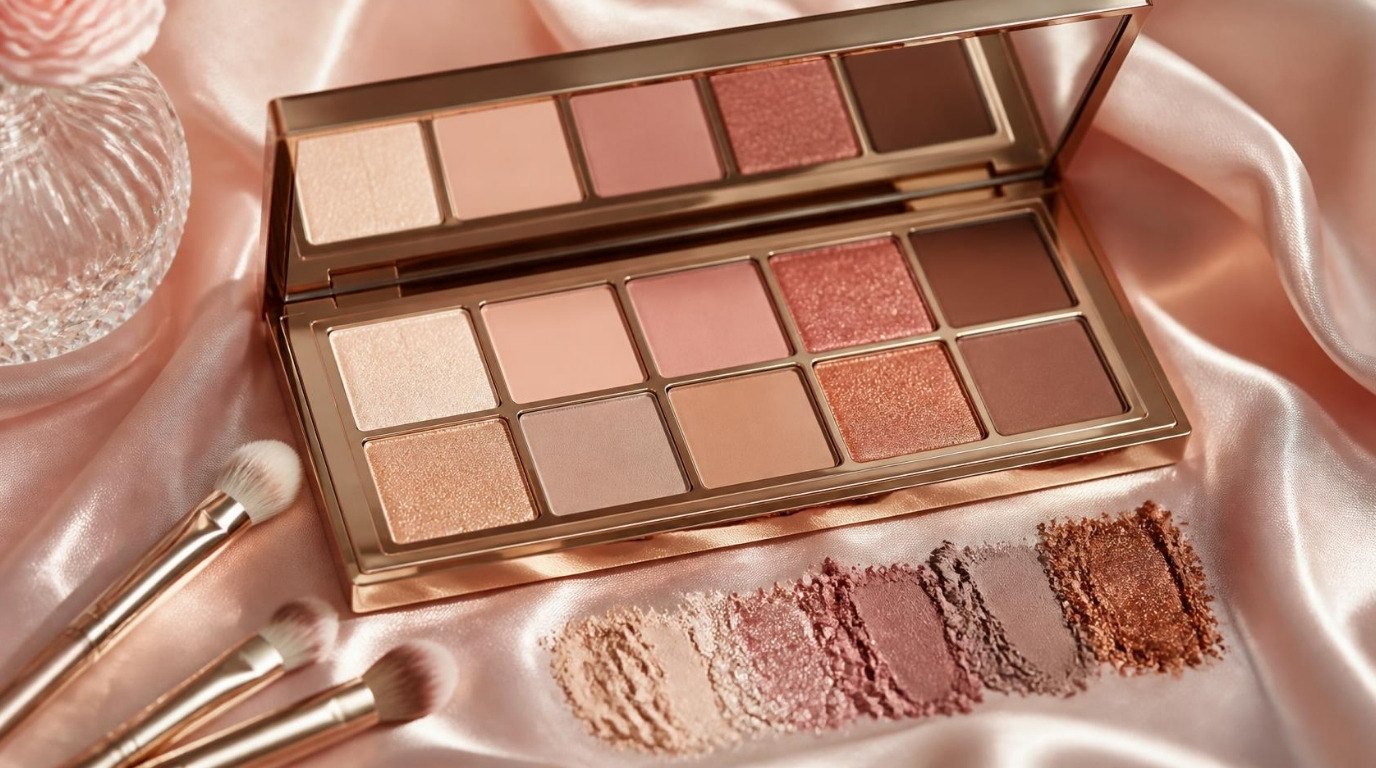
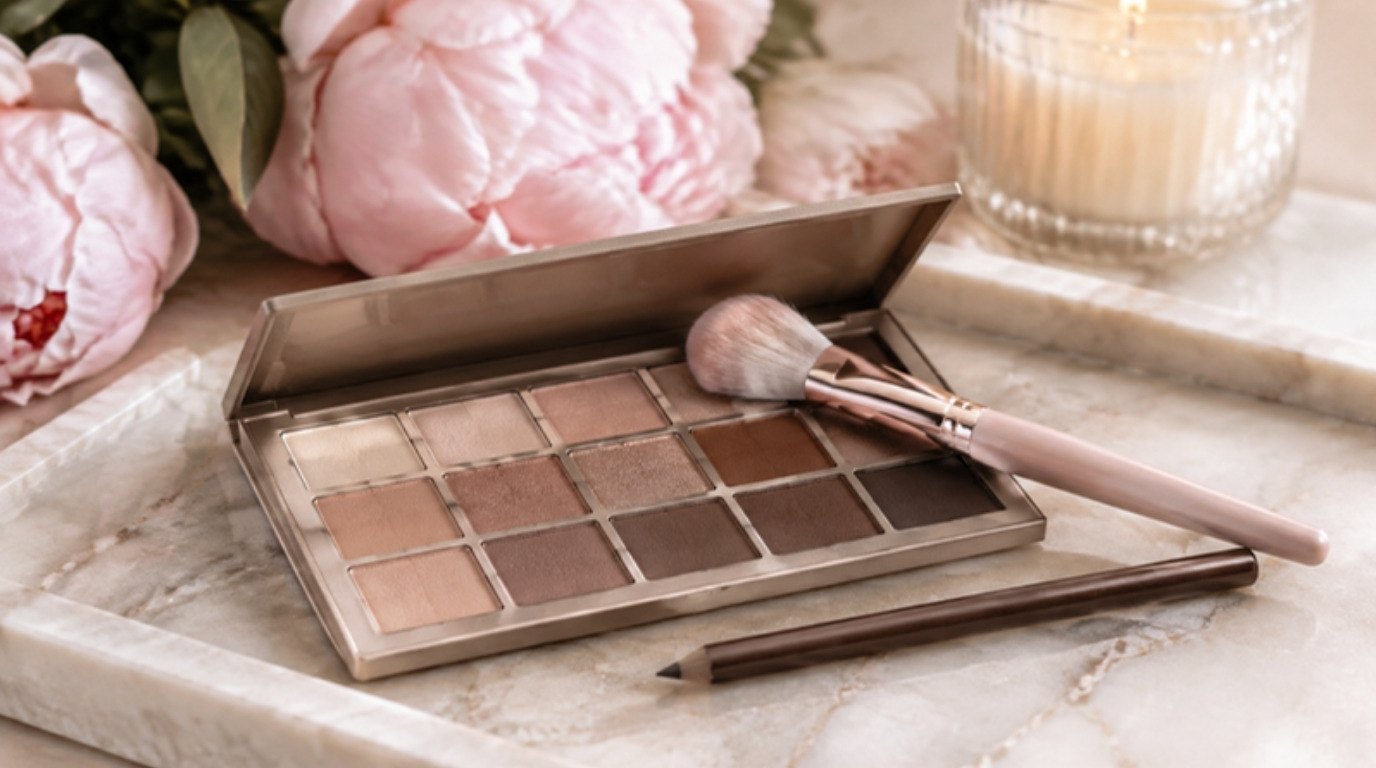
- Choose soft matte shades. A soft matte eyeshadow palette in neutrals (beige, taupe, warm brown) gives definition without highlighting texture. A fine satin finish is fine on the center of the lid, but skip chunky glitter, which looks speckled when magnified.
- Blend the edges well. Use a clean fluffy brush and small windshield-wiper motions in the crease for about 30 seconds longer than feels necessary. Harsh lines look much harsher through these lenses.
- Keep liner thin and precise. A fine line pressed close to the lash line, or a tightline, looks cleaner than a thick one. If you wing it, keep it short and soft.
- Use a light hand with mascara. One or two coats, combed through to remove clumps. Every clump is easier to see when it's magnified.
If you're still finding your feet with eye makeup in general, my guide on eye makeup for beginners has five simple looks to practice, and every one of them works with glasses.
6 Key Tips for Makeup With Glasses
Whatever your lens type, these six tips do most of the work. Pick the ones that fit your face and your frames.
1. Shape Brows That Frame Above the Frame Line
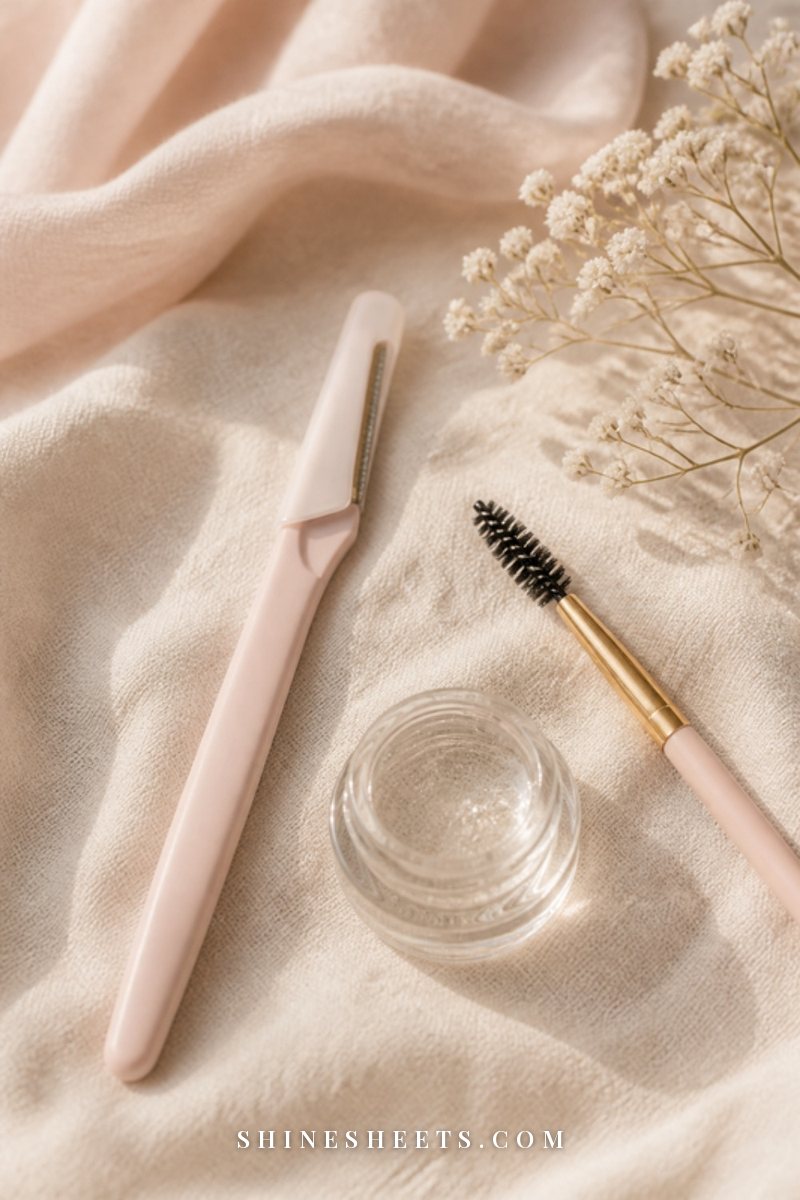
Your brows and your frames should work together, not compete. Ideally your brows sit just above the top of your frames, or follow their line, so they're still visible. If your frames cover your brows completely, the frame might be a little too big or set too high, which is worth mentioning to your optician.
Fill sparse areas with light, hair-like strokes, brush through with a spoolie and set with a clear or tinted gel so they stay in place all day. With bold frames, slightly fuller and more defined brows look balanced. With thin frames, a softer brow is often enough. My guide to natural brows in five minutes walks through the strokes step by step.
2. Curl Lashes So They Don't Hit Your Lenses
Long or straight lashes often brush against the back of your lenses, leaving little mascara marks and making you blink more. Curling them lifts them up and away from the glass.
A regular curler works well: clamp at the base, hold for 5 to 10 seconds, then move halfway up and give a gentle second press. For a longer-lasting lift, a heated lash curler can help. Always test the heat on the back of your hand first, use it only on clean, dry lashes and keep it away from the skin of your lid. If your eyes ever feel irritated, stop and give them a break.
3. Choose Waterproof or Tubing Mascara
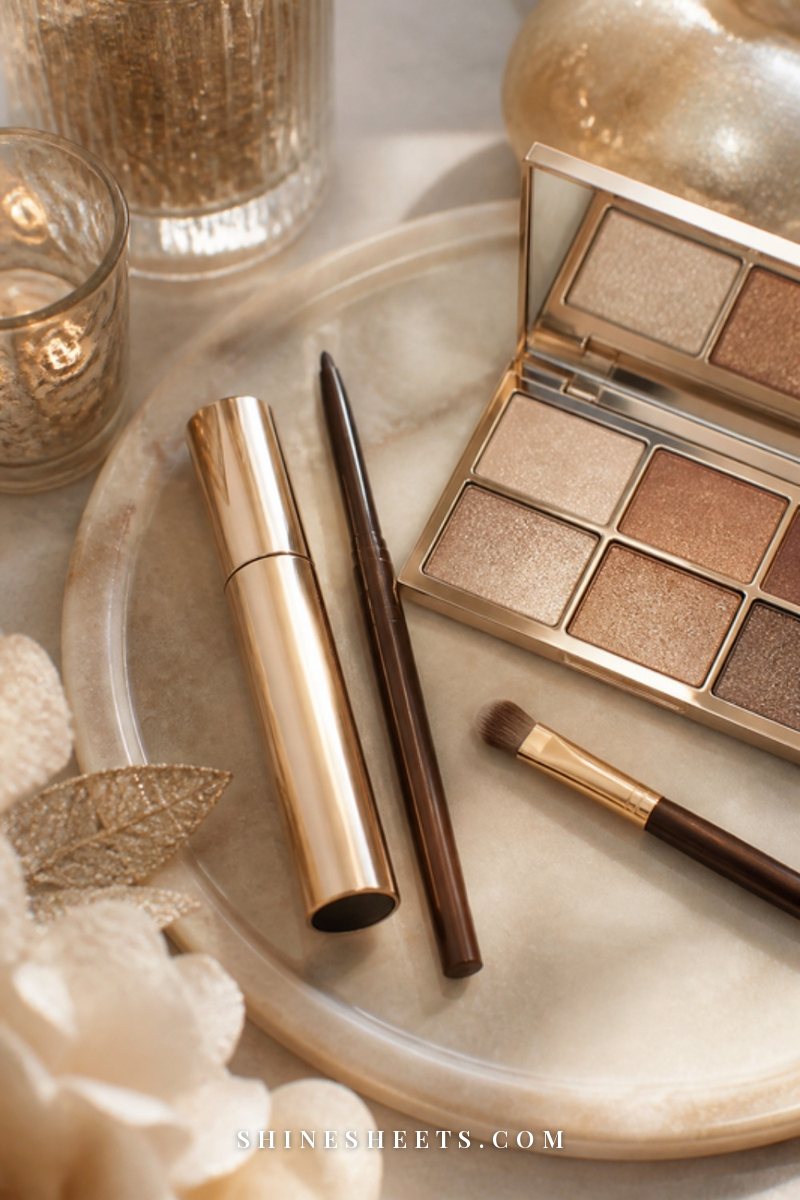
When your glasses slide down or you push them up, they often touch your lashes or the skin under your eyes, and regular mascara can smudge onto your lenses or your cheeks. Two formulas solve this.
- Waterproof mascara holds a curl very well and won't budge with humidity or happy tears. It needs an oil-based remover or cleansing balm at night.
- Tubing mascara wraps each lash in tiny tubes that don't flake or smudge, and it slides off with warm water and gentle pressure. A tubing mascara is a lovely pick if you have sensitive eyes or dislike rubbing at night.
Whichever you choose, wipe the wand on the tube opening before applying and keep it to two coats. For more wand tricks, my mascara tips for longer, fuller lashes have all the details.
4. Keep Blush Lighter and Below the Frame
The bottom of your frames often sits right on the apples of your cheeks. Blush placed there can rub off onto the frames or look interrupted by them.
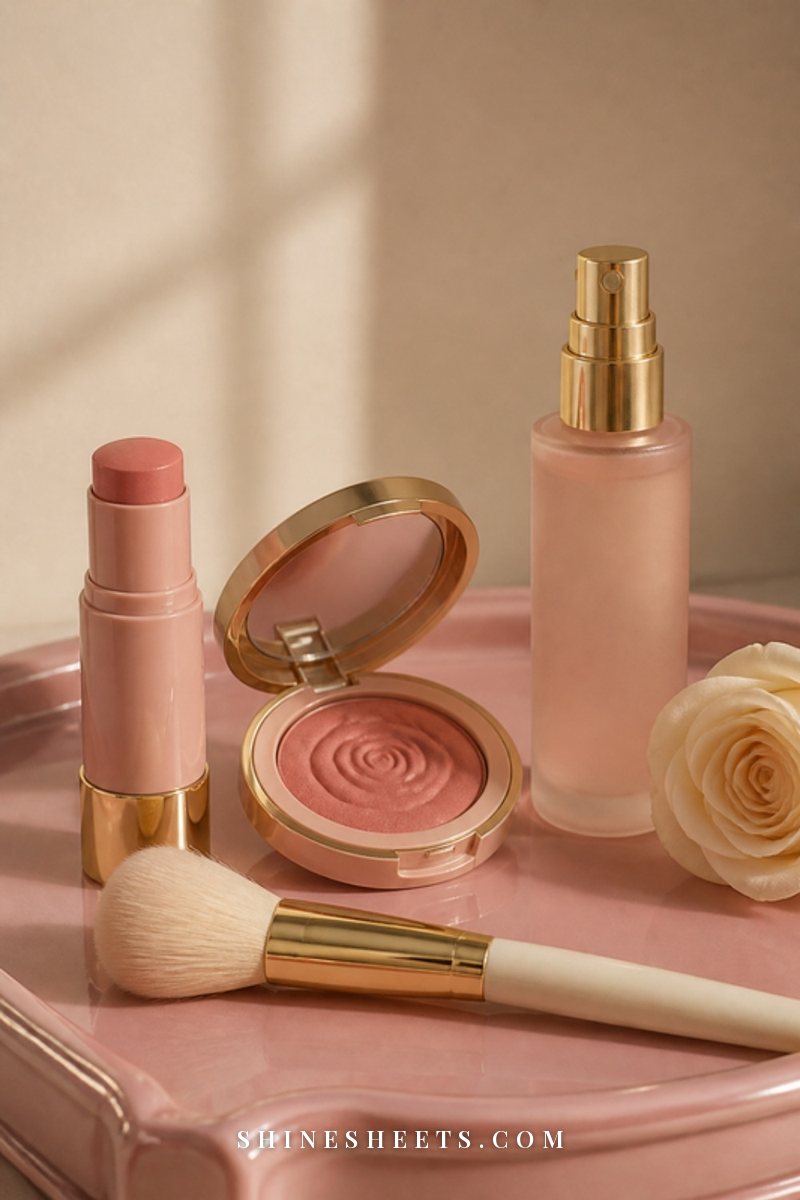
Smile gently, then place your blush slightly lower and further back than usual, just below where your frames rest, and blend up toward your temples without going under the frame. A sheer cream or soft powder blush in a rosy or peachy shade works beautifully. With bold or colorful frames, keep blush light, since your frames are already adding color to your face. If you like highlighter, keep it on the very top of the cheekbone only if your frames don't sit there.
5. Balance Your Lips With Bold Frames
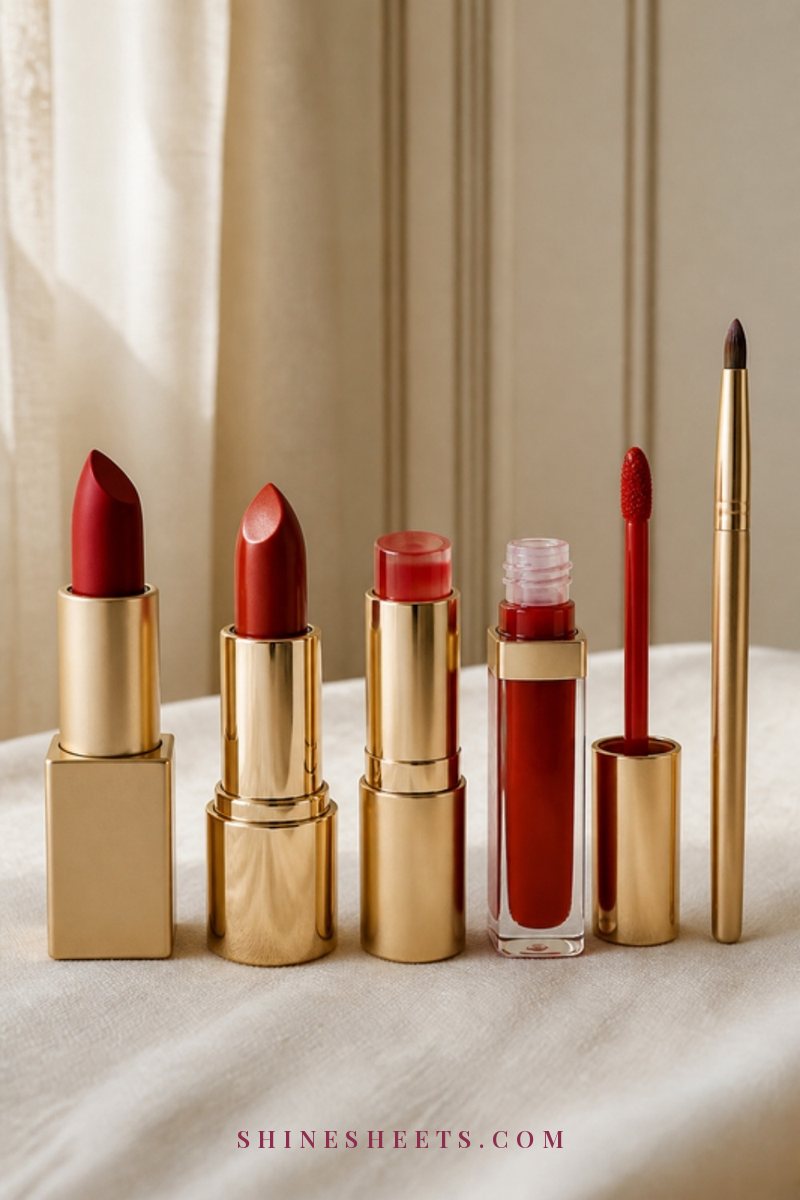
Glasses already draw attention to your eyes, so your lips are where you get to play with balance. A simple formula I like: bold frames + simple eyes + your choice of lip, or delicate frames + more defined eyes + soft lip.
- Thick black or tortoiseshell frames: A classic red or deep rose lip looks wonderfully Old Hollywood. Keep eyes to mascara and a little liner.
- Colorful frames: A nude or tinted balm in your natural lip shade lets the frames shine.
- Thin metal or rimless frames: Almost anything works, from a sheer gloss to a soft berry.
Line your lips with a liner that matches your lipstick for a clean edge, especially with a bold shade.
6. Check Your Look With Your Glasses On
This one sounds obvious, but it's the step most of us skip. Many glasses wearers do their makeup without glasses, so it's easy to over-apply or miss a spot, then see it all once the frames go on.
Do your base and brows, then put your glasses on to check before eye makeup. Do your eyes, then check again. If you're very nearsighted, a magnifying vanity light or simply leaning in close helps with the precise steps. Daylight from a window is the most honest check of all.
Matching Makeup to Your Frame Color

Your frames are part of your look, so it helps to let them guide a few color choices. You don't need new makeup for every pair, just a little awareness.
- Black frames: Very striking. Defined brows and lashes keep your features from being overpowered. Lips can be bold or soft.
- Tortoiseshell frames: Warm and flattering on almost everyone. Bronze, warm brown and peach shades on the eyes and cheeks echo the frame.
- Gold or warm metal frames: Champagne and soft gold shimmer look lovely, along with peachy blush.
- Silver or cool metal frames: Taupe, soft gray-brown and rosy pink shades feel more harmonious.
- Clear or pale frames: They nearly disappear, so you can wear more defined eye makeup without it feeling heavy.
- Pink, red or colorful frames: Keep eye color neutral and let the frame be the color moment. A lip in a related shade can tie it together.
How To Clean Your Lenses Without Smearing Makeup
Even with perfect prep, a little foundation, powder or mascara will end up on your lenses. Wiping them with your sleeve or a tissue usually just spreads it around (and tissues can scratch some lens coatings).
A simple routine that works:
- Rinse the lenses under lukewarm water to wash away powder and dust.
- Add a tiny drop of mild, lotion-free dish soap, gently rub both sides and the nose pads with your fingertips, then rinse well.
- Shake off the water and dry with a clean microfiber lens cloth, using light circular motions.
- Wash your microfiber cloths every week or two without fabric softener, which can leave a film.
During the day, a lens spray and a clean cloth are enough for quick touch-ups. Also avoid hot water, household glass cleaners and paper towels, which can damage lens coatings over time.
A quick note on skin: if a new concealer, powder or mascara makes your eyes or skin itchy, red or watery, remove it and stop using it. Patch testing a new product on your inner arm or behind your ear for a day or two before using it near your eyes is always a good idea, especially if your skin is sensitive like mine.
Final Thoughts
Wearing glasses doesn't mean your makeup has to take a back seat. With a little brightening under the frames, powder where they rest, eye makeup that suits your lenses and brows that frame your frames, your eyes will look clear, bright and beautifully finished.
Start with one or two changes, like curling your lashes and setting your nose, and notice how much better everything wears. Your glasses are part of your style, and the right makeup simply lets them, and you, shine.