Most mascara problems aren't mascara problems. Clumps, flaky lashes, smudges by lunchtime, lashes that droop an hour after you curled them – nine times out of ten, the fix is in how you prep and how you move the wand, not in buying yet another tube. The formula matters too, of course, but only once the basics are in place.
The good news is that the basics are small. A few seconds of prep, one change in where you start the wand, knowing when to stop adding coats. That's honestly most of the difference between lashes that look tired and lashes that look wide awake and lifted.
This guide gathers my favorite mascara tips in the order you'd actually use them: prep, wand techniques, how many coats to apply, how to avoid clumps and smudges, how to choose the right formula for your lashes and eye shape, how to take it all off gently, and how to keep your natural lashes healthy. There's also a "mascara match" table near the end, so you can find your formula and wand in one glance.
Grab your current mascara and let's make it work harder for you.
Mascara Prep: What To Do Before the Wand Comes Out
Mascara clings to whatever it finds on your lashes. If that's leftover eye cream, oil or yesterday's mascara, it slides, clumps and smudges. If it's clean, dry, curled lashes, it grips and stays put. Prep takes under a minute, and it's the step most of us skip.
Start With Clean, Dry Lashes
Before mascara, your lashes should be completely free of oil. That means two things:
- Keep eye cream away from the lash line. Tap it along the orbital bone (the bony ridge around your eye), not right up to the lashes. Rich creams migrate and make mascara break down.
- Give skincare 3–5 minutes to settle. Do your eyes last, after foundation and concealer, so everything has had time to absorb.
If your lids tend to get oily (mine do, along with my shiny T-zone), sweep a tiny bit of translucent powder over the lid and just under the lower lashes before mascara. It acts like a little barrier, and it's one of the easiest ways to stop the dreaded "raccoon by 3 p.m." look.
Curl Before Mascara, Never After
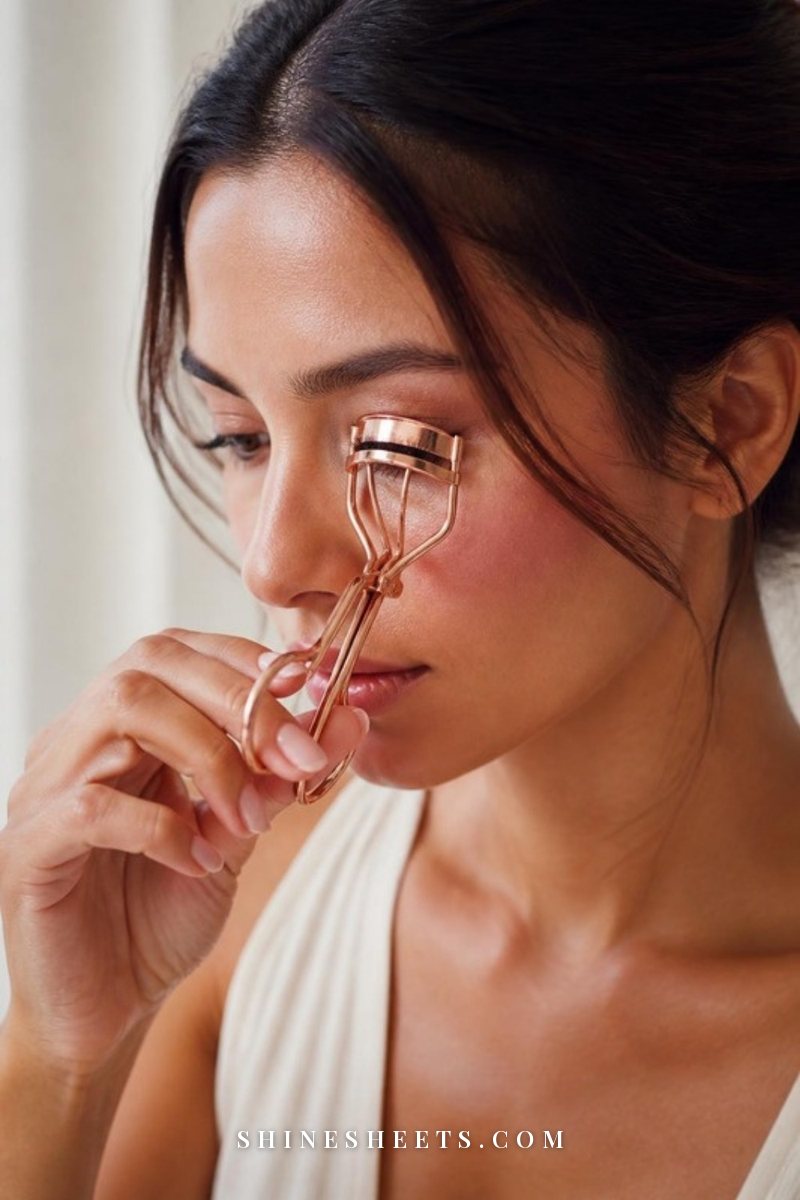
Curling after mascara can make lashes stick to the curler and snap, so always curl bare lashes. Here's the technique that gives a soft, natural lift instead of a sharp right angle:
- Look down into a mirror so you can see your whole lash line.
- Open the curler and place it as close to the roots as you comfortably can, without pinching skin.
- Gently squeeze for 5 seconds.
- Move the curler halfway up the lashes and squeeze for 3 seconds.
- Move to the tips and give a light 2-second press.
This "walk-up" method follows the natural curve of the lash. If your lashes are straight and stubborn, a heated eyelash curler can help the curl hold longer. Look for one with a comb-style tip and a gentle temperature (it should feel warm, never hot), and test it on the back of your hand first. If you use a classic curler, warming it for a few seconds with a hair dryer does something similar – just check the temperature before it goes near your eyes.
Try a Lash Primer (Optional, but Lovely)
A lash primer is a white or clear base coat that coats each lash before mascara. It isn't essential, but it's a real help if:
- your lashes are fine, short or sparse,
- your curl drops within an hour,
- or your mascara flakes on your cheeks by evening.
Apply one thin coat of a conditioning lash primer, wait about 30 seconds until it's slightly tacky, then go straight in with mascara. Don't let the primer dry completely, and don't leave white tips showing – your mascara should cover it fully. Look for a primer with conditioning ingredients and a fiber-free formula if your eyes are sensitive.
Mascara Wand Techniques That Change Everything
This is where most of the magic happens. The same mascara can give you clumpy spider lashes or soft, separated, fluttery ones depending on how you hold and move the wand.
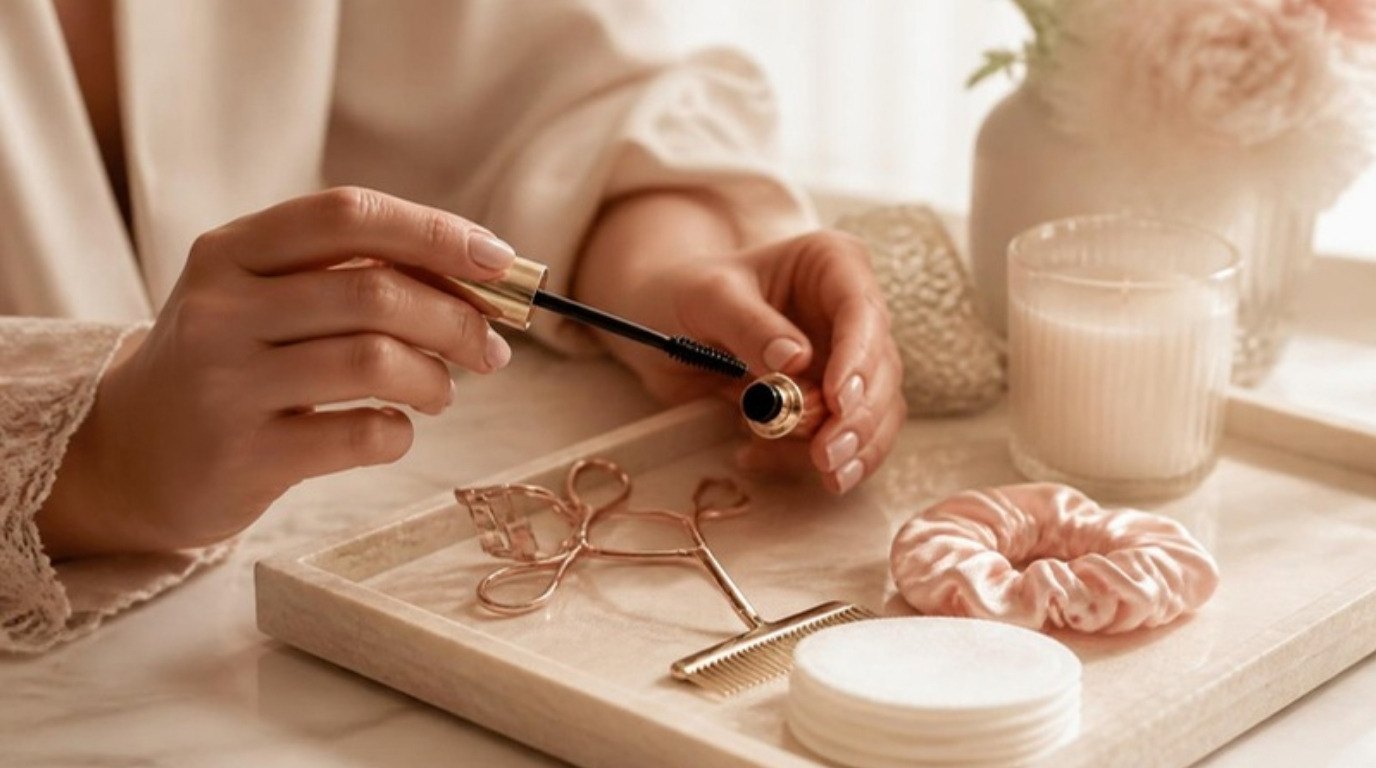
First, one small habit: when you take the wand out of the tube, wipe the tip and the sides gently on the rim or on a tissue. Most clumps come from that blob of excess product at the very end of the brush.
Wiggle at the Root
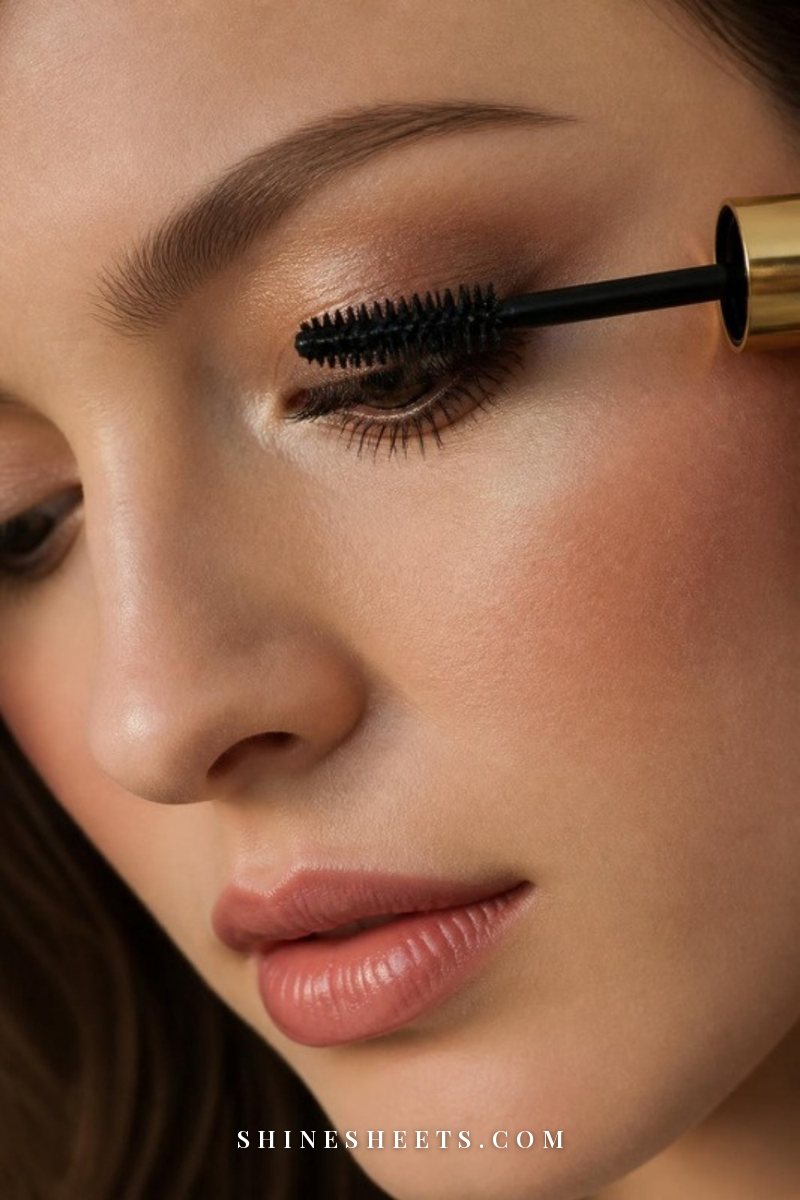
The fullest-looking lashes get most of their product at the base, not the tips. Place the wand right at the roots of your upper lashes, as close to the lash line as you can without touching the lid, and wiggle it side to side for 2–3 seconds. This deposits pigment where lashes are thickest and creates the illusion of a darker, fuller lash line (almost like a soft liner).
Then, and only then, pull the wand up and out through the lashes. The tips will pick up enough product on the way – they don't need their own extra coat.
Zigzag Up and Out
Instead of one straight swipe, move the wand in a gentle zigzag as you pull it toward the tips. Think small side-to-side movements, like tracing a loose "S." This helps the bristles reach between lashes and separates them as it coats, so you get definition instead of lashes stuck together in little bundles.
A good rhythm: wiggle at the root for 2–3 seconds, zigzag up for 2 seconds, then finish with one clean, straight stroke to set the shape.
Comb in the Direction You Want Lashes To Go
Lashes follow the wand. Use that.
- Inner lashes: brush slightly up and inward, toward your nose, to open up the inner corner.
- Middle lashes: brush straight up for maximum lift.
- Outer lashes: brush up and outward, toward your temple, for a subtle lifted, almond effect.
That outward sweep at the outer corner is the closest thing to an Old Hollywood flutter you can get from mascara alone. I love how it makes eyes look a little sleepy-glamorous without any liner at all.
Turn the Wand Vertical for Lower Lashes and Corners
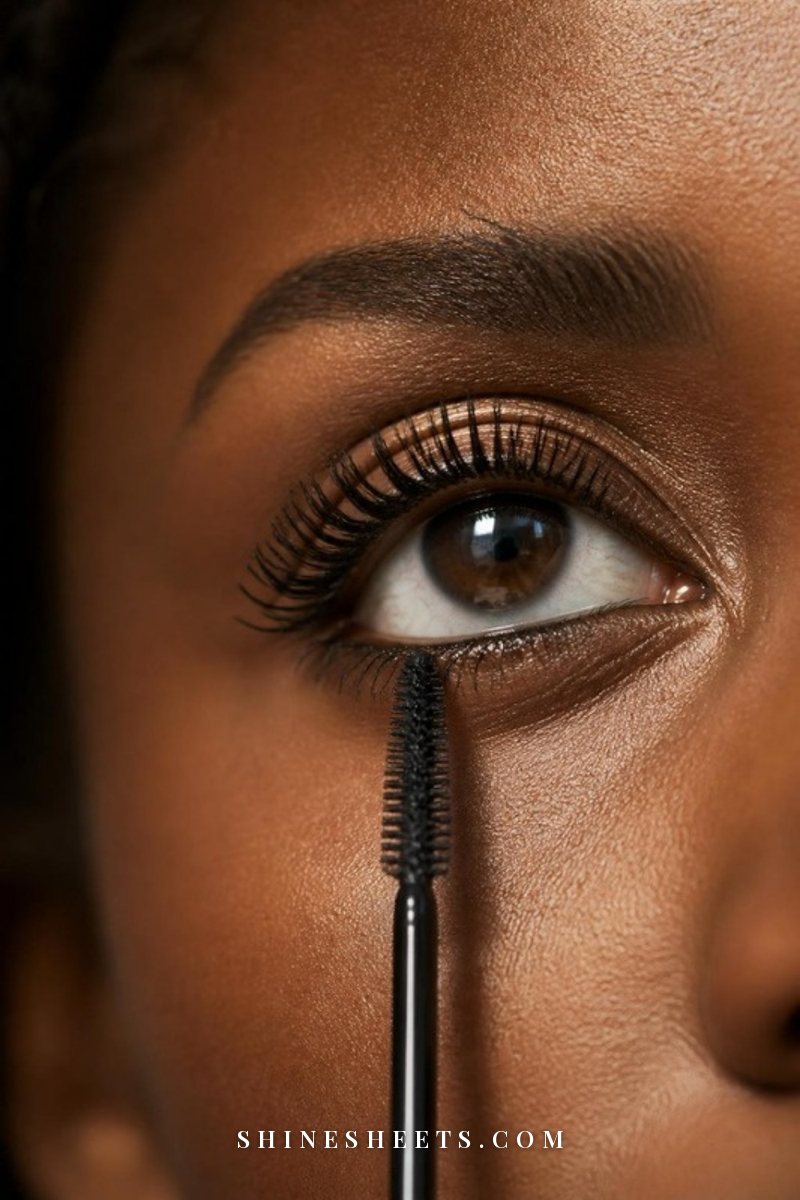
Lower lashes and the tiny lashes in the inner and outer corners are easy to miss and easy to smudge. The trick is to hold the wand vertically, like a pencil pointing to the floor, and use only the tip.
- Lower lashes: look up toward the ceiling, then lightly tap and sweep the wand tip across each small section of lower lashes, left to right. One light coat is plenty – heavy lower lashes can make eyes look droopy and tired.
- Inner corners: with the wand vertical, flick the tiny inner lashes upward one by one.
- Outer corners: same vertical tip, sweeping the outermost lashes up and out.
If you want a softer daytime look, skip lower lashes entirely or use a brown mascara there. It's a lovely trick for a fresh, clean look, and it keeps smudging to a minimum.
How Many Coats of Mascara (and When To Stop)
More coats don't always mean bigger lashes. After a certain point, they only mean heavier, clumpier lashes that lose their curl. Here's a simple guide:
- One coat: natural, defined, "my lashes but better." Perfect for daytime, workouts or a simple beginner eye look.
- Two coats: the sweet spot for most people. Noticeably longer and fuller, still soft.
- Three coats: evening and dramatic looks only, and only with a formula that builds well.
The most important part is timing. Apply the second coat while the first one is still slightly wet – within about 30 seconds. Layering onto fully dry mascara is what creates crunchy, flaky, clumpy lashes. If the first coat has already dried, it's better to stop at one than to force a second.
A small honest admission: for years I kept adding coats because my lashes "didn't look like enough." What actually helped was better prep and the root wiggle. With those, two coats look like more than four ever did.
How To Avoid Clumps and Smudges: 7 Fixes
Clumps and smudges are the two most common mascara frustrations. These seven fixes cover almost every cause:
- Never pump the wand. Pumping pushes air into the tube, dries out the formula faster and creates clumps. Twist the wand gently inside the tube instead.
- Wipe the excess. Clean the tip and sides of the brush on the tube rim or a tissue before every application.
- Comb while it's wet. If clumps appear, run a clean lash comb with fine metal teeth through your lashes right after applying, from root to tip. Look for one with a protective cap and smooth, rounded teeth, and do it within 30 seconds, before the mascara sets.
- Look down, then let it dry. Keep your eyes looking downward into the mirror while applying upper lashes, and blink as little as possible for about 30 seconds afterward. Most smudges on the lid happen in that first half minute.
- Set the skin under your eyes. A light dusting of translucent powder under the lower lash line absorbs oil that would otherwise break down mascara. If concealer is also part of your routine, my guide on concealer without creasing covers how to keep that whole under-eye area smooth.
- Fix mistakes when they're dry. If you get a smudge on your lid, let it dry completely, then flick it off with a dry cotton swab. Wiping wet mascara only spreads it.
- Know when the tube is done. If your mascara suddenly turns clumpy, dry and stringy, no technique will save it. It's simply time for a new one (more on that below).
How To Choose the Right Mascara Formula
Once your technique is solid, the right formula is the cherry on top. Mascaras usually promise one main thing, and choosing the one that matches your lash goal makes everything easier.
Lengthening Mascara
Best for: lashes that are reasonably full but short, or anyone who wants a fluttery, separated look. Lengthening formulas are usually lighter and often contain fine fibers that extend the tips. They pair best with thinner, comb-like or tapered wands that reach every lash.
A lightweight lengthening mascara is a pick for everyday wear. Look for a slim, tapered brush that reaches the inner corners and a buildable formula that doesn't feel heavy after the second coat.
Volumizing Mascara
Best for: sparse or fine lashes, and evening looks. Volumizing formulas are thicker and creamier and usually come with a big, fluffy brush. They're wonderful for drama, but they can weigh down a curl, so pair them with a primer or a heated curler if your lashes are straight.
Use the root wiggle generously and keep coats to two. Volume formulas are the most likely to clump if you go over them again once they've dried.
Tubing Mascara for Hooded Eyes
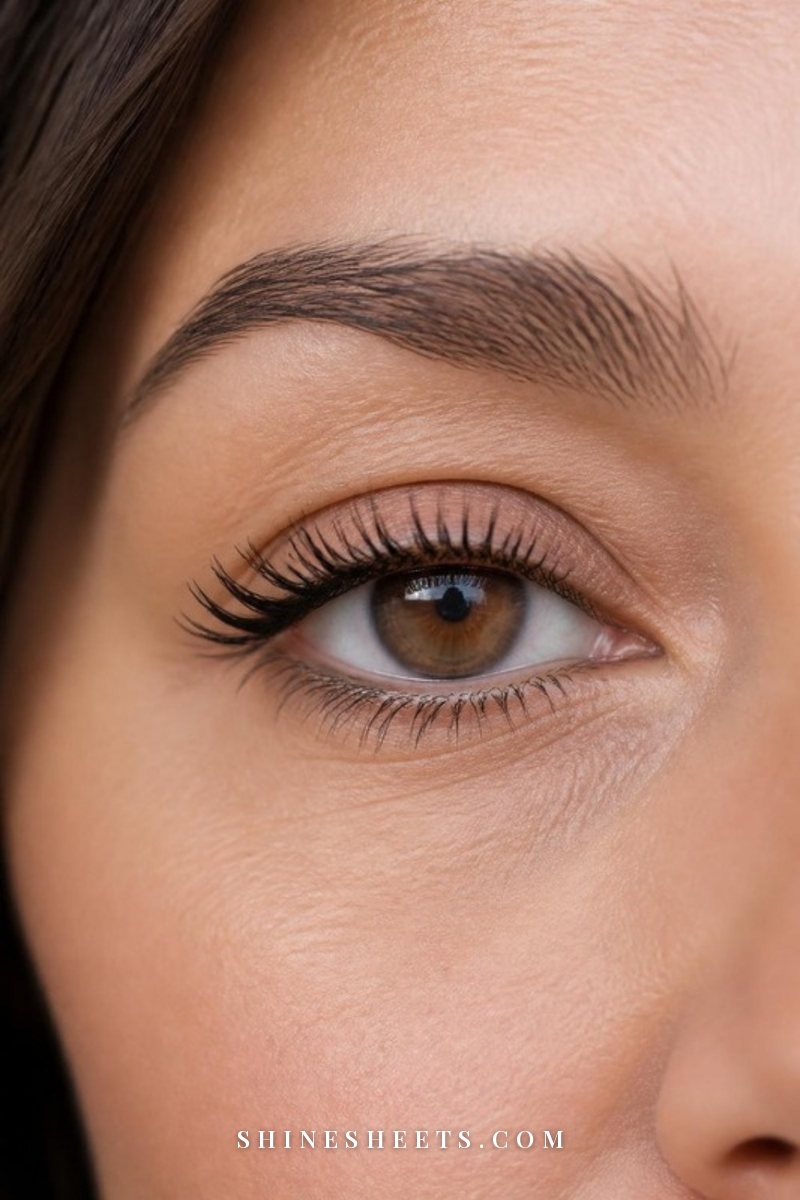
Tubing mascara works differently from regular formulas: instead of painting lashes with pigment, it wraps each lash in tiny water-resistant polymer "tubes." This makes it exceptionally good at not smudging, which is exactly why it's a favorite for hooded eyes, oily lids and watery eyes. When the lid presses against your lashes, there's simply nothing to transfer.
A smudge-proof tubing mascara is the pick I'd choose for hooded eyes or long days. Look for a slim brush and a formula that removes with warm water and gentle pressure. The finish is more defined and lengthening than dramatic, but it holds a curl beautifully. If hooded eyes are your thing, my makeup tips for hooded eyes cover liner and shadow placement too.
Waterproof Mascara (Only When You Need It)
Waterproof mascara is brilliant for weddings, beach days, emotional movies and humid summers. It's also the toughest formula to remove, and daily removal friction is hard on lashes. My gentle rule: wear it for occasions, not every day.
A handy compromise is to apply a waterproof formula only on your lower lashes (where smudging shows most) and a regular one on top. You get the hold where it matters, with less rubbing at the end of the day.
The Mascara Match Table
Here's the whole guide in one place. Find your lash goal or eye shape on the left, and you'll see which formula, wand and technique tip to reach for. Screenshot it for your next beauty-aisle trip.
| Lash goal / eye shape | Formula | Wand | Tip |
|---|---|---|---|
| Short lashes, want length | Lengthening (fiber or fiber-free) | Slim, tapered or comb-style | Zigzag from root to tip, then one straight stroke |
| Sparse or fine lashes | Volumizing over a primer | Full, fluffy bristle brush | Wiggle at the root for 3 seconds, stop at two coats |
| Straight lashes that won't hold a curl | Tubing or lightweight lengthening | Slim brush | Heated curler first, then primer and a thin coat |
| Hooded eyes | Tubing | Slim or tapered | Look down while applying, wait 30 seconds before opening eyes fully |
| Oily lids or watery eyes | Tubing or waterproof | Any, slim preferred | Powder the lid and under-eye first |
| Monolids or downturned lashes | Tubing or waterproof | Thin, comb-style | Curl in three steps and focus product at the root for lift |
| Sensitive eyes or contact lenses | Fiber-free, fragrance-free | Small, soft bristles | Keep product off the waterline, replace often |
| Soft, natural daytime look | Brown or brown-black lengthening | Slim | One coat on top, skip or lightly tap lower lashes |
| Dramatic evening look | Volumizing over lengthening | Full brush, then a lash comb | Second coat while the first is wet, comb out clumps |
A little note on brown mascara: it's not just for blondes. On fair, warm or red-toned lashes it looks wonderfully natural, and on darker lashes it gives a soft, almost no-makeup effect for daytime.
How To Remove Mascara Gently
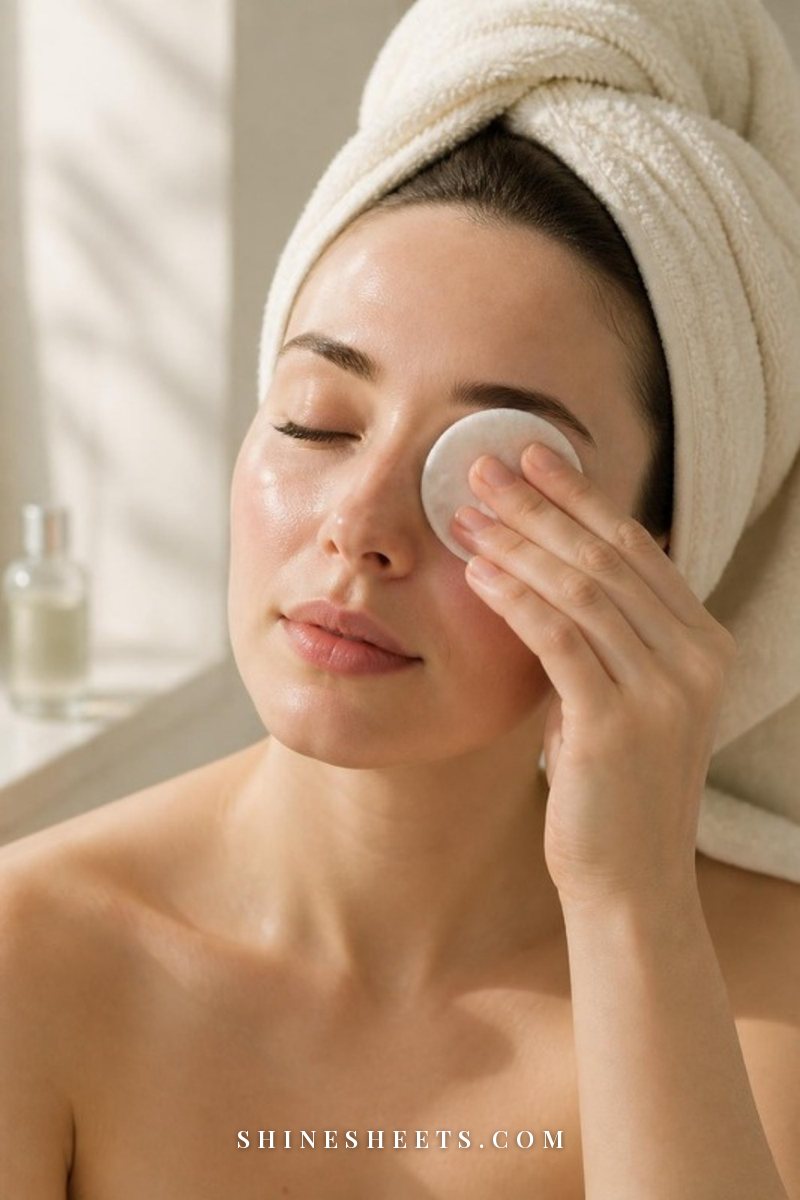
The way you remove mascara affects your lashes more than the mascara itself. Rubbing and tugging every night is one of the most common reasons lashes look thinner over time. Here's the gentle method:
- Soak a cotton pad (or a reusable round) in an eye makeup remover or micellar water.
- Close your eye and press the pad gently against your lashes. Hold for 15–20 seconds. This is the step everyone rushes, and it's the step that does the work.
- Slide the pad down and out, in one soft stroke, without scrubbing back and forth.
- Use a cotton swab dipped in remover for the lower lashes and any bits at the roots.
- Follow with your usual cleanser.
A gentle micellar water for sensitive skin is a pick for everyday mascara. Look for one that's fragrance-free and ophthalmologist-tested, especially if your eyes sting easily. For long-wear or waterproof formulas, an oil-based remover or a bi-phase remover works faster. My guide on how to remove waterproof mascara walks through three methods that won't leave you tugging.
And please don't sleep in mascara. Lashes become brittle overnight, and you're more likely to wake up with irritated eyes or a lash or two on the pillow.
Lash Health and When To Replace Your Mascara
The prettiest mascara looks are built on healthy natural lashes. A few habits make a real difference:
- Replace mascara every 3 months. Each time the wand goes back into the tube, it carries a little bacteria with it, and the dark, moist tube is a friendly place for it to grow. Write the opening date on the tube with a marker, or set a reminder. If you want a full list of when to toss everything else, my guide on how often to replace your makeup has a handy overview.
- Never share mascara, even with your best friend or sister.
- Don't add water or saliva to a dried tube. It reintroduces bacteria. A dry tube is a finished tube.
- Clean your curler pad. Wipe it weekly with a cotton pad and a little micellar water, and replace the rubber pad when it gets a groove, about every 3 months.
- Give lashes a rest day. One or two mascara-free days a week let them breathe, especially if you curl daily.
- Be gentle in general. No rubbing your eyes, no pulling at clumps, no ripping off strip lashes.
If you'd like to support your natural lashes long-term, I've gathered everything that helps in my guide on how to grow eyelashes naturally, from conditioning serums to habits that stop breakage.
A kind safety note: if your eyes become red, itchy, swollen or painful after using a mascara, stop using it and throw it away. If the irritation doesn't settle within a day or two, or you notice discharge or changes in your vision, please see a doctor or an eye care professional. Your eyes are worth the extra caution.
Final Thoughts
Beautiful lashes don't need a perfect tube or a perfect hand. They need clean, curled lashes, a wand that starts at the root, and the patience to stop at two coats. Once those become habit, almost any mascara will look better on you.
Try one new tip this week, maybe the root wiggle or the vertical wand for your lower lashes, and notice how much more awake your eyes look. Small changes, big flutter. You've got this.