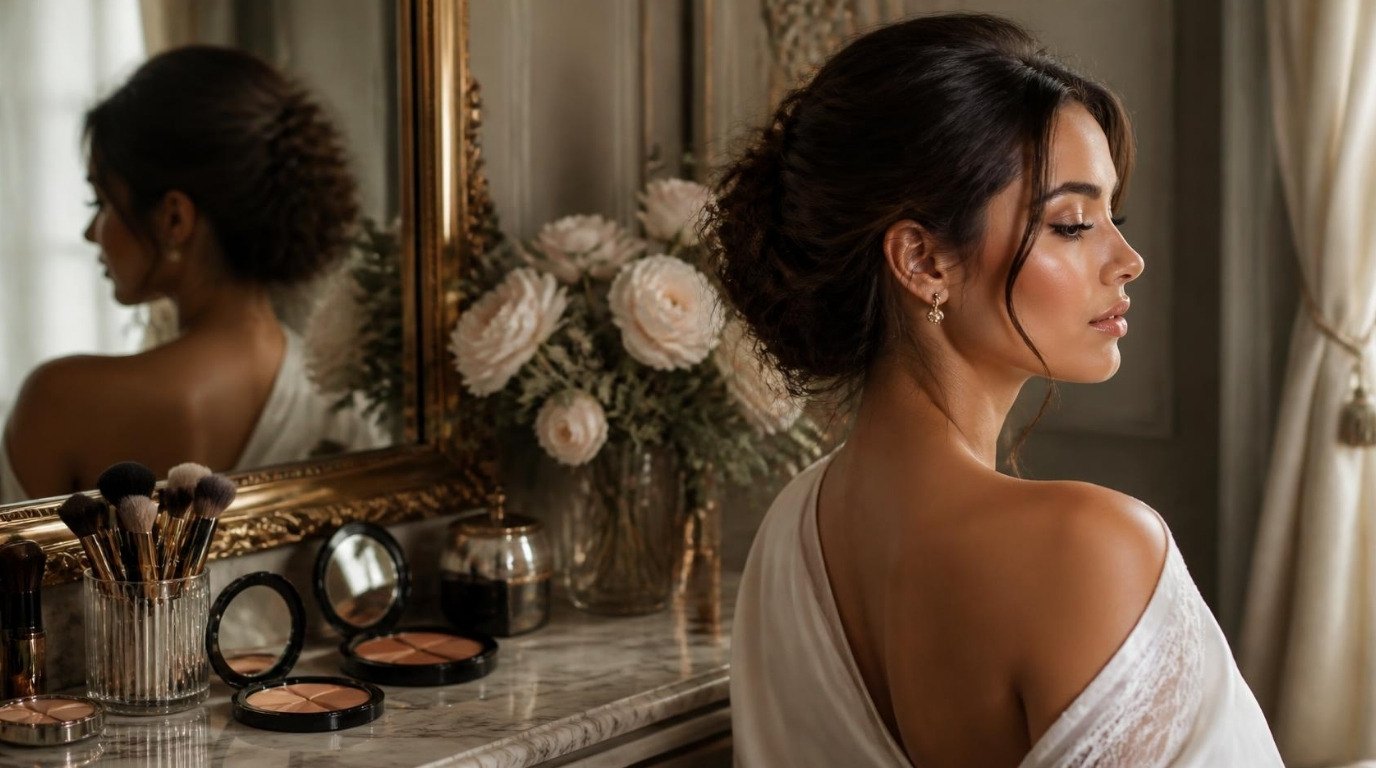
Makeup on mature skin doesn't need to be heavier to look polished. It almost always needs to be lighter, creamier and placed with more intention. As skin gets drier and fine lines show up, the products that once looked smooth start settling into texture, and the fix is rarely "more coverage." It's thinner layers, better prep and a few smart swaps.
This guide is all about makeup for mature skin that looks soft, fresh and never cakey. You'll find a "swap this for this" table, a nine-step routine from prep to lips, where to set and where to skip powder, how to lift brows, lashes and blush, and a quick fix for makeup that looks tired by midday.
Nothing here is about hiding your face. It's about letting your skin look like skin, just well rested and a little brighter.
Why Makeup Looks Different on Mature Skin
A few gentle changes happen over time, and each one explains why an old routine may suddenly look different in daylight:
- Skin holds less moisture. Drier skin grabs onto powder and pigment unevenly, which is where the patchy, dusty look comes from.
- Fine lines create texture. Thick or matte products sit in those lines instead of moving with your face.
- Features soften. Brows may thin, lashes may get shorter and the lip line can blur a little, so definition in a few key places matters more.
- Skin can look less luminous. A bit of creamy radiance on top of the cheekbones brings back life that flat matte formulas hide.
None of this is a problem to solve. It's information, and it points to a simple direction: hydrate more, layer less, define where it counts.
Swap This for This: The Fresh-Skin Table
If you only change a few things, start here. Each row is a common habit that tends to look cakey on mature skin, a softer alternative and the reason it works. Screenshot it and keep it by your makeup bag.
| Cakey habit | Fresh alternative | Why it works |
|---|---|---|
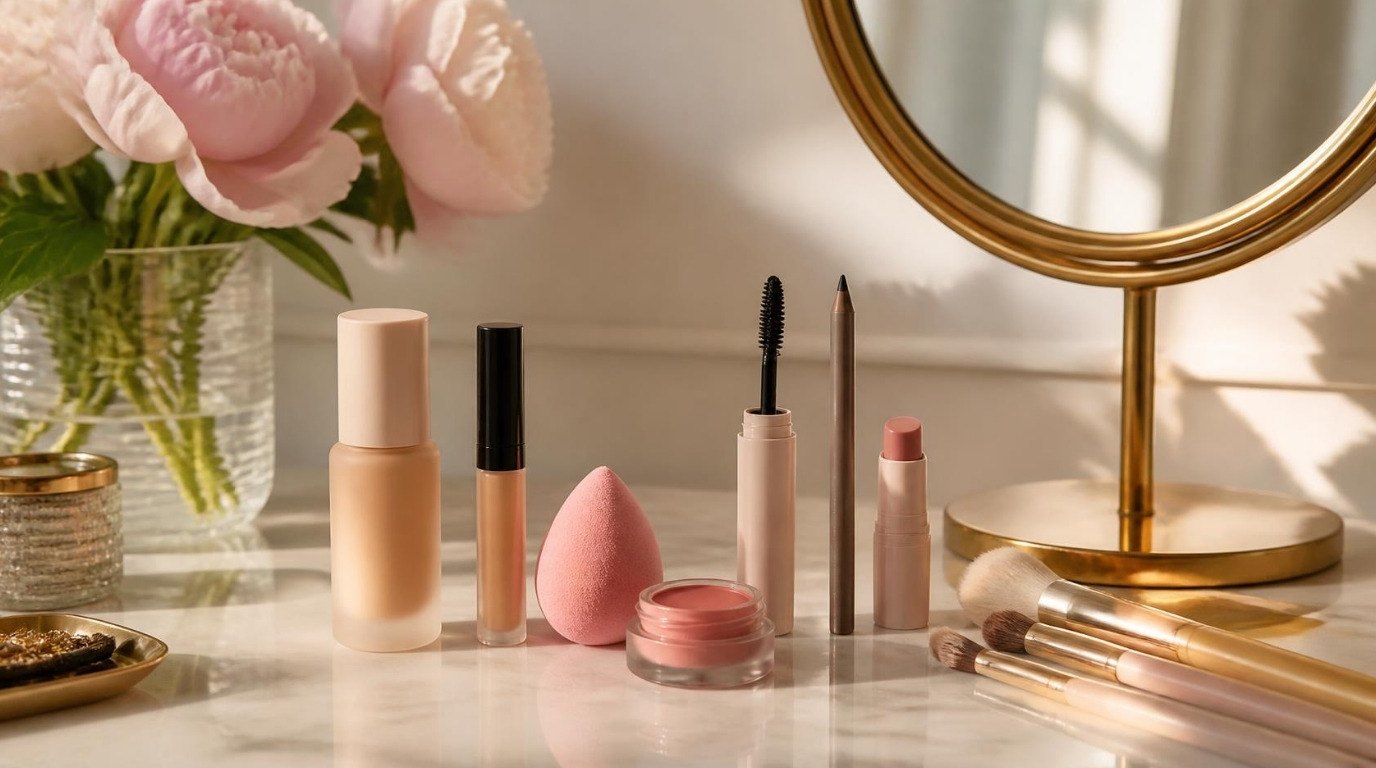
| Full-coverage matte foundation all over | Skin tint or serum foundation, built up only where needed | Thin, flexible layers move with your face instead of cracking in lines |
| Applying makeup on bare, dry skin | Hydrating serum + moisturizer, then wait 3–5 minutes | Plumped skin gives makeup a smooth surface to sit on |
| Mattifying primer on the whole face | Hydrating primer on cheeks, a little blurring primer only on the T-zone | Matching primer to each zone stops dryness and shine at the same time |
| Concealer swiped thickly under the eyes | Two or three tiny dots at the inner corner, tapped in | Less product means less to crease |
| Powder over the whole face | Finely milled powder only on the sides of the nose, chin and center of the forehead | Skin keeps its natural radiance where it's dry |
| Powder blush on the apples of the cheeks | Cream blush placed higher, blended up toward the temples | Cream melts into skin, and higher placement looks lifted |
| Dark, heavy brow pencil | Tinted brow gel plus light hair-like strokes | Soft, feathery brows read as fuller and kinder |
| Thick black liner on the lower lash line | Soft brown shadow pressed into the upper lash line | Keeps eyes open instead of pulling them down |
| Frosty or chunky shimmer eyeshadow | Satin or soft-matte shades in taupe, rose and warm brown | Satin finishes reflect light without highlighting texture |
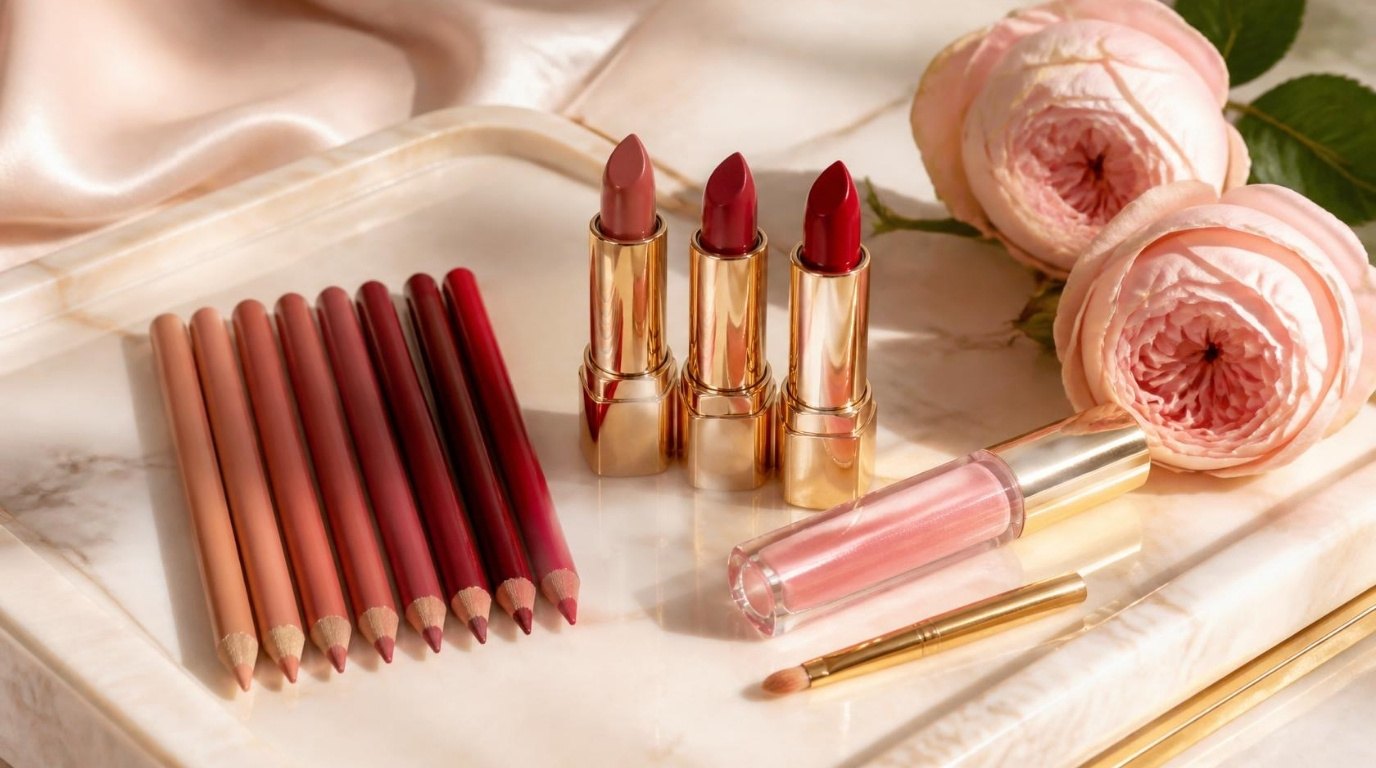
| Long-wear matte lipstick alone | Neutral lip liner + creamy satin lipstick or balm | Liner defines the shape and stops feathering, the cream keeps lips comfortable |
Step 1: Prep With Hydration First
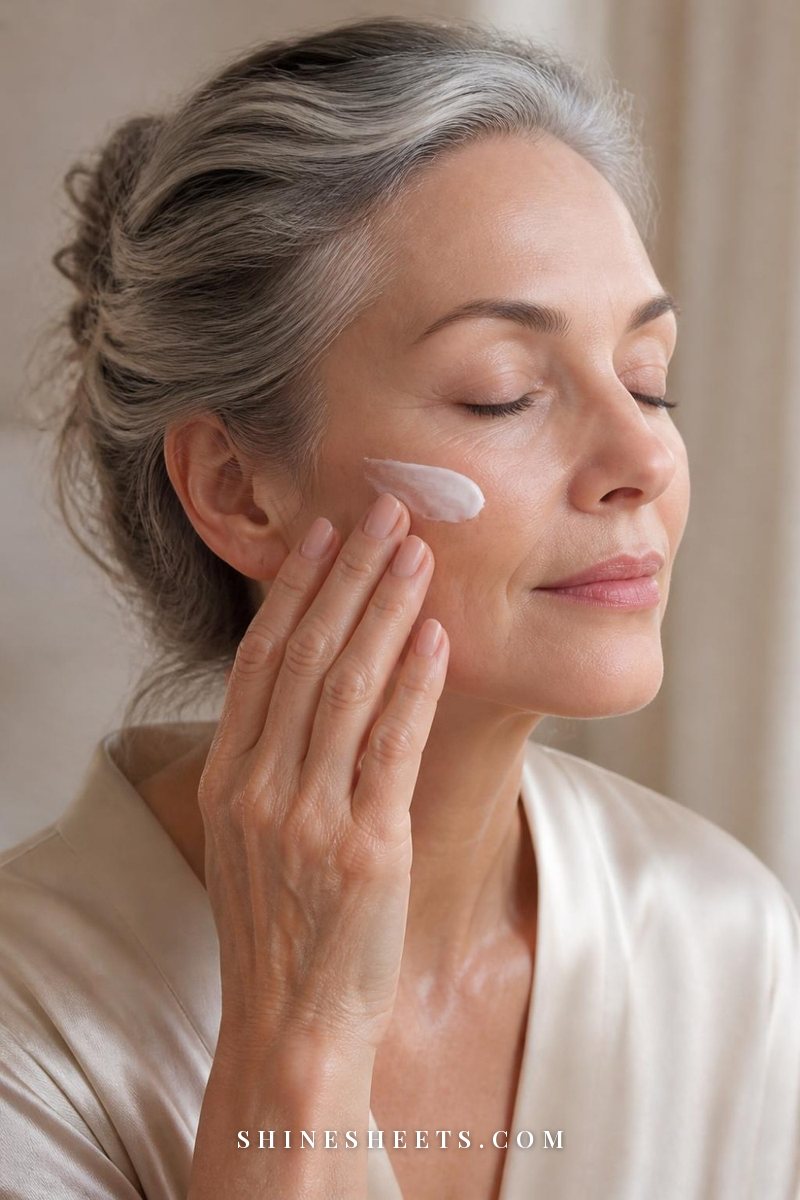
Prep is honestly half of the makeup. Five minutes here saves you from every cakey problem later.
- Cleanse gently. A creamy or gel cleanser in the morning, nothing that leaves skin squeaky.
- Add a hydrating serum. Pat it onto slightly damp skin. My guide to how to use hyaluronic acid explains why damp skin makes such a difference.
- Moisturize generously. Use a cream rather than a light gel if your skin feels tight by midday. Massage it in with upward strokes for 30 seconds.
- Apply sunscreen. A moisturizing SPF can double as your base layer.
- Wait 3–5 minutes. This is the step everyone skips. If your moisturizer is still wet, foundation will slide and patch.
A small trick: if your skin looks dry around the mouth or nose, press a tiny extra drop of moisturizer there just before foundation.
Step 2: Use Primer Only Where You Need It
Primer isn't required, but on mature skin it can be the difference between makeup that lasts and makeup that fades into lines. The key is using the right type in the right spot.
For most of the face, look for a hydrating, dewy face primer that feels like a light serum. Smooth a pea-sized amount over your cheeks and under your eyes. If you get shine on your forehead or nose, a tiny dab of a blurring primer just there keeps things balanced. (My own combination skin needs both, so I understand the two-primer life.)
Step 3: Choose a Skin Tint or Serum Foundation
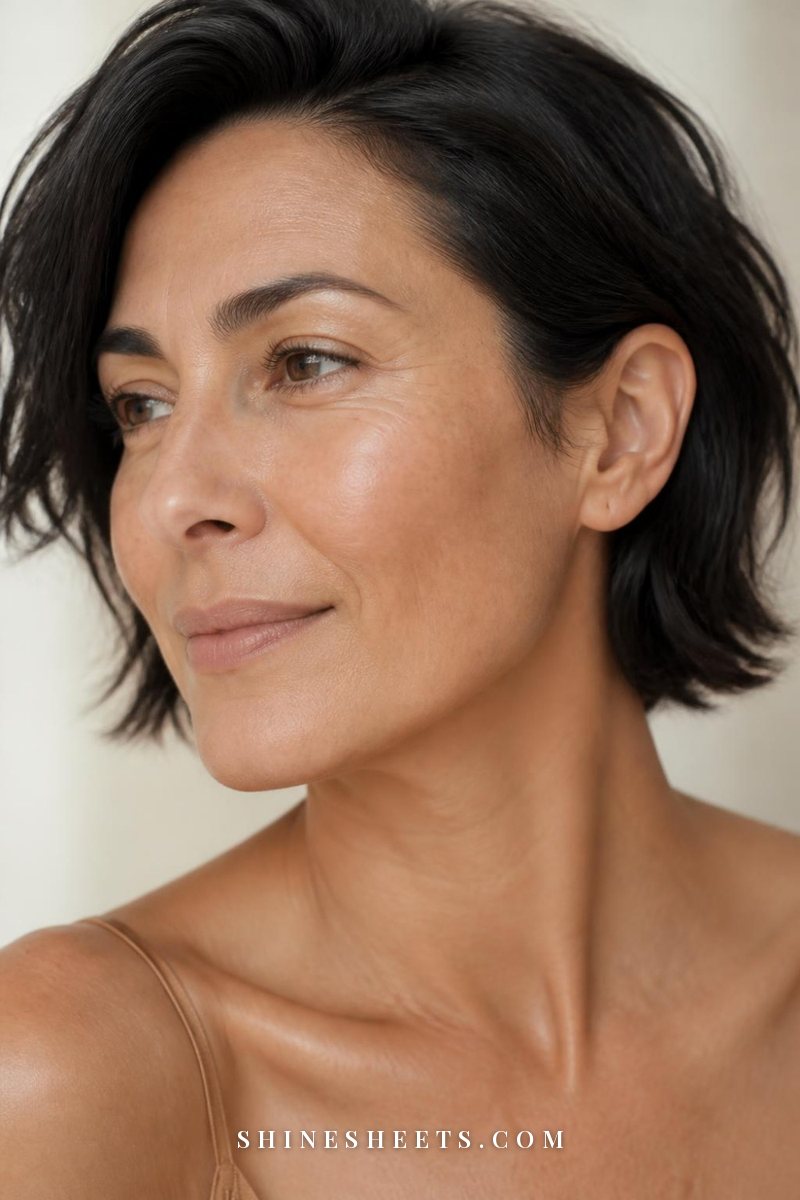
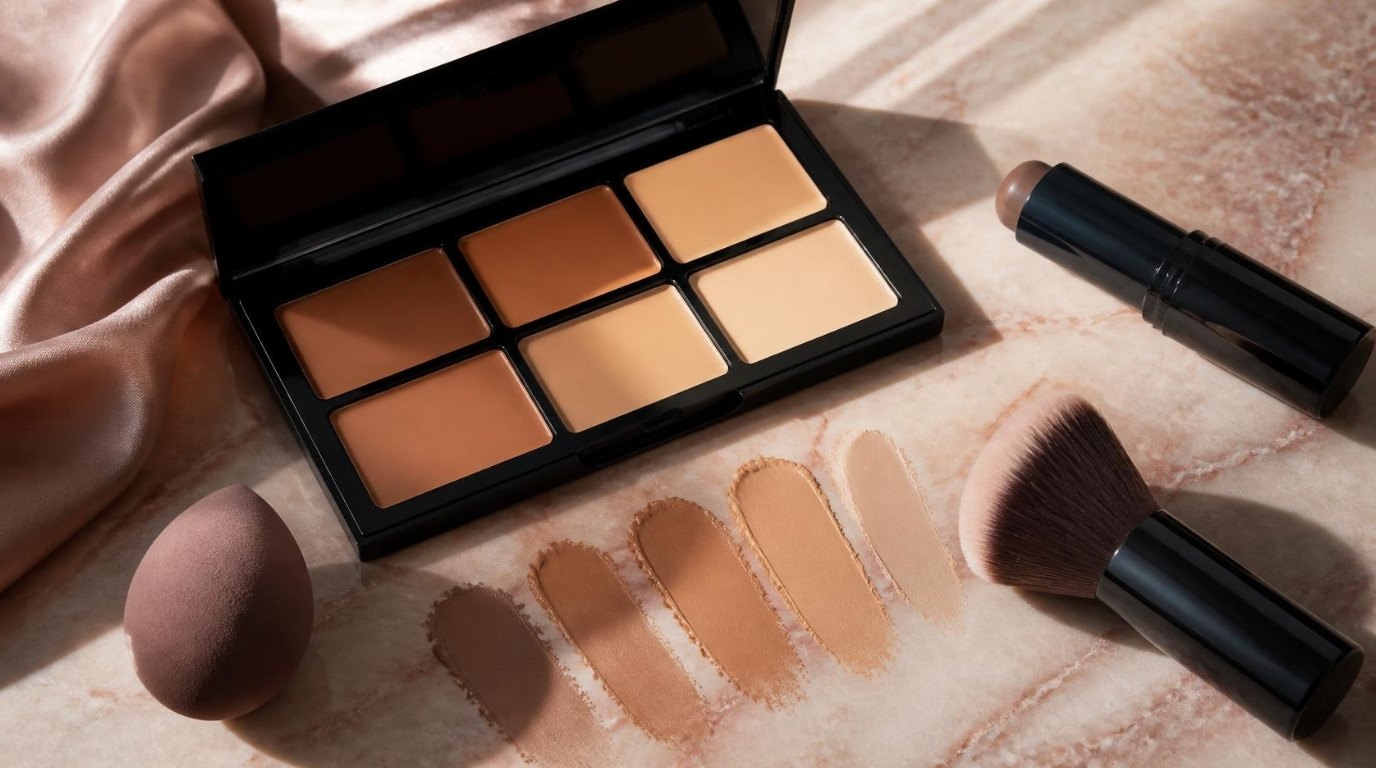
The best base for mature skin usually looks like nothing at all. Look for a serum foundation or skin tint with a natural or radiant finish. These spread thin, even out redness and let freckles and real skin texture show through in a flattering way.
How to apply it:
- Start with two or three drops in the center of the face, where redness usually lives, and blend outward.
- Use a damp sponge or your fingertips. Brushes can drag product into lines.
- Press and bounce rather than swipe, and go lighter around the eyes and mouth, where you move most.
- If you need more coverage on a spot, add a second thin layer there only.
If you love a fresh, luminous base, my dewy makeup look guide shows how to get radiance without looking oily.
Step 4: Conceal in Tiny Dots
Under-eye skin is thin and moves constantly, so it's where thick concealer creases first. Choose a creamy, hydrating formula about half a shade lighter than your skin, not two shades. Place two or three dots right at the inner corner of the eye and along any shadow, then tap gently with your ring finger until it melts in. Leave the outer corner, where smile lines are, mostly bare.
For blemishes or redness elsewhere, use a tiny brush to place a dot directly on the spot and tap the edges only. My full guide to applying concealer without creasing has more detail on setting the under-eye area lightly.
Step 5: Swap Powder Blush for Cream, Placed Higher
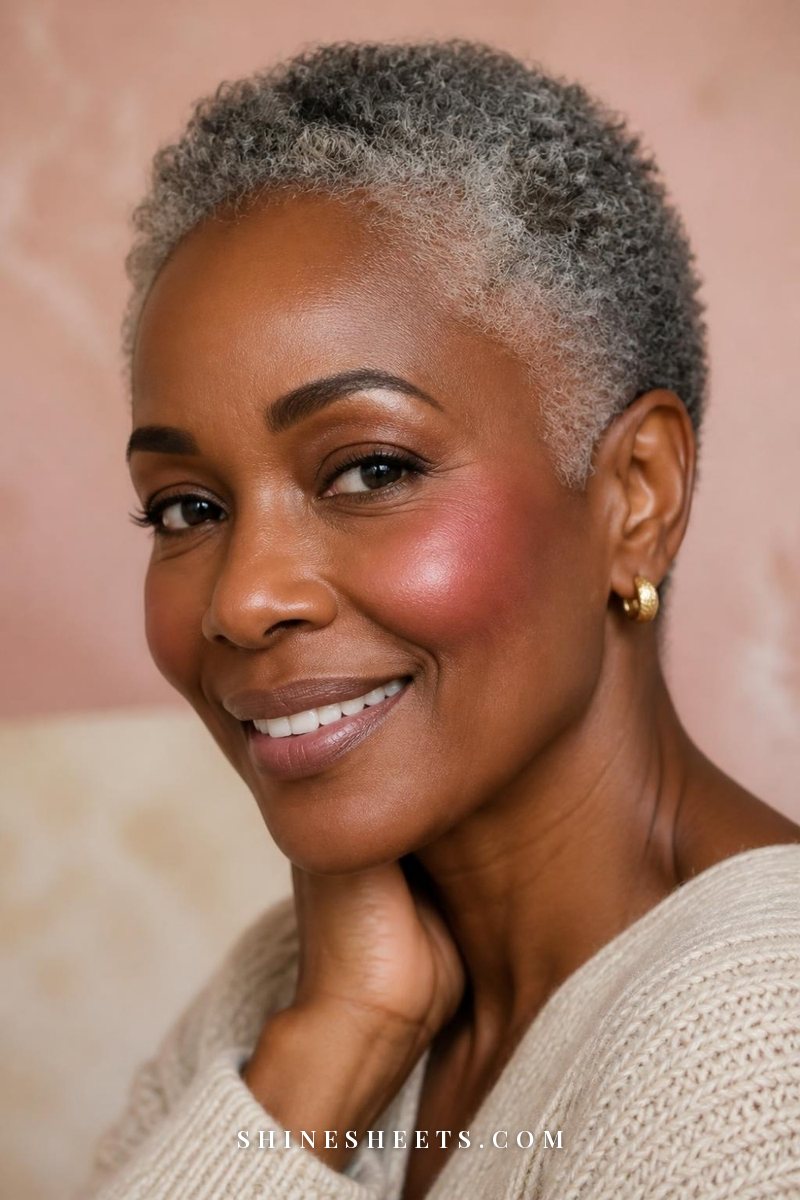
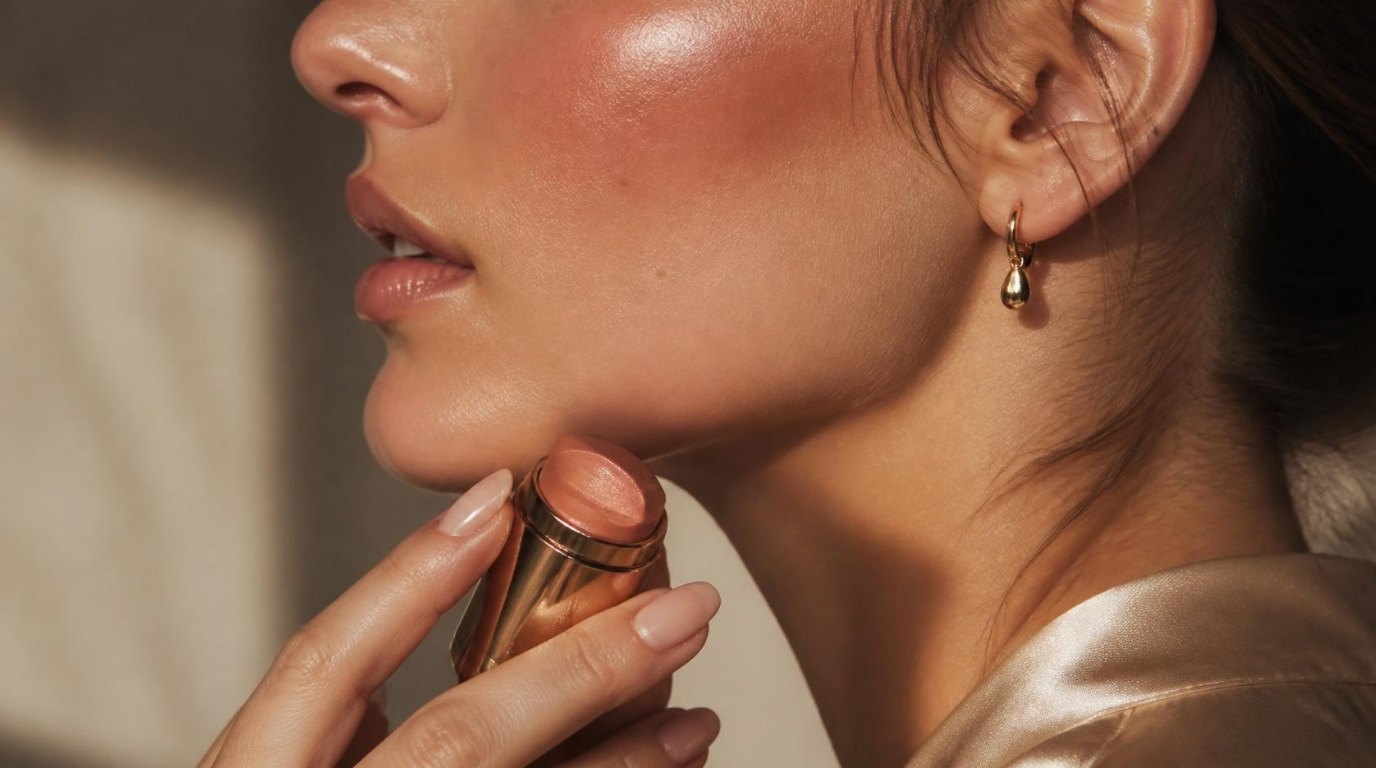
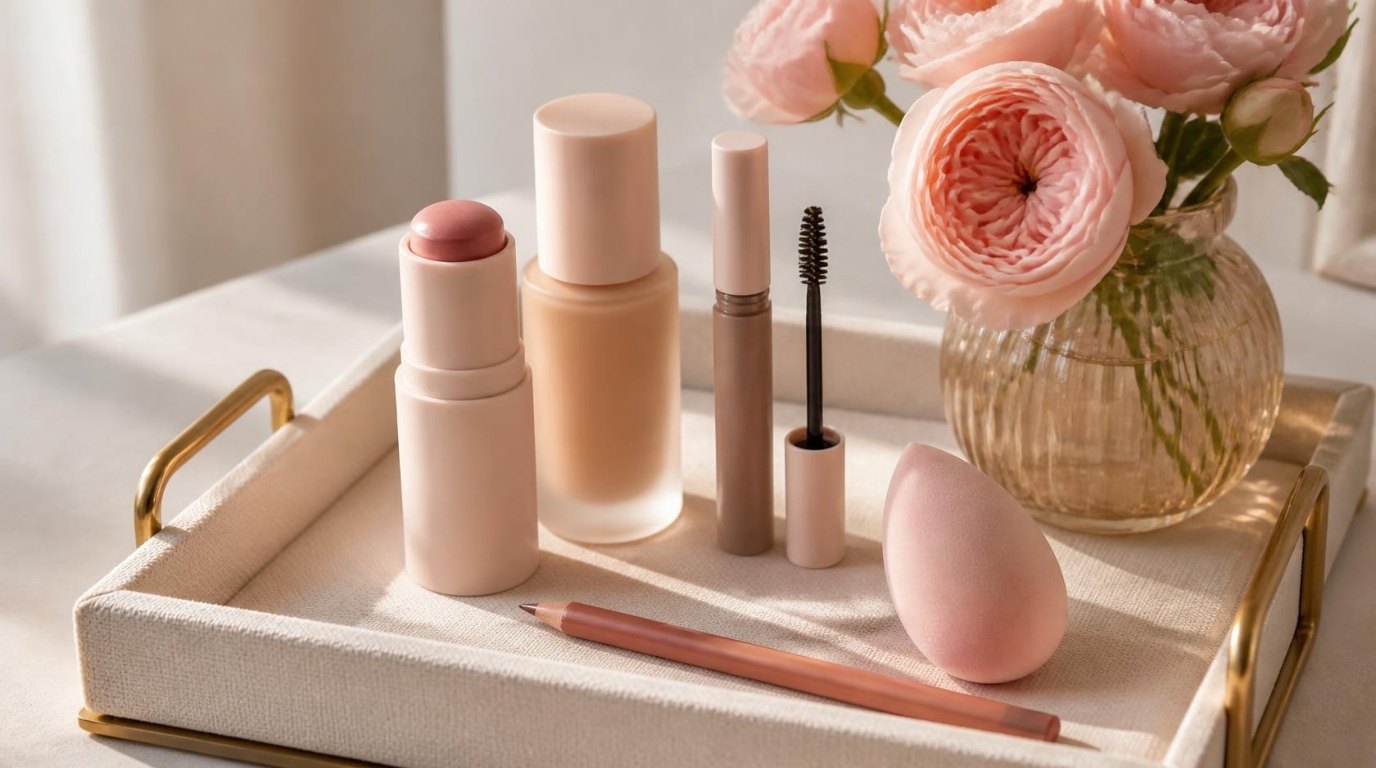
Cream blush is one of the kindest products for mature skin. It melts into the skin, adds a healthy flush and never looks powdery. A soft pink or rosy cream blush stick is easy to apply straight from the tube.
Where to put it: Smile gently and find the top of your cheek apples, then move up and slightly back toward your cheekbones. Tap two dots there and blend upward toward your temples with your fingertips. Placing blush higher, rather than low on the apples, gives the face a lifted, rested look. My blush placement guide shows the exact spots for different face shapes.
Shades that flatter most: soft rose on fair skin, warm peach or apricot on medium skin, and deeper berry or brick on deep skin.
Step 6: Set Only Where You Shine
Powder is where many mature-skin makeup looks go wrong. You don't need to skip it entirely, just use it with a light hand and only in a few places:
- The sides of the nose.
- The center of the forehead.
- The chin.
- A whisper under the eyes only if concealer is creasing, pressed in with a small fluffy brush.
Choose a finely milled, translucent loose powder, tap off the excess before it touches your face, then press rather than sweep. Leave the cheeks and outer face unpowdered so skin keeps its natural radiance. If you need everything to last longer, a light mist of setting spray from arm's length melts powder into skin.
Step 7: Lift Your Brows With Soft Strokes
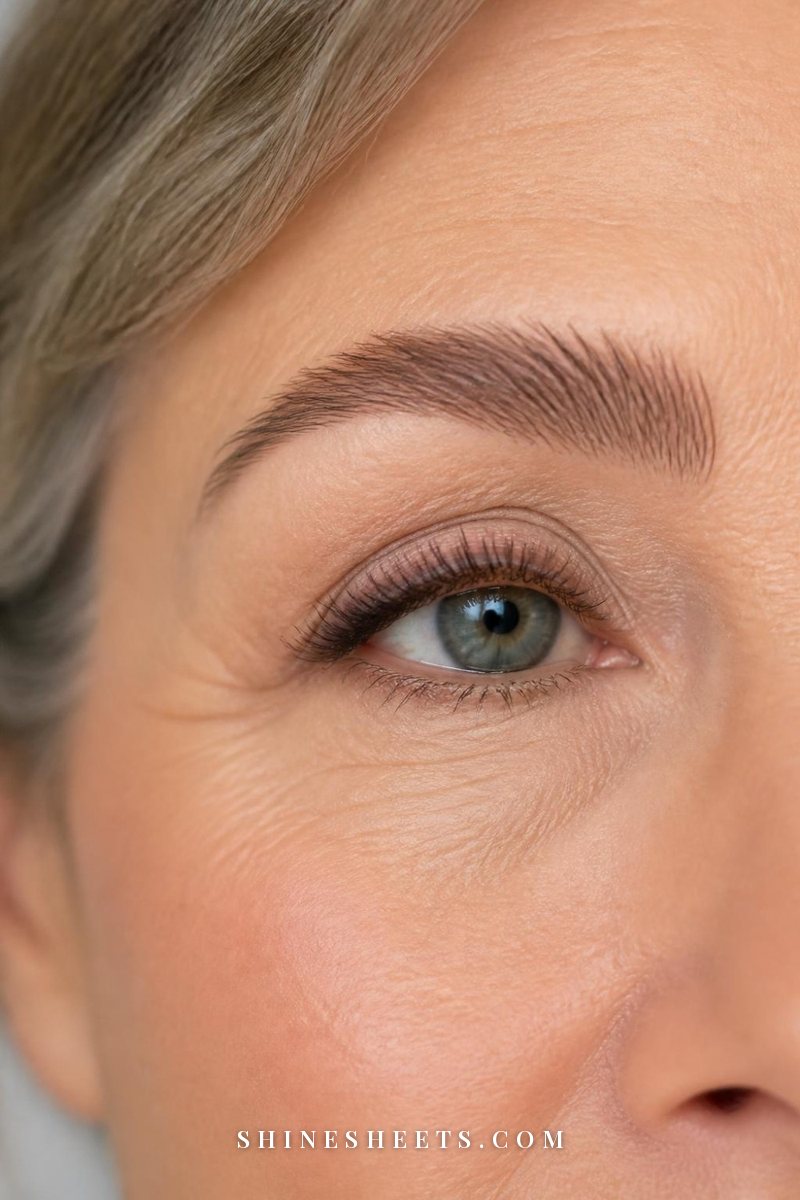
Brows frame everything, and fuller, softly defined brows instantly lift the whole face. The goal is fluffy and natural, never a hard, drawn-on block.
- Brush brow hairs upward with a spoolie to see where they're sparse.
- Fill gaps with tiny, hair-like strokes using a fine pencil one shade lighter than your hair color (or a soft taupe if your hair is silver or gray).
- Comb through a tinted brow gel in upward strokes to add texture, color and hold.
- Keep the front of the brow lightest and softest, and add slightly more definition toward the tail.
Want a full walkthrough? My guide to natural brows in five minutes covers shaping and setting step by step.
Step 8: Mascara That Lifts, Not Clumps
As lashes get finer, heavy volumizing mascaras can look clumpy and flake under the eyes by afternoon. Look for a tubing lengthening mascara, which wraps each lash in a tiny water-resistant tube. It lengthens without weight and removes with warm water, which is gentle on delicate skin around the eyes.
Curl your lashes first, then wiggle the wand at the root and pull up and out. Focus on the upper lashes and the outer corners for lift. On the lower lashes, one light coat or none at all keeps the eye looking open.
A Note on Eyeshadow and Liner
Satin and soft-matte shadows in taupe, rose, warm brown and soft plum are the most flattering. Sweep a light satin shade all over the lid, press a deeper brown close to the lash line, and skip frosty shimmers that sit in texture. Instead of thick liquid liner, press a dark brown shadow into the roots of the upper lashes with a small angled brush for definition that looks soft.
Step 9: Define Your Lips With Liner
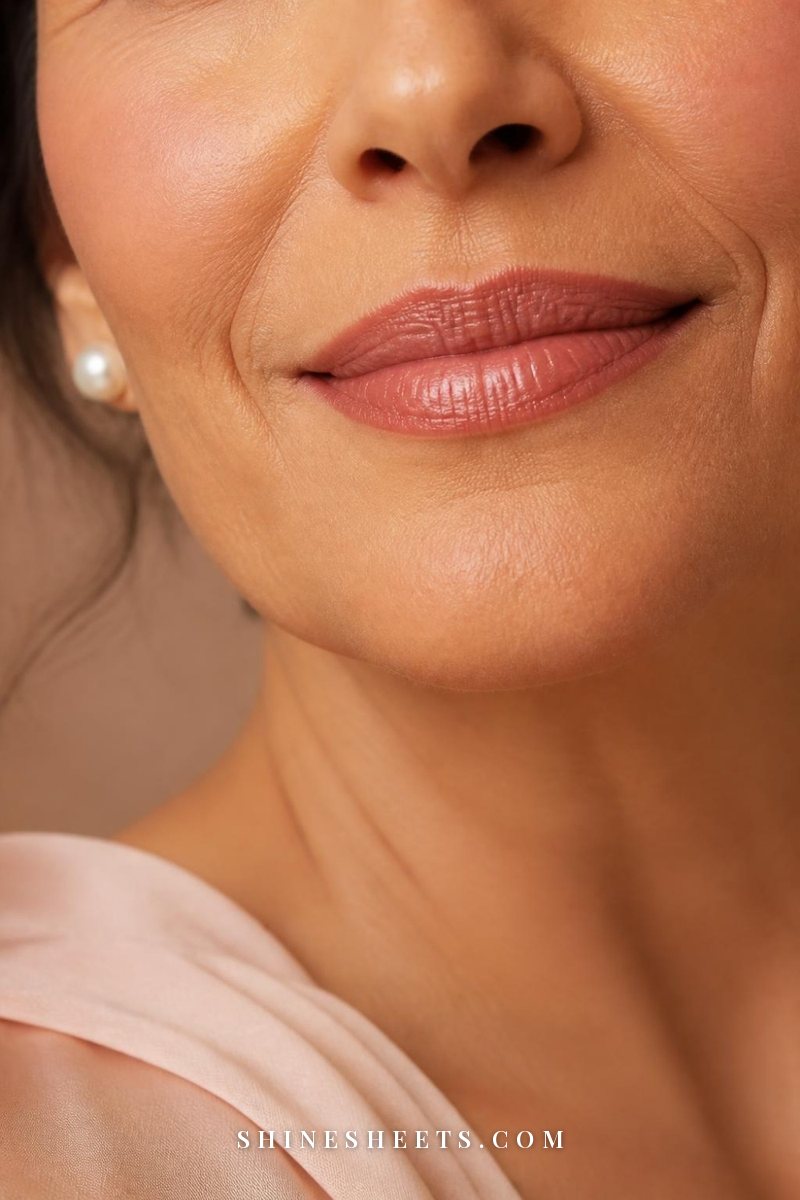
Lips can lose a little definition over time, and color may travel into the fine lines around the mouth. A liner fixes both. Choose a neutral lip liner pencil close to your natural lip color, rather than a dark contrasting shade.
- Apply a thin layer of lip balm and blot after a minute.
- Line your lips right on the natural edge, softly overdrawing only at the center of the upper lip if you'd like.
- Fill in the whole lip lightly with the liner as a base, which helps color last.
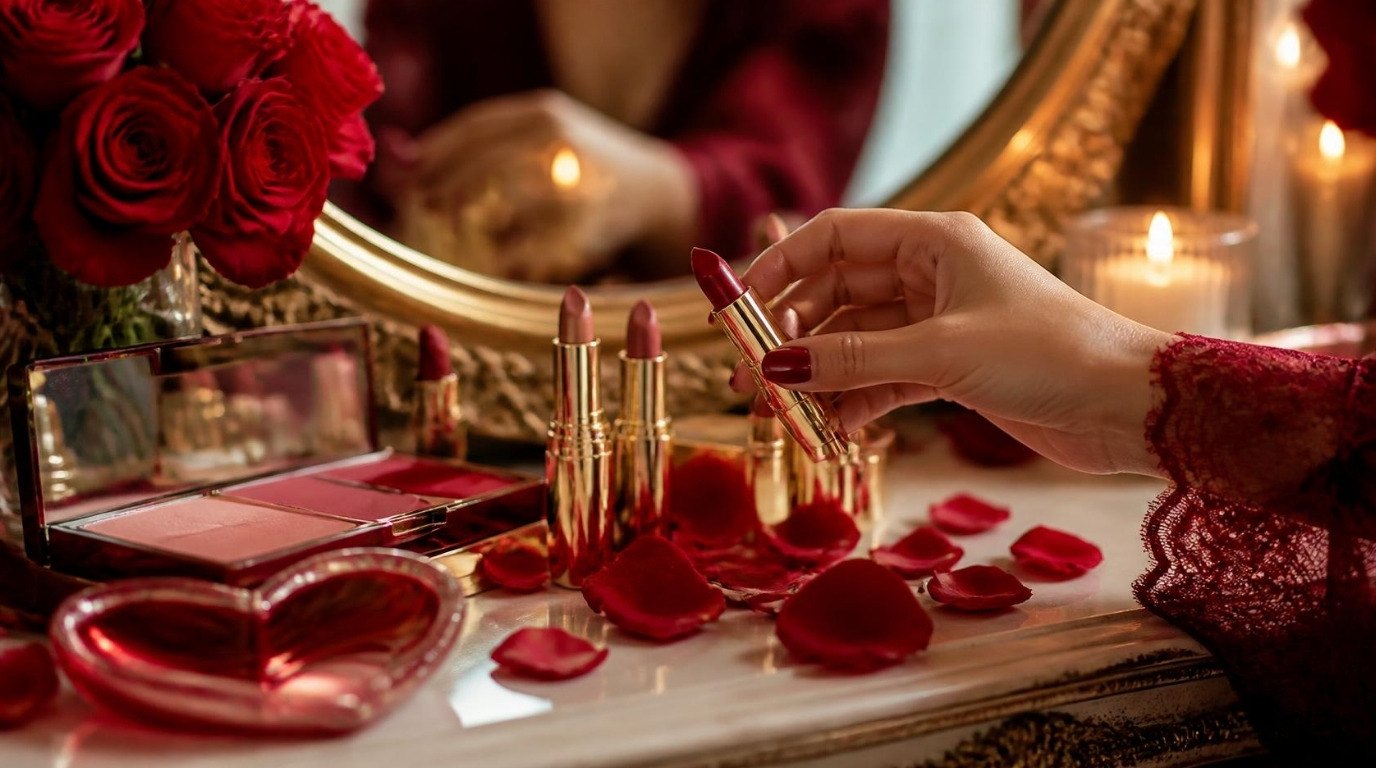
- Add a creamy satin lipstick or tinted balm on top, pressing it in with your fingertip.
Rosy nudes, soft mauves, warm terracottas and sheer berries tend to look fresh. Very matte or very dark formulas can make lips look smaller and emphasize dryness.
Bronzer and Highlighter: Less, Placed Softly
You can absolutely wear both, they just work best in cream or very finely milled formulas and in smaller amounts than you might expect.
Bronzer
Instead of a contour stripe under the cheekbones, which can look harsh and drag the face down, warm the face where the sun would naturally touch it: along the top of the forehead near the hairline, the top of the cheekbones and a light sweep under the jaw. Choose a shade only one or two tones deeper than your skin, with a soft, natural undertone rather than anything orange or very cool. A big fluffy brush and a light tap-off are your friends.
Highlighter
Skip glittery highlighters, which sit in texture and make it more visible. A sheer cream or liquid highlighter with a pearly, satin finish looks like healthy skin rather than shimmer. Tap a tiny amount on the very top of the cheekbones (above where your blush sits), at the inner corner of the eyes and on the center of the brow bone. Avoid the under-eye area and anywhere you have more texture, like the sides of the nose. Less really is more here.
How To Pick Colors That Brighten Mature Skin
As skin changes, some shades that once felt like "yours" can start to look a little flat. You don't need a whole new makeup bag, just a few guidelines:
- Go a touch warmer and softer. Rosy, peachy and warm-neutral shades tend to bring back warmth that very cool or gray-toned colors can wash out.
- Choose mid-tones over extremes. Very pale nudes can make lips disappear, and very dark shades can look severe. Mid-tone roses, mauves and terracottas are the sweet spot.
- Match to your hair as it changes. If your hair has gone silver or gray, soft taupes for brows and cooler rose or berry lip shades often look especially lovely with it.
- Test in daylight. Swatch on your jawline or the back of your hand and step to a window. Bathroom lighting lies, especially about foundation.
- Let one feature lead. A defined lip or a brighter cheek, with everything else soft, looks more modern than full color everywhere.
If you've changed your hair color recently or are going gray, it's worth rechecking your foundation shade too. Undertones in skin don't change, but the overall contrast of your face does, and a slightly warmer or brighter base can balance it beautifully.
A 10-Minute Everyday Routine for Mature Skin
Here's how all of it fits into a single, realistic morning:
- Minutes 1–3: Serum, moisturizer and SPF. Let them settle while you make your coffee or tea.
- Minute 4: Hydrating primer on the cheeks, blurring primer on the T-zone if needed.
- Minutes 5–6: Skin tint, pressed in with a damp sponge.
- Minute 7: Concealer dots at the inner corners and on any spots.
- Minute 8: Cream blush high on the cheeks, plus a light press of powder on the nose and chin.
- Minute 9: Brow gel and mascara.
- Minute 10: Lip liner and a creamy lipstick or balm.
On busy days, steps 1, 3, 5 (just blush), 6 and 7 still give you a polished, fresh face in about five minutes.
How To Fix Makeup That Looks Cakey by Midday
Even with good prep, makeup can settle by afternoon. Instead of adding more powder (the instinct that makes it worse), try this quick reset:
- Mist and press. Spritz a hydrating face mist, wait 10 seconds, then press a clean, slightly damp sponge over creased areas. It smooths settled product without removing it.
- Tap in a drop of moisturizer. For dry patches, warm a tiny drop of moisturizer or facial oil between your fingertips and press it over the area.
- Refresh the color. A touch of cream blush and a swipe of lip color bring life back faster than any extra foundation.
- Blot instead of powdering. If you're shiny, use a blotting paper first, then a tiny bit of powder only if needed.
If skin feels persistently dry or irritated under makeup, it may need a gentler cleanser or a richer moisturizer, and a dermatologist can help if anything feels uncomfortable or changes suddenly.
Final Thoughts
Makeup for mature skin isn't about turning back the clock or covering every line. It's about choosing softer textures, using a little less and placing it a little higher, so your face looks bright, rested and completely like you.
Start with two or three swaps from the table this week. Most likely, you'll notice that the less you put on, the fresher and more confident you look.