Monolid eyes are beautiful exactly as they are, and they deserve makeup advice written for them. Most eyeshadow tutorials quietly assume you have a crease to follow, so the shade you blend so carefully disappears the moment you open your eyes. That's not a problem with your eyes. It's a problem with the instructions.
The good news is that monolid makeup follows a few simple rules once you know them: work in a gradient instead of a crease, place color a little higher than feels natural, check everything with your eyes open and choose formulas that stay put. In this guide you'll find the prep step that stops transfer, 7 eyeshadow tips, how to shape eyeliner so it actually shows, lash tips, a placement table and 3 easy looks to try.
Think of it as a friendly map for your own eye shape. You don't need to change anything about your eyes. You only need techniques that show them off.
What Makes Monolid Makeup Different
A monolid is an eyelid with little or no visible crease, so the lid looks smooth from the lash line up to the brow bone. It's one of the most common eye shapes in the world, and it often comes with a lovely, sleek, almond outline that looks striking with even a little definition.
Monolids are sometimes lumped in with hooded eyes, but they're not the same thing. With hooded eyes there is a crease, it's just covered by a fold of skin, so the tricks are about working above that fold. (I've written a whole guide on makeup tips for hooded eyes if that sounds more like you.) With a monolid, there's no crease to work with at all. That changes two things:
- Gradients matter more than lines. Instead of a "lid shade, crease shade, highlight" layout, you build color from dark at the lash line to soft and sheer as it goes up.
- Vertical placement matters more than width. When your eyes are open, part of the lid folds slightly or tucks in, so color needs to sit higher than you'd guess to stay visible.
Once those two ideas click, everything else in this guide is just detail.
Prep First: A Thin Layer of Eye Primer
Smooth lids are lovely, but they also mean the skin above and below the lashes often touches when your eyes are open. That contact is what causes eyeshadow to crease into a thin line or liner to print onto your upper lid by lunchtime. A primer gives your shadow something to grip.
Here's how I'd do it:
- Start with a clean, dry lid. If you use eye cream, give it 5 minutes to sink in first, or skip it on the lid itself on makeup days.
- Tap a rice-grain amount of a lightweight eyeshadow primer onto each lid with your ring finger.
- Spread it in a thin layer from lash line to just under the brow. More primer is not better, a thick layer turns tacky and makes shadow patchy.
- Wait 30–60 seconds until it feels dry to the touch, then go in with shadow.
My skin is combination and sensitive, with a T-zone that gets shiny fast, and lids can be the same way. If yours get oily, a set of loose translucent powder over the primer gives you an extra hour or two. If you'd like to understand which primer types suit which skin, my guide to choosing a makeup primer walks through them. And because the eye area is delicate, patch test any new eye product on your inner arm or behind your ear for a day before it goes near your lashes.
7 Eyeshadow Tips for Monolids That Actually Show
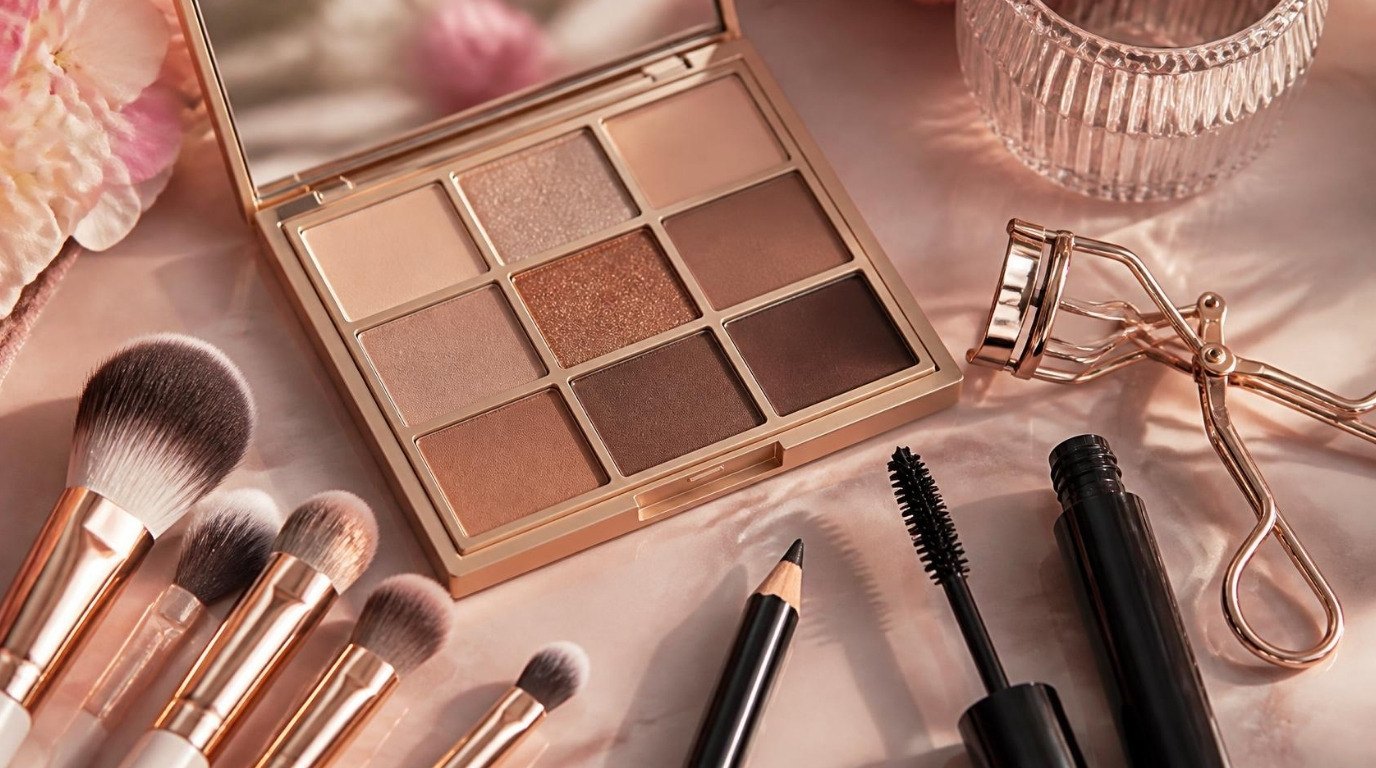
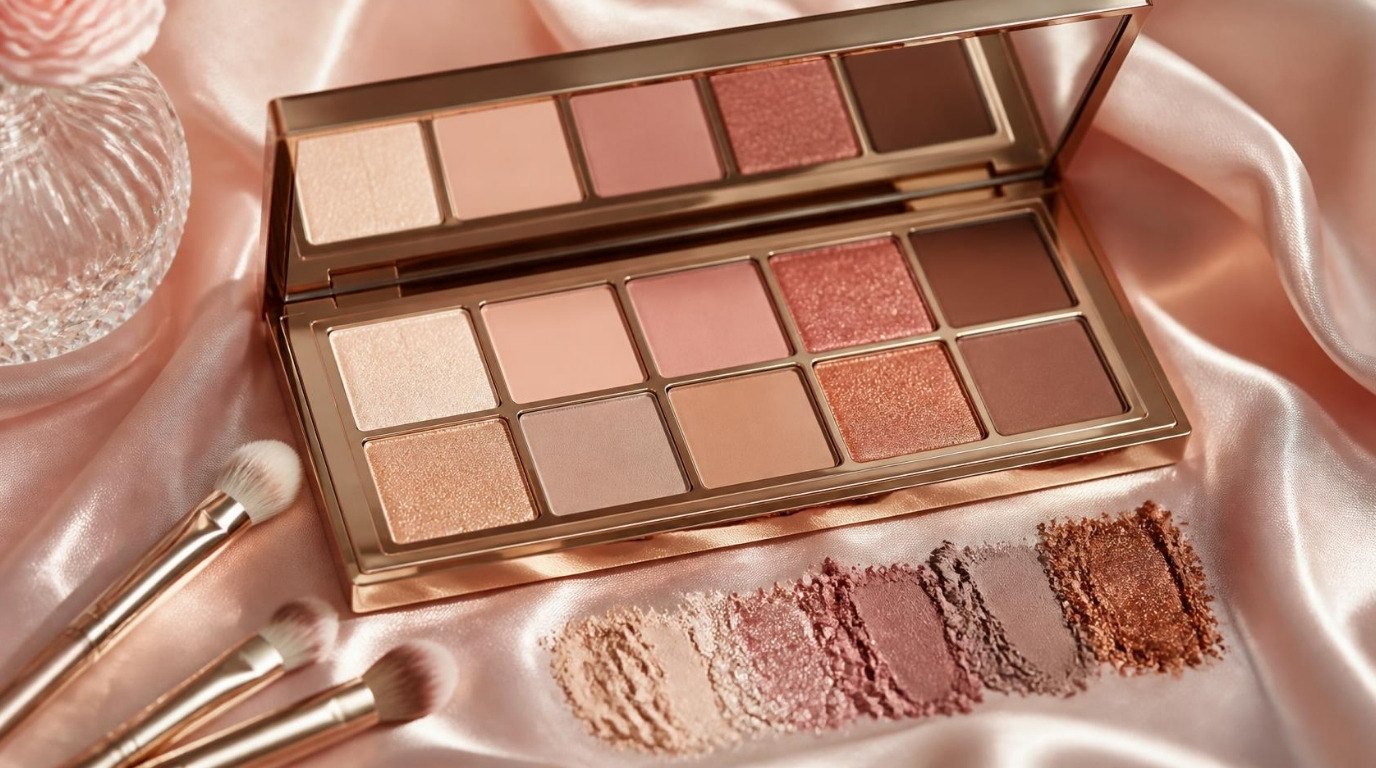
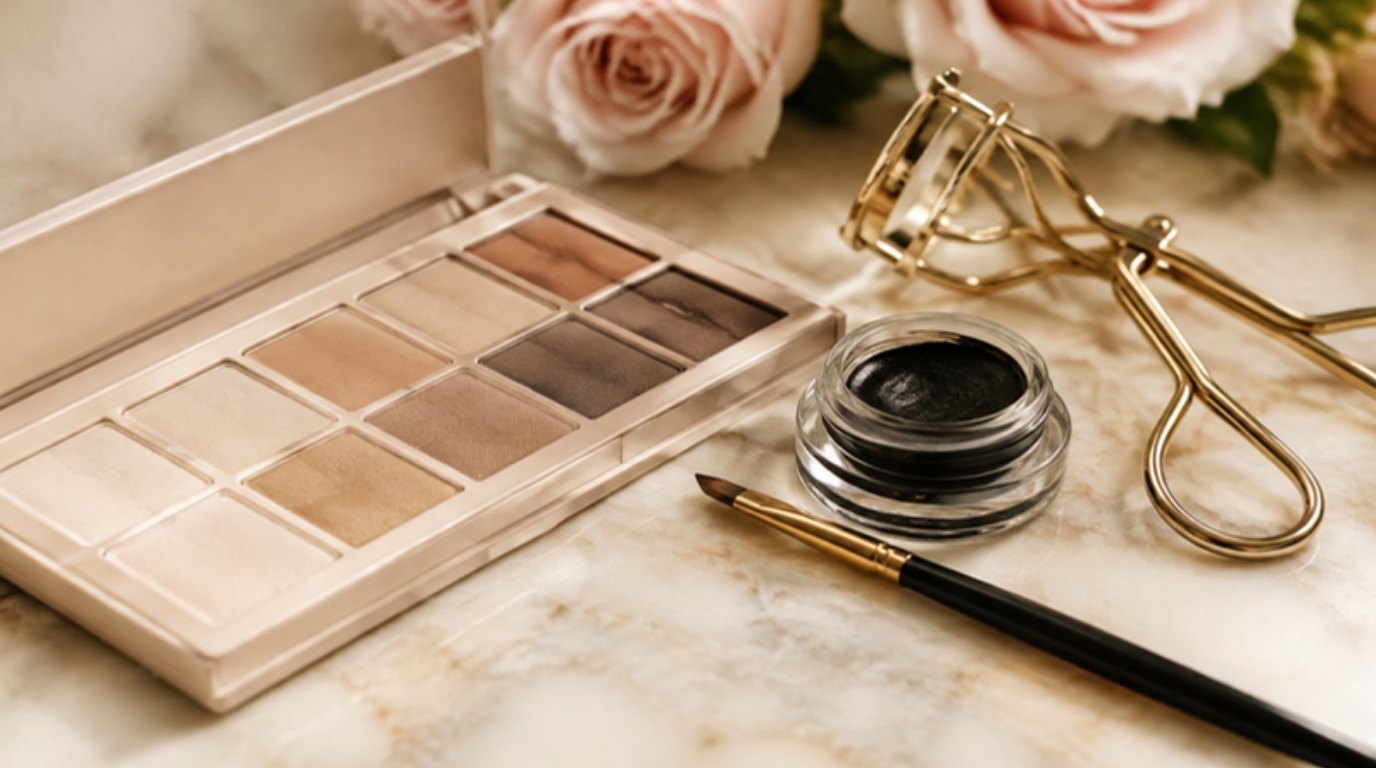
These seven tips build on each other, so if you're new to this, try them in order. A soft neutral matte eyeshadow palette with a light, a medium and a deep shade is all you need to practice every one of them.
1. Check Placement With Your Eyes Open

This is the single biggest change you can make. Most of us apply shadow with our eyes closed or half closed and only look at the result once we're done. With monolids, a lot of what you see on a closed lid disappears when the eye opens.
Try this instead: apply a little color, then look straight ahead into your mirror with your eyes relaxed and fully open. Whatever you see in that moment is your real canvas. Add color where it's needed until it's visible with eyes open, and only then close your eyes to blend the edges. It takes about 10 extra seconds and saves you from the "where did my eyeshadow go?" moment.
2. Build a Gradient From the Lash Line Up
Instead of thinking in zones, think of your eyeshadow like a sunset: deepest at the lash line, fading gradually as it rises.
- Deepest shade: pressed right along the upper lash line, about 2–4 mm wide.
- Medium shade: blended just above it, overlapping the edge of the deep shade.
- Lightest shade: diffused on top so there's no visible line where color ends.
Use a small flat or pencil brush for the deep shade and a fluffy brush in small windshield-wiper motions for the rest. A soft eyeshadow brush set with gold handles usually includes both shapes. The gradient is what creates depth on a smooth lid, because the eye reads dark-to-light as dimension.
3. Take It a Little Higher Than You Think
When your eyes are open, the lower part of a monolid often tucks in slightly. That means a shadow that looks generous with eyes closed may show as a thin sliver, or not at all, when they're open.
The simple formula: blend your medium shade until it peeks out about 2–3 mm above the point where your lid meets your lashes when your eyes are open. For most people that means taking it noticeably higher on the closed lid than feels "normal." It might feel like a lot in the mirror with eyes shut. Open them, and it usually looks just right.
4. Use a Matte Transition Shade
A transition shade is a soft matte color one or two steps deeper than your skin tone, blended at the very top of your gradient. On creased eyes it lives in the crease. On monolids it does something just as useful: it softens the top edge of your color so the look melts into your skin instead of ending in a stripe.
Pick a warm taupe, soft caramel or muted rosy brown, depending on your undertone. Matte is key here, because shimmer up high catches light at the edge and makes the boundary obvious. Blend it with a clean fluffy brush, using the lightest pressure you can, and keep the brush moving.
5. Put Shimmer on the Center of the Lid
A tiny touch of shimmer pressed onto the center of the lid, right above the pupil, catches the light and makes the lid look rounder and brighter. It's a beautiful trick for monolids because it adds dimension without needing a crease at all.
Use your fingertip or a flat brush, dampened slightly with setting spray, and press (don't swipe) a champagne, soft gold or rose shimmer into the middle third of the lid. Keep it in the center and let the matte gradient frame it. If your lids get oily like my T-zone does, keep shimmer on the lid only and away from the inner corners near the nose, where it can look greasy by afternoon.
6. Smoke the Lower Lash Line
Here's where monolids shine: the lower lash line is fully visible, so a little color there adds a lot of definition with very little effort.
Take the same medium shade from your lid on a small pencil brush and run it along the outer half to two-thirds of the lower lash line. Then soften it with a clean brush so it looks smoky, not drawn on. Connect it to the outer edge of your top shadow for a soft sideways "V." This draws the eye outward and makes the whole look feel finished, even when the lid color is subtle.
7. Tightline for Quiet Definition
Tightlining means applying liner to the upper waterline, the thin strip of skin just under your top lashes. It makes lashes look denser at the root without taking up any lid space, which is perfect when your eyes are open and lid space is limited.
Gently lift your upper lid with one finger, look down into a mirror and wiggle a soft, sharpened waterproof pencil into the roots of your lashes. Go slowly and in short sections. Use a clean, freshly sharpened pencil, skip it entirely if your eyes feel irritated, and if you wear contact lenses, put them in first and keep the liner on the outside of the lash roots rather than on the wet rim itself.
Eyeliner for Monolids That Doesn't Disappear
Eyeliner is where a lot of frustration lives, because a thin, even line drawn with eyes closed often vanishes once they're open. The answer isn't to change your eyes. It's to change the shape of the line. For the basics of different liner styles, my eyeliner styles guide is a good place to start. Here's what to tweak for monolids.
Make It Thicker on the Outer Third
Keep the inner third of the line very thin, close to the lashes. Then let it gradually thicken through the middle and outer third. With eyes open, the outer part is usually the part that stays visible, so that's where the thickness should go.
A quick way to plan it: with eyes open and looking straight ahead, place three tiny dots on the upper lash line (inner, center, outer), each a little higher than the last. Close your eyes and connect them. Open again and thicken where you can't see the line yet.
Angle the Flick Toward Your Brow Tail
A small flick lifts the eye and gives a monolid that gorgeous sleek, lifted look. To find the angle, imagine a line from the outer corner of your nostril through the outer corner of your eye. Your flick follows that line, pointing toward the tail of your brow.
Keep it short at first (about 3–5 mm), drawn with your eyes open, and check that it doesn't bend down when you look straight ahead. A flick that tilts upward reads as lifted. One that follows the lower lid curve can drag the eye down. (A longer, sharper flick is a lovely Old Hollywood nod for evenings, and I'll always be a little in love with that look.)
Choose a Waterproof Formula
Because the skin above the lash line often touches the lid, regular liners can transfer and leave a ghost line on the upper lid. A waterproof or long-wear formula sets in place and stays there.
I'd choose a waterproof gel eyeliner applied with a fine angled brush: it gives you time to shape the line before it sets, and it lets you build thickness gradually. Give it about 30 seconds to set before you blink a lot. Waterproof formulas need a little more care to remove, so use an oil-based cleanser or a bi-phase remover and gentle pressure, never rubbing. My guide on how to remove waterproof mascara works for liner, too.
Lashes: Curl First, Then Tubing Mascara
Many people with monolids have lashes that grow straight out or slightly downward, so they can press against the lid or hide under it. Curling them first opens up the whole eye and shows off any shadow you've applied.
- Curl at the root. Place an eyelash curler with gold accents as close to the lash line as you comfortably can, squeeze gently for 5 seconds, then move to the middle of the lashes for another 3 seconds. A curler with a flatter curve often suits monolid eyes better than a very rounded one, since it fits the lid line.
- Use a tubing formula. Tubing mascara wraps each lash in tiny tubes instead of painting on a wet film, so it holds a curl without weighing lashes down and doesn't smudge onto the lid. A tubing mascara is the pick I'd look for if your mascara tends to print above the lashes.
- Wiggle from root to tip. Hold the wand at the base for a second, wiggle, then pull up and out. Two thin coats beat one heavy one.
- Don't skip the lowers. A light coat on the lower lashes balances the look, especially with a smoked lower lash line.
Never curl lashes after mascara (that's how lashes snap), and clean your curler pad every week or two. For more wand tricks, my mascara tips guide goes deeper.
Monolid Makeup Placement Table
Here's the whole guide in one place. Screenshot it and keep it next to your mirror until it becomes second nature.
| Look | Shadow placement | Liner style | Best formula |
|---|---|---|---|
| Everyday | One medium matte shade at the lash line, blended up 2–3 mm past what shows with eyes open; transition shade on top | Tightline only, or a thin line thickening at the outer third, no flick | Matte powder shadow, waterproof pencil, tubing mascara |
| Soft smoky | Deep matte at the lash line, medium blended above, transition shade at the top; smoked lower lash line on the outer two-thirds | Smudged gel line, thicker at the outer third, softly connected to the lower shadow | Matte powder shadow, waterproof gel liner smudged before it sets |
| Festive shimmer | Matte gradient as the base, shimmer pressed on the center of the lid, a touch of shimmer at the outer lower lash line | Sharp flick angled toward the brow tail, 5–8 mm | Shimmer pressed with a damp brush, waterproof gel liner, tubing mascara |
The common thread in every row: build from the lash line up, check with eyes open and choose formulas that won't transfer.
3 Monolid Makeup Looks To Try
Each of these uses the same basic steps, just turned up or down. Start with the everyday look for a week, and the other two will feel easy. If you're brand new to eye makeup in general, my eye makeup for beginners guide covers the tools and basics first.
1. The Everyday Look
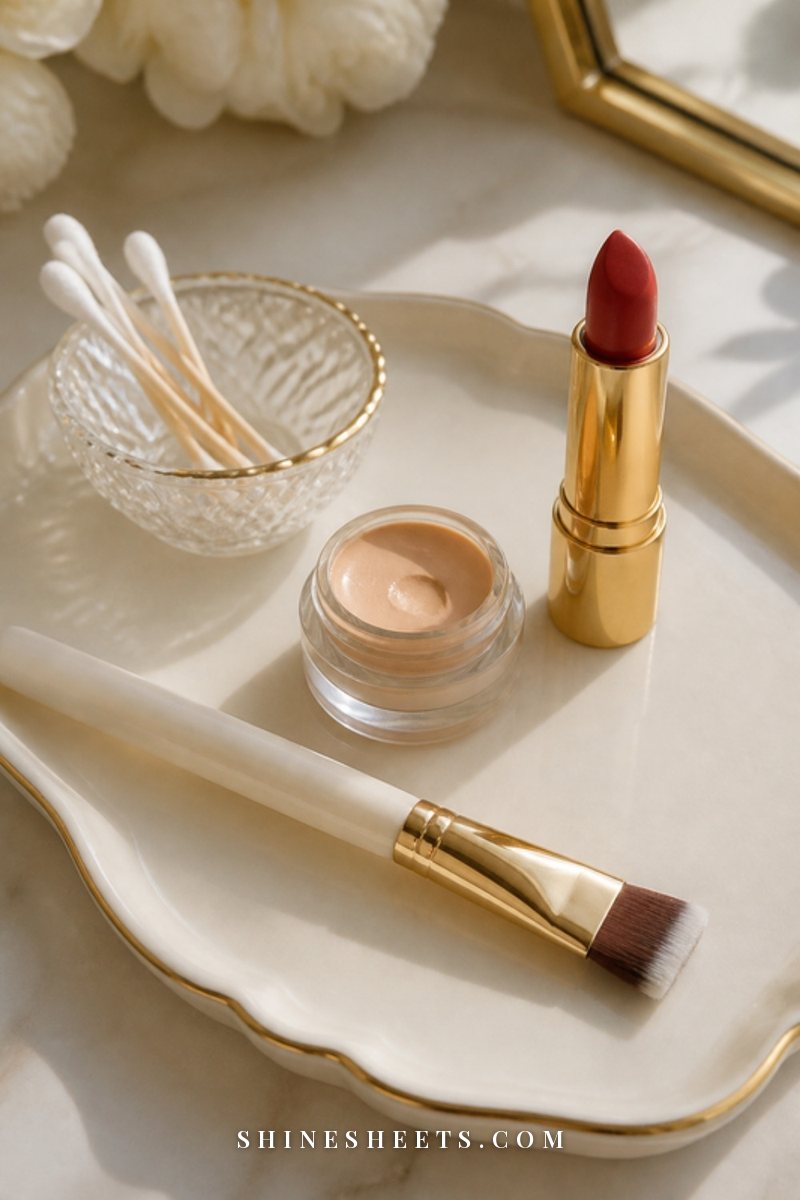
This one takes about 5 minutes and looks polished without looking done.
- Thin layer of primer, set with a little powder if your lids get oily.
- One soft matte taupe or rosy brown pressed at the lash line and blended upward until you can see it with eyes open.
- A swipe of transition shade on top to blur the edge.
- Tightline with a brown or black waterproof pencil.
- Curl, then one or two coats of tubing mascara.
Keep the lower lash line bare or add the faintest touch of the same shadow at the outer corner. It's the look I'd reach for on a day full of errands, video calls or coffee with a friend.
2. The Soft Smoky Look
Smoky eyes look especially lovely on monolids because the gradient technique is already halfway there.
- Prime and set the lid.
- Press a deep matte brown or soft charcoal along the upper lash line, about 3–4 mm wide.
- Blend a medium brown above it, taking it higher than you think, then soften with the transition shade.
- Smoke the outer two-thirds of the lower lash line with the medium shade and connect it to the top.
- Draw a gel liner line thickening at the outer third and smudge it with a small brush before it sets.
- Tightline, curl and finish with mascara on top and bottom lashes.
Keep the rest of the face soft, with a sheer blush and a nude or rosy lip, and the eyes stay the star.
3. The Festive Shimmer Look
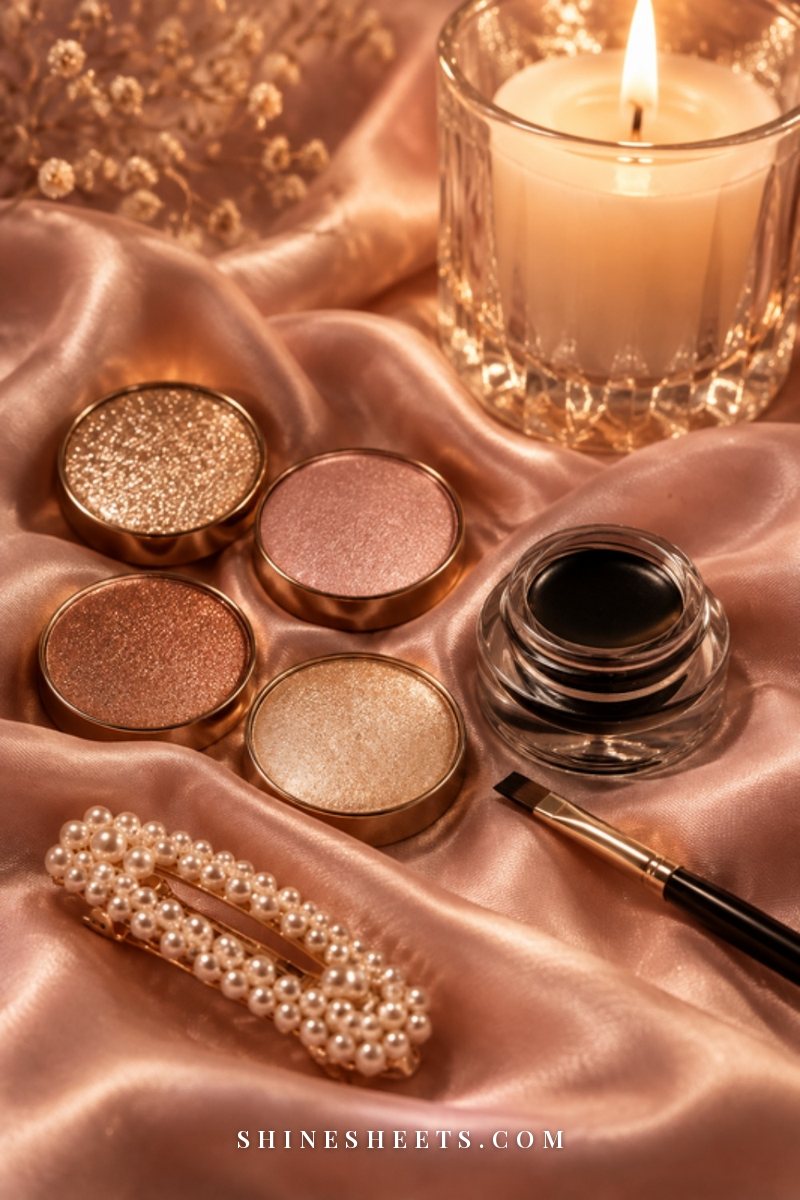
For birthdays, weddings or any evening you want a little sparkle, this one feels special without being complicated.
- Build your matte gradient exactly as in the soft smoky look, but slightly lighter.
- Press a champagne, gold or rose shimmer onto the center of the lid with a damp flat brush.
- Add a tiny touch of the same shimmer to the outer third of the lower lash line.
- Draw a sharper flick angled toward your brow tail, 5–8 mm long, checked with eyes open.
- Curl, add two coats of tubing mascara and, if you like, a little shimmer on the inner corner of the lower lash line only.
A drop of setting spray at the end helps everything last through a long evening.
A Few Small Mistakes To Skip
None of these are a big deal, and we've all done them. They're just the little things that make monolid makeup harder than it needs to be:
- Drawing a fake crease. A cut-crease line on a smooth lid usually disappears when the eye is open and looks harsh when it's closed. A gradient is softer and shows better.
- Too much primer or cream shadow. Heavy layers slide and crease where the skin touches. Thin layers set and stay.
- Blending until it's gone. Blending is good, but over-blending a medium shade upward can wash it out completely. Stop once the edge is soft.
- Judging the look with eyes closed. Always do your final check with eyes open, looking straight ahead.
- Rubbing to remove waterproof products. Let a remover sit for 20–30 seconds on a cotton pad, then wipe gently.
If anything stings, itches or makes your eyes red, take it off with a gentle remover, give your eyes a break for a few days and check with a doctor if it doesn't settle.
Final Thoughts
Monolid eyes don't need to look like any other eye shape. They have their own sleek, beautiful lines, and the best makeup simply works with them: a gradient from the lash line, color placed a little higher, a liner that thickens where it shows and lashes curled to open everything up.
Start with the everyday look, check it with your eyes open and give yourself a few tries to find your favorite placement. Once you find it, every look in this guide is just a small step away, and your eyes get to be the gorgeous focus they already are.