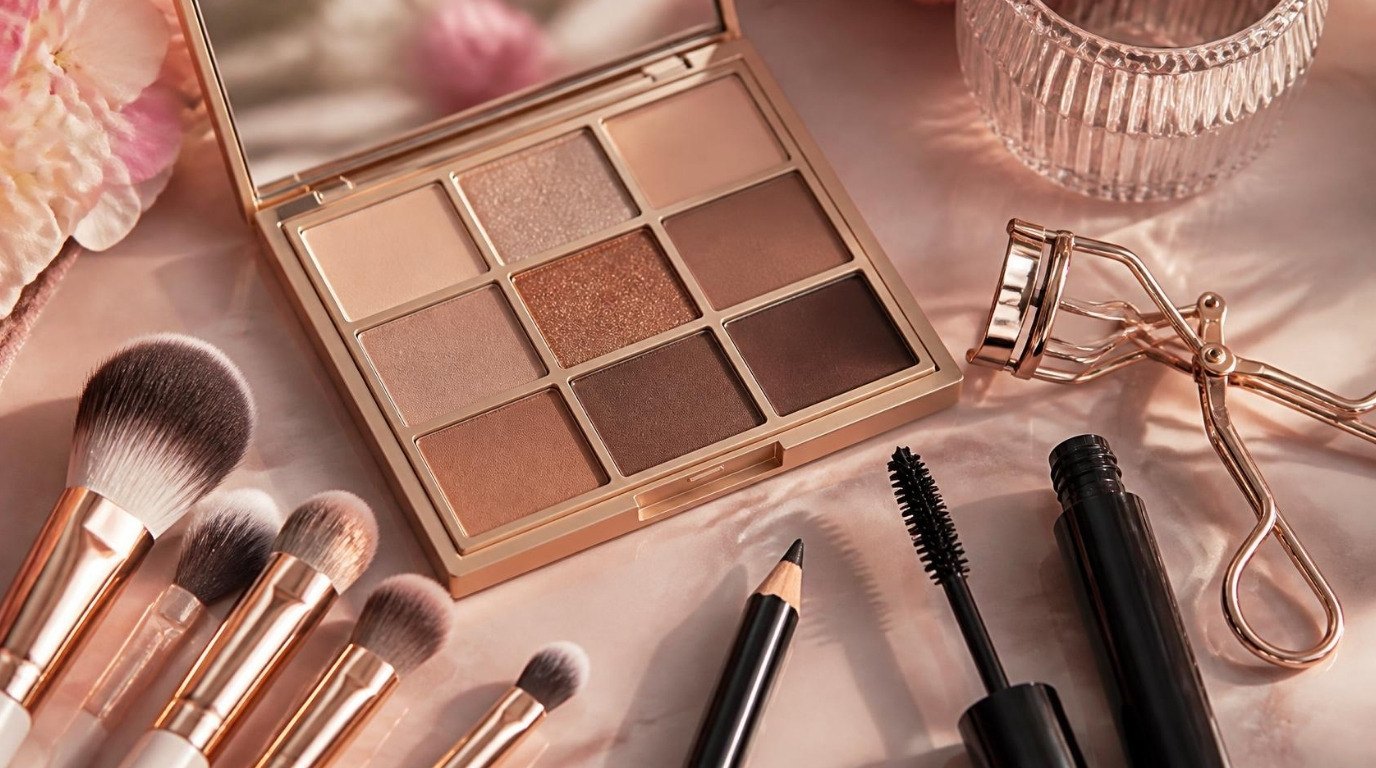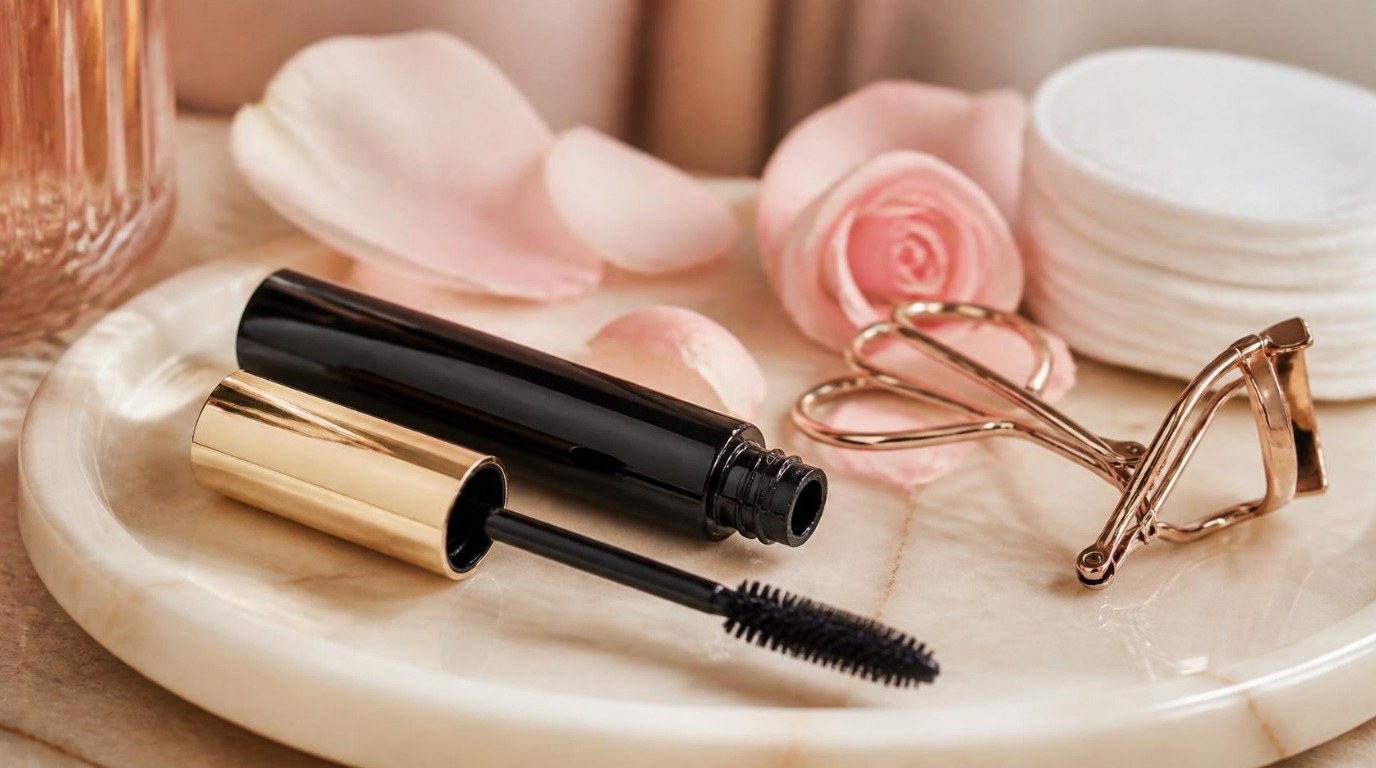
Making your eyes look bigger with makeup is mostly about light and lift, not about adding more. Bright, open eyes come from curled lashes, a little brightness in the right spots and liner that follows your lash line instead of boxing it in. Heavy, dark products all the way around the eye do the opposite: they draw a frame so tight that the eye inside it looks smaller.
That's good news, because it means you don't need a huge collection or advanced skills. A few small shifts in where you put your products can make your eyes look more awake and open in about five minutes. It took me a while to stop reaching for black liner every time I wanted "more" eyes, and the softer approach turned out to be both quicker and far more flattering.
This guide covers how to make your eyes look bigger step by step: why some techniques open up the eyes and others close them in, 10 easy tricks, a quick table you can screenshot, small adjustments for hooded, monolid, small and deep-set eyes, the most common mistakes and a five-minute routine that pulls it all together.
Why Some Makeup Opens Up Your Eyes
Your eyes look bigger when three things happen: the white of the eye looks brighter, the lashes look longer and lifted, and the shape of the eye is extended slightly outward and upward. Everything in this guide plays with one of those three ideas.
- Light brings forward. Shimmer and pale, warm shades make an area look more prominent and open. That's why a touch of light on the inner corner or the center of the lid makes such a difference.
- Dark pushes back. Deeper shades create shadow and depth. Used softly in the crease, they add dimension. Used heavily all around the eye, they shrink it.
- Lines create direction. A line that lifts at the outer corner pulls the eye up and out. A line that drags downward or wraps all the way around closes it in.
If eye makeup still feels a little intimidating, my eye makeup for beginners guide walks through the basics before you try the tricks below.
10 Easy Tricks To Make Your Eyes Look Bigger
You don't need all ten every day. Pick the three or four that suit your eye shape and your mood. Curled lashes, a bright waterline and a touch of inner-corner shimmer alone already make a visible difference.
1. Curl Your Lashes From the Root
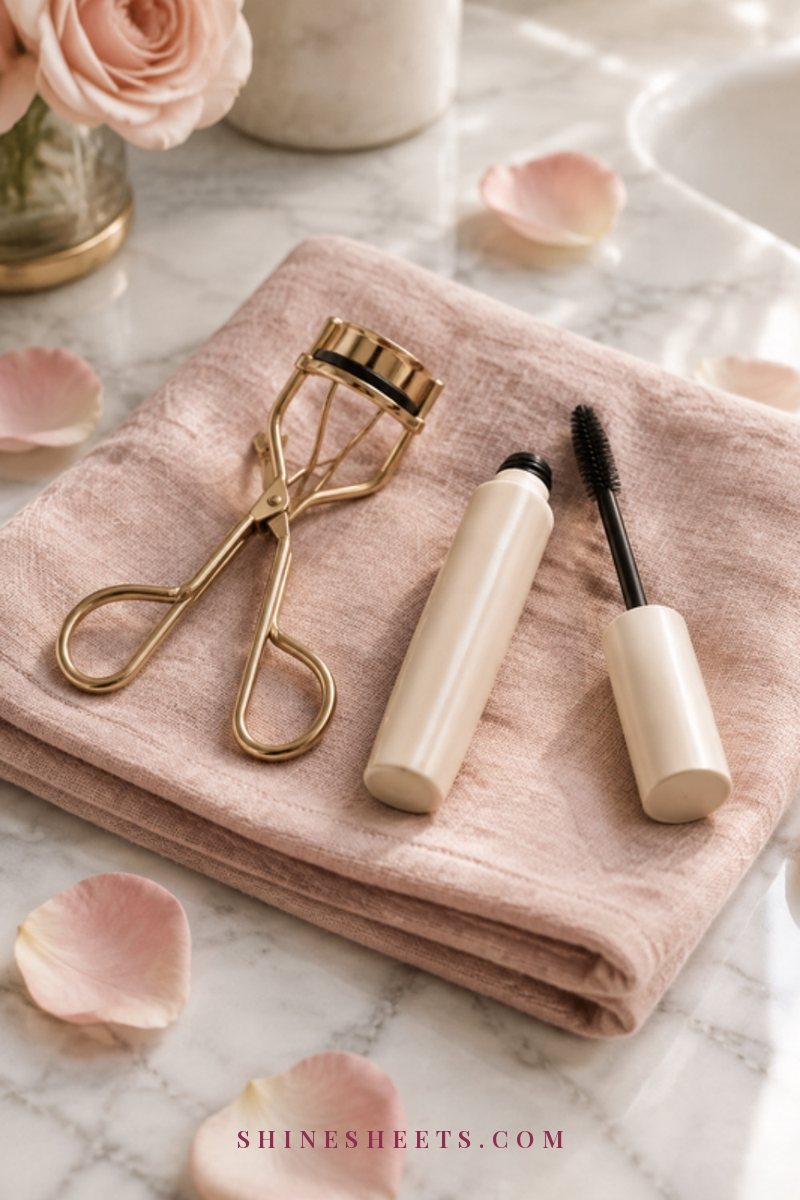
Curling your lashes is the single biggest eye-opener, because lifted lashes stop shading the eye and let more light in. The secret is starting right at the root.
How to do it: look down into a hand mirror, open a lash curler and place it as close to the lash line as you comfortably can without pinching your lid. Squeeze gently for 5 seconds, then move halfway up the lashes and squeeze for 3 seconds, then once more near the tips for 2 seconds. This "walking" motion gives a soft, natural curve instead of a sharp right angle.
Always curl before mascara, never after, and replace the curler's rubber pad when it gets a groove in it (usually every few months).
2. Focus Mascara on the Outer Lashes and Lower Roots
Mascara applied evenly across all lashes looks nice. Mascara focused on the outer lashes looks lifted. That subtle concentration at the outer third pulls the eye outward, almost like a soft cat-eye without any liner.
How to do it: wiggle a lengthening mascara wand at the base of your upper lashes, then sweep up and slightly outward. Add a second coat only to the outer third. For the lower lashes, hold the wand vertically and lightly touch just the roots and the outer lashes. Keep it light on the bottom, because heavy lower mascara can smudge and drag the eye down.
My mascara tips post has more on prep, wand tricks and choosing formulas.
3. Use a Nude or White Liner on the Waterline
The waterline is the inner rim of your lower lid. Lining it with a light shade makes the white of your eye look like it continues farther, which instantly makes the eye look bigger.
How to do it: gently pull your lower lid down with a fingertip, look up and glide a nude waterline pencil along the rim, from the outer corner toward the inner corner. A nude or beige shade looks natural on most skin tones. Bright white can look stark in daylight, so save it for evening or photos.
If your eyes are sensitive, skip this step on days they feel irritated, and sharpen the pencil before each use so the tip stays clean.
4. Tightline Instead of Drawing a Thick Upper Line
Tightlining means putting liner on the upper waterline, right at the base of your lashes, rather than on top of the lid. It makes lashes look thicker without taking up any lid space, which is perfect if you want definition but don't want your eyes to look smaller.
How to do it: lift your upper lid slightly with one finger, look down and wiggle a soft brown or black pencil into the roots of your upper lashes in tiny strokes. Go slowly. You'll see an instant "fuller lash" effect, and no visible line at all when your eyes are open.
5. Add Light Shimmer to the Inner Corner
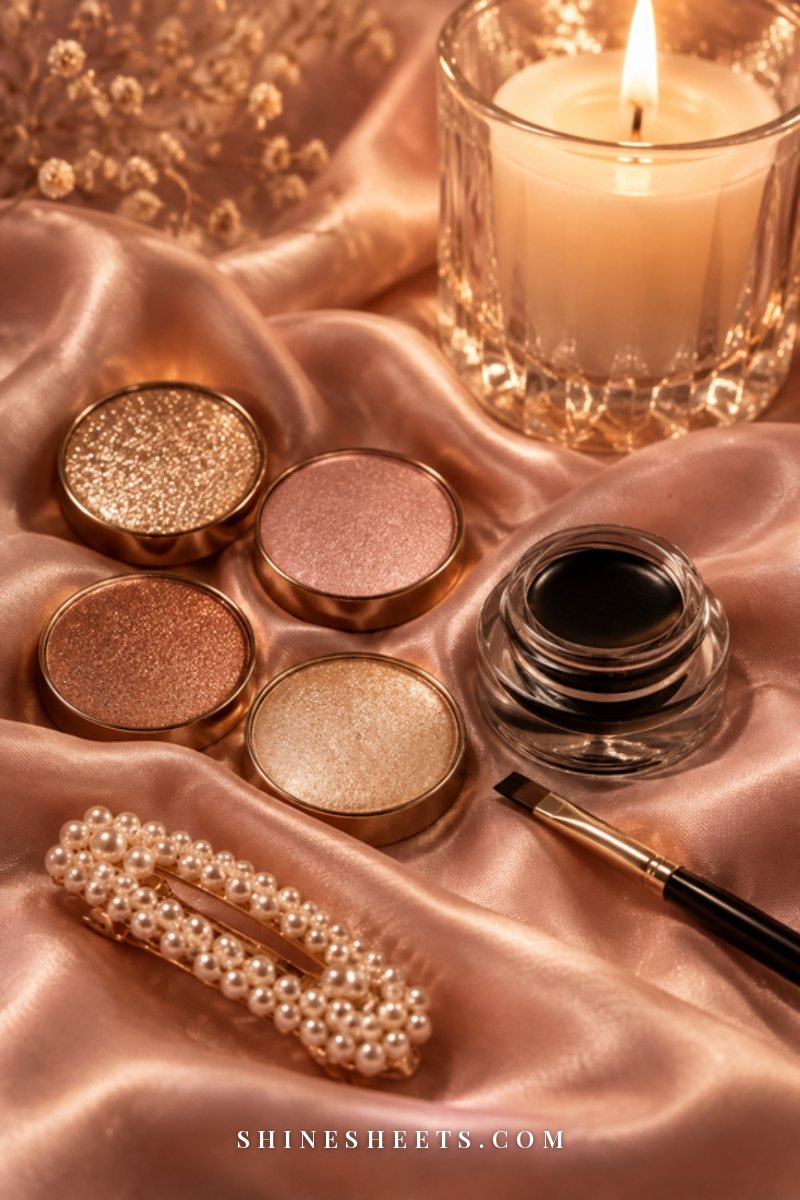
A tiny dot of light at the inner corner of each eye is one of the quickest ways to look more awake. It reflects light toward the center of your face and makes the eyes appear set slightly wider.
How to do it: tap a champagne shimmer shadow stick onto the inner corner, about the size of a lentil, and blend it slightly up and out with a fingertip. Champagne, soft gold and pale pink suit most skin tones. Chunky glitter can look heavy, so look for a fine, smooth shimmer.
6. Use a Soft Brown in the Crease
A soft brown shade in the crease adds gentle depth, which makes the lid look larger and the eye more defined. The key words are soft and blended.
How to do it: choose a matte brown about two shades deeper than your skin. Using a fluffy brush from a soft blending brush set, sweep it back and forth in your crease with light windshield-wiper motions. Place it slightly above your natural crease if you want more lift. Keep blending until you can't see an edge anywhere. Harsh lines look heavier than they are.
7. Keep Your Liner Thin and Lifted at the Outer Corner
If you love upper liner, keep it thin near the inner corner and let it widen only slightly toward the outer corner. Then finish with a tiny upward flick that follows the angle of your lower lash line.
A simple formula: thin line from the middle of your lid outward, plus a flick no longer than the tail of your brow points. Don't connect the flick back to the lower lash line, because an open outer corner keeps the eye looking wide.
8. Brighten Under the Eyes With a Light Concealer
Shadows under the eyes make the whole eye area look tired and smaller. A little brightness there lifts everything, but a heavy layer can crease and settle into fine lines, which draws attention to the area for the wrong reasons.
How to do it: apply a small triangle of concealer one shade lighter than your skin just under the inner corner and the outer corner, pointing toward your cheek. Tap it in with a fingertip or a damp sponge, then press a small amount of loose powder over it. With combination, sensitive skin like mine, a thin, hydrating layer always works better than a thick one. My guide on how to apply concealer without creasing goes deeper into this step.
9. Groom Your Brows To Frame the Eye
Brows are the frame of your eyes. Brushed-up, tidy brows lift the whole eye area, while overgrown or very heavy brows can make the lid look smaller.
How to do it: brush your brows upward with a spoolie, fill only sparse spots with light hair-like strokes and set them with a clear brow gel. If you like a soft, natural look, my fluffy brows guide shows the brushed-up technique step by step.
10. Skip Heavy Liner All Around the Eye
Thick, dark liner on both the top and the bottom, joined at the corners, draws a circle around the eye. It can look gorgeous for an evening smoky look, but it almost always makes eyes look smaller.
Instead: keep darker liner on the top only, and if you want definition on the bottom, smudge a soft brown shadow along the outer third of the lower lash line. Leave the inner half bare or bright.
Quick Eye-Opening Tricks at a Glance
Screenshot this table and keep it on your phone, or just glance at it before you do your makeup until the steps feel automatic.
| Trick | Where to apply | Best for eye shape | Mistake to avoid |
|---|---|---|---|
| Curl lashes | Root, middle and tips of upper lashes | All, especially straight or downward lashes | Curling after mascara or pinching the lid |
| Outer-focused mascara | Outer third of upper lashes, lower roots | All, especially round and close-set eyes | Heavy mascara on the lower lashes |
| Nude waterline | Lower inner rim | Small and deep-set eyes | Bright white in daylight |
| Tightlining | Upper waterline, lash roots | Hooded, monolid, small eyes | Drawing a thick line on the lid |
| Inner-corner shimmer | Inner corner, blended slightly outward | Close-set and small eyes | Chunky glitter that looks heavy |
| Soft crease brown | Crease or just above it | Hooded and monolid eyes | Unblended, harsh edges |
| Thin lifted liner | Outer half of upper lash line | Almond, downturned and round eyes | Closing the outer corner |
| Light concealer | Inner and outer under-eye corners | All, especially tired-looking eyes | Thick layers that crease |
| Groomed brows | Brushed up and set | All eye shapes | Overdrawn, very heavy brows |
| Top-only dark liner | Upper lash line only | Small and deep-set eyes | Dark liner all the way around |
Adjustments for Your Eye Shape
The ten tricks work for almost everyone, but small tweaks make them work even better for your shape. Look straight ahead into a mirror with your face relaxed to figure out which description fits you best.
Hooded Eyes
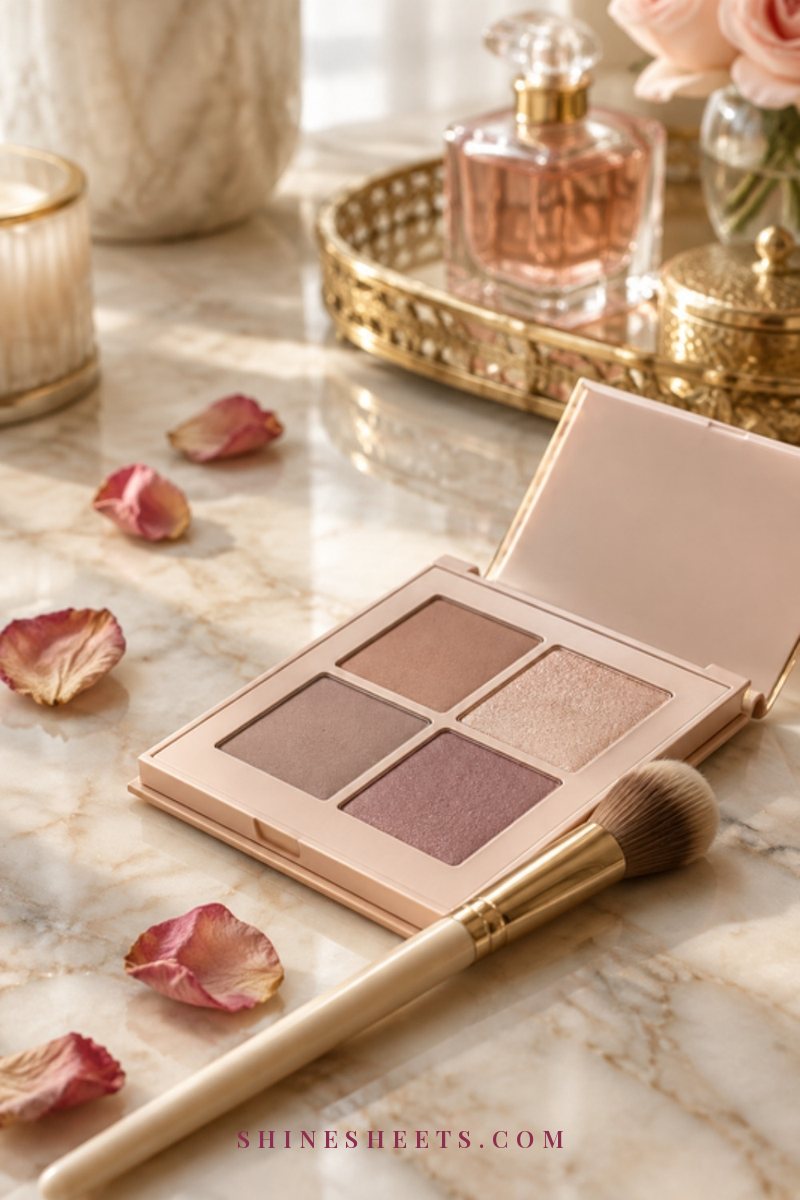
With hooded eyes, a fold of skin covers part or all of the lid when your eyes are open. Anything you put directly on the lid may disappear.
- Place your crease shade slightly above your natural crease, with your eyes open, so it shows.
- Tightline instead of lining the lid.
- Keep shimmer on the center of the lid and the inner corner, and use mattes everywhere else.
- Use waterproof mascara if lashes tend to transfer onto the hood.
My makeup tips for hooded eyes post covers this shape in much more detail.
Monolid Eyes
- Build shadow in a soft gradient: lightest near the lash line, slightly deeper as you go up, all well blended.
- Tightlining and a thin outer flick add definition without eating up lid space.
- Curl lashes very gently in several small presses, and choose a mascara that holds a curl.
- A tiny bit of shimmer in the center of the lid adds dimension.
Small Eyes
- Nude waterline and inner-corner shimmer are your best friends.
- Keep liner thin and on the top only.
- Choose light to medium shadow shades. Very dark shades can overpower small eyes.
- Curled lashes plus mascara focused on the outer lashes will do a lot of the work.
Deep-Set Eyes
- Use a light, slightly shimmery shade on the lid to bring it forward.
- Keep the crease shade soft and close to your skin tone, since your crease already has natural depth.
- Brighten the inner corner and the area just under the brow bone with a matte light shade.
- Avoid very dark shadow in the crease, which can make the eyes look more sunken.
Common Mistakes That Make Eyes Look Smaller
Most "small eye" problems come from a handful of habits. If your eye makeup isn't giving you the open look you want, check these first:
- Dark liner on the lower waterline. It shrinks the white of the eye and closes the shape.
- Skipping the lash curler. Straight lashes can cast a shadow and hide part of the eye.
- Clumpy mascara. Clumps make lashes look sparse and heavy. Wipe excess off the wand before applying and comb through while it's wet.
- Too much shimmer everywhere. A little shine highlights; shimmer from lash line to brow can make the lid look puffy.
- Thick concealer under the eyes. It creases and draws attention to lines.
- Heavy, overdrawn brows. They sit like a heavy frame and crowd the lid.
- Harsh, unblended edges. A visible line of shadow reads as heavy, even when the shade is light.
Your 5-Minute Eye-Opening Routine
Here's how I'd put it all together on a busy morning. It takes about five minutes once you've done it a few times.
- Brighten (1 minute): tap a light concealer into the inner and outer under-eye corners and set with a little powder.
- Add depth (1 minute): sweep a soft brown through the crease and blend until there are no edges.
- Curl (30 seconds): curl lashes at the root, middle and tips.
- Define (1 minute): tightline the upper waterline and add a nude pencil to the lower waterline.
- Light (30 seconds): dab champagne shimmer onto the inner corners.
- Lift (1 minute): apply mascara, adding a second coat to the outer lashes, and brush your brows up with clear gel.
For evenings, add a thin lifted liner and a little more shimmer on the center of the lid. That's it.
Day vs Evening: How Much To Use
The same tricks work around the clock. What changes is the amount and the finish.
For daytime, think sheer and soft. One coat of mascara with a little extra on the outer lashes, a nude waterline, a whisper of inner-corner shimmer and a crease shade that looks almost like a natural shadow. In daylight, anything heavy shows up fast, so less really does look like more.
For evening, you can turn things up a notch. Build the crease shade a little deeper, add a thin lifted liner, put shimmer on the center of the lid as well as the inner corner, and layer a second full coat of mascara. Softer, warmer lighting at night is kinder to shimmer and deeper shades, which is where my love of Old Hollywood glamour sneaks in: a clean lifted flick and glowing lids are timeless for a reason.
Whatever the time of day, keep the balance. If your eyes are dramatic, keep the lips and cheeks a little softer, so your open, bright eyes stay the focus.
Be Gentle With Your Eyes
The skin around the eyes is thin and sensitive, and the eyes themselves deserve a little extra care.
- Patch test new products. Try a new eye product on a small area of your inner arm or near your jaw for a day before using it close to your eyes, especially if you have sensitive skin.
- Keep things clean. Wash brushes once a week, sharpen pencils before using them on the waterline and replace mascara about every three months. Never share eye makeup.
- Remove makeup gently before bed. Soak a cotton pad in a gentle eye makeup remover, hold it over closed eyes for 10 seconds to dissolve mascara, then wipe downward without rubbing.
- Listen to your eyes. If anything stings, itches or makes your eyes red or watery, remove it right away and stop using it. If irritation lasts, check in with a doctor or eye care professional.
Final Thoughts
Bigger-looking eyes come down to a few gentle choices: lift with curled lashes, brighten the waterline and inner corners, and keep the darkest products soft and on the top. You don't need a full face of makeup or a dozen new products to look more awake.
Try one or two tricks this week and notice what suits your eyes best. Your eyes are already beautiful. These little steps simply let more light in.