Covering dark circles isn't about piling on more concealer. It's about putting the right color in the right spot, in a much smaller amount than you'd expect. Most under-eye makeup that looks cakey, gray or creased is simply doing too much in too many places.
The shadow under your eyes usually has a color of its own – blue, purple, brown or a mix – and a skin-tone concealer alone can't cancel that out. It just sits on top and turns the darkness a bit ashy. Once you add a whisper of the opposite color first, you need half the concealer, and that is the real secret to coverage that still looks like skin by 4 p.m.
This guide walks you through how to cover dark circles step by step: prep, color correcting by skin and circle tone, picking a concealer shade, smart placement, blending, setting and a few brightening tricks. You'll also find a corrector shade guide table, fixes for tricky situations like dry or mature under eyes, and the mistakes that quietly make dark circles look worse.
It took me far too long to accept that less product meant better coverage. Let's make it quicker for you.
Why Dark Circles Are So Tricky To Cover
The skin under your eyes is some of the thinnest on your body, and it moves every time you blink, smile or squint. That means two things for makeup: anything heavy will settle into lines, and anything dry will look flaky by lunch.
On top of that, dark circles come in different types:
- Blue or purple circles often come from veins showing through thin, fair or light skin.
- Brown circles are usually extra pigment, which is common on medium and deeper skin tones.
- Shadowy circles come from a hollow or a bit of puffiness casting a shadow. These are about light, not color.
Many of us have a mix. Before you start, stand by a window, look straight into natural light and notice where yours are darkest (very often it's the inner corner, close to the nose) and what color they lean. That one minute of looking saves a lot of wasted product. If you're also working on the circles themselves with sleep, cold compresses and skincare, my guide to gentle ways to get rid of dark circles covers the long-term side.
What You'll Need
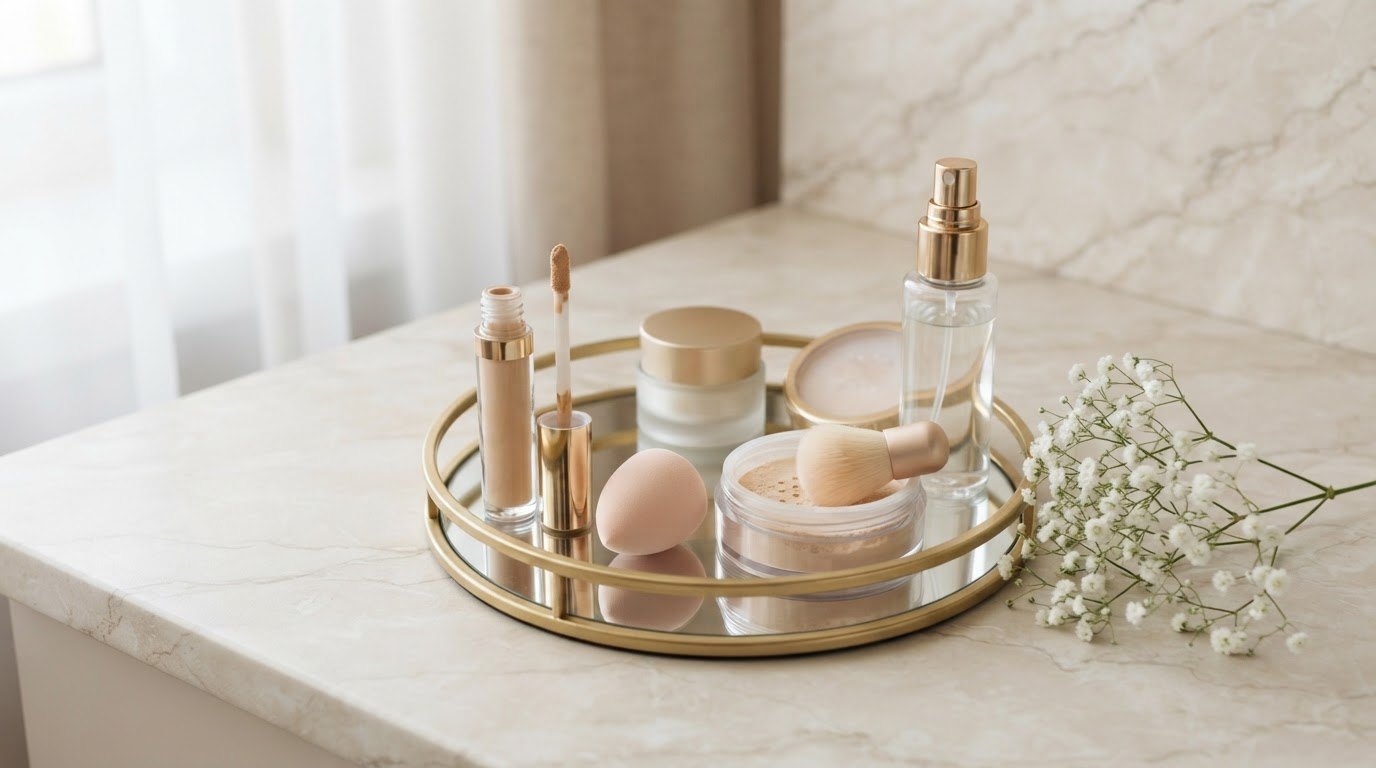
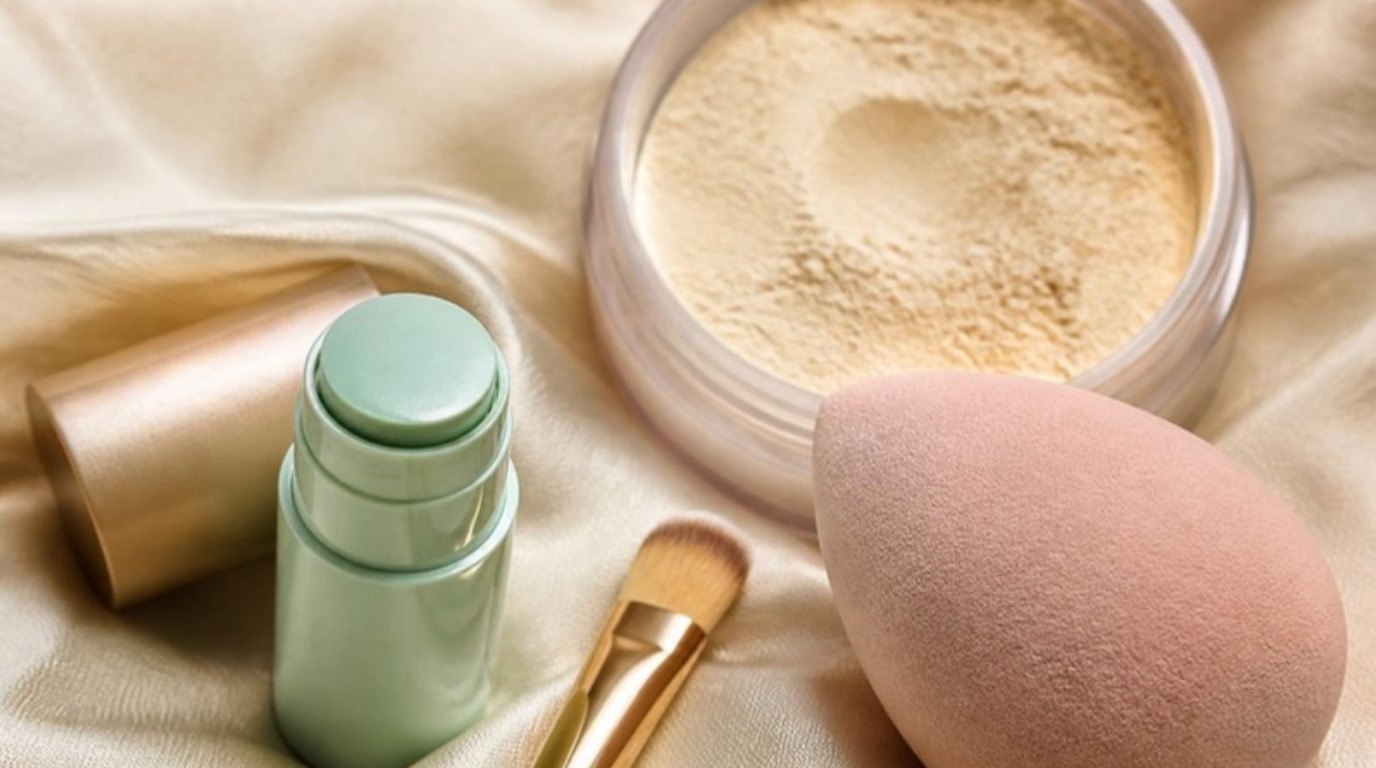
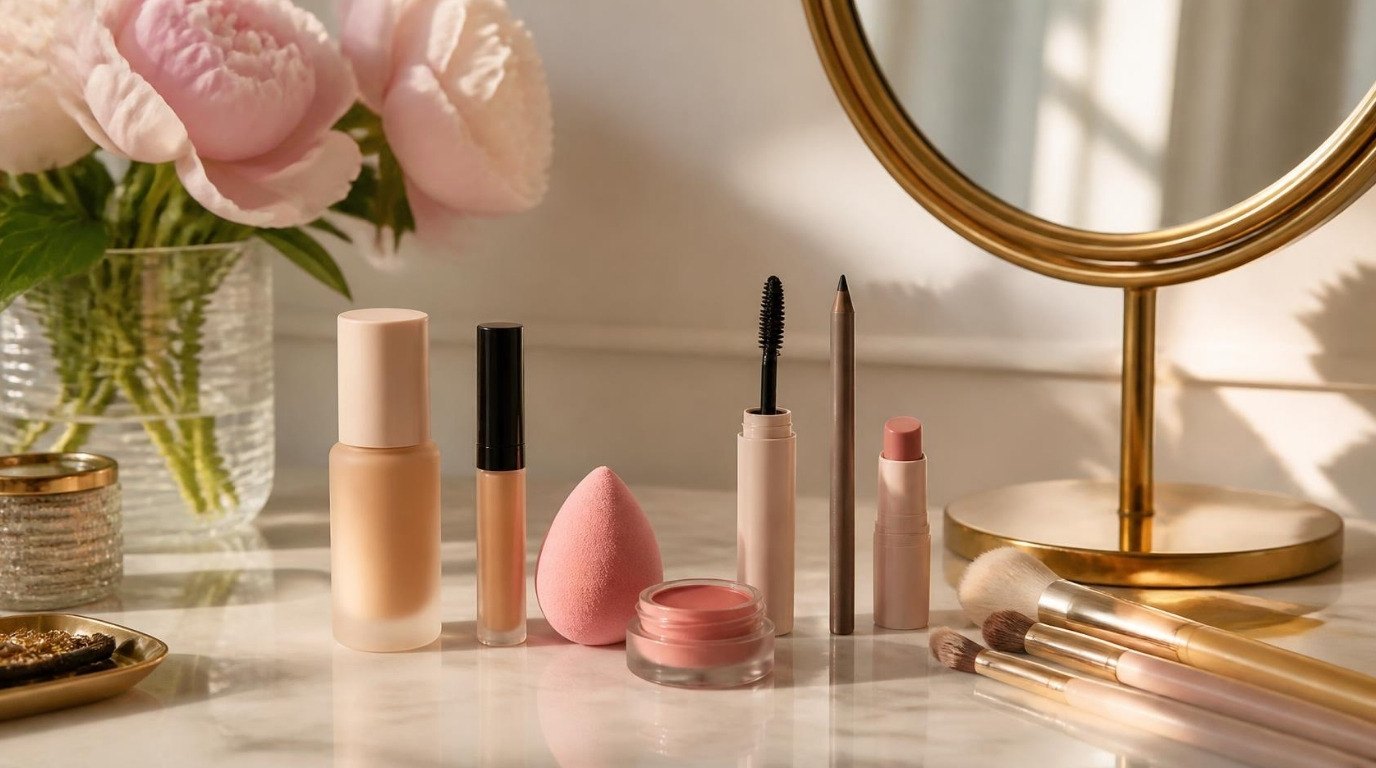
You don't need a full makeup bag for this. Six things are plenty, and you may already own most of them:
- A light eye cream or your usual moisturizer
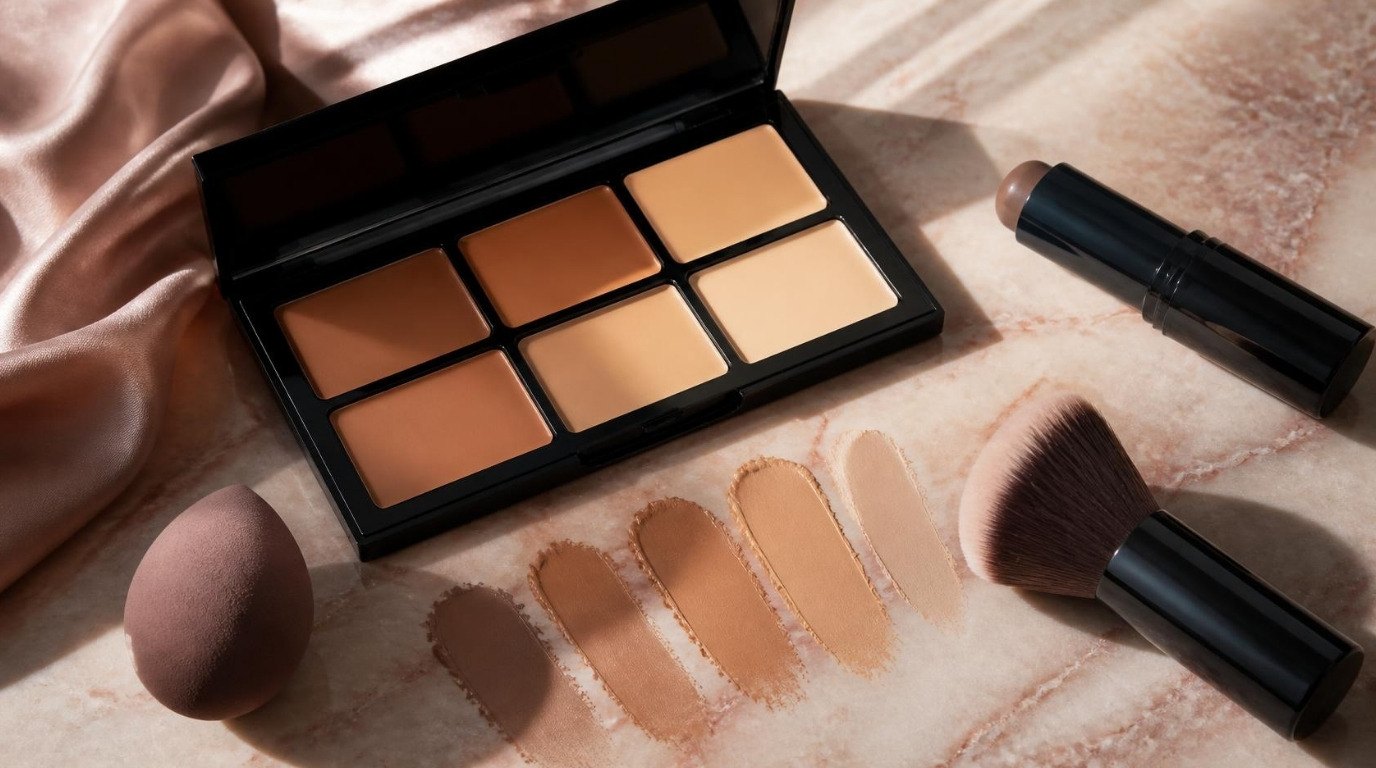
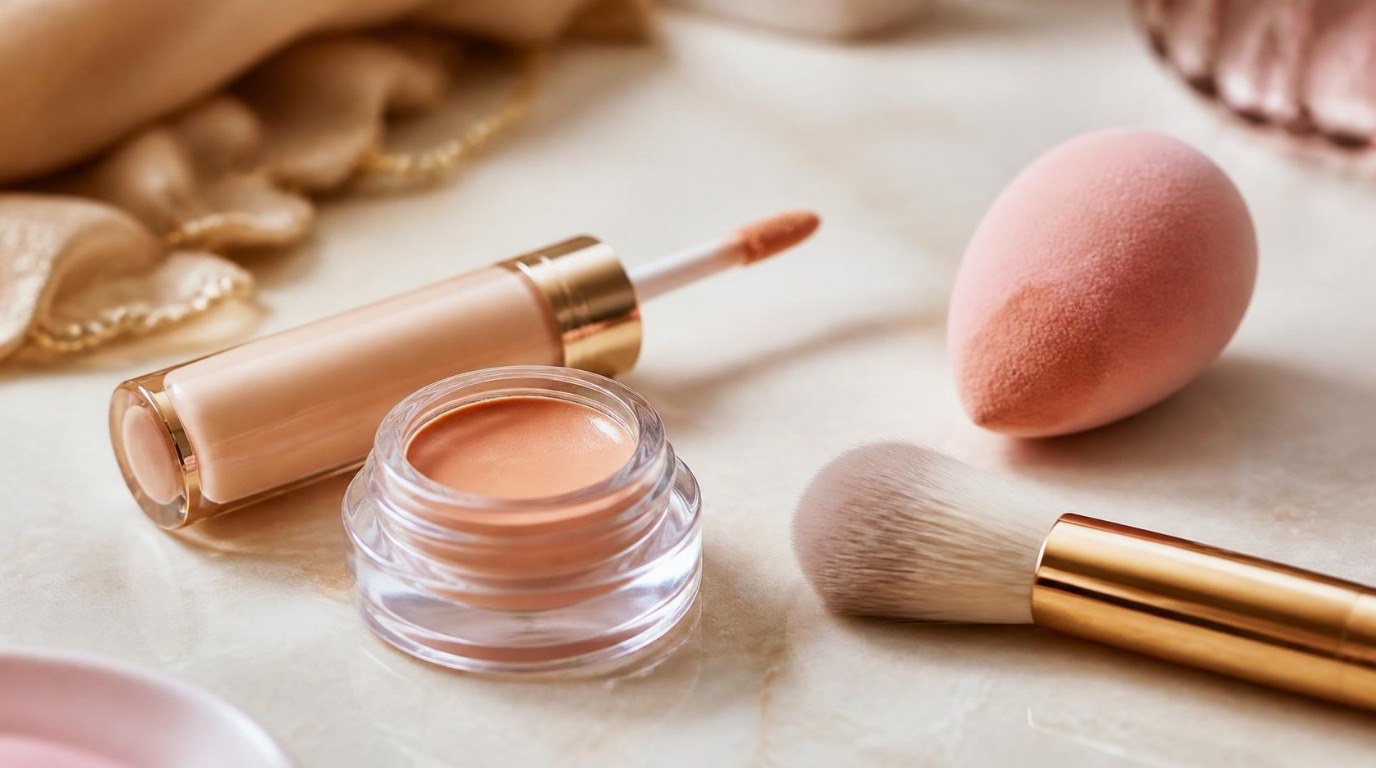
- A color corrector in peach, salmon or orange (depending on your tone)
- A creamy, hydrating concealer
- A damp makeup sponge or simply your ring finger
- A small fluffy brush
- A finely milled setting powder
How To Cover Dark Circles: 7 Steps
Here's the full routine. Once you get used to it, it takes about five minutes, and every step is doing a specific job.
Step 1: Prep With a Light Eye Cream
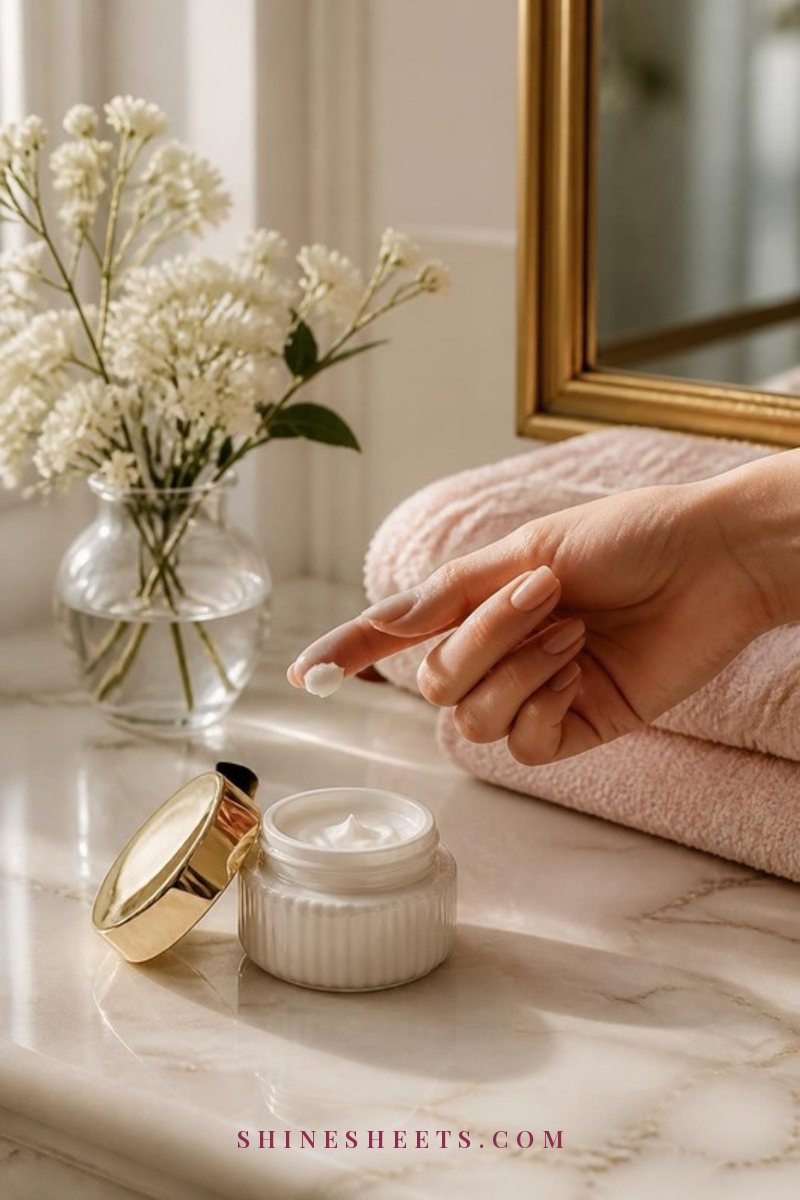
Dry skin is the number one reason concealer looks crepey. Before anything else, tap a rice-grain amount of eye cream along the orbital bone (the bony edge under your eye, not right against the lash line) with your ring finger. Use gentle tapping, never rubbing or pulling.
Then wait two to three minutes. I know, waiting is the hardest part. Brush your hair, do your brows, make your tea. If you put concealer on top of eye cream that's still wet, it slides around and creases almost instantly.
Look for a lightweight, gel-cream texture rather than a rich balm in the morning. A caffeine eye cream is a nice pick here because it feels cooling and can make puffiness look a little calmer for the day. Save the heavier creams for night.
Quick check: touch the skin gently. It should feel smooth and soft, not tacky or slippery. That's your canvas.
Step 2: Color Correct Only Where It's Darkest
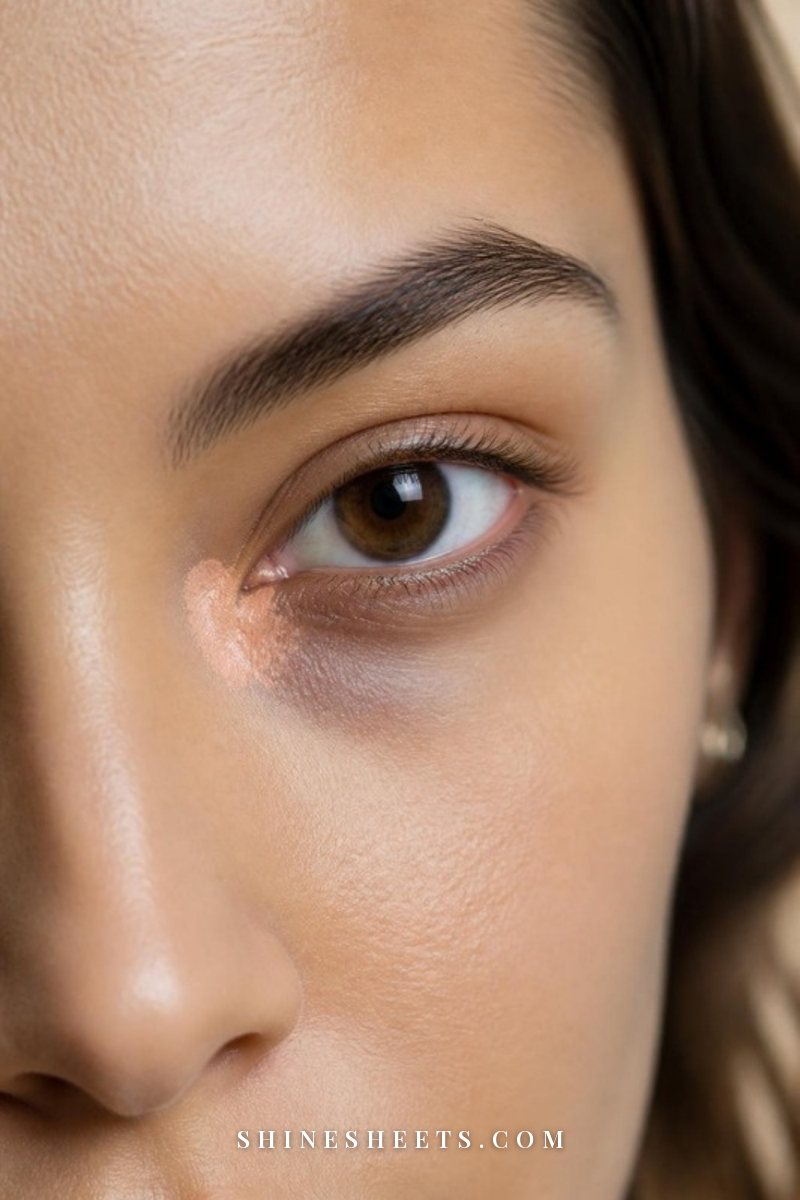
Color correcting sounds complicated, but the rule is simple: opposite colors cancel each other out. Peach and orange sit opposite blue and purple, so they neutralize that gray-ish cast before concealer goes on.
- Fair to light skin with blue or purple circles: a light peach or pinky-peach.
- Light-medium to medium skin: a classic peach or salmon.
- Medium-deep to deep skin: orange or deep apricot, which can also correct brown or ashy tones.
Here's where most people go wrong: they paint corrector across the whole under-eye. You only need it where the circle is genuinely darkest, which for most of us is a small crescent at the inner corner. Take a tiny amount (think half a grain of rice) of a creamy peach color corrector on your ring finger and tap it into that spot. Keep it thin. You should still see a hint of the darkness through it, because concealer will finish the job.
If your circles are very mild, skip this step entirely. Correctors are for real discoloration, not a mandatory layer.
Step 3: Choose the Right Concealer Shade
The old advice to go two or three shades lighter under the eyes is exactly what creates that gray, reverse-raccoon look in photos. Over a dark area, a very light shade doesn't brighten. It turns ashy.
My formula is easy to remember:
- Matching your skin if your circles are strong and you've already corrected.
- One shade lighter, maximum if you want a gentle brightening effect.
- A slightly warmer undertone (golden or peach) rather than a pink one, because warmth helps cancel leftover blue.
Texture matters just as much as shade. Look for a creamy, hydrating concealer with a natural or radiant finish and medium coverage you can build. Very matte, full-coverage formulas are wonderful for spots but tend to look dry and settle into fine lines under the eyes. Test shades on your jawline and under one eye in daylight, never only on the back of your hand.
Step 4: Place It in Two Small Spots, Not a Triangle
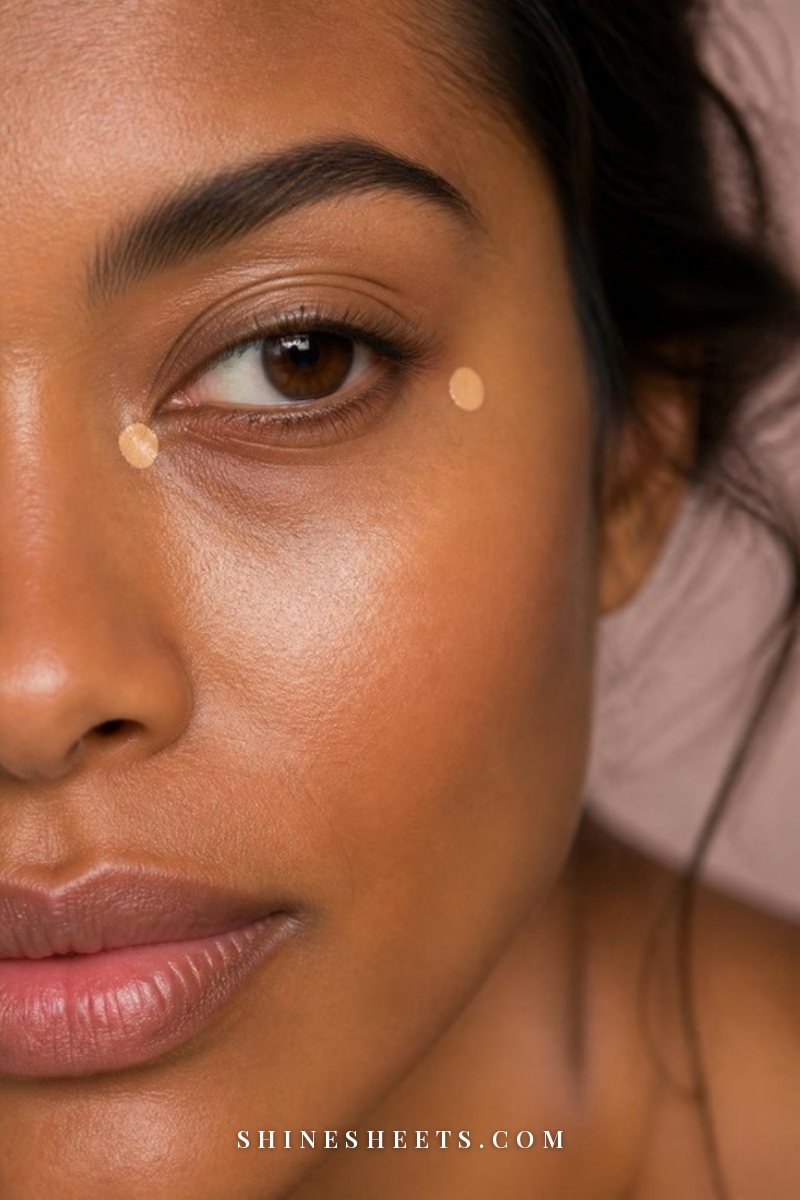
The big upside-down triangle trend looks great on camera with heavy setting and ring lights. In real life, it means a lot of product on the thinnest, most mobile skin you have, and that is a recipe for creasing.
Instead, place concealer in two small spots:
- The inner corner. One small dot right on top of the corrector, where the shadow is deepest.
- The outer lift. One tiny dot just under the outer corner of the eye, angled slightly up toward the end of your brow. This lifts the whole eye and makes you look more awake.
That's it. Leave the middle of the under-eye mostly alone, because you'll be blending product into it anyway. If you need a little extra brightness, add a third pin-sized dot at the high point of the cheekbone right below the pupil, never right against the lash line.
Step 5: Tap It In With a Fingertip or Damp Sponge
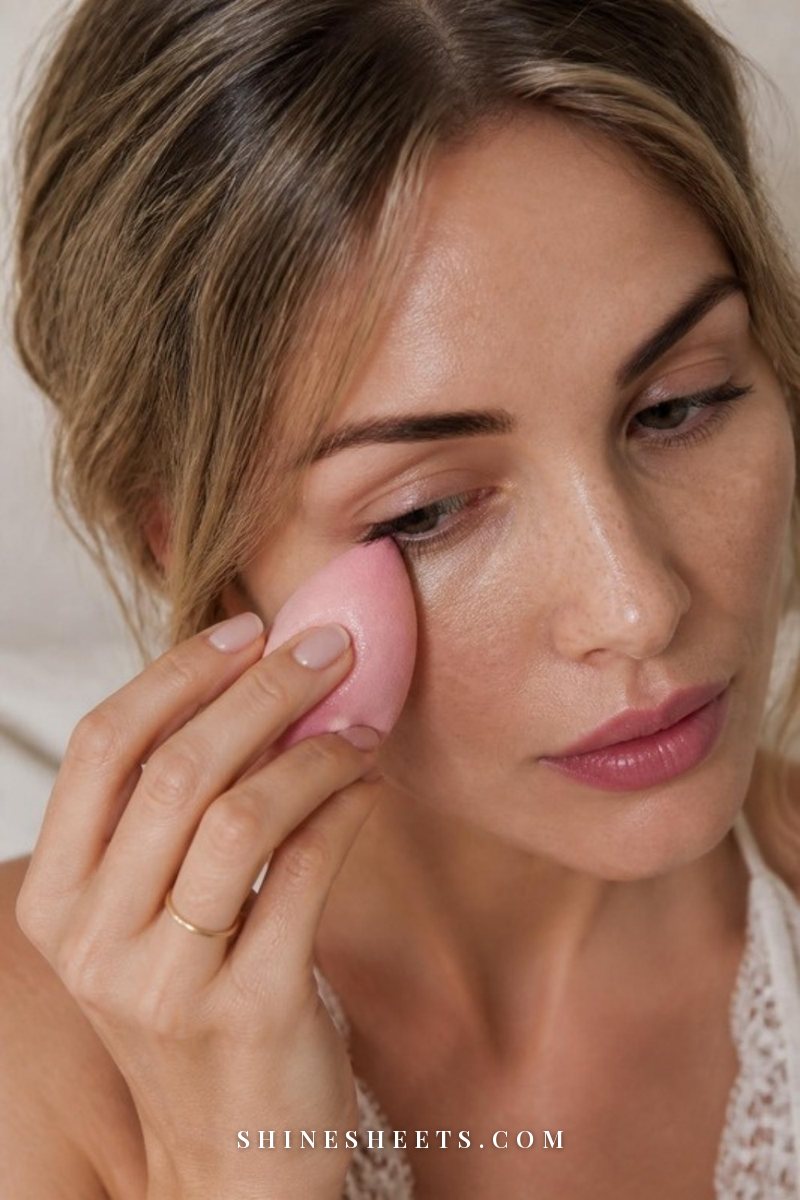
Rubbing or swiping moves product away from where you need it and drags at delicate skin. Tapping presses it in so it melts into skin and stays put.
- Fingertip method: your ring finger is the gentlest. The warmth of your skin softens creamy concealer and makes it look very natural. Tap from the inner corner outward, about ten soft taps per side.
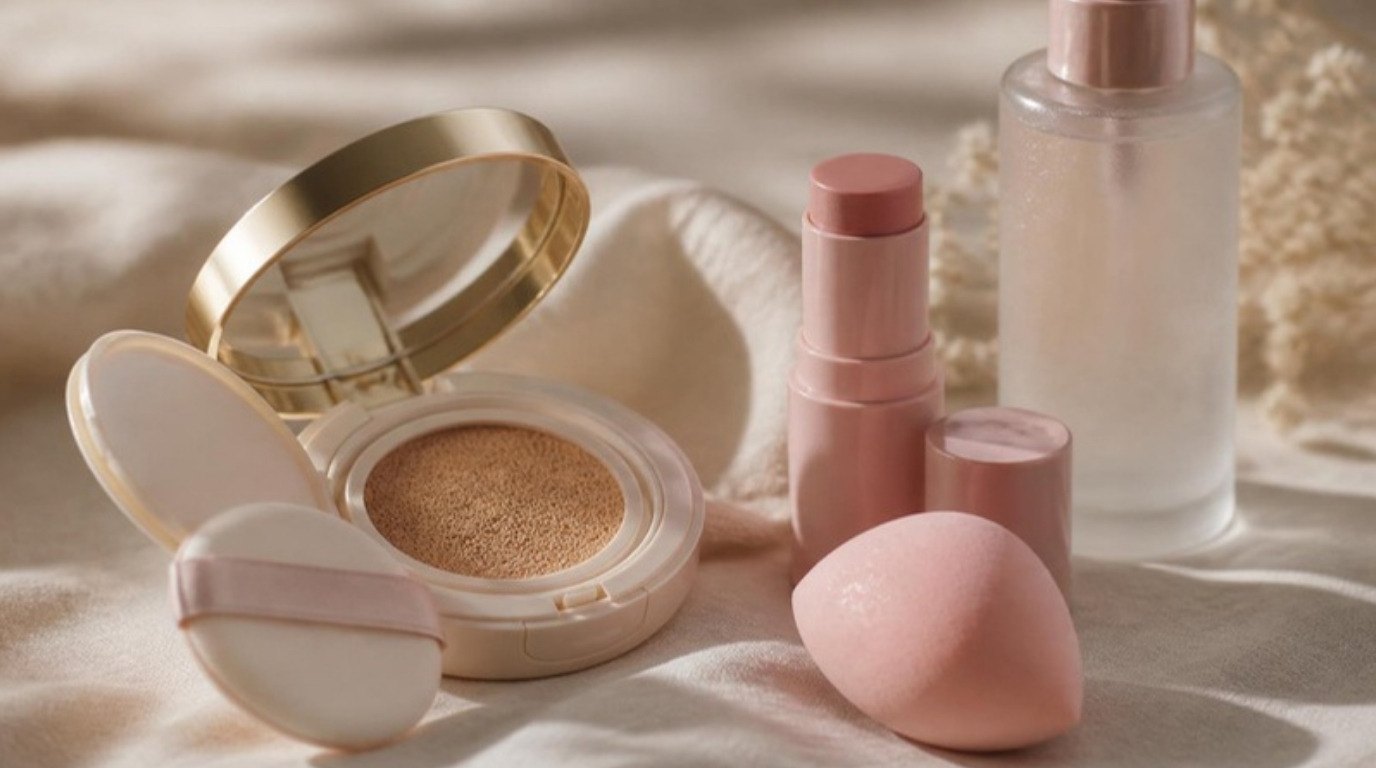
- Sponge method: wet a blush pink makeup blending sponge, squeeze it until it's only damp, then use the pointed tip to press and gently roll over the concealer. A damp sponge also lifts away a bit of excess, which is exactly what you want under the eyes.
Blend the edges until you can't tell where the concealer stops, then look up at the ceiling and check the inner corner again. If darkness peeks through, add a tiny second layer only there and tap again. Two thin layers always look better than one thick one.
A small tip: wait about 30 seconds before the next step. Concealer sets slightly as it sits, so you can see what it will actually look like.
Step 6: Set With the Tiniest Bit of Powder
Setting powder is what keeps concealer from sliding into lines, but too much is what makes under eyes look dry, older and textured. The trick is a small brush and a very light hand.
Before powdering, smile gently and look up. If you see little lines where concealer has already gathered, lightly tap over them with your ring finger to smooth them out. Then dip a small fluffy setting brush into a finely milled translucent setting powder, tap off the excess on the back of your hand and press (don't sweep) it over only the areas where you placed concealer.
If you have dry under eyes, set just the inner corner and the outer lift and leave everything else powder-free. If you're oily or live somewhere humid, you can press a little more, but still keep it thin. For the full deep-dive on keeping things smooth all day, I've written a whole guide on applying concealer without creasing.
Step 7: Brighten the Whole Eye Area
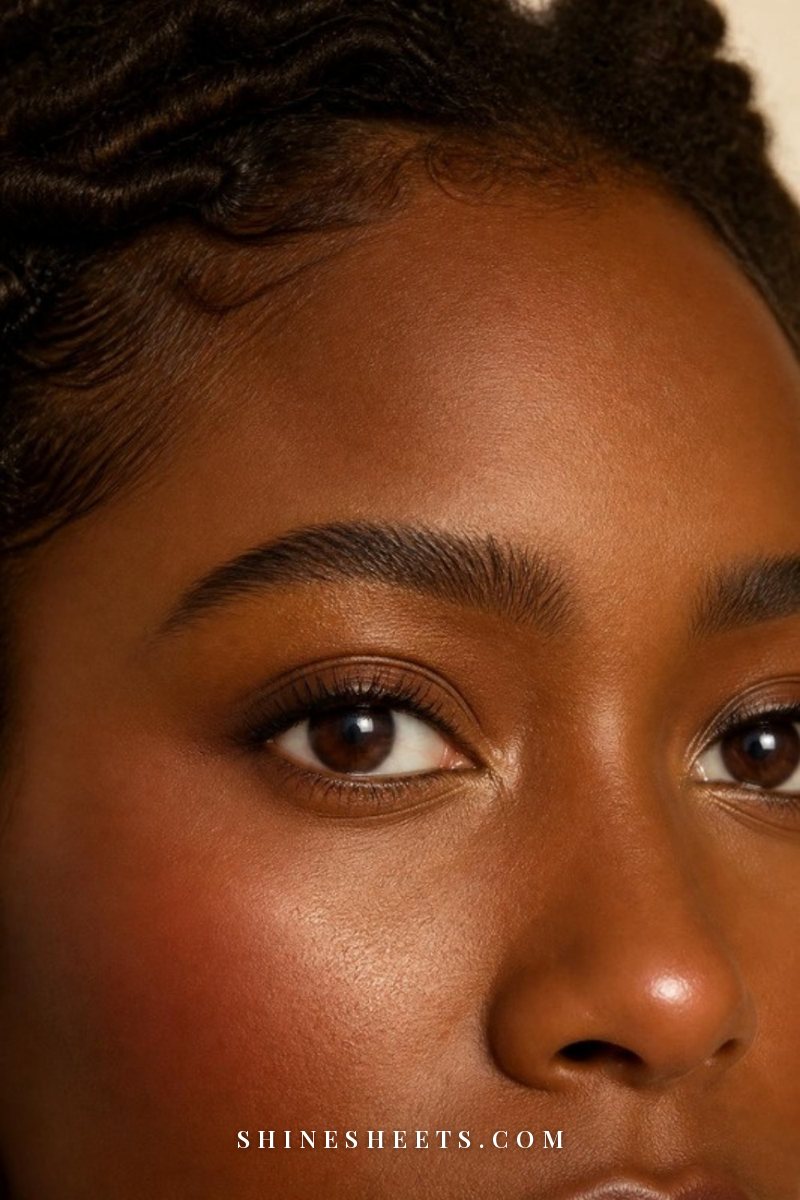
Coverage only gets you halfway. The other half is making the eyes themselves look open and awake, which takes attention away from any shadow that's left.
- Curl your lashes and add mascara, focusing on the outer lashes to lift the eye. A brown or soft black formula looks fresher than a heavy jet black on tired days. You'll find more in my mascara tips for fuller, lifted lashes.
- Add a touch of shimmer to the inner corner, like a champagne or soft pink eyeshadow pressed in with a fingertip. Light reflects off it and opens the eye.
- Try a nude pencil on the lower waterline in beige or soft peach (not stark white) to make the whites of the eyes look brighter.
- Brush your brows up. Lifted brows make the whole face look rested.
- Bring color into the cheeks. A little blush on the upper cheekbones gives the face warmth, so the under-eye area isn't the only thing your eye goes to.
Corrector Shade Guide
Screenshot this table for your next makeup shop. Find your skin tone, then the color your circles lean, and you'll know exactly which corrector to look for.
| Skin tone | Circle tone | Corrector shade | How much |
|---|---|---|---|
| Fair | Blue or purple | Light peach or pinky-peach | Tiny dab at inner corner only |
| Fair | Faint, mostly shadow | Skip corrector, use a brightening concealer | None |
| Light | Blue or purple | Peach | Tiny dab at inner corner |
| Light to medium | Purple-brown | Peach or salmon | Thin layer over darkest crescent |
| Medium | Brown or olive-gray | Salmon or deep peach | Thin layer over darkest crescent |
| Medium to deep | Brown or ashy | Orange or apricot | Thin layer, blended at edges |
| Deep | Dark brown or blue-black | Deep orange or red-orange | Thin layer, then matching concealer |
| Any | Shadow from hollows | No corrector, light-reflecting concealer | Dot in the hollow only |
One more rule: if your corrector peeks through as orange or pink after concealer, you used too much or a shade that's a step too bright for you. Go lighter on the amount before you switch products.
How To Cover Dark Circles in Tricky Situations
The seven steps work for most under eyes, but a few situations need small adjustments.
If Your Under Eyes Are Dry or Crepey
Prep matters even more here. Use a slightly richer eye cream, give it the full three minutes, and choose the creamiest concealer you can find. Skip powder in the middle of the under-eye, and if you need to set at all, use the smallest amount on the inner corner only. A quick mist of facial spray at the end can soften any powdery look.
If You Have Fine Lines Around Your Eyes
Less is everything. Apply concealer only at the inner corner and the outer lift, keep it a few millimeters away from the lash line and blend with your finger rather than a sponge (your warm fingertip melts it into lines instead of sitting on top). For more ways to adjust your whole routine, my guide to makeup for mature skin has gentle, practical tips.
If Your Circles Come With Puffiness
Concealer on top of puffiness can actually make it stand out more, because brightening draws attention to raised areas. Cover only the shadow below the puffy area, not the puff itself. A cold spoon or chilled eye cream in the morning can help, and you'll find more ideas in my quick fixes for under eye bags.
If You Have Deep Hollows
Here the darkness is a shadow, so correcting color won't help much. Choose a light-reflecting concealer one shade lighter than your skin, place a tiny dot only inside the hollow (the deepest part of the shadow) and tap the edges out. Avoid matte formulas and heavy powder, which flatten light and make the hollow look deeper.
If You're Wearing Foundation
Do your foundation first, then conceal. Foundation often covers a surprising amount of the darkness on its own, so you'll need even less concealer afterward. Apply foundation thinly around the eyes, and if you want a refresher on base makeup, read my guide on how to apply foundation so it looks like skin.
8 Mistakes That Make Dark Circles Look Worse
If your coverage never looks quite right, chances are one of these is the reason. The good news is that each one is an easy fix.
- Using too much product. More concealer means more creasing and a heavier look. Start with one small dot and add only where needed.
- Choosing a shade that's too light. Over darkness, very light concealer turns gray. Match your skin or go one shade lighter at most.
- Skipping the corrector on strong circles. Without it, you have to layer far more concealer to hide the blue or brown, which is where cakiness comes from.
- Using too much corrector. It should be a sheer layer in the darkest spot, not a full peach half-moon.
- Skipping hydration. Concealer clings to dry patches and settles into lines. Always prep, and always wait.
- Heavy powder. A big brush loaded with powder makes under eyes look older and drier. Use a small brush, a tiny amount and press it on.
- Applying right up to the lash line. The skin there moves the most. Keep concealer a few millimeters below it and let blending do the rest.
- Rubbing instead of tapping. Swiping moves product and tugs at skin. Tap, press and be patient.
A 5-Minute Morning Version
On rushed mornings, here's the short routine that still looks polished. Set a timer if you like.
| Time | What to do |
|---|---|
| Minute 1 | Tap eye cream along the orbital bone, then brush teeth or do brows while it sinks in. |
| Minute 2 | Tap a tiny amount of corrector into the inner corners only (skip if circles are mild). |
| Minute 3 | Dot concealer at the inner corner and outer lift, then tap in with your ring finger. |
| Minute 4 | Press a little powder on the inner corner with a small brush. |
| Minute 5 | Curl lashes, one coat of mascara, a fingertip of blush. |
And on the days you really have zero time, a dab of concealer in the inner corners plus mascara gives you about 80% of the effect. That's a perfectly good day.
When Dark Circles Need More Than Makeup
Makeup is a lovely, quick fix, but it's not the whole story. Sleep, allergies, dehydration, rubbing your eyes and genetics all play a part, and some circles simply come with your face (which is completely fine). If your dark circles appear suddenly, look very different on one side, or come with swelling, itching or pain, it's worth checking in with a doctor or dermatologist rather than covering them up. Be gentle with this area, too: remove eye makeup with a soft, oil-based cleanser instead of scrubbing, and always remove it before bed.
Final Thoughts
Covering dark circles is less about hiding and more about balancing. A little hydration, a whisper of the right corrector, two small dots of concealer and a light touch of powder will do more than any thick layer ever could.
Some mornings your eyes will look rested and some mornings they won't, and both versions of you are lovely. Keep the steps simple, be kind to that delicate skin, and let your makeup work quietly in the background while you get on with your day.